Mission 6: St. Petersburg
Part ii: Military Archives
Mission 6: St. Petersburg
Part ii: Military Archives
Captured by the Russians, Bond must escape their military prison.
Again? Captured again? I hope you can defend your performance, 007, because there isn't a lawyer in the land who'd take on the case. Your only chance is to speak directly to Defense Minister Mishkin. He's a reasonable man, for a member of the Politburo. Failure is not an option, Bond.
Up to you to get out of this one, 007. I can't hold your hand all the time. By the way, get that flight recorder for me, would you? Thanks.
Banged up again, James? Now you know what it's like to be trapped behind a desk, and I'm off out to the theatre with a gentleman tonight. How times change!
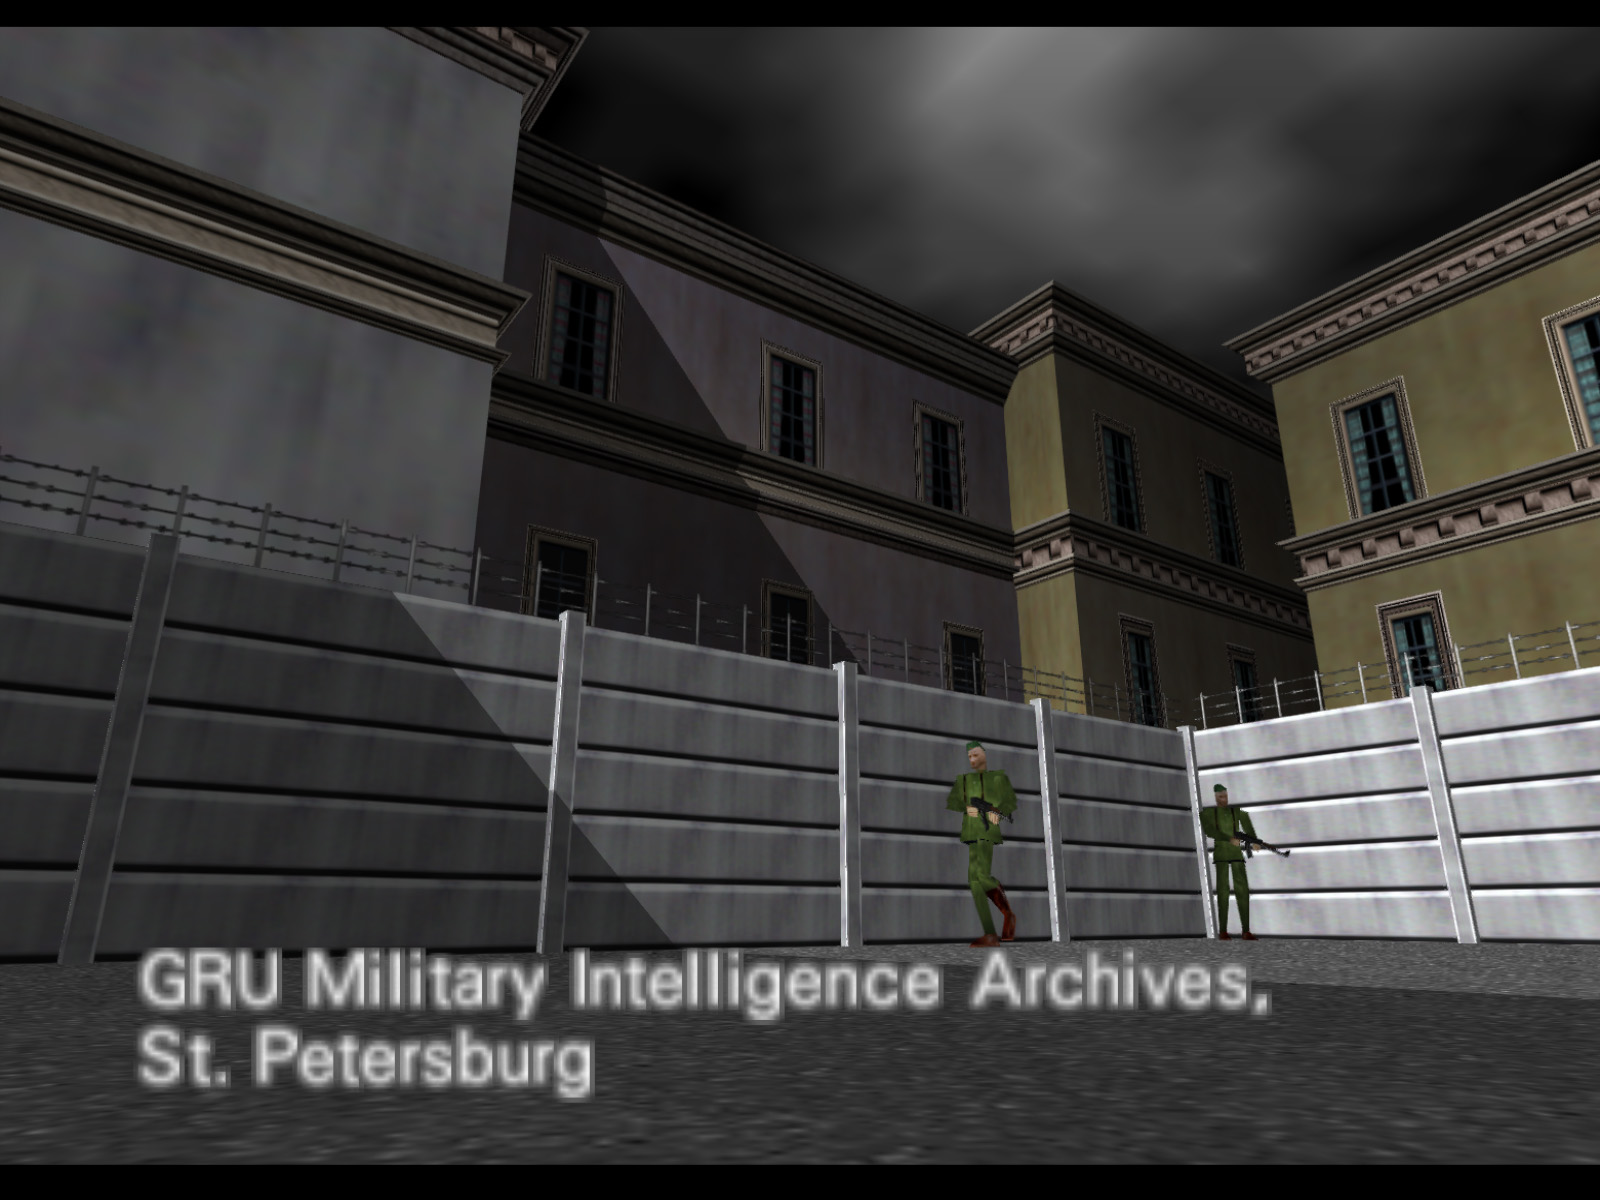
Archives is the eleventh level of GoldenEye 007 and the second level of the sixth mission. For the second time in GoldenEye Bond finds himself unarmed and awaiting execution. This time Bond finds himself locked up in a document archive for the GRU, Russia's foreign military intelligence agency. He will have to not only escape, but rescue Natalya and retrieve the Pirate helicopter's flight recorder. Aside from Bond being captured, Archives is also similar to Bunker 2 in that making noise brings hordes of guards down on you. And this time you don't even get Throwing Knives.
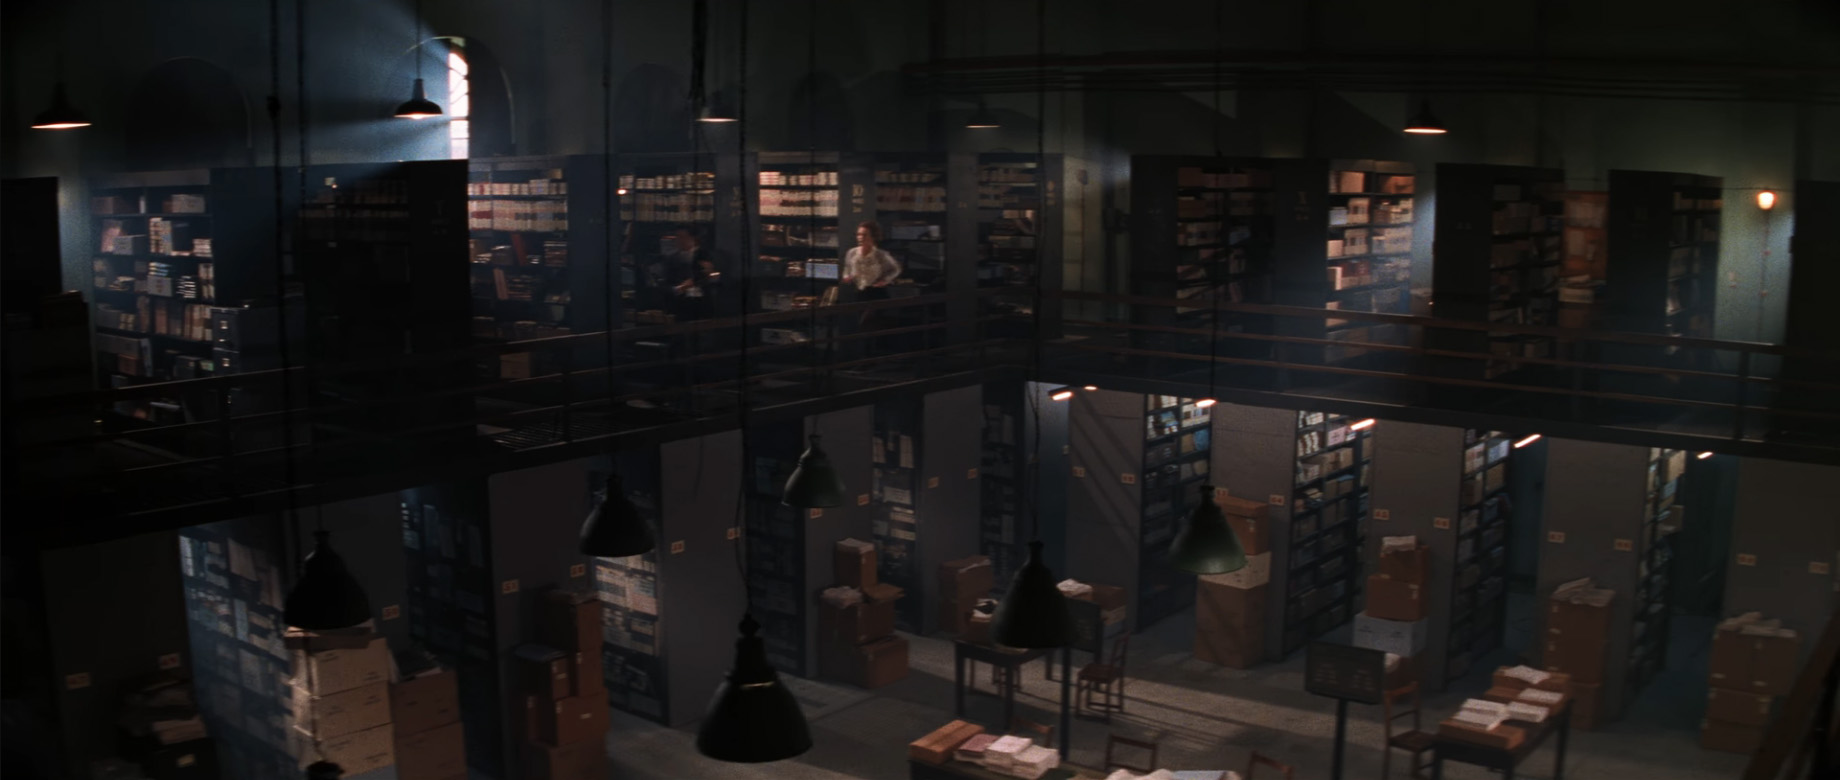
The Archives scenes in the GoldenEye movie are pretty extensive and the set has more rooms than a lot of the other locales. Even so the game developers had to add more rooms to make Archives a complete level. There are two floors with the first floor mostly being storage for cardboard boxes. The second floor has offices and seemingly endless bookshelves. There is also a courtyard, an attic, two secret passageways, two interrogation rooms, and a large open room for reading. The walls throughout the map are plastered with Soviet propaganda posters, maps, and other documents. As one would expect by this point, the GRU library is packed with Russian Soldiers ready to prevent Bond and Natalya's escape. The only good news is that Dmitri Mishkin has become aware of General Ourumov's treachery and he is ready to assist you.
This armor is on the lower level in the room packed full of cardboard boxes.
This armor is in the room across from the starting room.
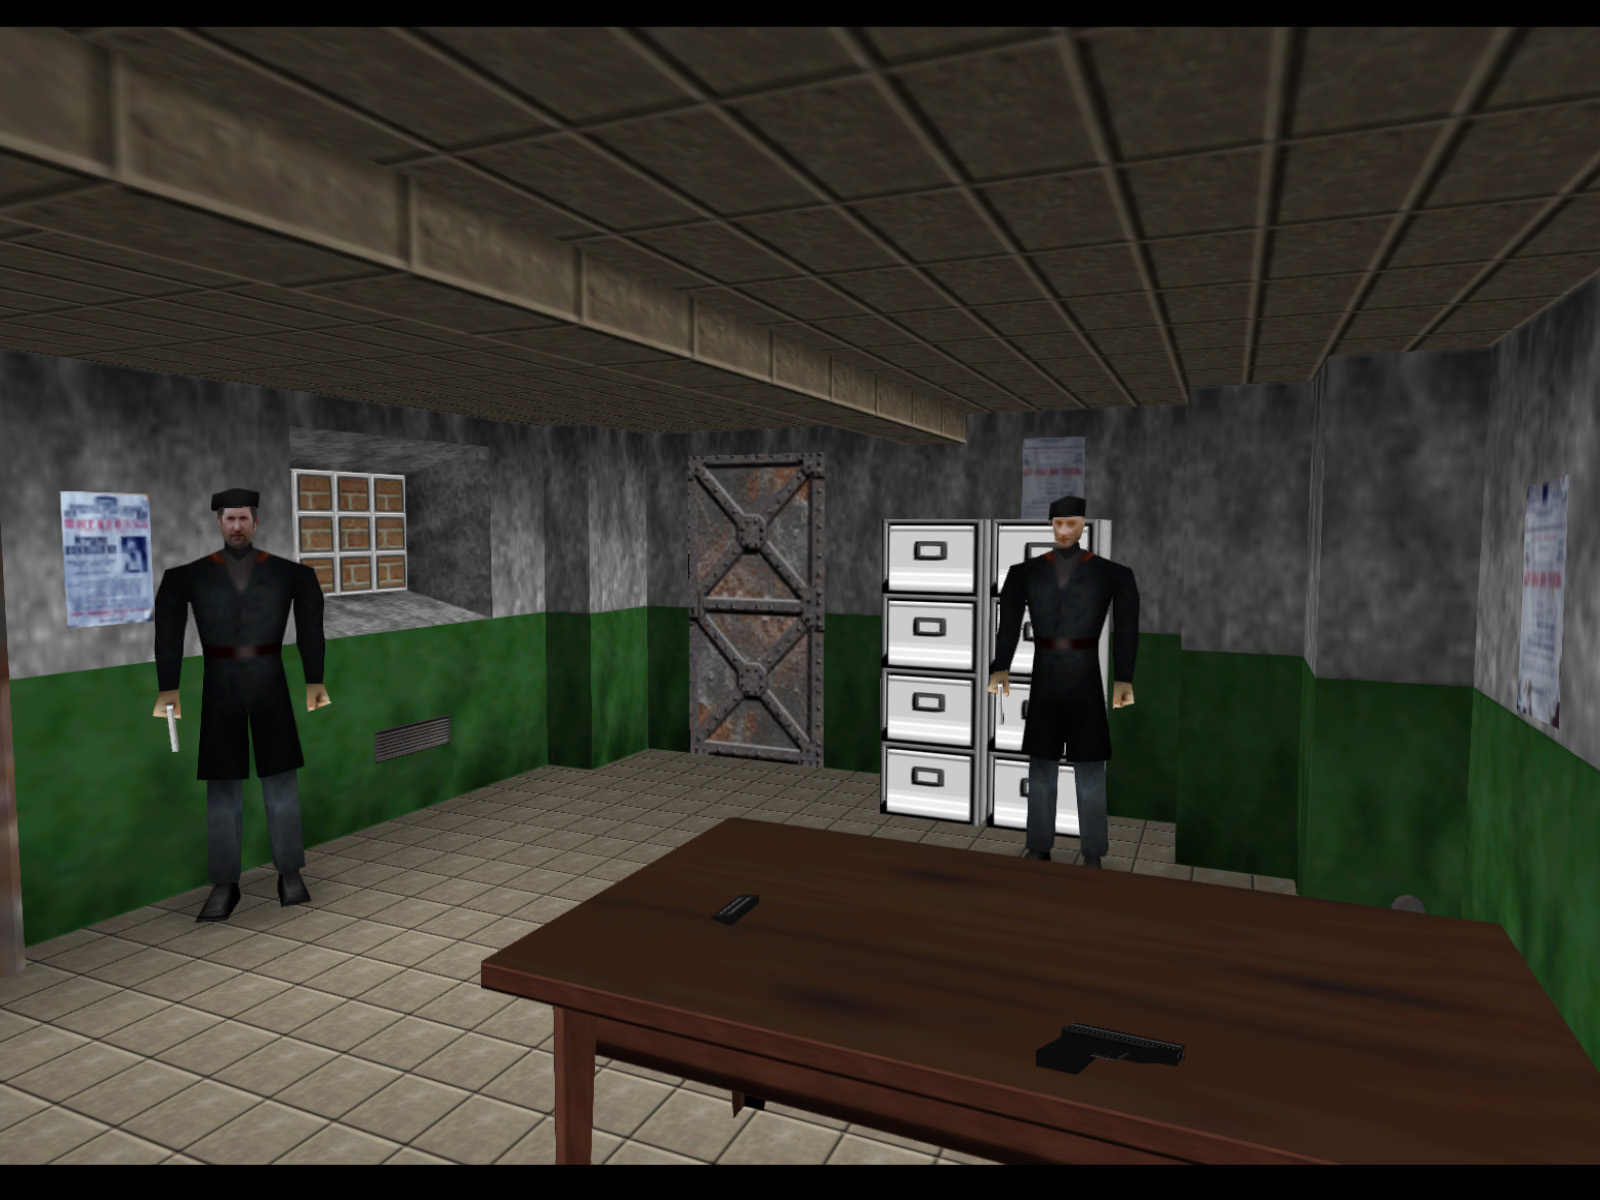
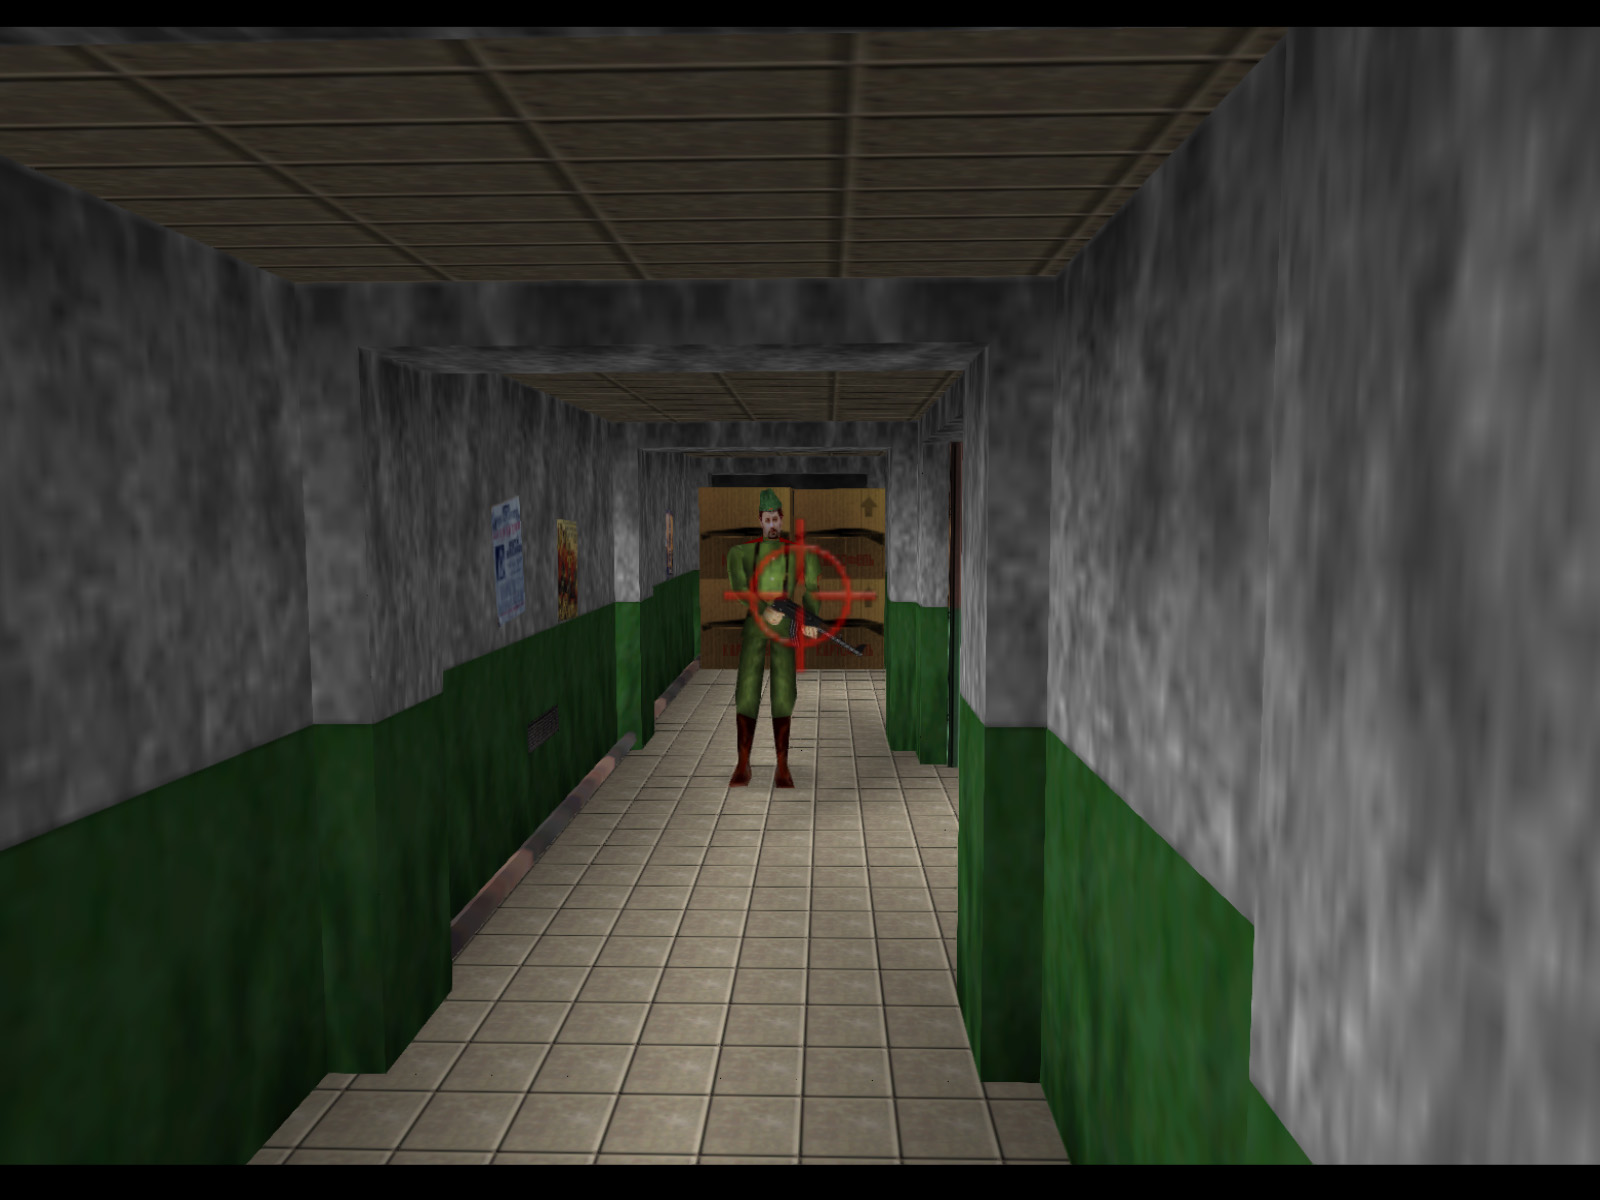
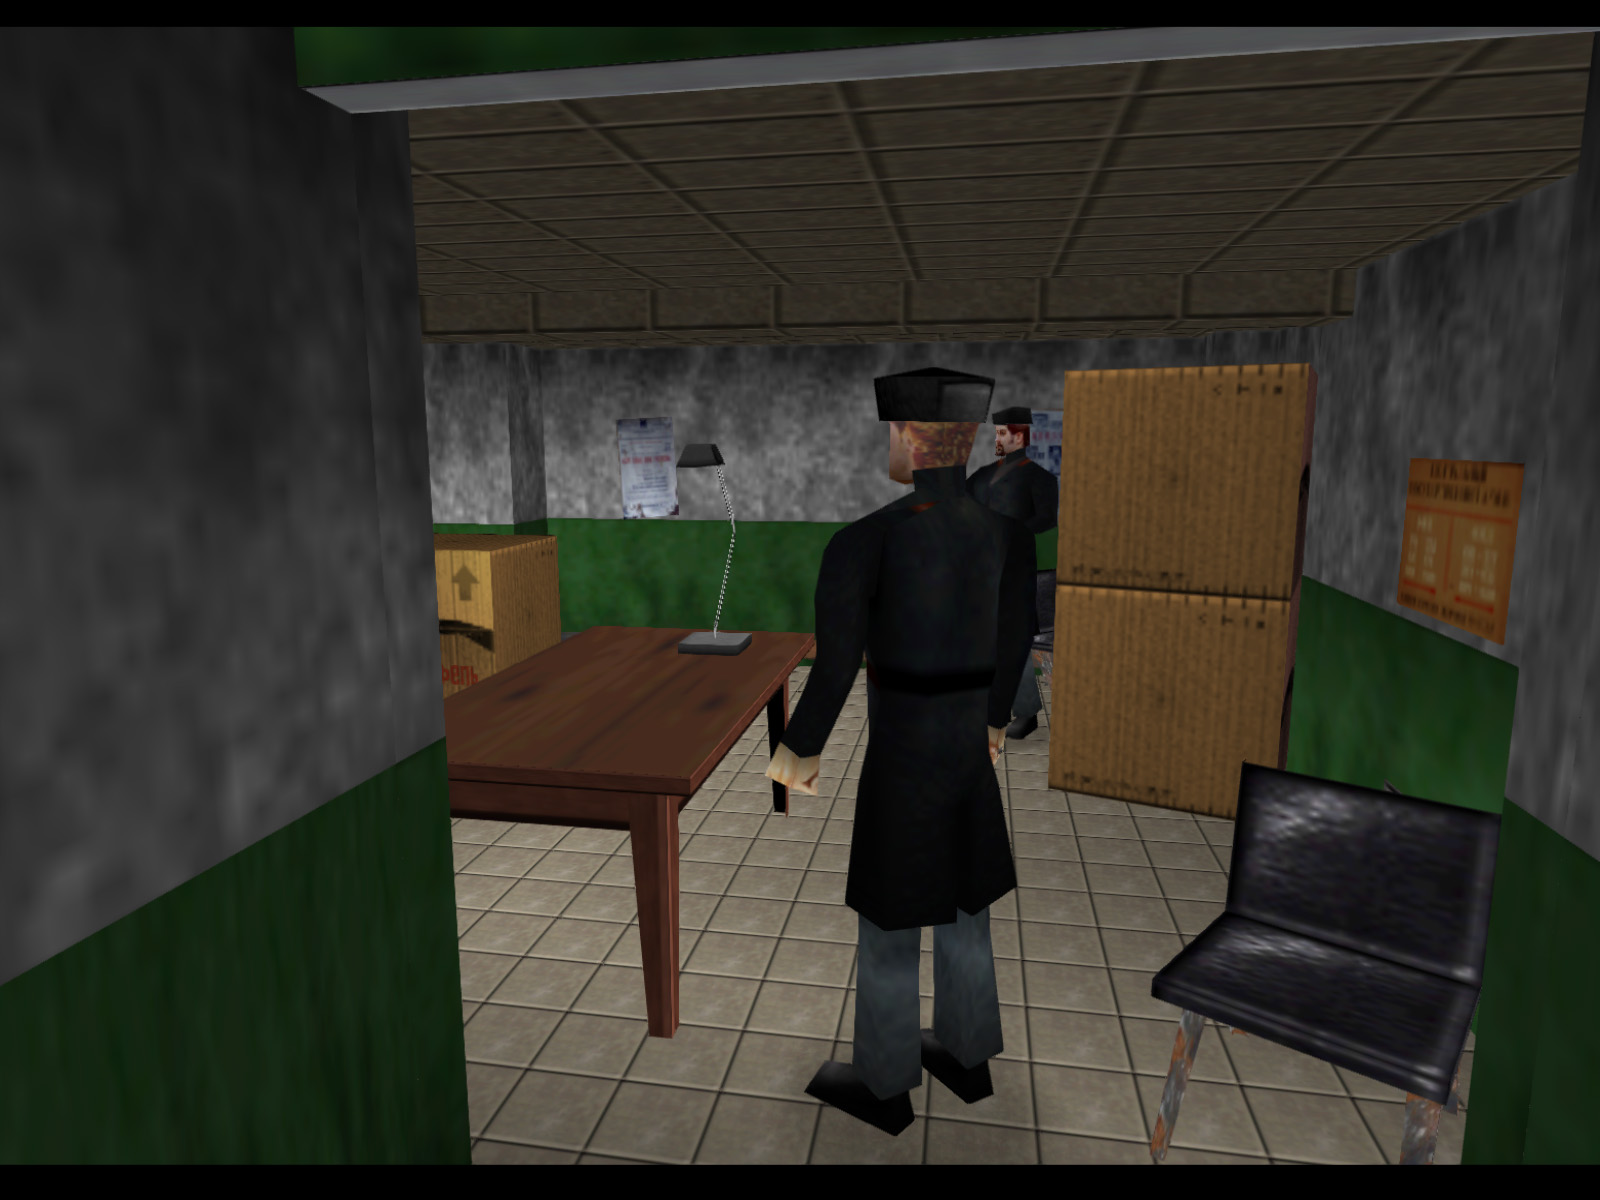
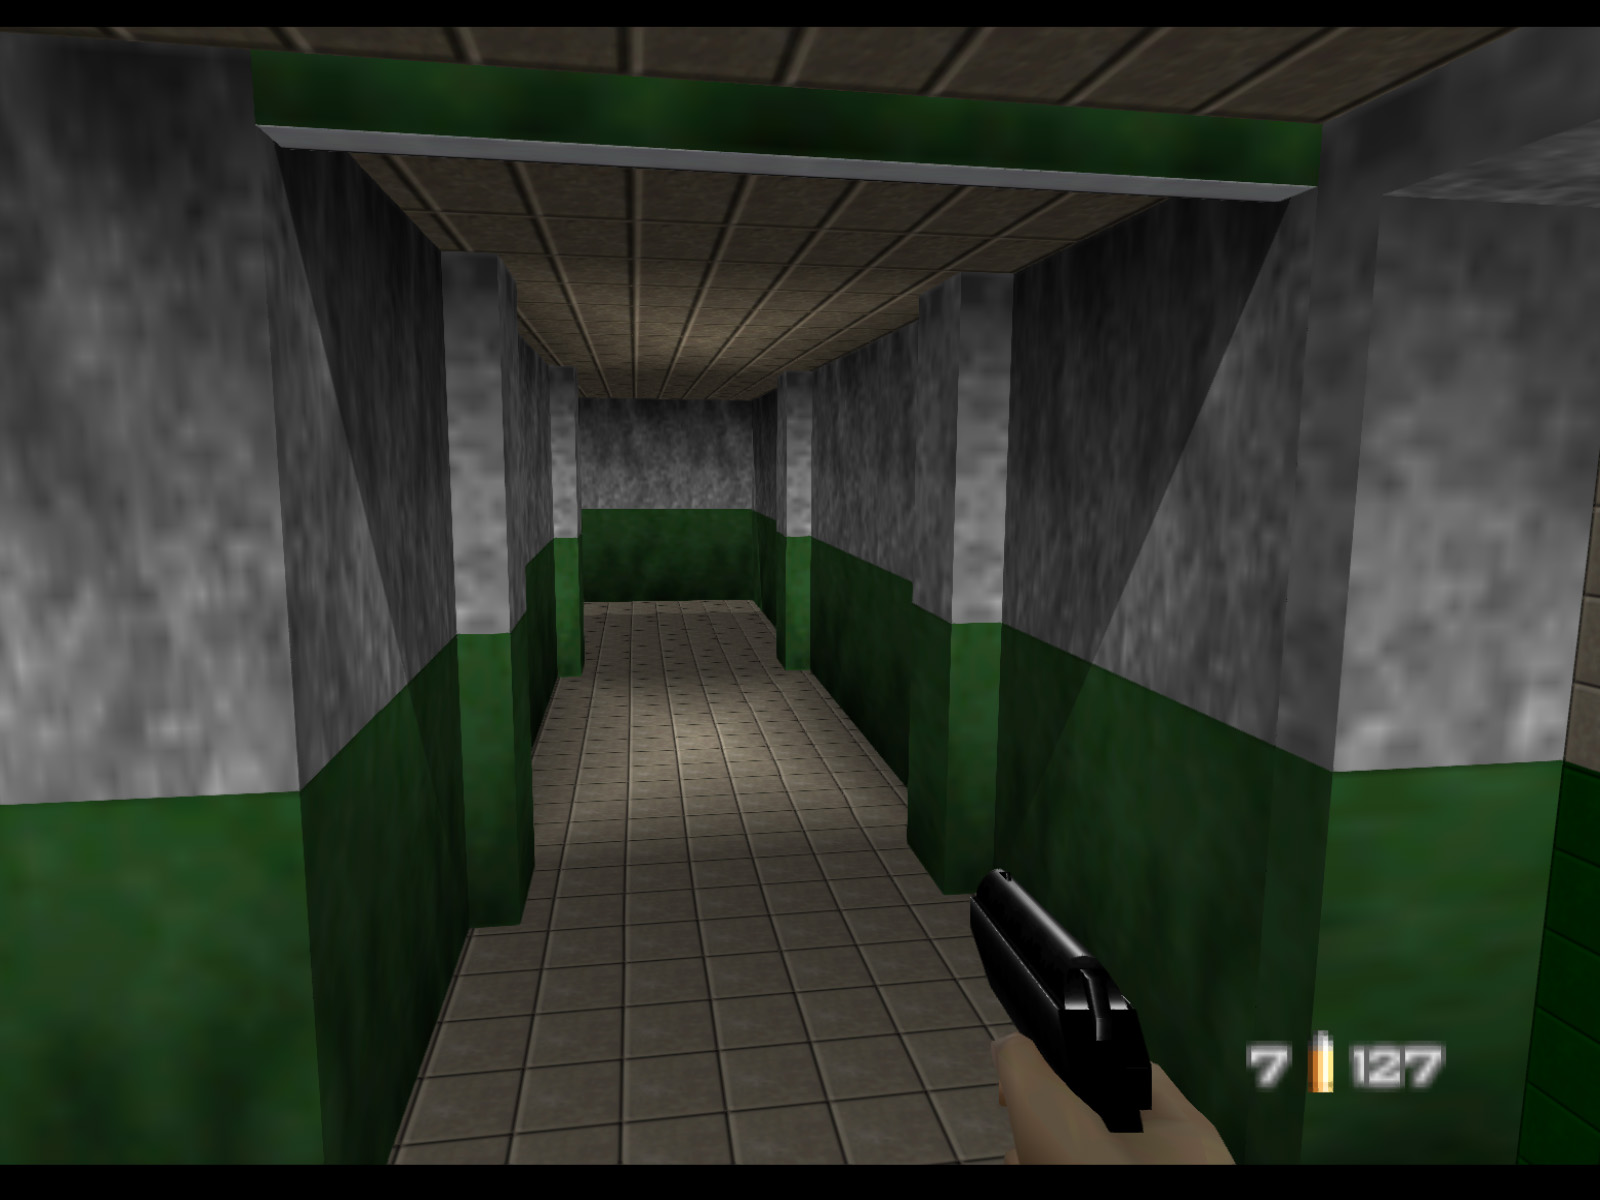
For the second time in three levels Bond finds himself disarmed and captive. Two Siberian Guards watch over you and stand ready to fire. If you wait they will start an interrogation, but that will eventually be interrupted by a third guard who orders Bond's execution. It is better to start escaping now than to wait.
You may notice your PP7 and a magazine placed on the table in front of you. If you pick up the PP7 it has no ammo. You need the magazine as well, but a chair blocks you from picking it up quickly. A clever way around this is to use your Watch Magnet Attract to grab both at the same time. Then again maybe that's not such a good idea. If you start firing that PP7 quickly you will bring down a ton of guards on you.
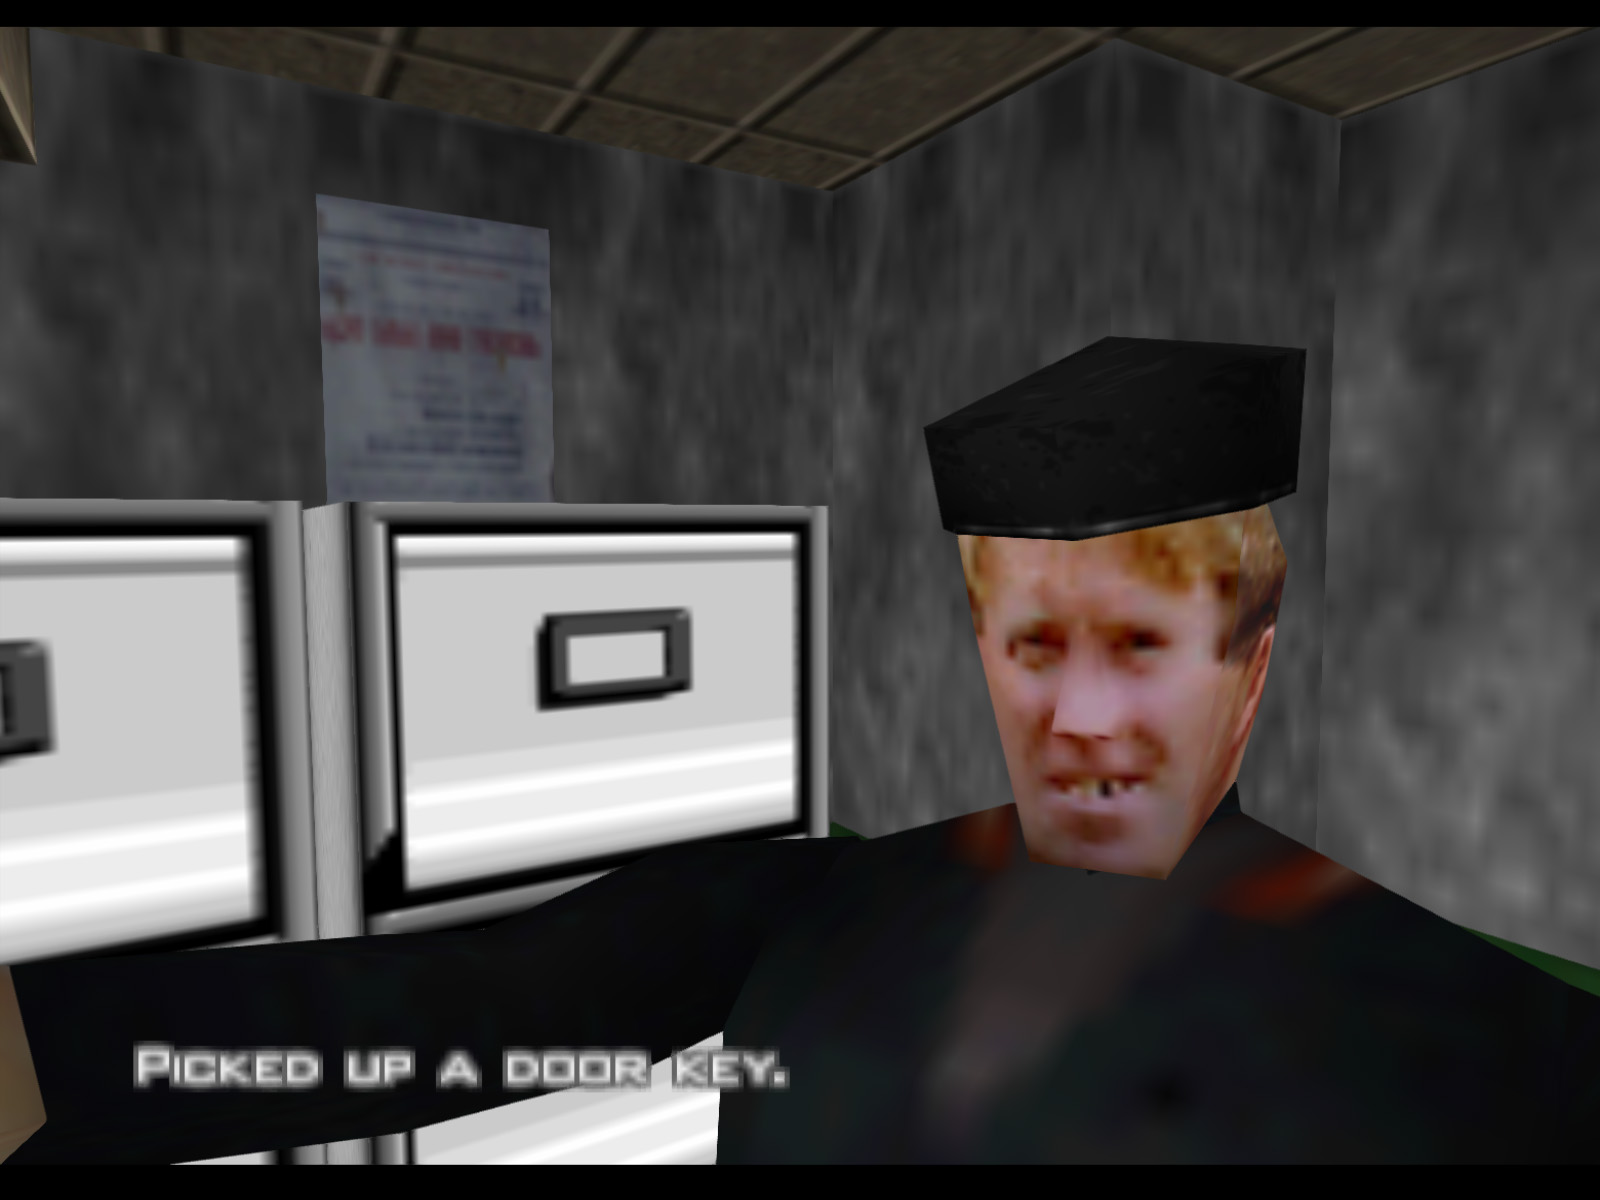
It may seem silly but the easiest way to handle this room is just to run up and slap the guard on the left once to take him out then quickly pivot to the second guard. As long as you're really close to him he can't shoot you. Once he's knocked out he will drop a key to the door.
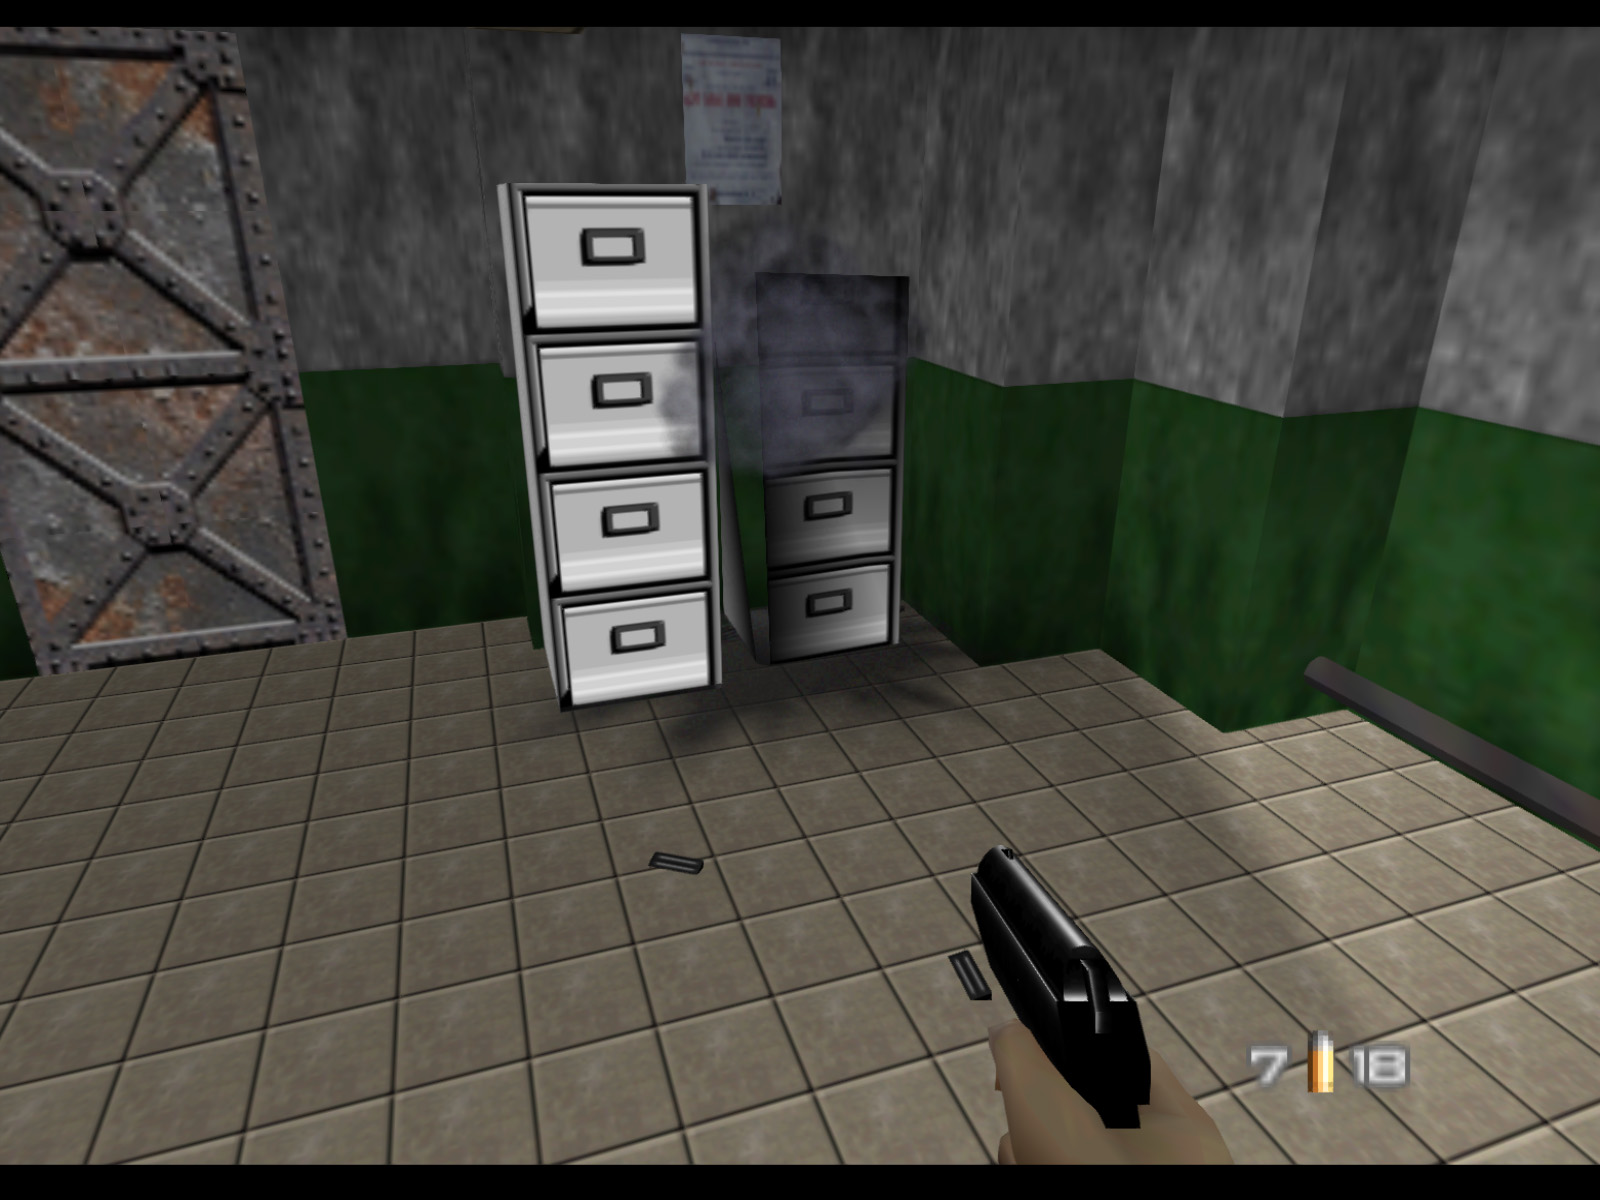
▶ TIP: The file cabinet on the right contains five magazines of 9mm ammo. If you destroy it, make sure to do so with very slow shots so the other guards do not hear you.
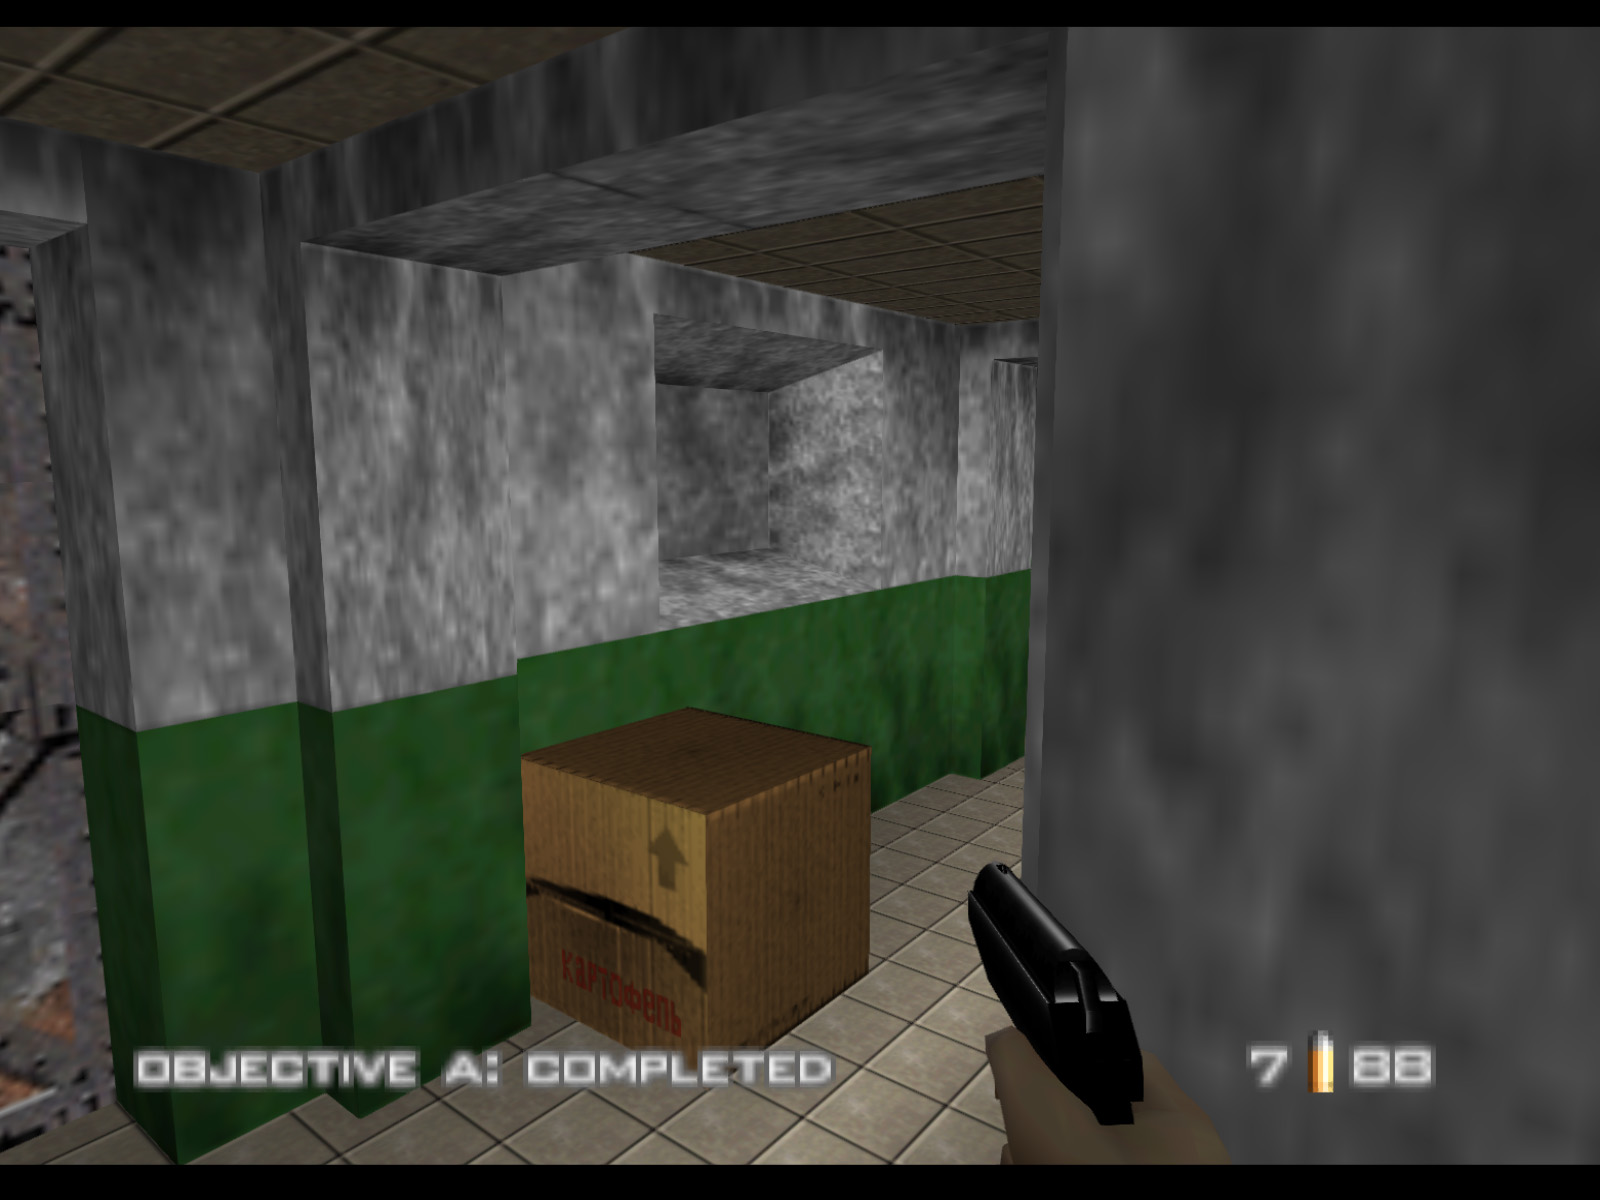
As soon as you leave the interrogation room you will complete Objective A. By GoldenEye objective standards that one is pretty easy!
How you advance from here depends on how you like to play. Personally I just like to keep the Slappers out and rush the unsuspecting guards. Sometimes you can even do a peek, get a guard to fire, he will blow up a box, and then run into the explosion! If you do go for a loud run and gun style be aware that you will cause clone guards to spawn.
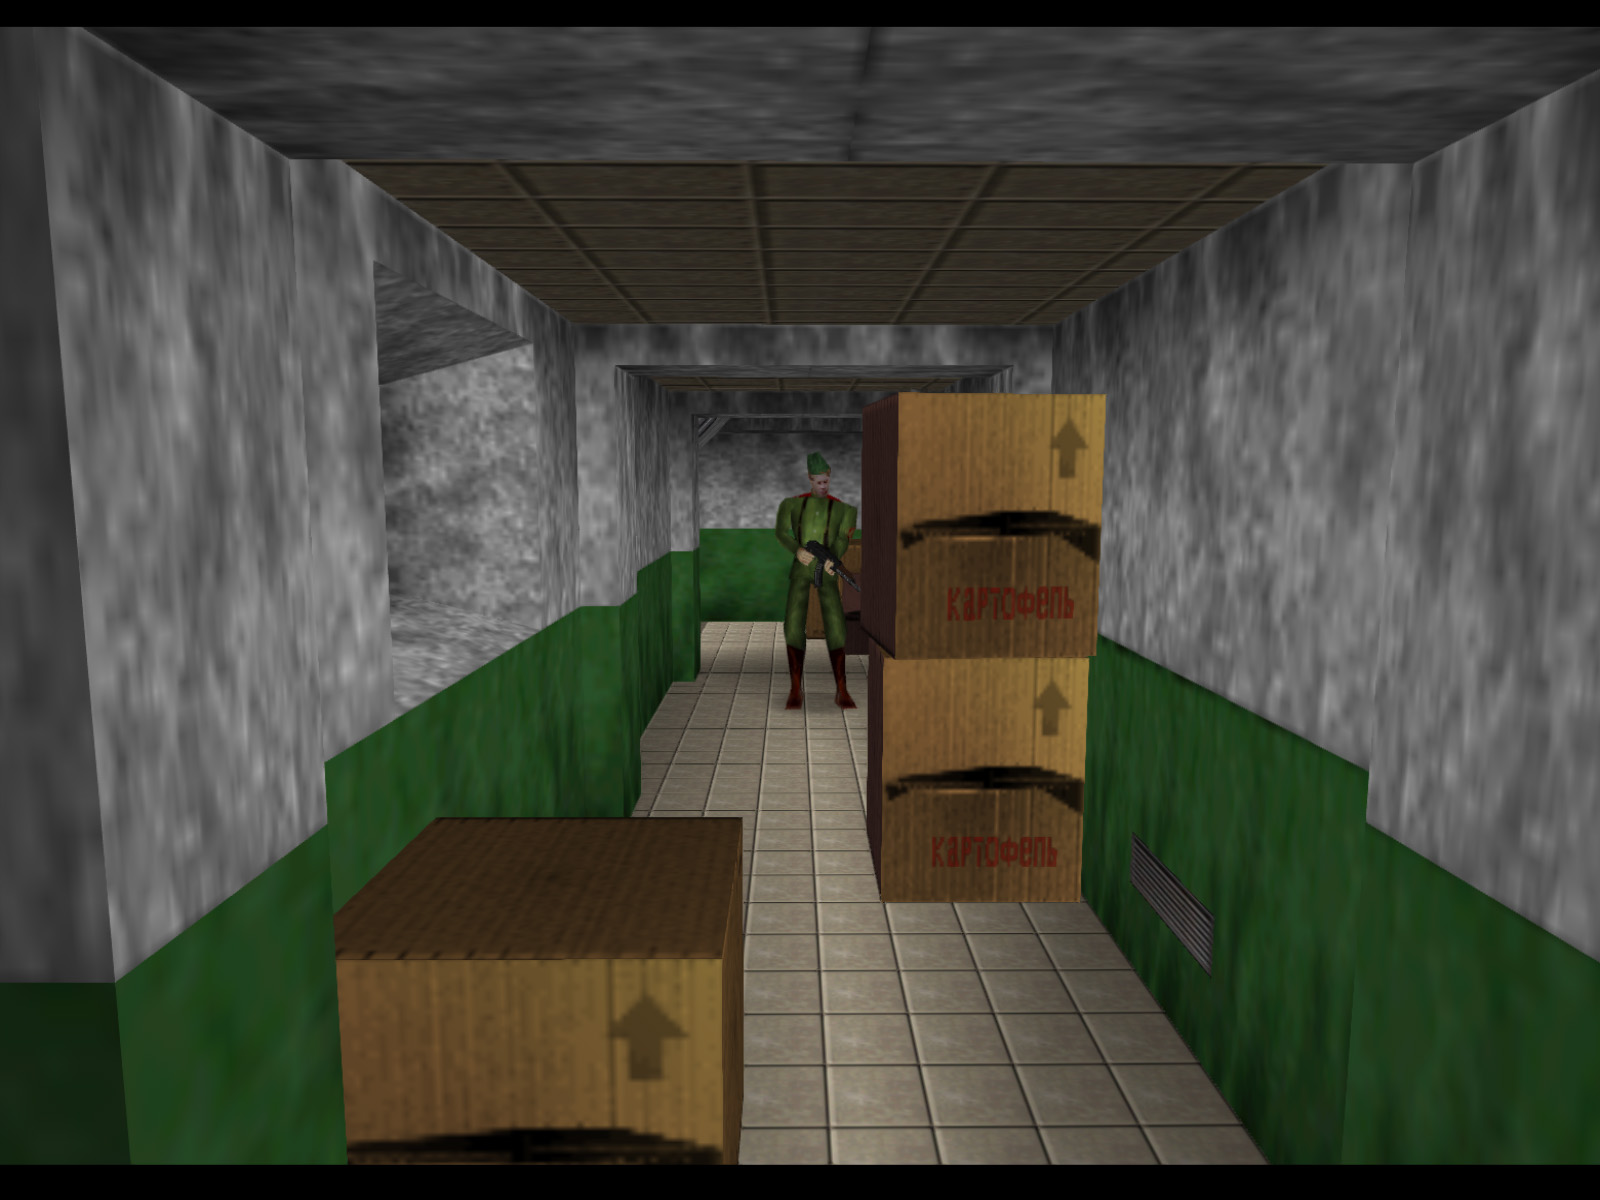
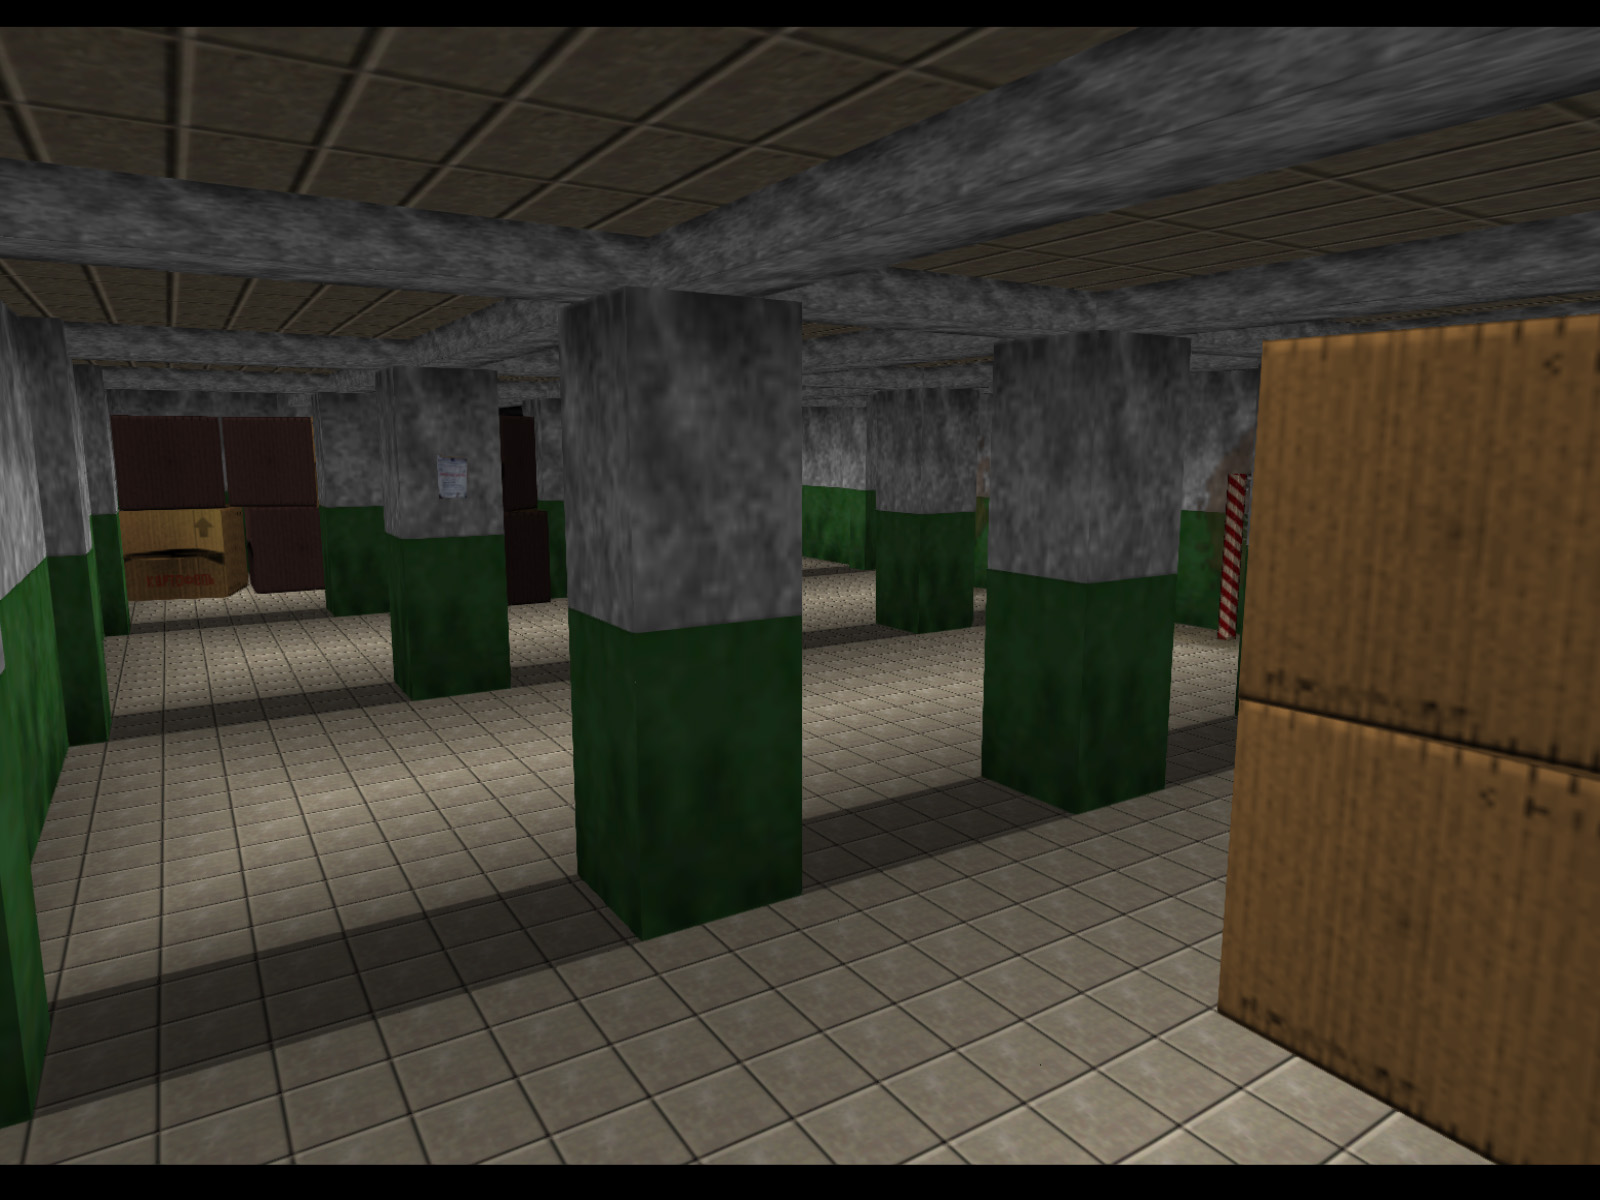
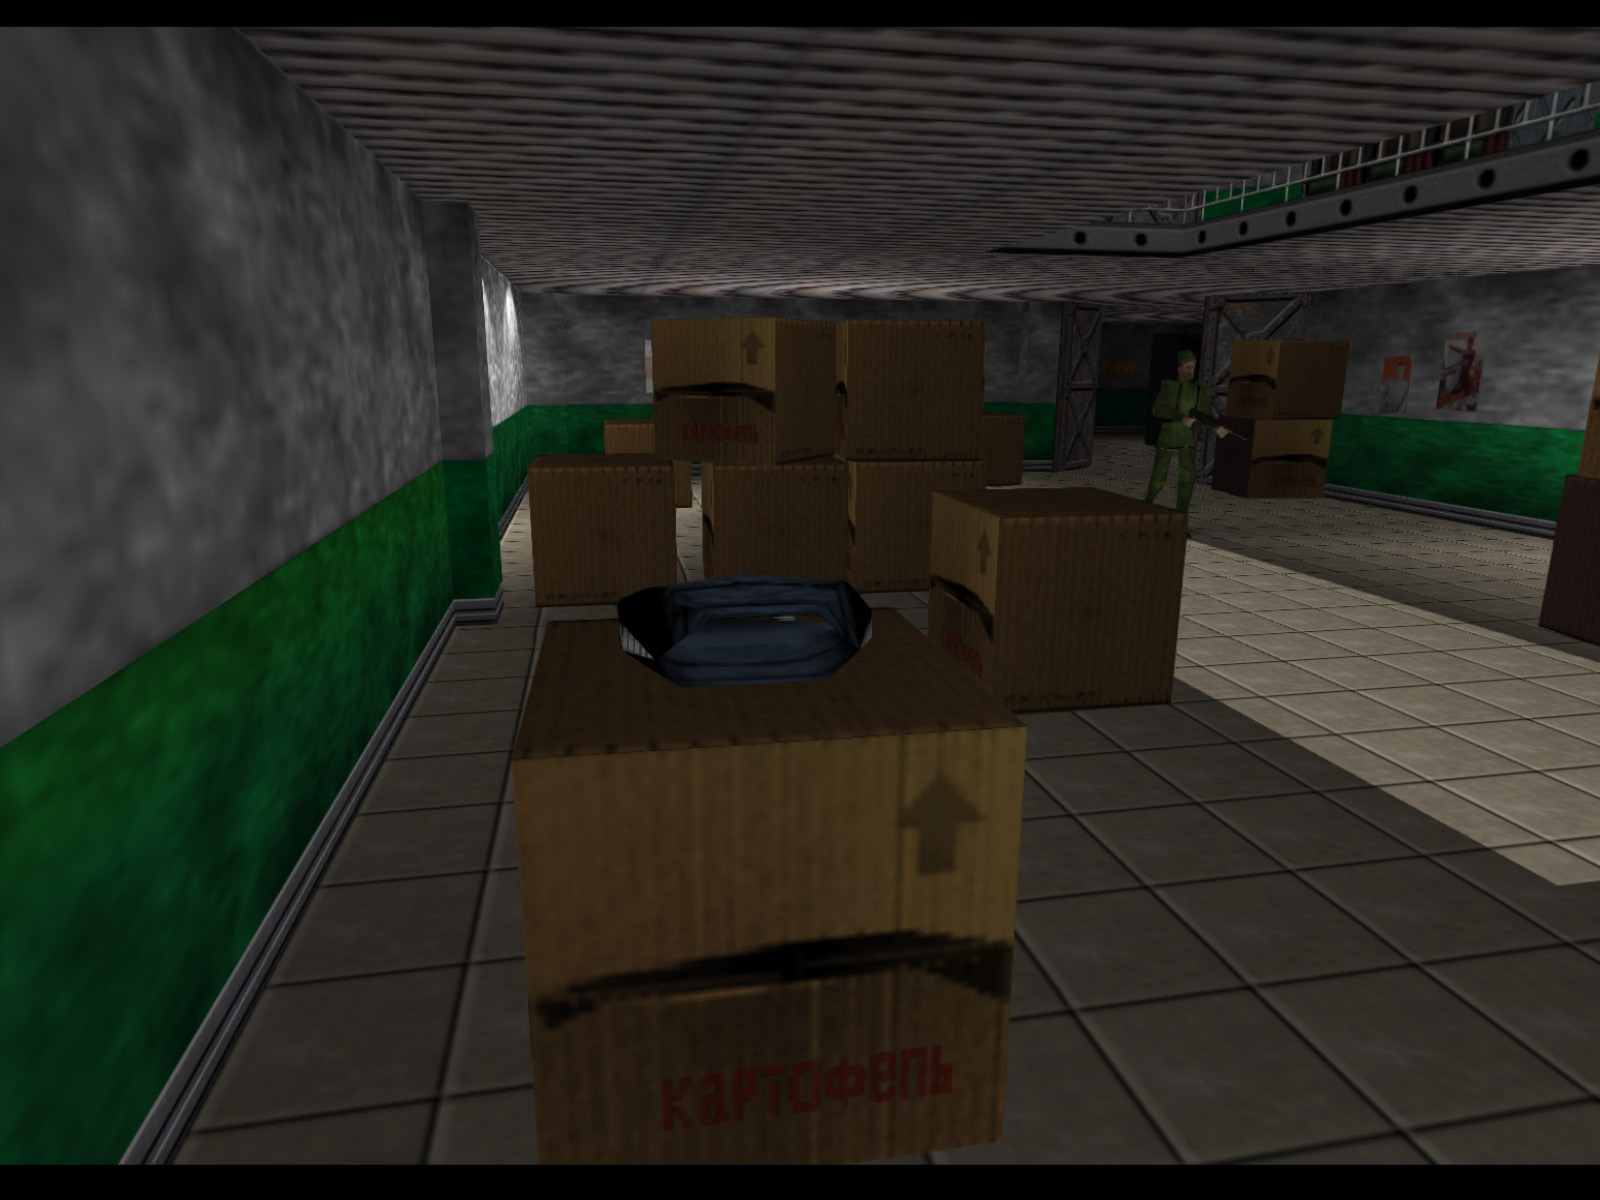
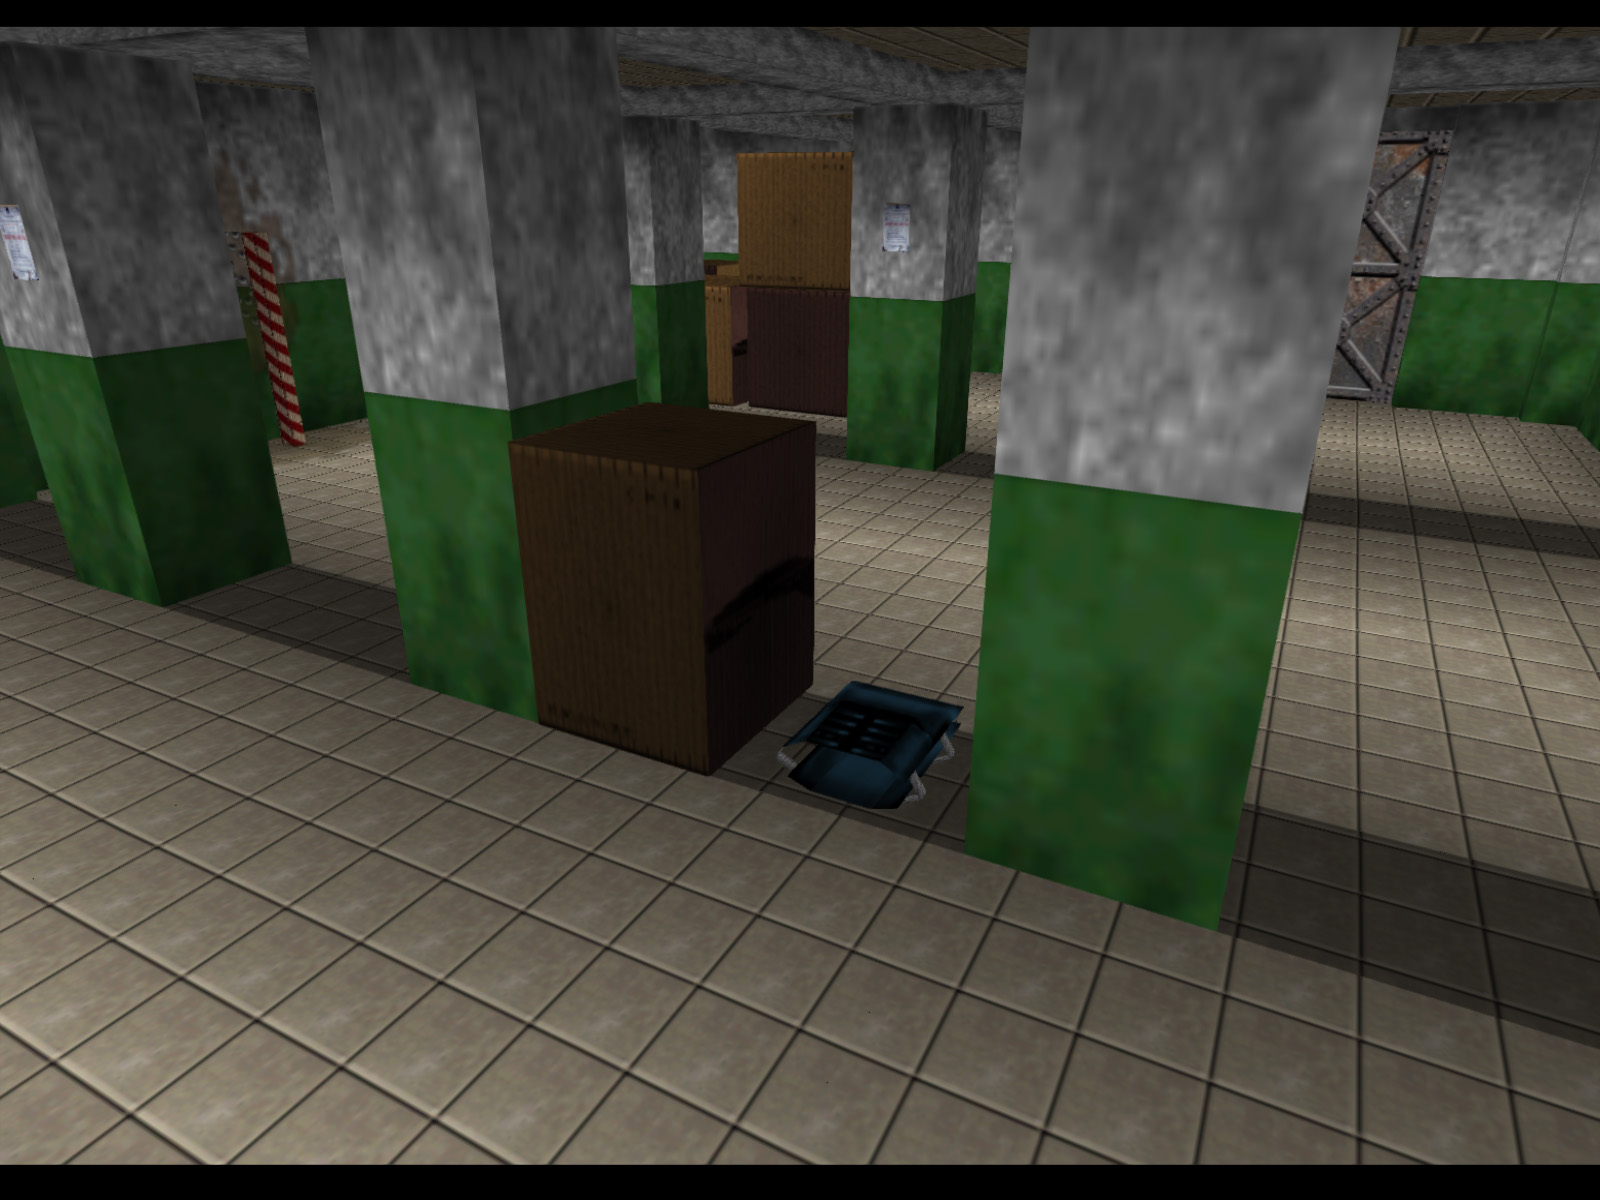
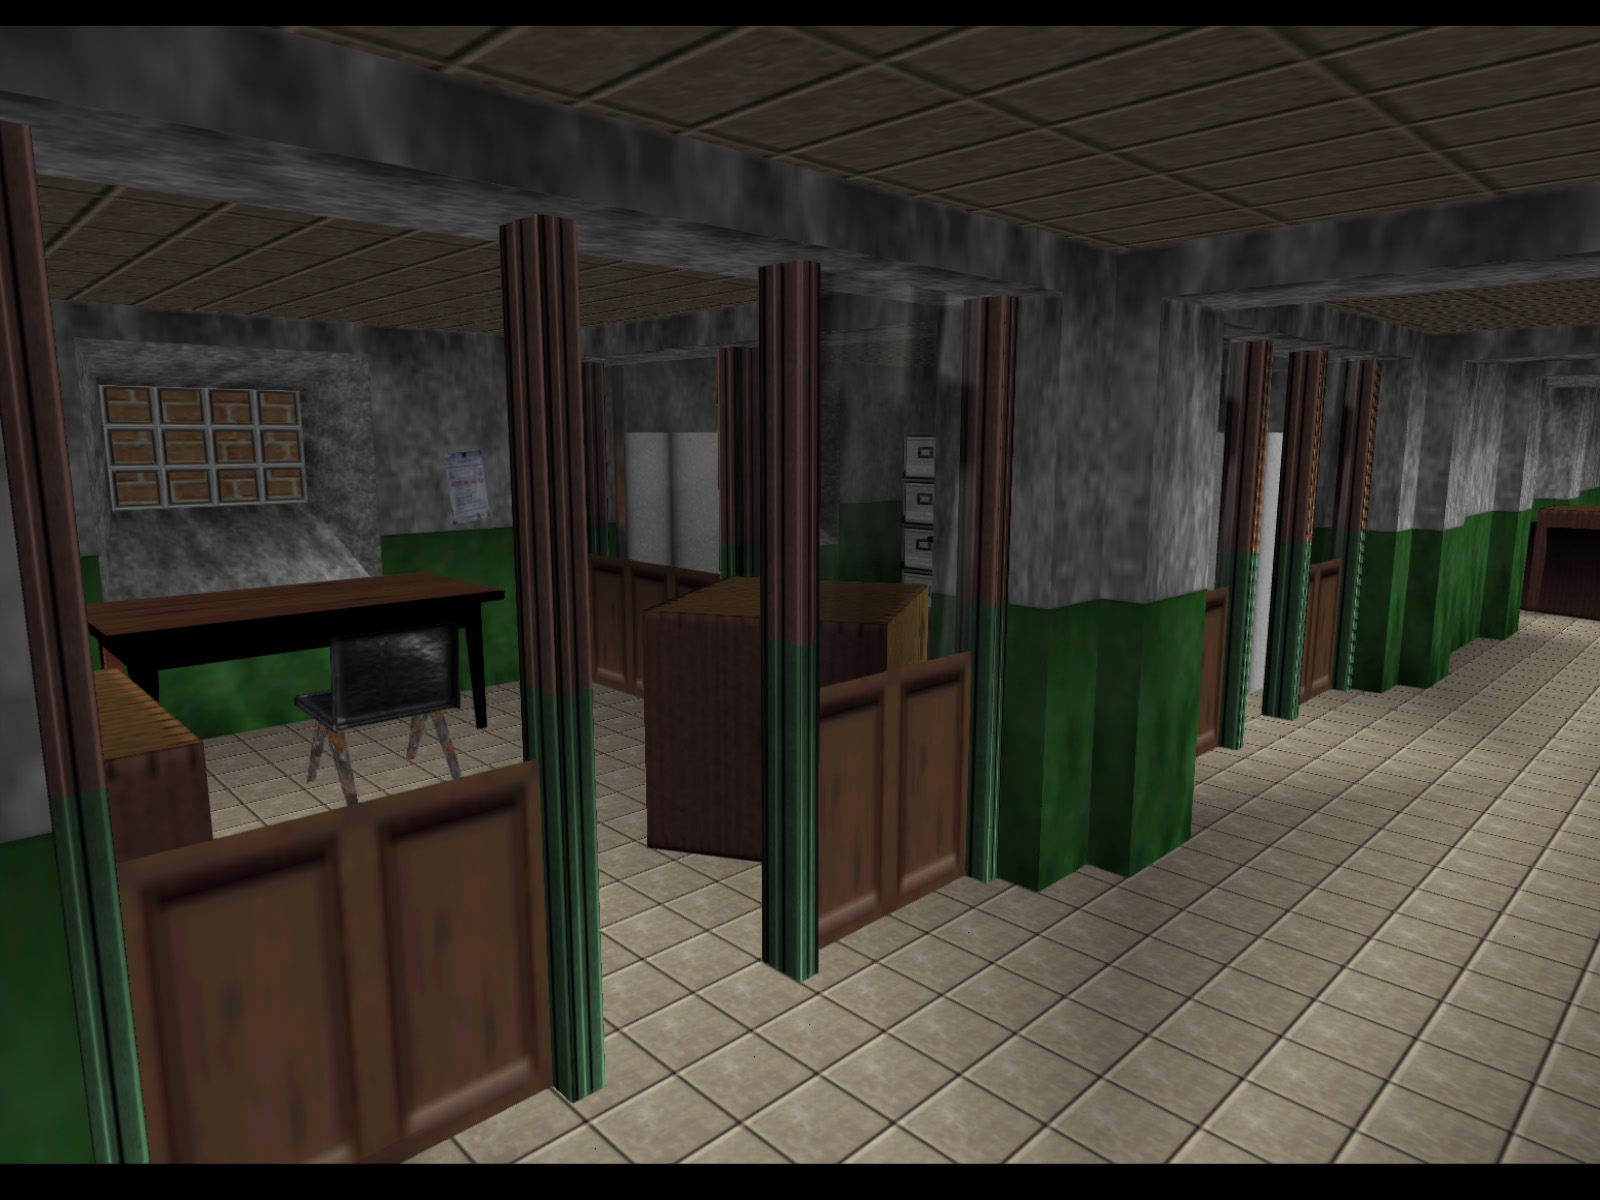
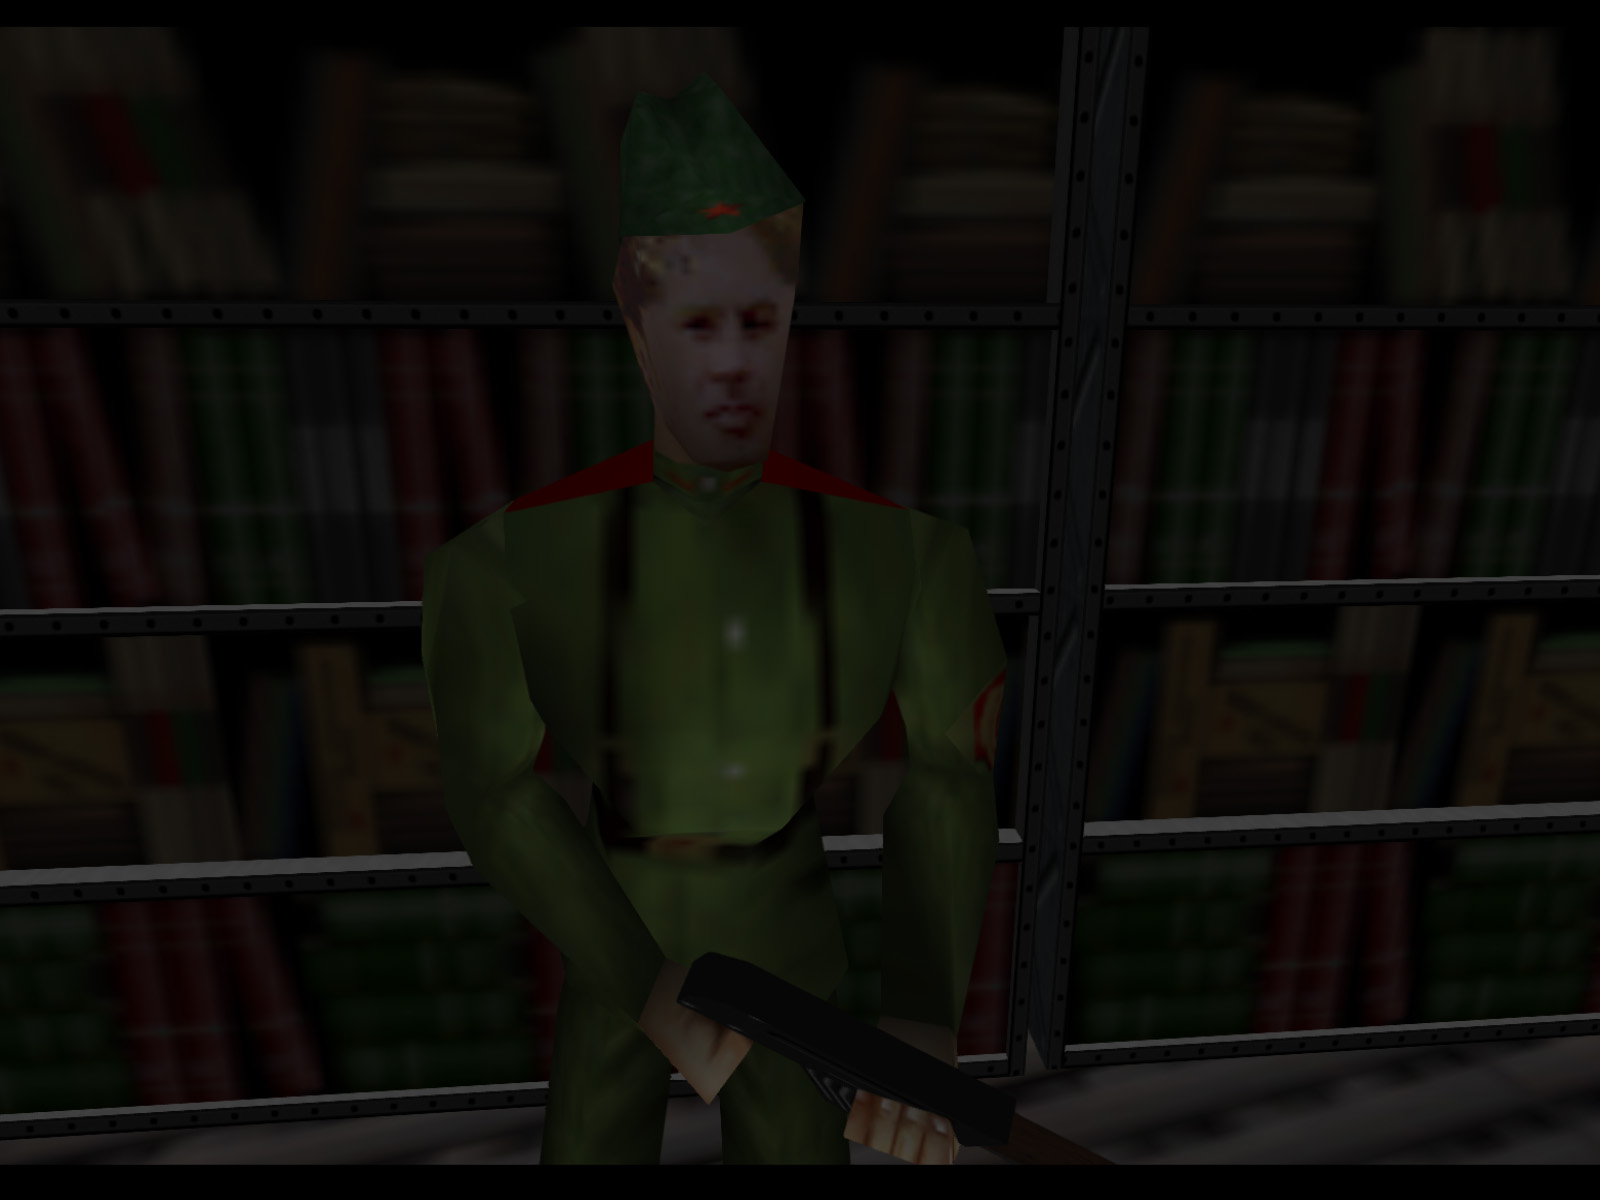
This cramped room full of columns and boxes is across from the interrogation room. Watch out for a standing guard behind the boxes on the right.
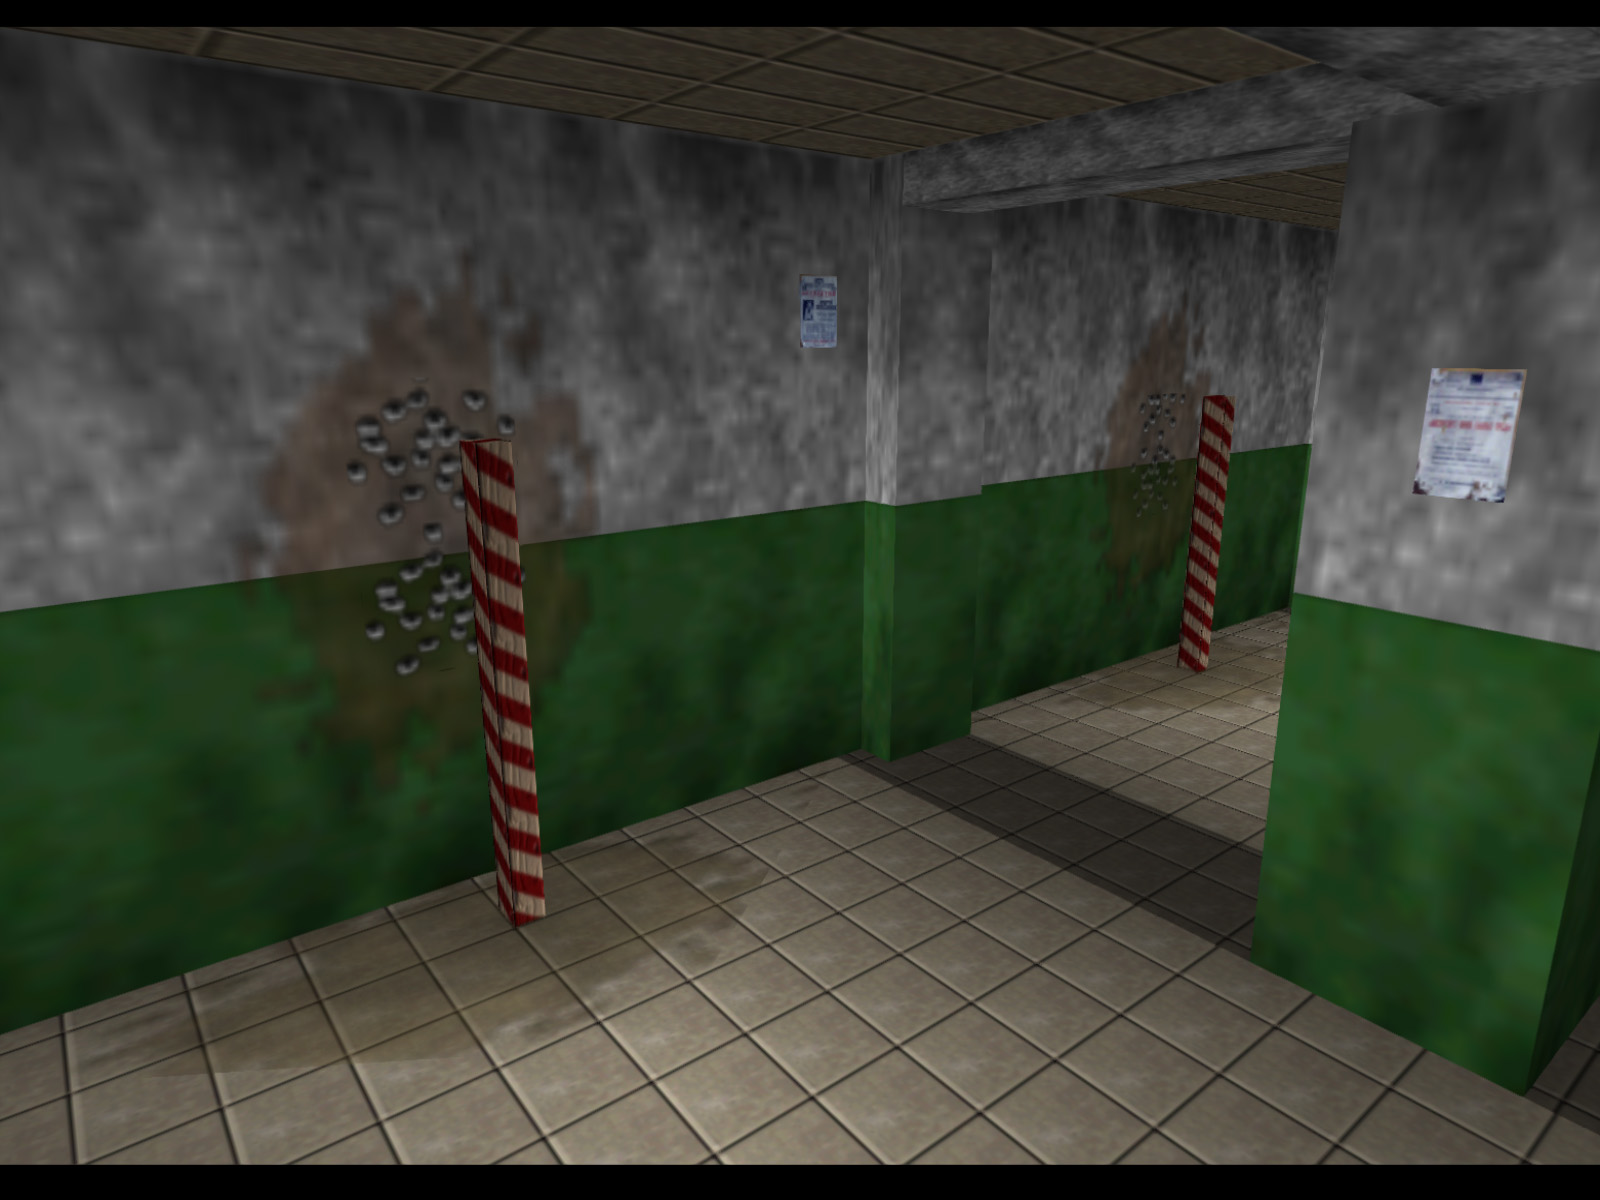
Grisly details: execution posts, bullet holes, and dried blood.
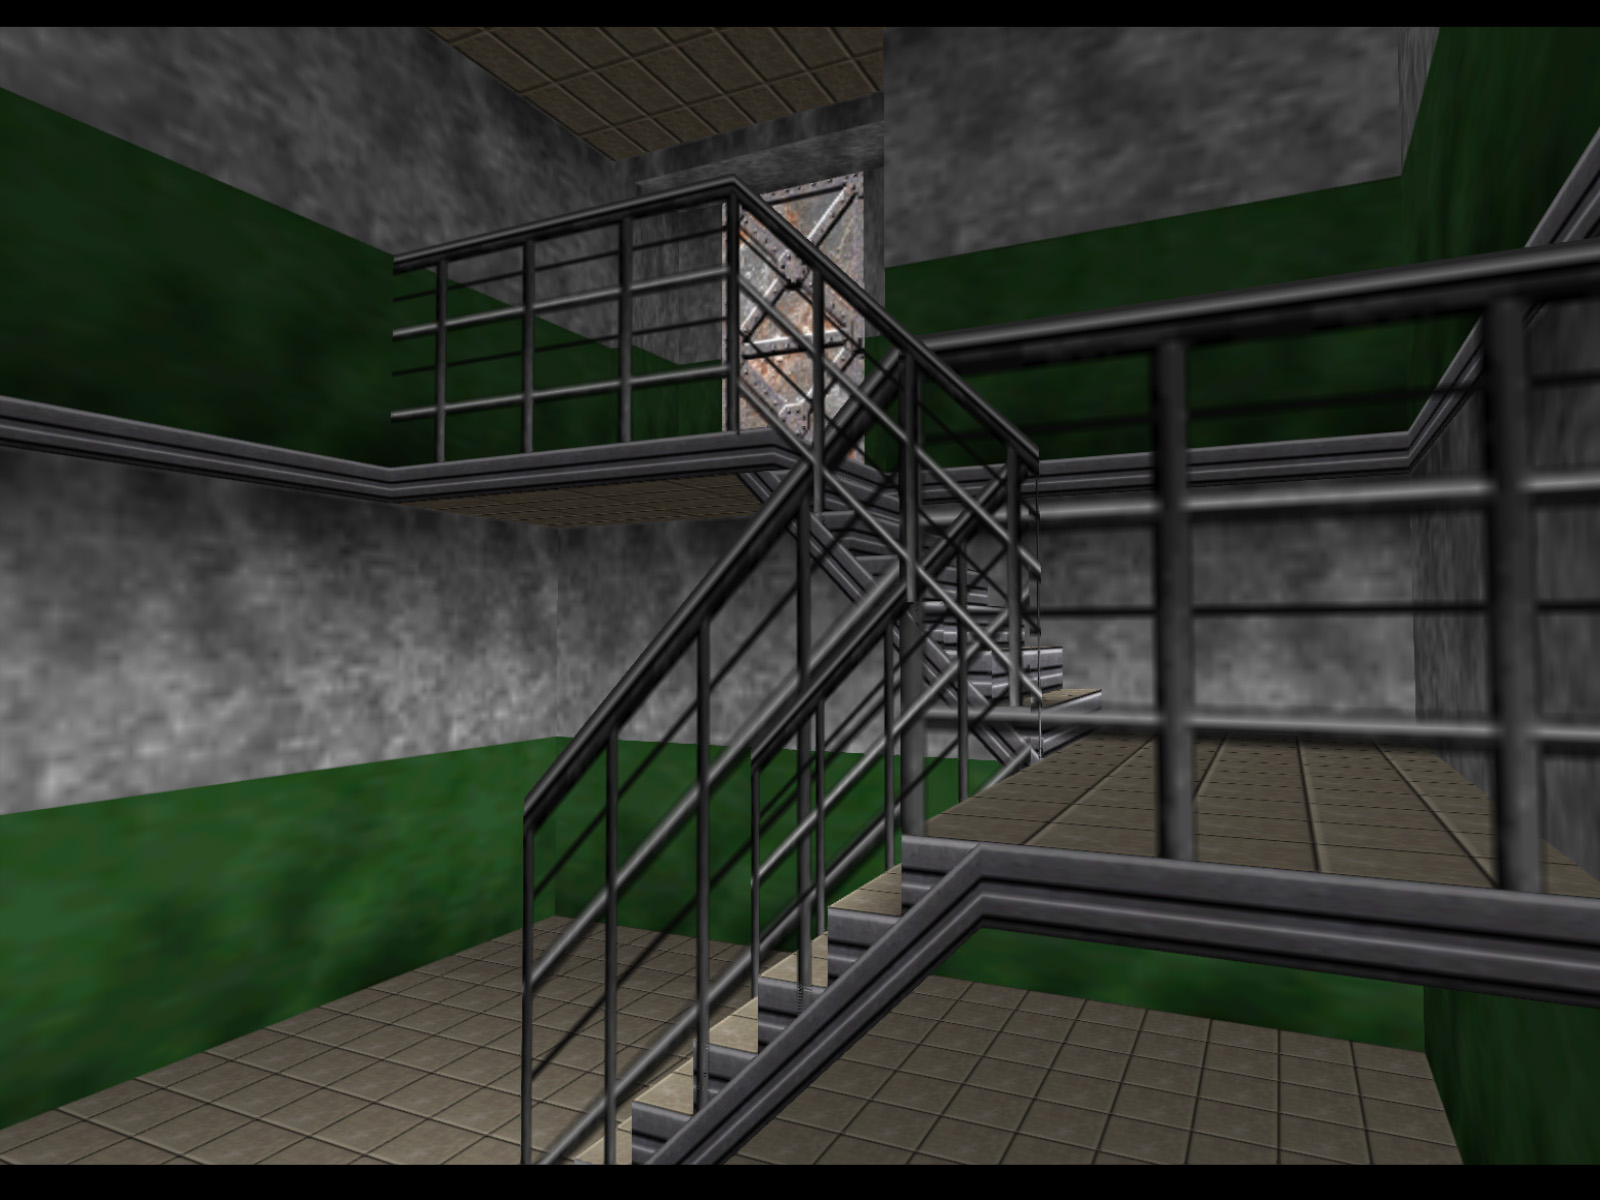
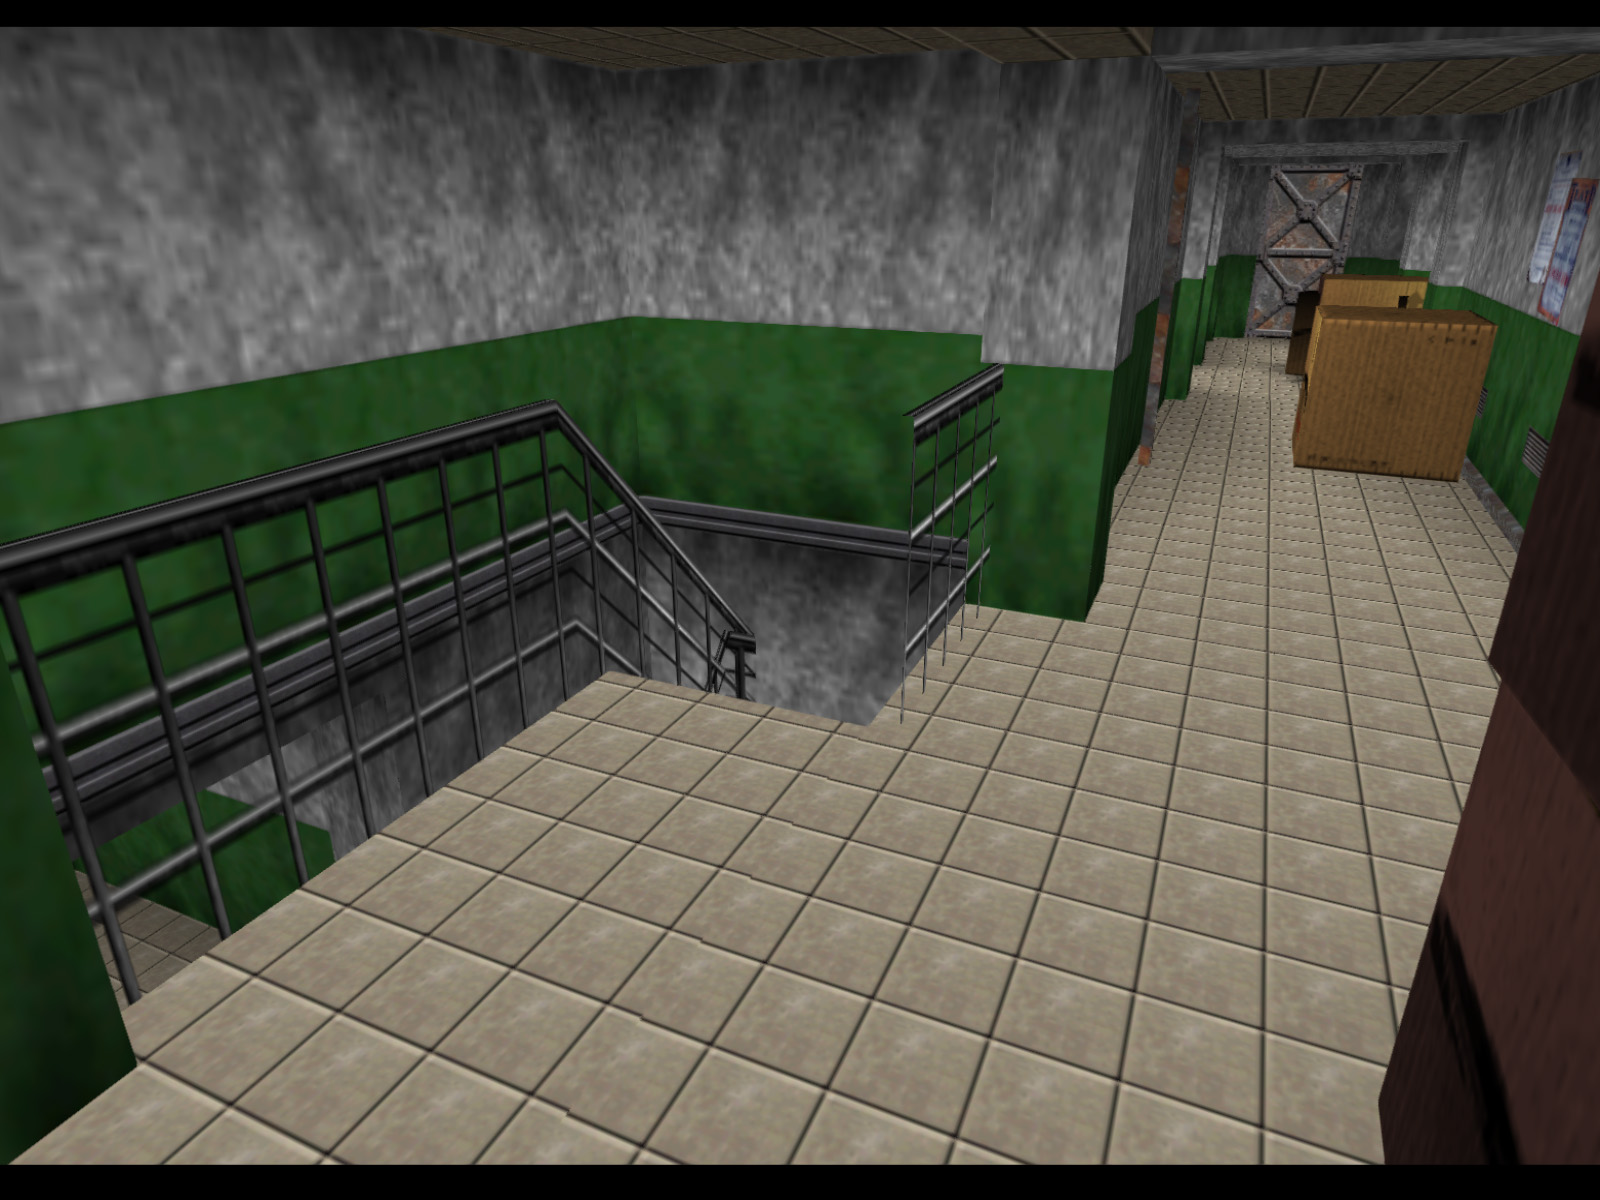
The hallway leading out of the room takes you to this stairwell leading up to the second floor.
Again, you're free to play this level however you wish, but I like to peek out, lure guards to me, then knock them out.
Two small offices flank this hall.
▶ TIP: There is a secret passage at the end of the hall. Just press B on the wall to make it rise up. You will need to destroy the boxes blocking it first. In this case a helpful guard did it for me.
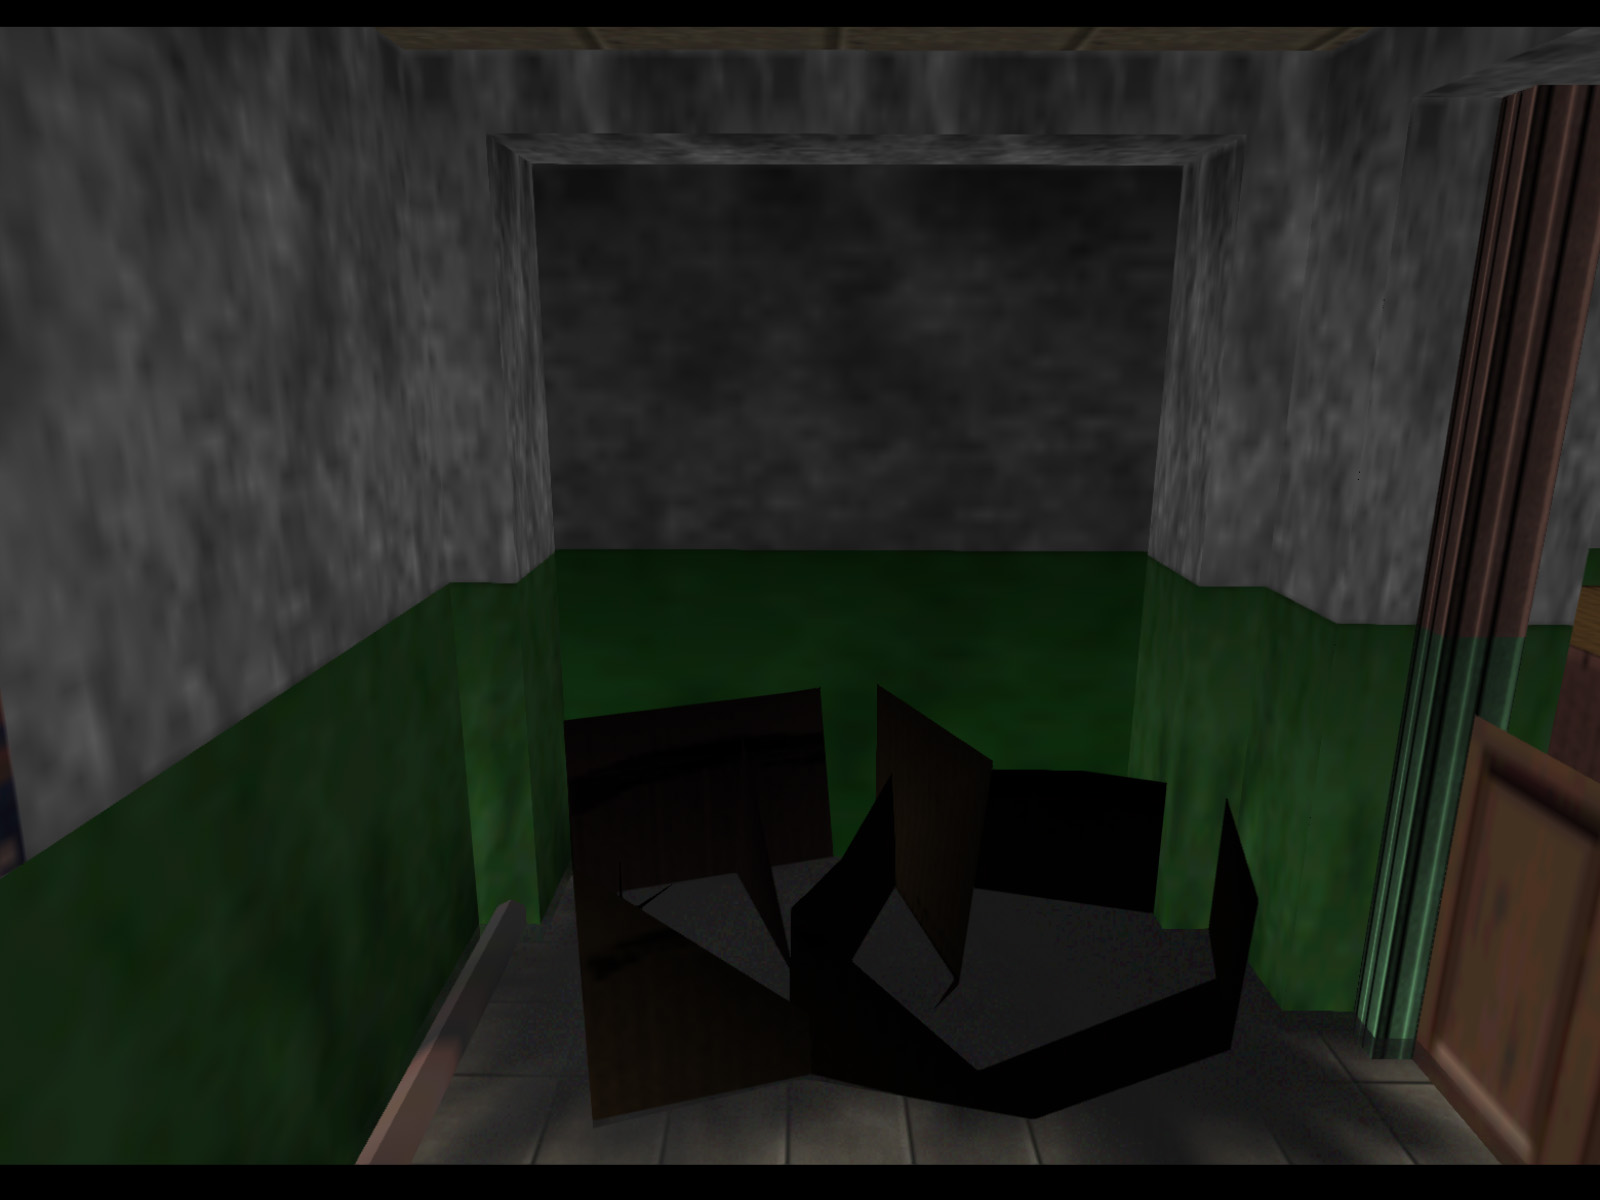
This is the secret passage.
There is another door disguised as a wall at the end of the passage. Raising it reveals this room with three Siberian Guards. The two you see here spawn clones when they hear noise so taking them out is pretty helpful.
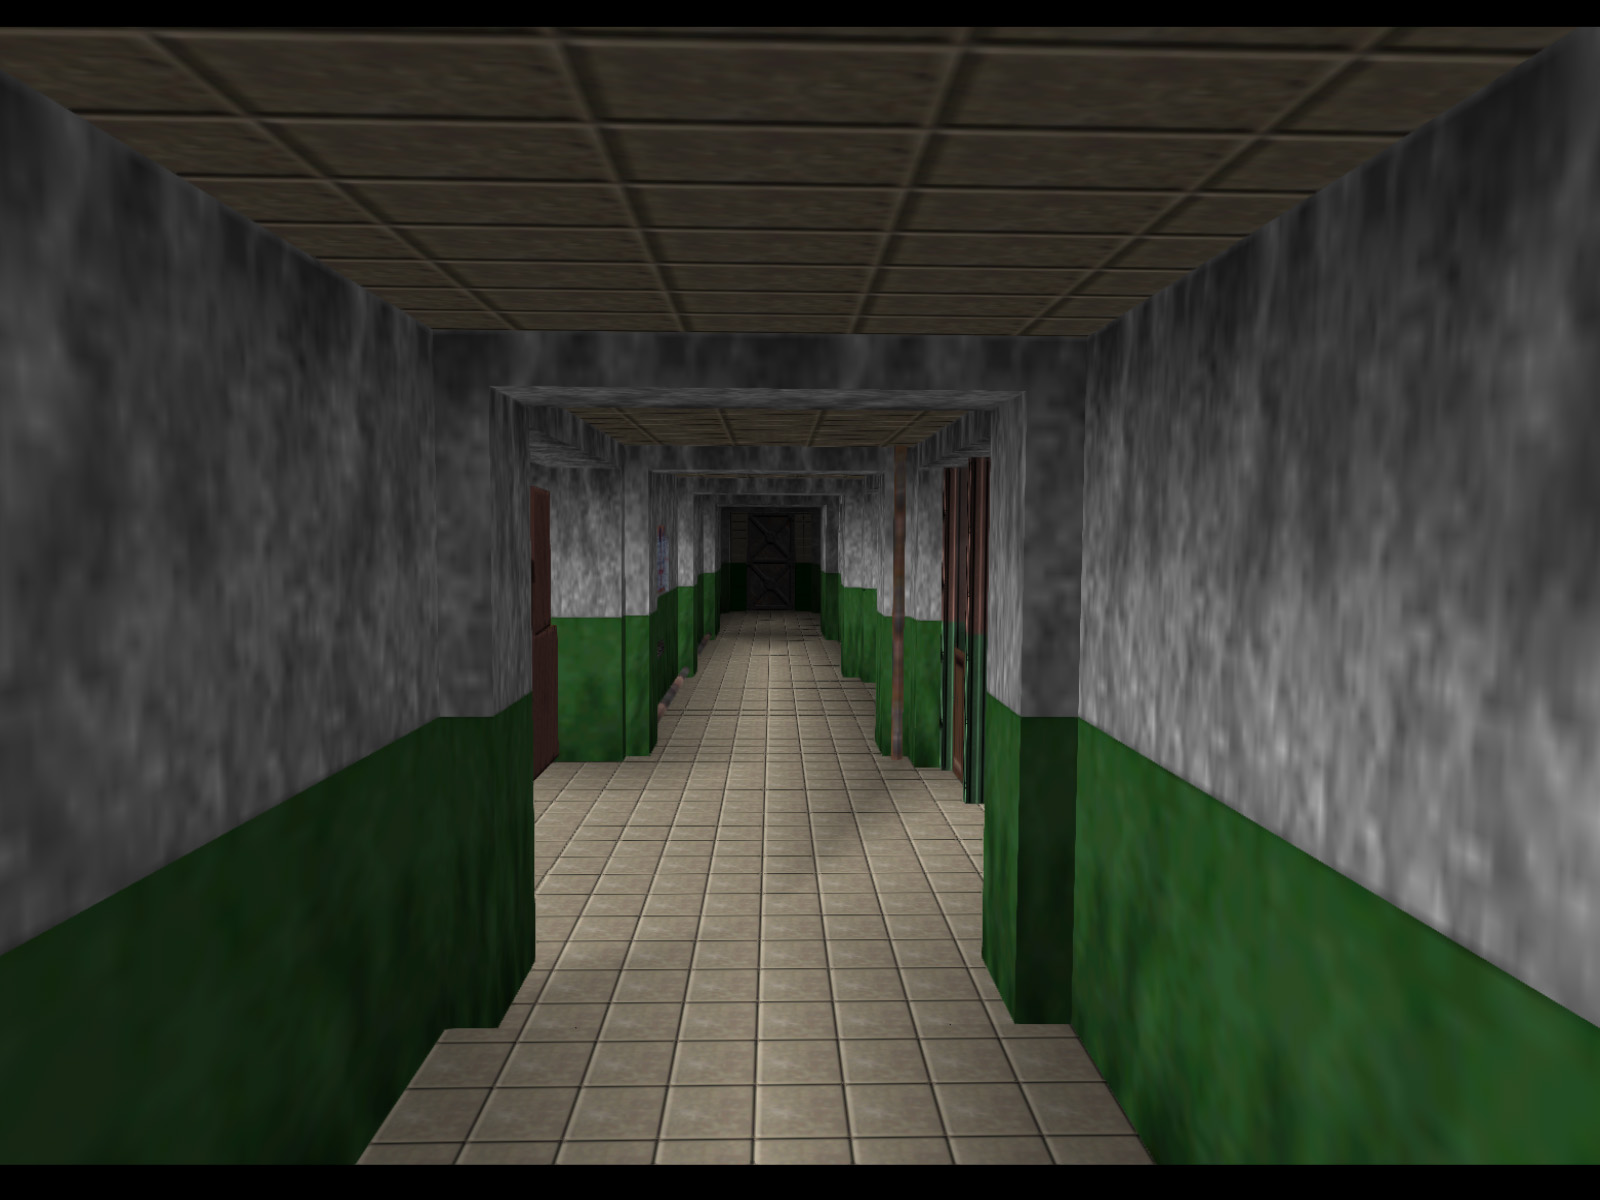
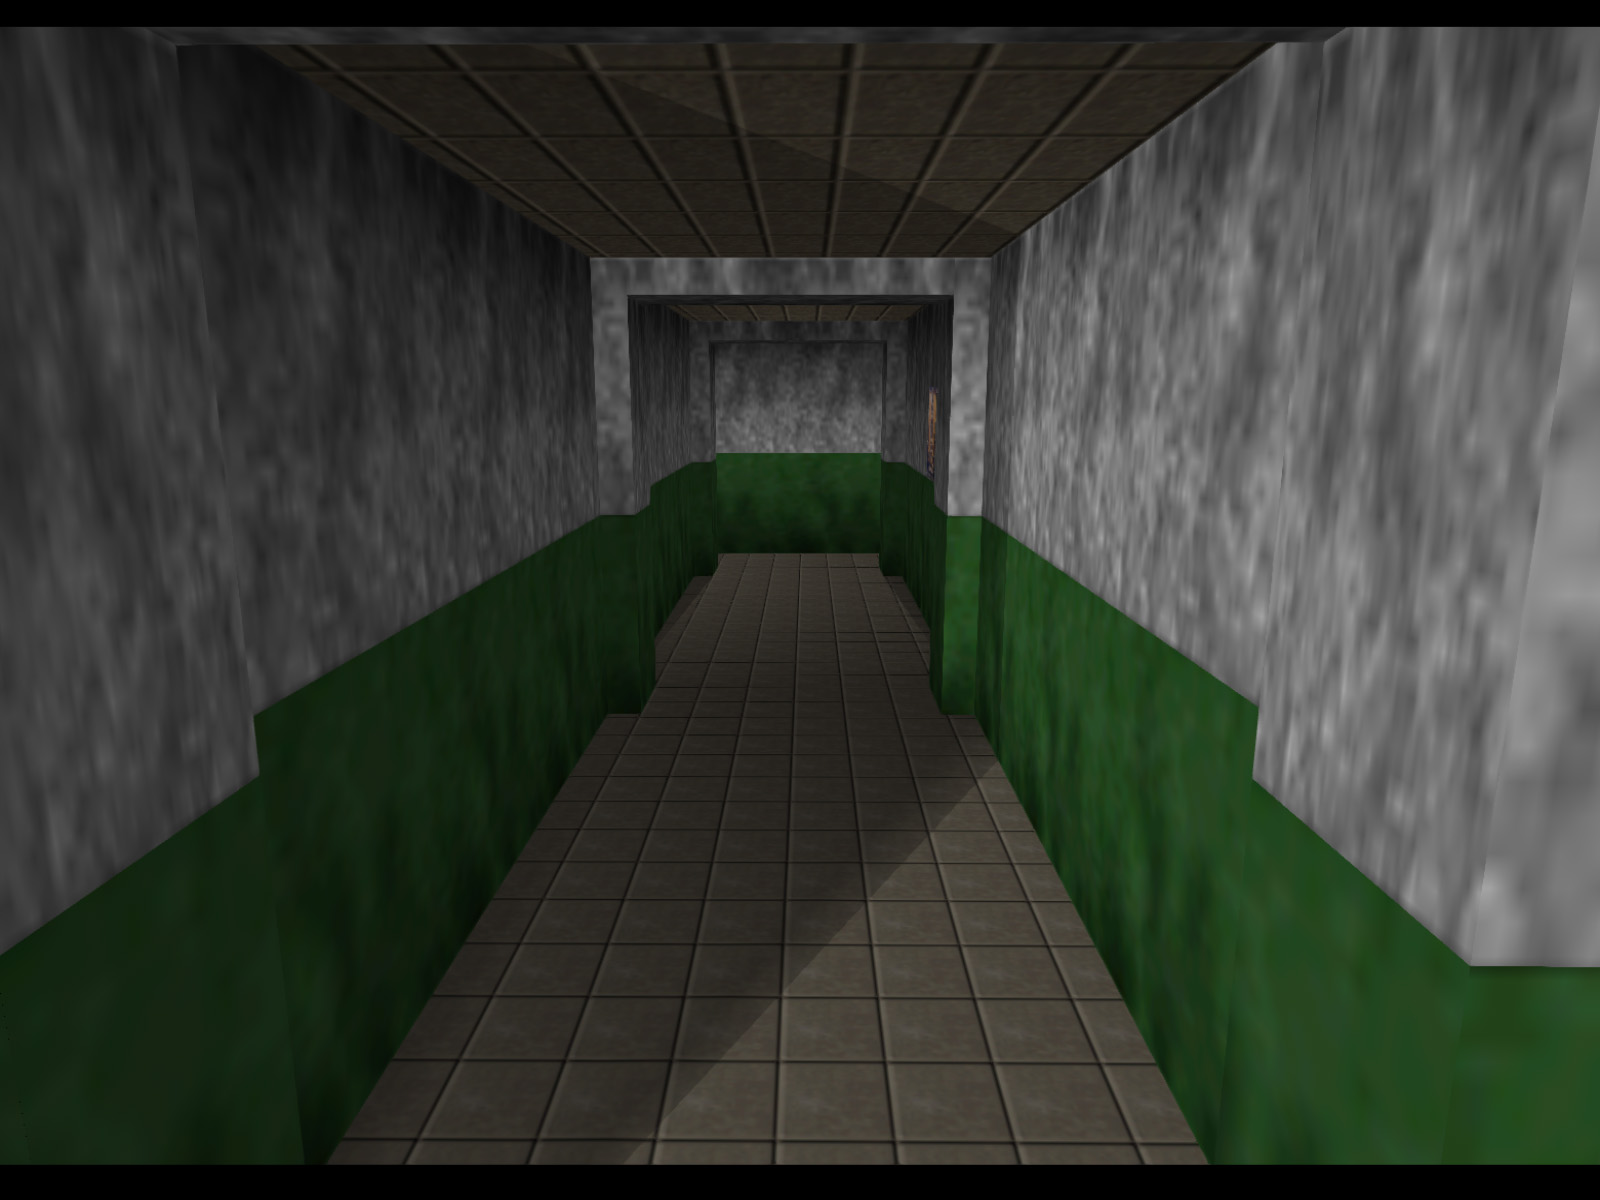
This is the hall leading out of the Siberian Guard room.
Left from the previous screenshot, these stairs go back towards the interrogation room.
To the right are three more small offices.
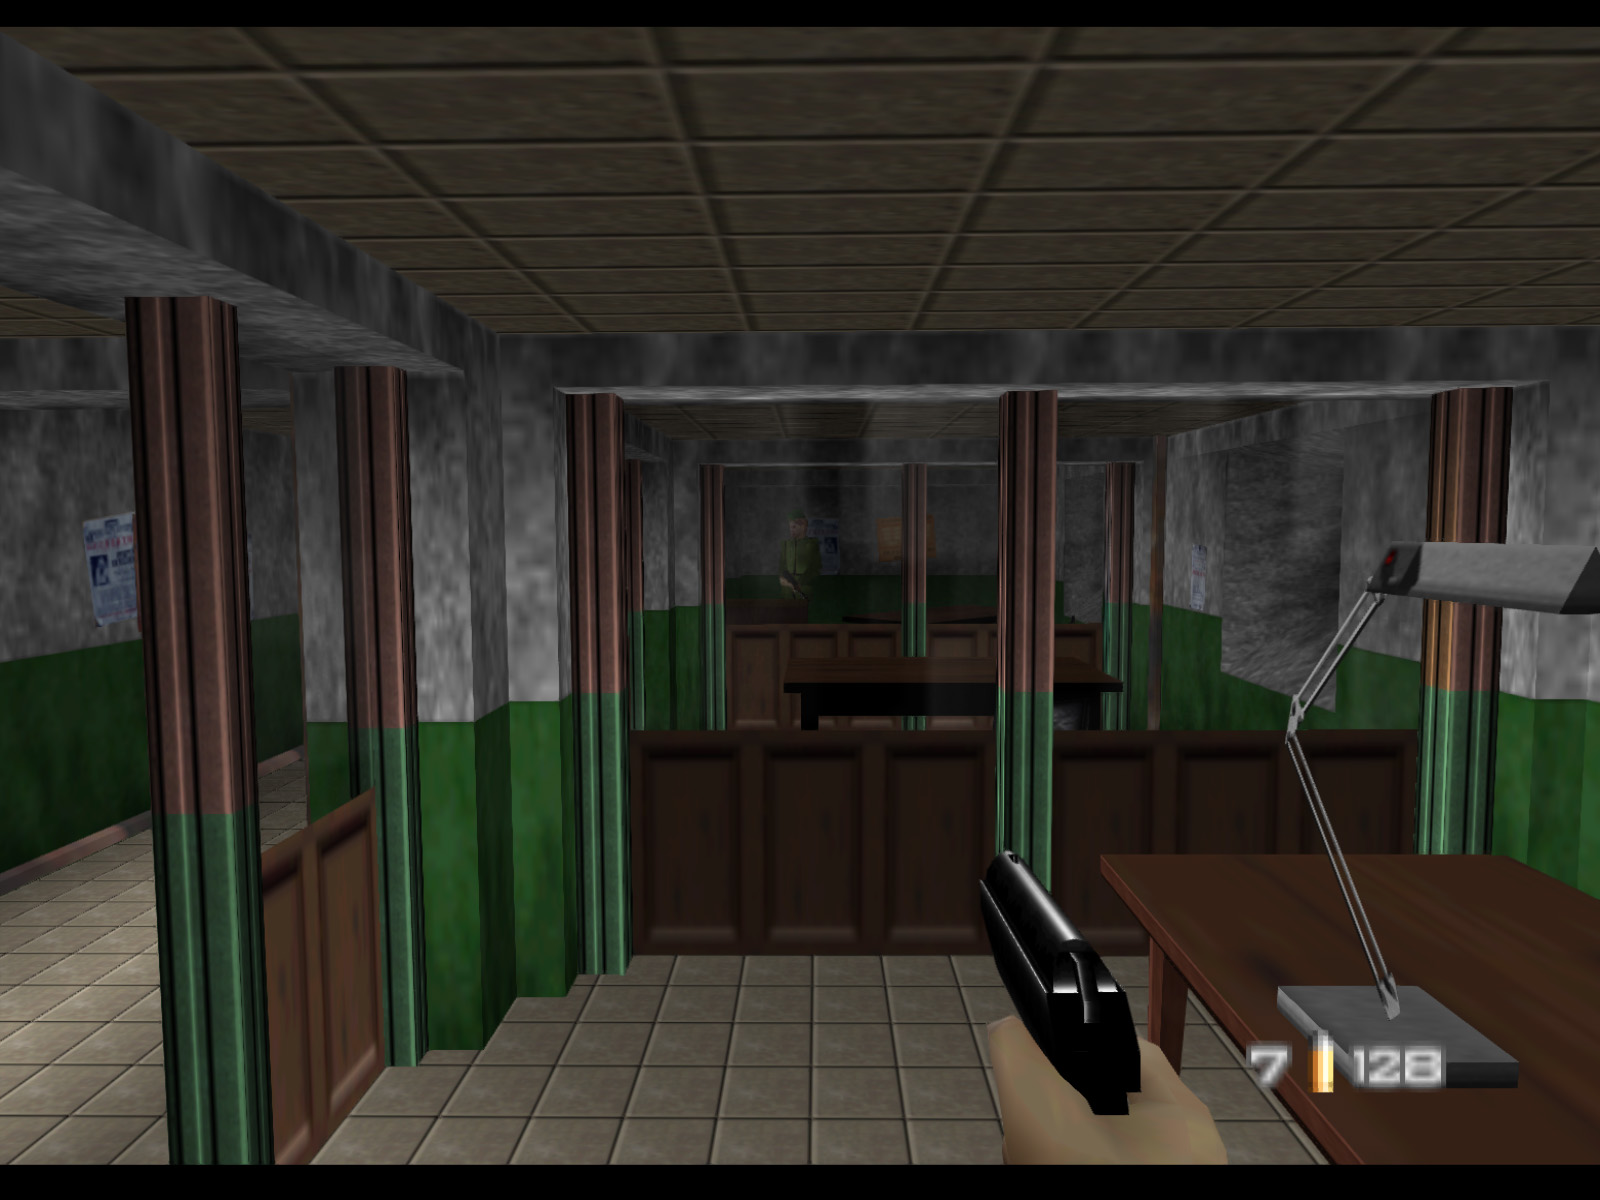
▶ TIP: The guard cannot see you through the windows. You can run up and slap him, or take as much time as you want to land a single headshot with your PP7 or KF7.
There is another secret passage at the end of the hall. This one is not very useful in single player and I suspect it was added mostly for multiplayer.
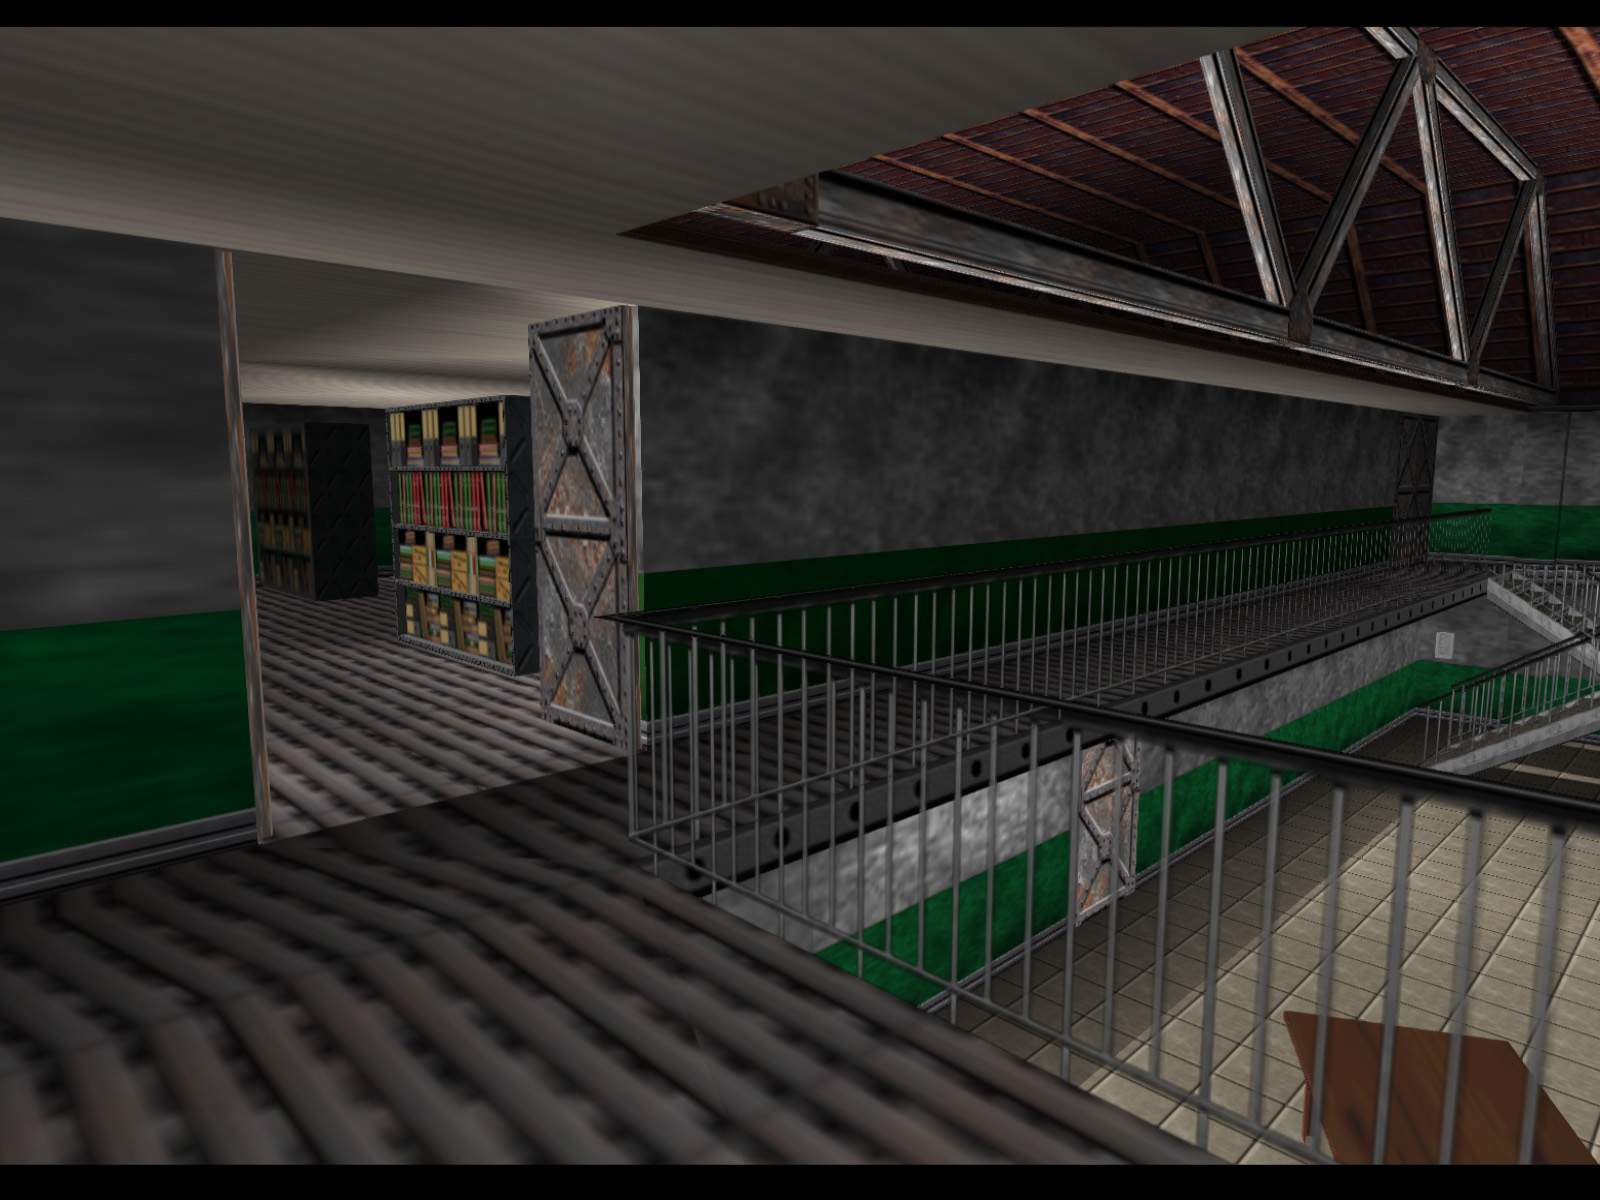
When you enter the main stacks there will be a guard to your left.
There is also a guard with a burgundy beret who patrols this area.
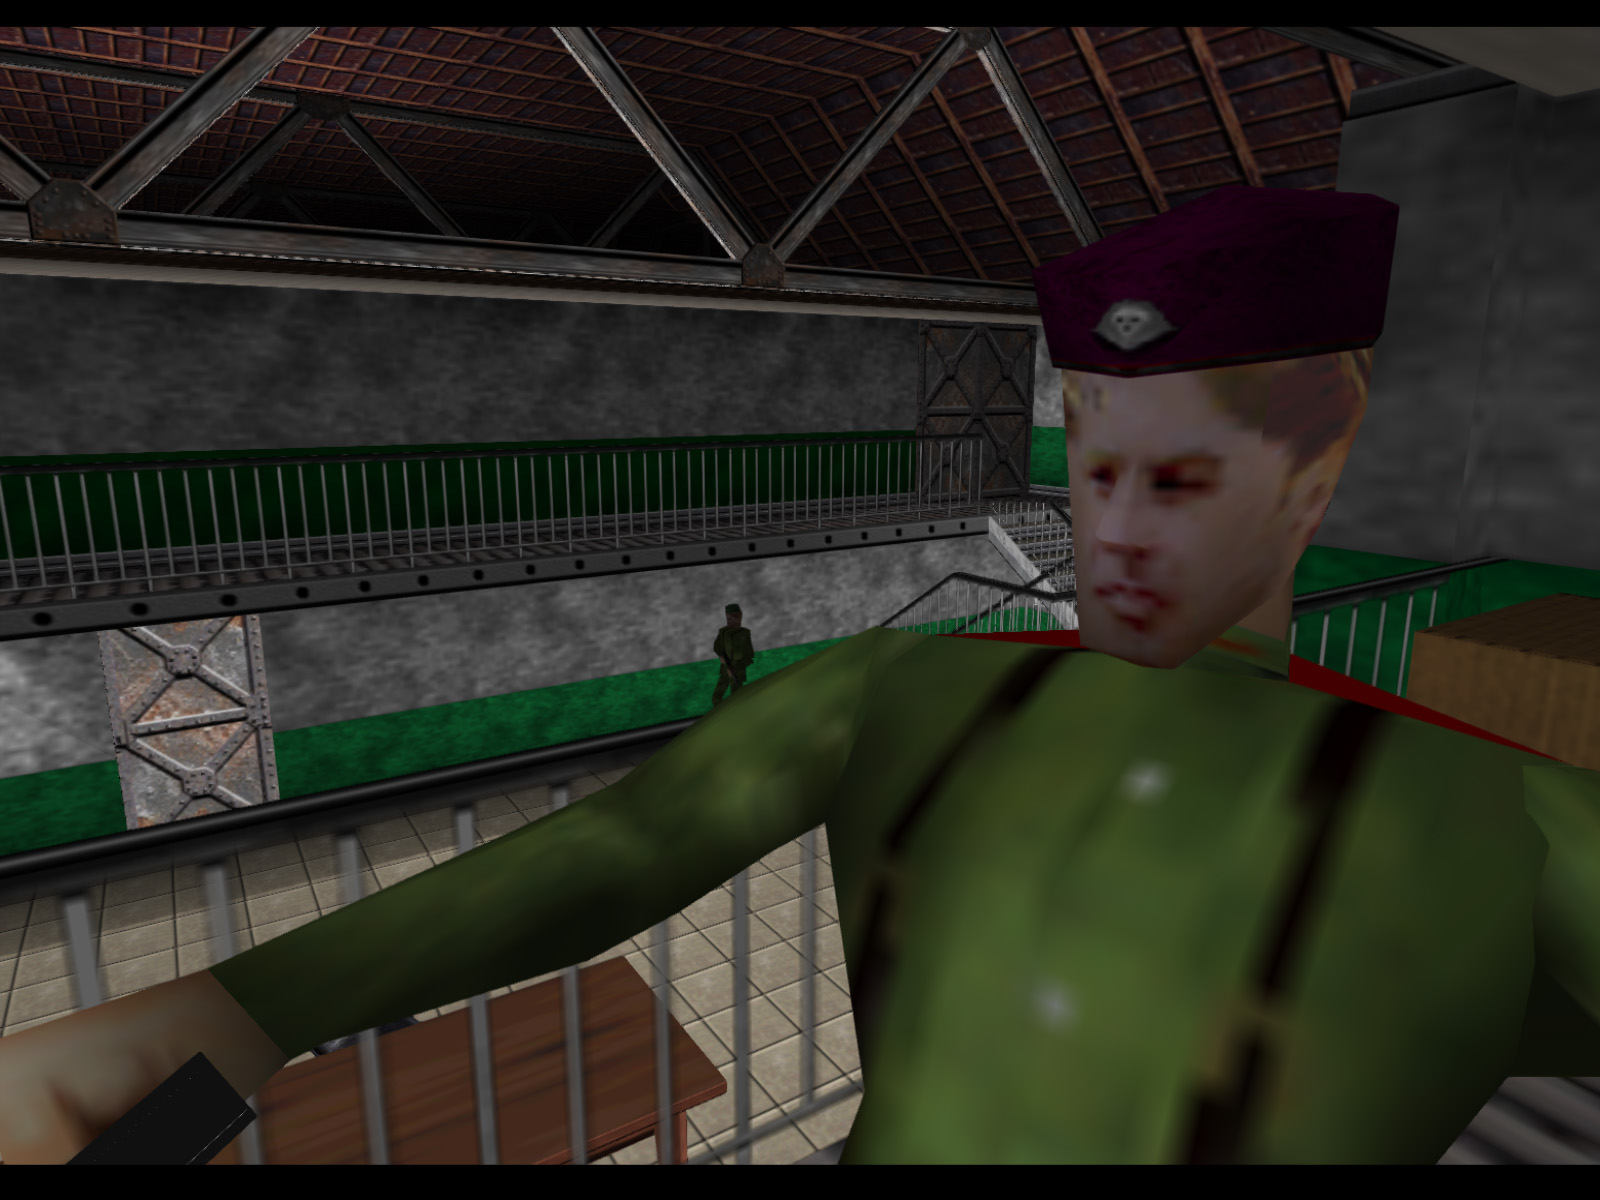
Now that the three guards in this area are dealt with, we can look at the windows providing one of the escape routes from this map. It's not time to go through them yet.
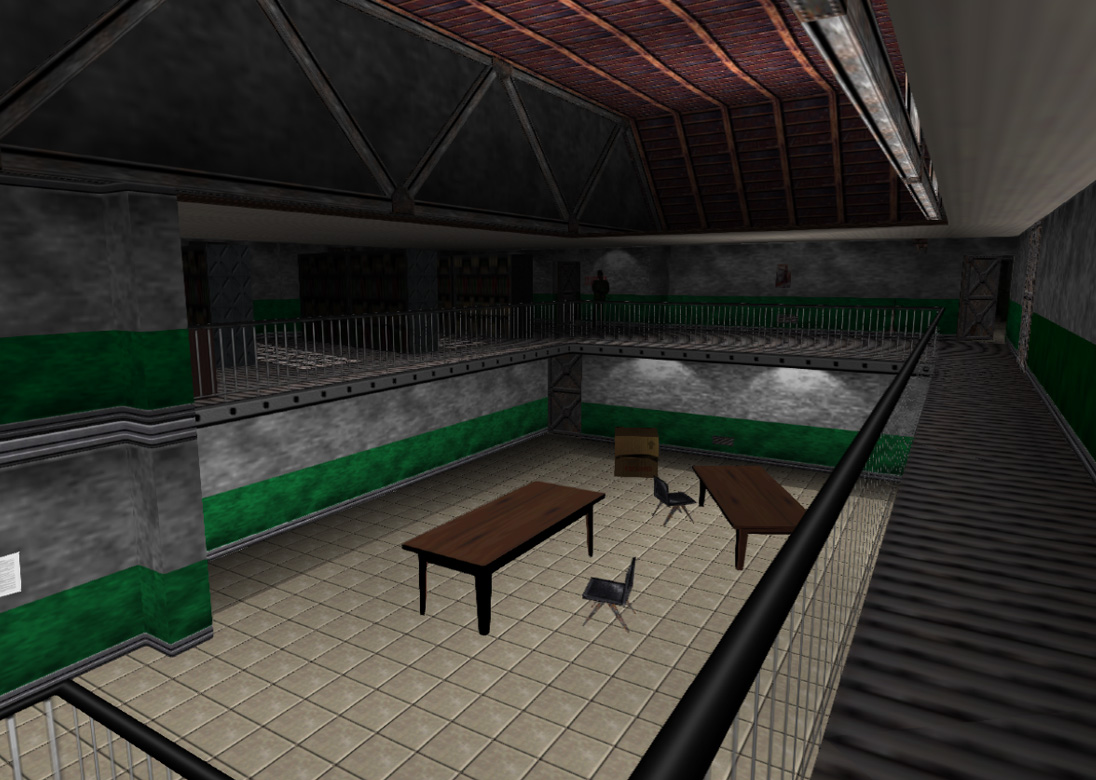
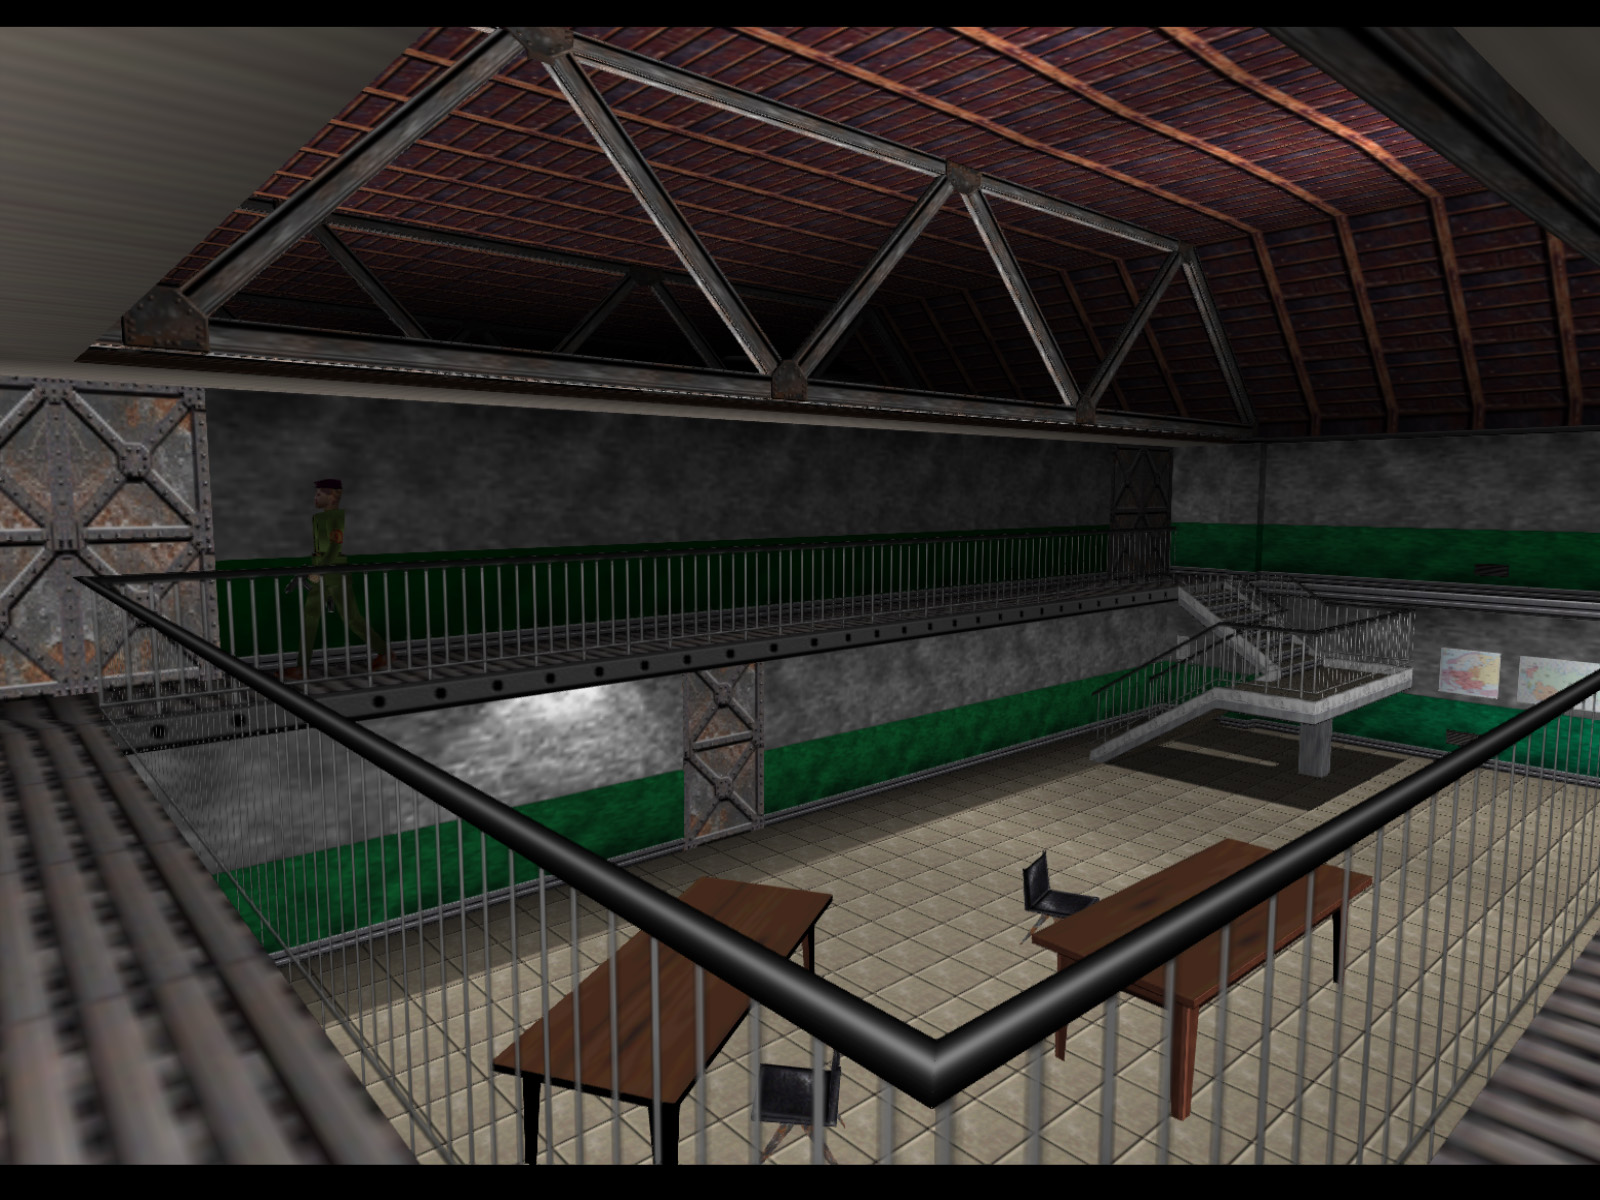
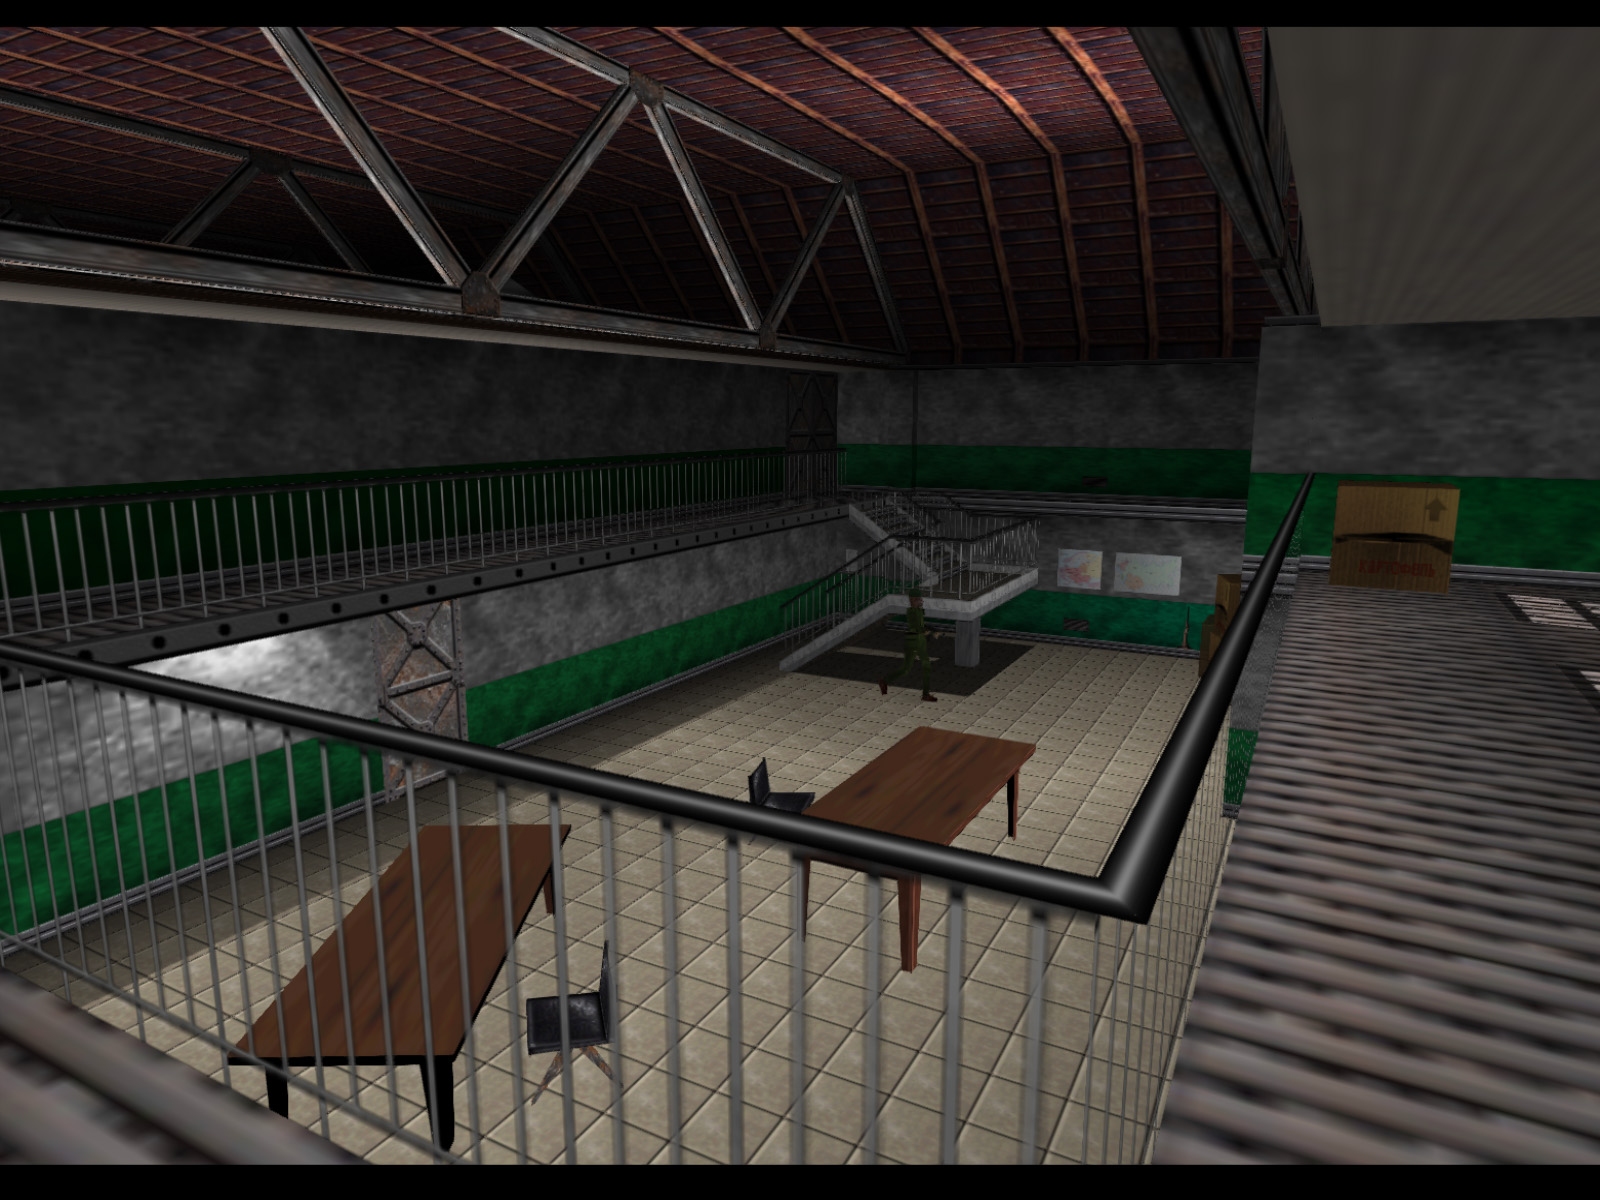
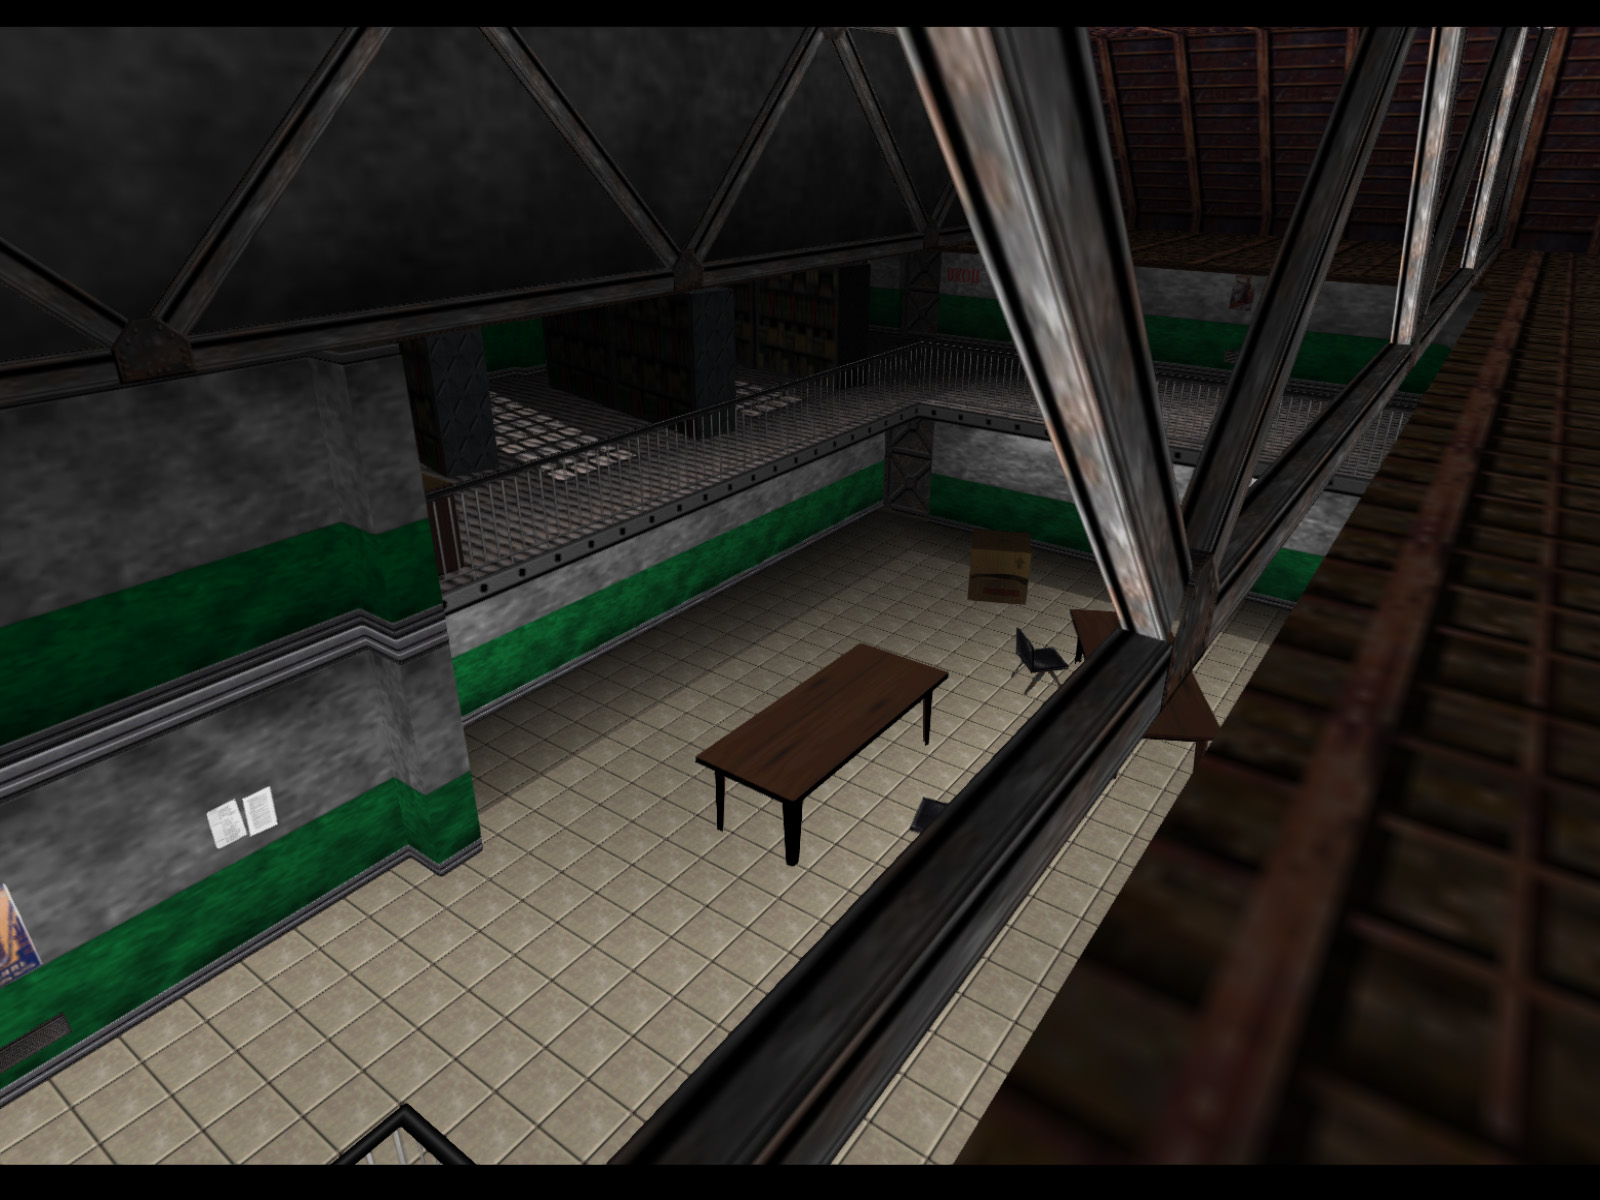
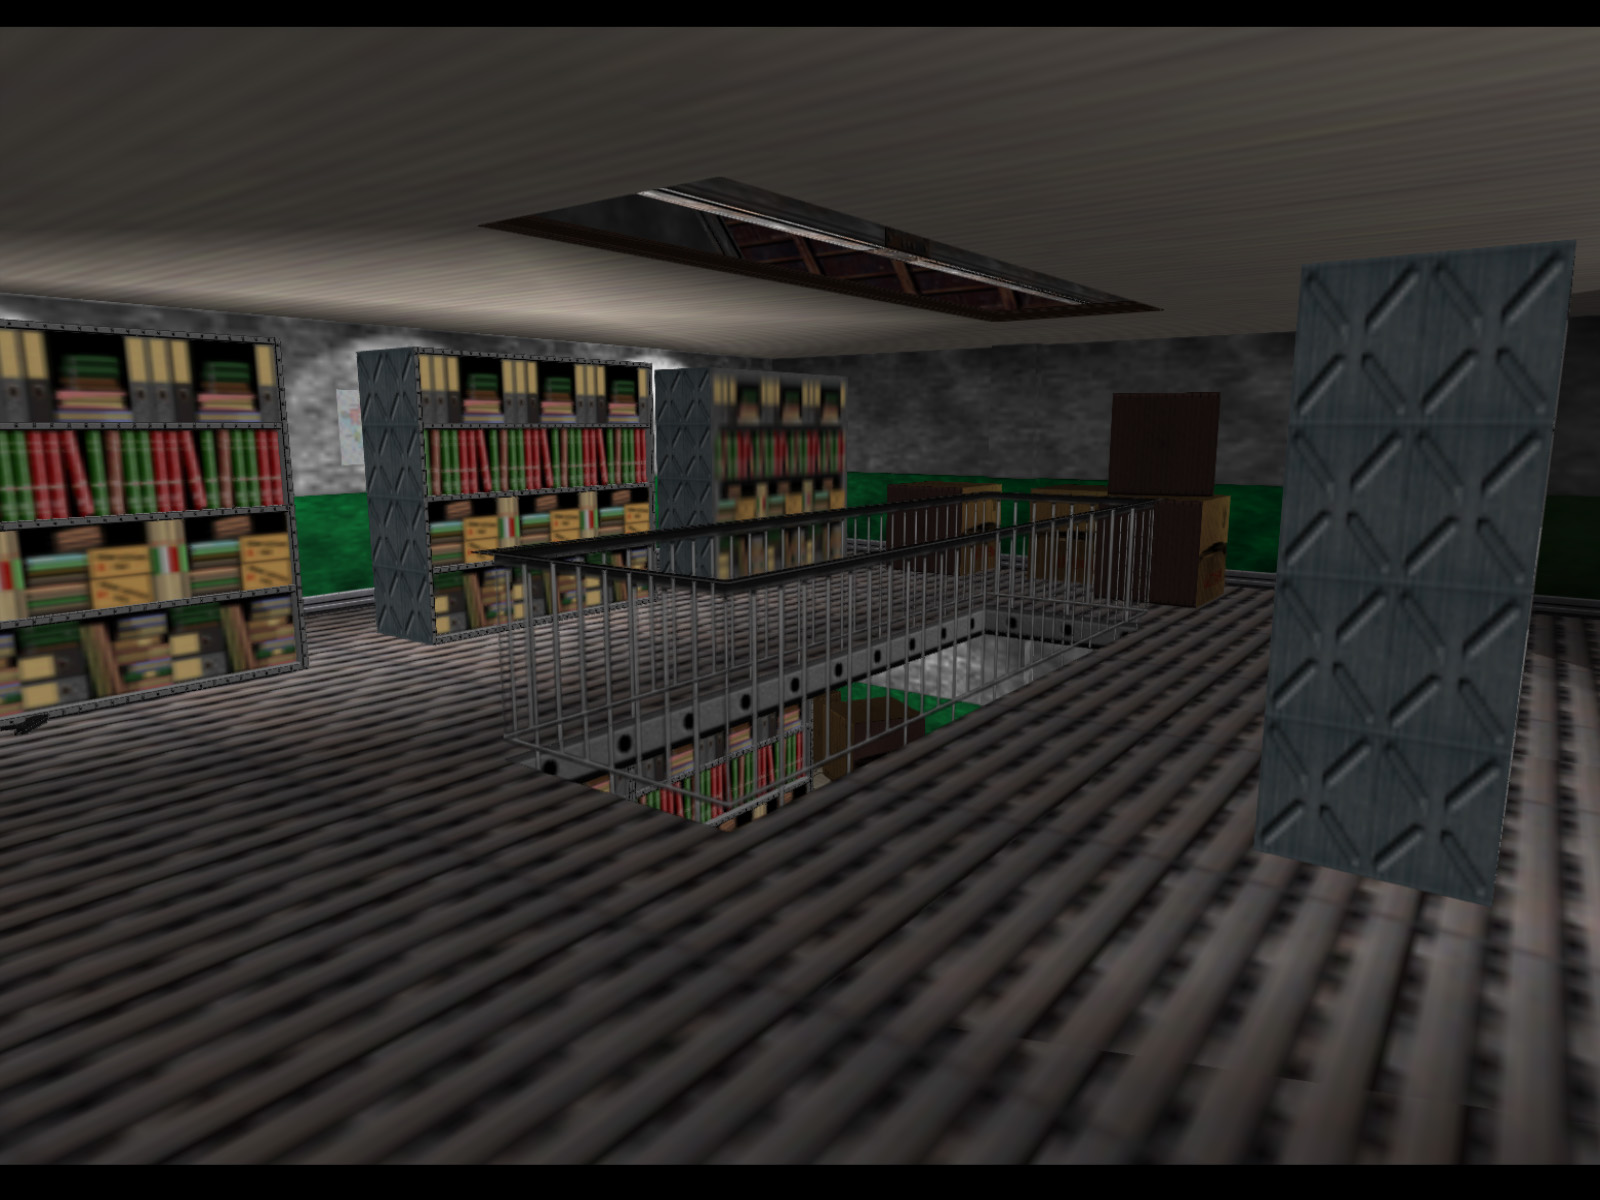
A look at what I call the main room. Any guards below cannot see you through the railing.
The next part is the trickiest in my opinion. The stacks beyond these doors are crammed with guards. I try to lure them out one at a time, but the patrolling guards can easily complicate things.
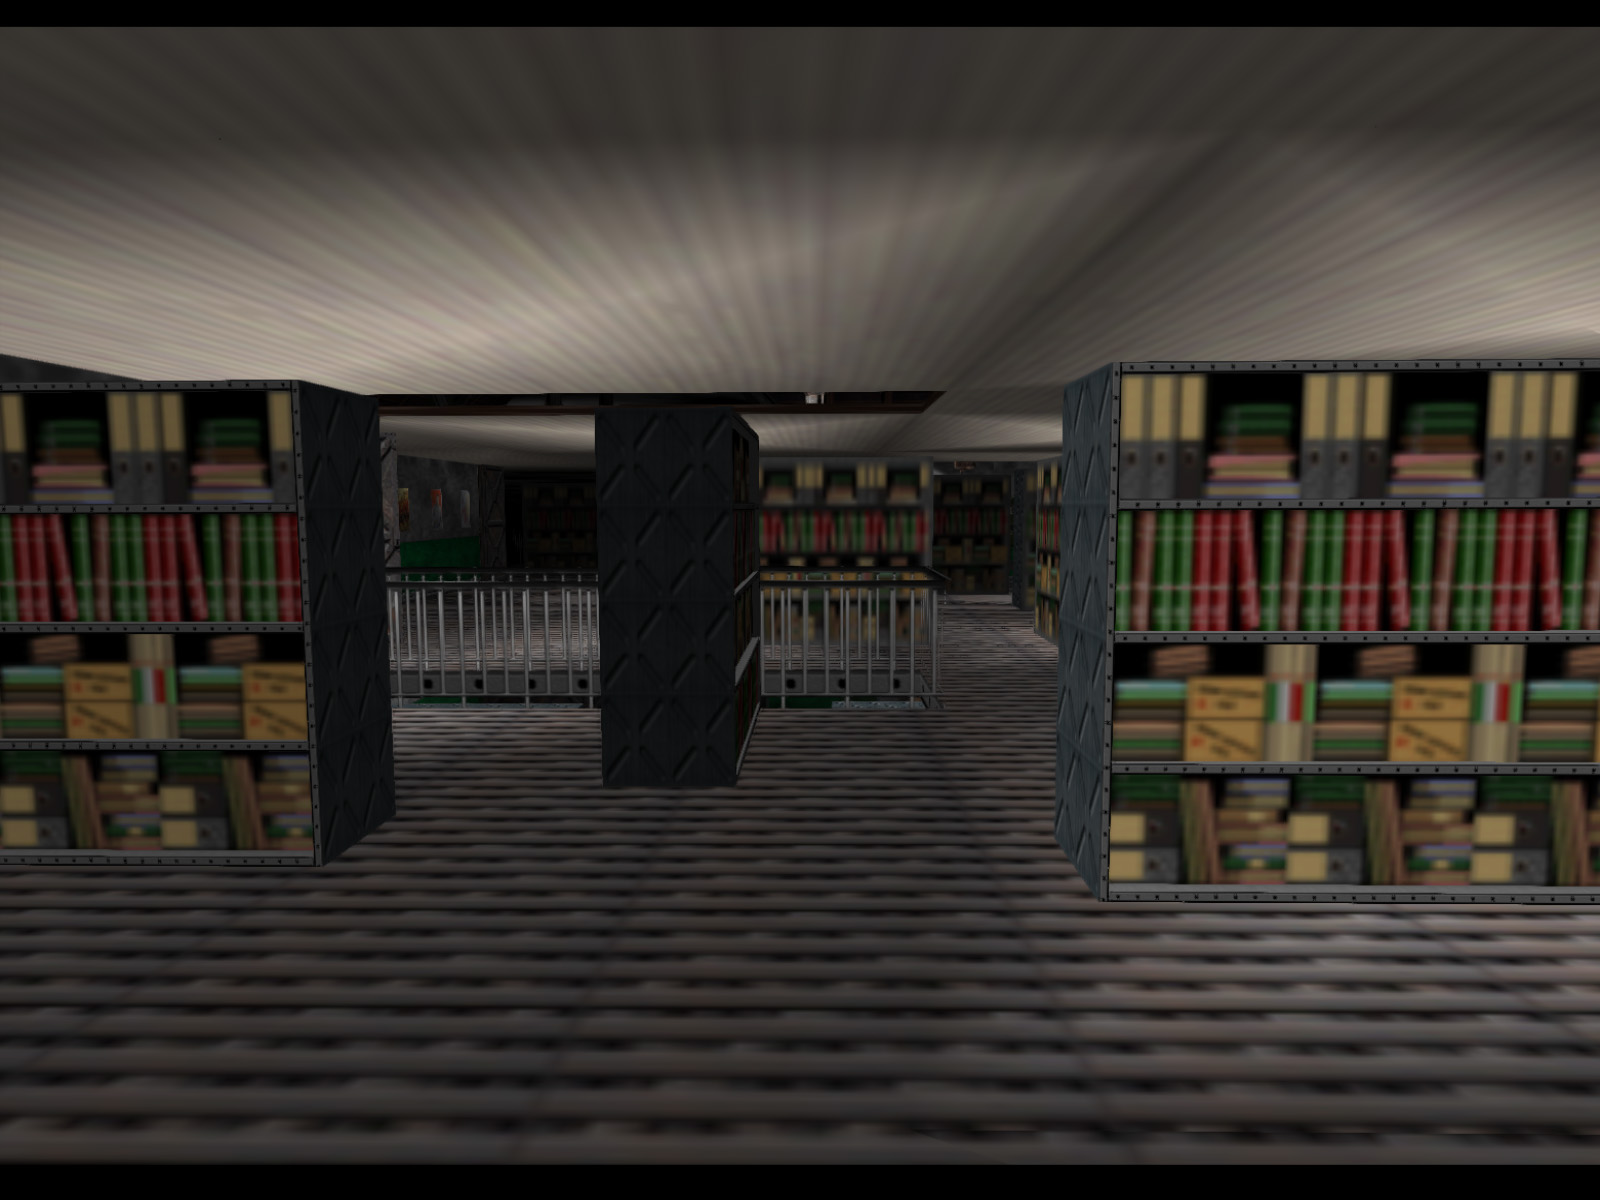
Inside the stacks.
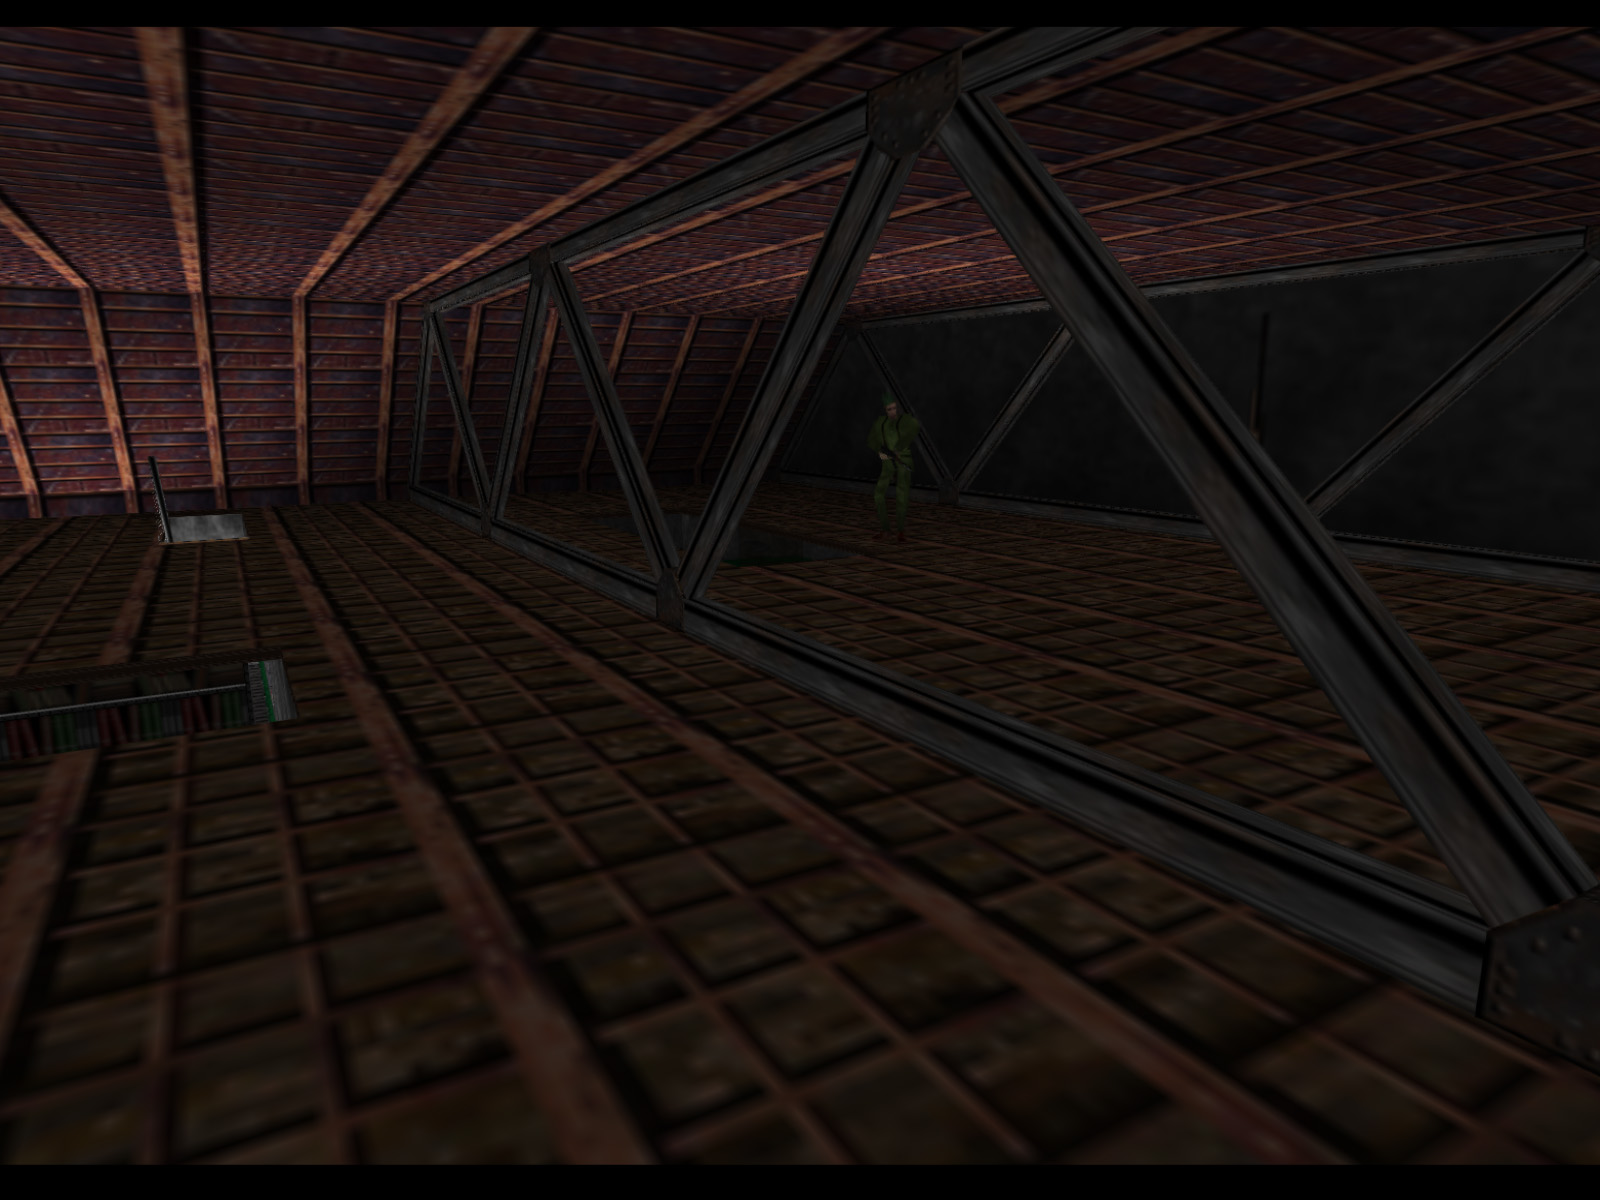
To the left of the previous screenshot there's a stairway going up to the attic. There's not a whole lot to the attic itself, but there is a patrolling guard up here I like to knock out.
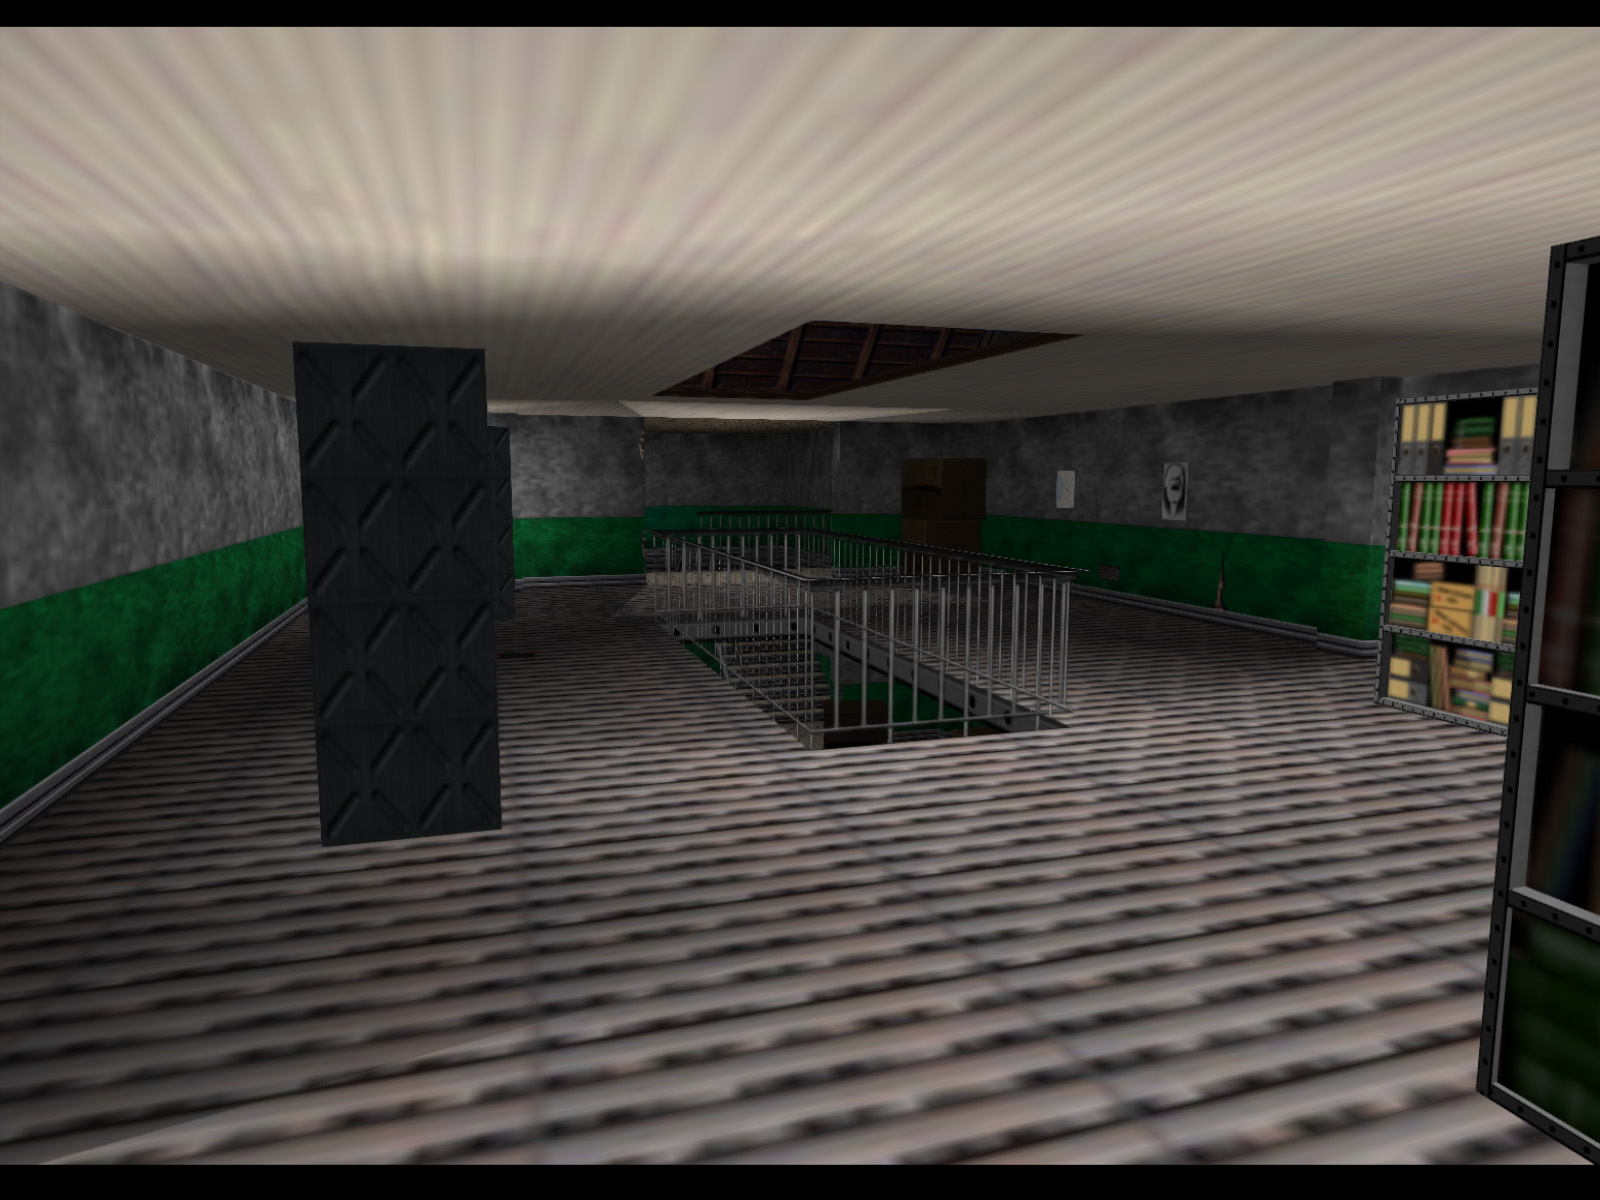
View of the main room from the attic.
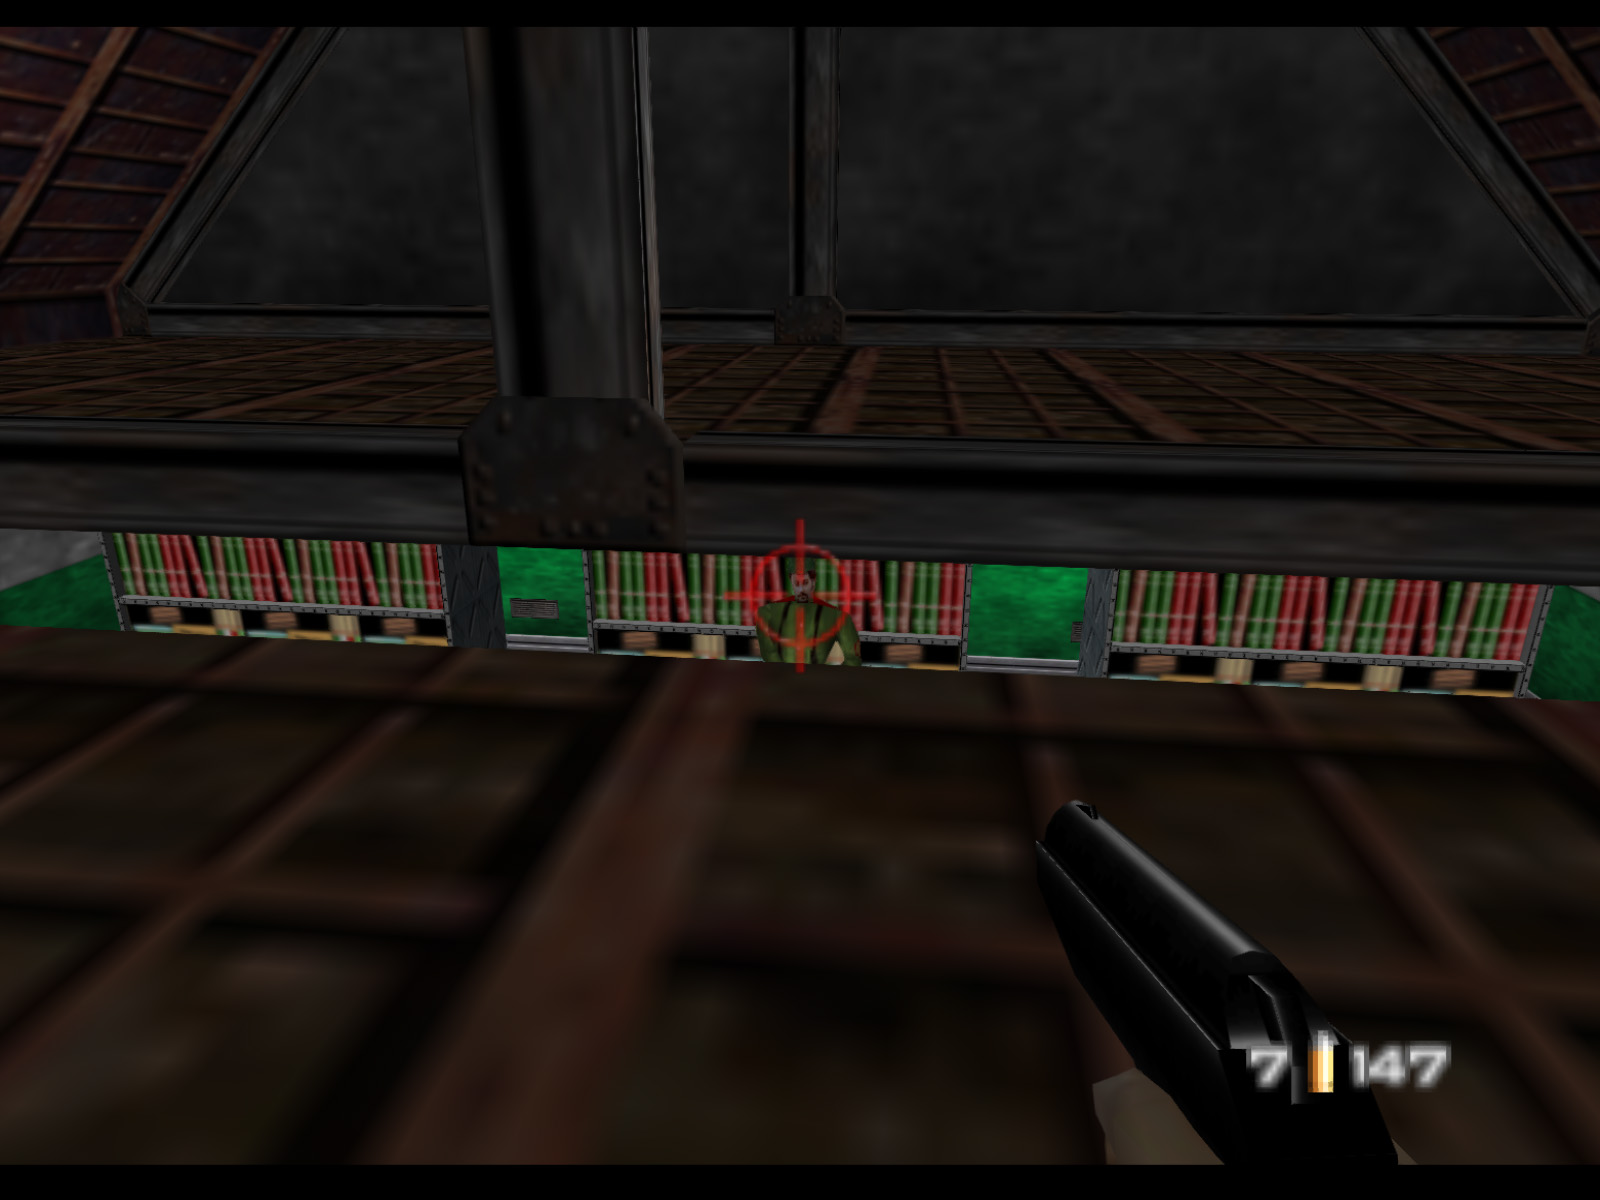
The attic is useful for getting the drop on guards since they cannot see you from where they stand. Just make sure to take the shot when they're out of sight of the patrolling guards. In this playthrough I took out two standing guards and two patrolling guards from the attic.
Go back down to the second floor and find this single door. Natalya is behind it along with two Siberian Guards.
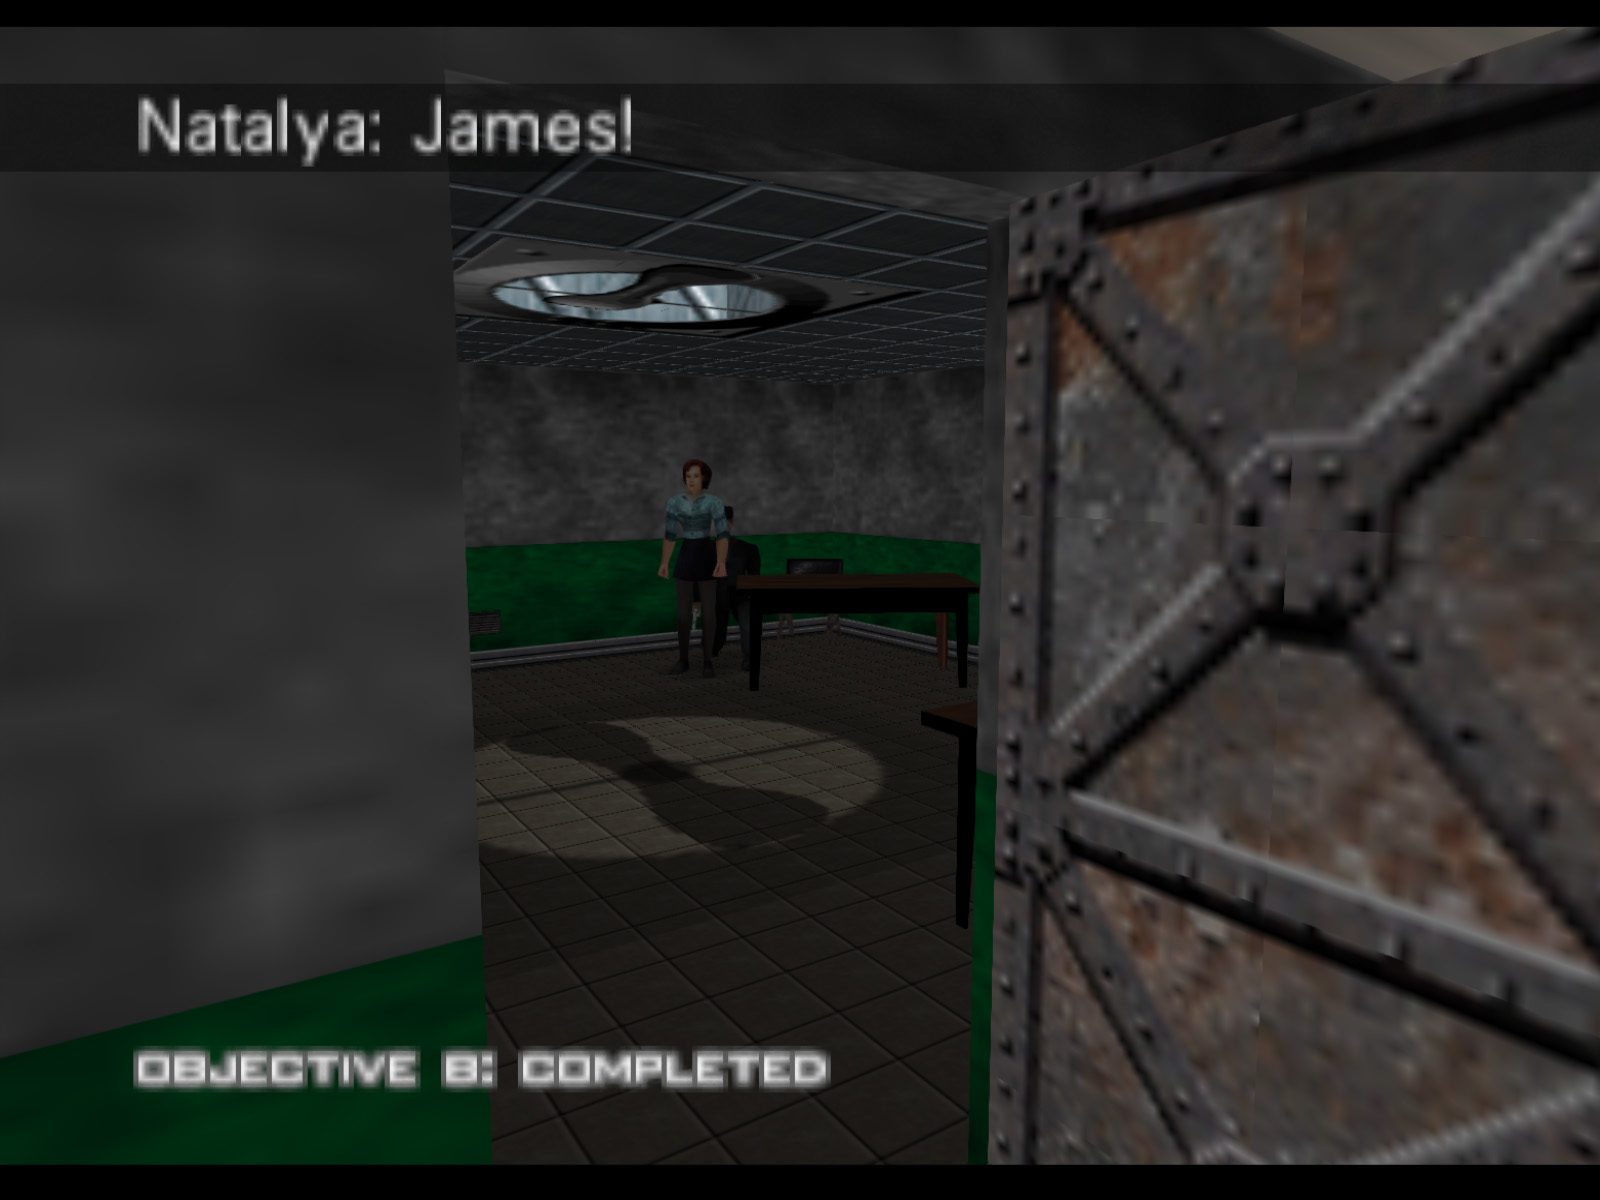
When you open the door Natalya will see you and that completes Objective B. Unfortunately if you use any firearms you risk scaring Natalya and making her run away. Thus I recommend taking out these guards with the Slappers.
This is the room previously seen from the attic.
And this room is through the diagonal set of double doors.
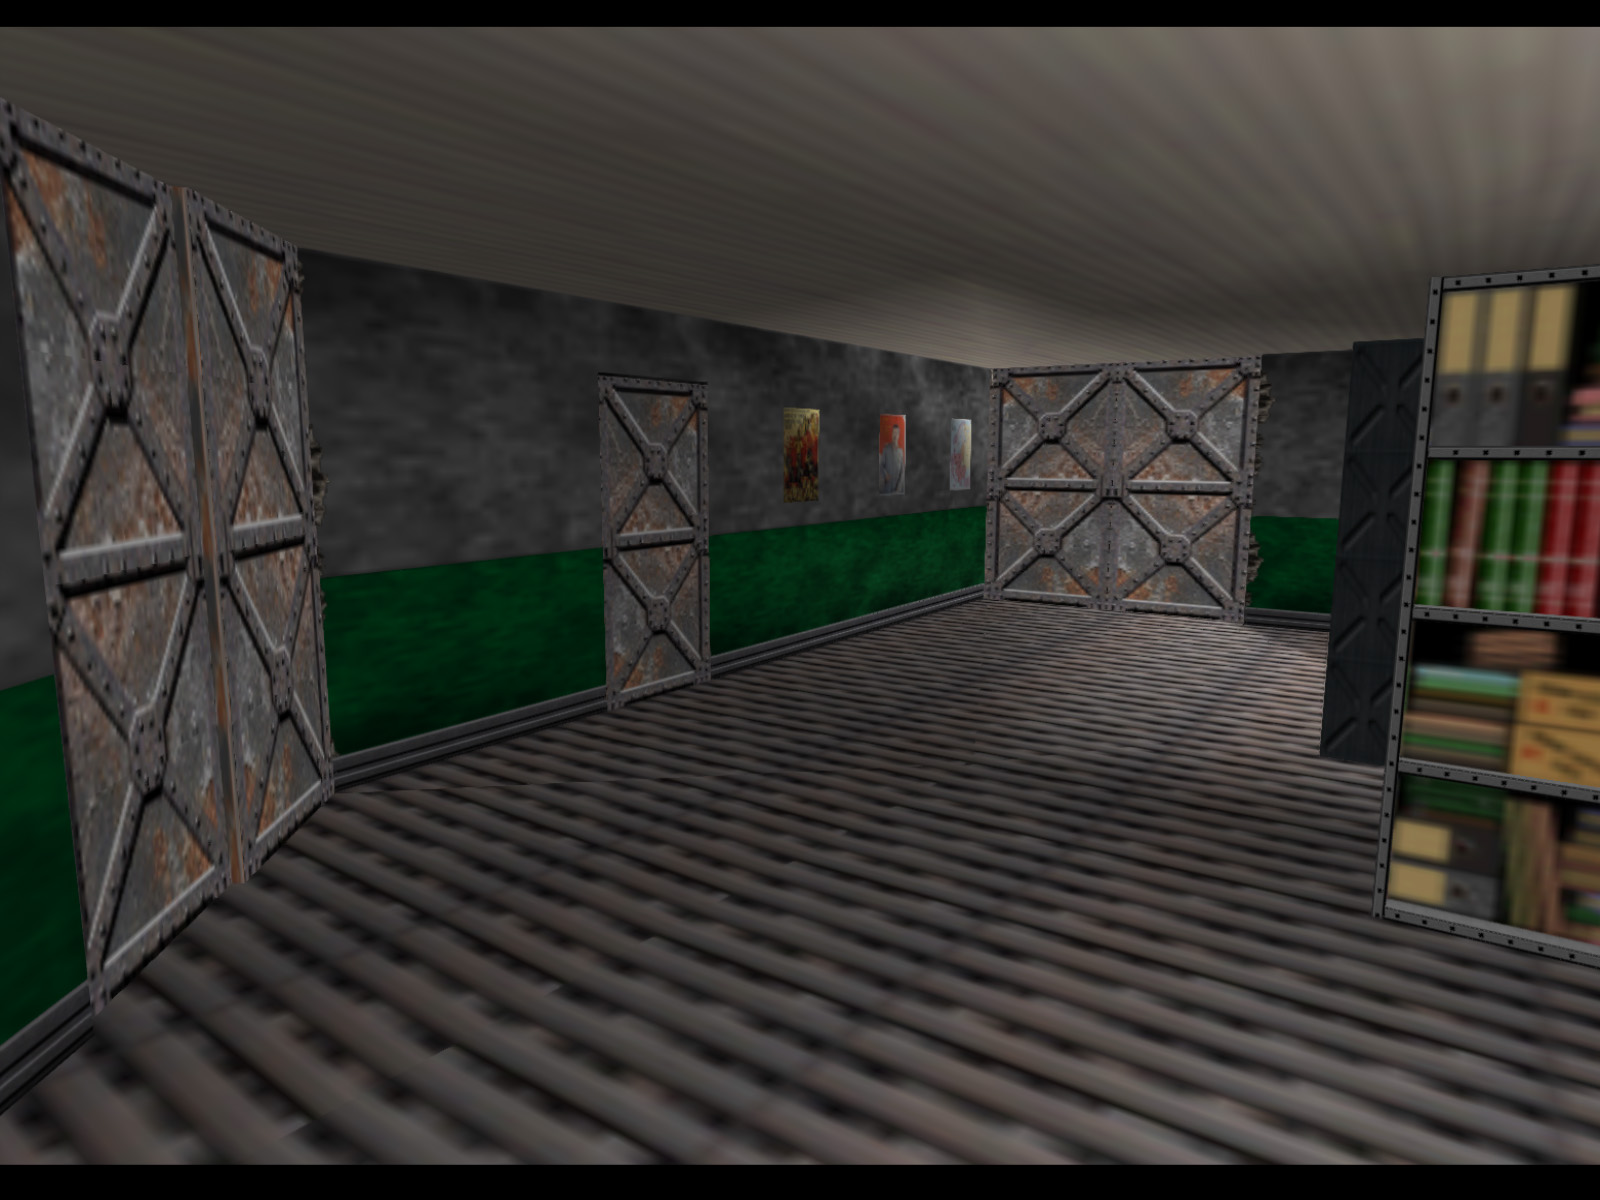
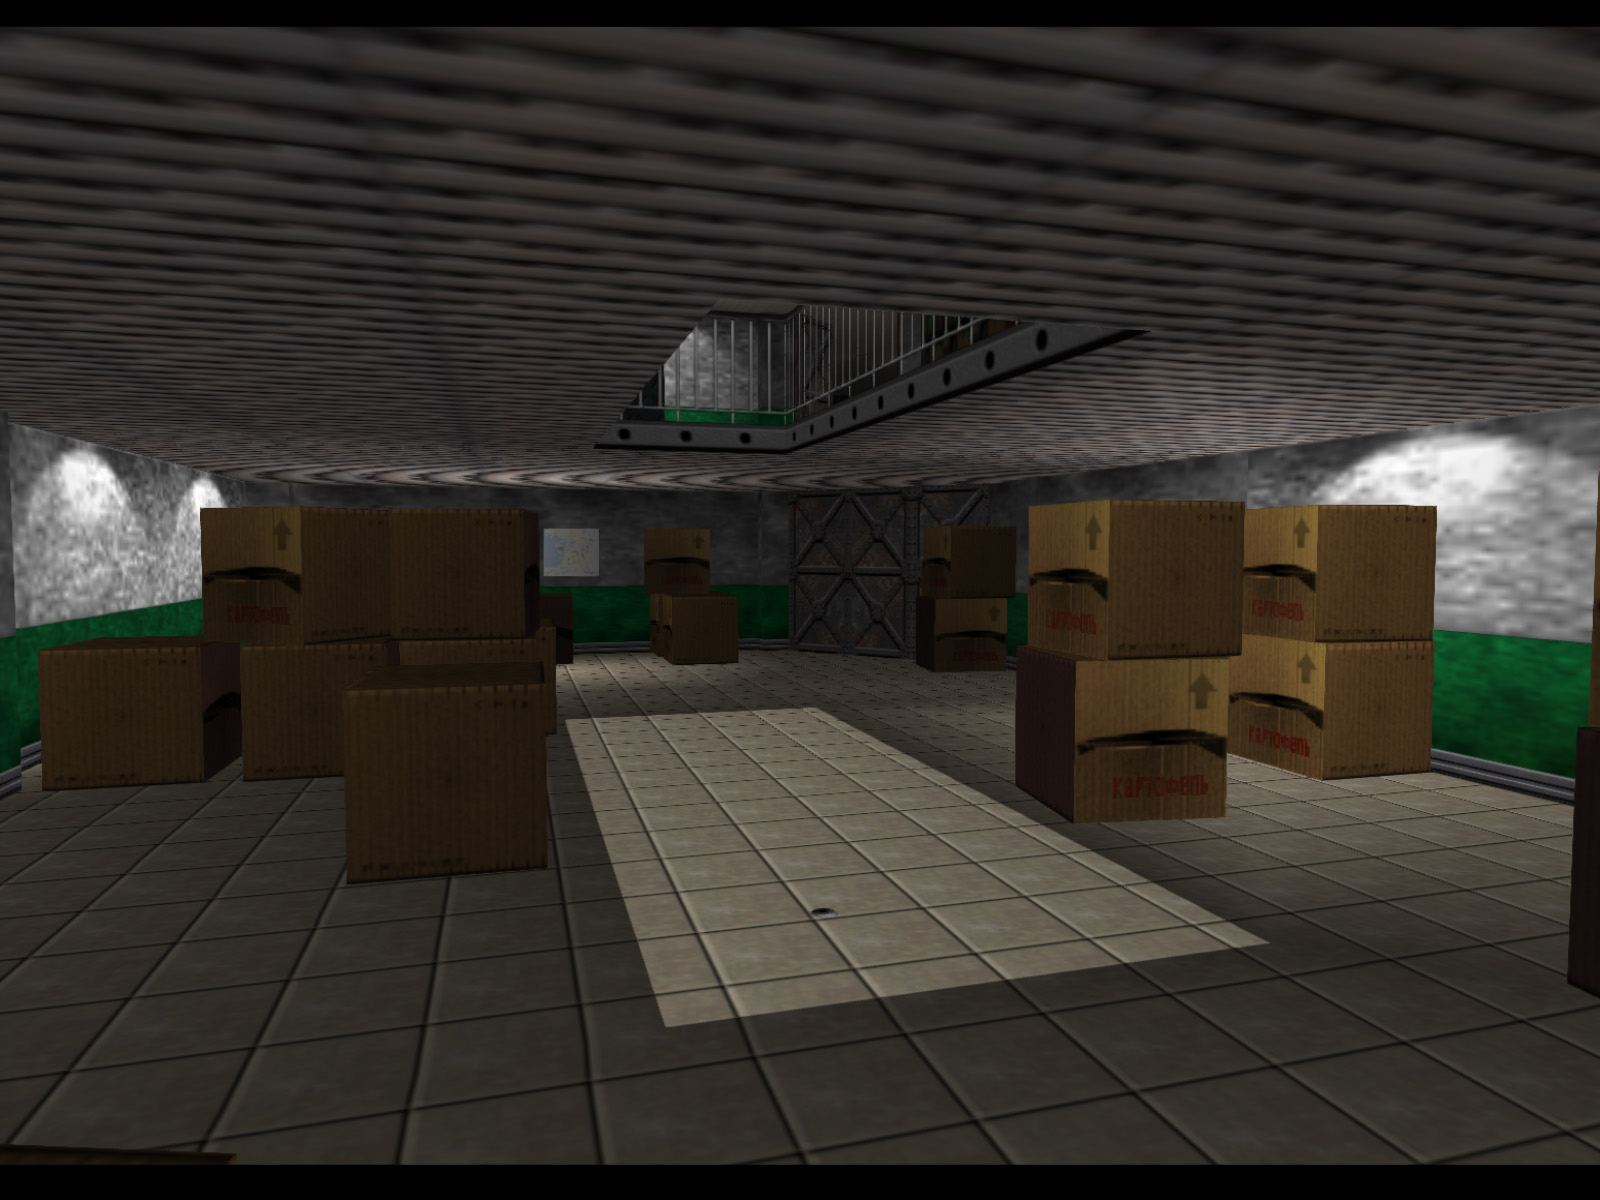
At the end of the last room there are stairs that take you down below to this room packed with boxes.

This room is through the double doors at the far end of the last screenshot.
Doing a half turn from the last screenshot and going through another set of double doors takes you to the last room of the stacks.

At the end of the large room from two screenshots ago we find this hall with two doors. We want to go through the one on the right.
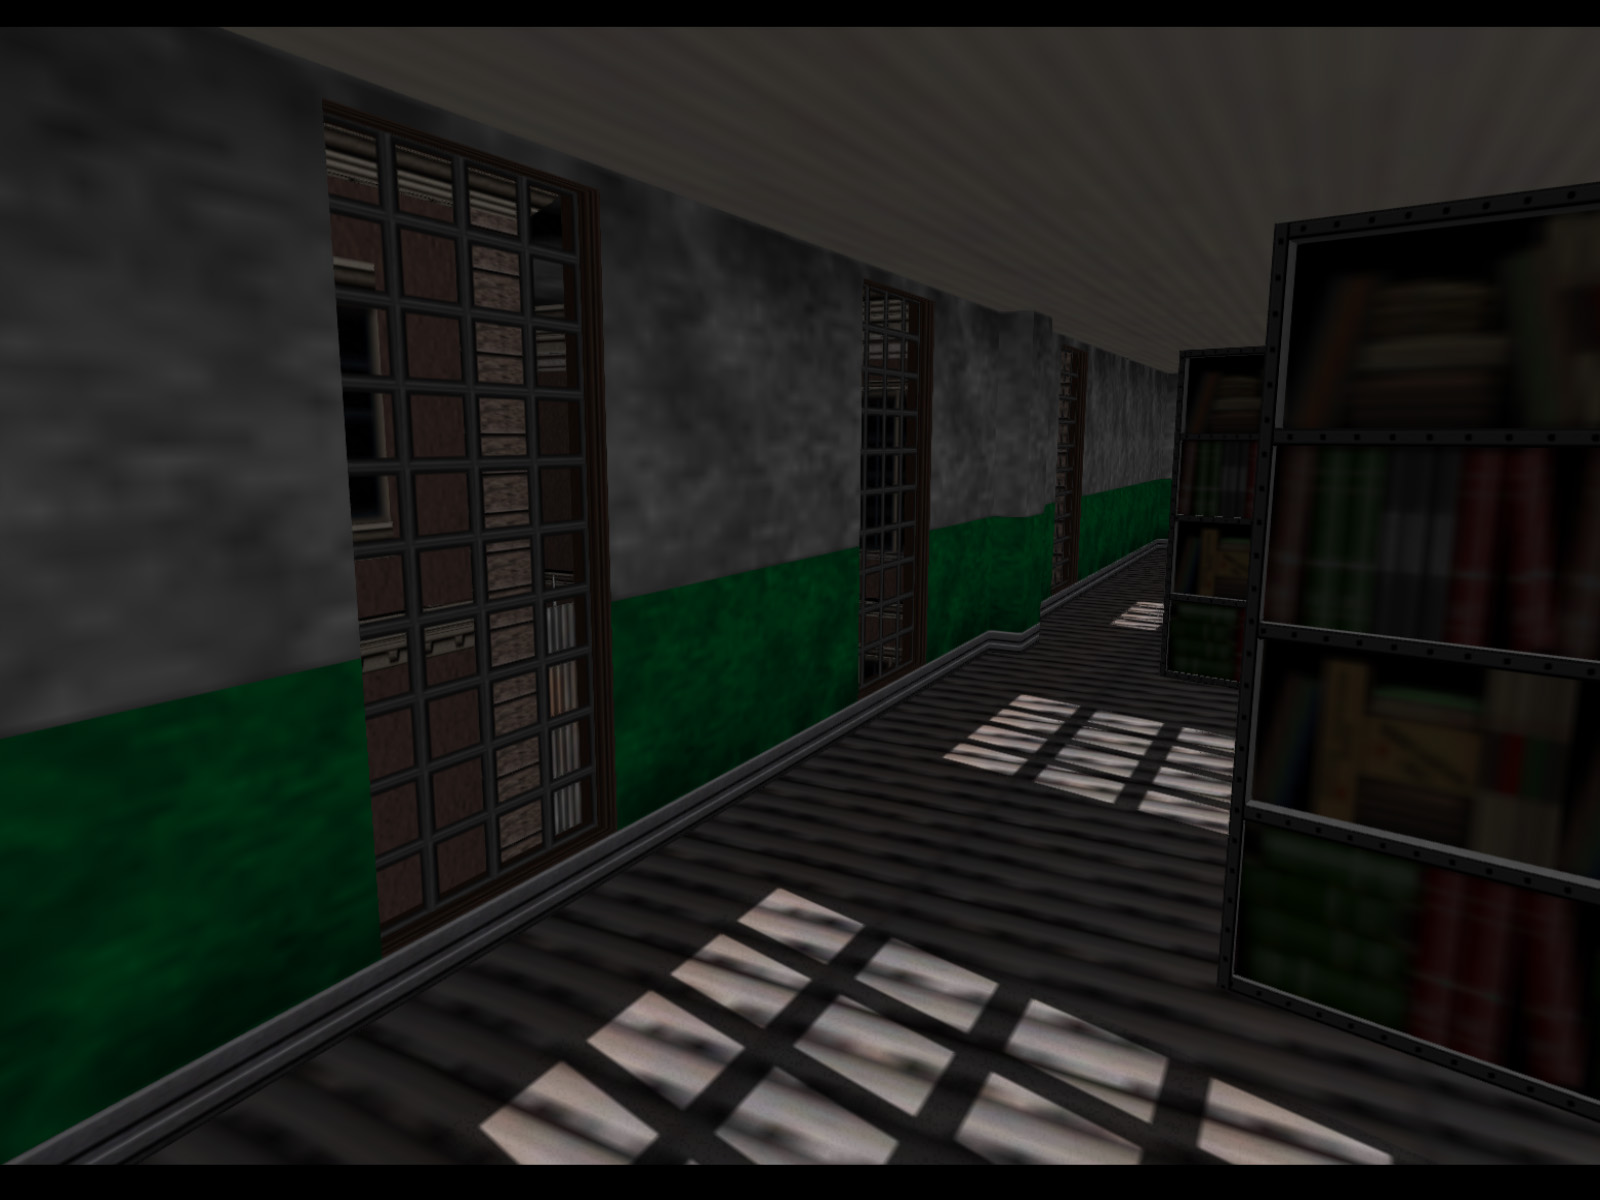
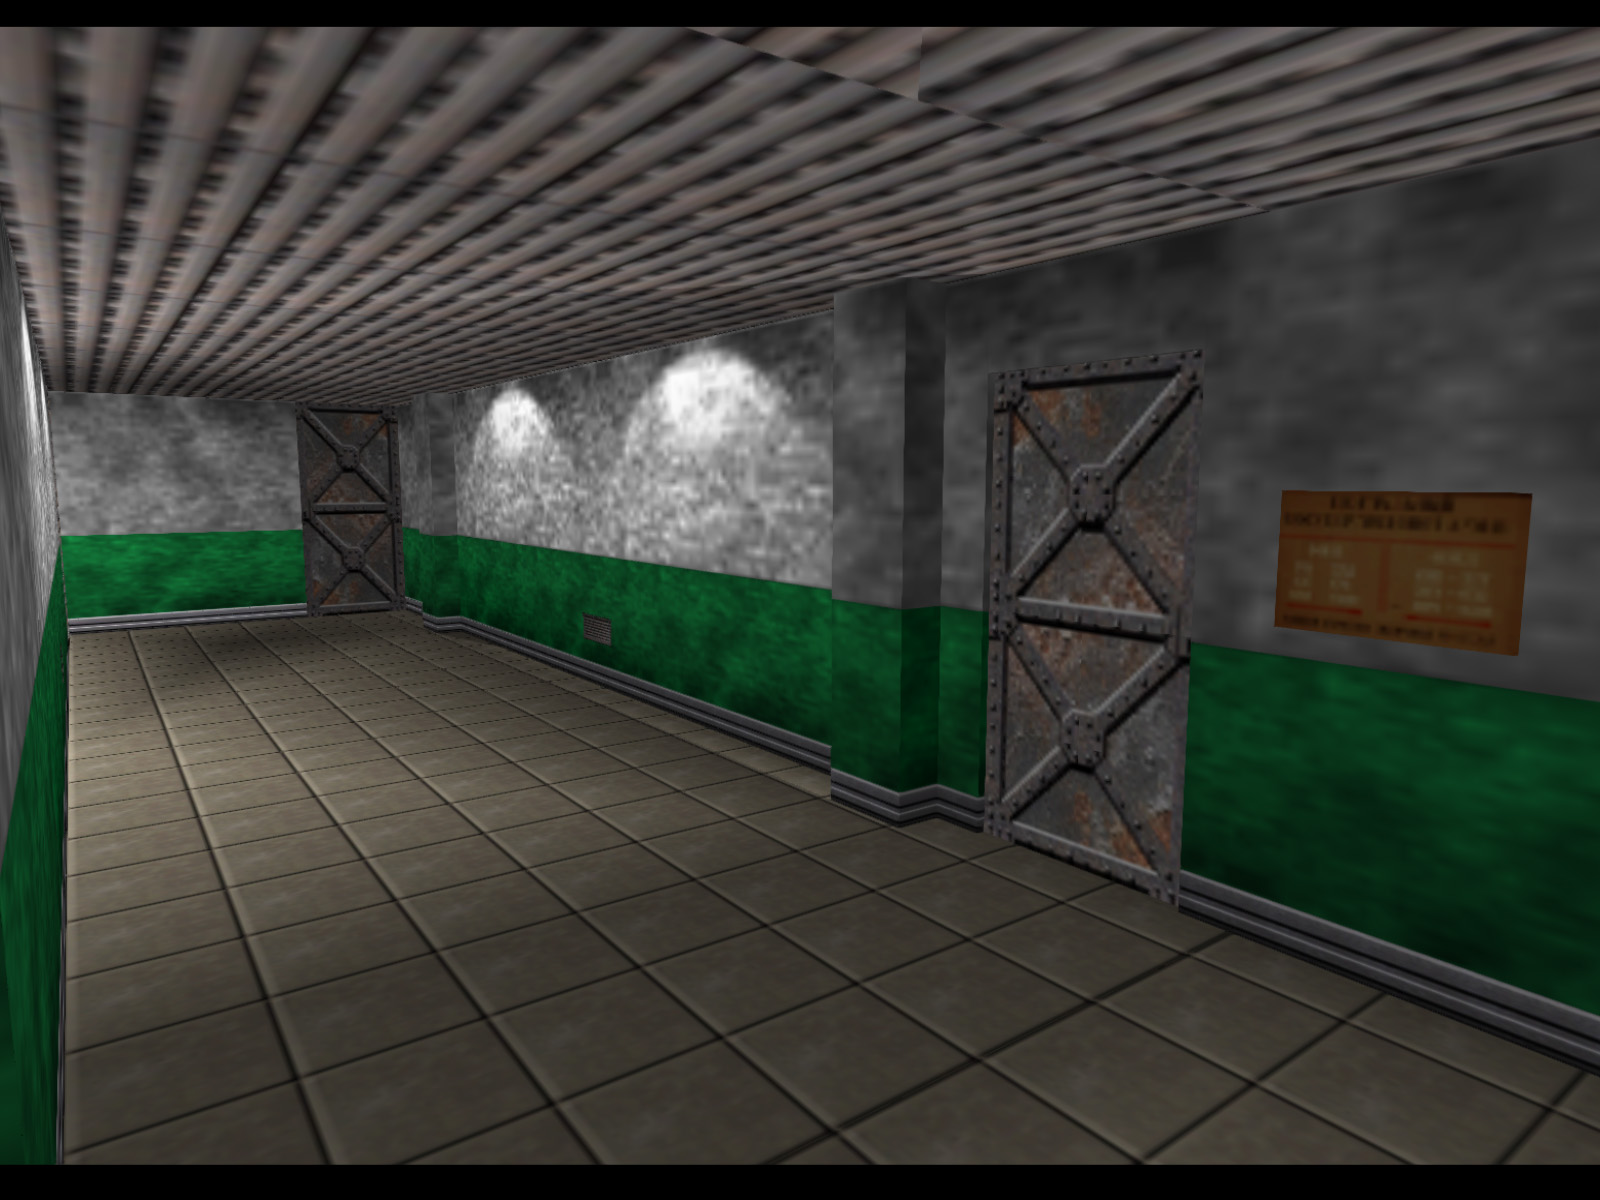
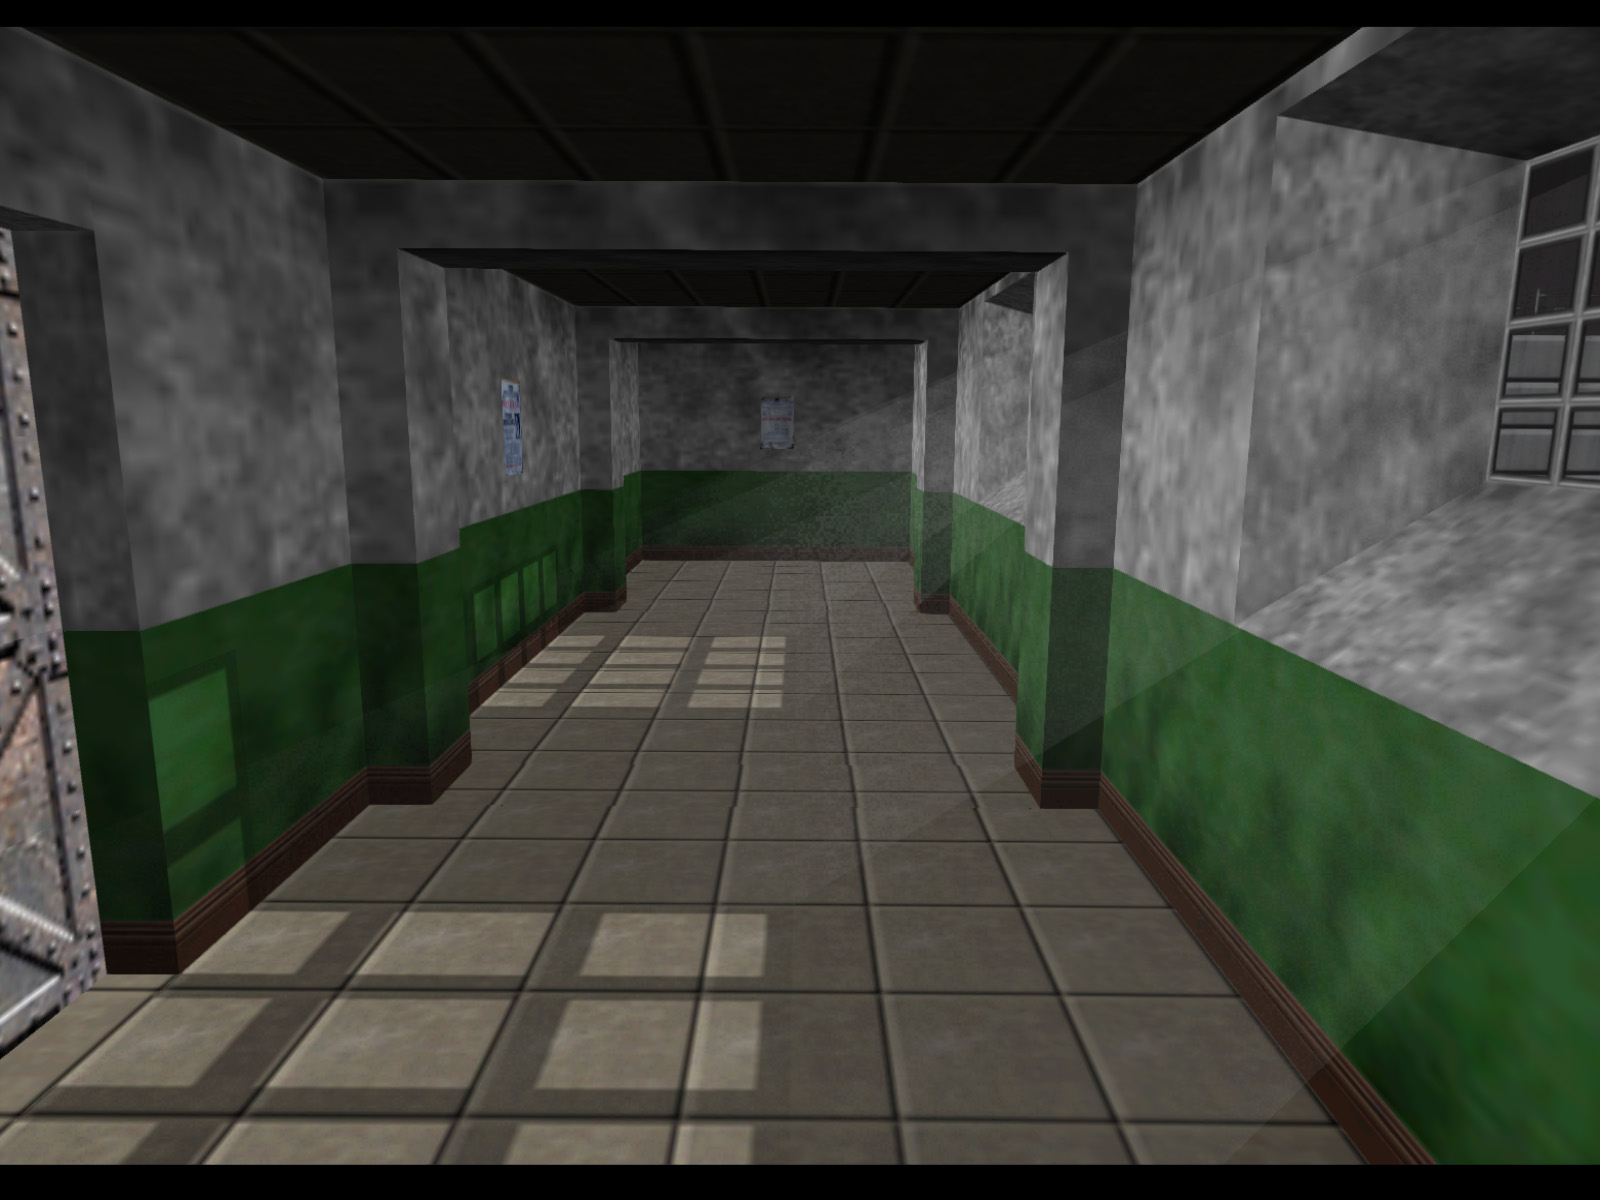
Passing through that right door takes you to this hall with sunbeams filtering through the windows.
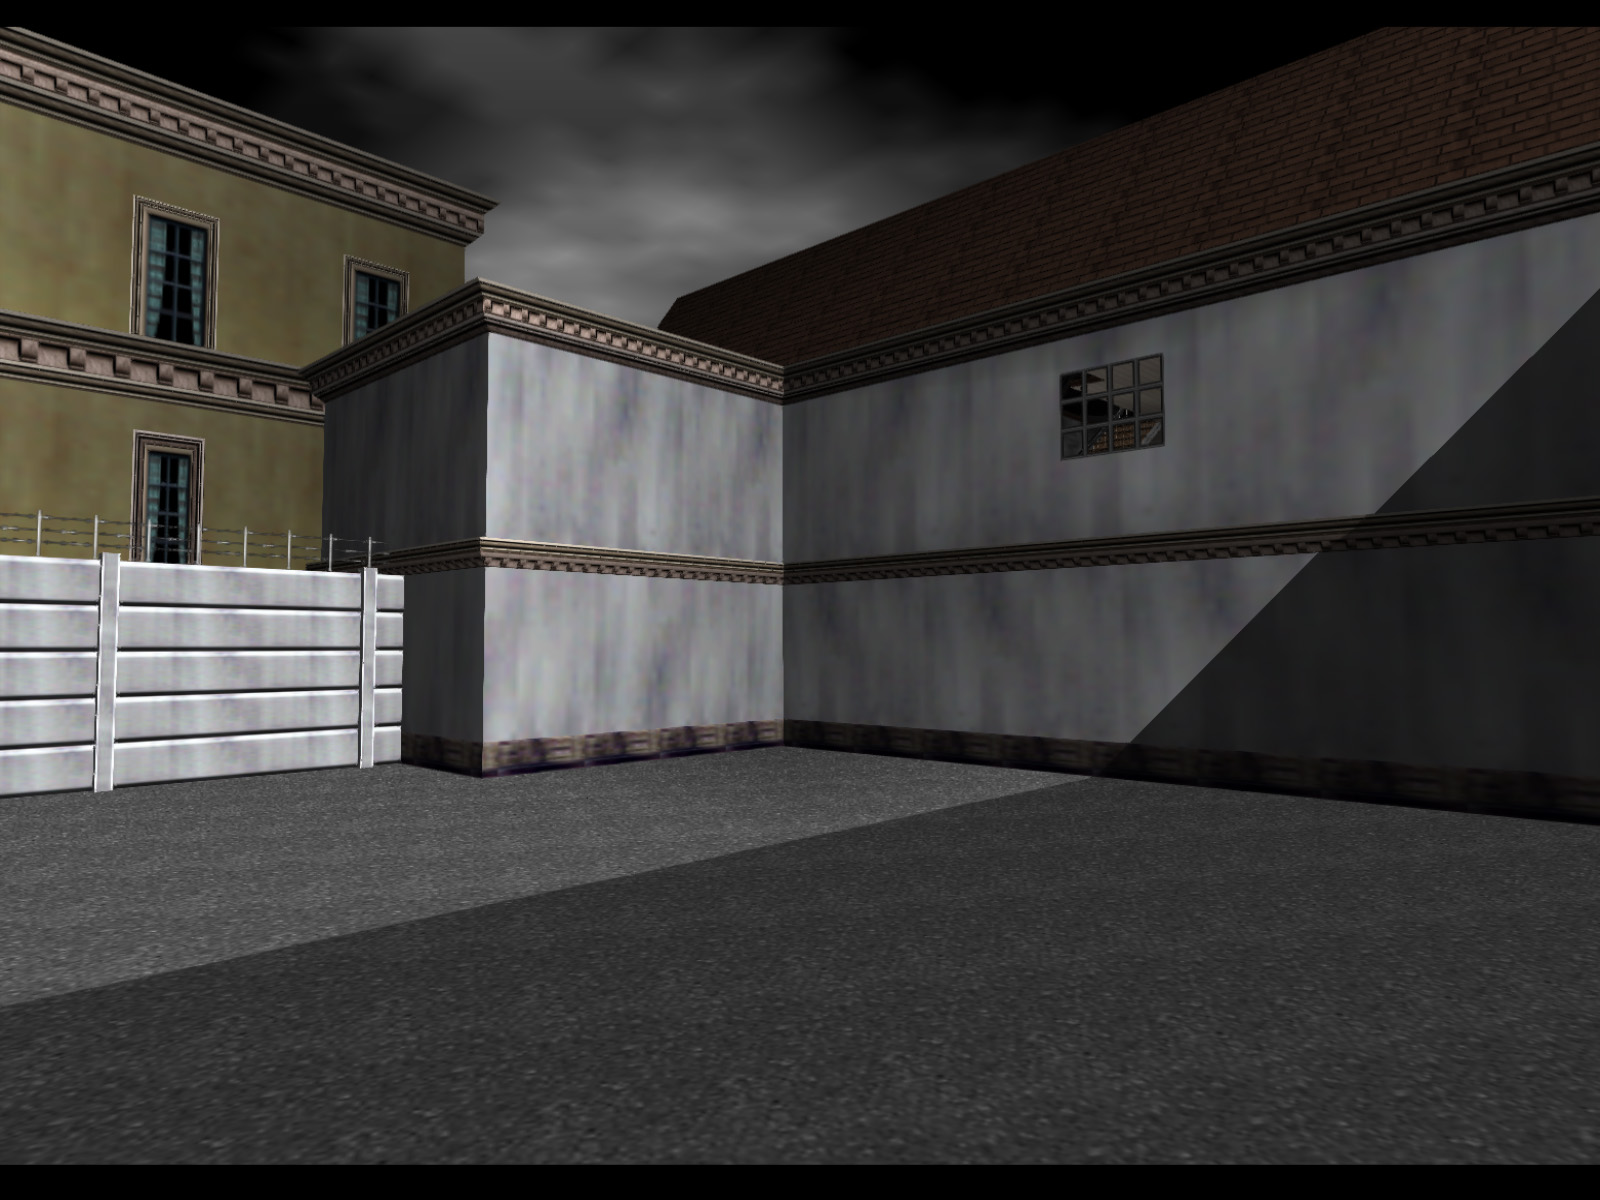
To the right of the last screenshot there is a courtyard with three guards.
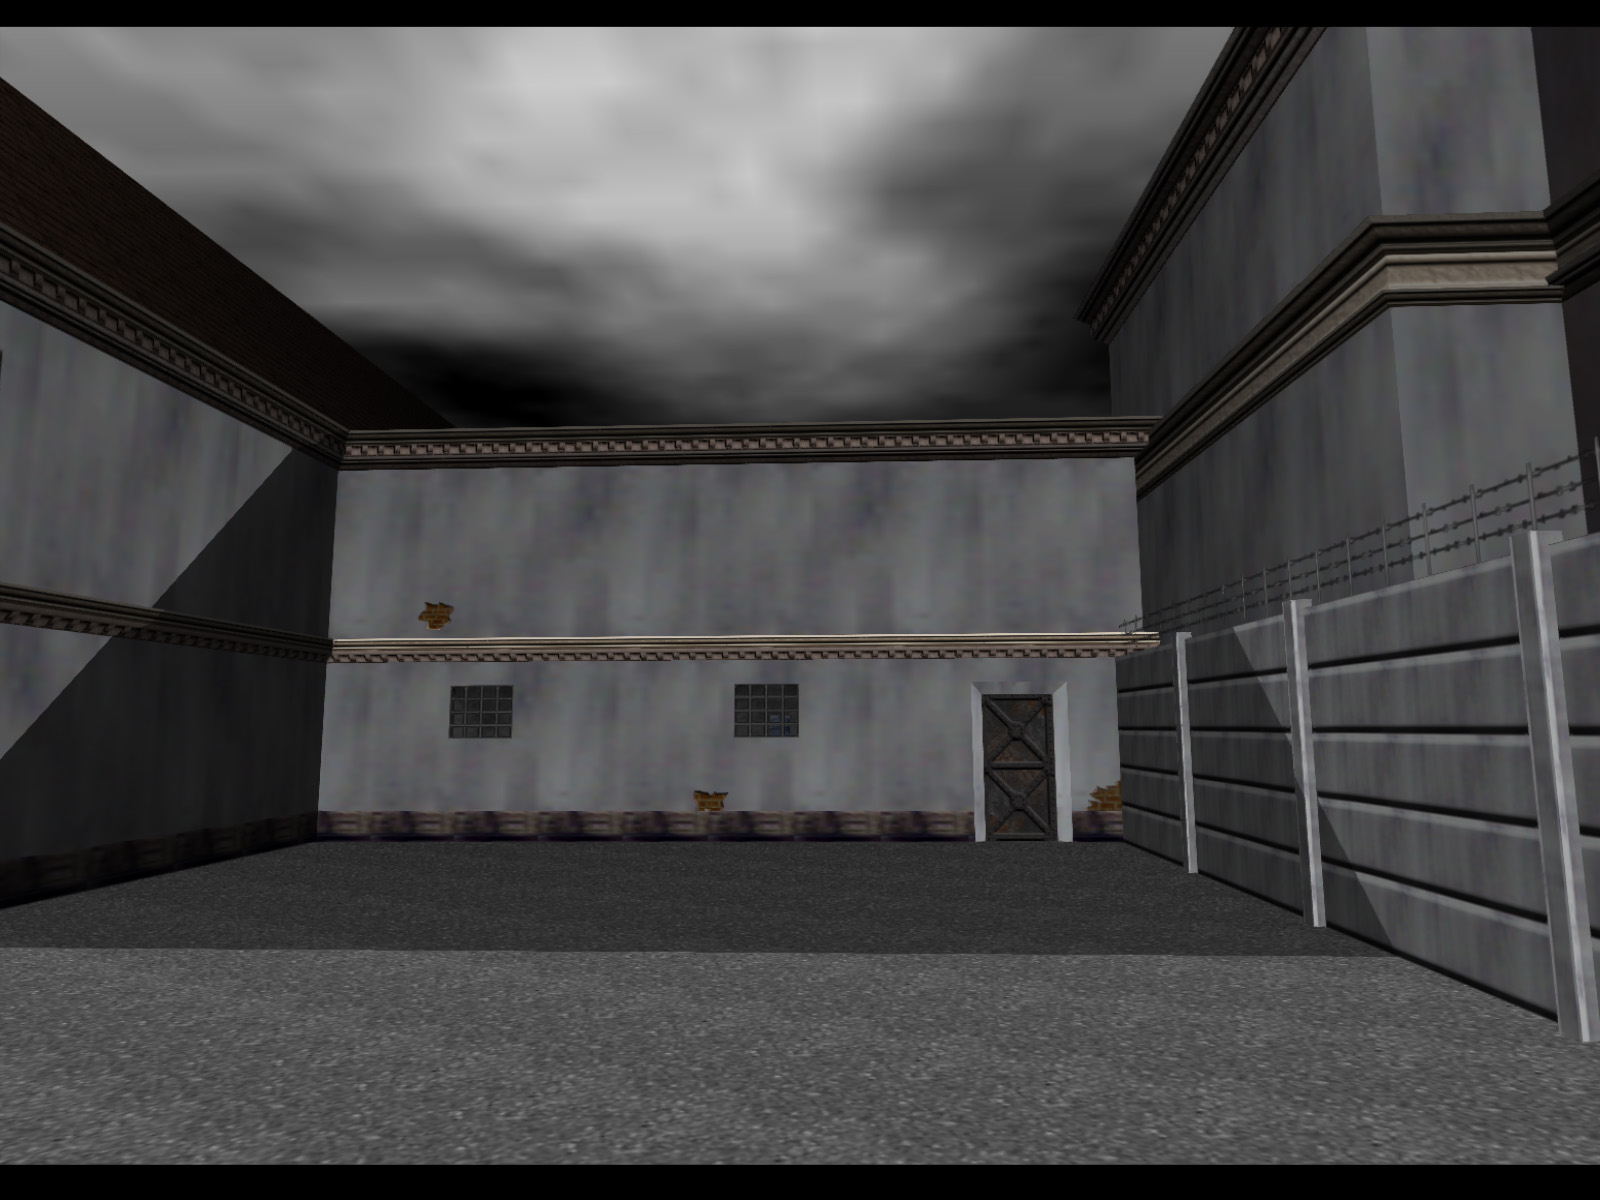
Courtyard from the other side.
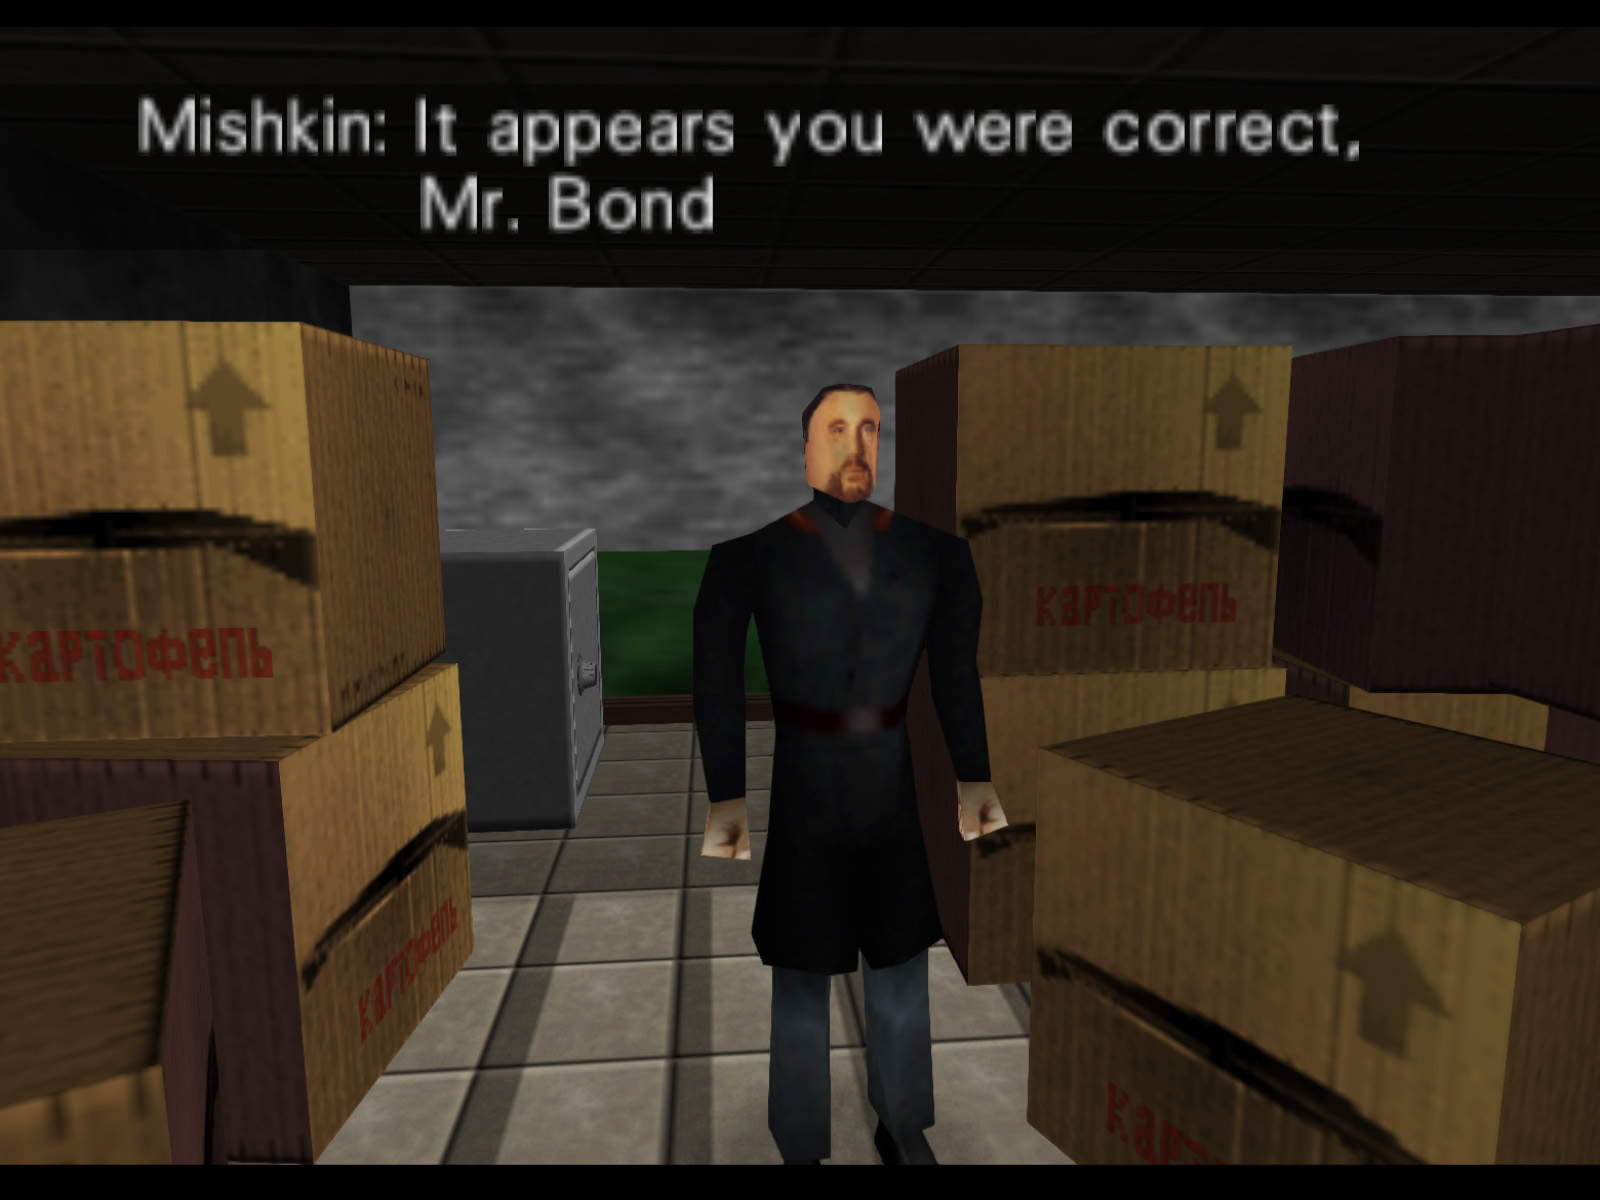
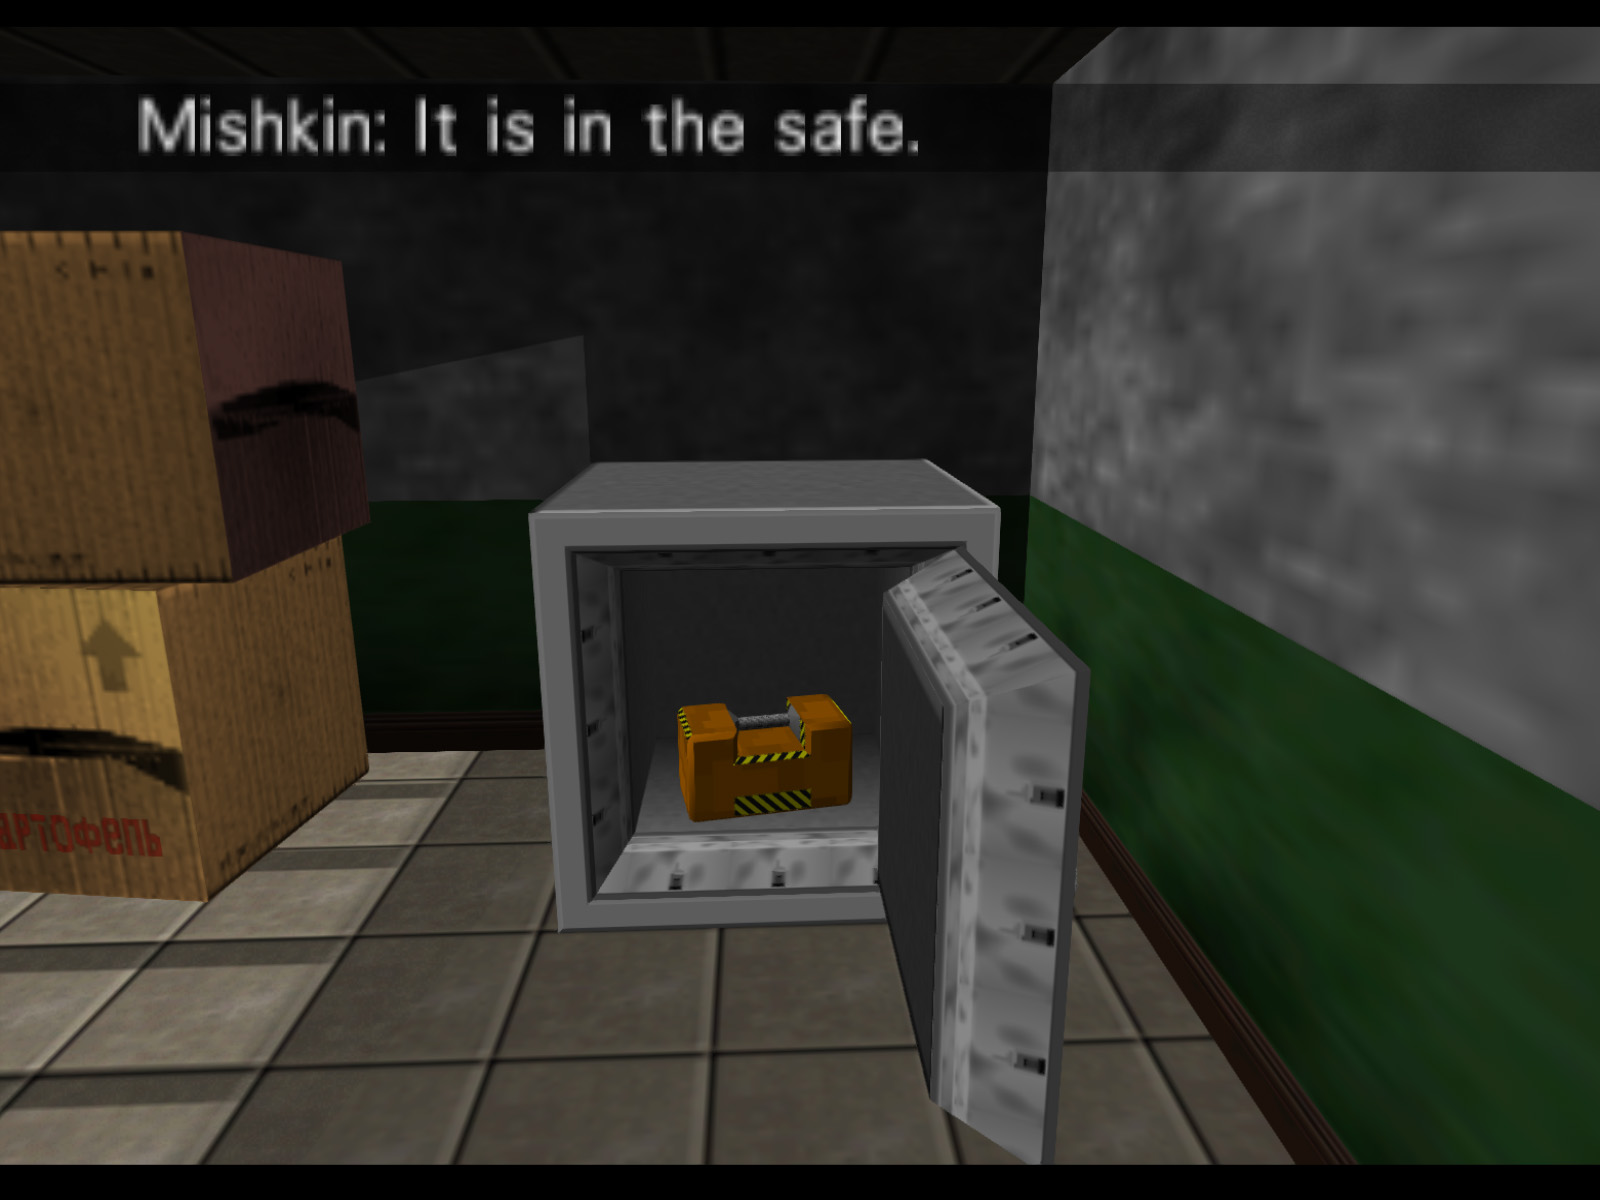
If we go through the left door from three screenshots ago it takes us to Mishkin's room. Have a conversation with him and he will give you a Safe Key.
Once the safe is opened you can pick up the Flight Recorder and complete Objective C.

The door on the other side of Mishkin's room leads to this other hallway with light beams pouring in through the windows.
The door at the far end of the last screenshot takes you to this final room of cardboard boxes and bookshelves.

With all objectives complete you can shoot out the large windows and step out into the alleyway to finish the level. It's perfectly fine to jump out the windows on the second floor, directly above these, as well.
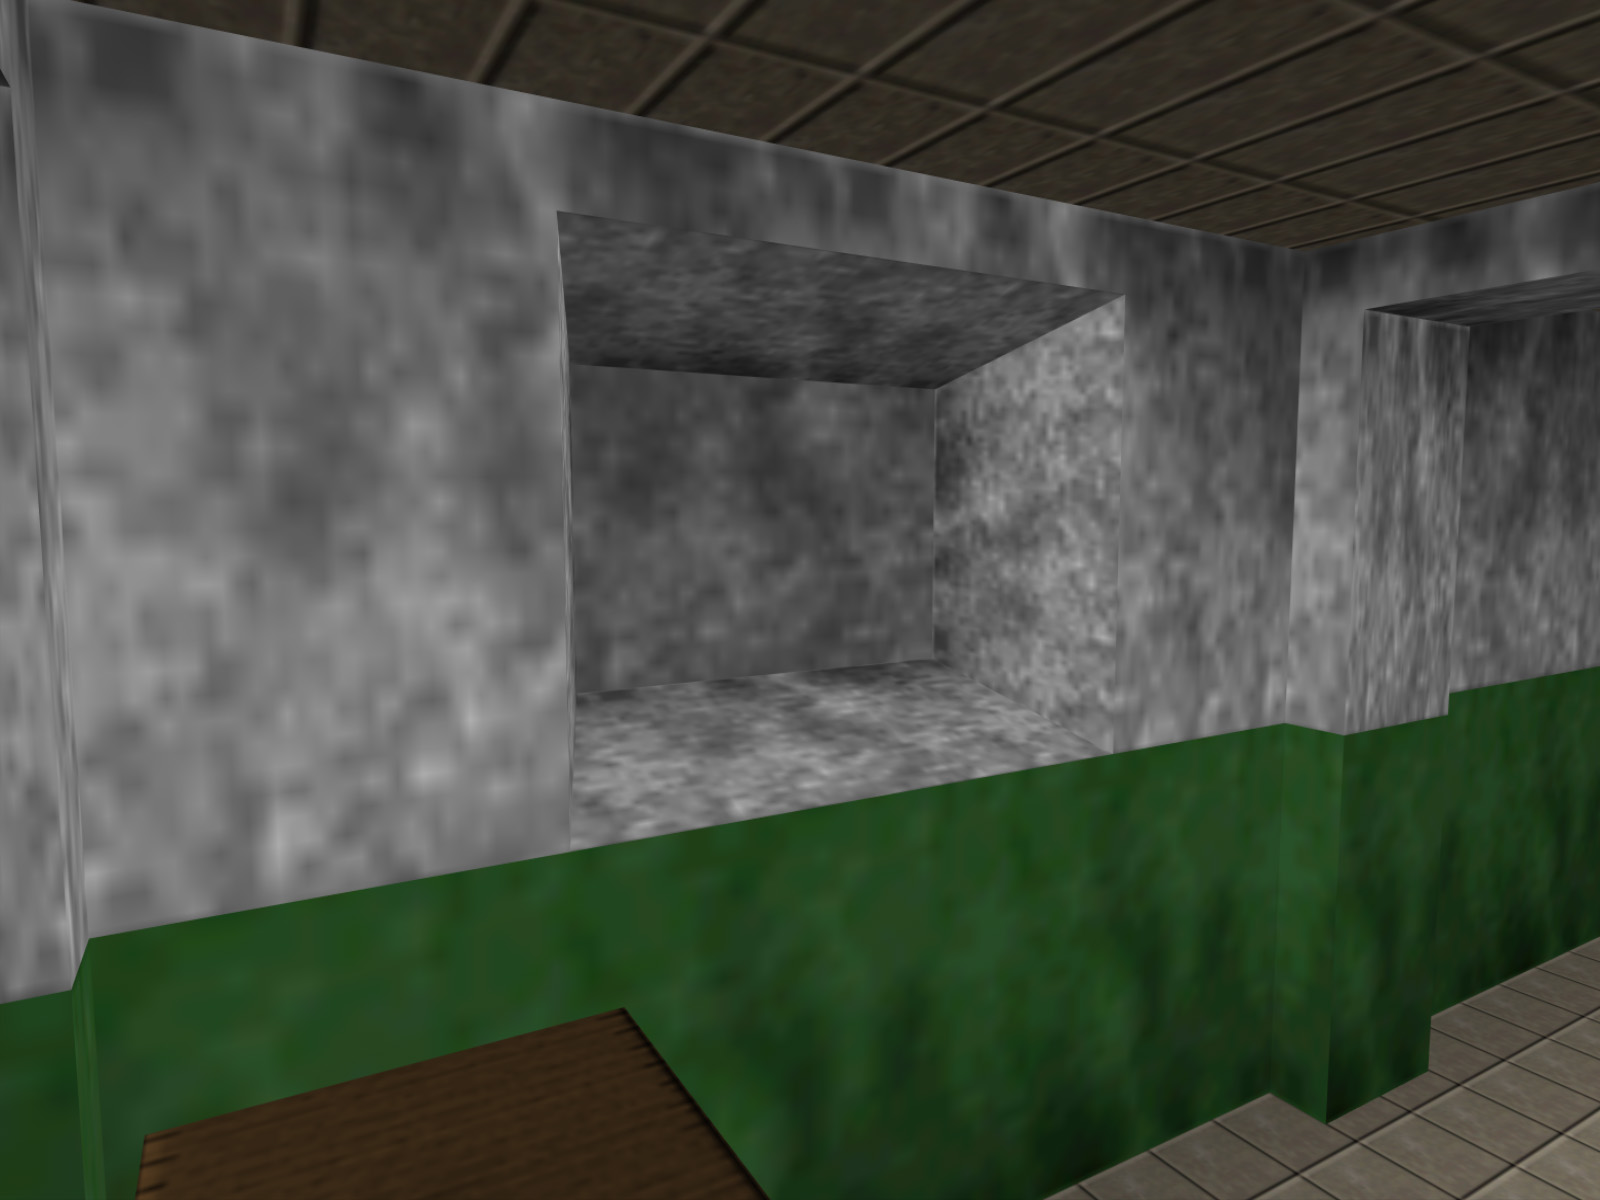
Just outside the starting room there is an indentation in the wall like those for windows, but it's just full of concrete. And on the other side is another room, not the outdoors.
There is another blocked window like this in the office with the three Siberian Guards.
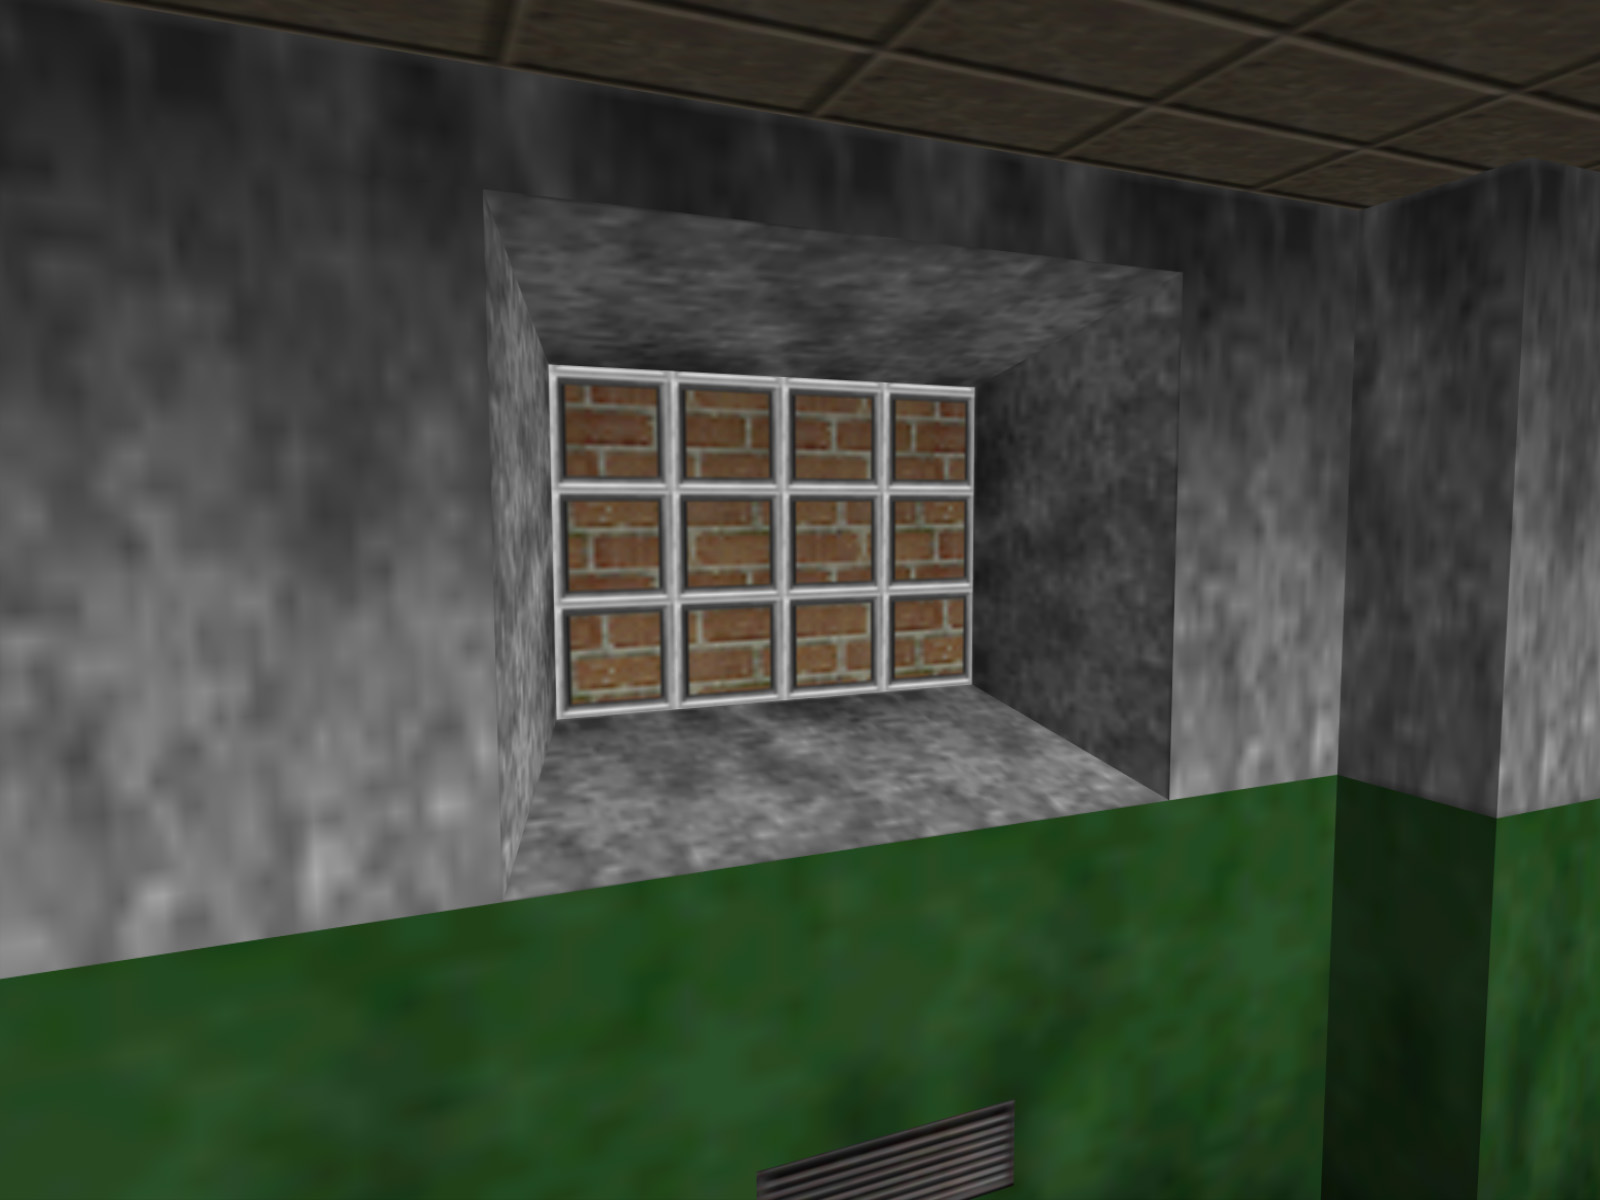
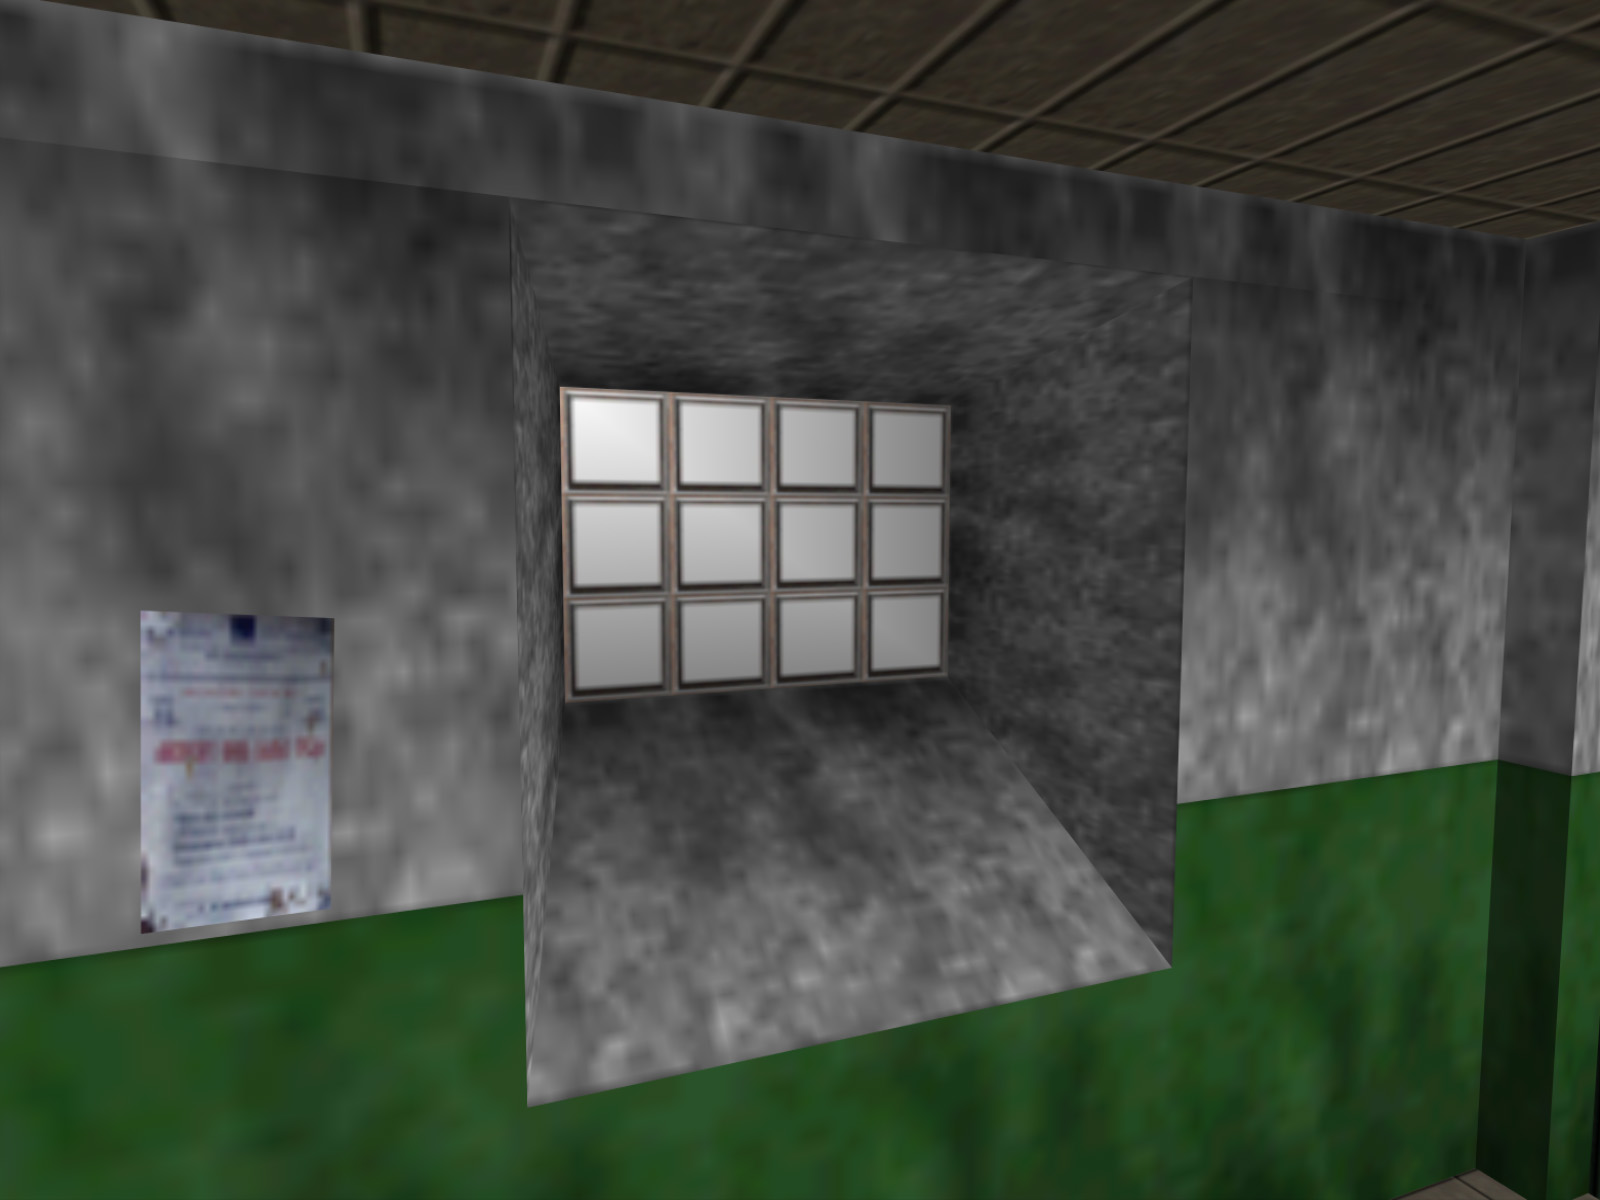
Another window oddity. Some of them allow you to see a brick wall outside, while others just have a flat texture with a white background you cannot see out at all.
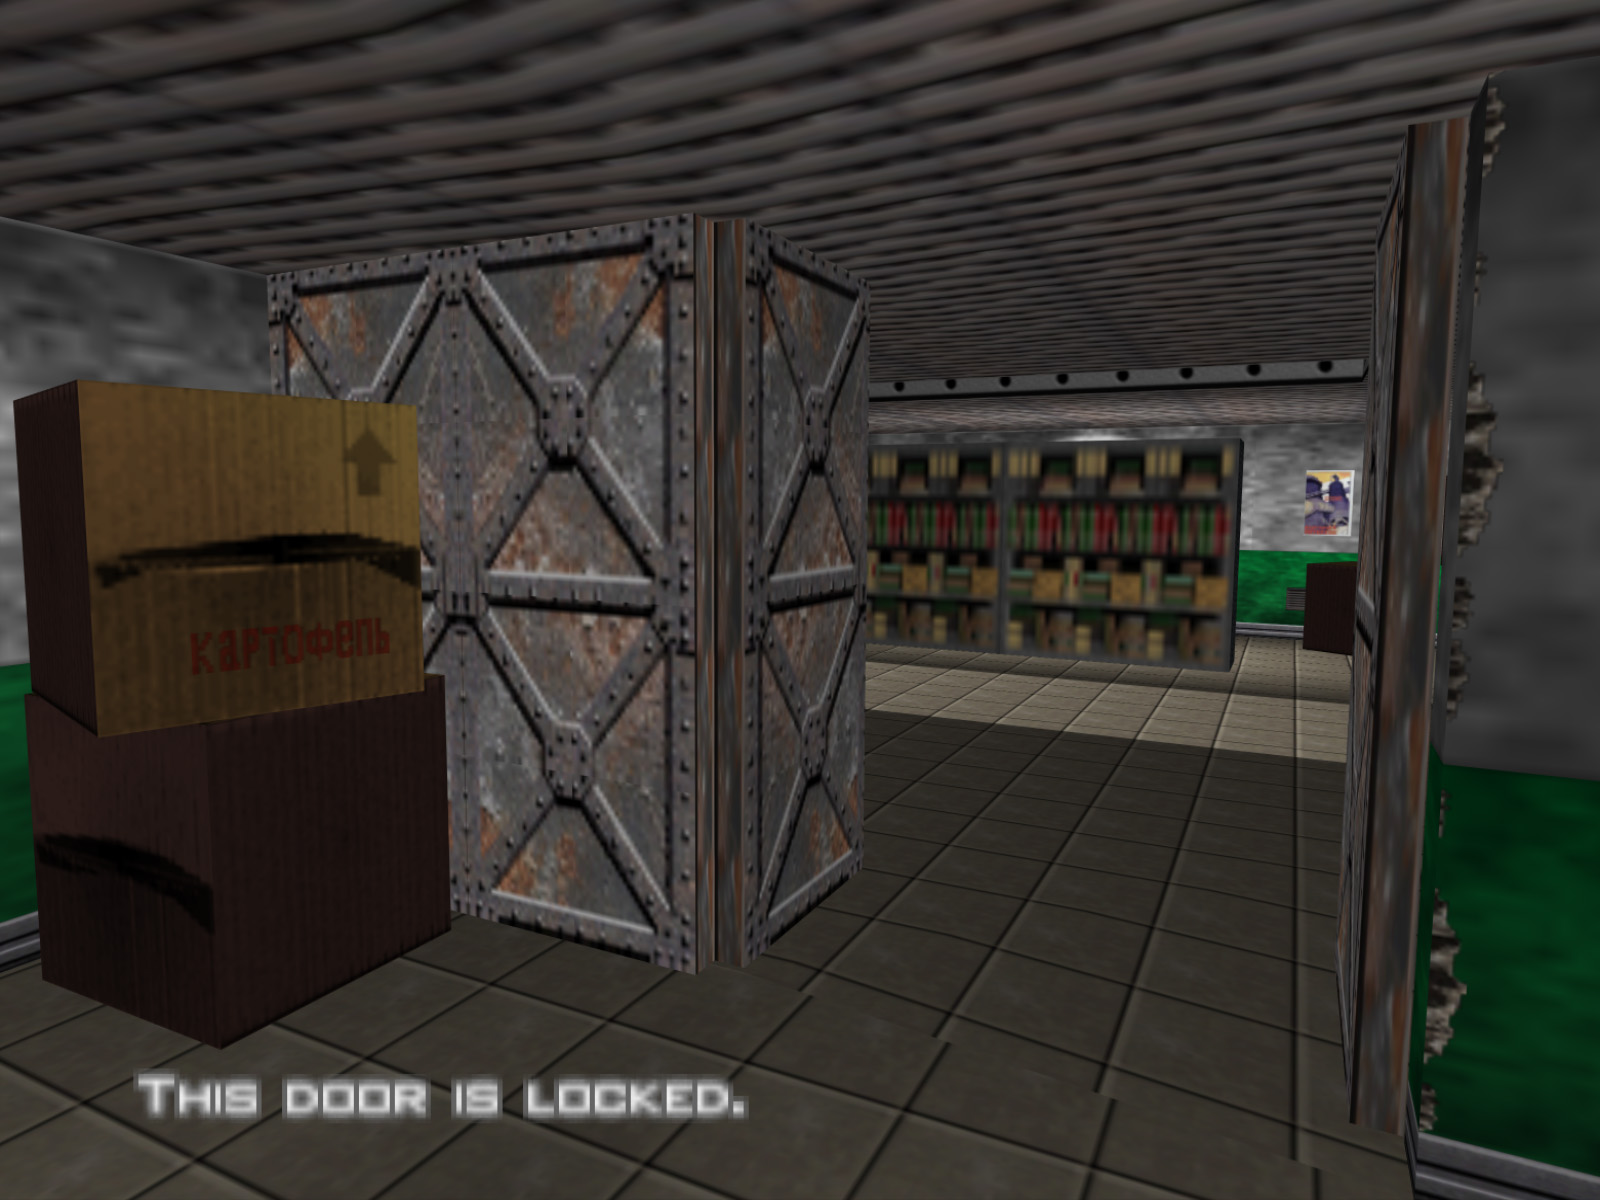
On the lower level of the stacks there are two pairs of double doors. One pair is always locked. Wouldn't it make more sense to have a wall instead of two permanently locked doors? Soviet architects did make strange decisions sometimes so maybe this is actually just added realism.
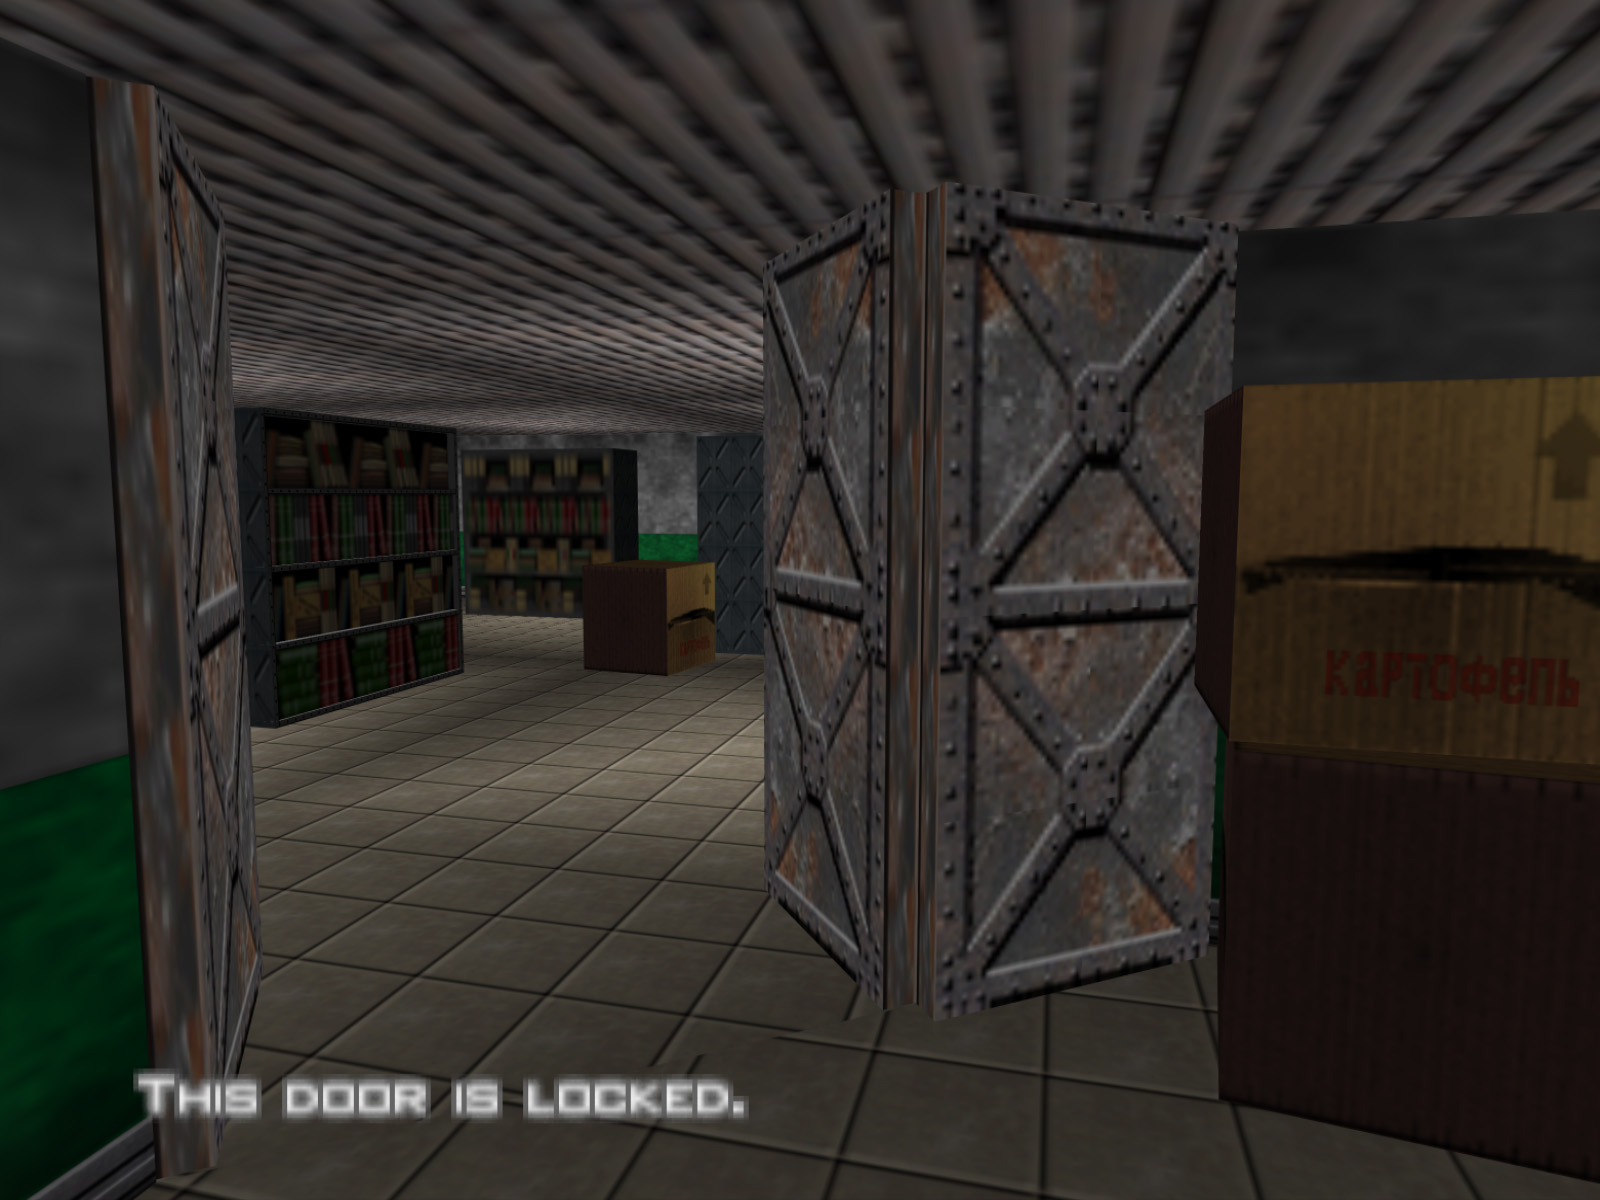
There is another similar situation nearby with a pair of openable doors and single door that is always locked.
One possibility is that these doors were originally not supposed to be here, but were added later in order to cut down the number of areas the game has to render.
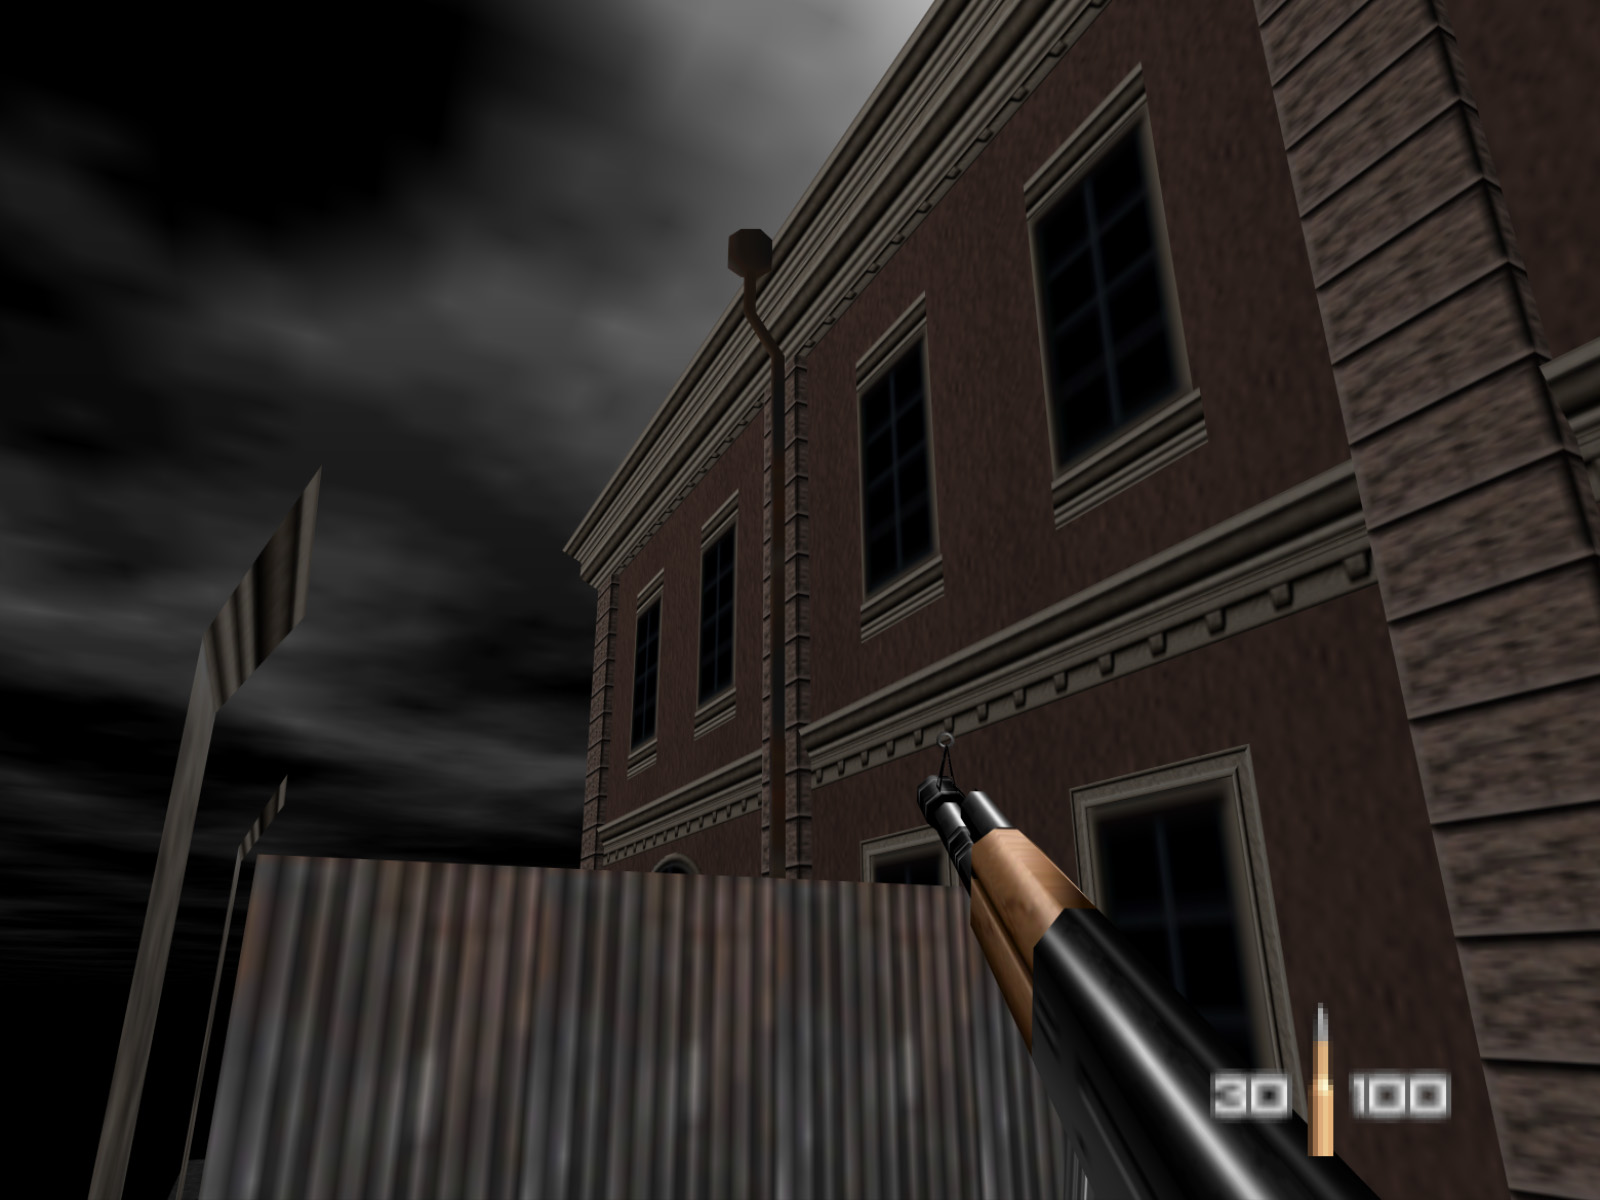
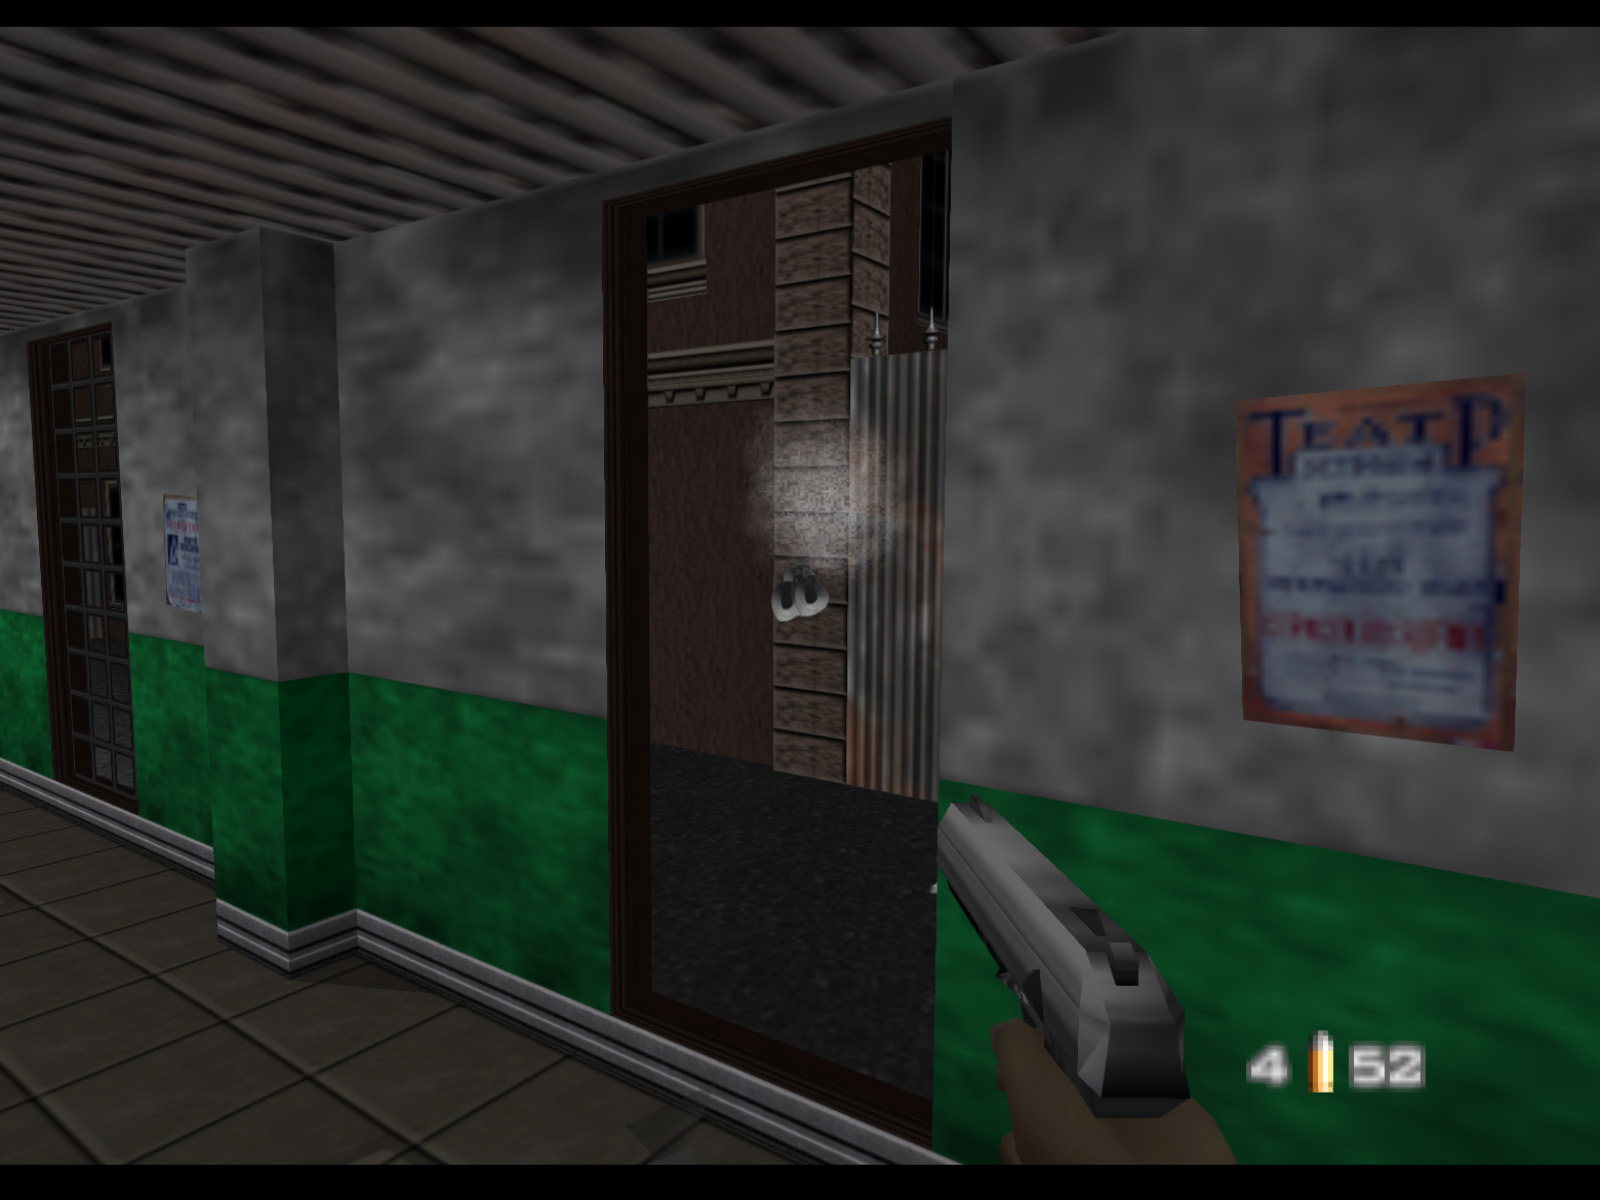
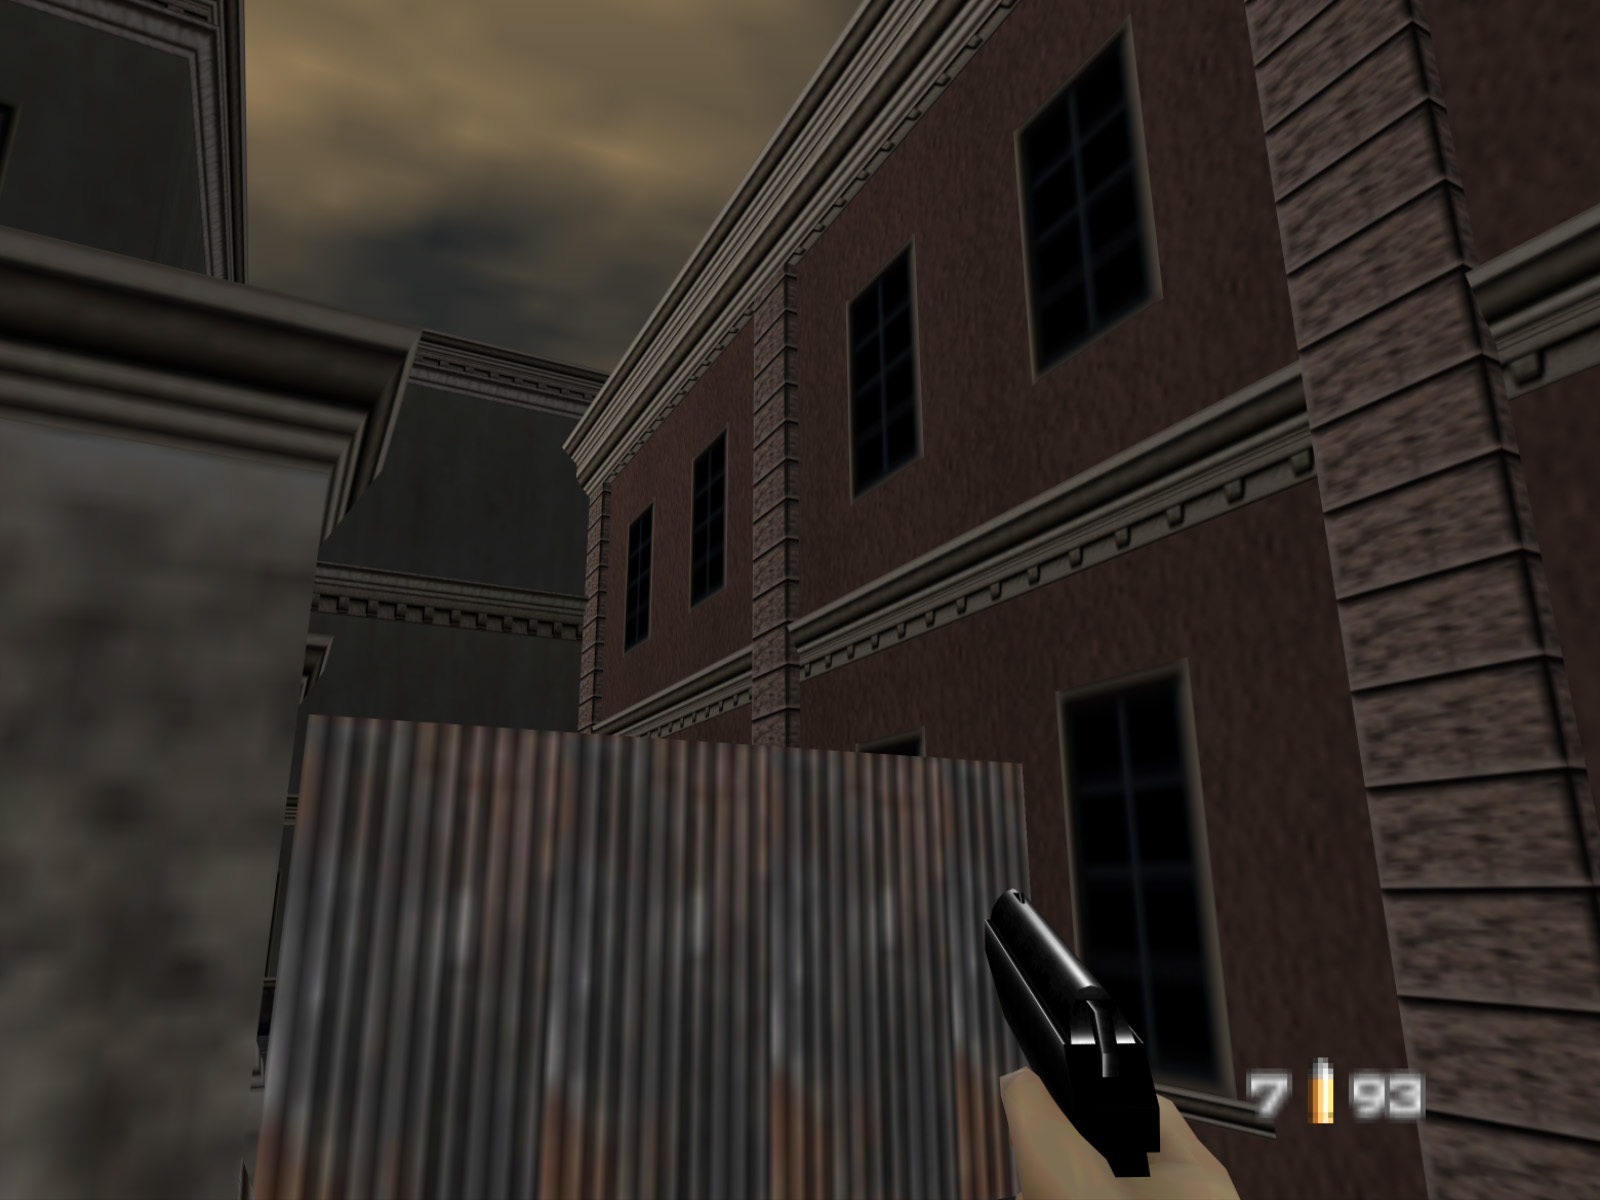
Streets begins right where you exit Archives so the two levels share some geometry. In Archives this exterior area has a rusty drain pipe, but in Streets the pipe is gone. The drain pipe can be seen from inside the Archives, but here I have used the No Level Endings code to get a closer look.
You can also see window frames were simplified in Streets, probably in an effort to squeeze that level into the Nintendo 64's memory.
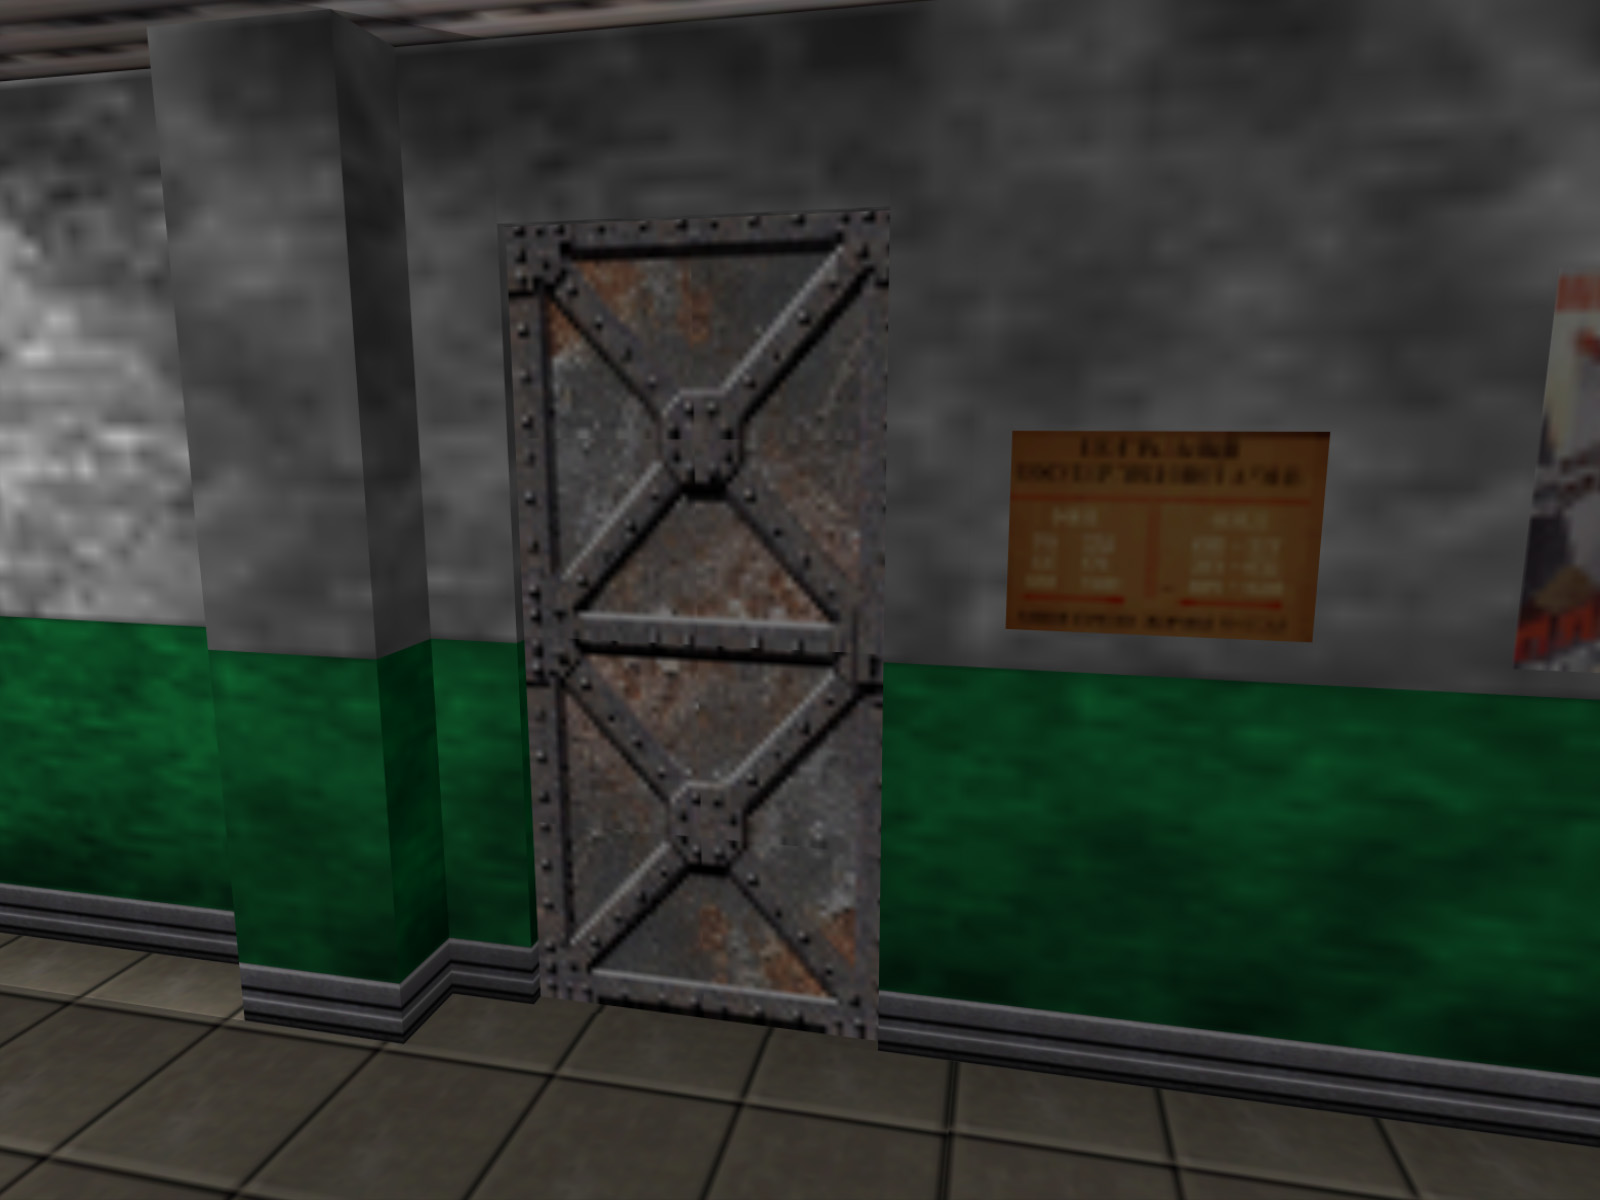
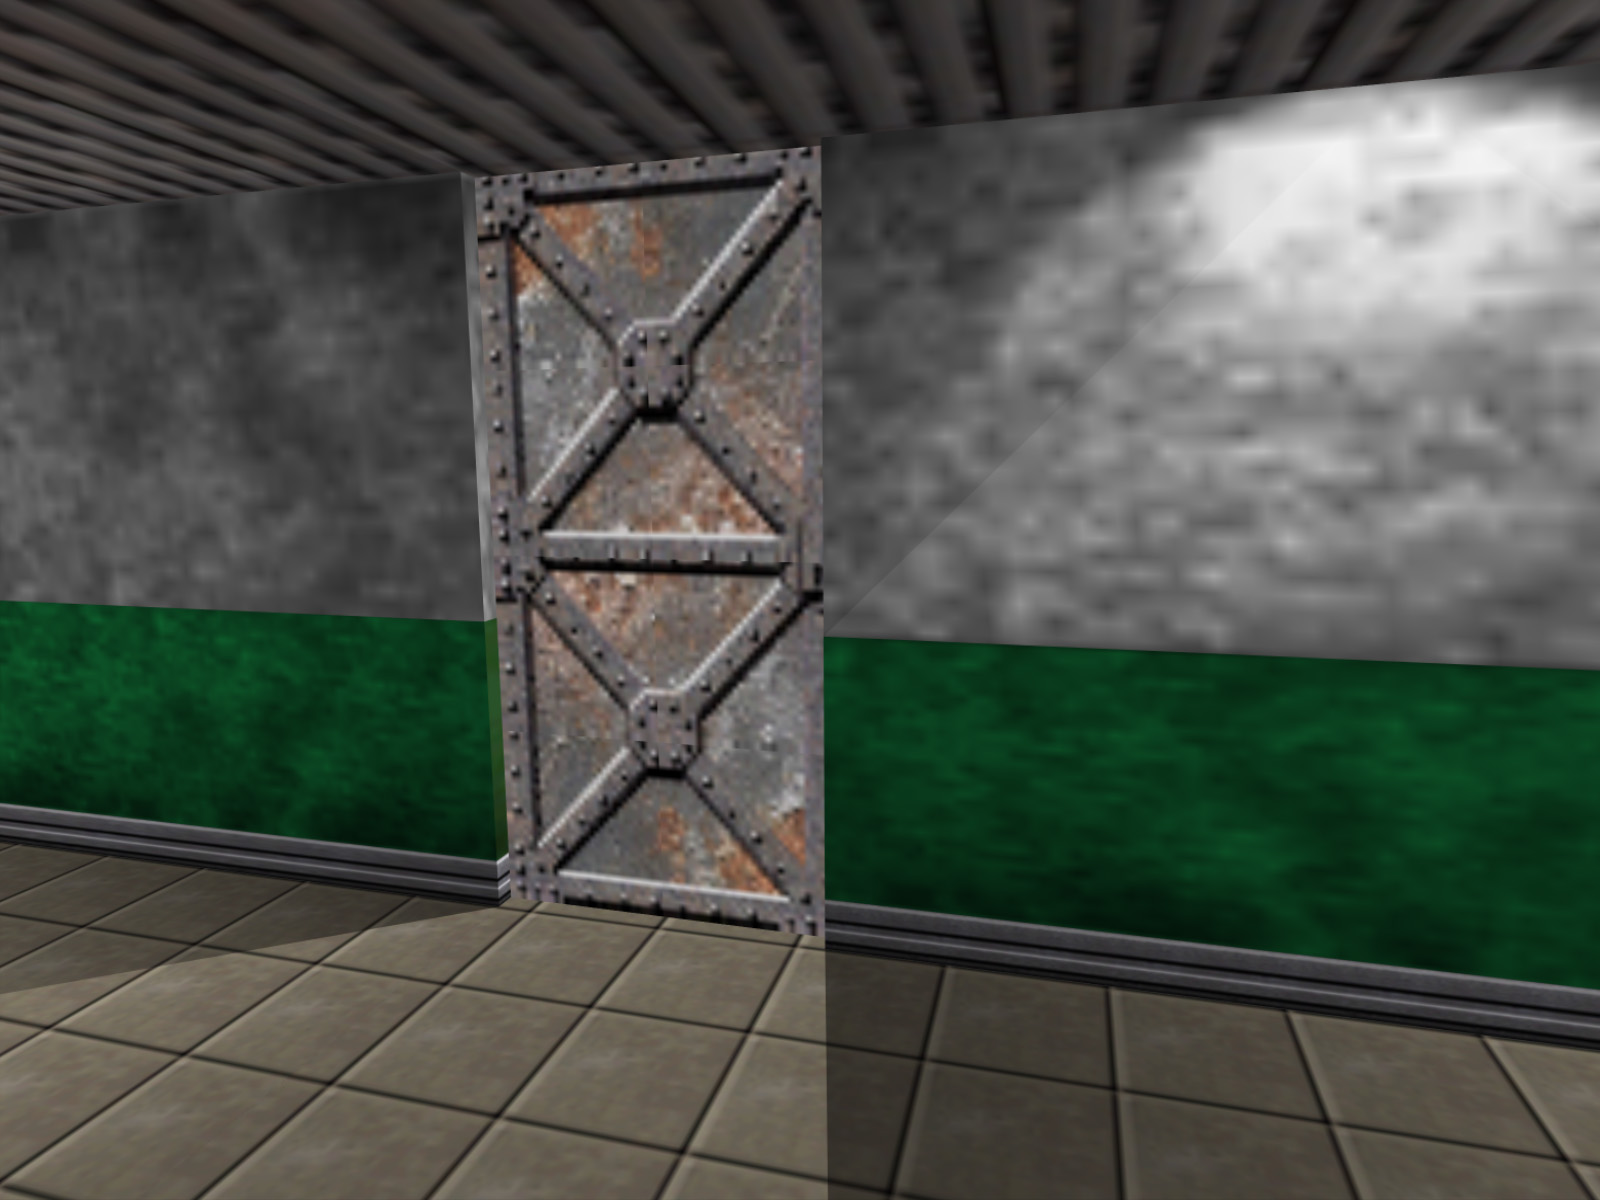
Some doors in Archives fit neatly into frames while others are noticeably larger and reach up to the ceiling. Adding to my theory from a couple entries ago, I suspect that all the tall doors were not originally part of the level but were added later for optimization reasons.