Mission 8: Teotihuaca'n
Part i: Aztec Complex
Mission 8: Teotihuaca'n
Part i: Aztec Complex
The Drax Corporation continues to be involved in unlicensed space exploration. Many of their projects are of a military nature and constitute a threat to the new world political order.
The Drax launch facility is located in a South American Aztec ruin. They are scheduled to launch a stolen Nasa shuttle with an unknown military payload. We're sending you in alone, 007. Penetrating the base security will be tricky, but once you're in, we believe you will be able to recover the shuttle right out from under their noses.
Simple plan, 007. Reprogram the guidance computer with the information on this floppy - then we can take control as soon as the old girl reaches orbit. Now pay attention, one thing we don't know is the Drax launch protocol - you'll have to find that data and install it to initiate the launch. Can't be too difficult to spot, it'll be lying around in some high security area.
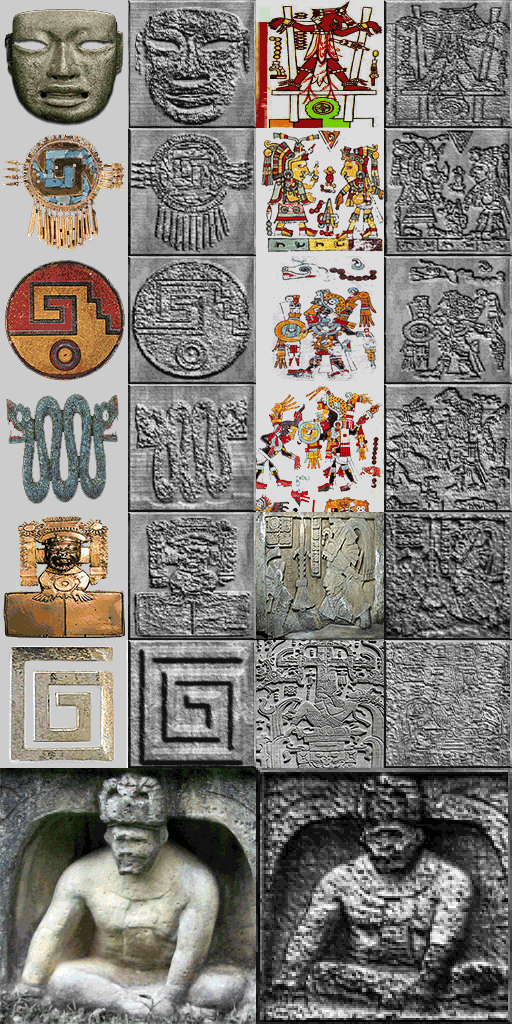
Quetzacoatl ring any bells, James? No, I didn't think so...

Aztec is the nineteenth level of GoldenEye 007 and the only level of the eighth mission. It is one of GoldenEye's two bonus levels and is based on the 1979 movie Moonraker starring Roger Moore. Aztec is unlocked by completing the main campaign on Secret Agent difficulty.
The premise of Aztec is that villain Hugo Drax has stolen a Space Shuttle and plans to use it in his world conquering plans. Of course it is up to James Bond to thwart Drax and retrieve the Space Shuttle. Hugo Drax does not appear in the level, but his towering henchman Jaws poses a deadly threat.
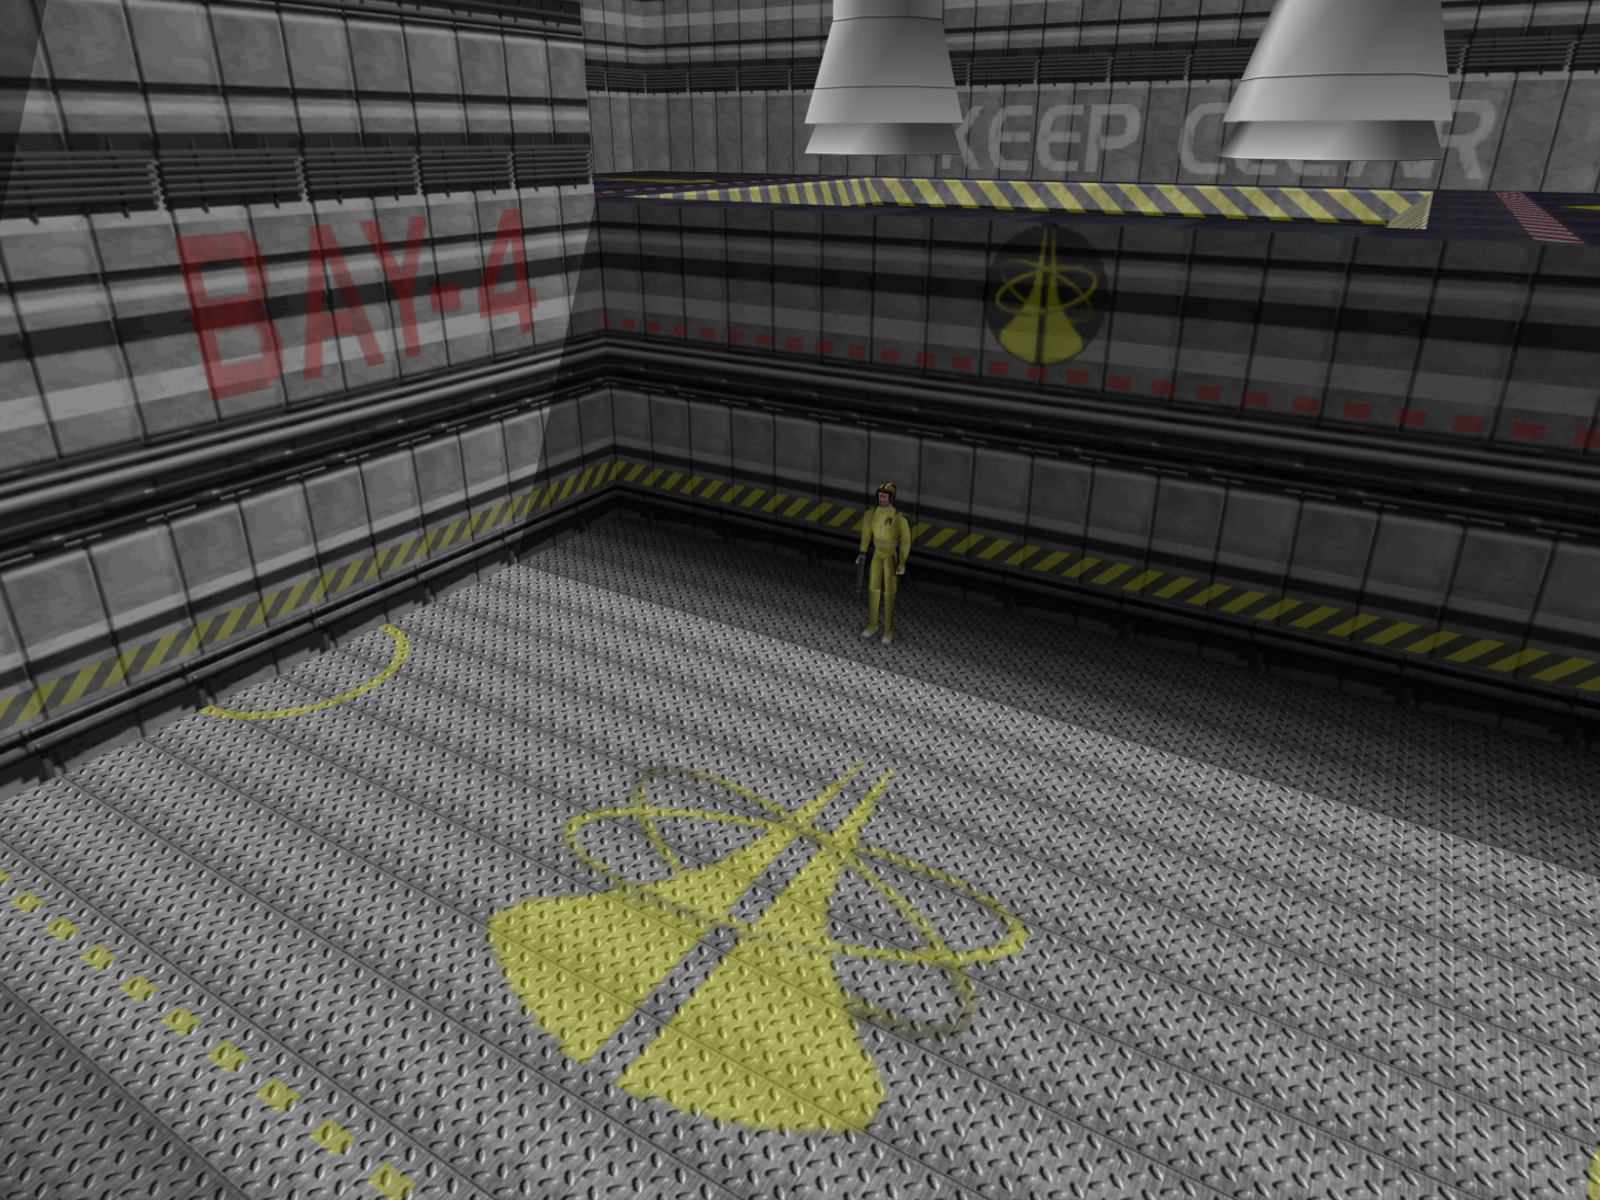
Aztec has two different visual themes. Part of the map is in the style of an ancient temple with engravings carved into the walls. The other part is a high tech base where the Space Shuttle is housed.
Aztec is generally regarded as the most difficult level in the game. The Moonraker Elites carry highly damaging AR33 Assault Rifles and Military Lasers. They are very accurate enemies and on top of that there are six Drone Guns standing in the player's way.

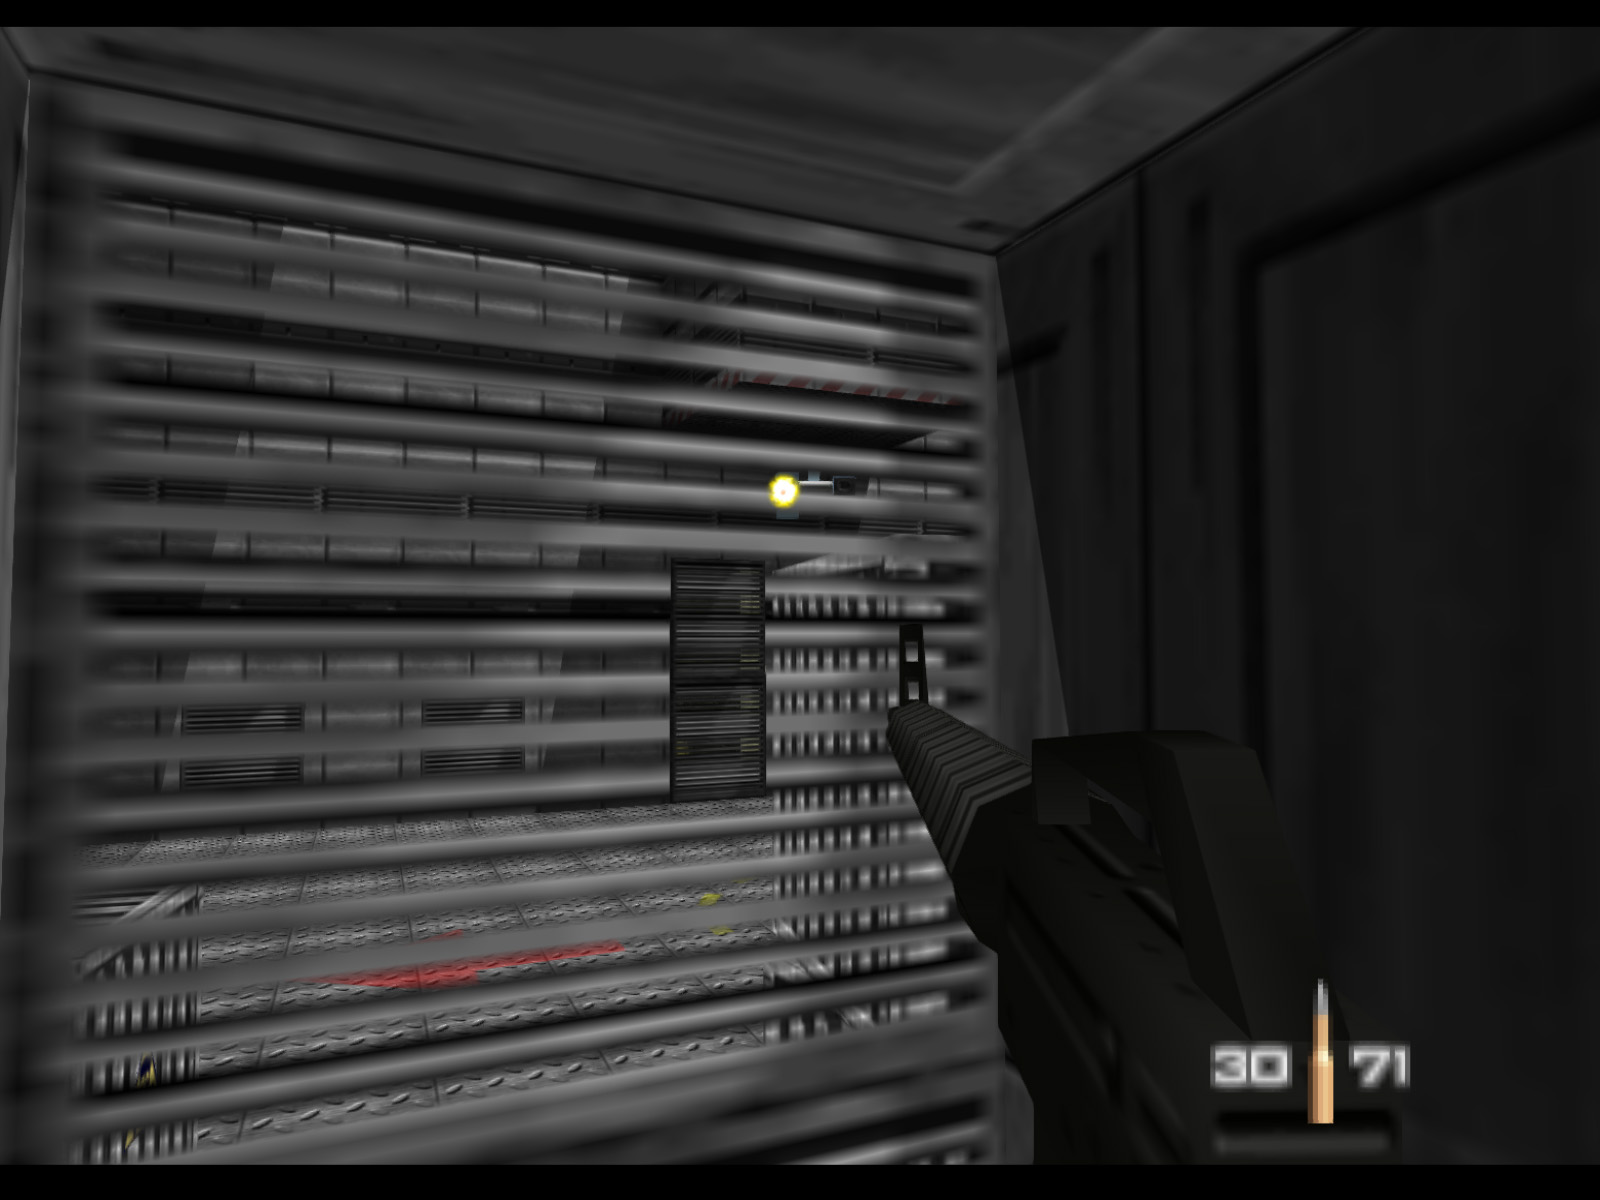
Aztec's only armor is located in the vents past the shuttle exhaust bay. Coming from the direction of the exhaust bay, you'll want to follow either of the two vents to the long corridor with the drone guns. Once at that corridor turn right and round the corner at the end to find this armor.
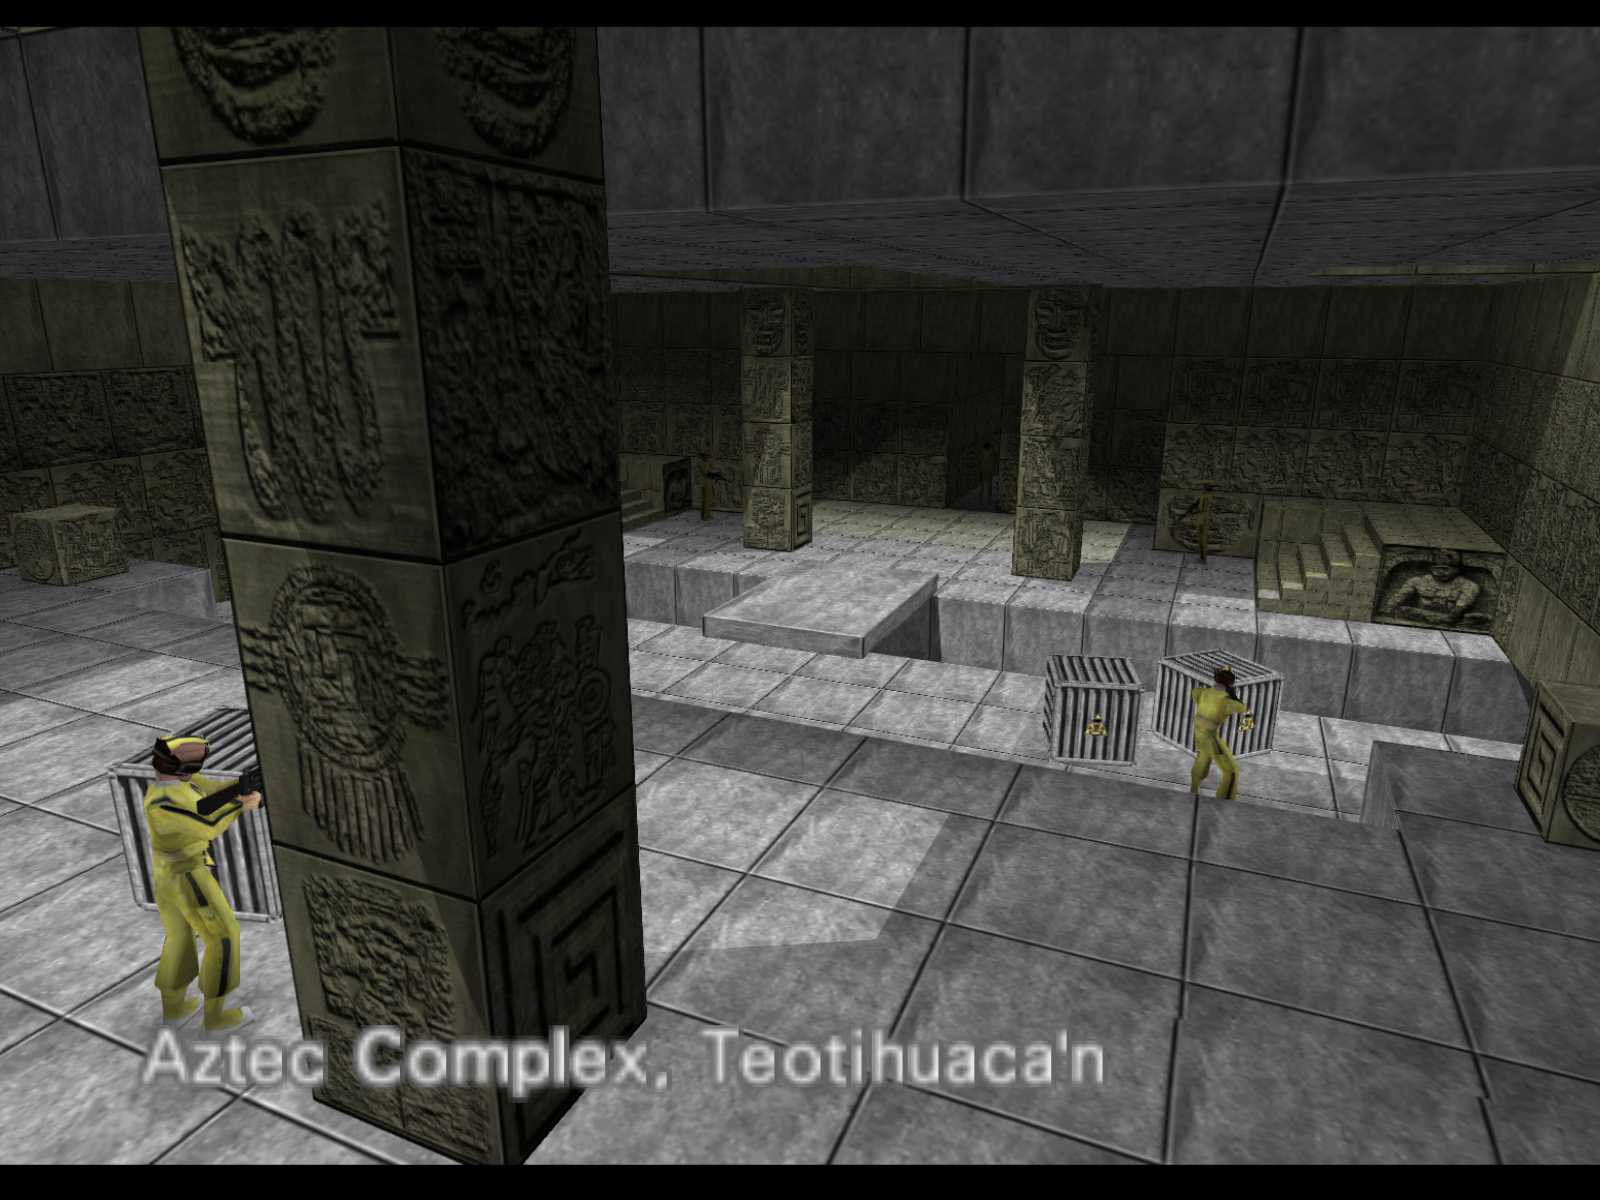
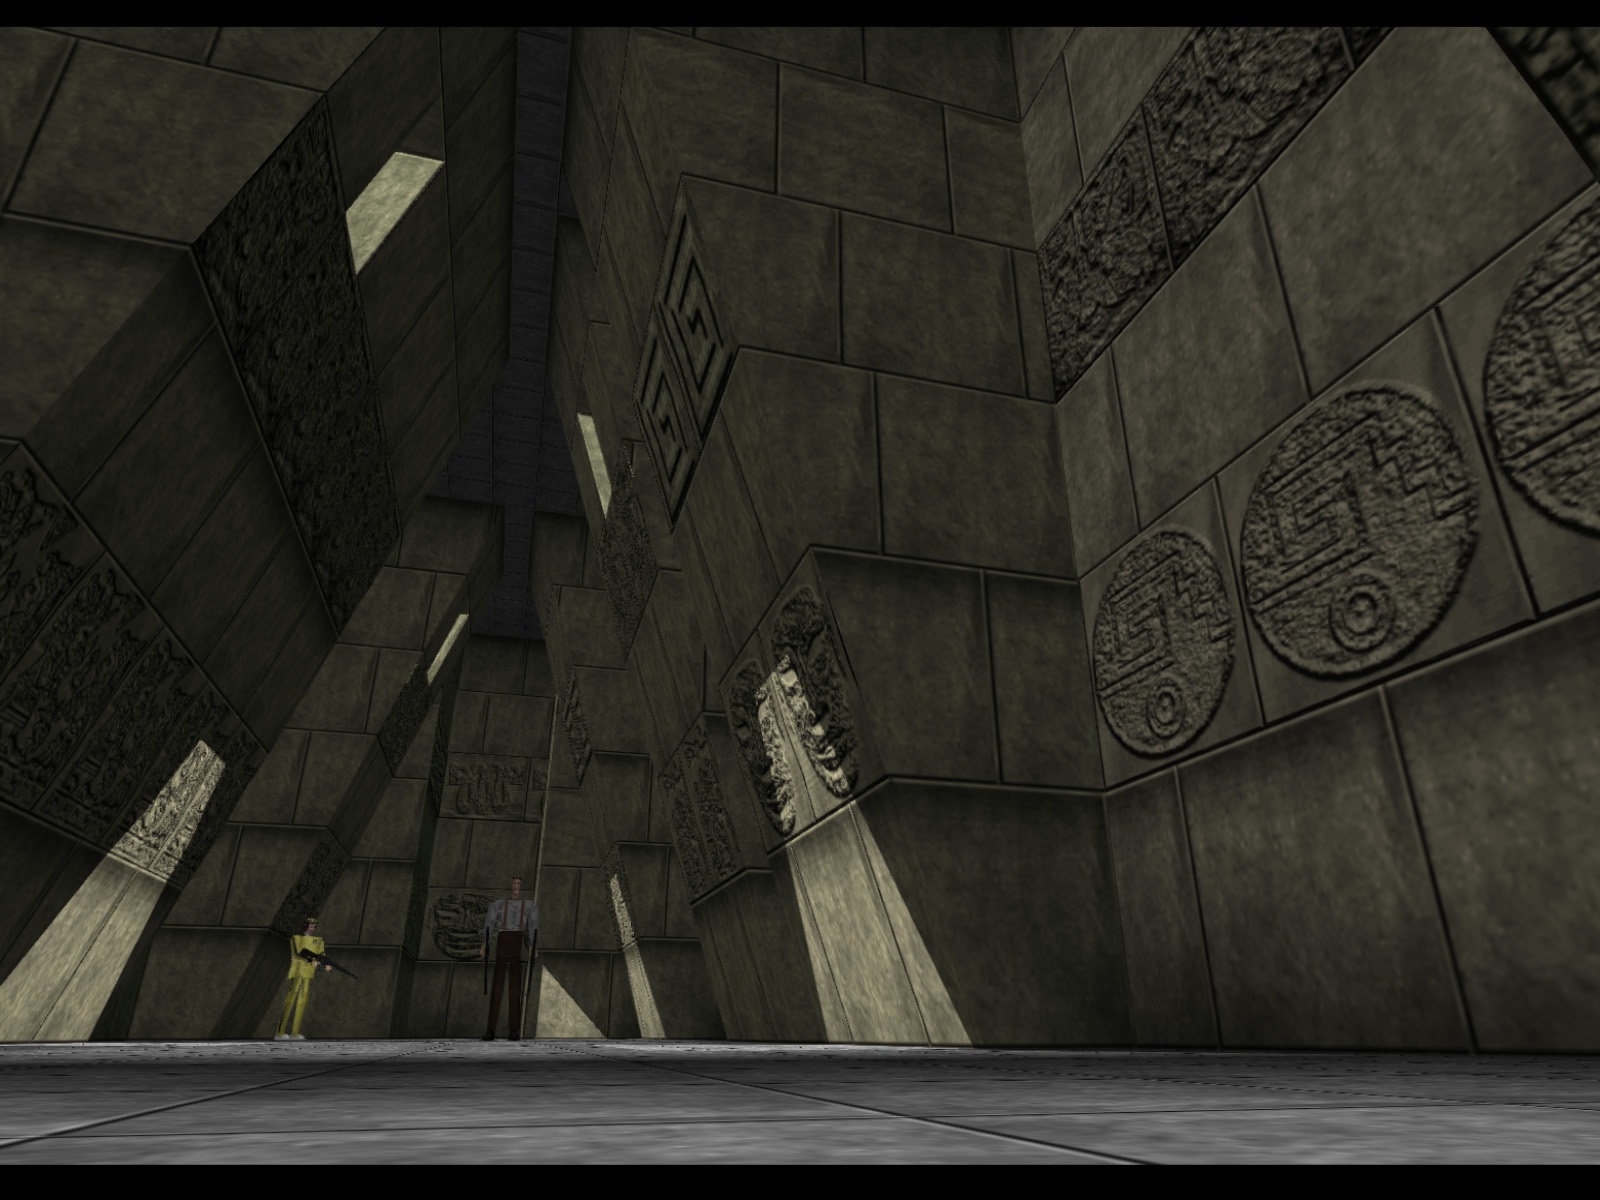
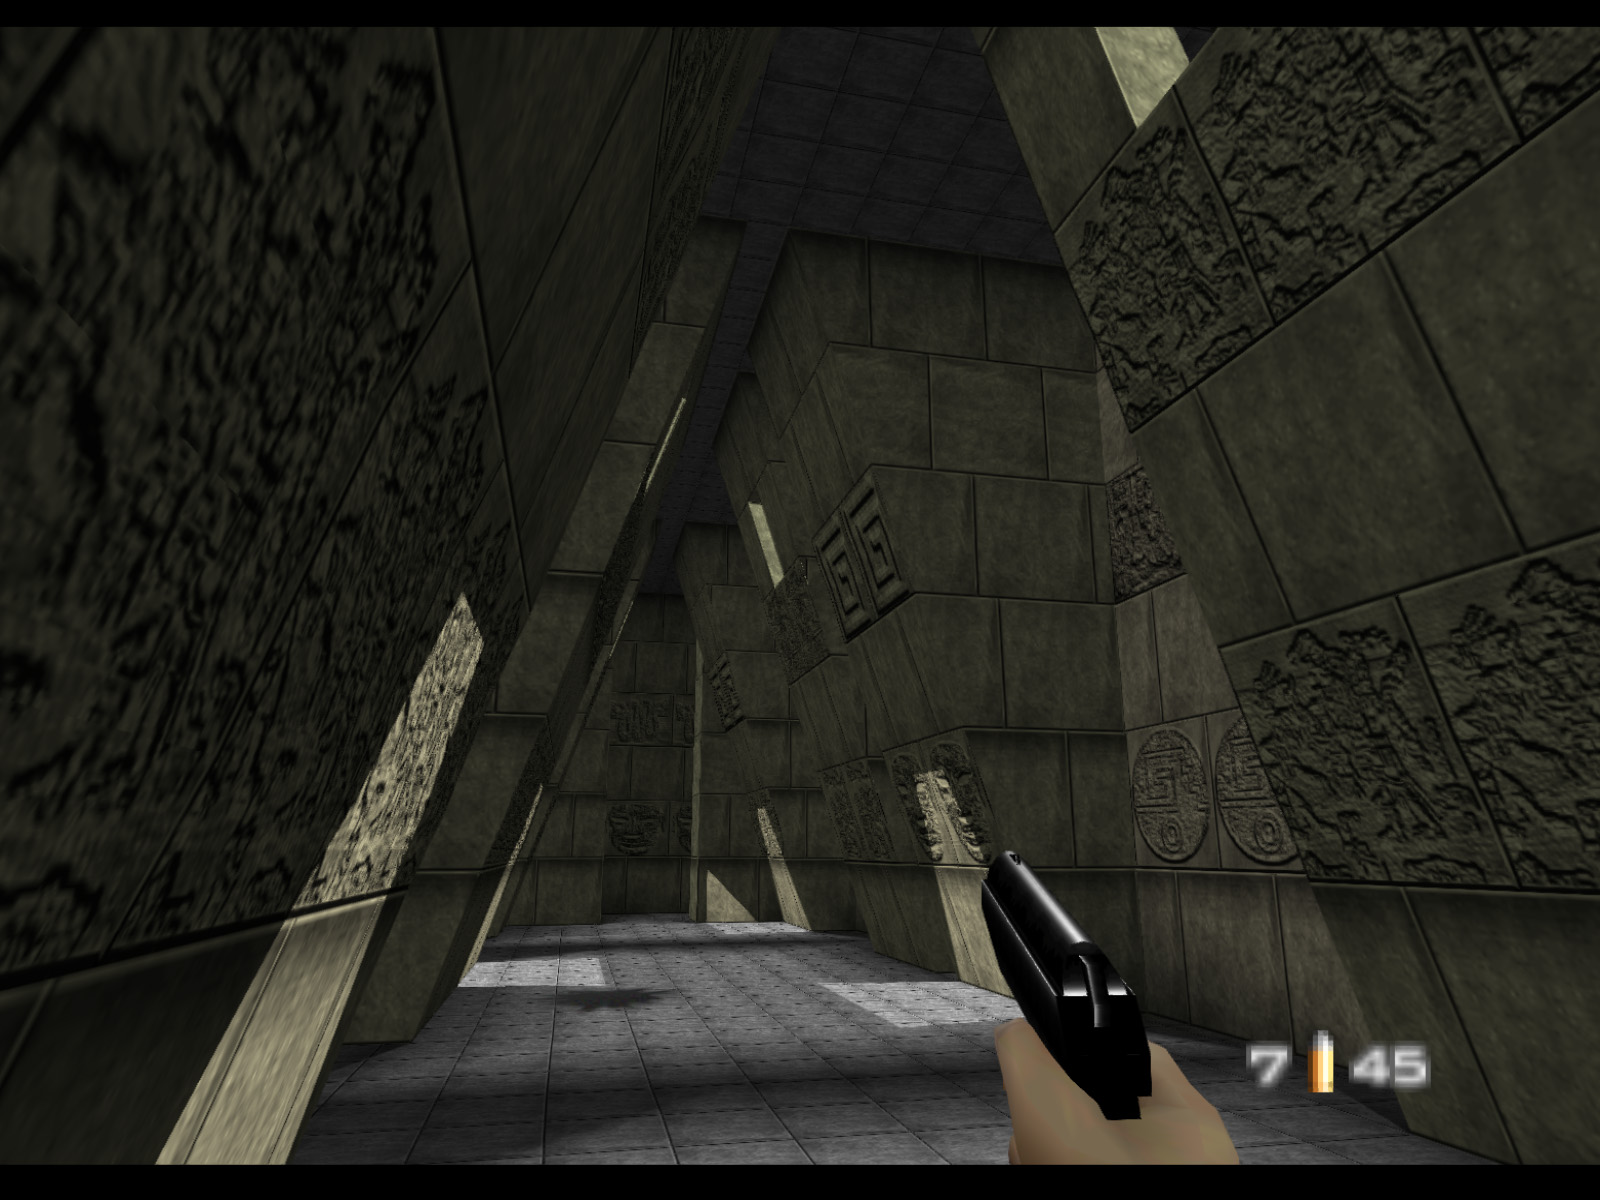
Aztec begins in this alcove. There is one Moonraker Elite to the right and two to the left.
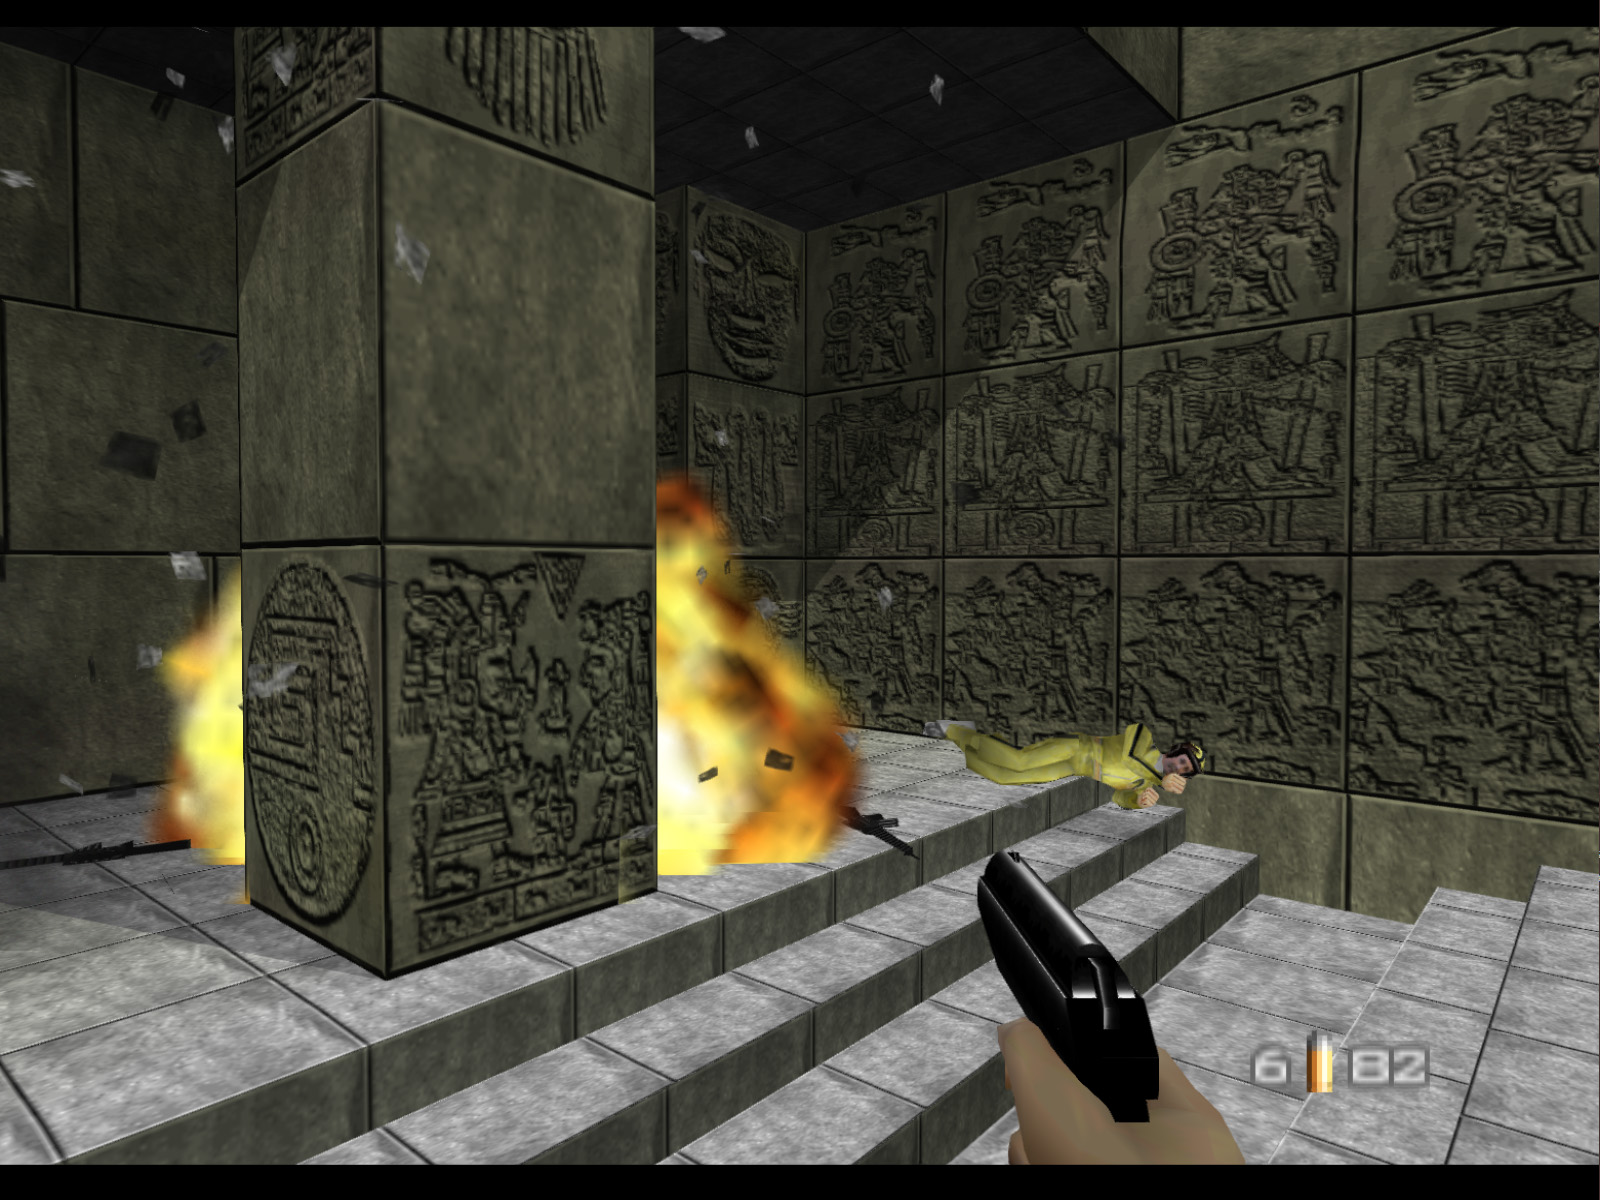
I like to take out the one on the right first then dive for cover. These guards really like to throw Grenades. Sometimes you'll get lucky and they'll take themselves out like what happened here.
▶ TIP: If you take damage here it is probably best to just restart.
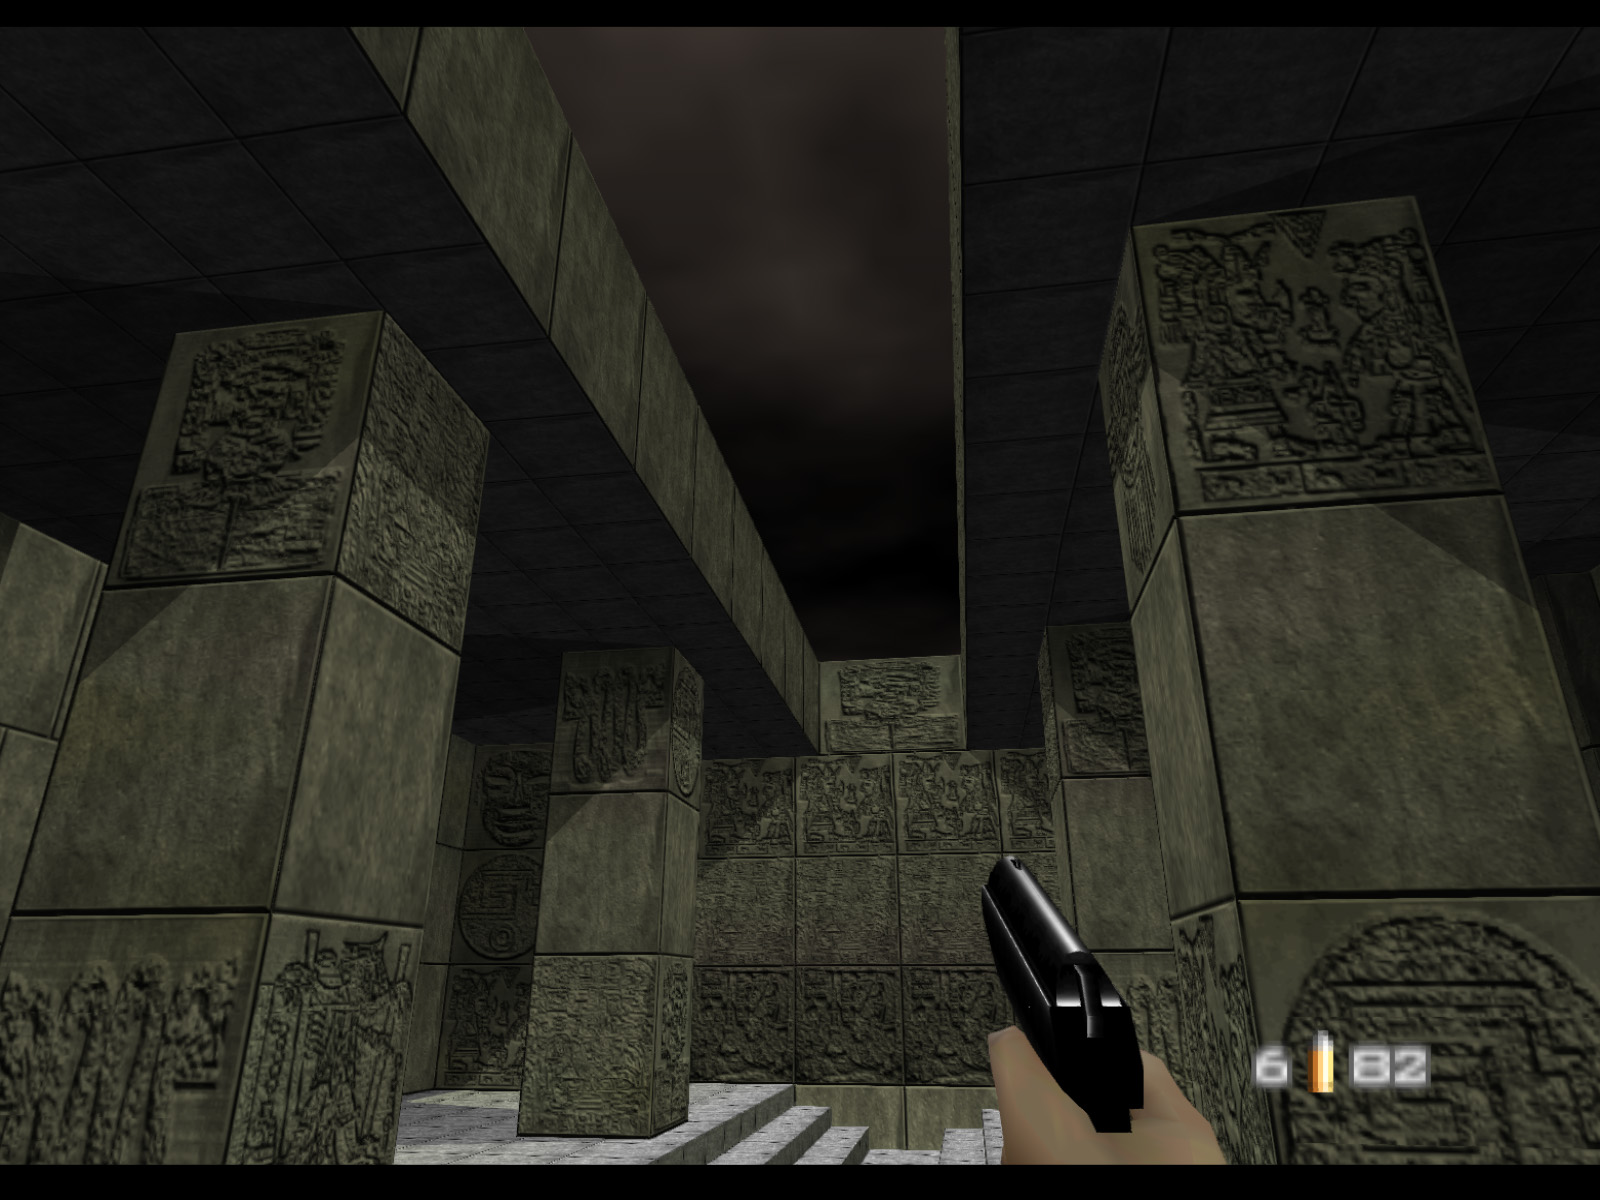
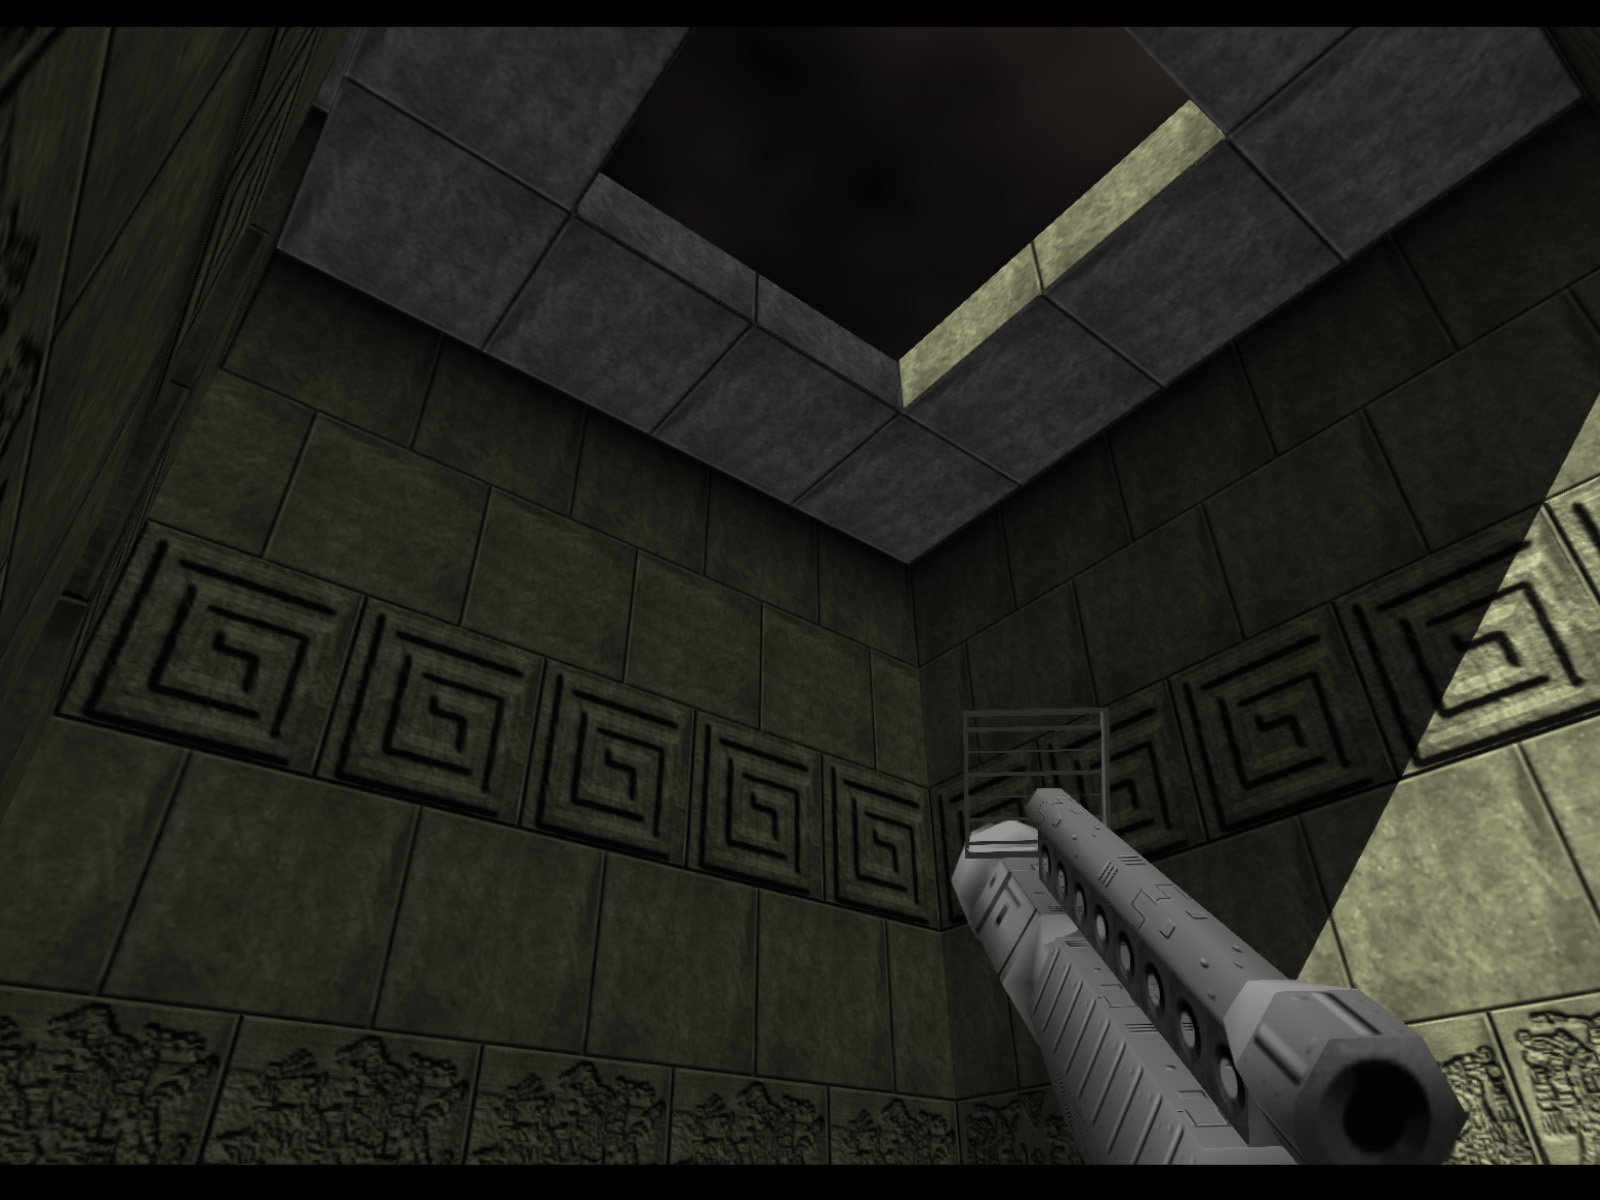
Another view of the starting room.
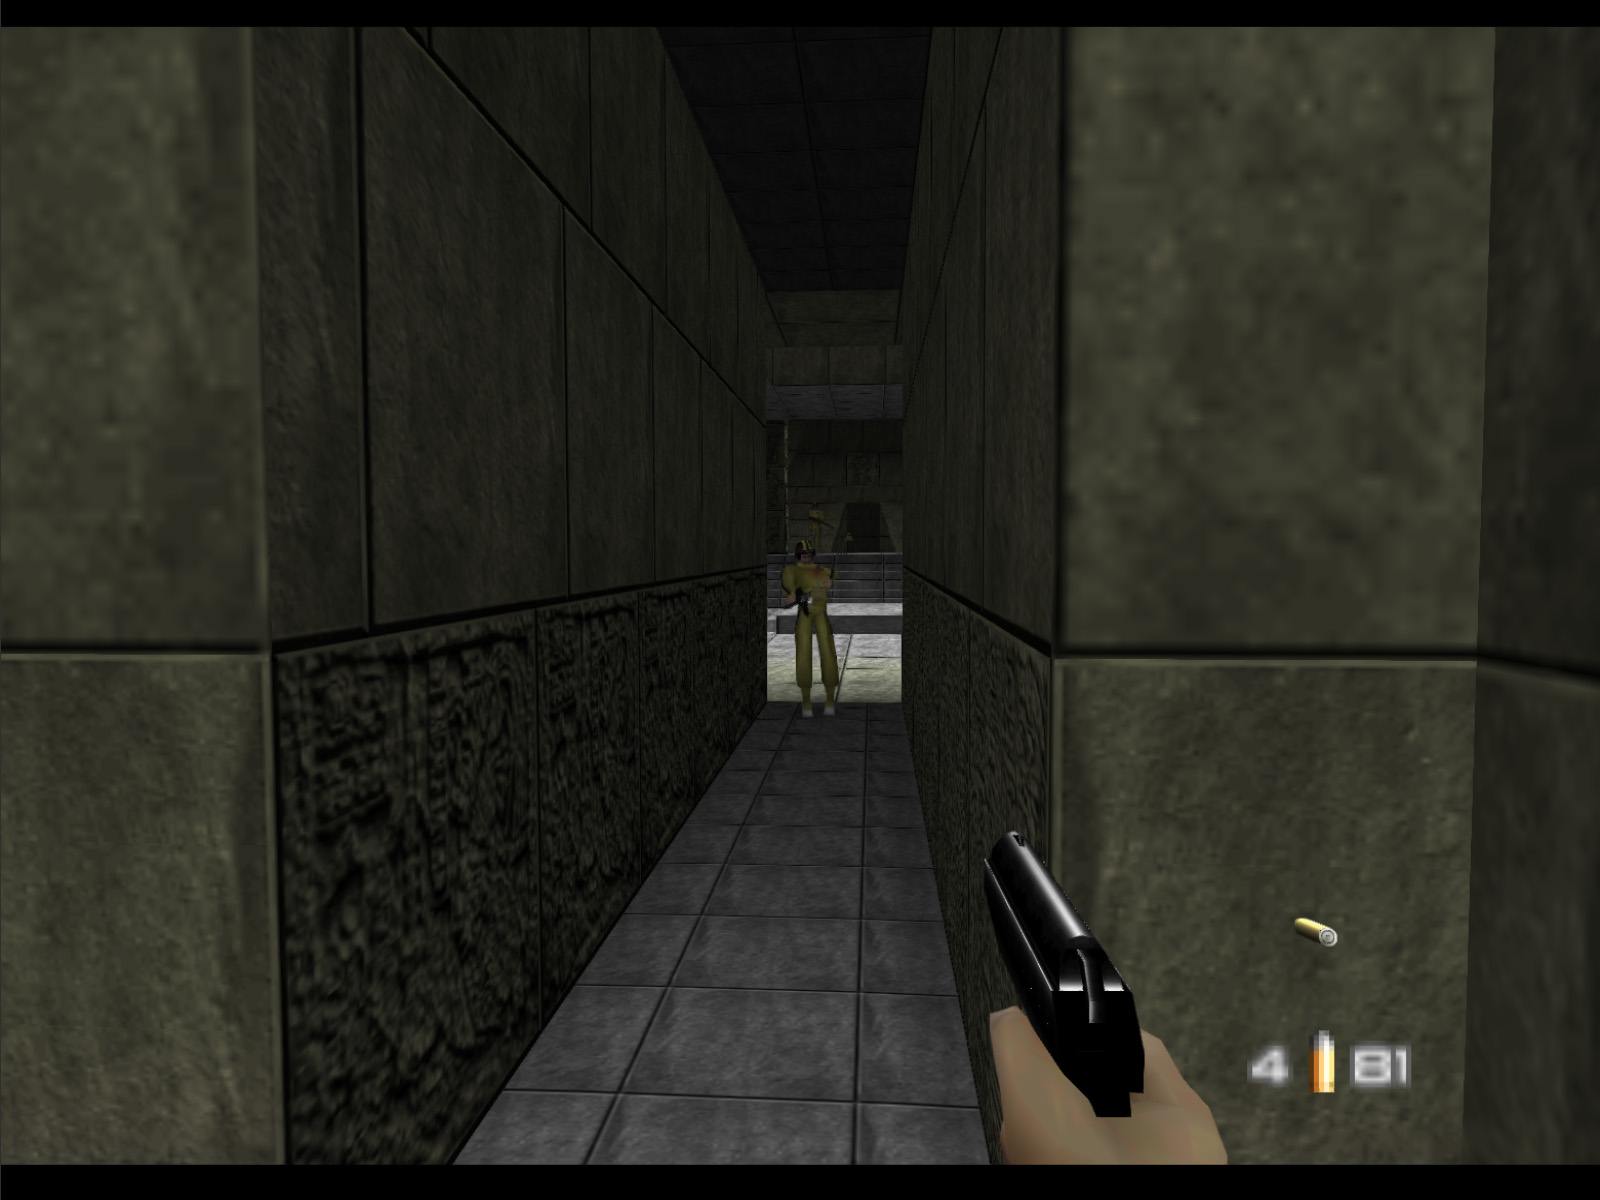
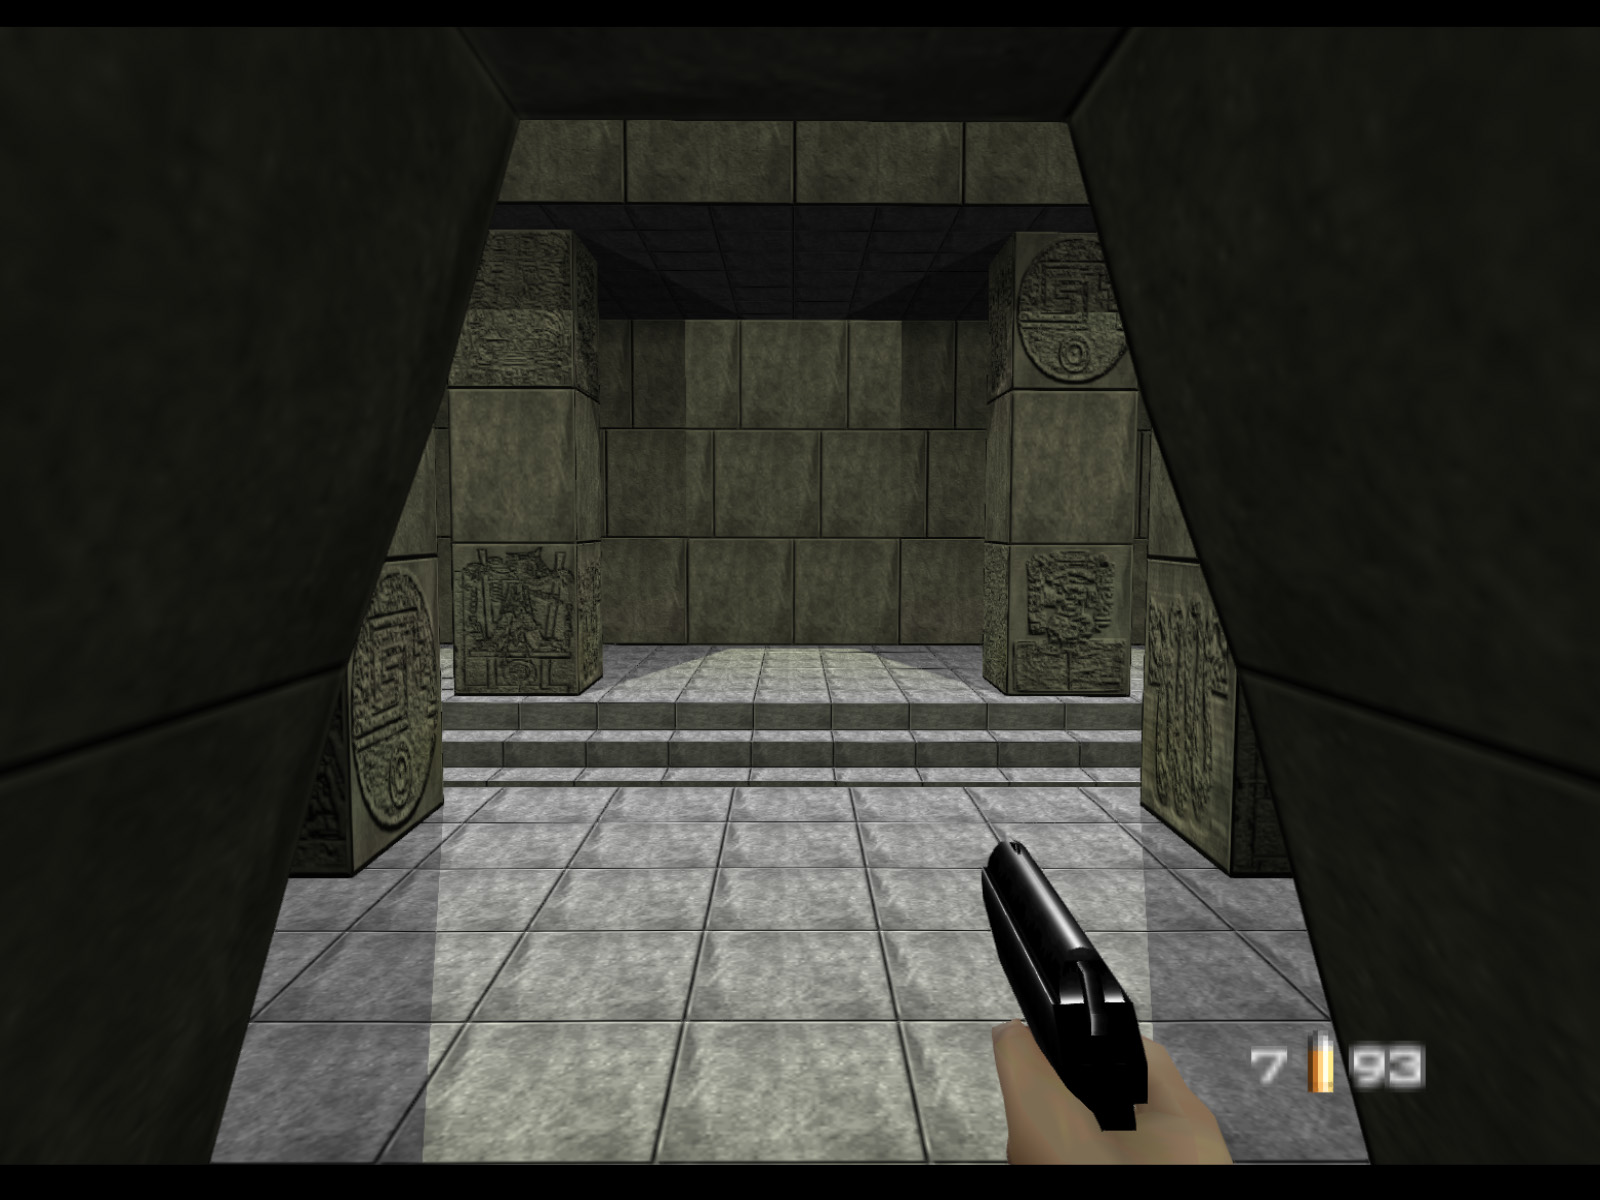
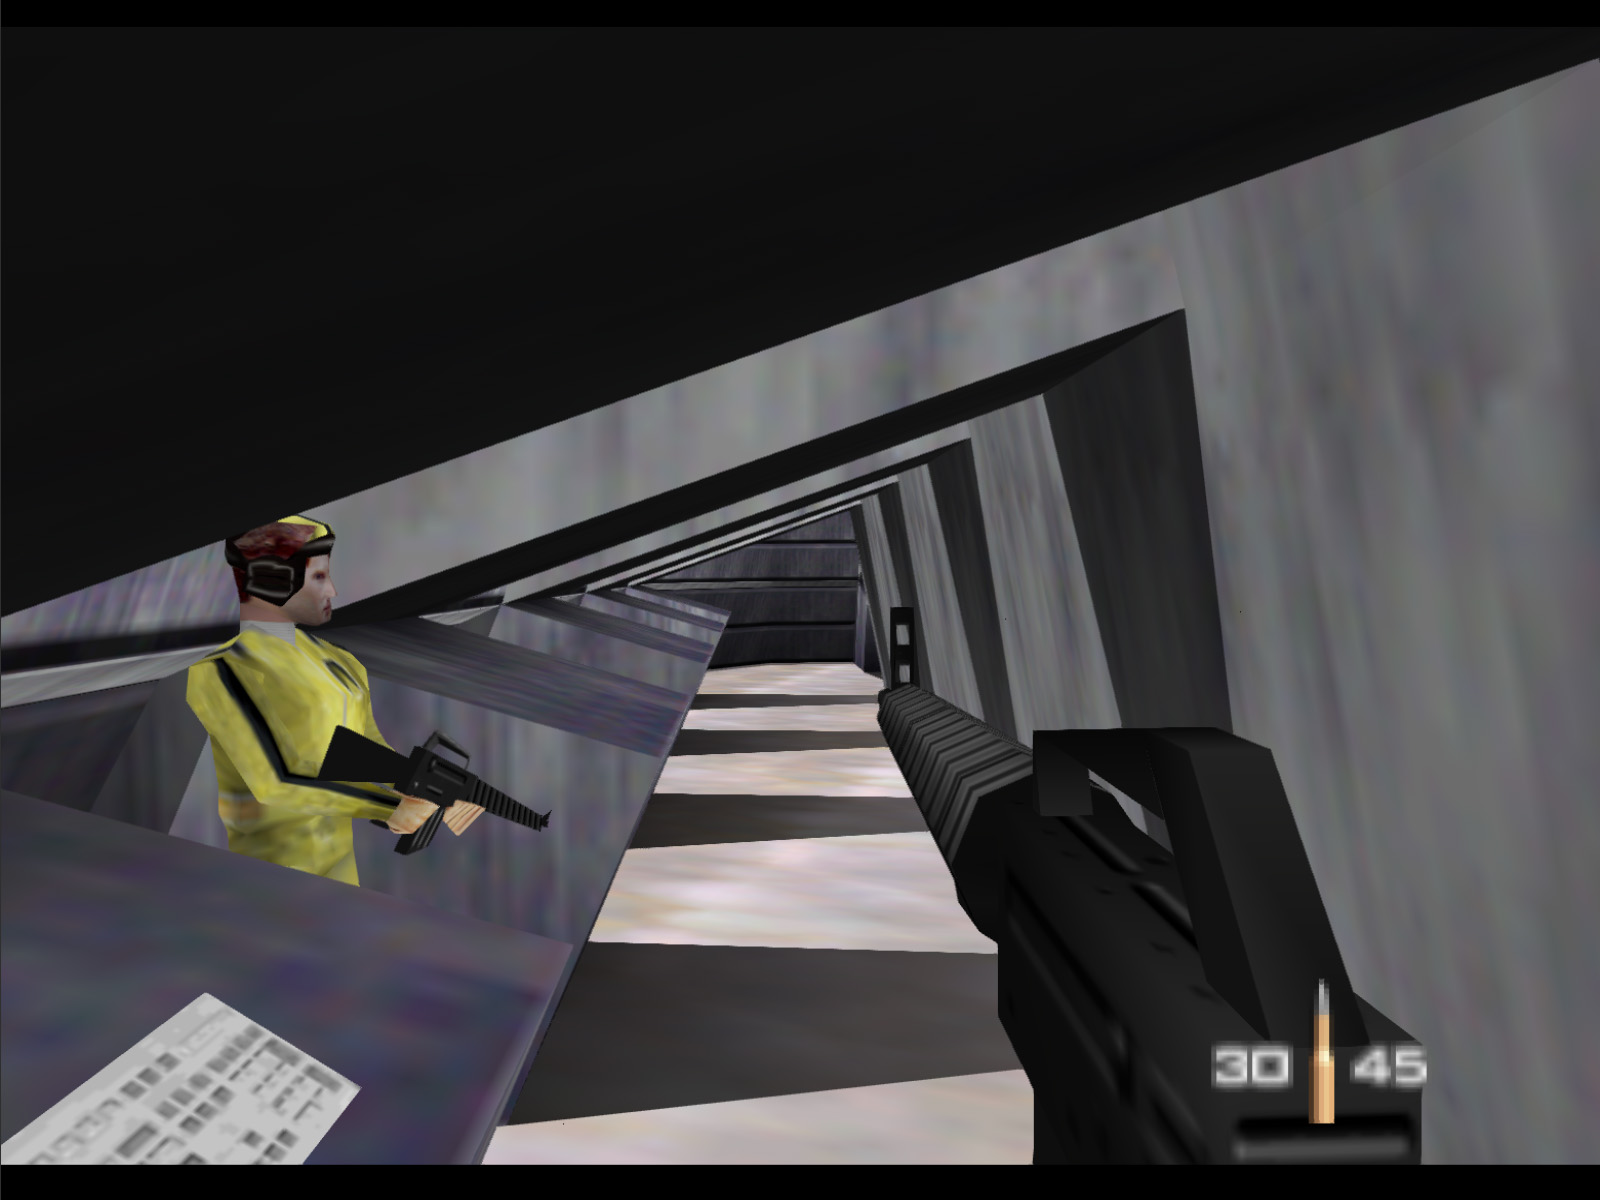
A stone door raises to reveal the next area. Look out for the Moonraker Elites in the far distance who take cover behind crates.
A short stone bridge crosses this chasm. You can drop down for a more direct route to Jaws who holds the Security Smart Card needed to open a sealed area, but this route is actually more difficult in the long run.

View of this area from the other direction.
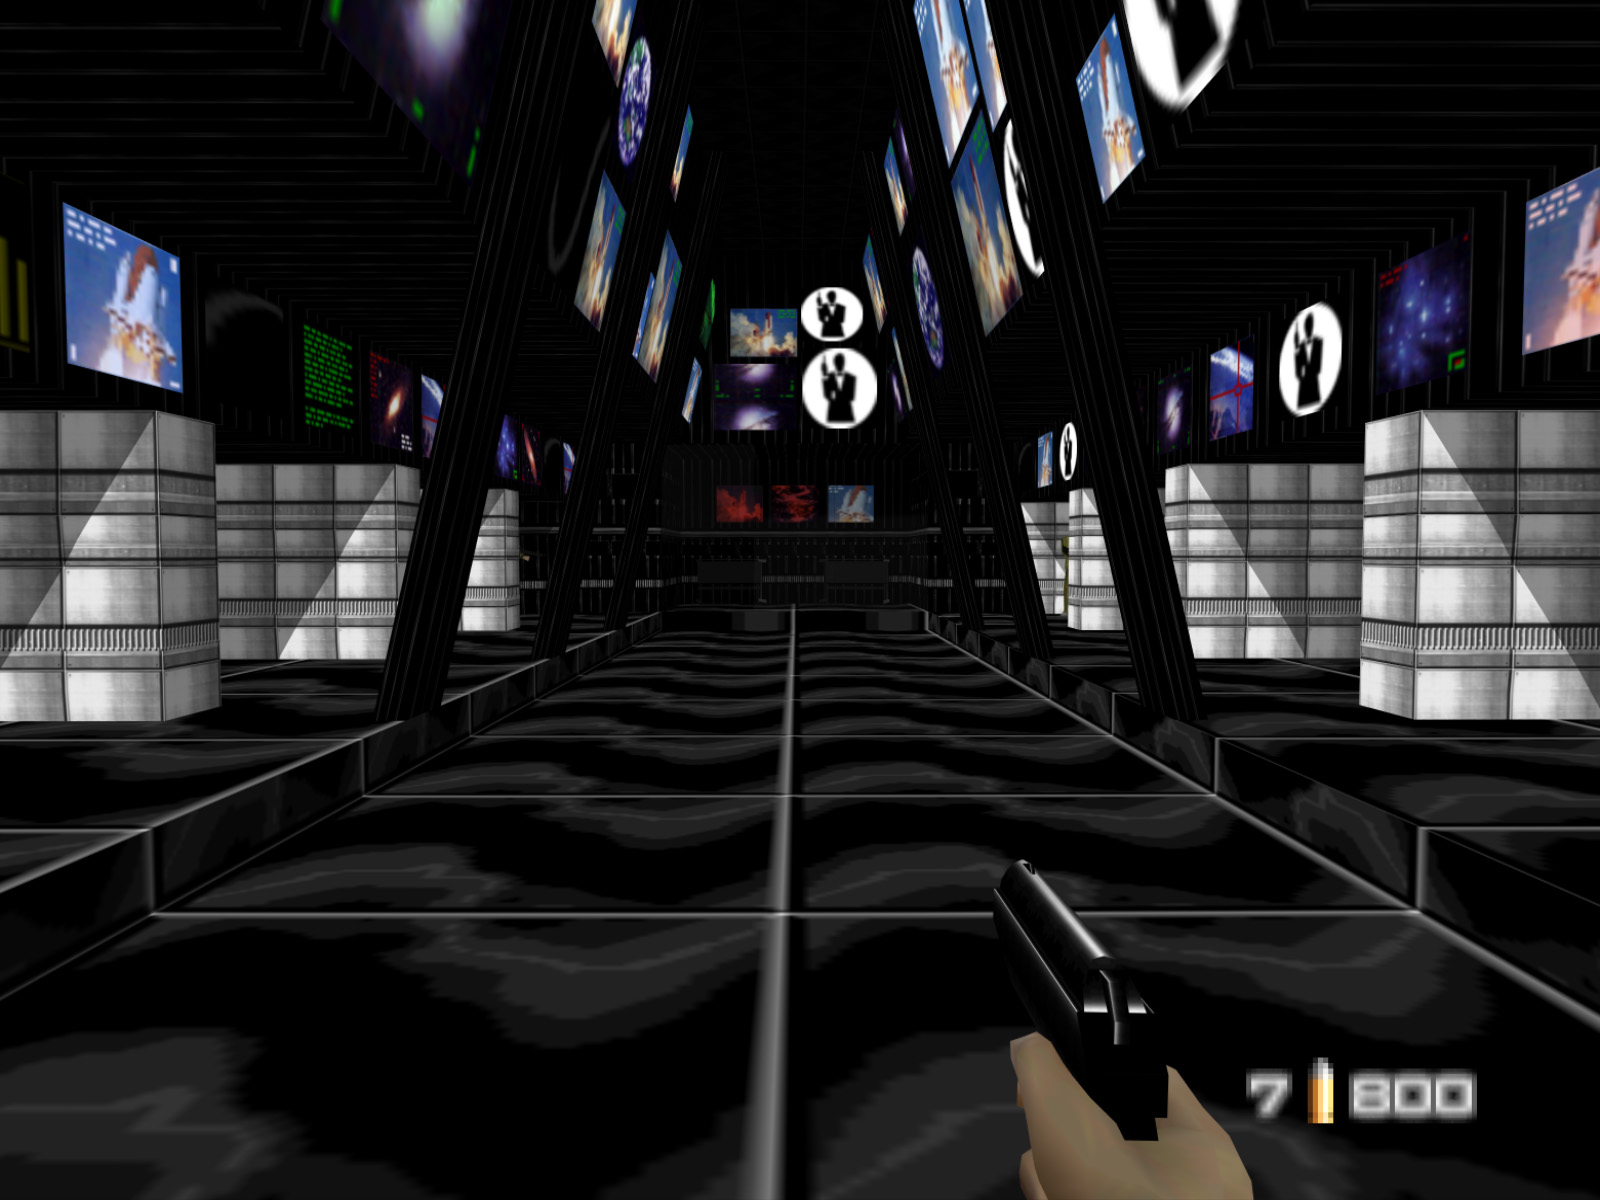
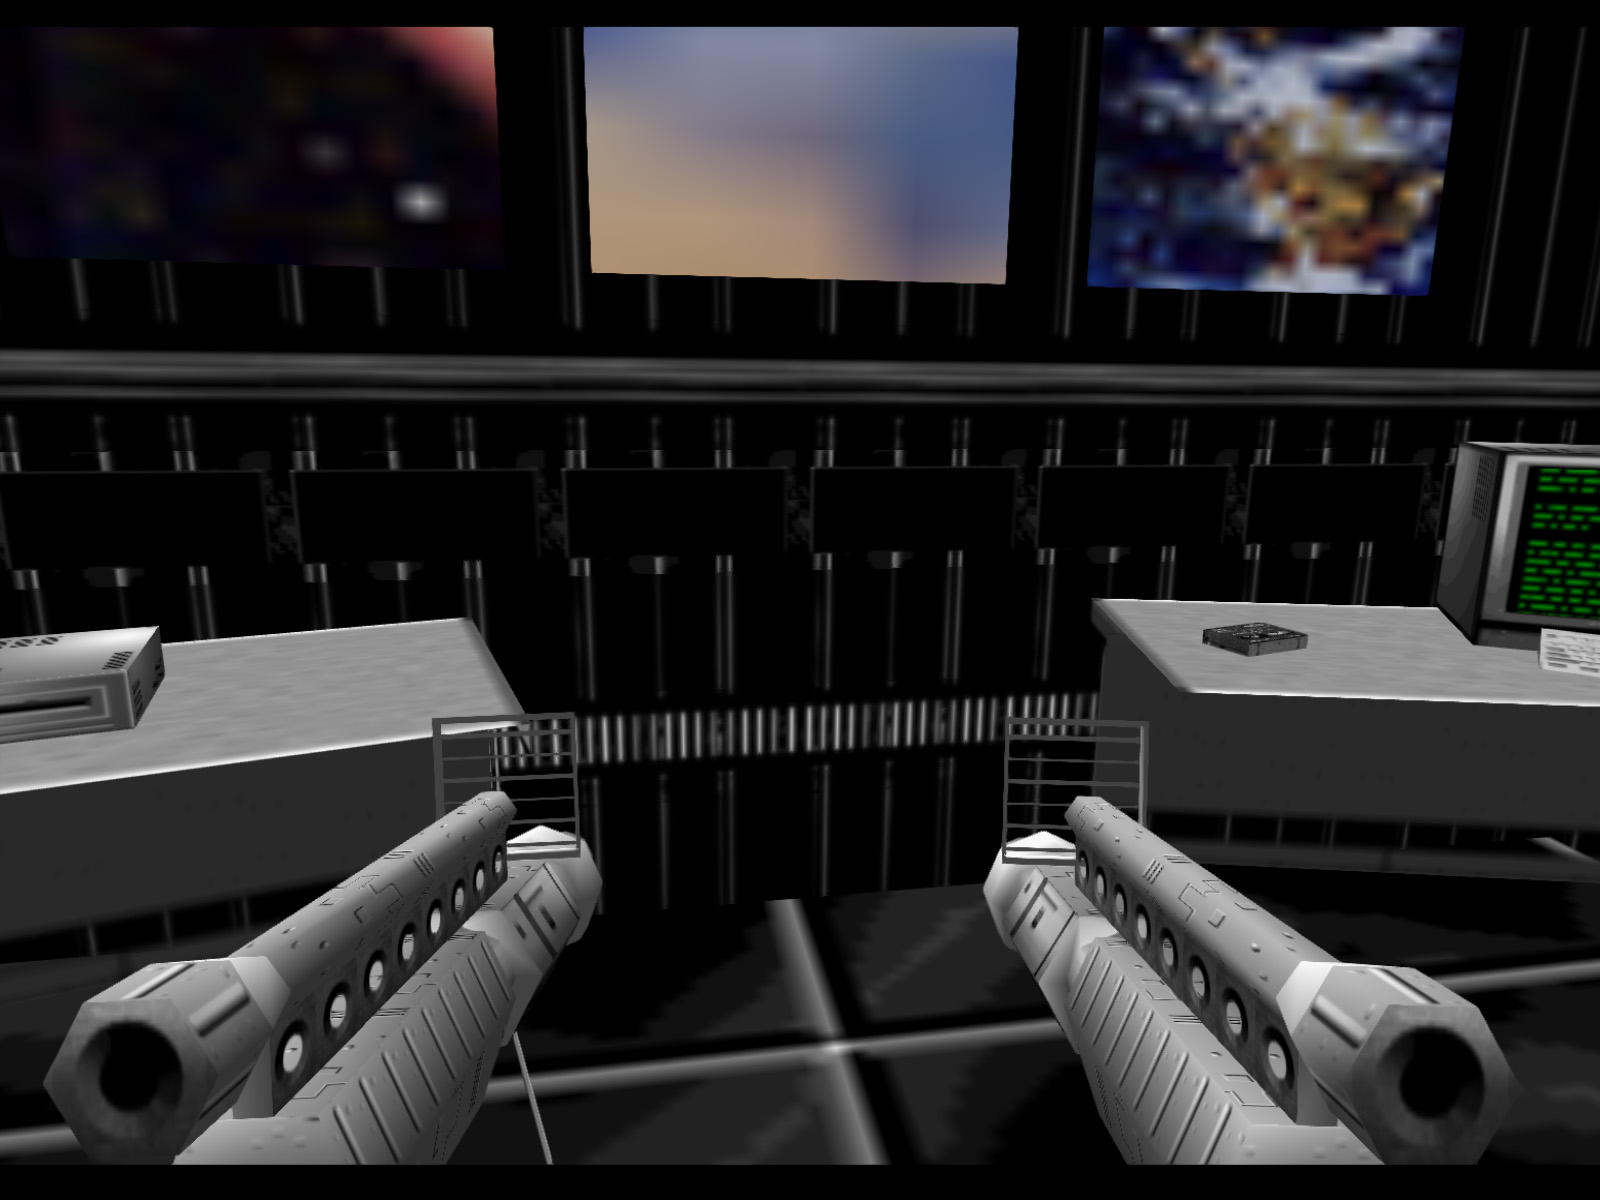
Next is the main control room which is absolutely packed with video screens. There are five guards tucked away in the various alcoves.

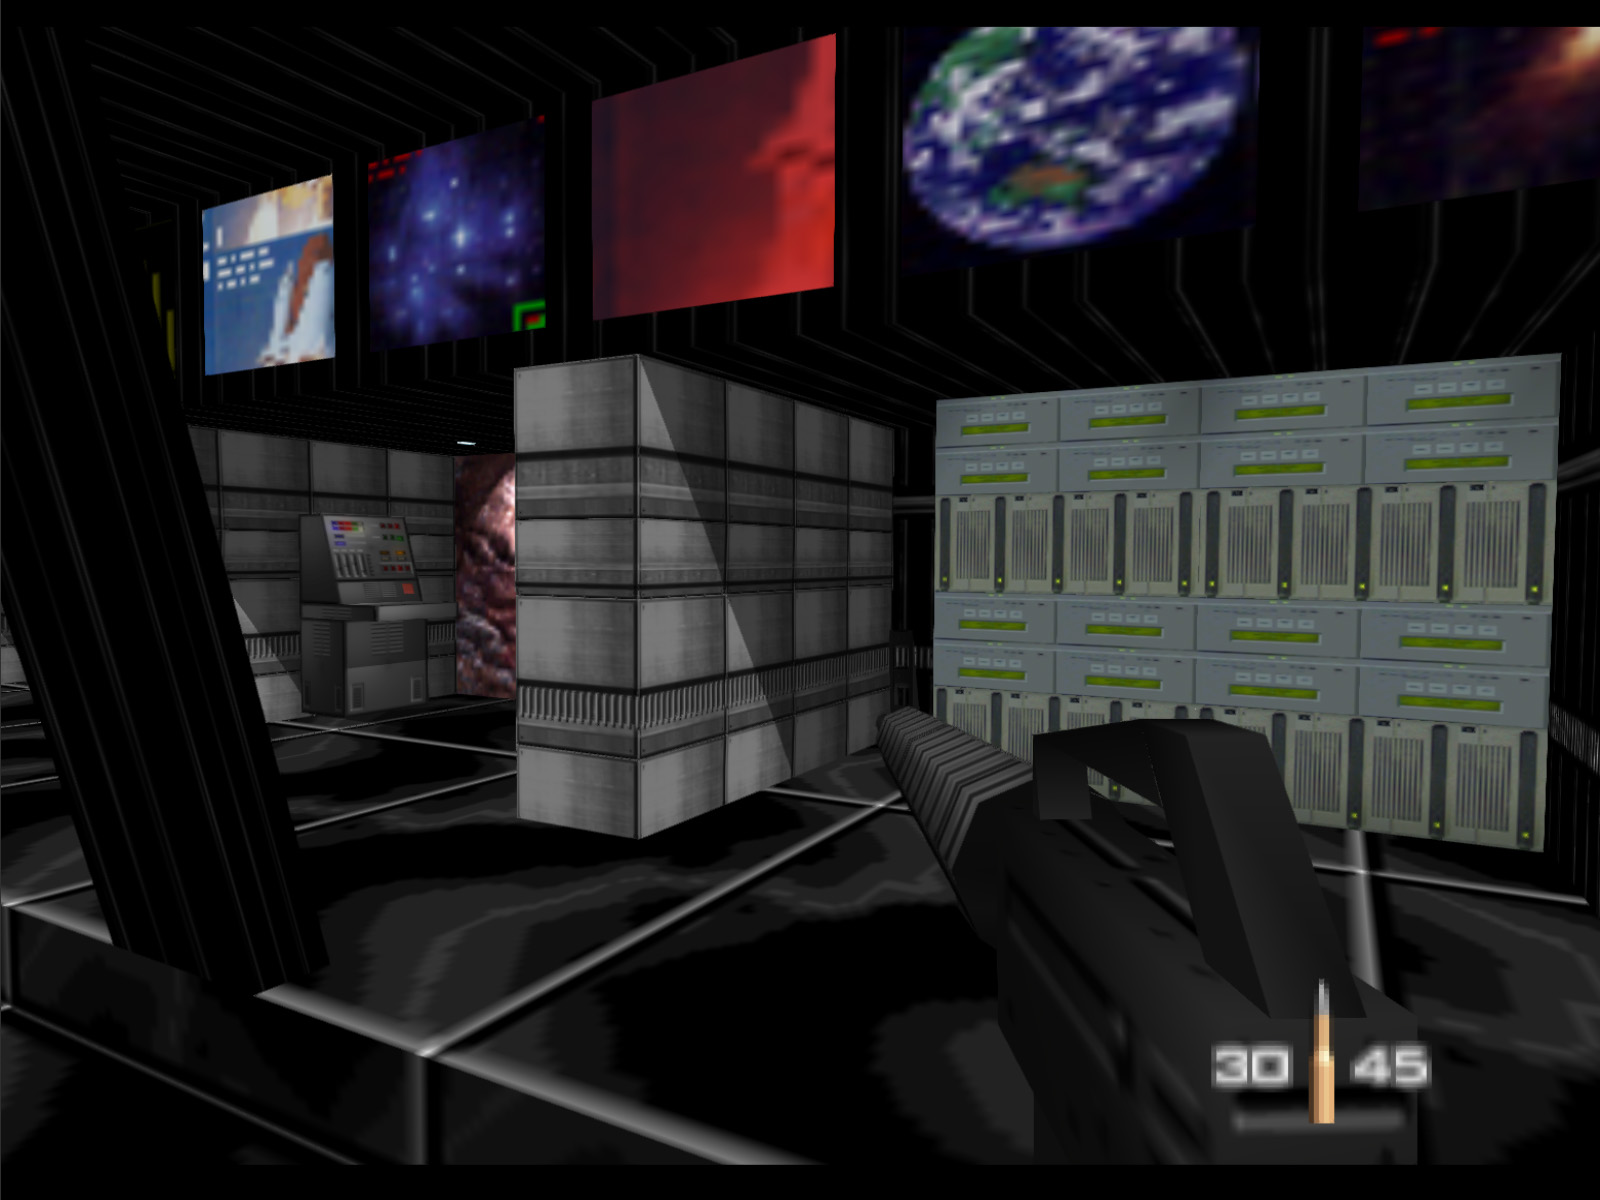
The path forward is blocked by a phony mainframe that is actually a door. Use the console on the left to open it.
Enemies stand in the niches of this purple hall. You can abuse their line of sight to take your time and get precise headshots on them.
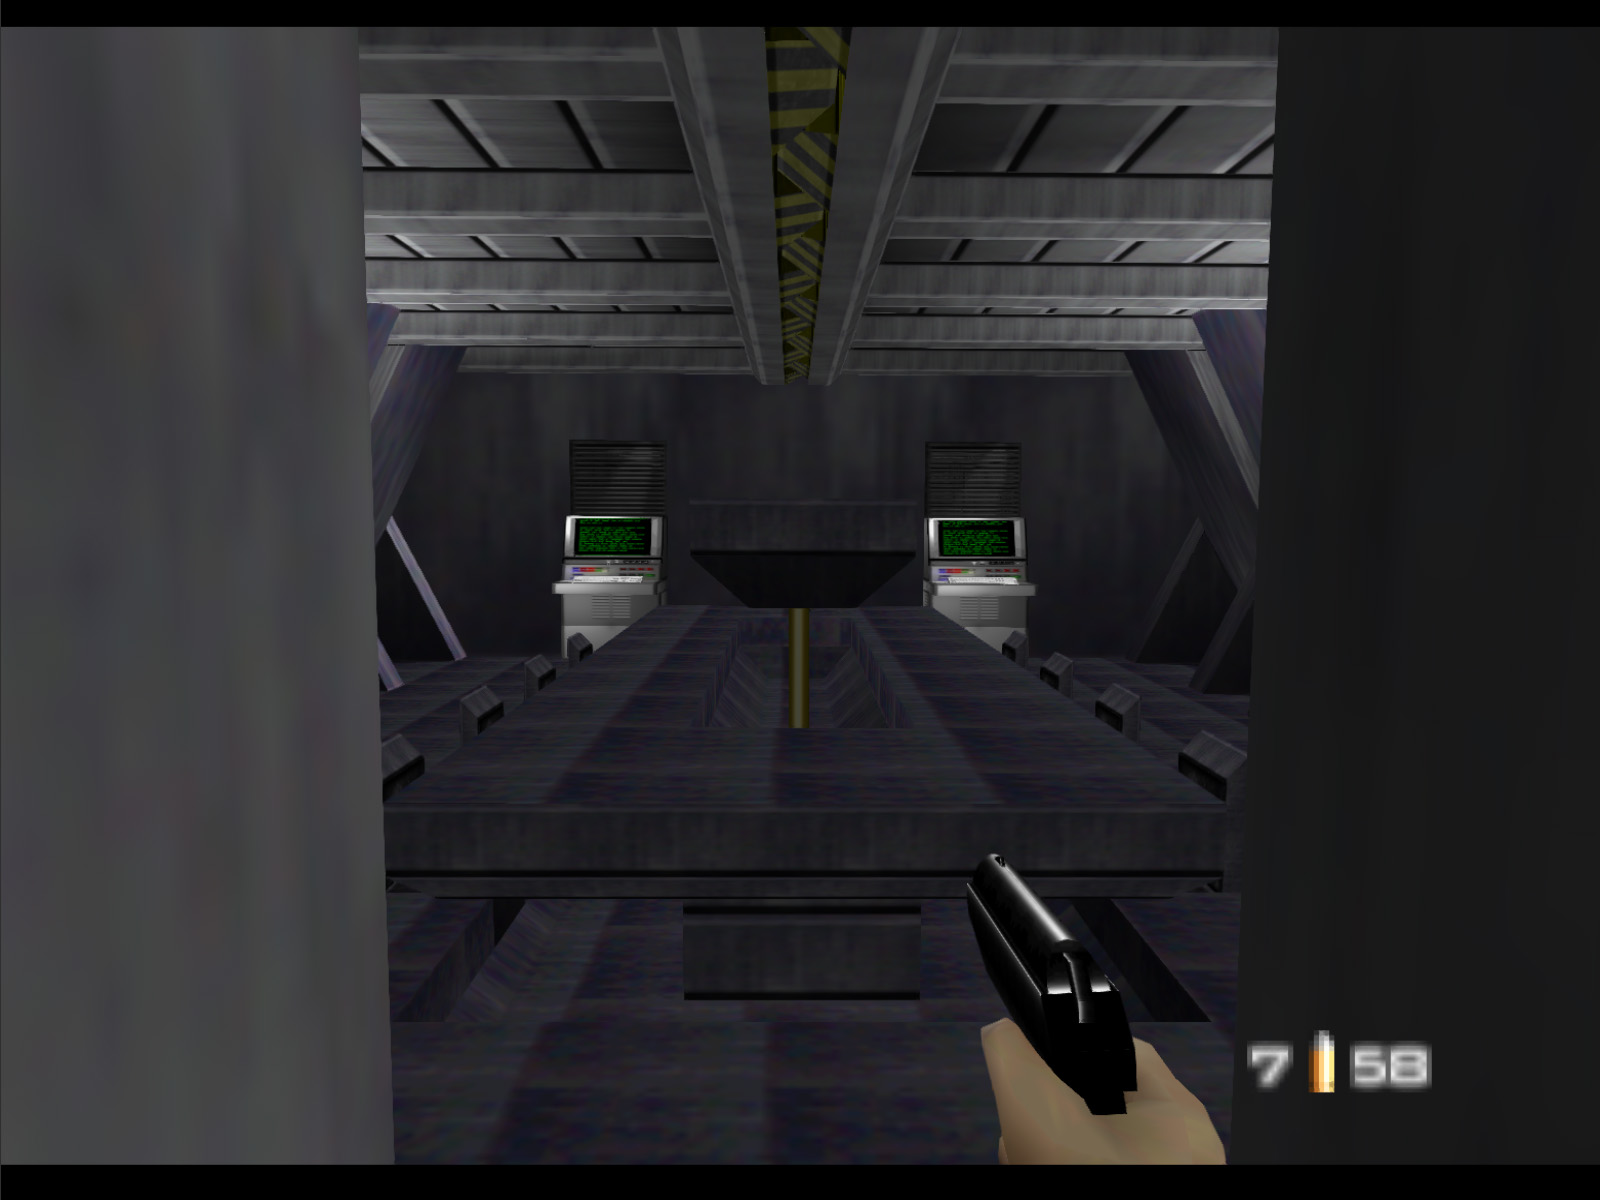
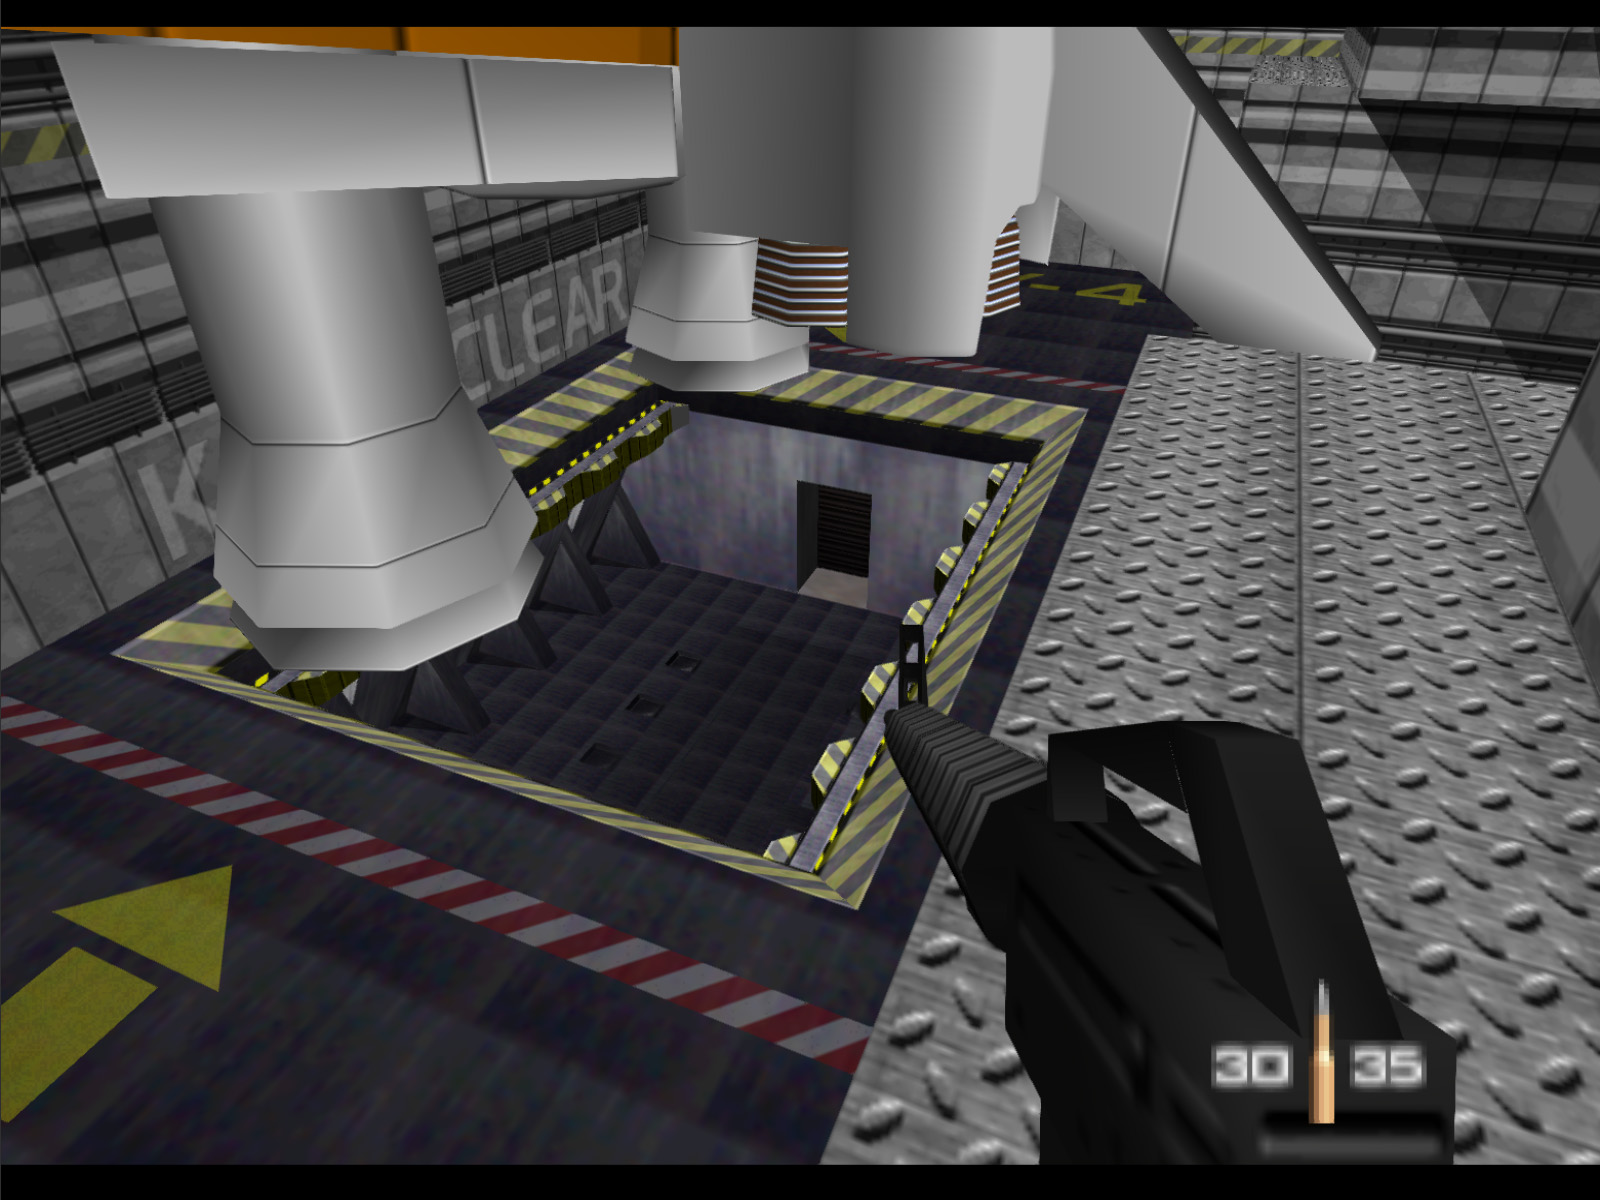
This next room is a dirty trap. As soon as you step in the conference table lowers and the overhead doors open to reveal that you are in the Space Shuttle's blast pit!
There are Moonraker Elites ready to ambush you on both the left and right. Quickly eliminate them then destroy that console on the left so you can proceed through the vent and avoid a fiery demise.
There are no guards stationed in these vents, but depending on how much noise you just made you may encounter one or more enemies in these vents.
▶ TIP: If you pop into the long vent tunnel from here you can get behind two Drone Guns on both your left and right. This lets you take them out without the guns even detecting you.
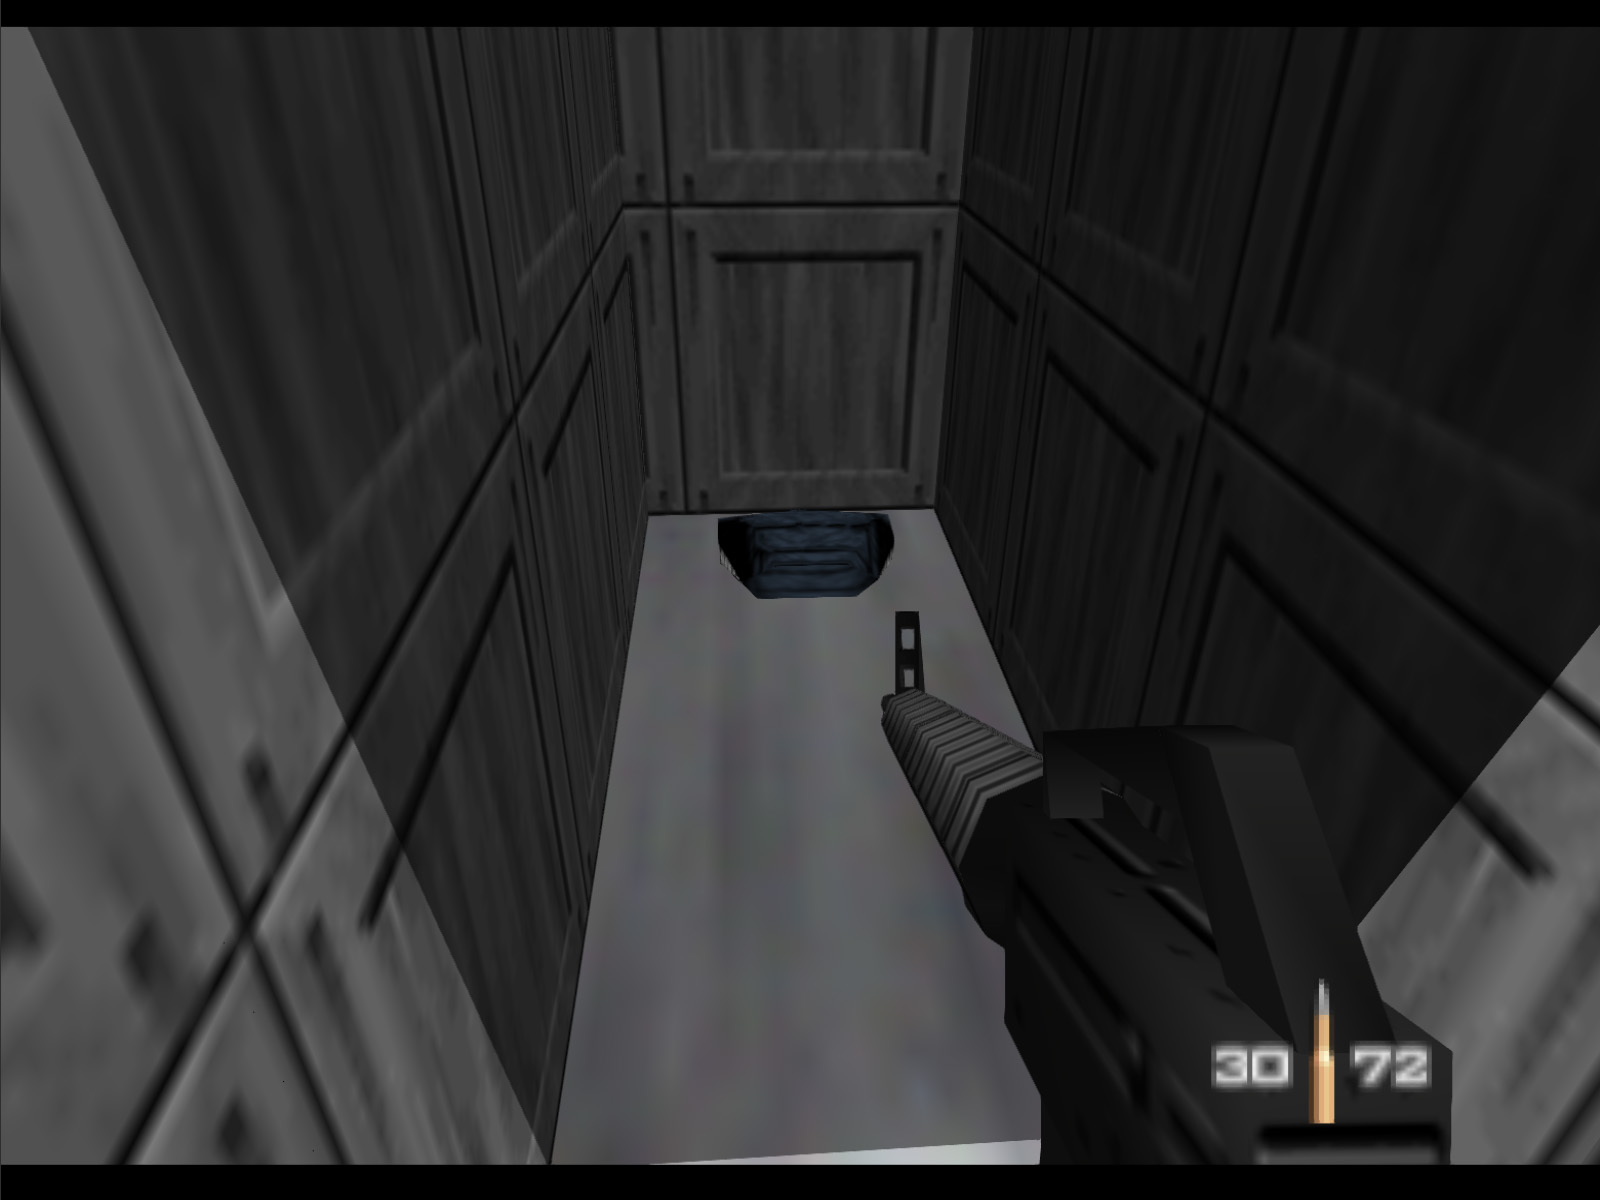
Doing a 180 degree turn from the last screenshot and going to the end of the vents leads to Aztec's one and only Armor Vest.
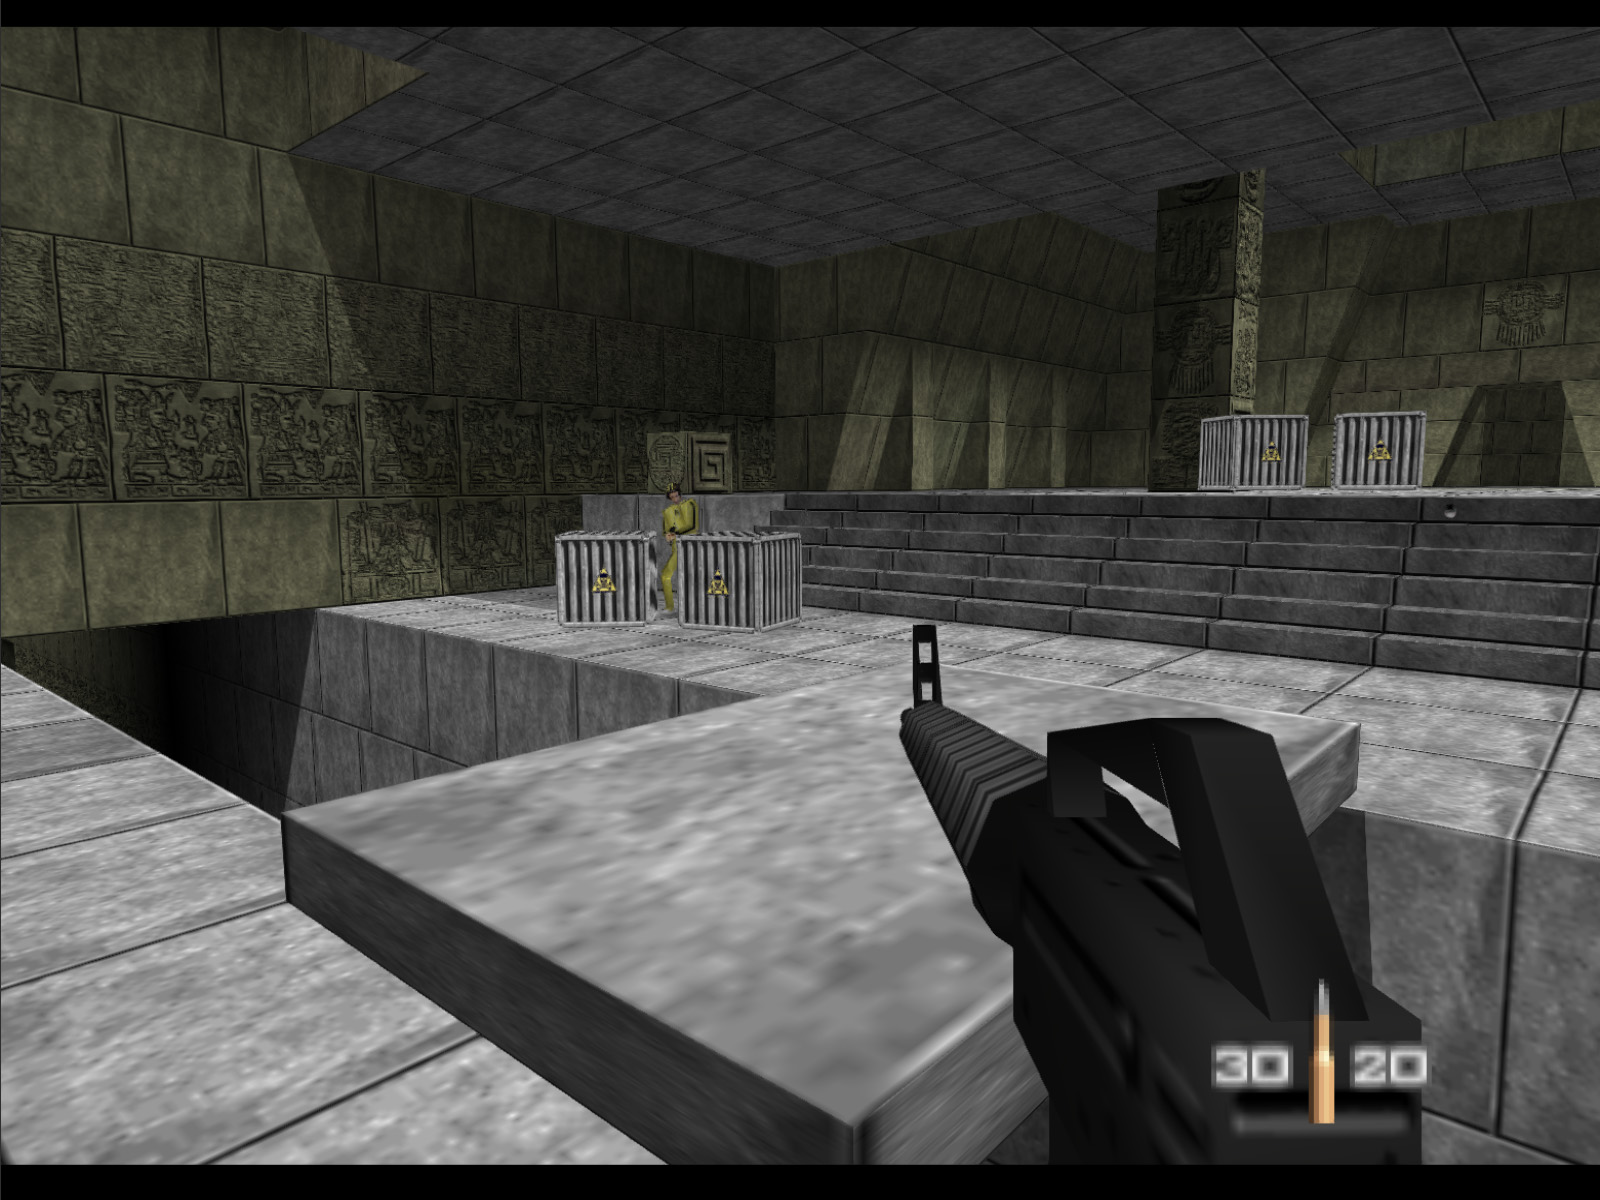
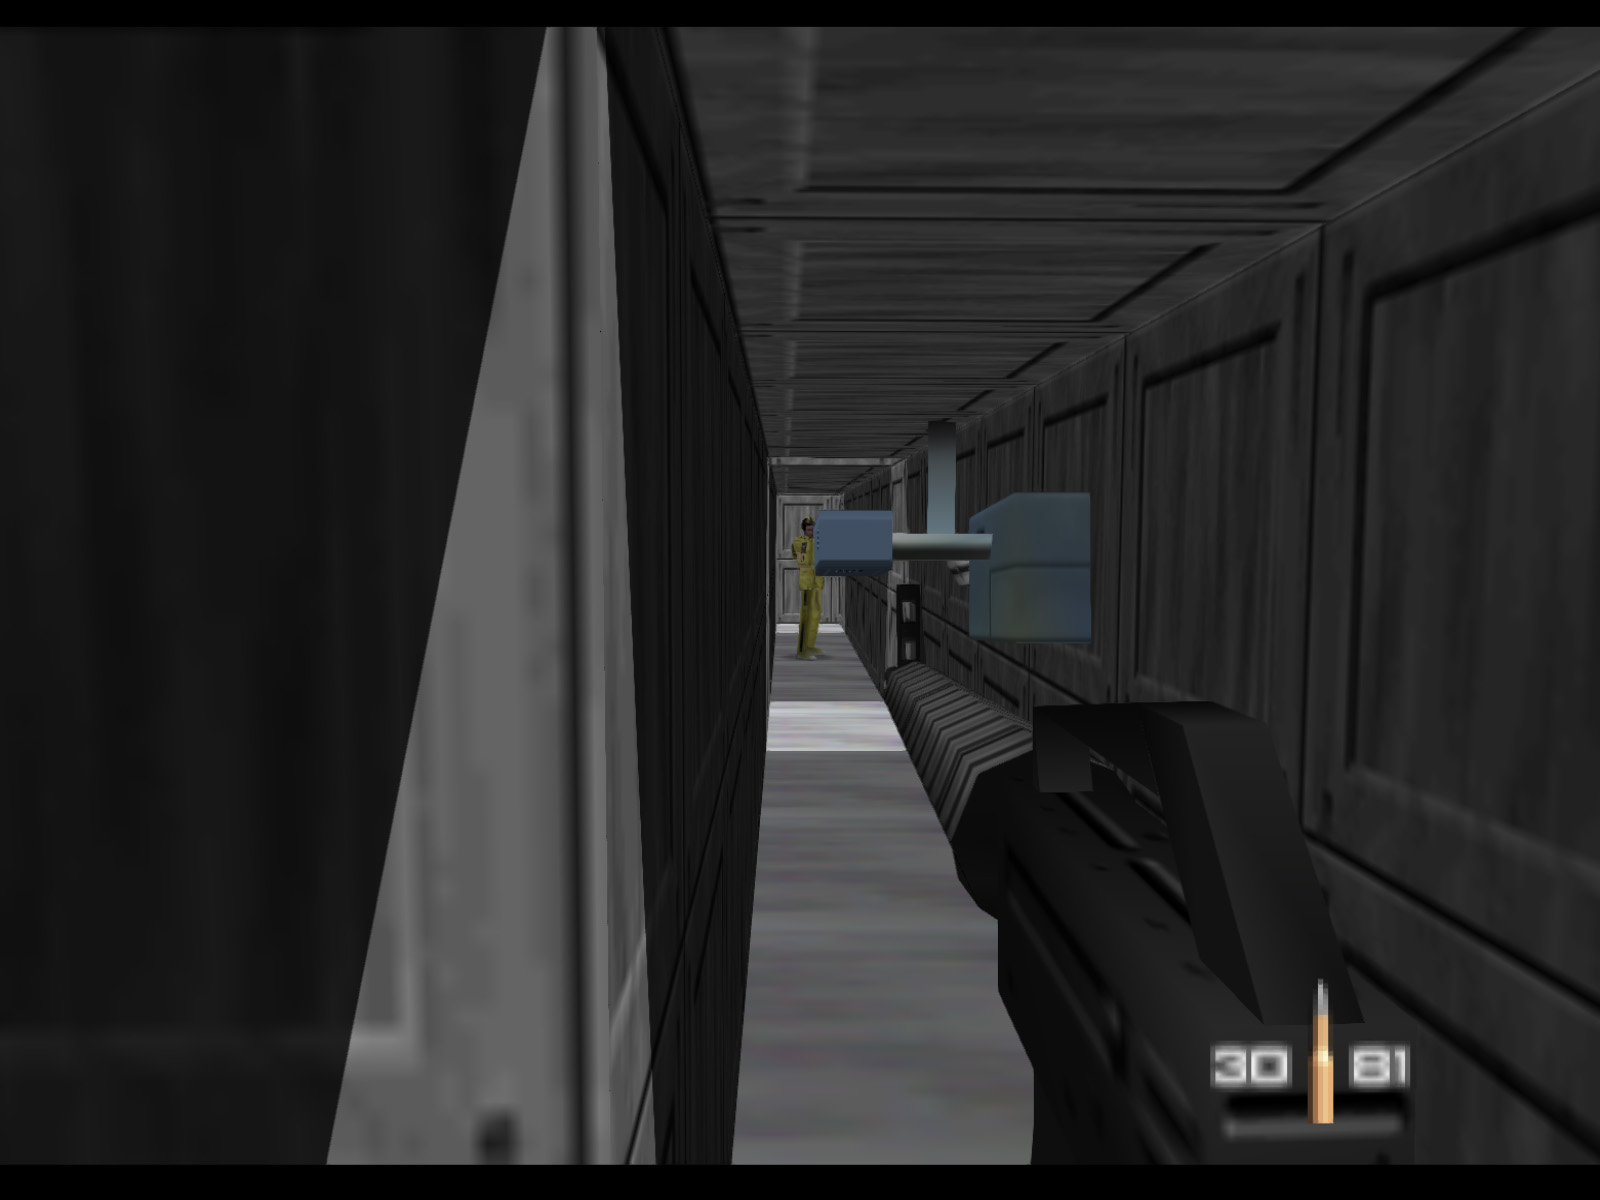
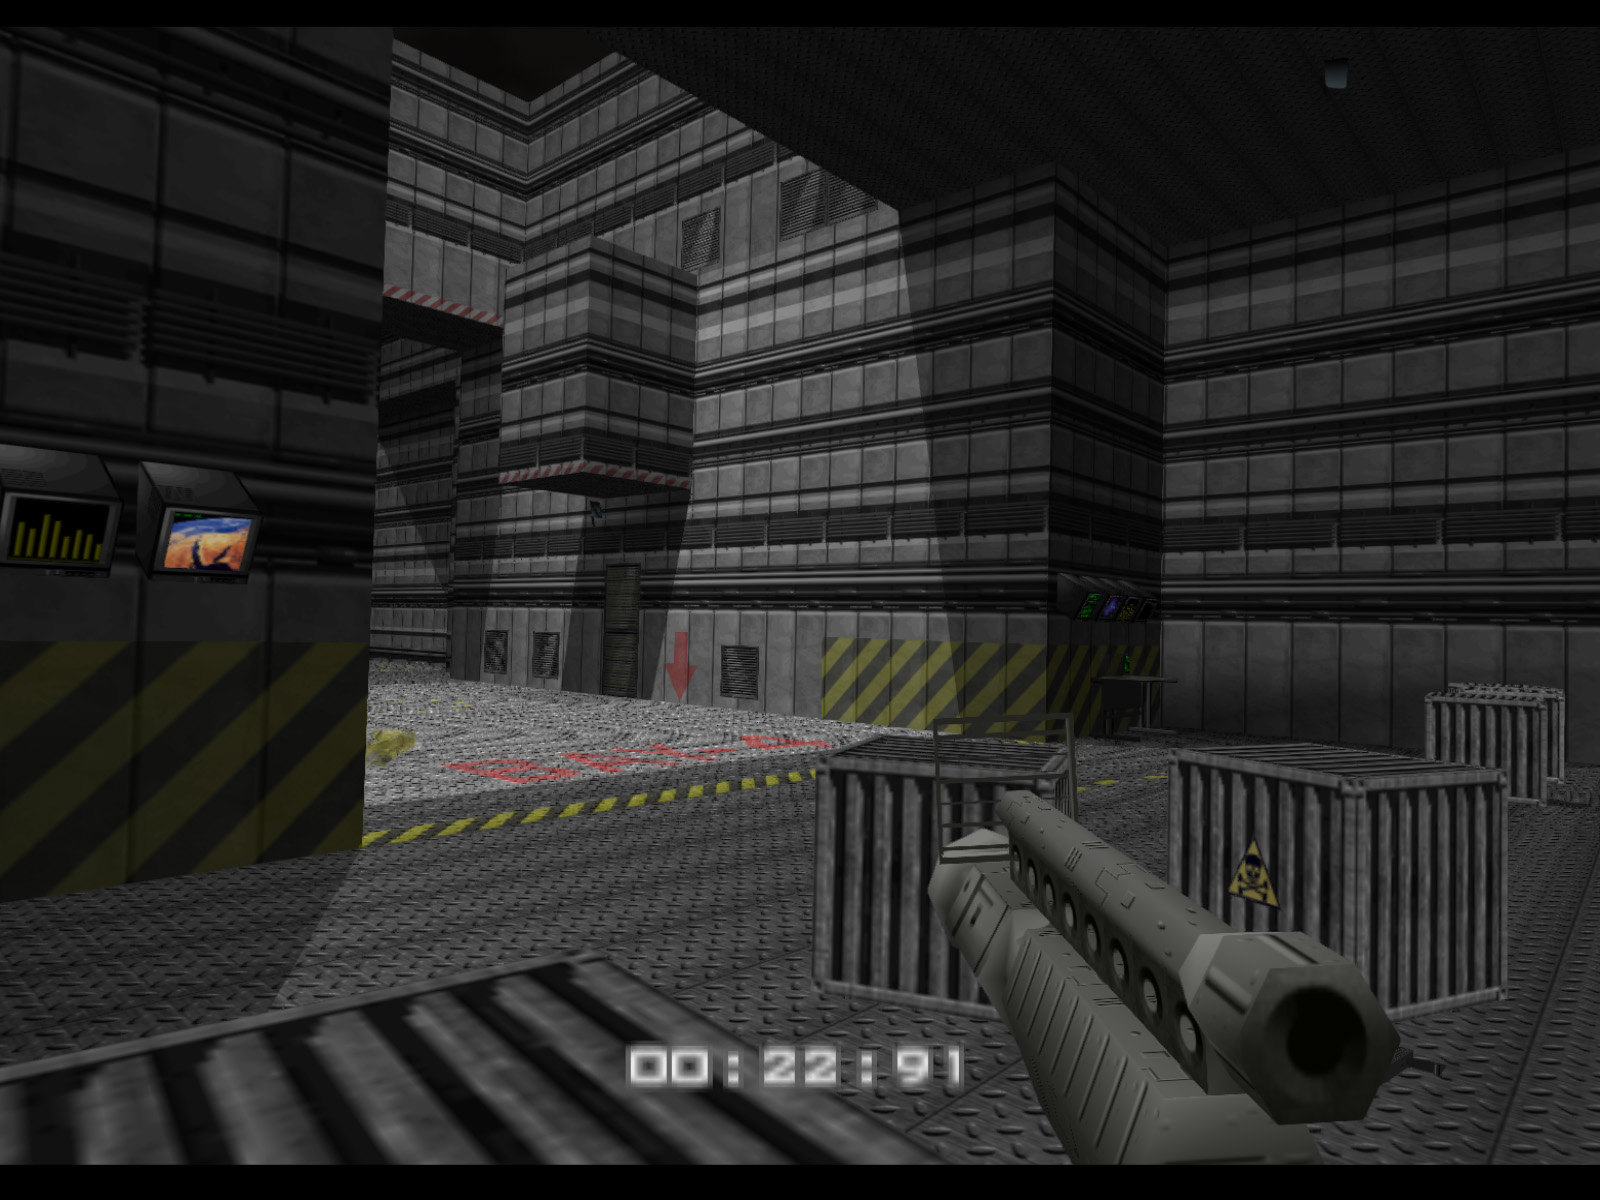
We're about to emerge into the shuttle bay. There are four Drone Guns in this area. One can be seen here will the other three are off to the right. One of them is quite close to the vent here.
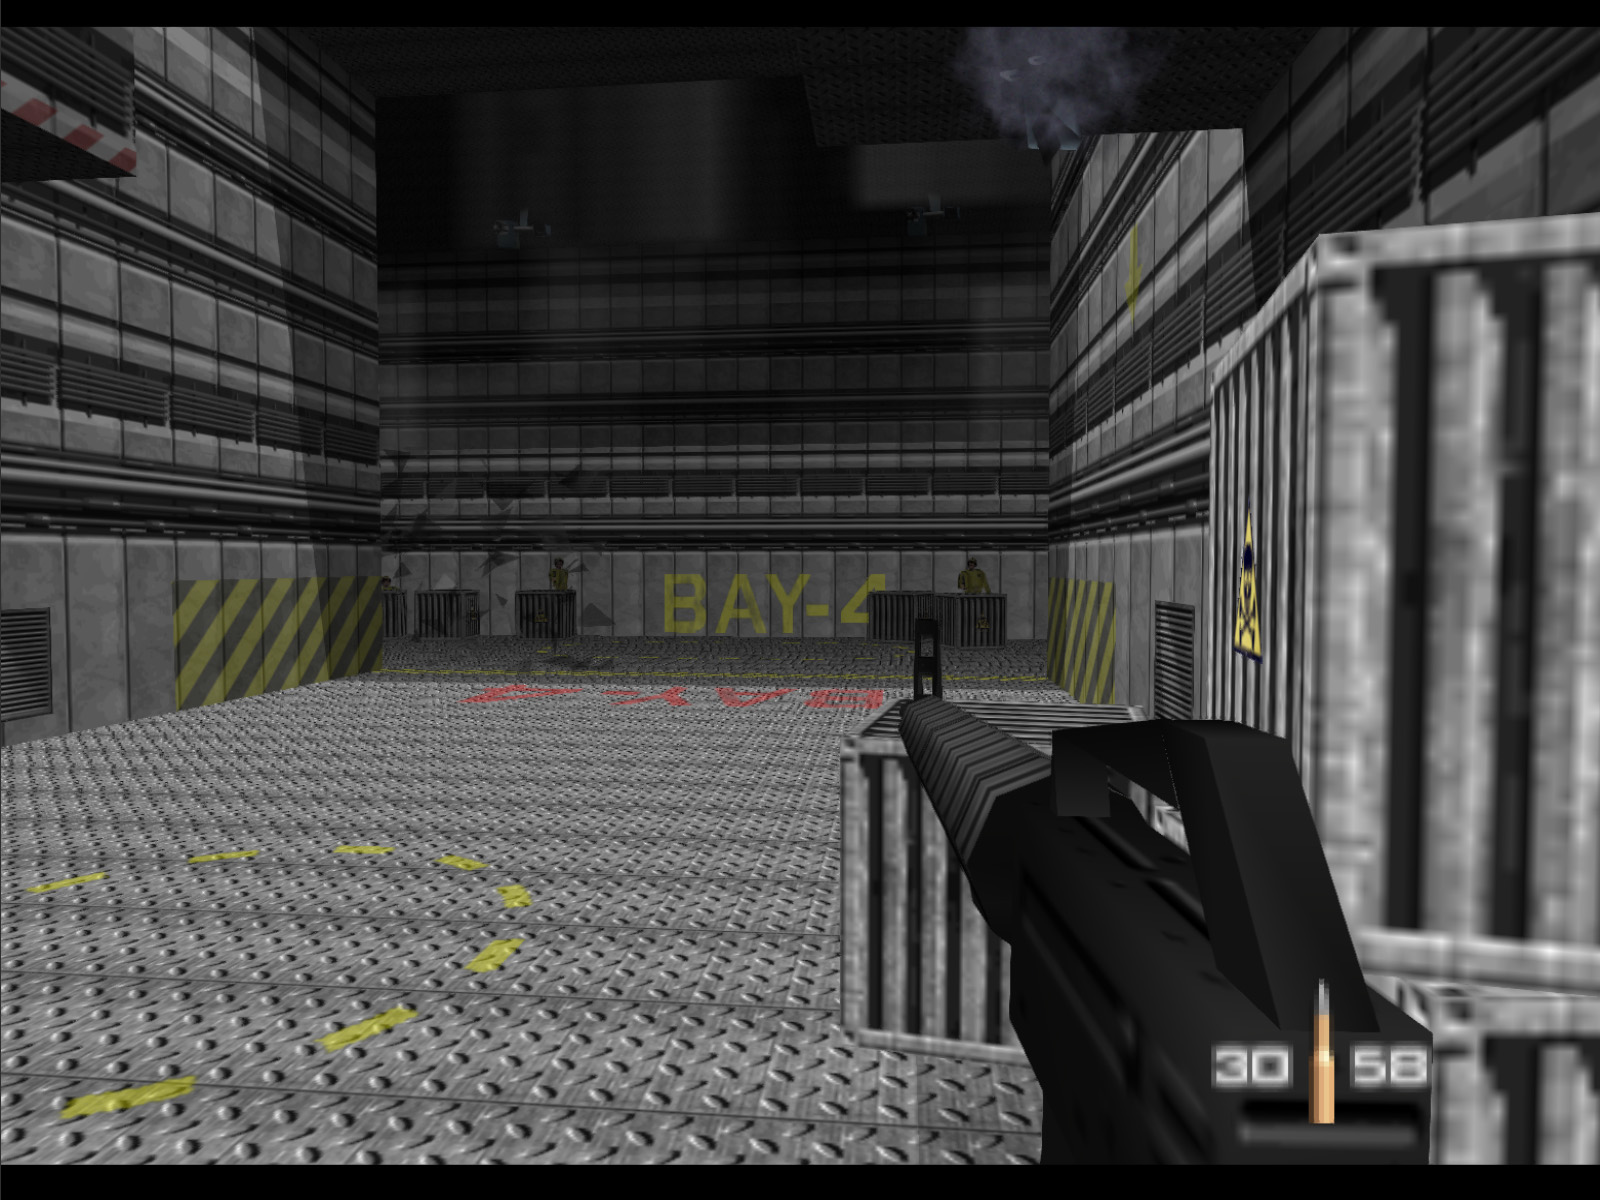
Four Moonraker Elites take shelter in the back of the shuttle bay. You can see the two remaining Drone Guns up high as well.
▶ TIP: If you move towards the side of the bay where the Space Shuttle is you can snipe the guns without them seeing you.
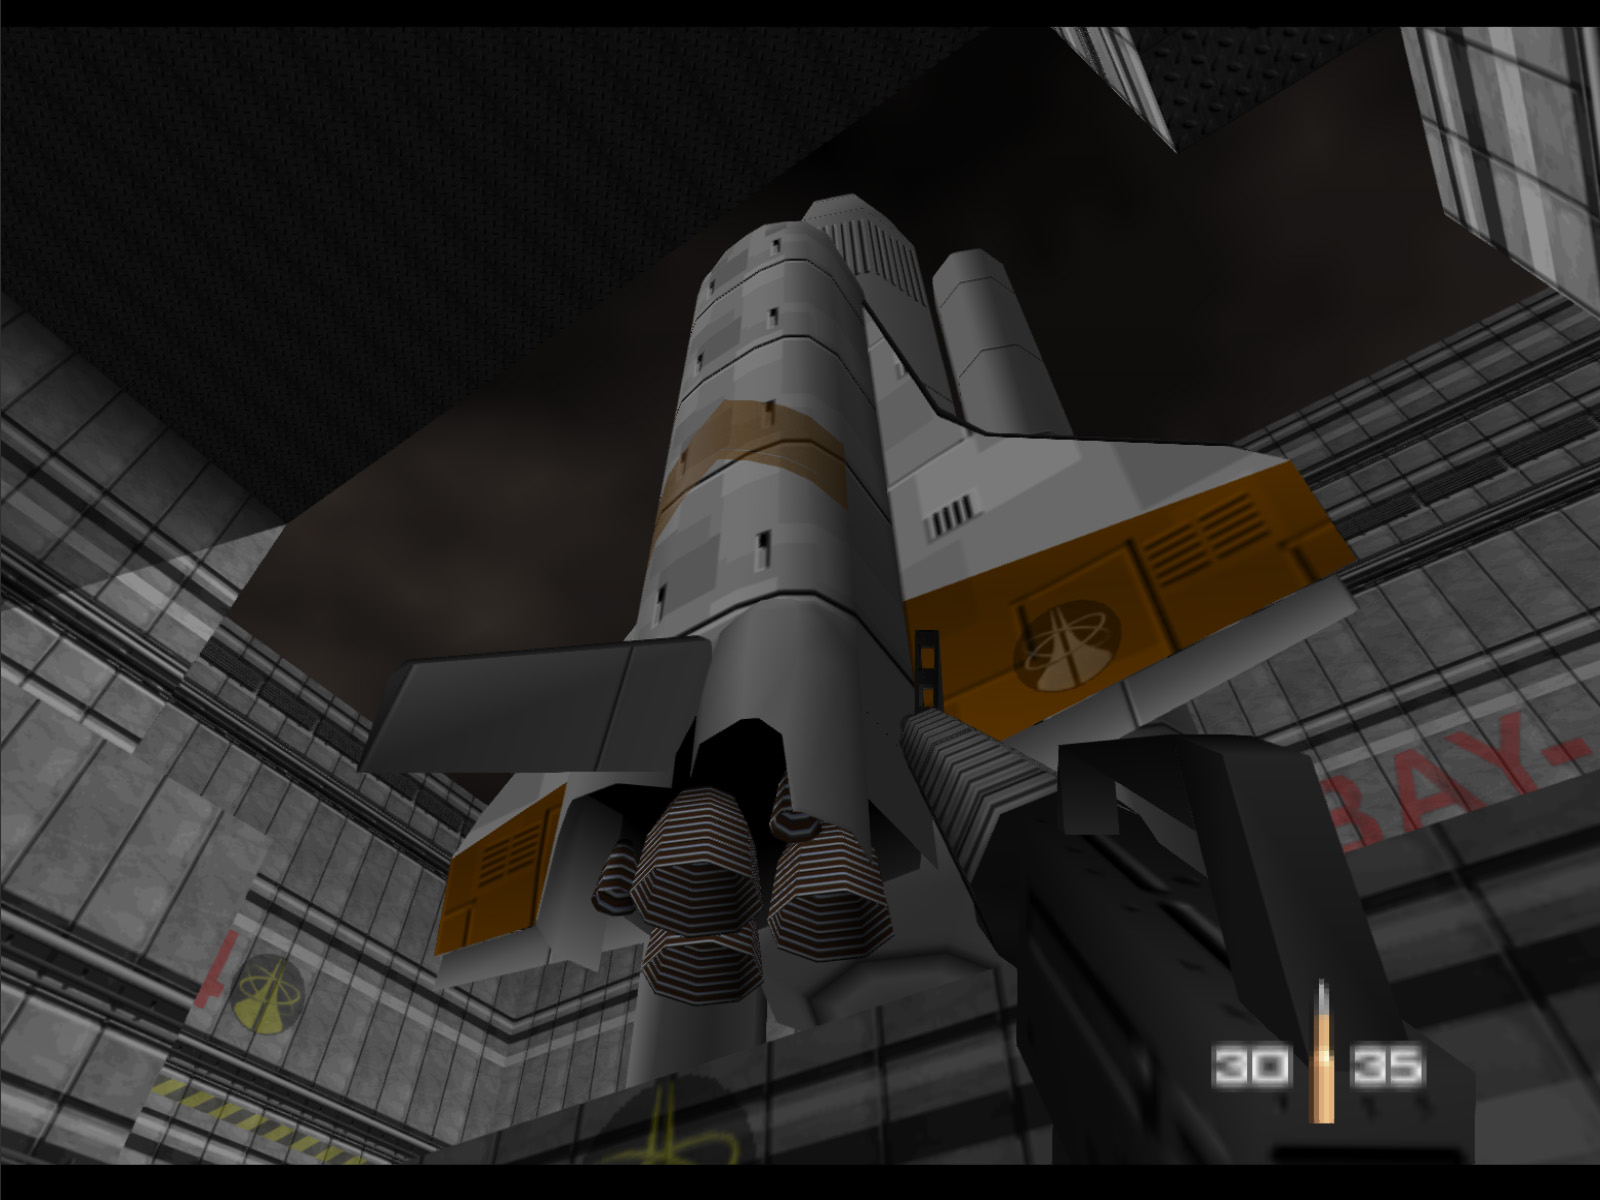
And here is that beautiful Space Shuttle.
A ladder takes you up here where you can look at the blast pit from above. Note that the brown shutter door is closed. Use the console behind you to close the blast doors and open the brown door because you will need to backtrack through there later.
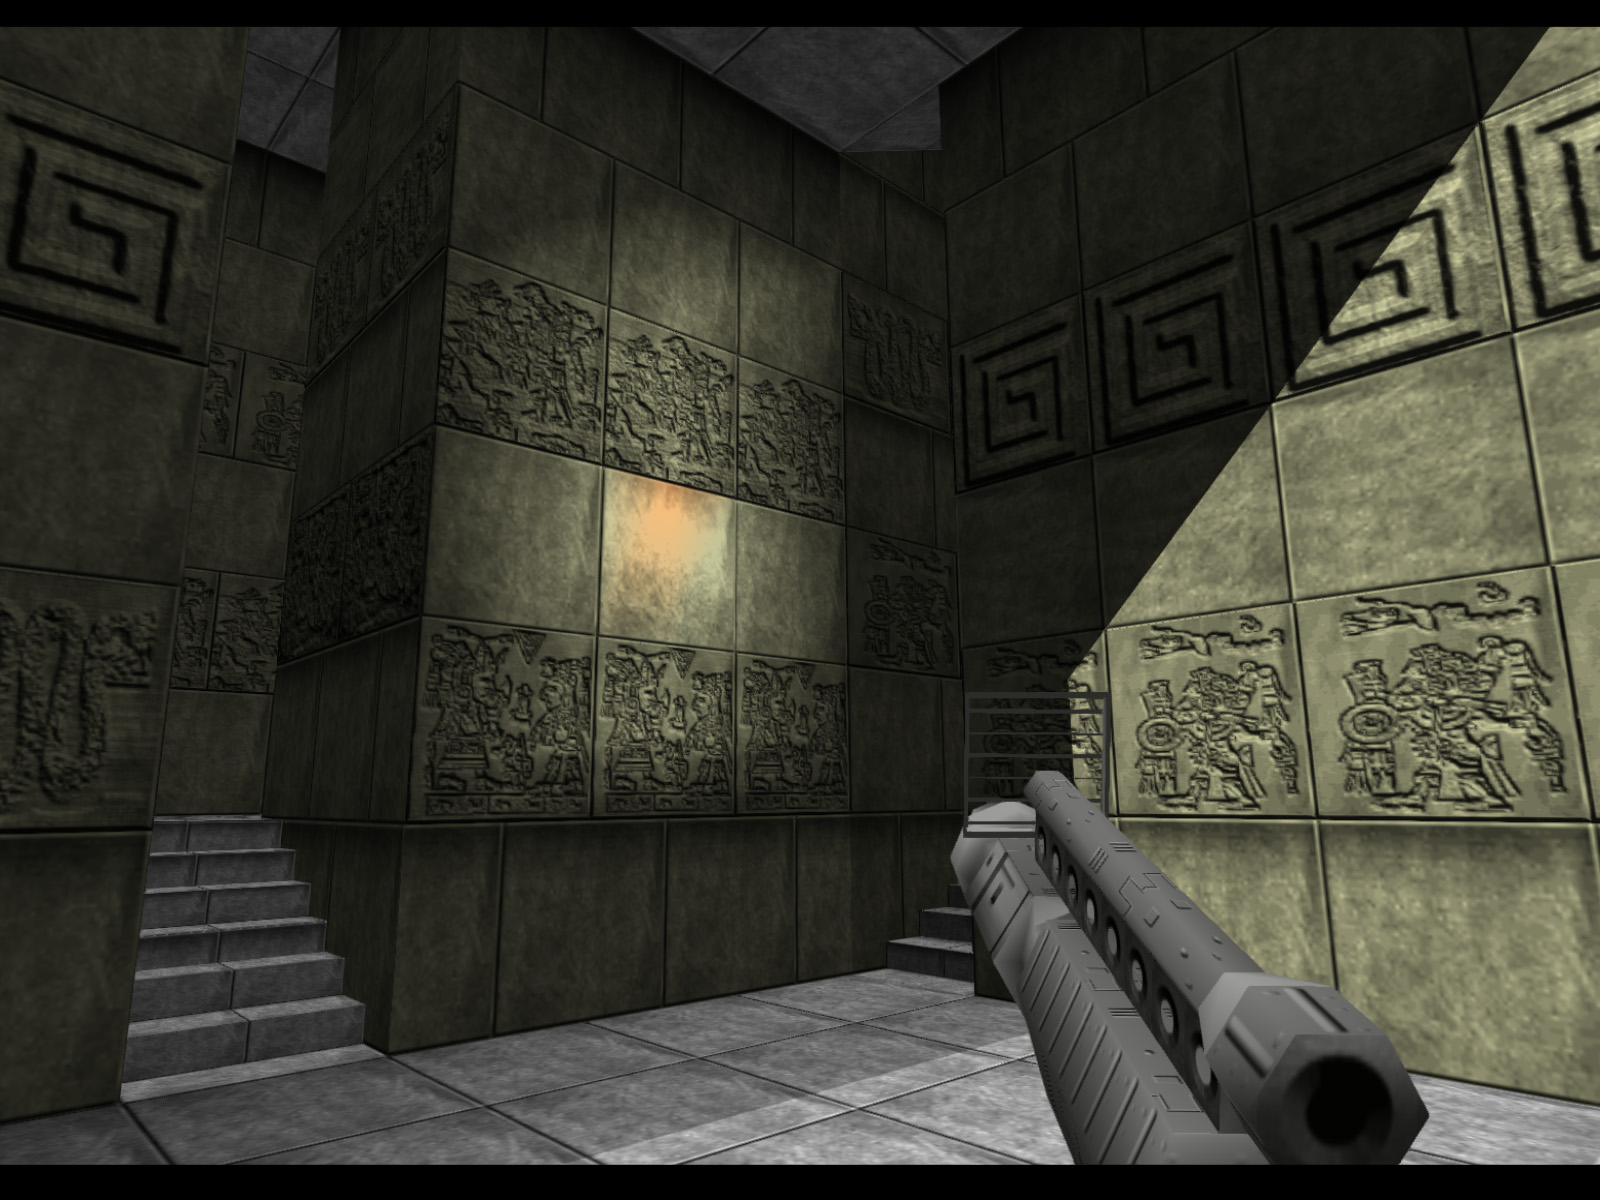
There is another vent grate you can walk through on the other side of the shuttle bay. That leads to this room with two descending staircases.
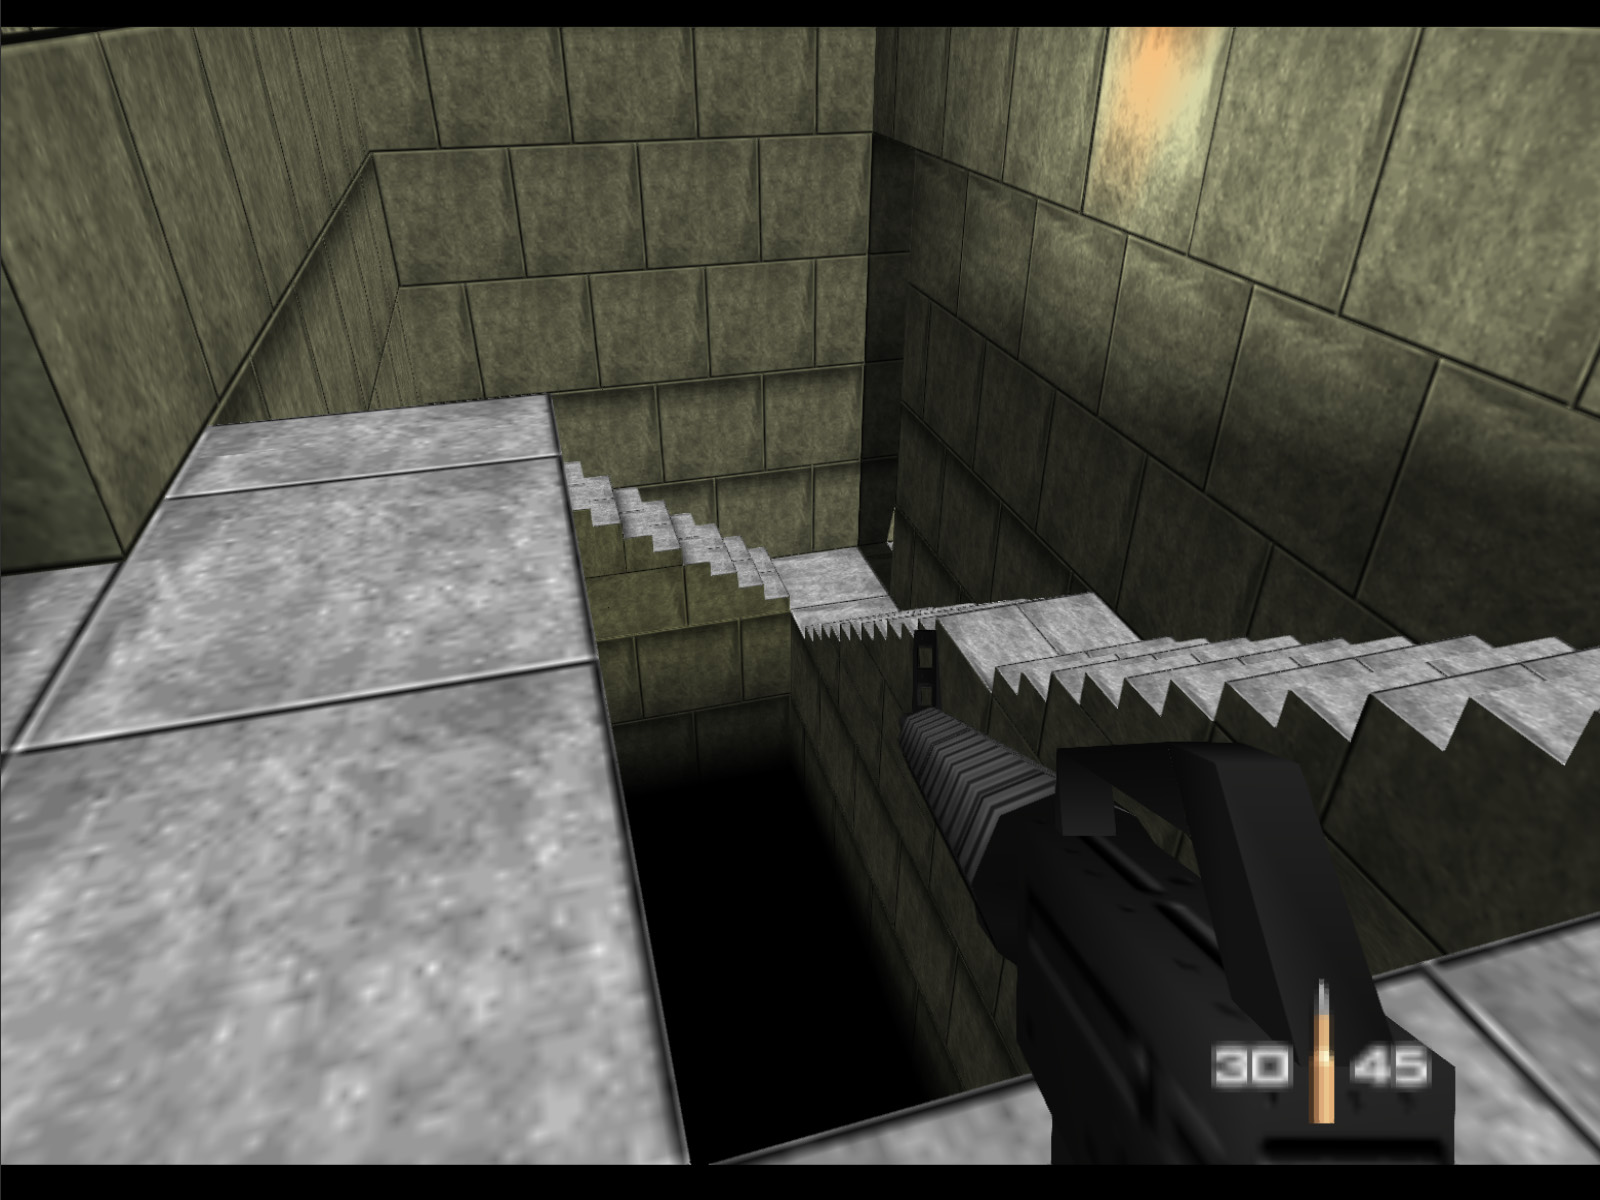
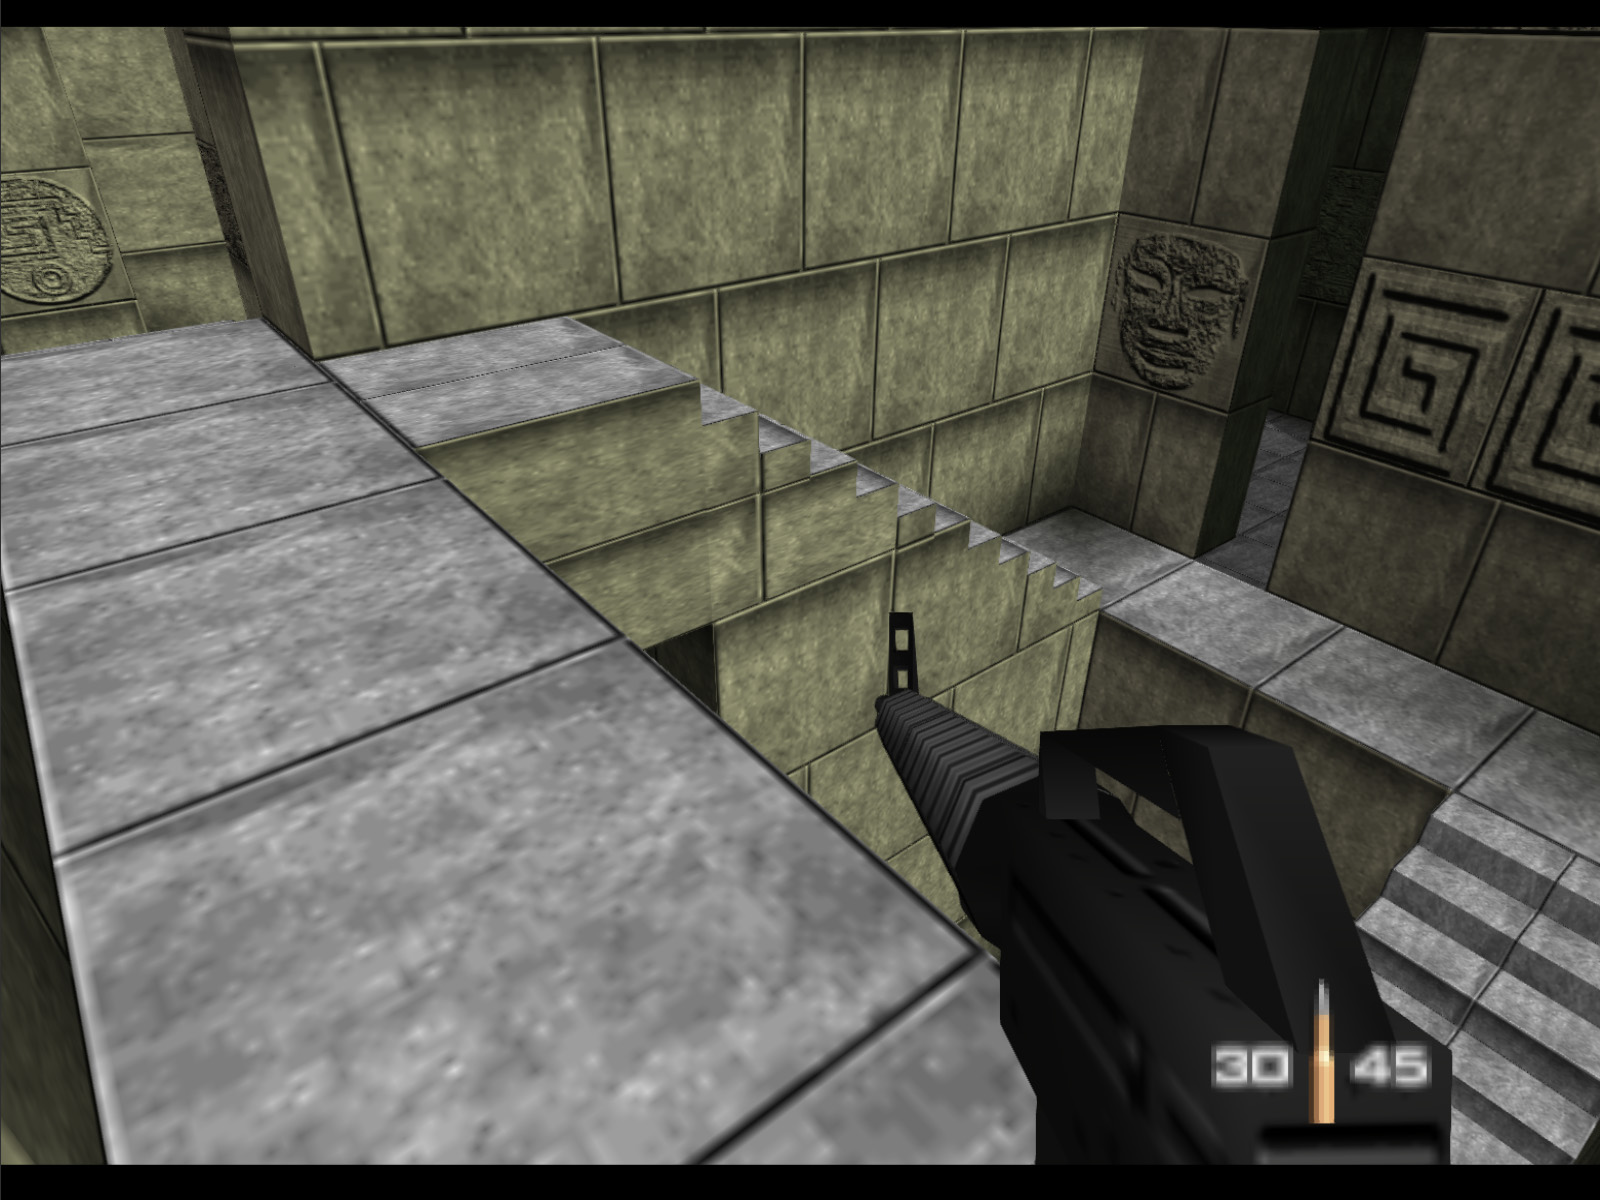
And the area below has more descending stairs. We've almost reached Jaws.
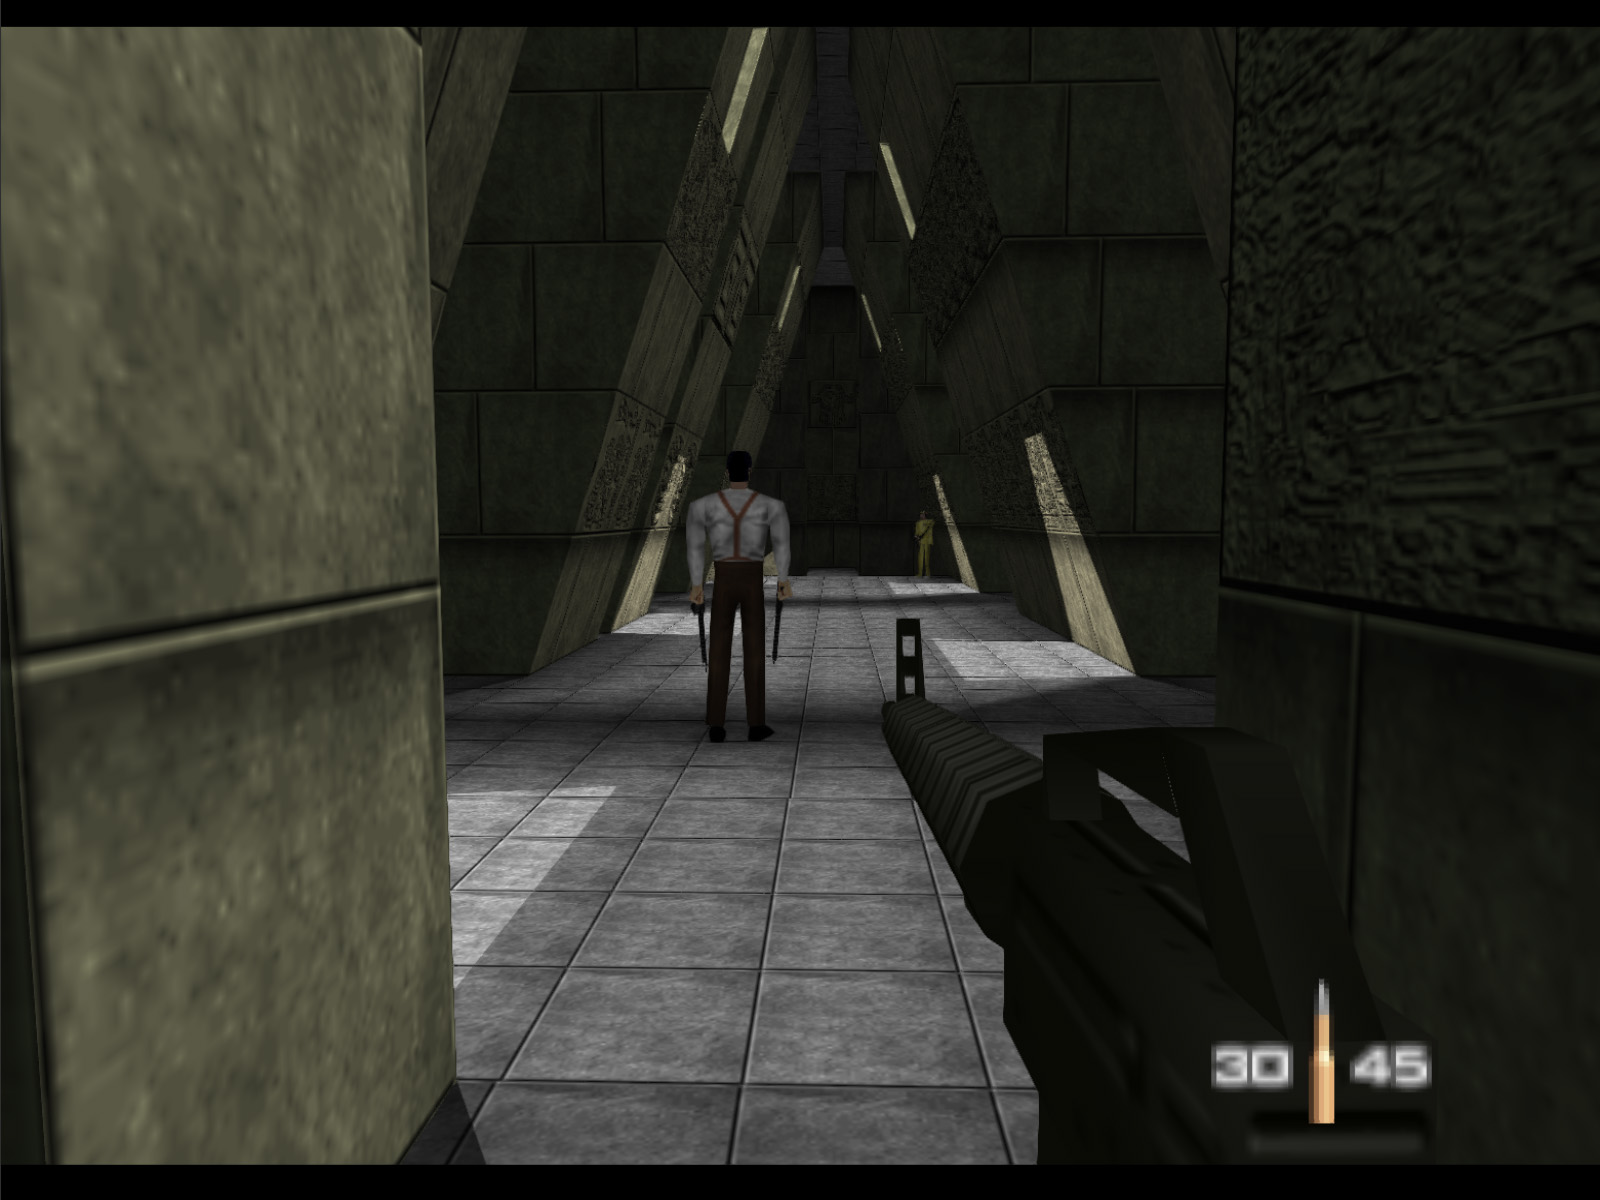
Go through that gap in the wall of the last screenshot and you will find Jaws as well as two more Moonraker Elites. Jaws is the most difficult boss in the game. Try to unload into his head and don't be afraid to retreat if needed. Those descending staircases in the last screenshots can be useful since Jaws cannot see over the pits.
Once Jaws is dead be sure to pick up his Smart Card.
Another look at Jaws' room. As soon as Jaws is vanquished three infinitely spawning Moonraker Elites with Lasers will start hunting you down.
This room is beyond the Jaws room. It has two Moonraker Elites with AR33s. It's not necessary to come here but we want to show everything.
And following that last room there is a similar one with two more Moonraker Elites.
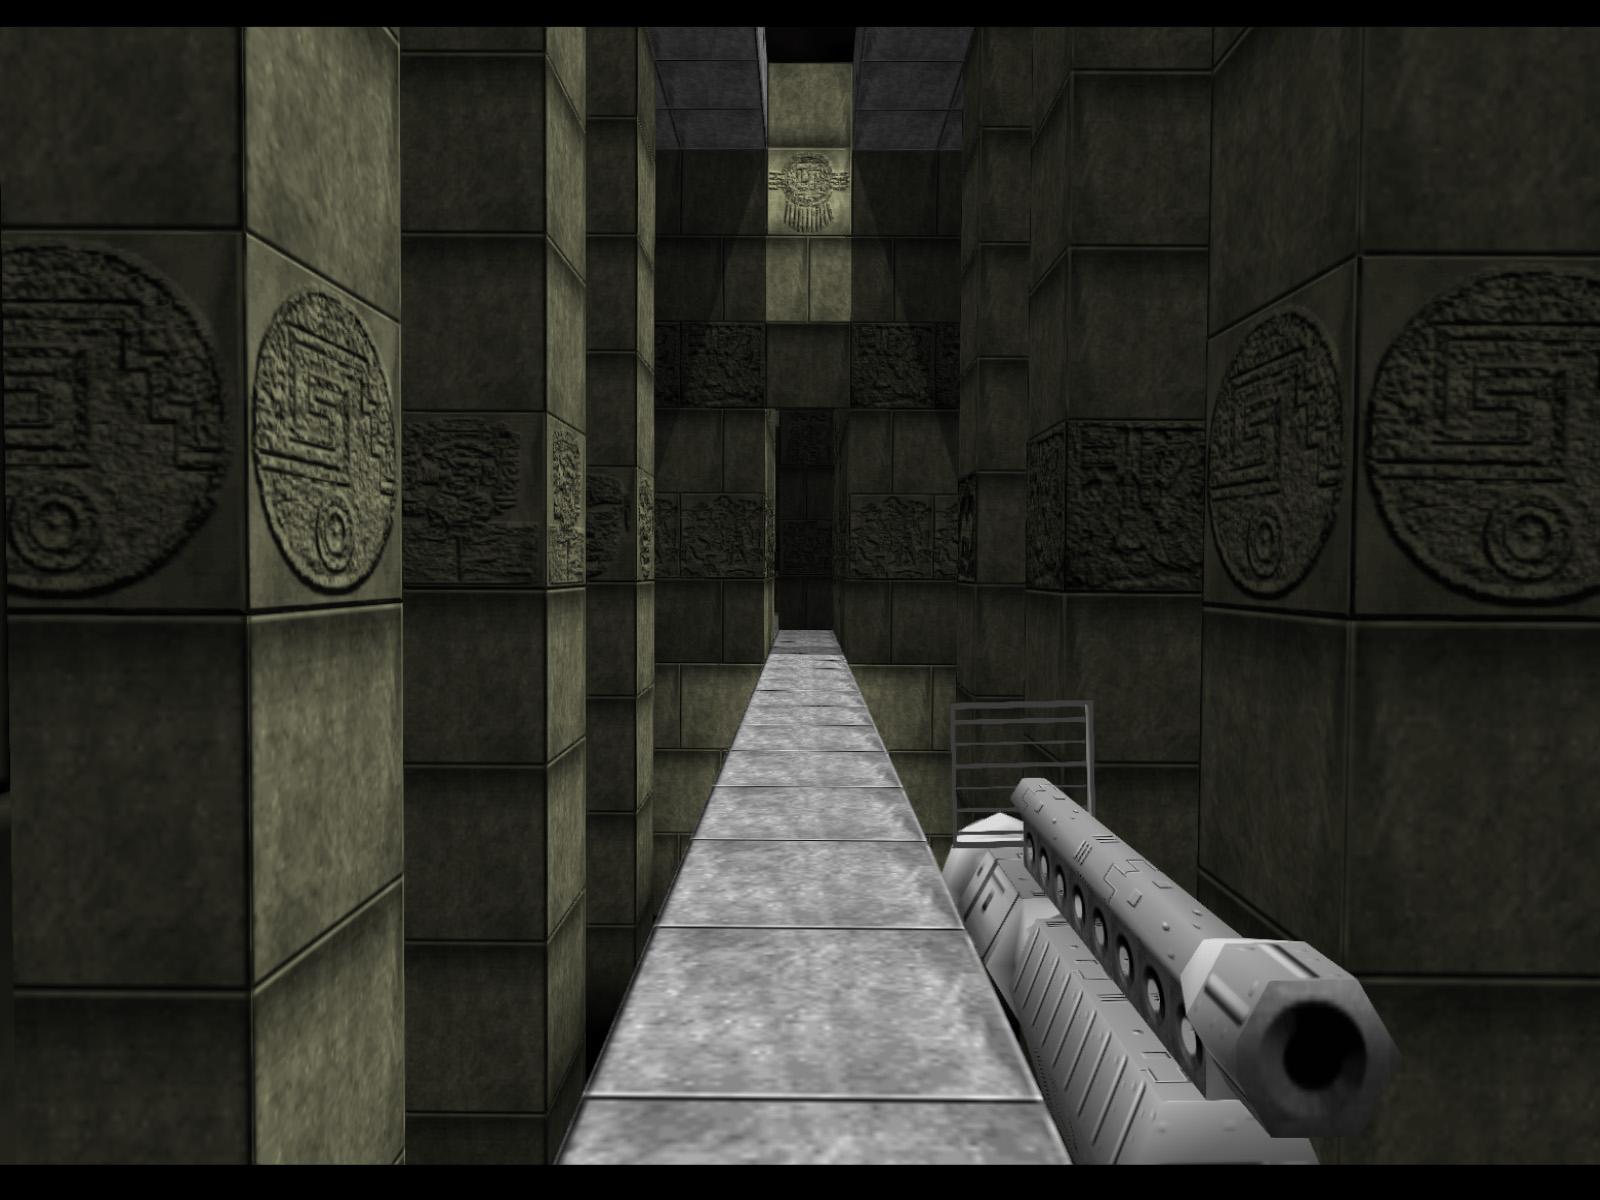
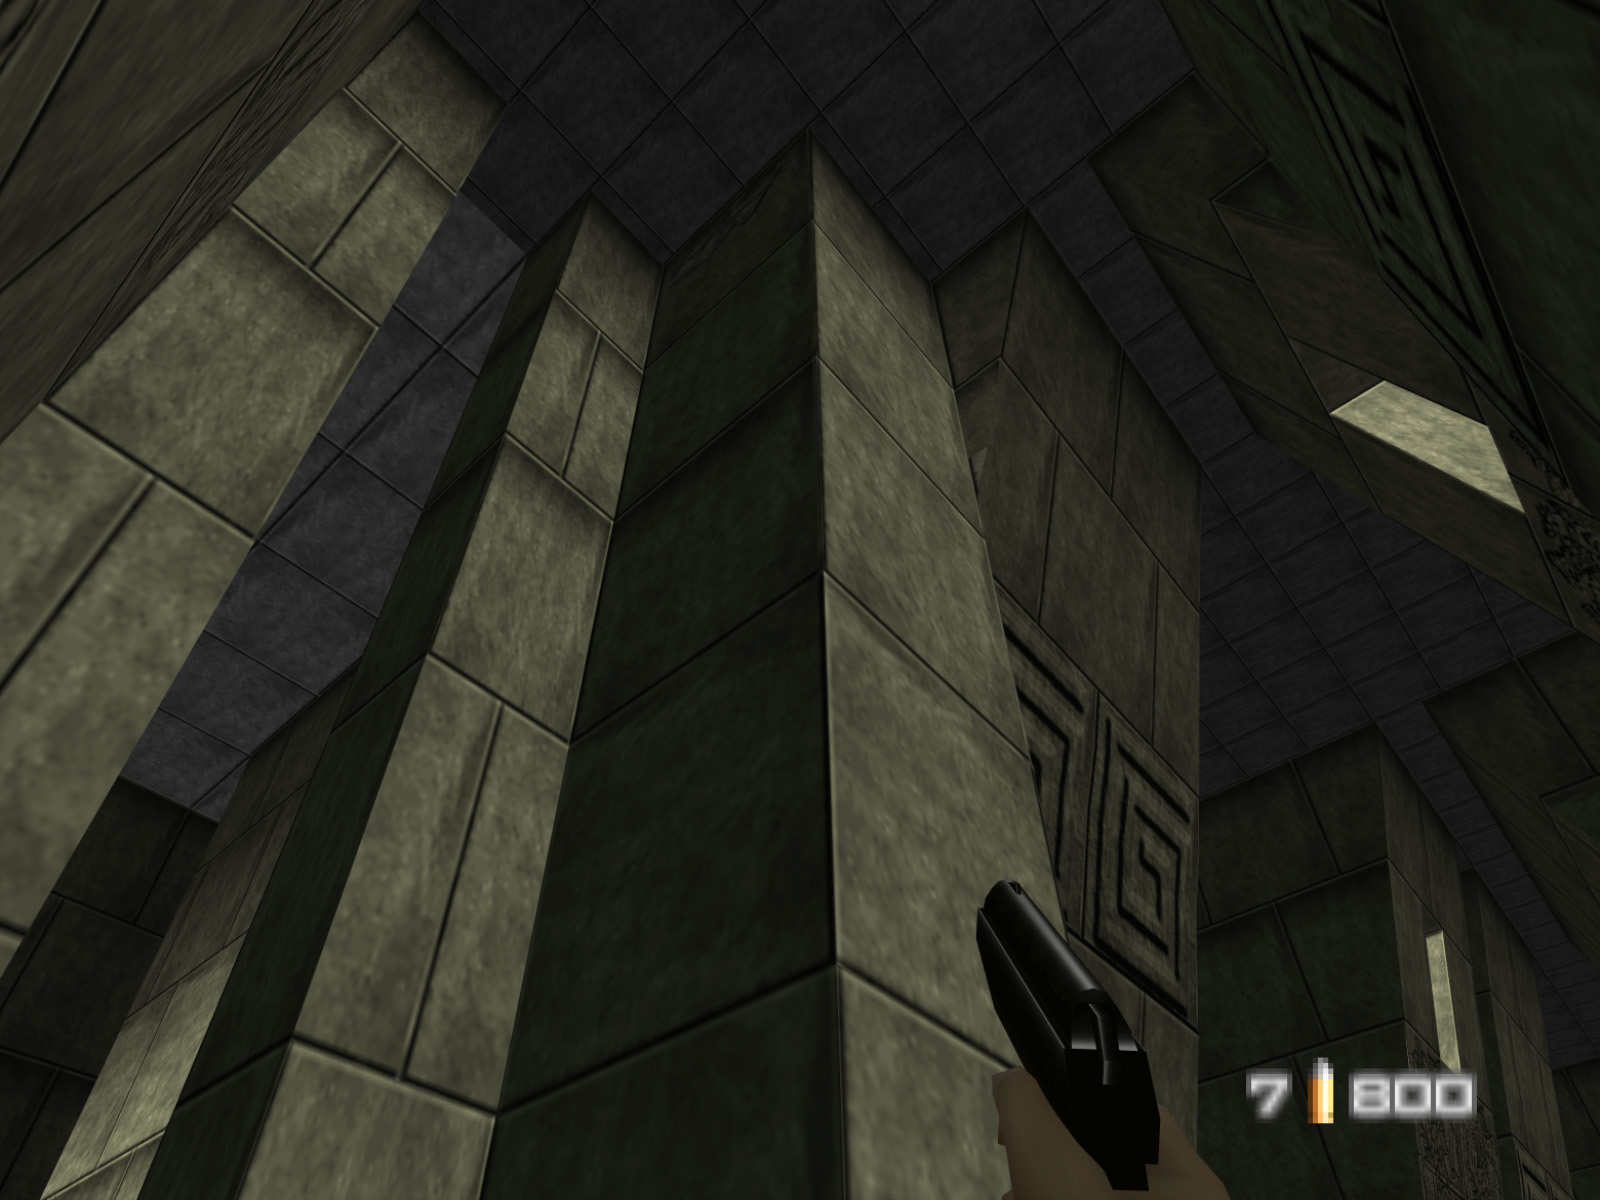
Next comes this cool path with pits and rows of columns on either side.
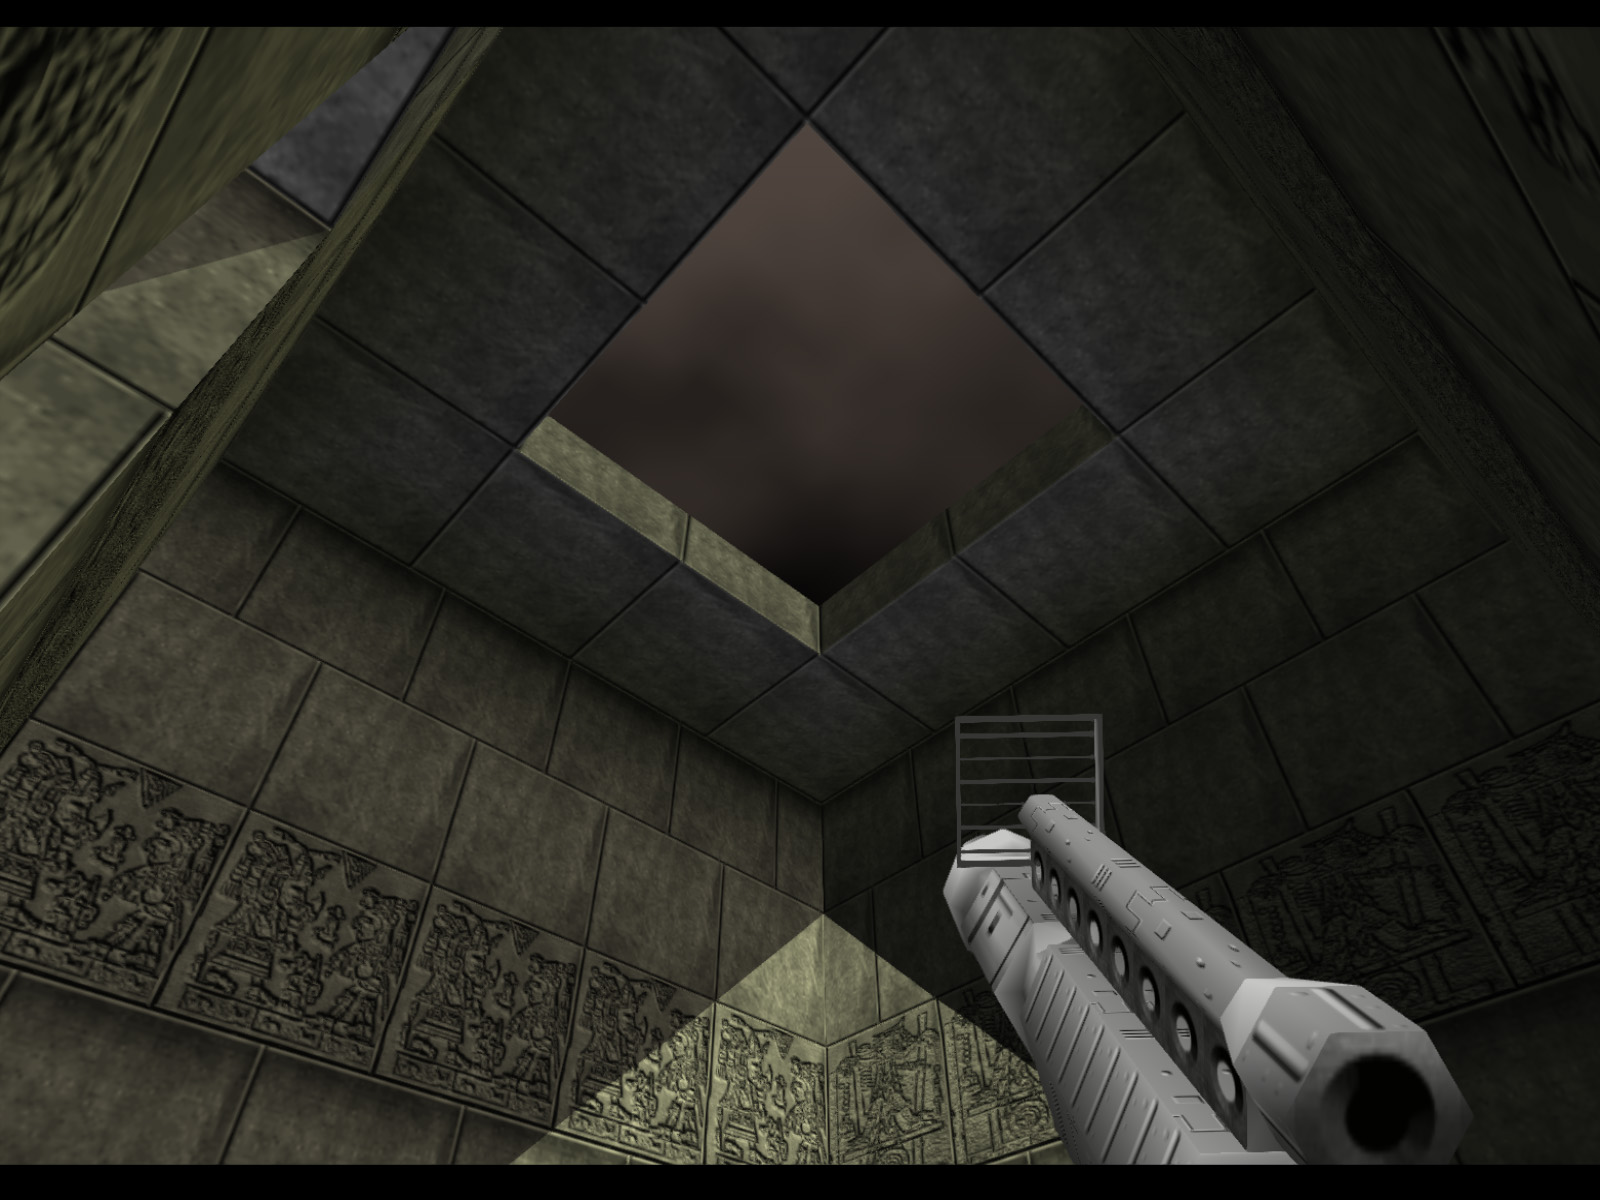
Finally, there is one more room with a skylight. Next to it is the bottom of the chasm with the bridge you crossed over early in the map.
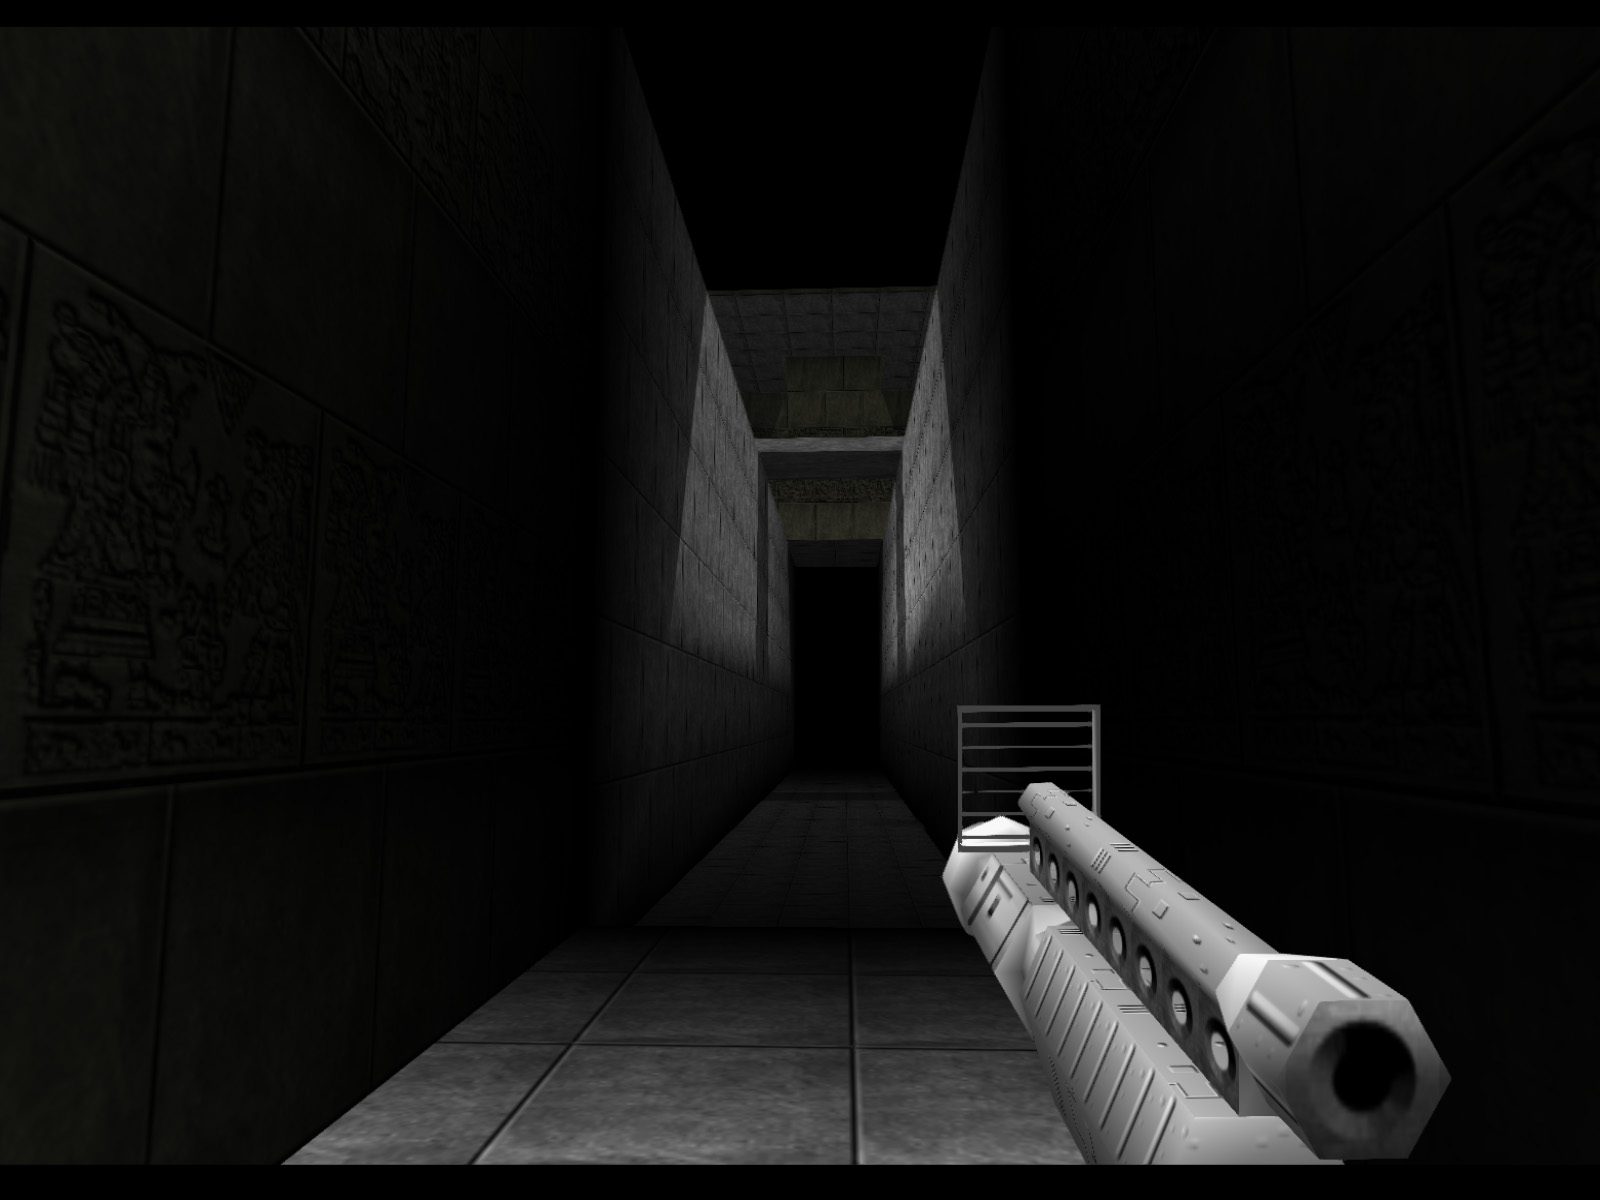
Here is that chasm. On original hardware it's actually possible to warp up to the top by running at the wall and switching weapons. We're on emulator though so we're going to backtrack all the way to the control room.
Back in the control room the Smart Card opens the glass doors. We upload the Guidance Data to the disk drive on the left and complete Objective A. Be sure to pick up the Launch Protocol Data on the right.
Go back up the ladder in the shuttle bay and open the bay doors. The Space Shuttle won't launch until this is done.
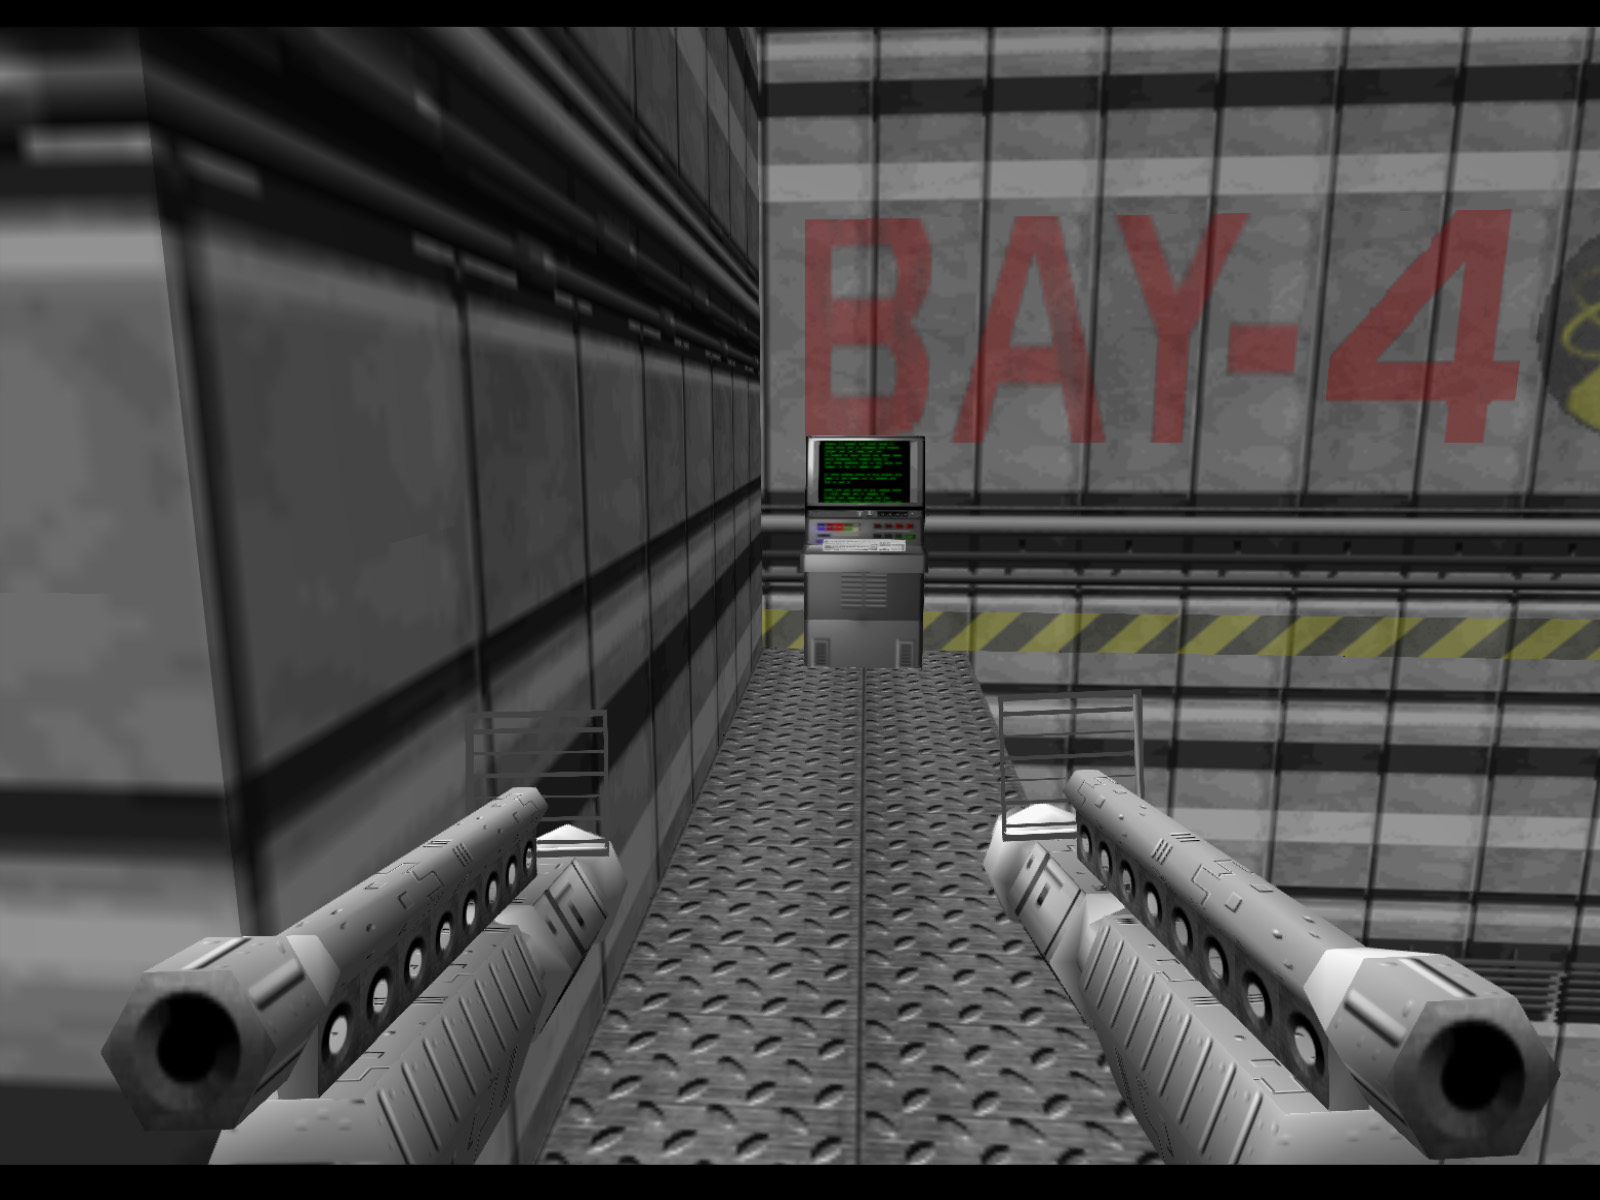
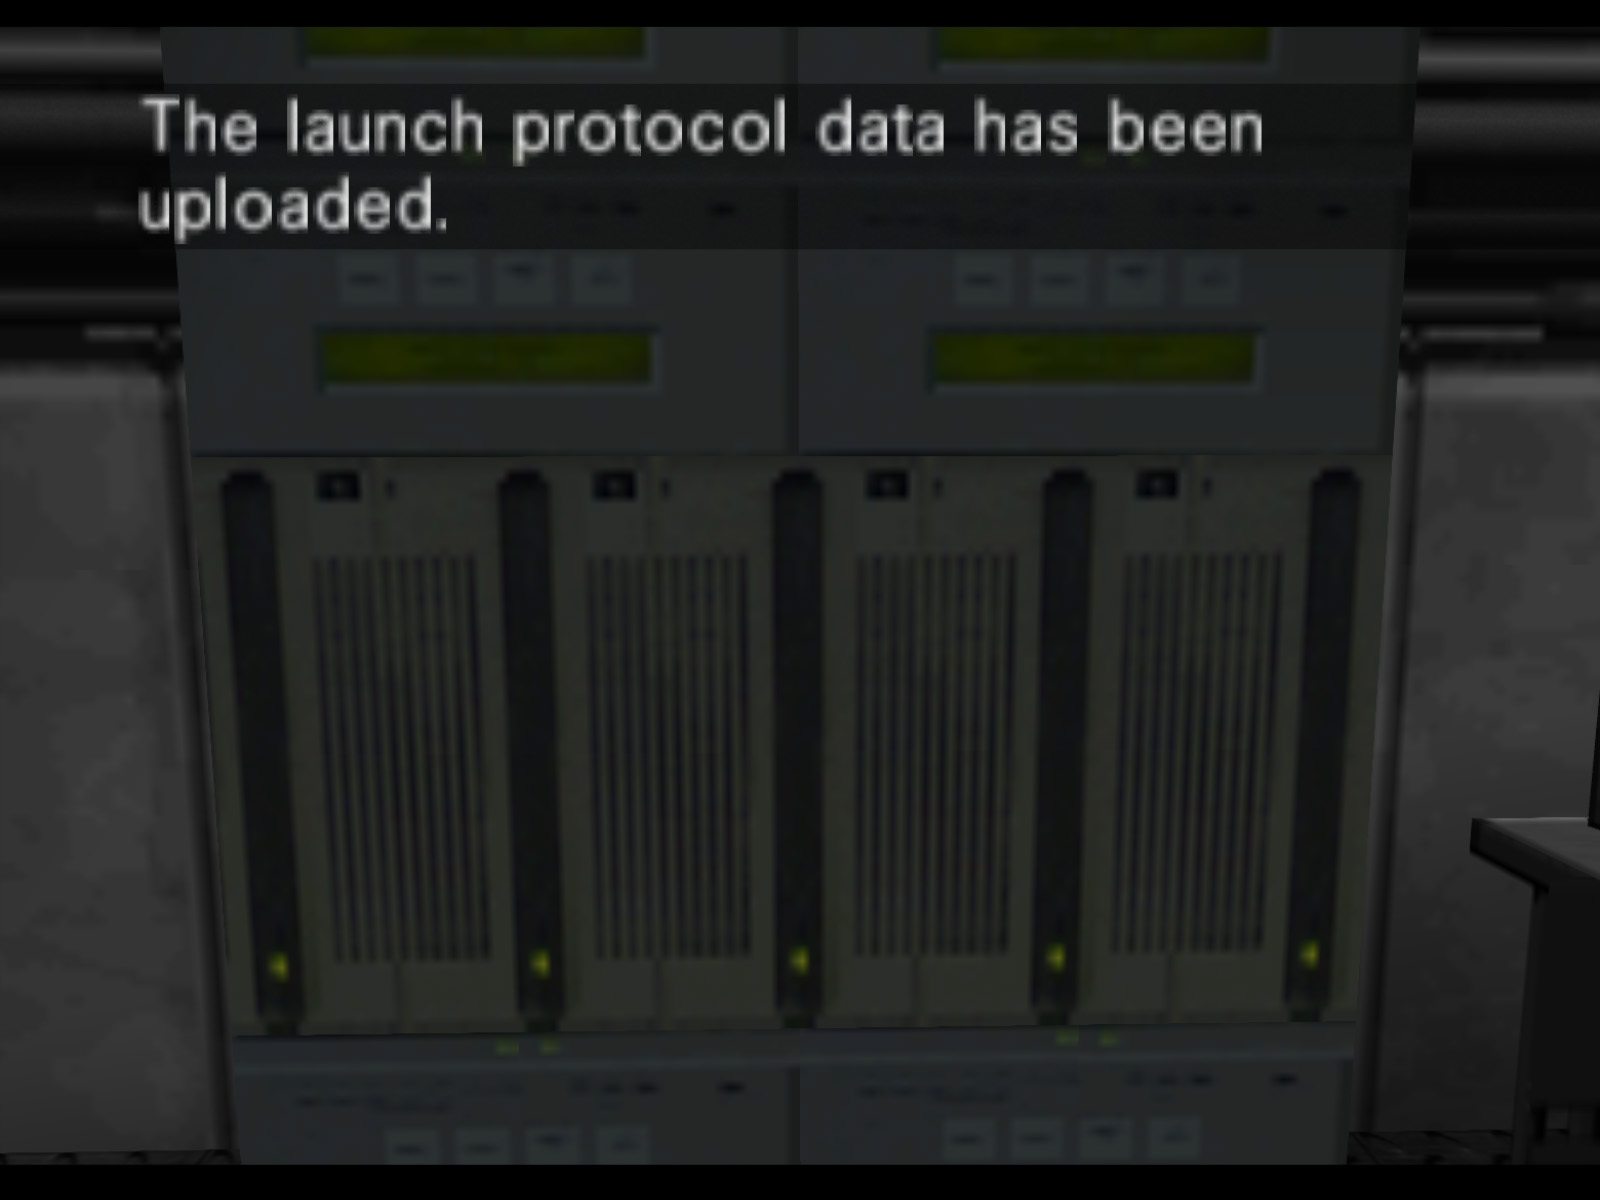
Go to the back of the shuttle bay and upload the Launch Protocol Data to the mainframe.
Once this is done a 30 second countdown begins. Just survive until the end of the timer and you complete the level!
Near Jaws and up high on the wall there is a strange piece of graffiti. It's very hard to see even on emulator let alone on console.
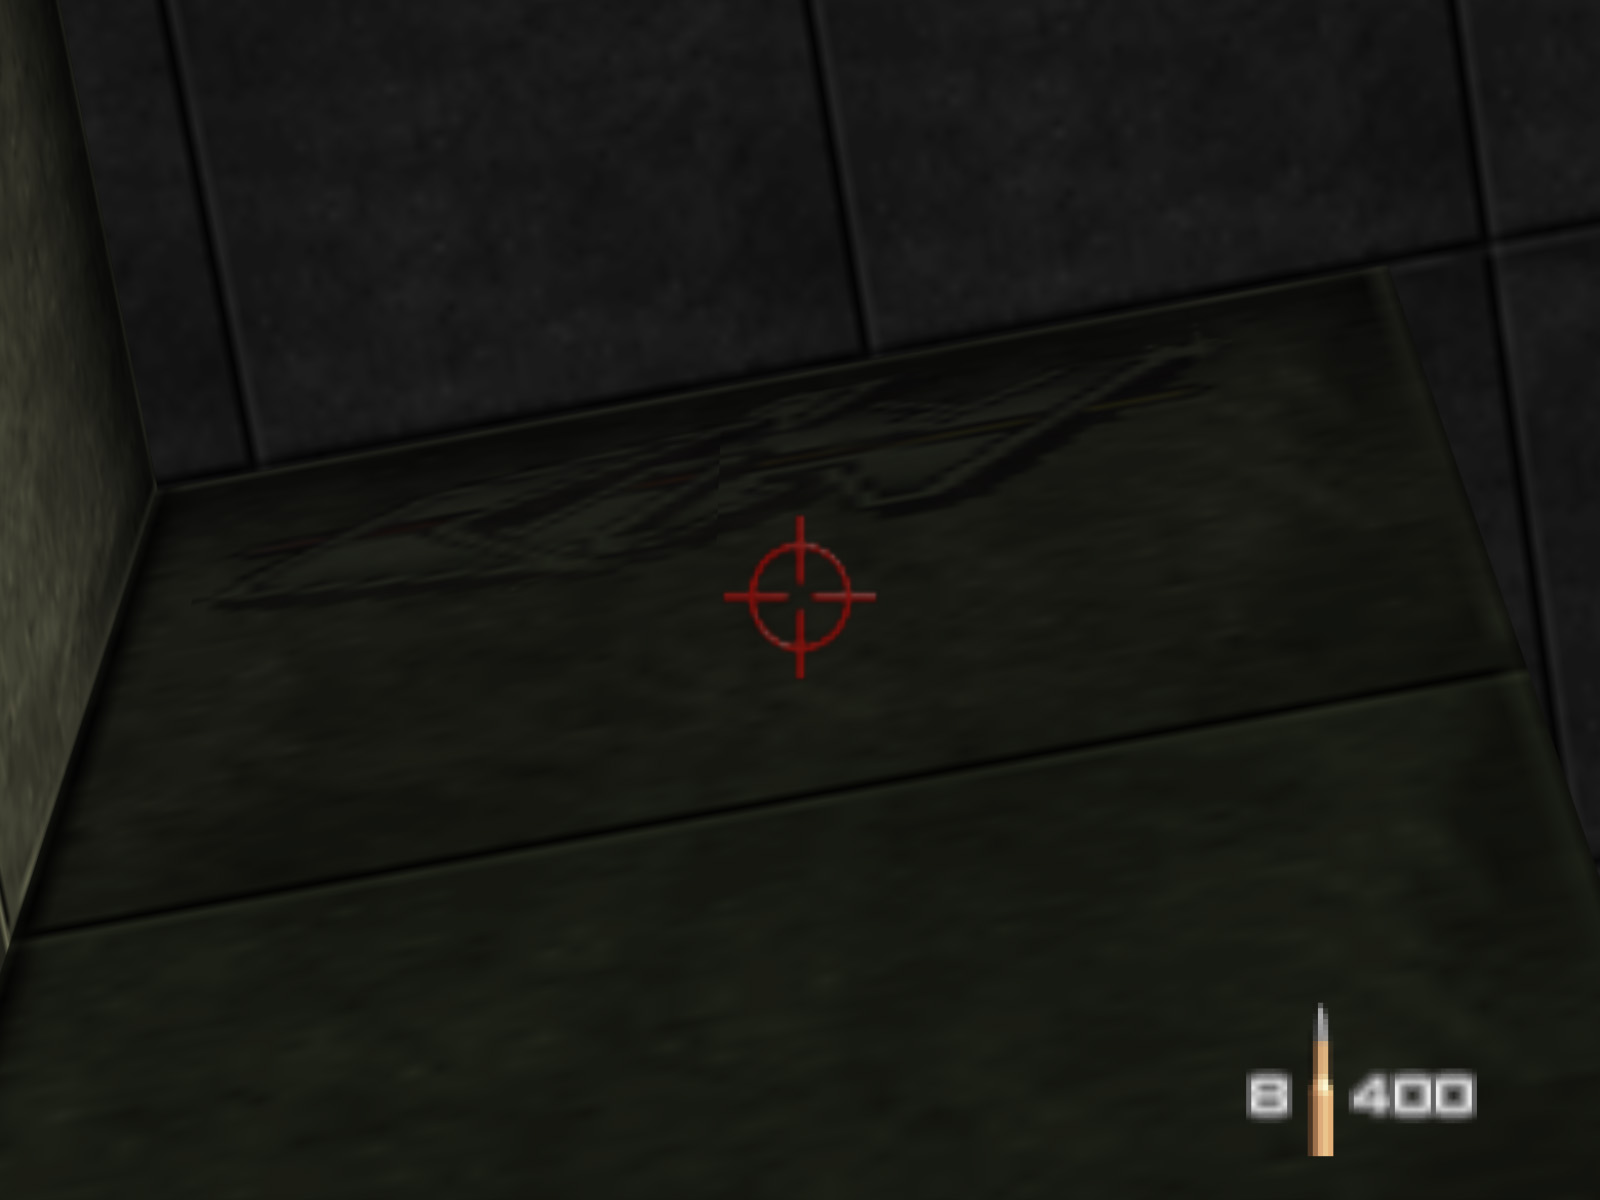
A better look with the Sniper Rifle.
This is the graffiti, originally two 33x33 textures, scaled up here. It reads a stylized "KIH," the initials of level designer Karl Hilton.
If you look up in the hallway connecting the black control room and the exhaust bay you will see the ceiling covered in "beta" style glass. This is easy to miss because there is no reason to look up in this area. Perhaps the developers just overlooked these windows and that is why they didn't replace them with breakable glass.