Mission 5: Severnaya
Part ii: Bunker
Mission 5: Severnaya
Part ii: Bunker
Escape is the first priority. Find the staff and casualty lists, and the CCTV tape of your capture. If there are any witnesses, try and bring them out as well.
Unbelievable, 007. If this gets out we'll be the laughing stock of the international community. As soon as you get back - IF you get back - you're getting a performance review. Only completing the objectives will give you a hope of keeping your rather checkered career intact.
You've got your wits and that's about it, 007. Not much I can do to help you here. You might try to find your equipment again when you escape from the cell, though. It took me a lot of time to get all of that stuff together.
Grabbed by the Spetznaz, James? Sounds painful!
Bunker 2 is the ninth level of GoldenEye 007 and the second level of the fifth mission. Although Bunker does exist in the GoldenEye movie, it's really only one large room and a hallway. The game massively enlarges the bunker to make it a viable level. The underground complex is about 76 meters long and 56 meters wide.
The events at Severnaya play out a bit differently than the movie. Bond's capture at the end of Surface 2 means he is unceremoniously tossed into a jail cell (Bond never visits Severnaya in the movie). The Surface 2 briefing makes mention of a brief firefight and Bunker 2 tasks Bond with collecting staff and casualty lists. That places Bunker 2 after the installation's computer technicians are massacred by Xenia, but before the GoldenEye satellite is detonated. Unlike the movie, Arctic Commandos from the Russian military take control of the Bunker and seize Natalya, the only innocent witness to the massacre.
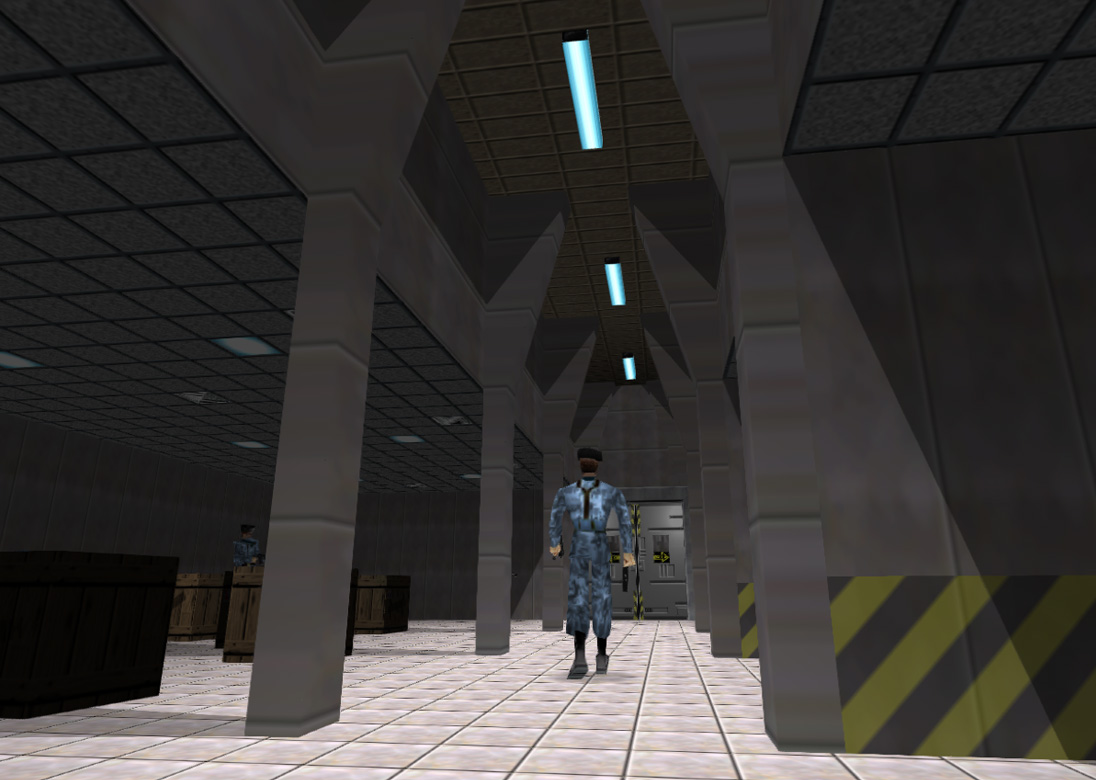
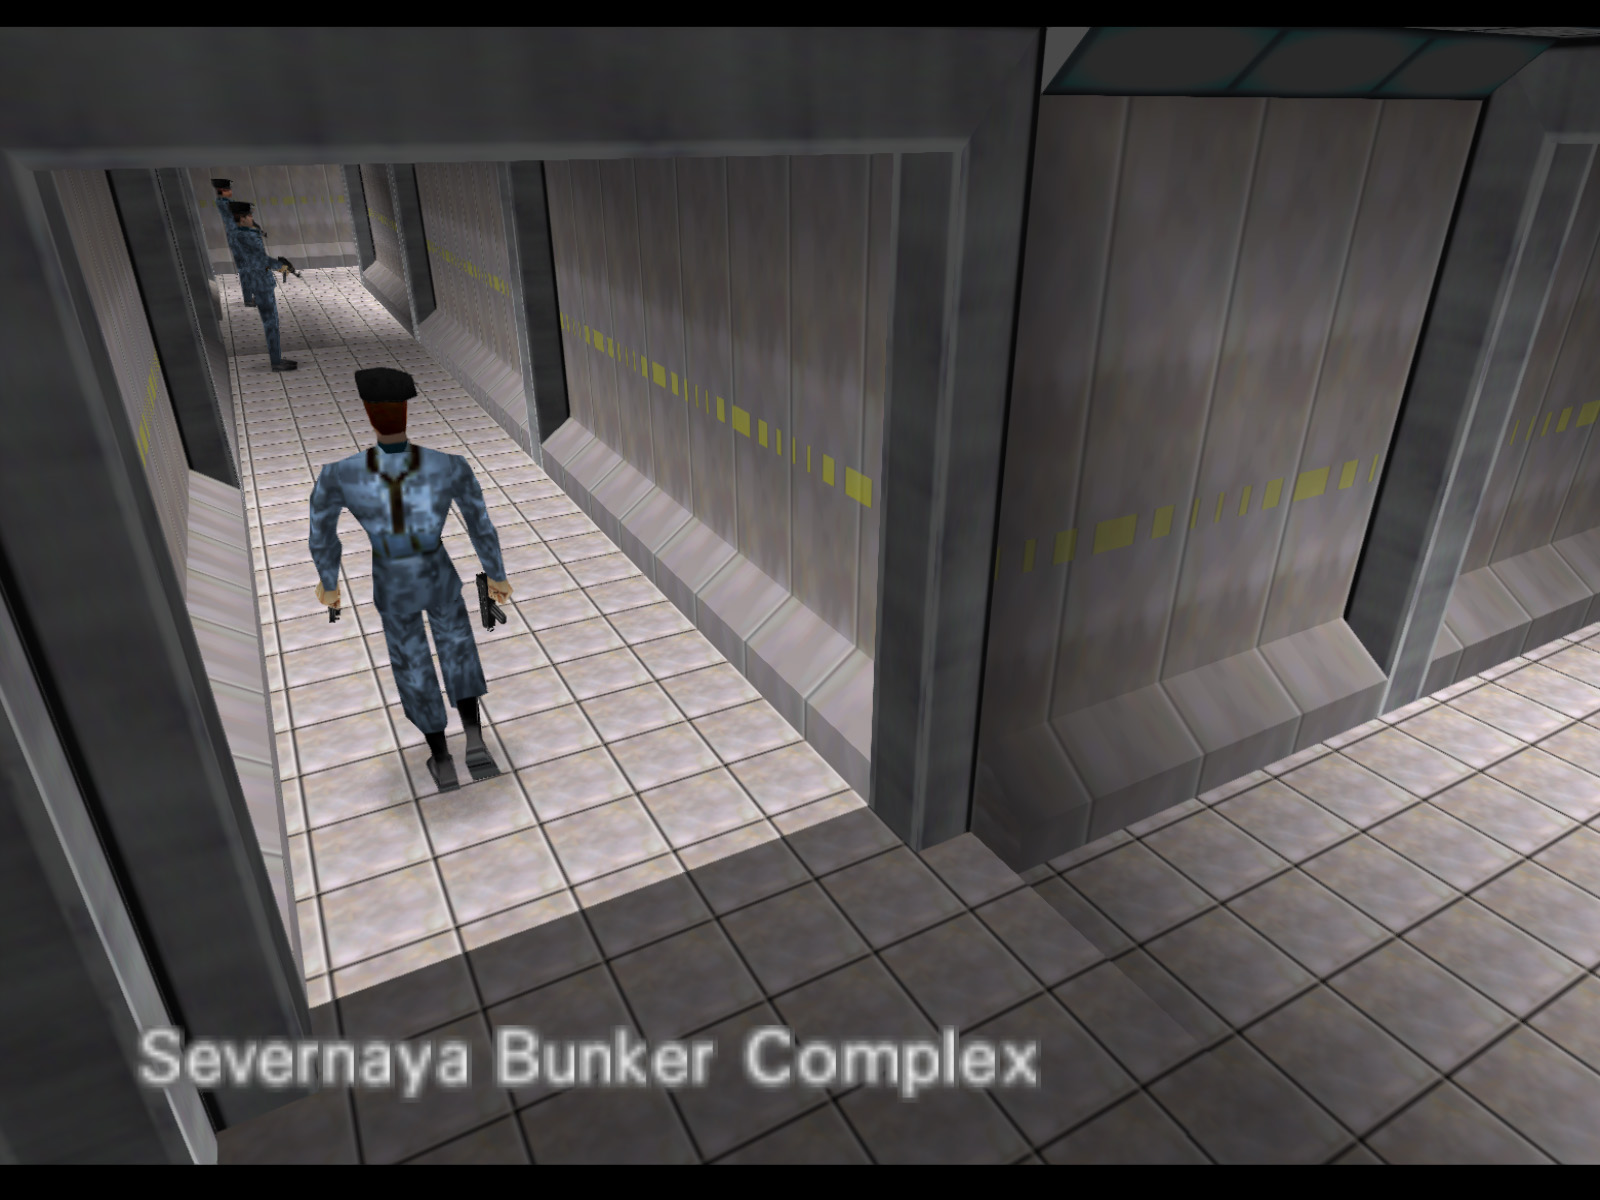
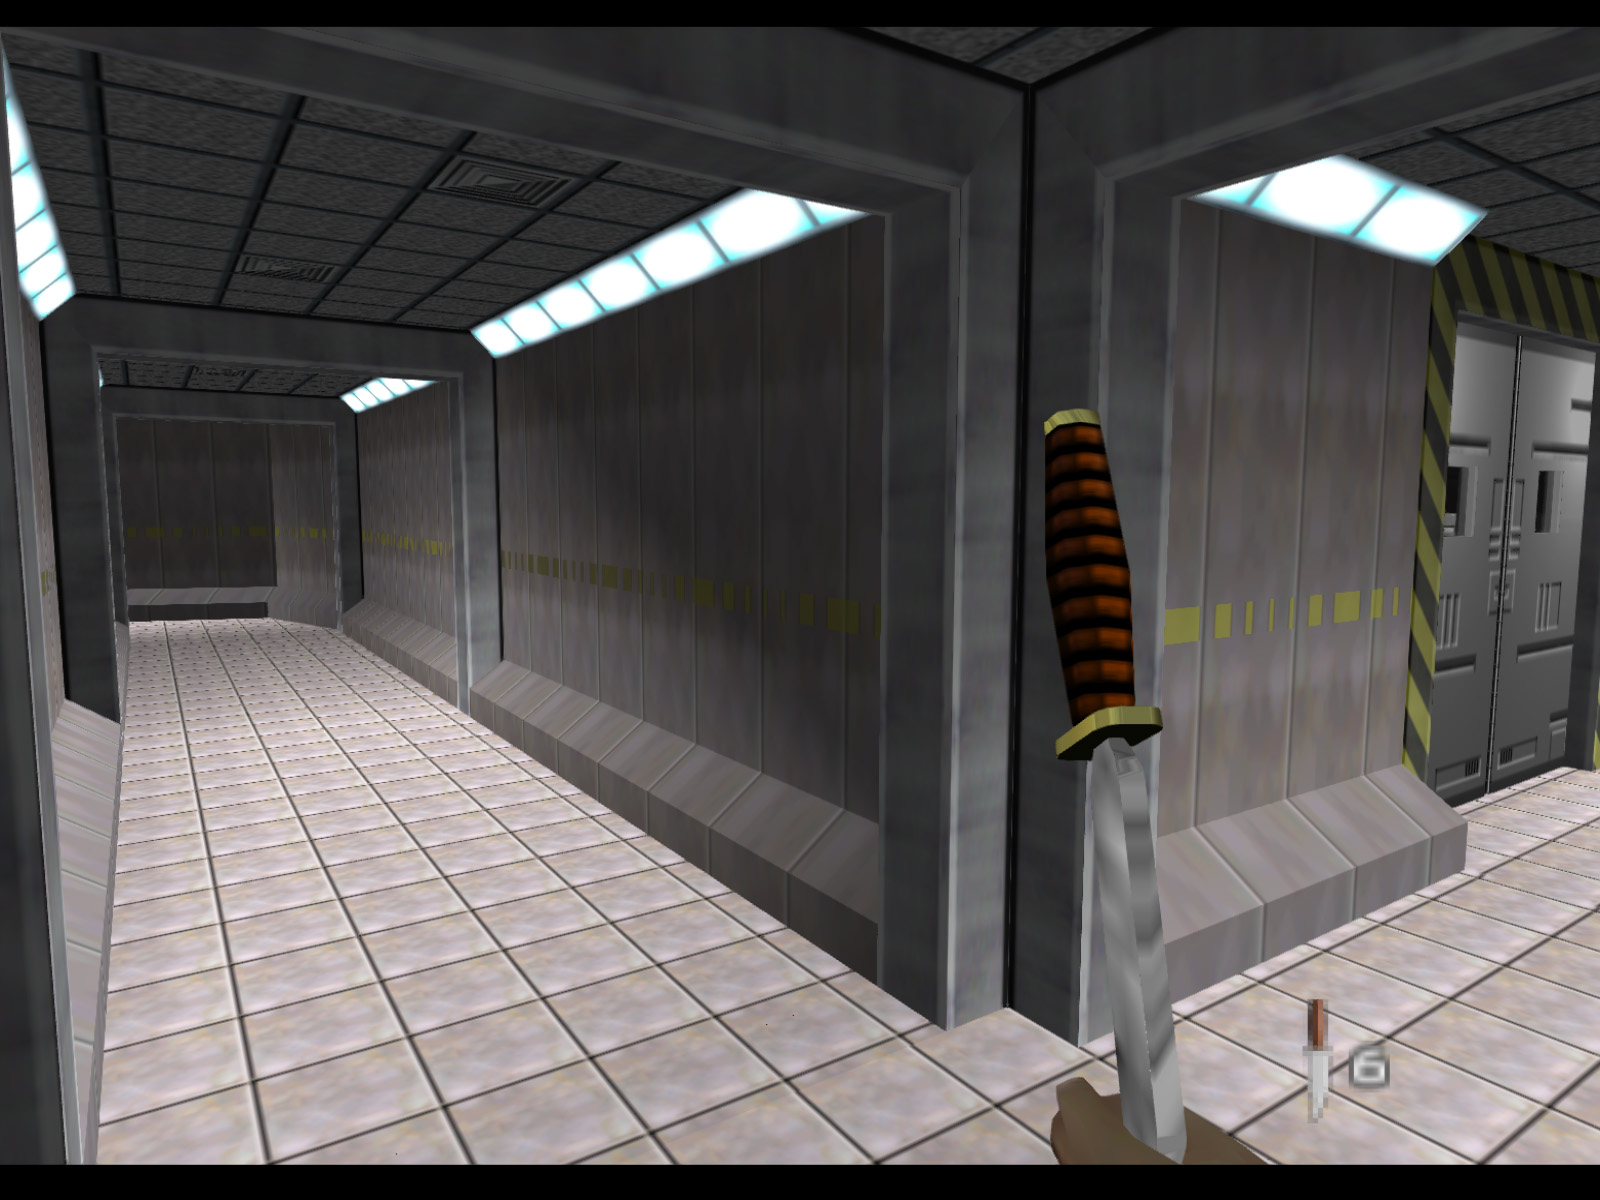
The bunker has expanded greatly since we visited the level in the first Severnaya mission. It's a labyrinth of halls and security doors. New areas include the jail, two offices, a storage area, and a back area defended by drone guns.
Bunker 2 is the first level where Bond begins without a firearm. There are no silenced guns available until later in the level and many of Bunker 2's guards can send out clones if they hear noise. This greatly encourages the player to use stealth instead of run and gun tactics.
This armor is found in a niche in the back corridor that's infested with drone guns.
This armors sits on a crate in the room with the guard who drops the Casualty List.
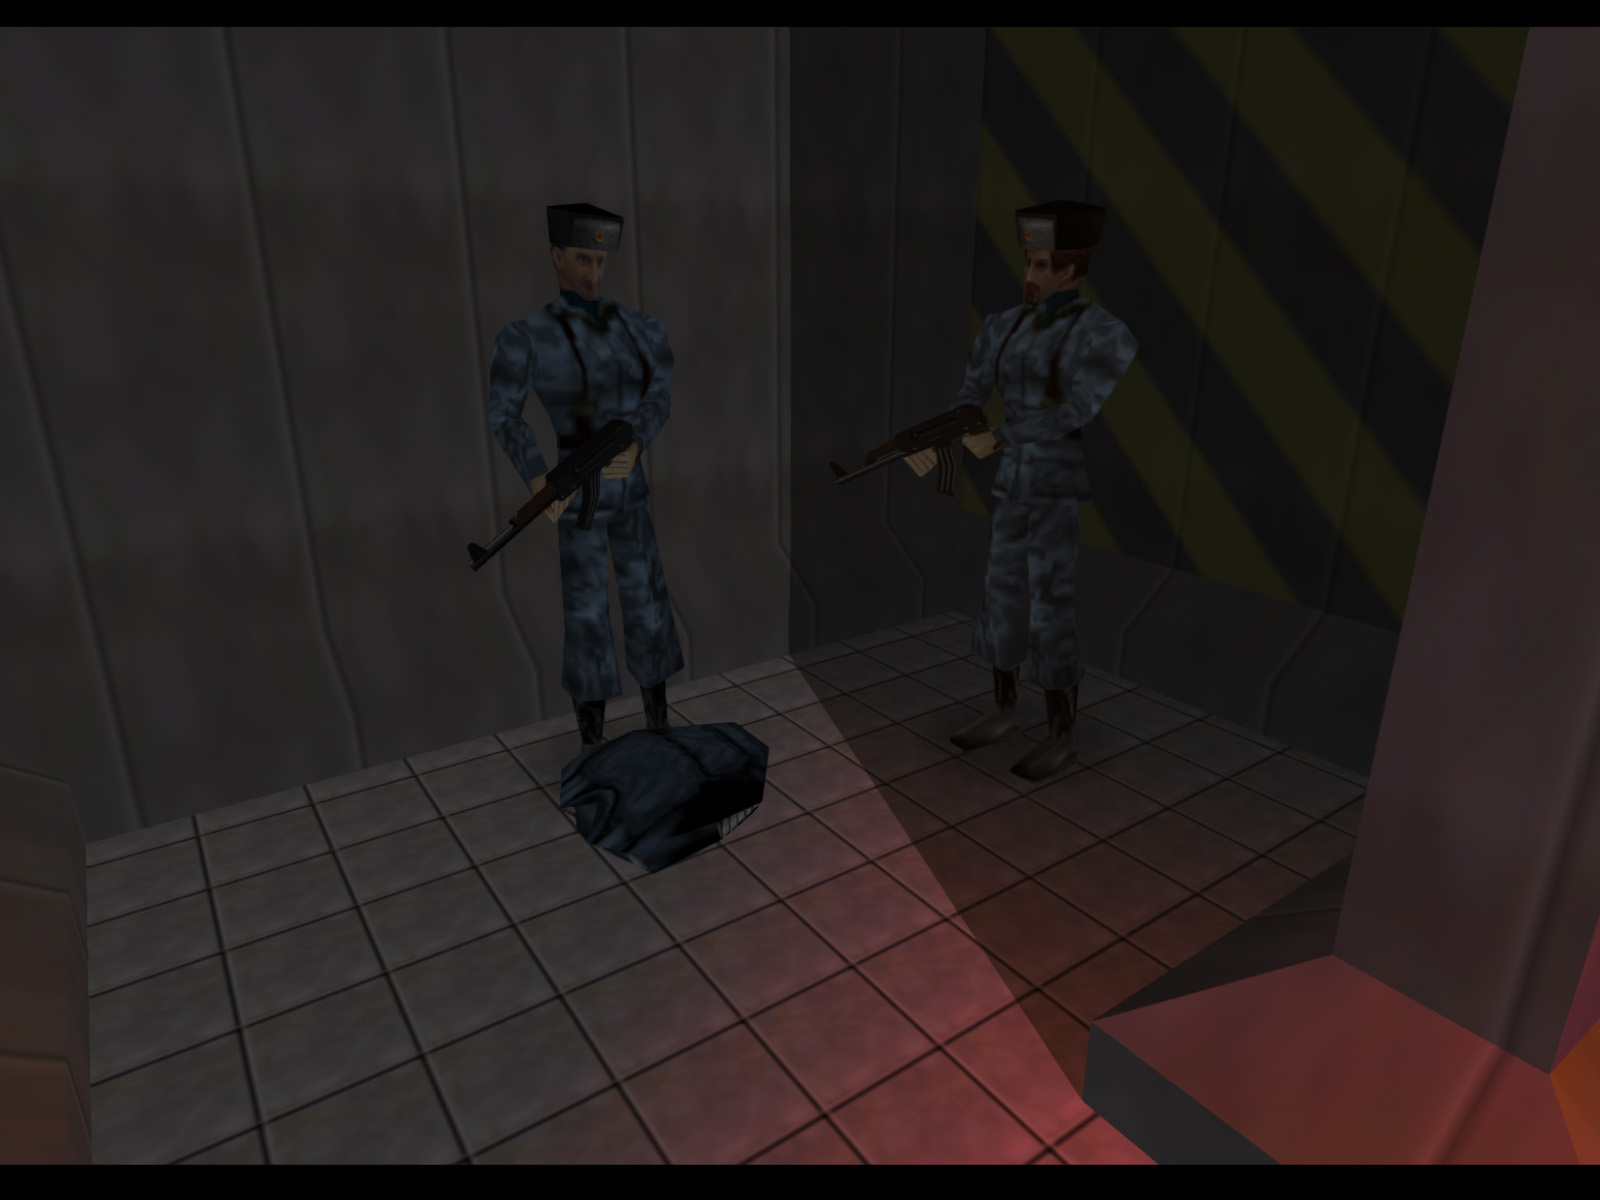
Bunker 2 begins with Bond thrown in a jail cell. His guns have been taken away, so you start this level with no weapons other than your own bare hands. At first glance it may seem there is nothing to do other than await your execution. But of course, you are James Bond, and your enemies will not rid themselves of you so easily.
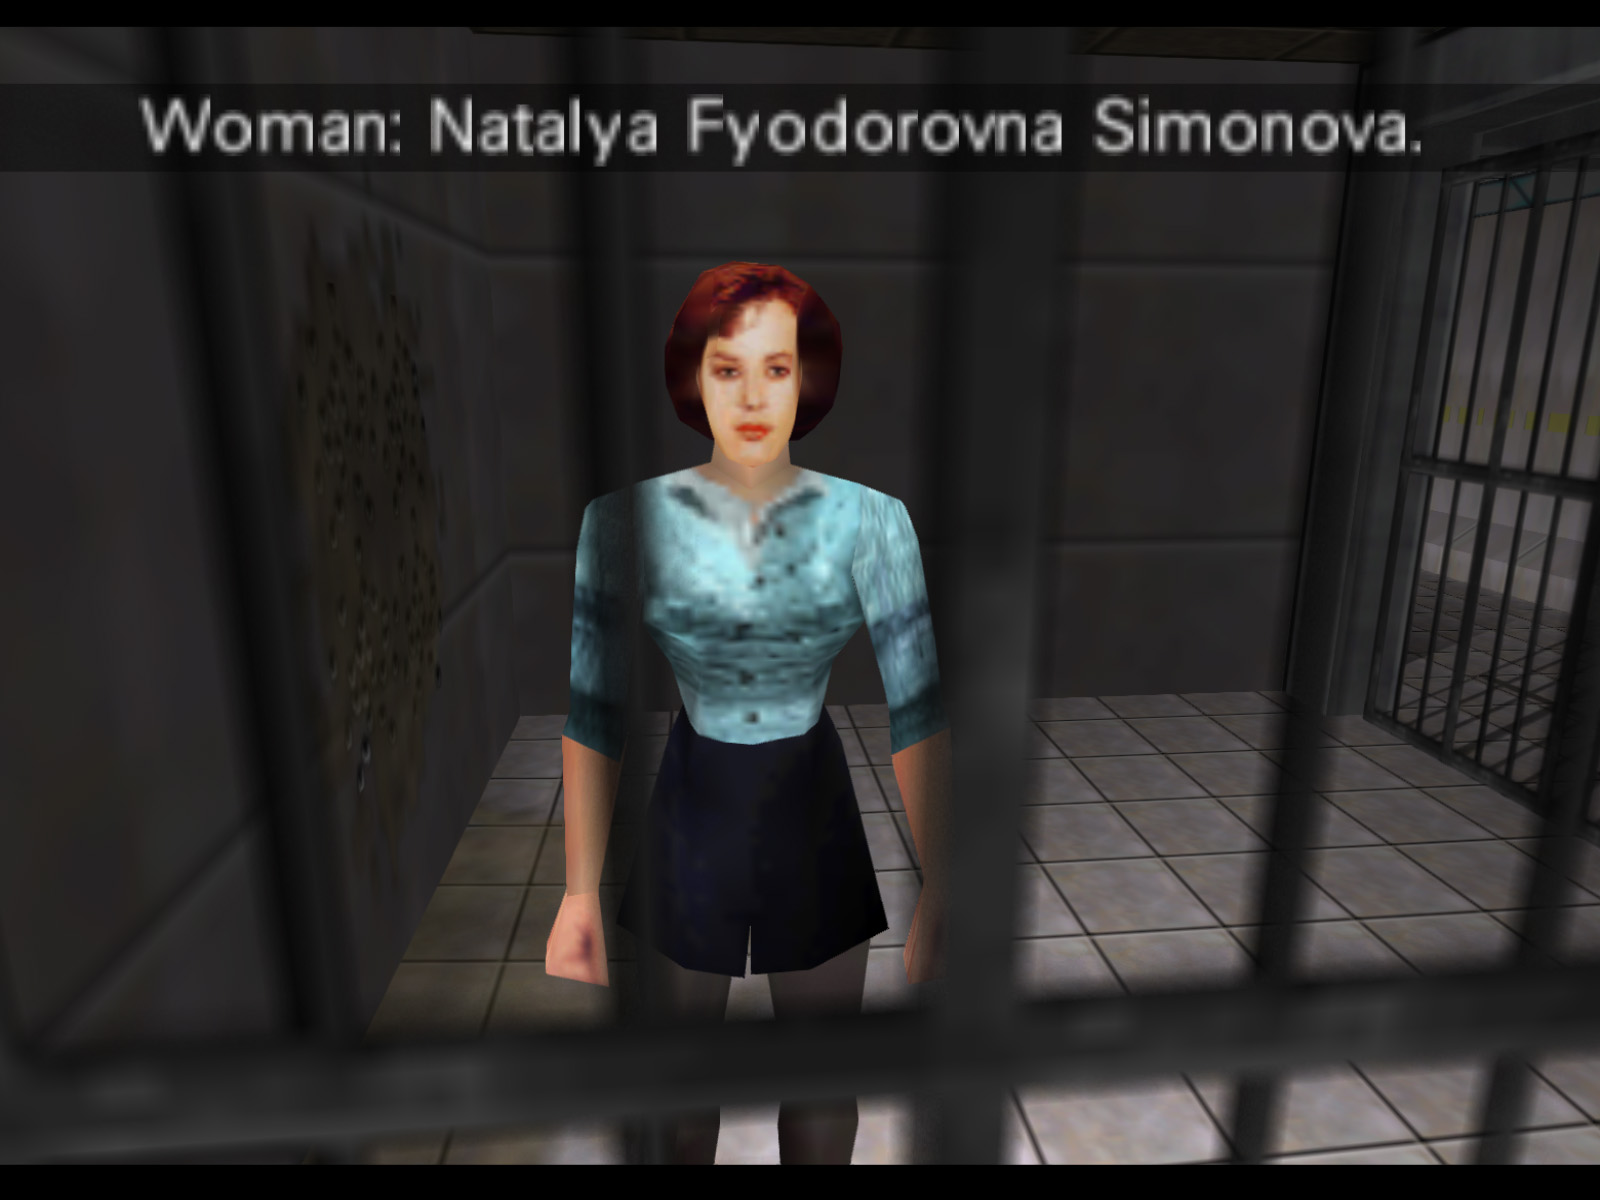
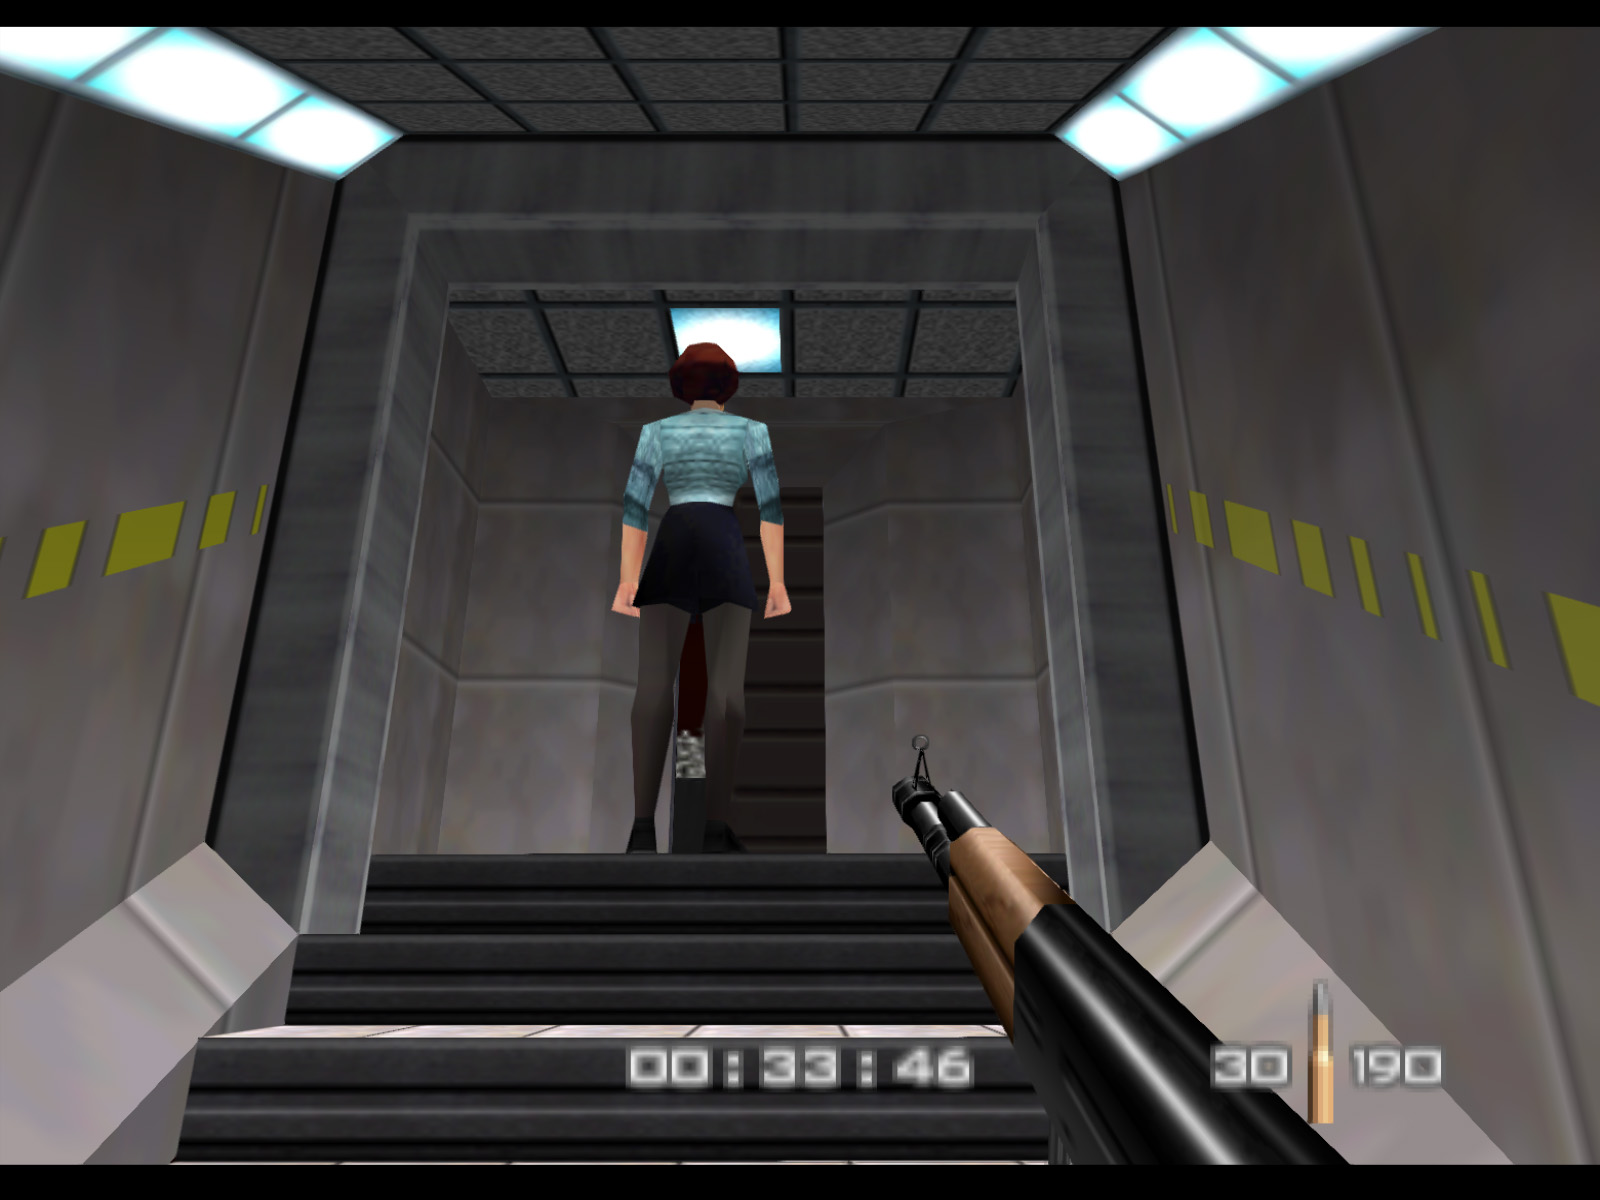
If you turn to your left and approach the other cell you will meet Natalya, the Bond girl of GoldenEye.
Once the conversation with Natalya is finished you may walk to the front of your cell and start another conversation with the guard. The conversation itself is fruitless, so you are left to search for other means of escape.
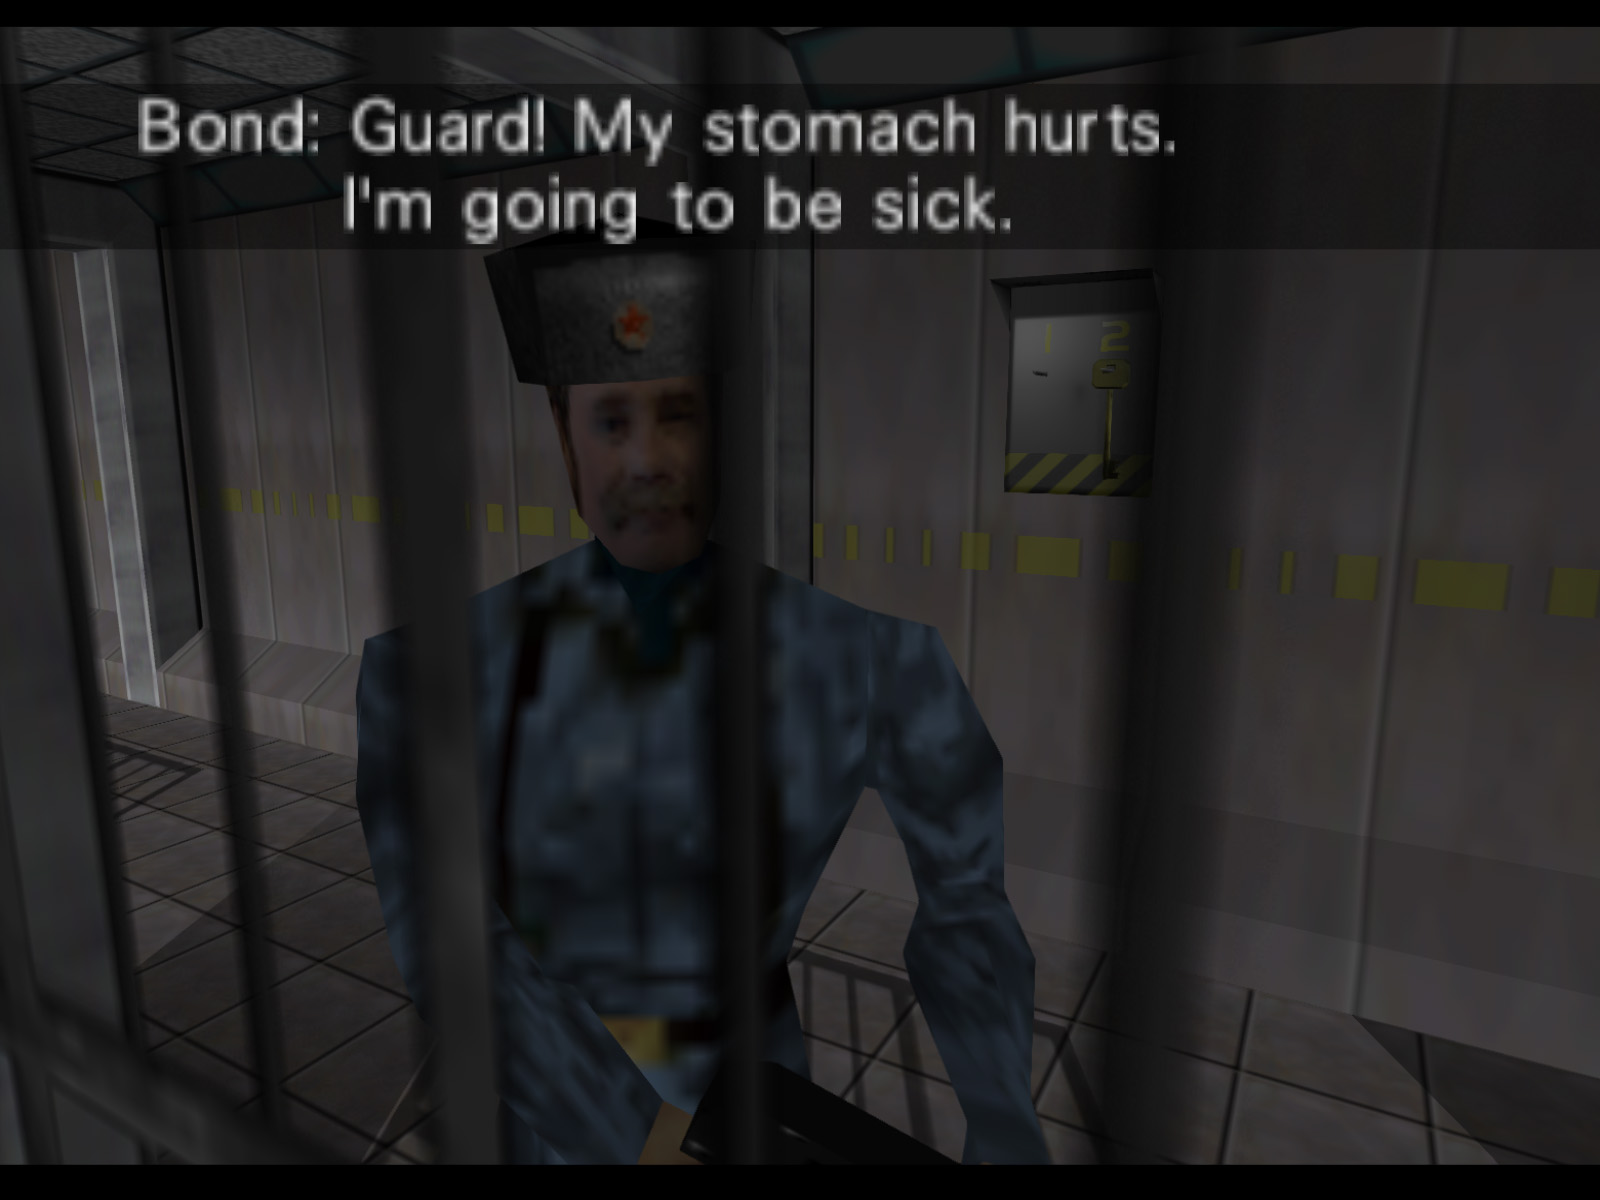
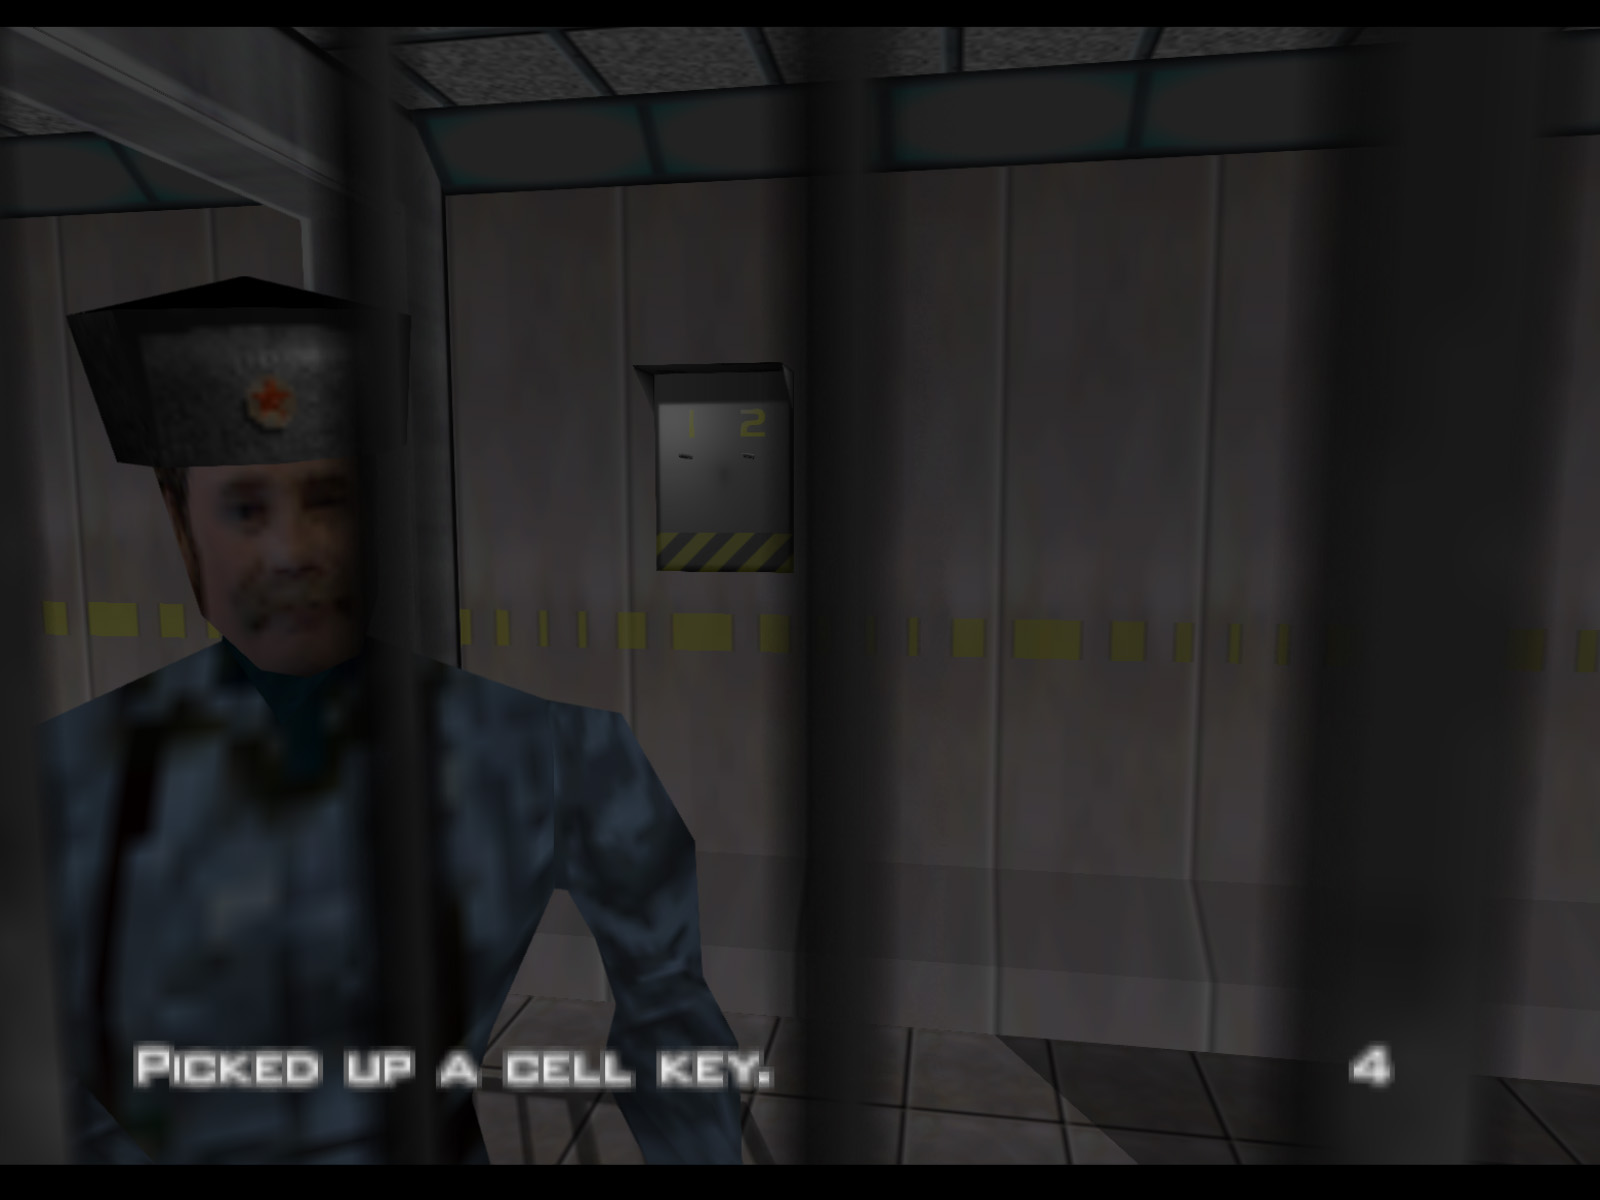
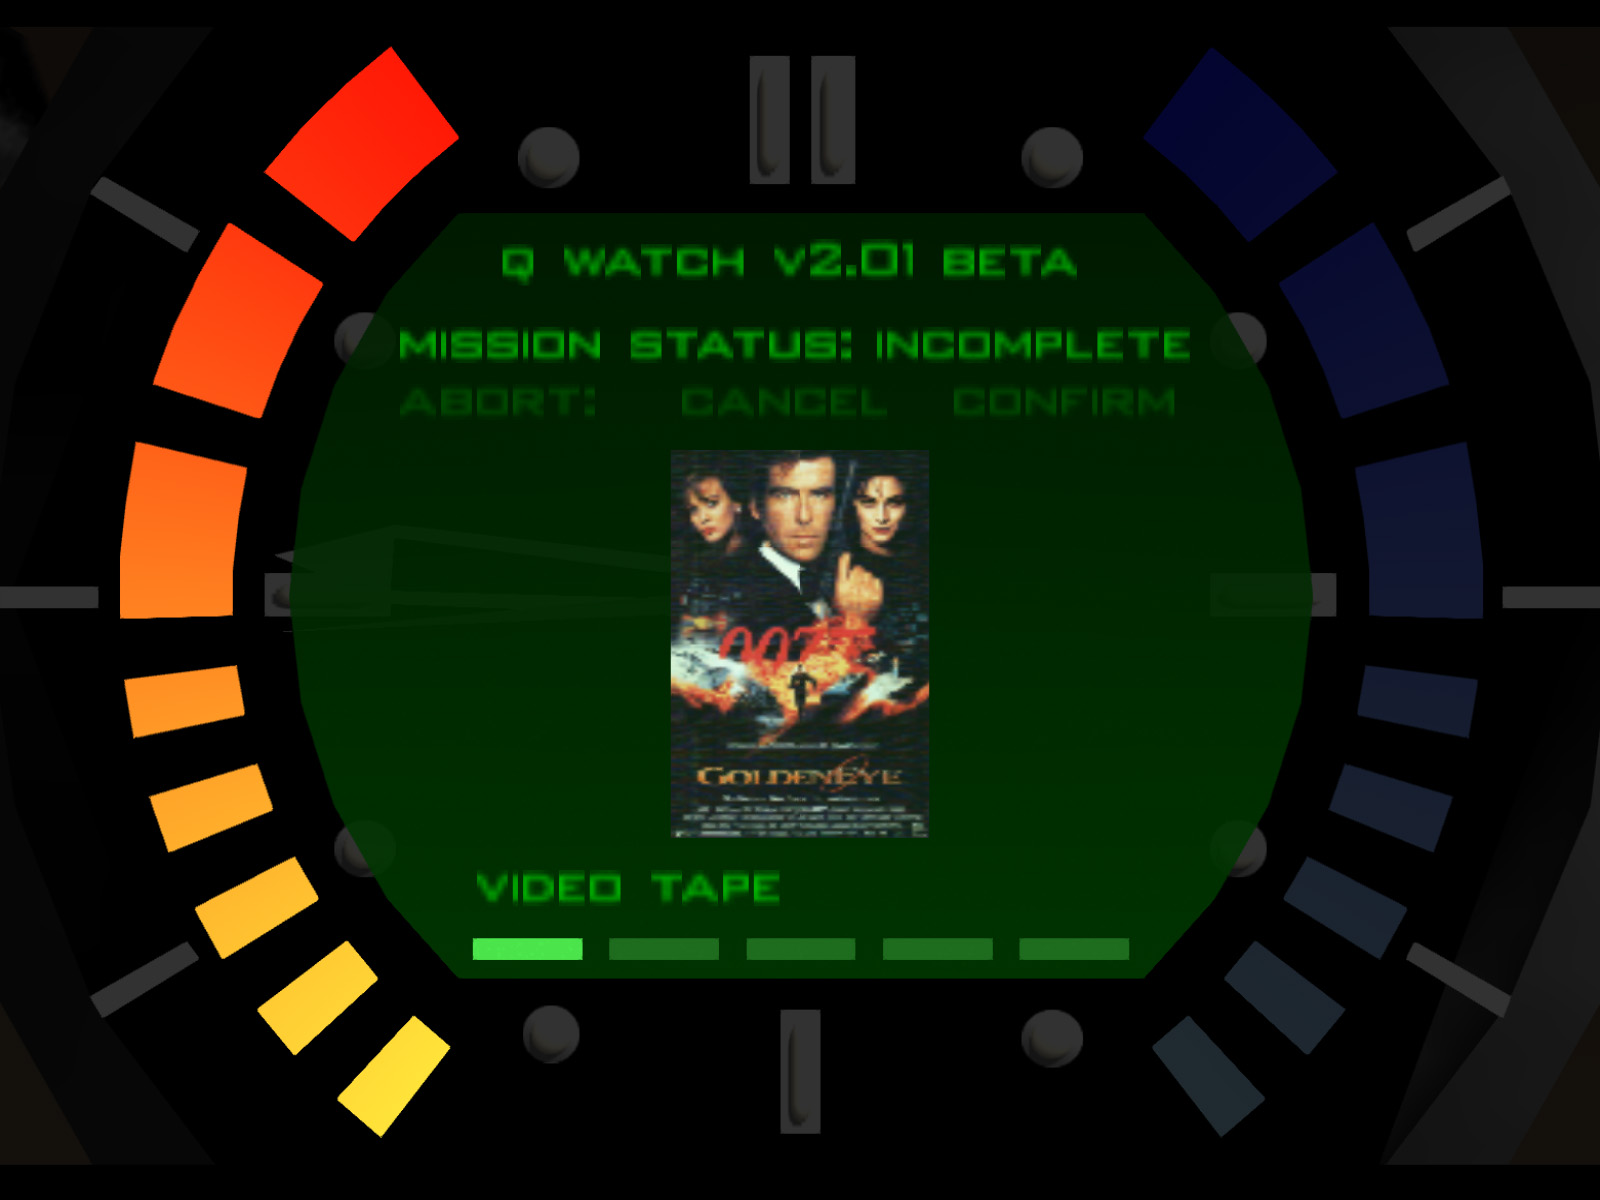
Check your inventory in the Pause Menu and select the Watch Magnet Attract. Use it to pull the key hanging on the holder on the wall over to you. The guard thinks the noise of your Watch Magnet Attract is a grumbling stomach, and he remains none the wiser to your schemes!
▶ TIP:It is not necessary to sit through these conversations. You can just go straight to grabbing the key and escaping.
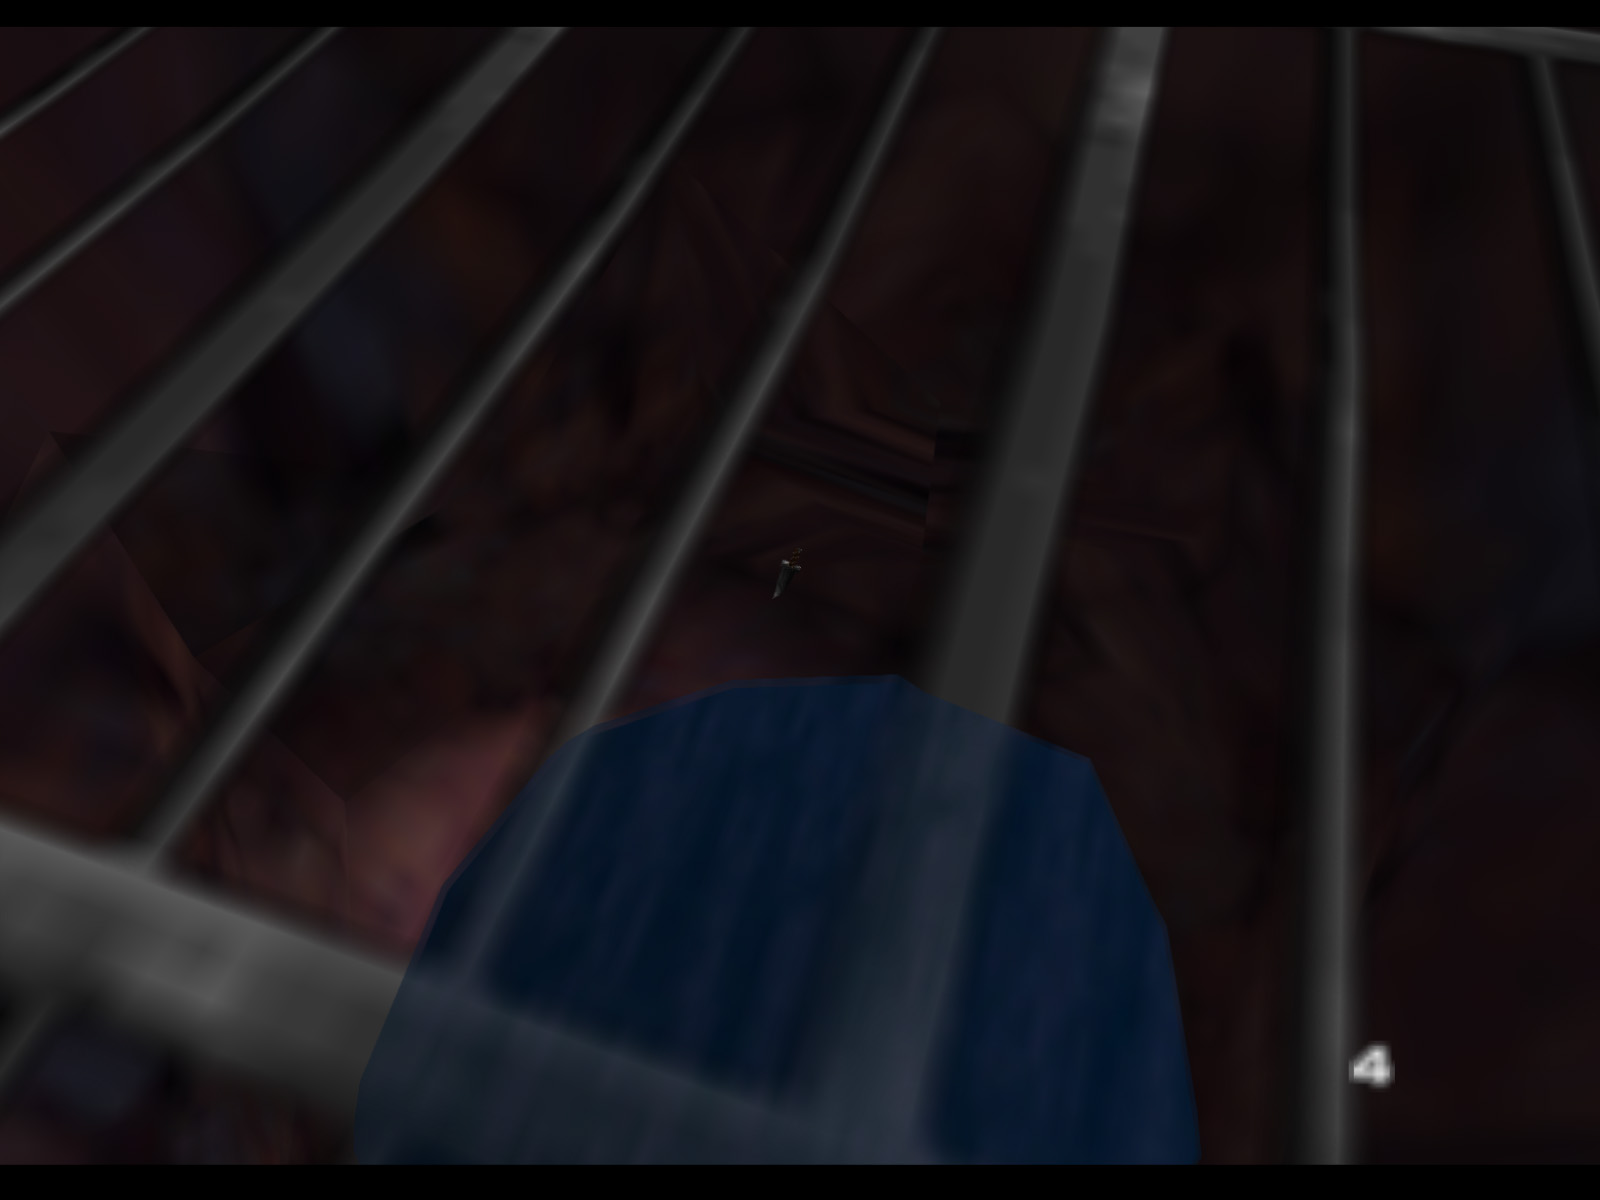
After leaving the cell and knocking out the guard, you can use your Watch Magnet Attract again to pick up these Throwing Knives at the bottom of the drain. There are always six Throwing Knives regardless of difficulty. Also make sure you picked up the second Cell Key that the guard dropped.
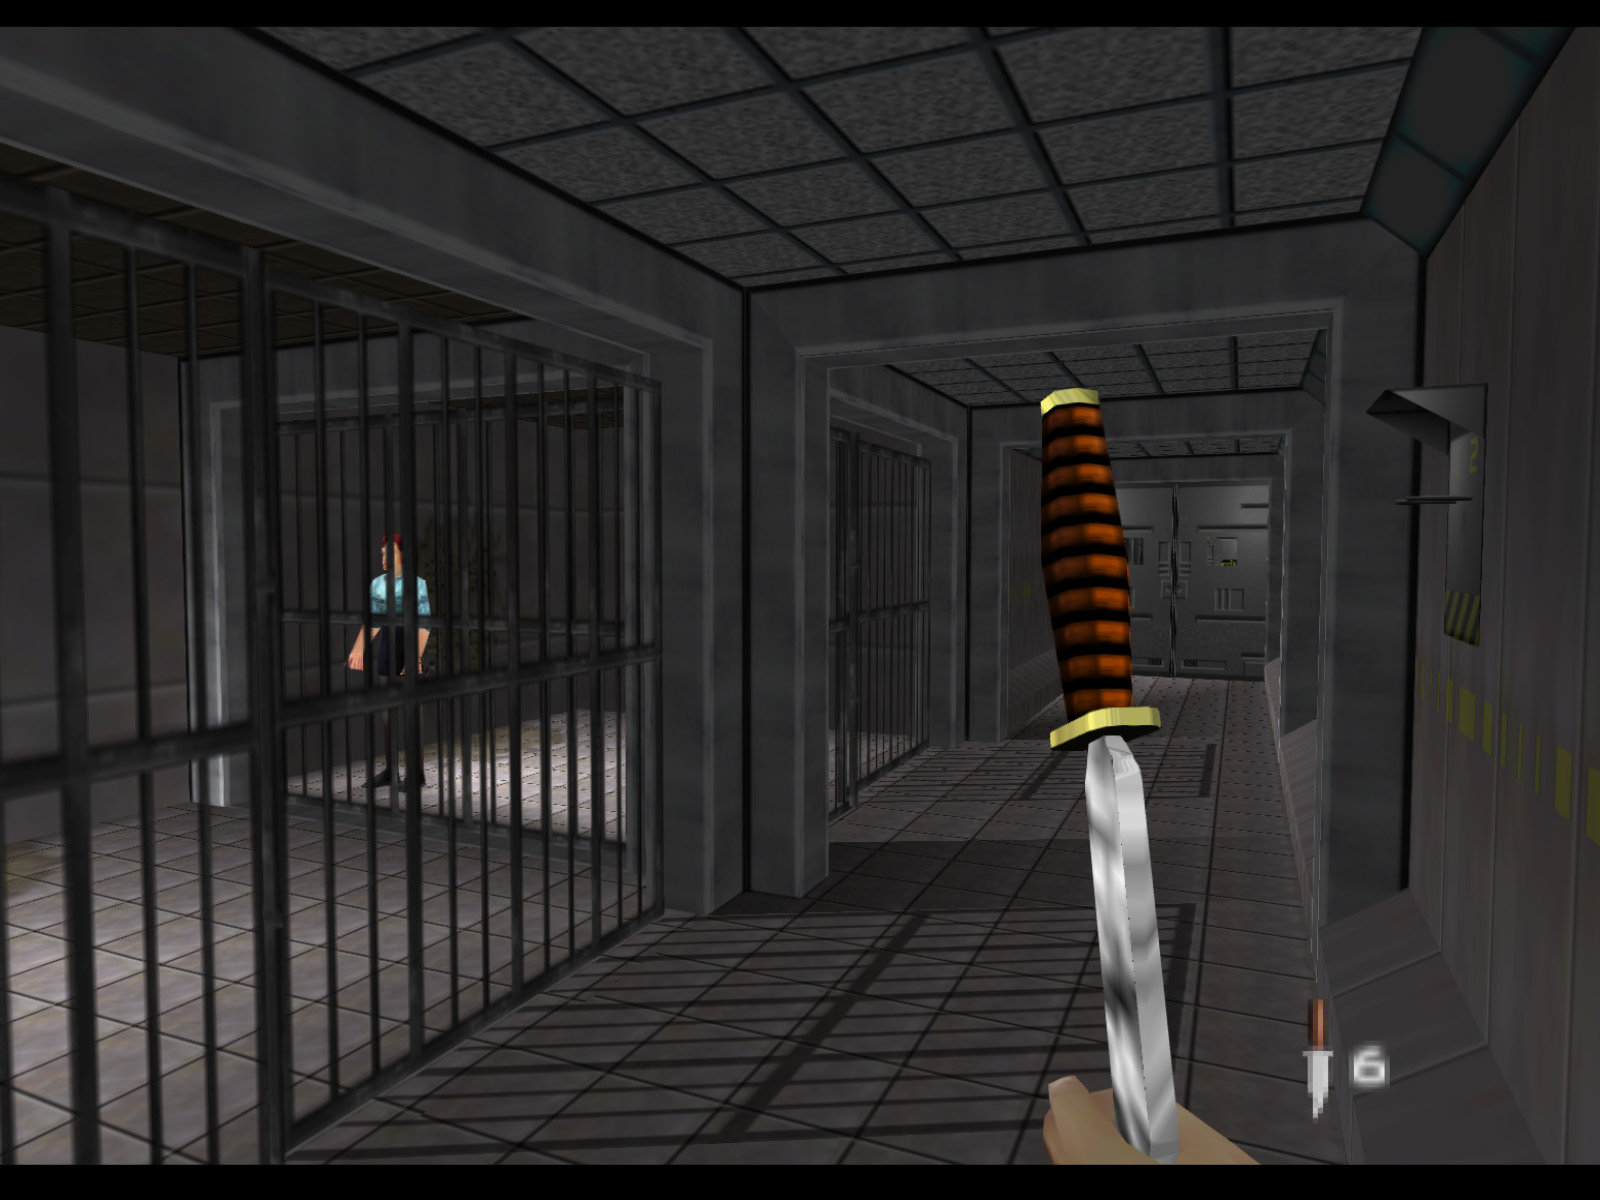
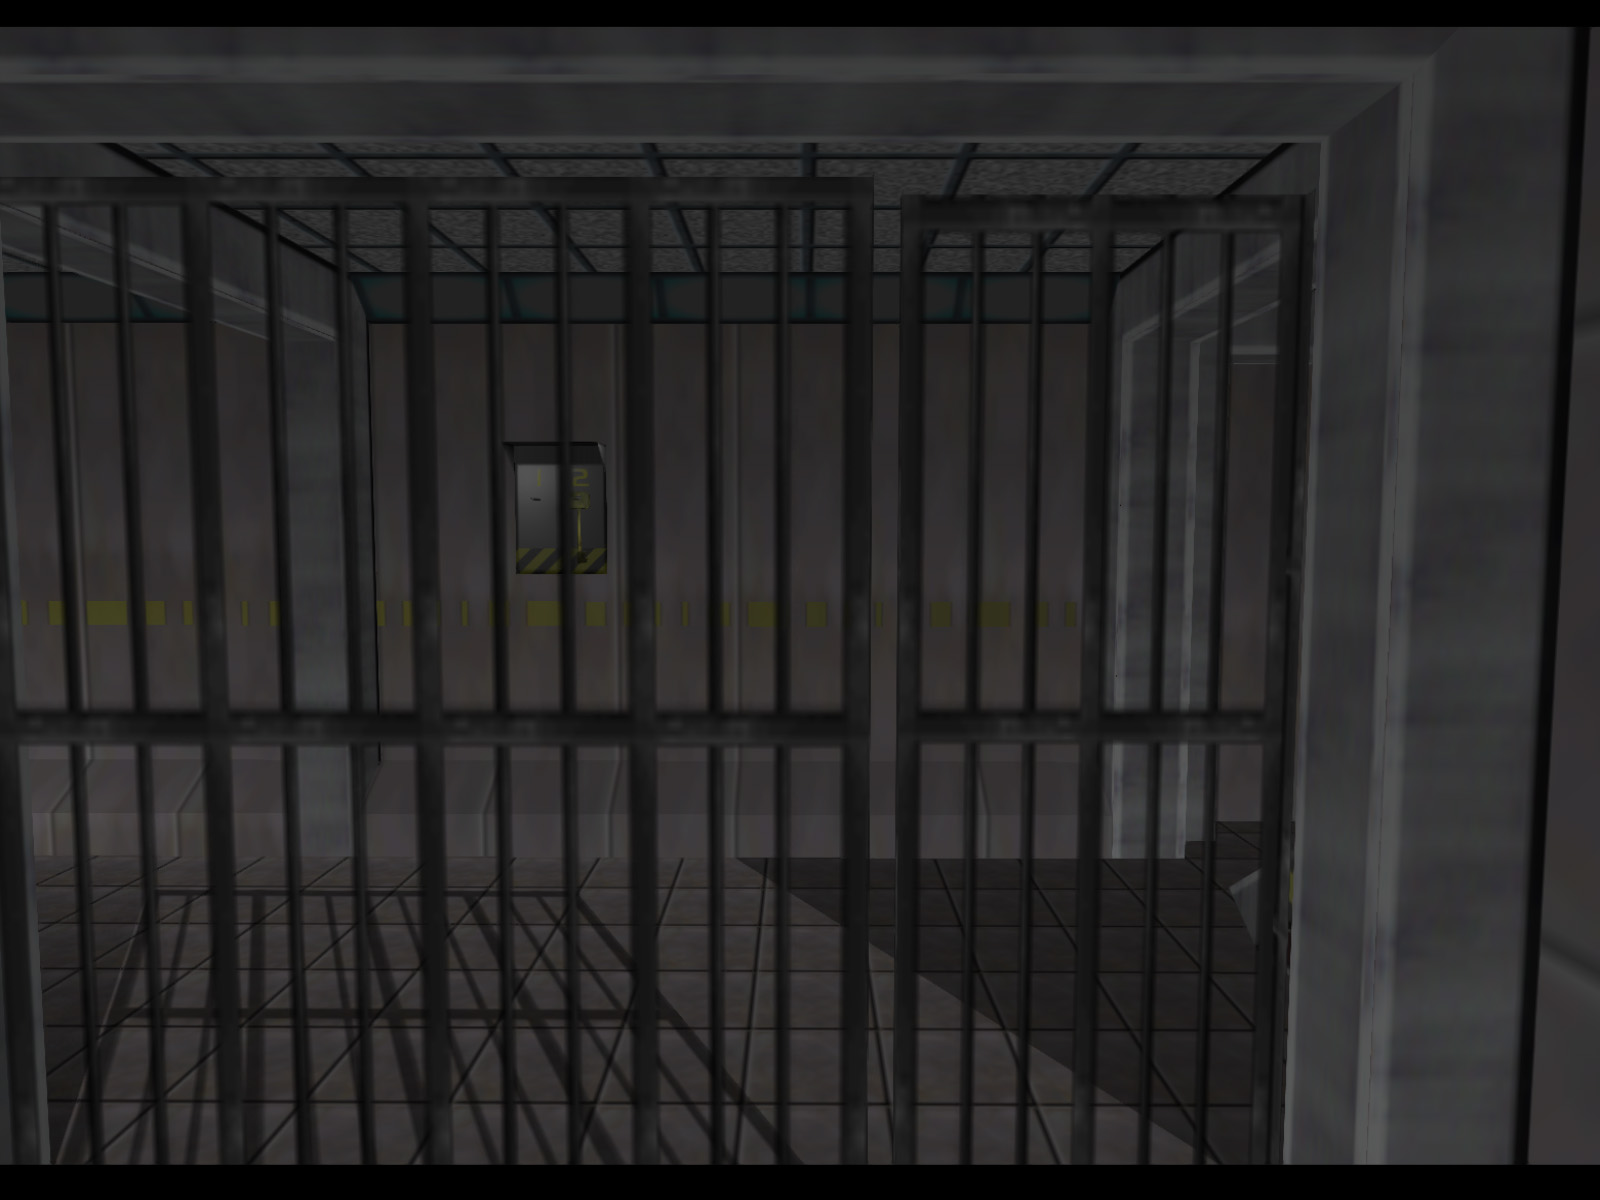
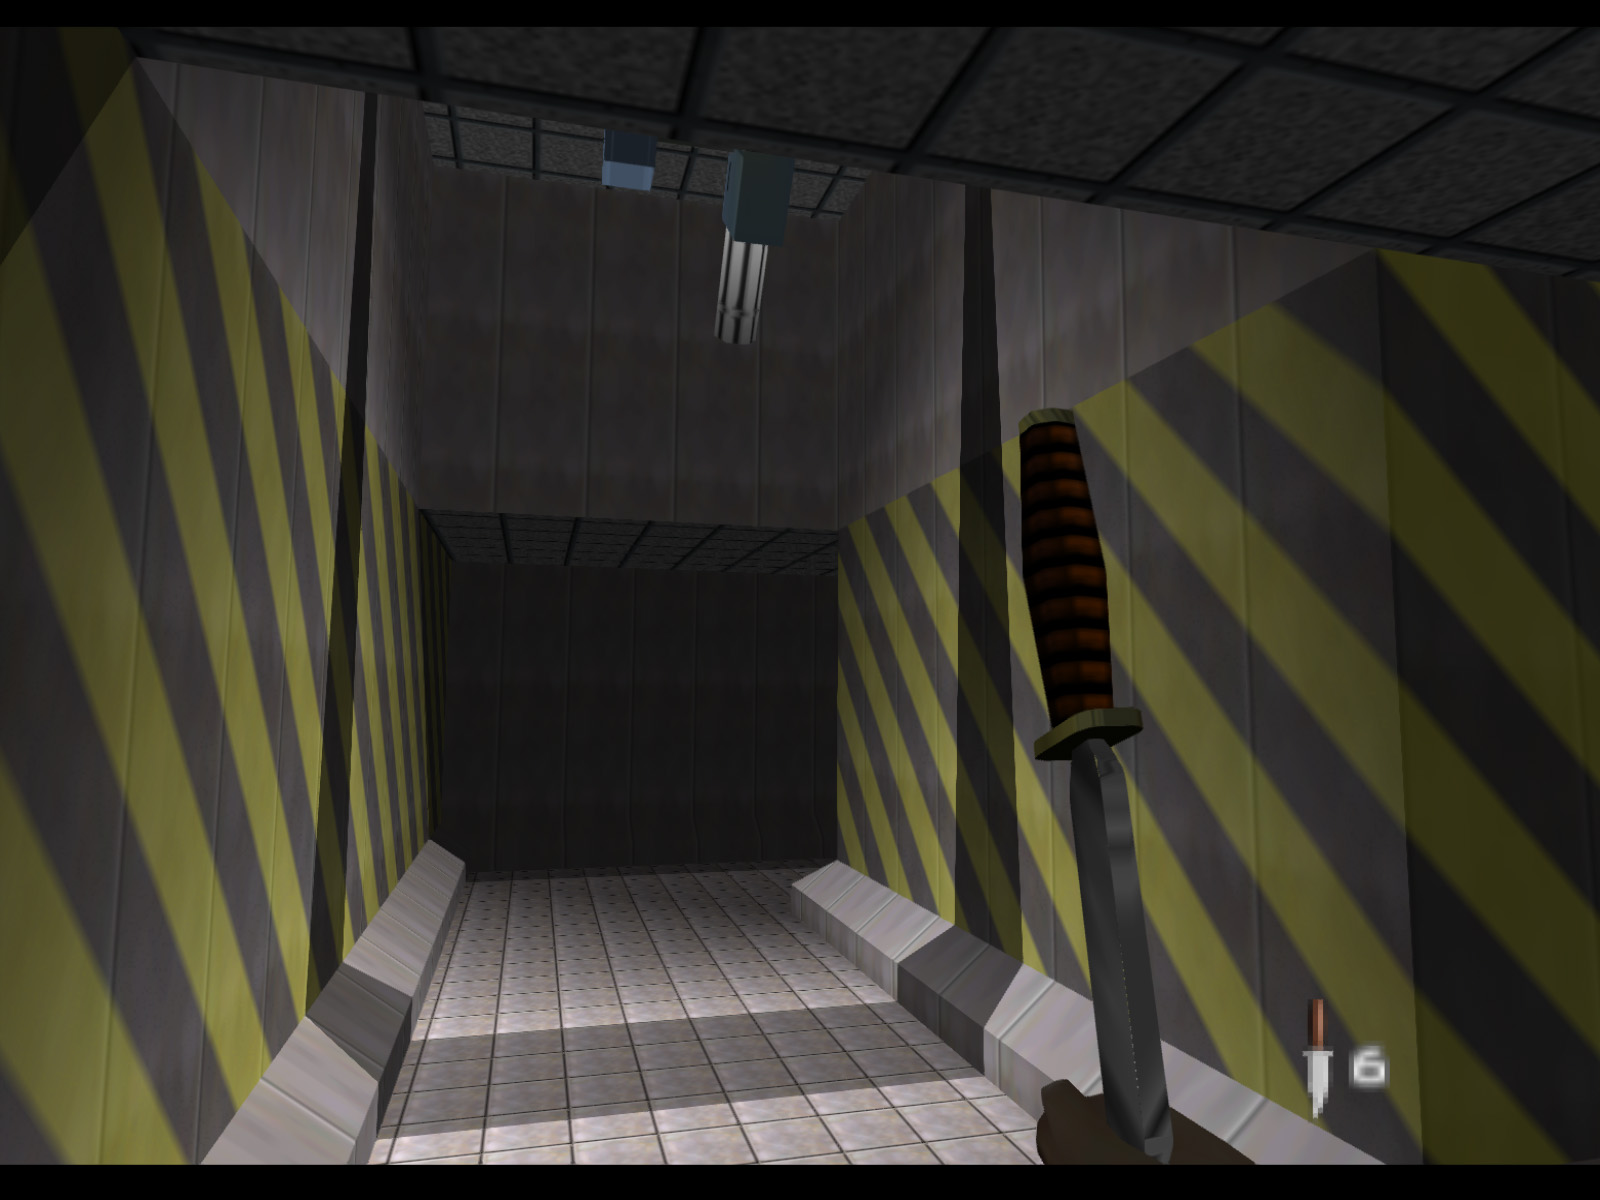
A look at the cell block. I recommend using the Throwing Knives as you proceed to remain stealthy.
▶ TIP:It may be prudent to leave Natalya in her cell for now. If you let her out she will follow you around and she has a habit of walking into the path of your bullets and Throwing Knives.
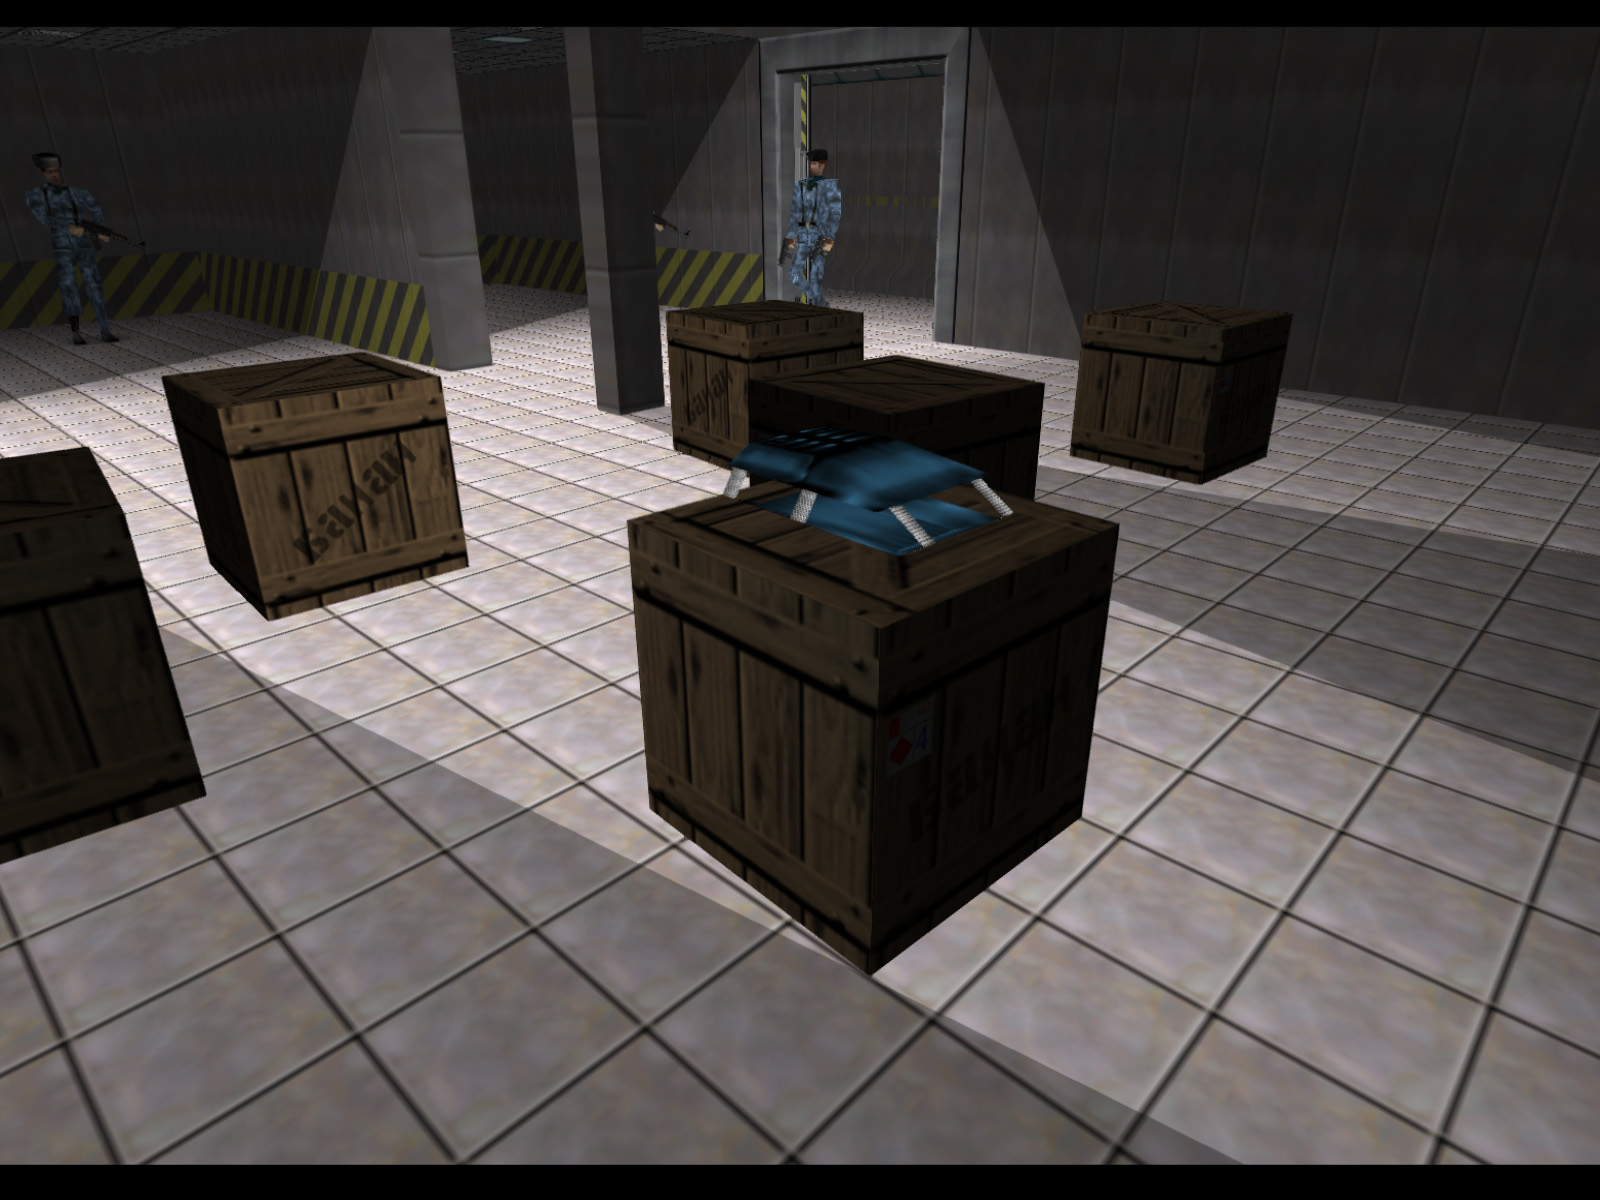
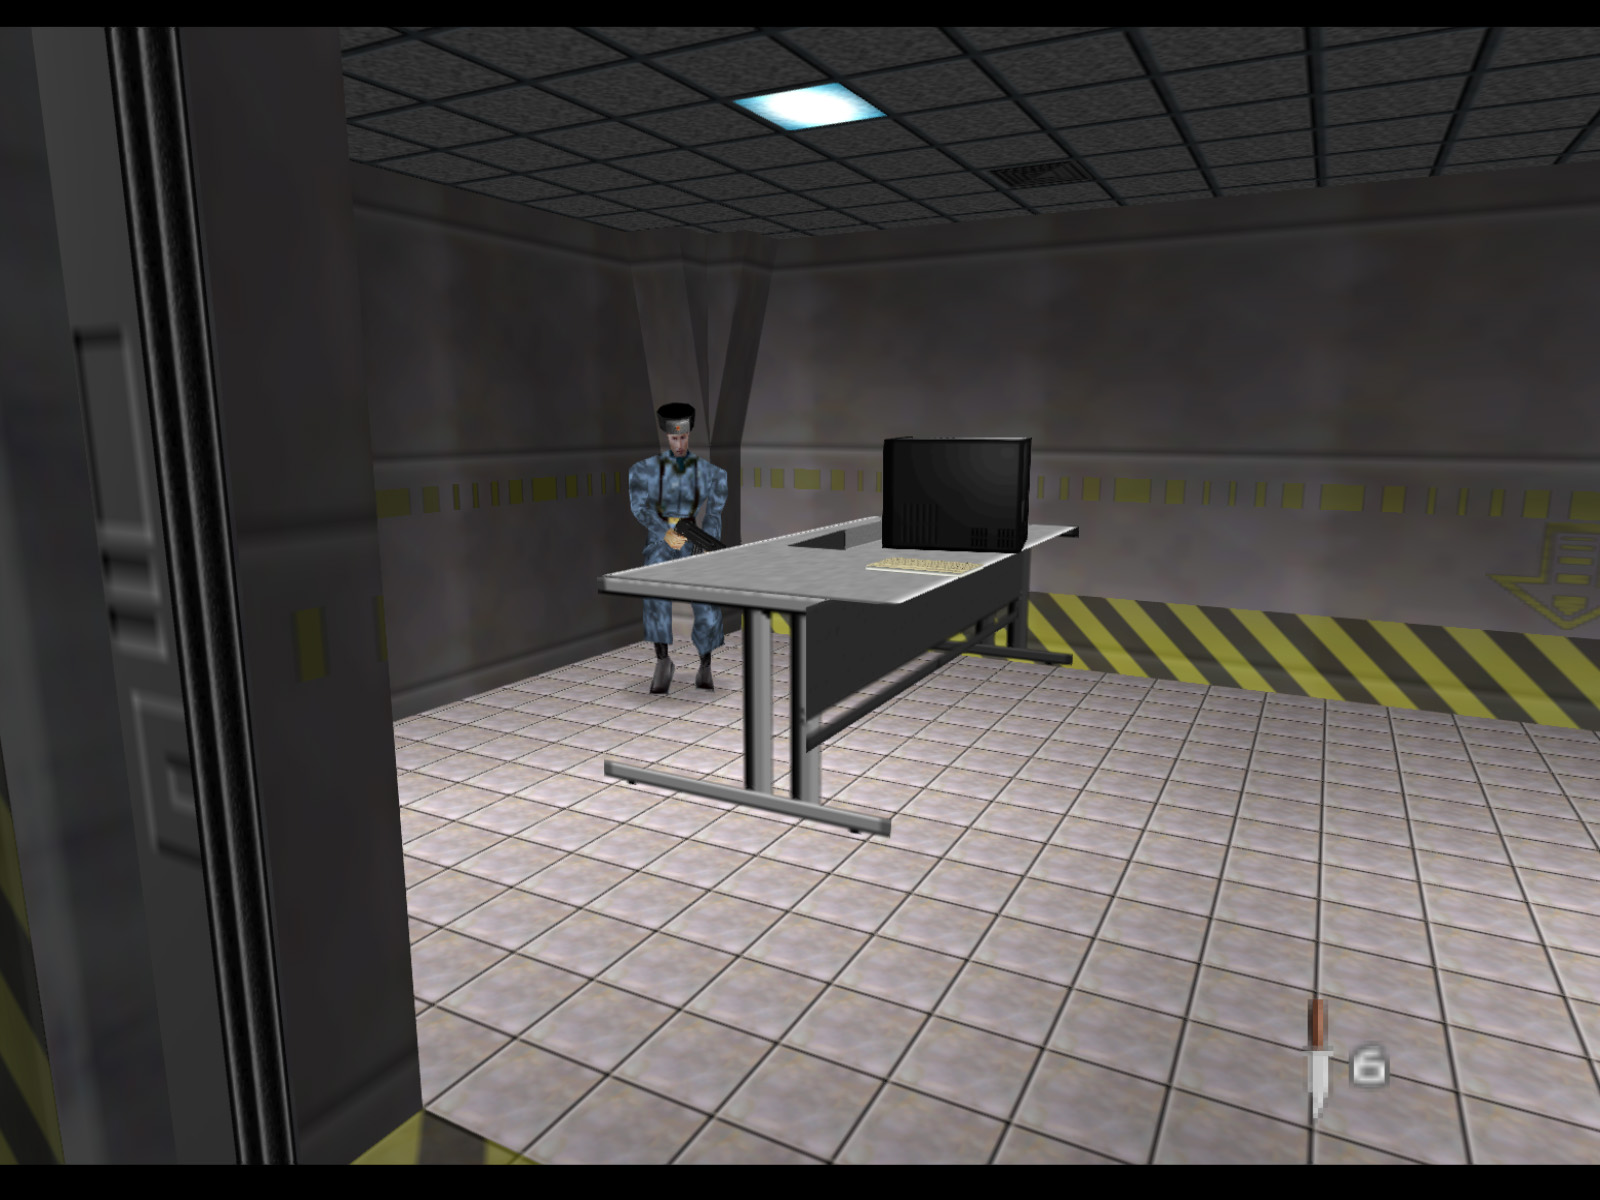
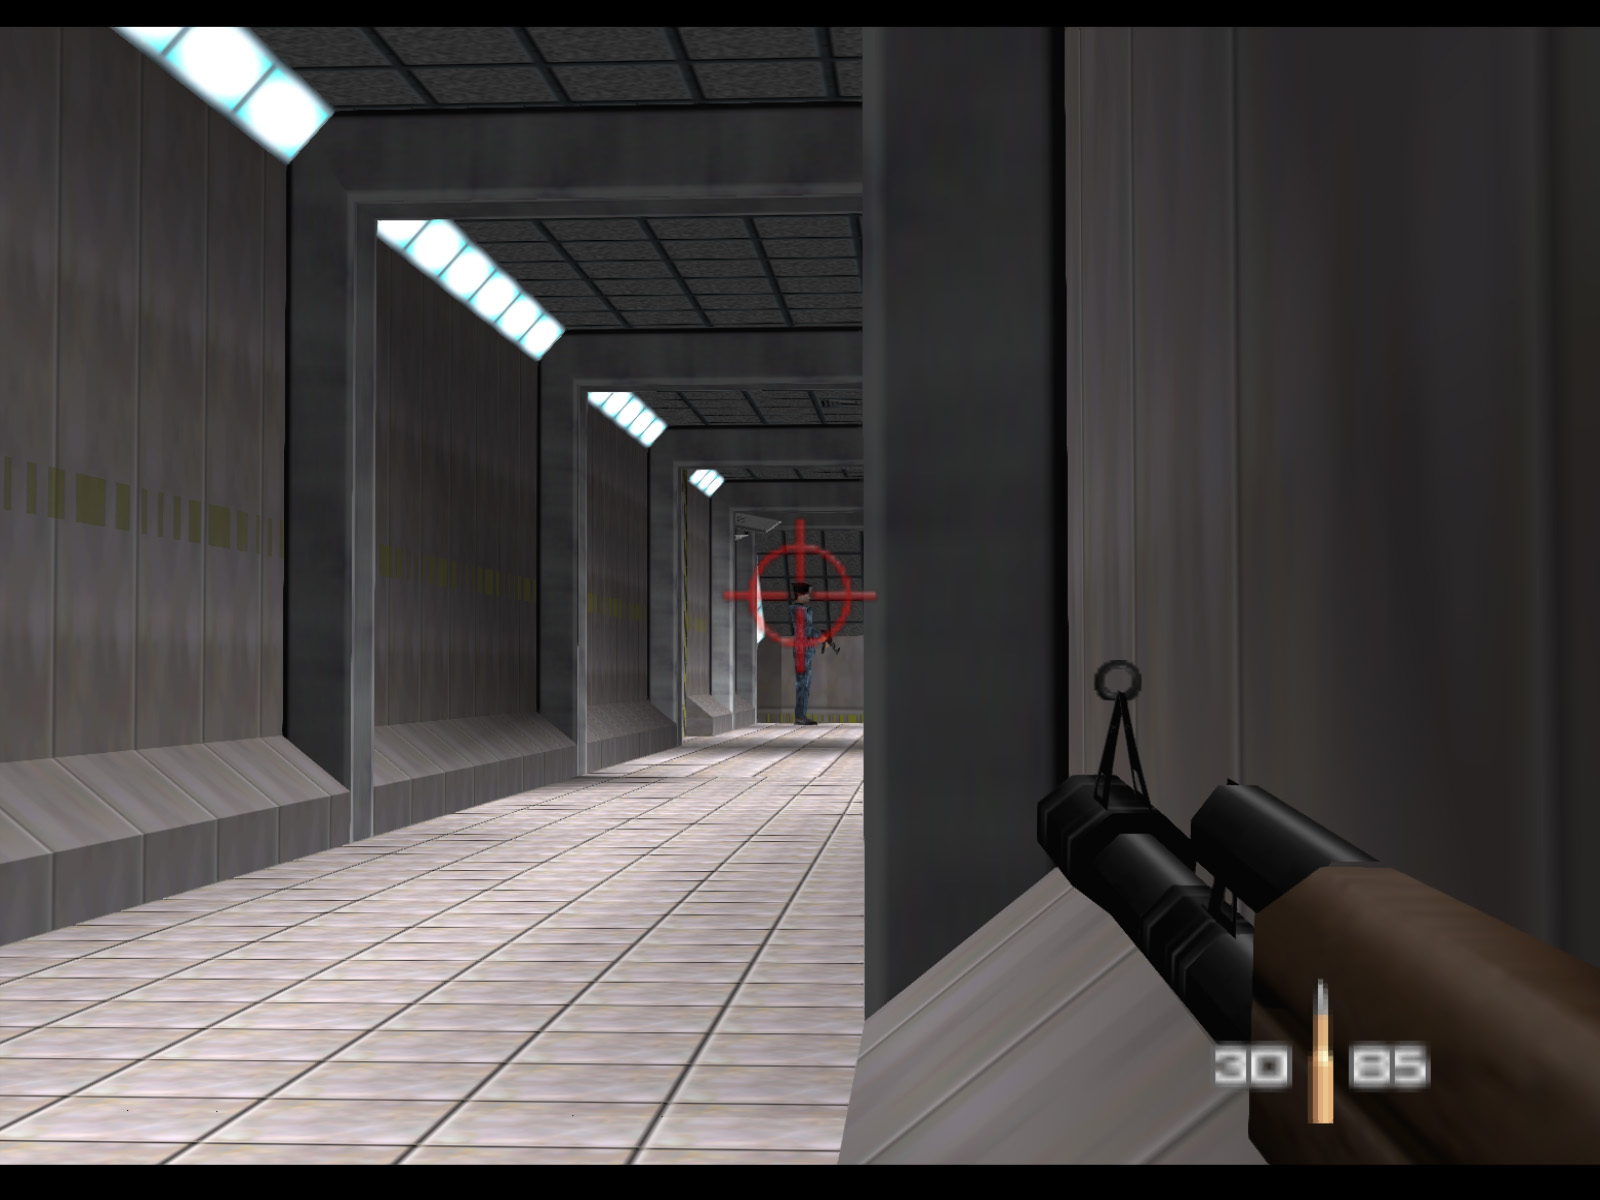
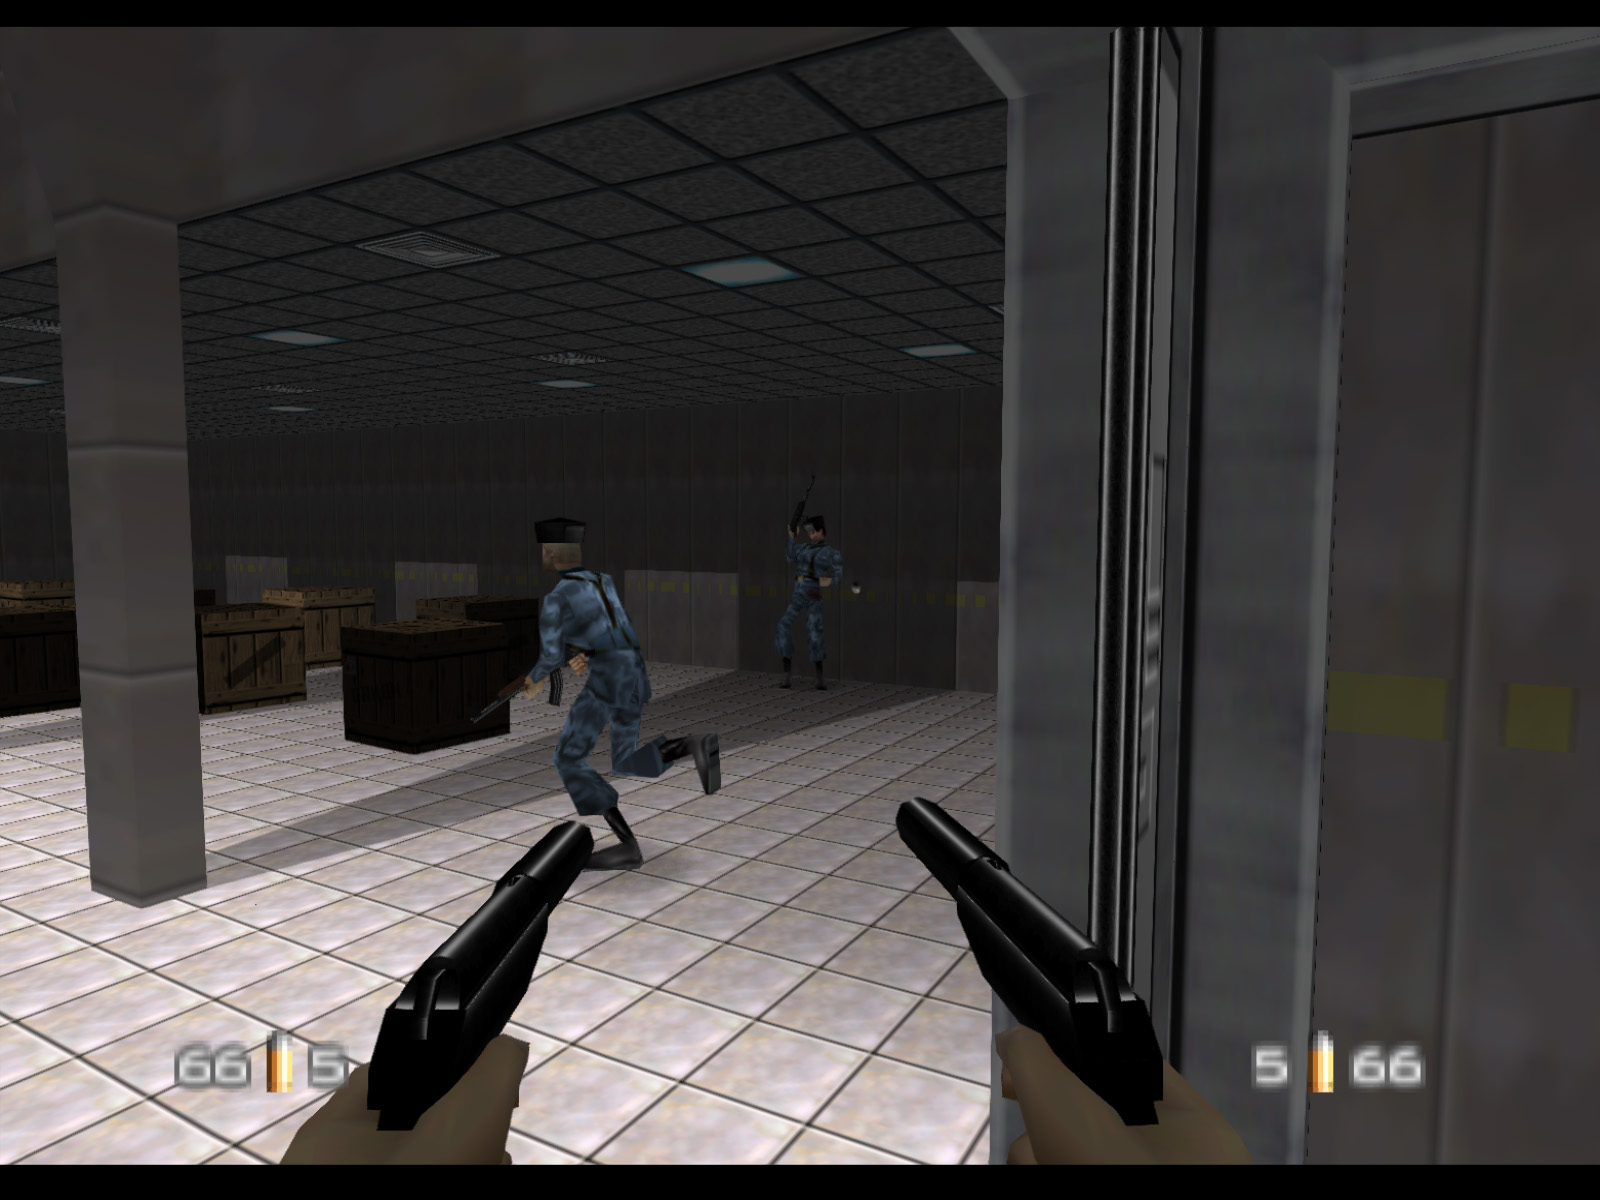
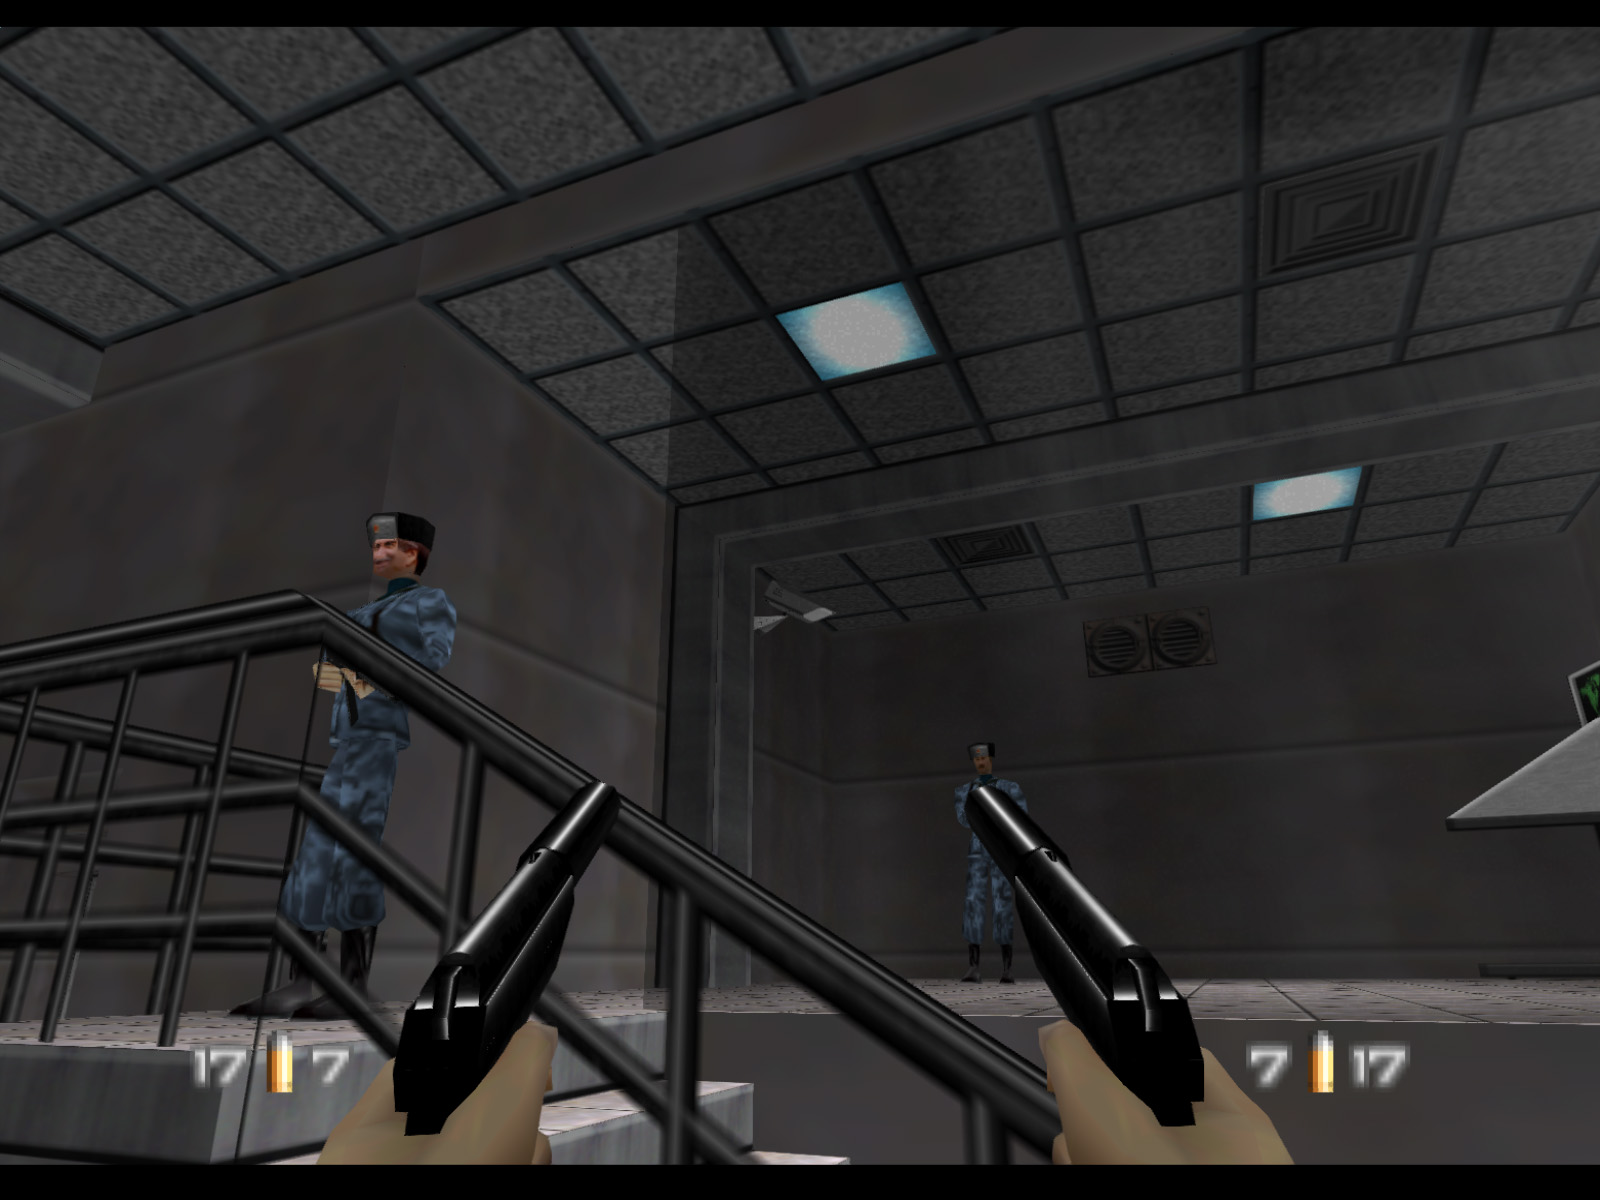
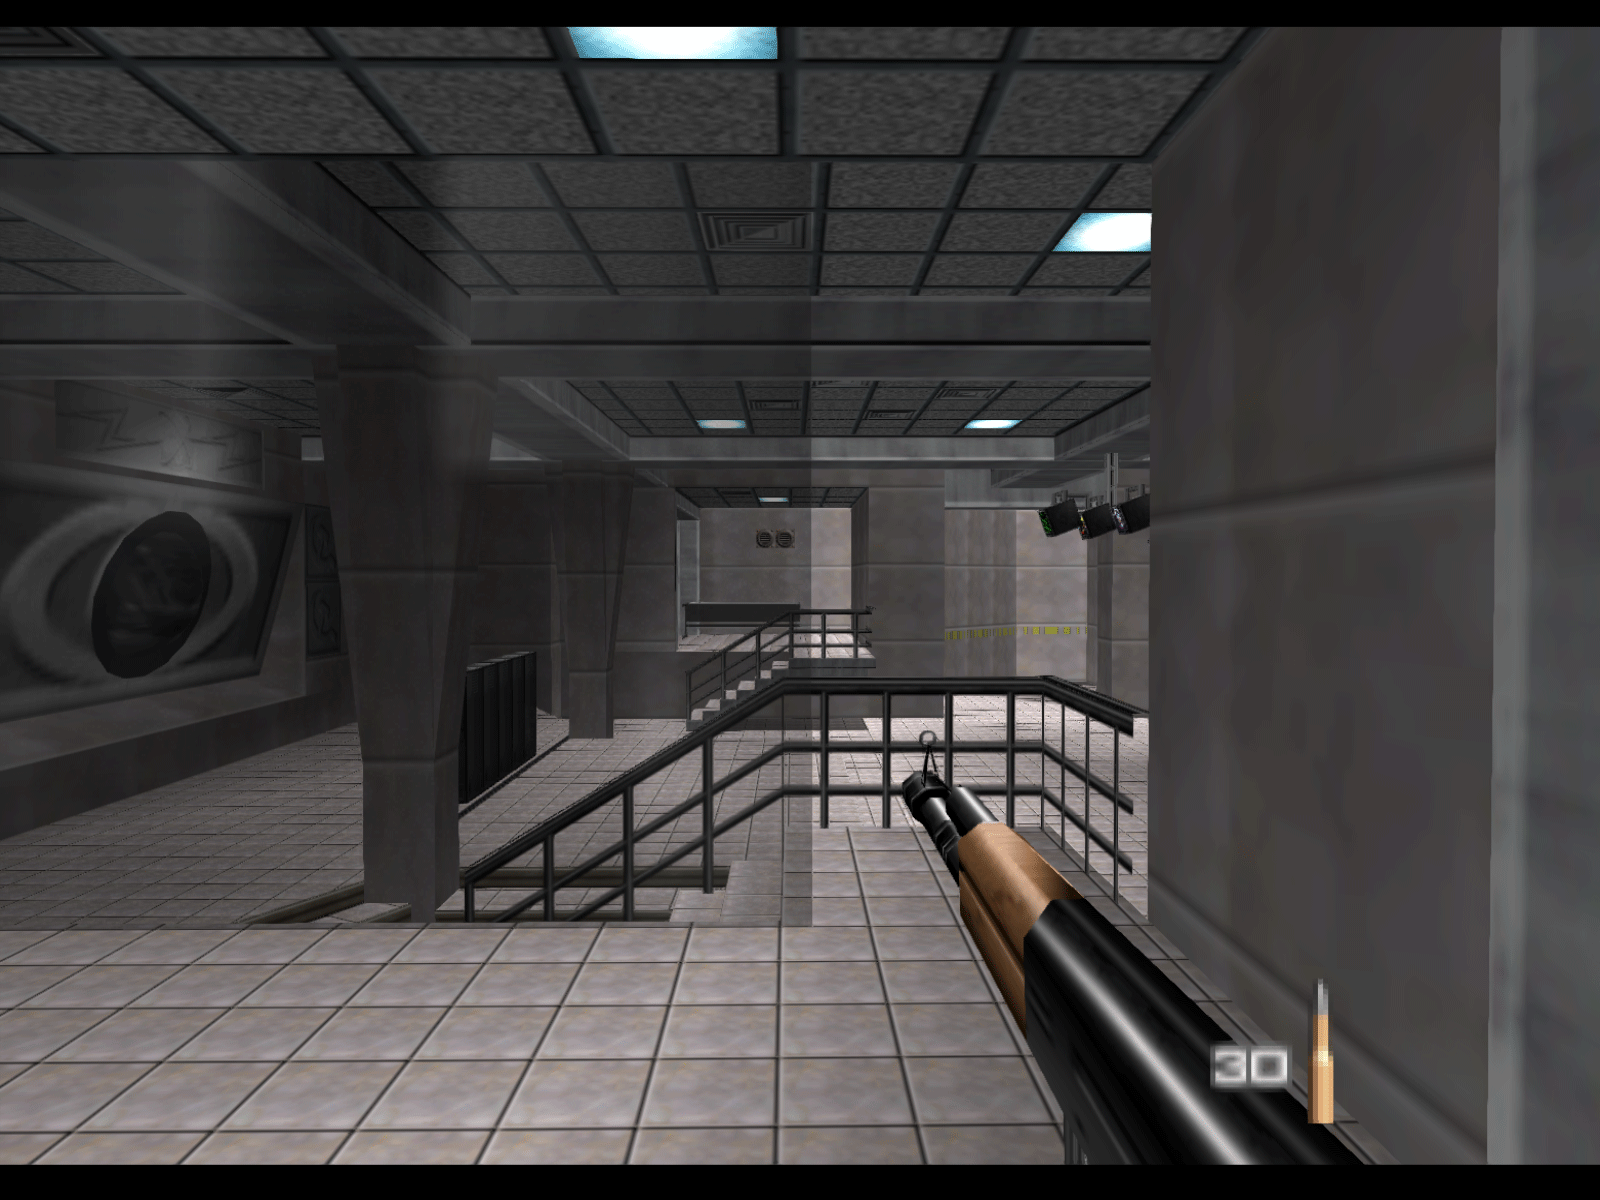
Bunker 2 is a maze of rooms and halls packed with guards. You've knocked out one, but there are still 34 more in the level. If you wait in this spot several will eventually come around. Whether you take a passive or aggressive approach is up to you.
▶ TIP:If you get overwhelmed retreat back to the jail area. You can wait at the double doors with the glass windows and snipe enemies with the KF7 Soviet, or you can even go back to the cell where enemies cannot see you through the bars.
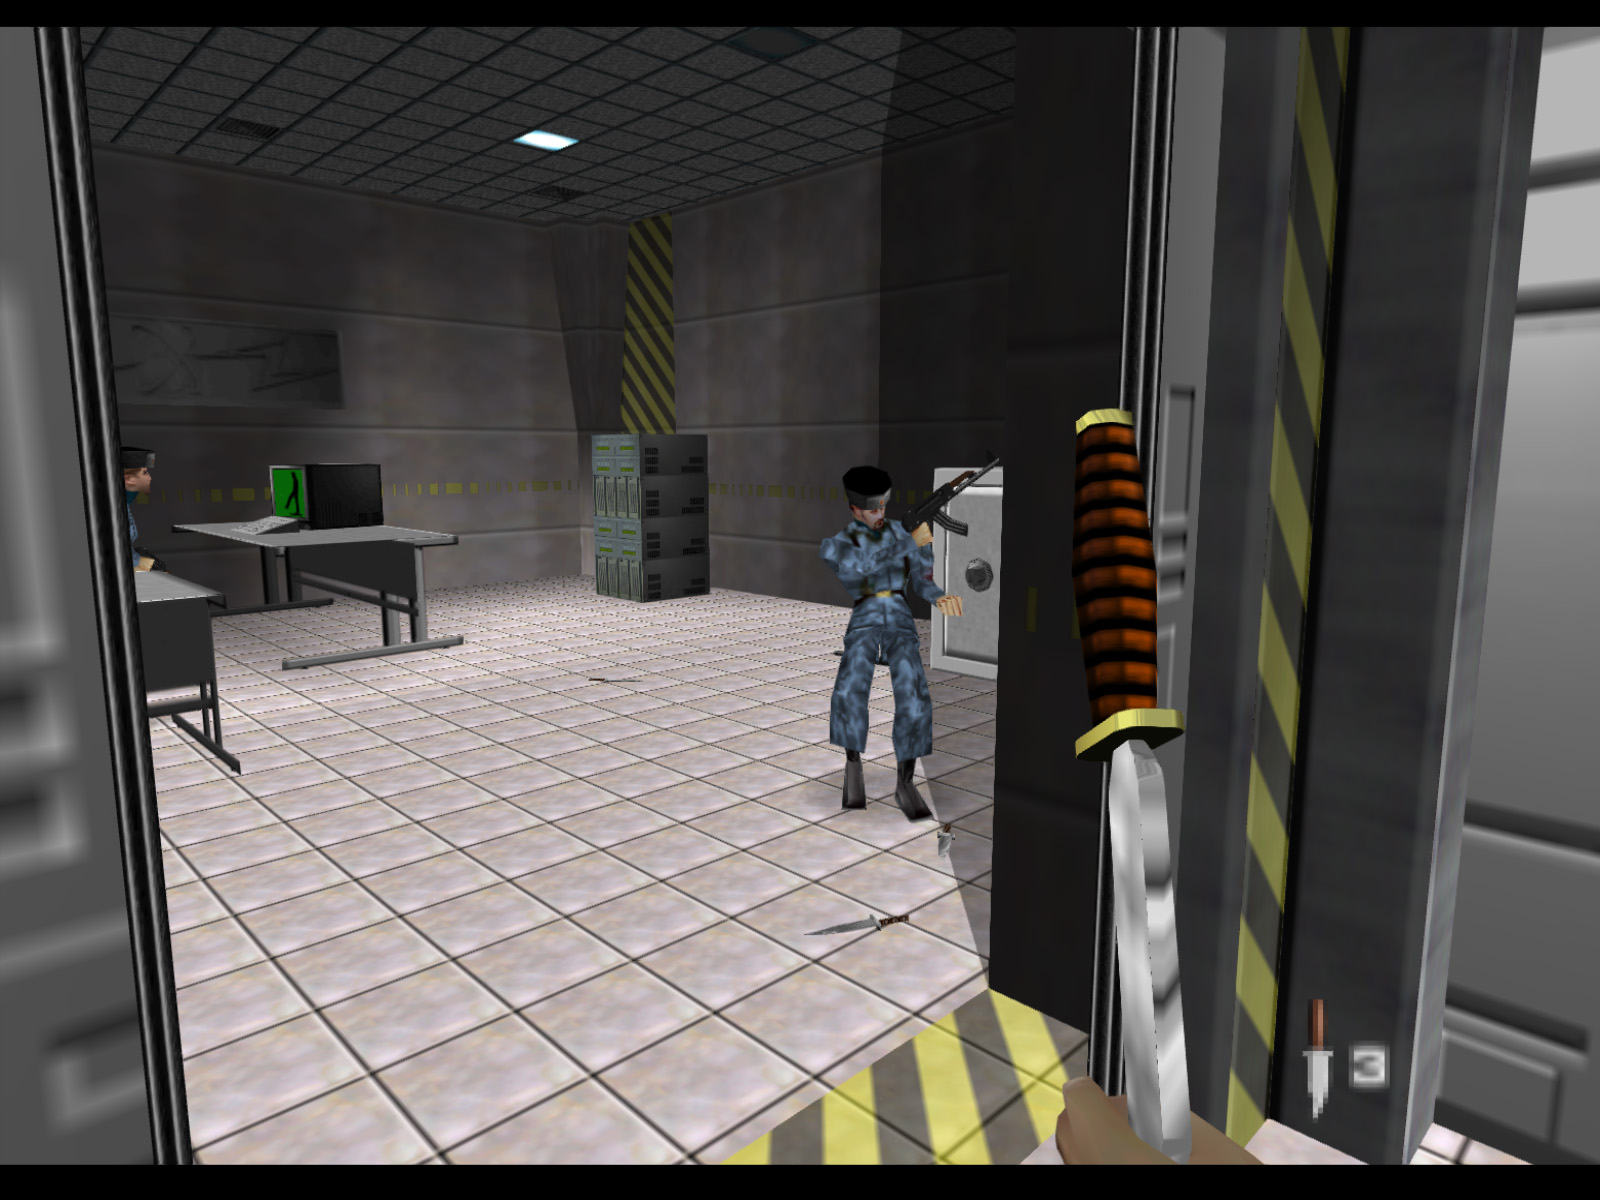
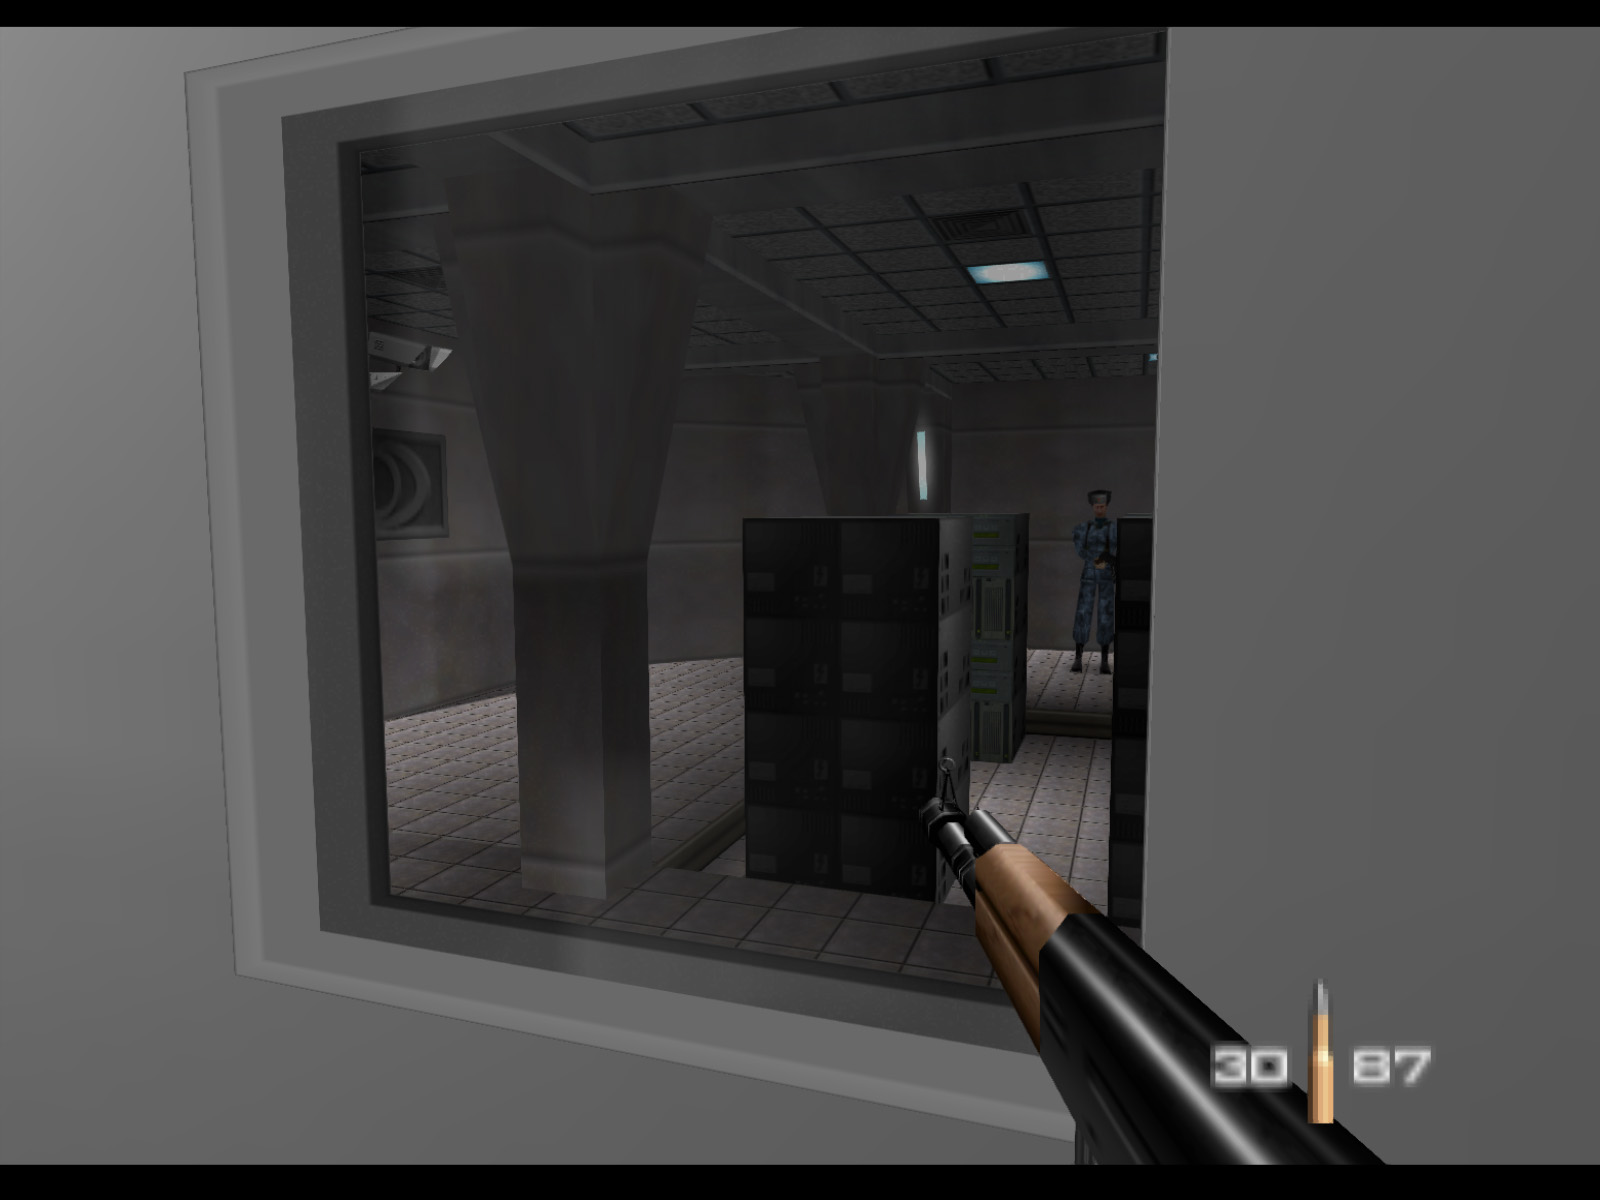
The double doors on the right in the last screenshot take you to the safe room. One of the three enemies in here holds a key to the safe, but you actually need two keys to open this particular safe.
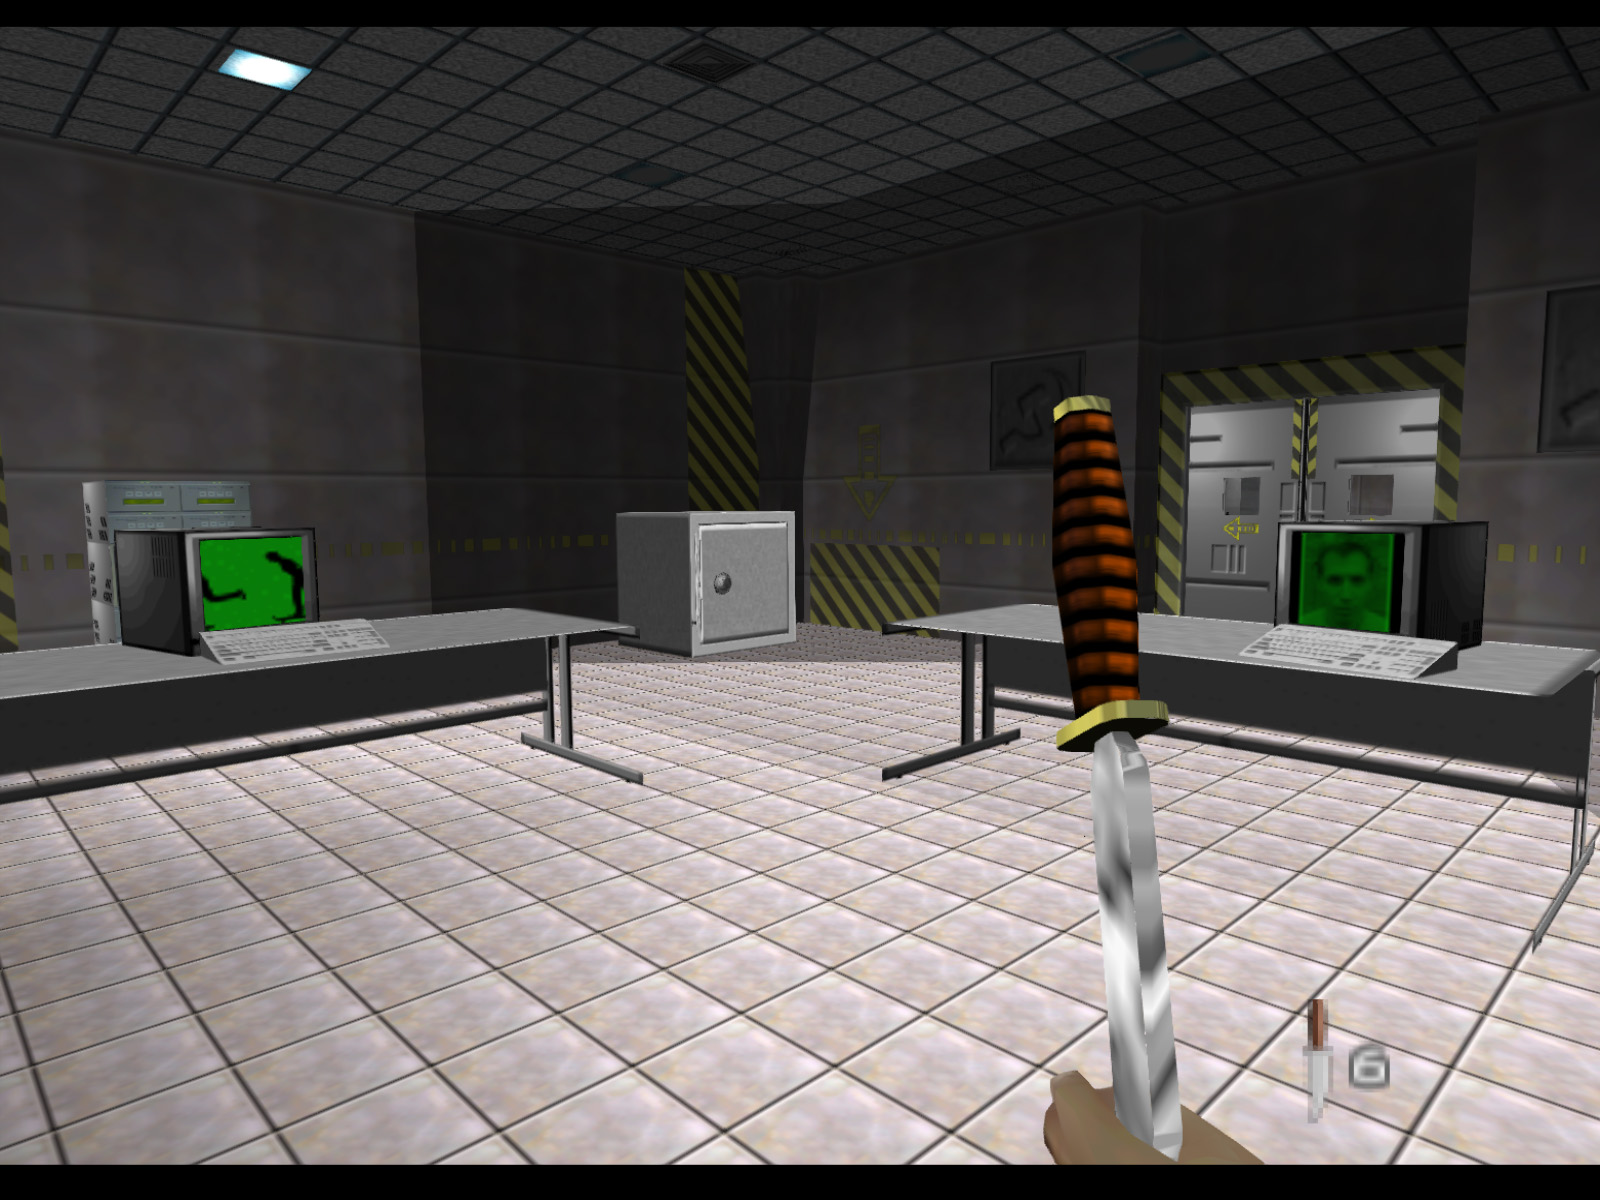
Another view of the safe room. The monitors have a funny animation of a skateboarding man and an animation of developer Karl Hilton talking.
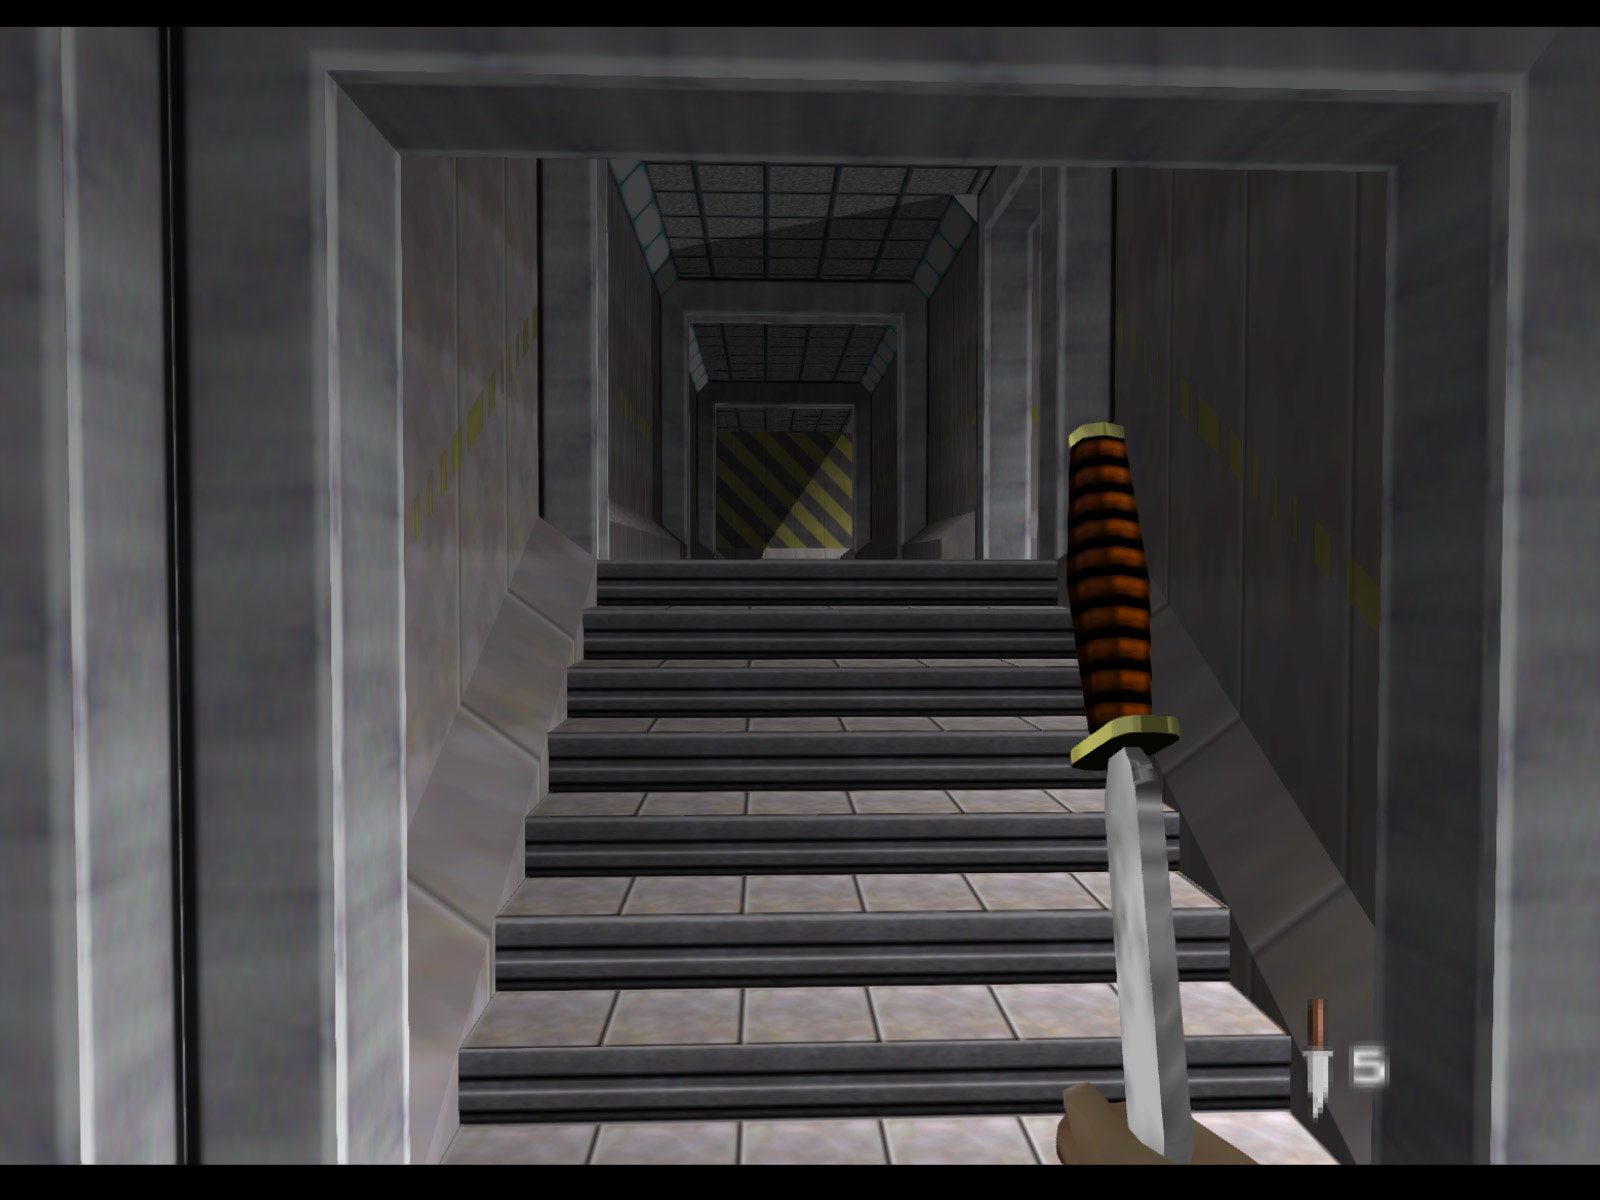
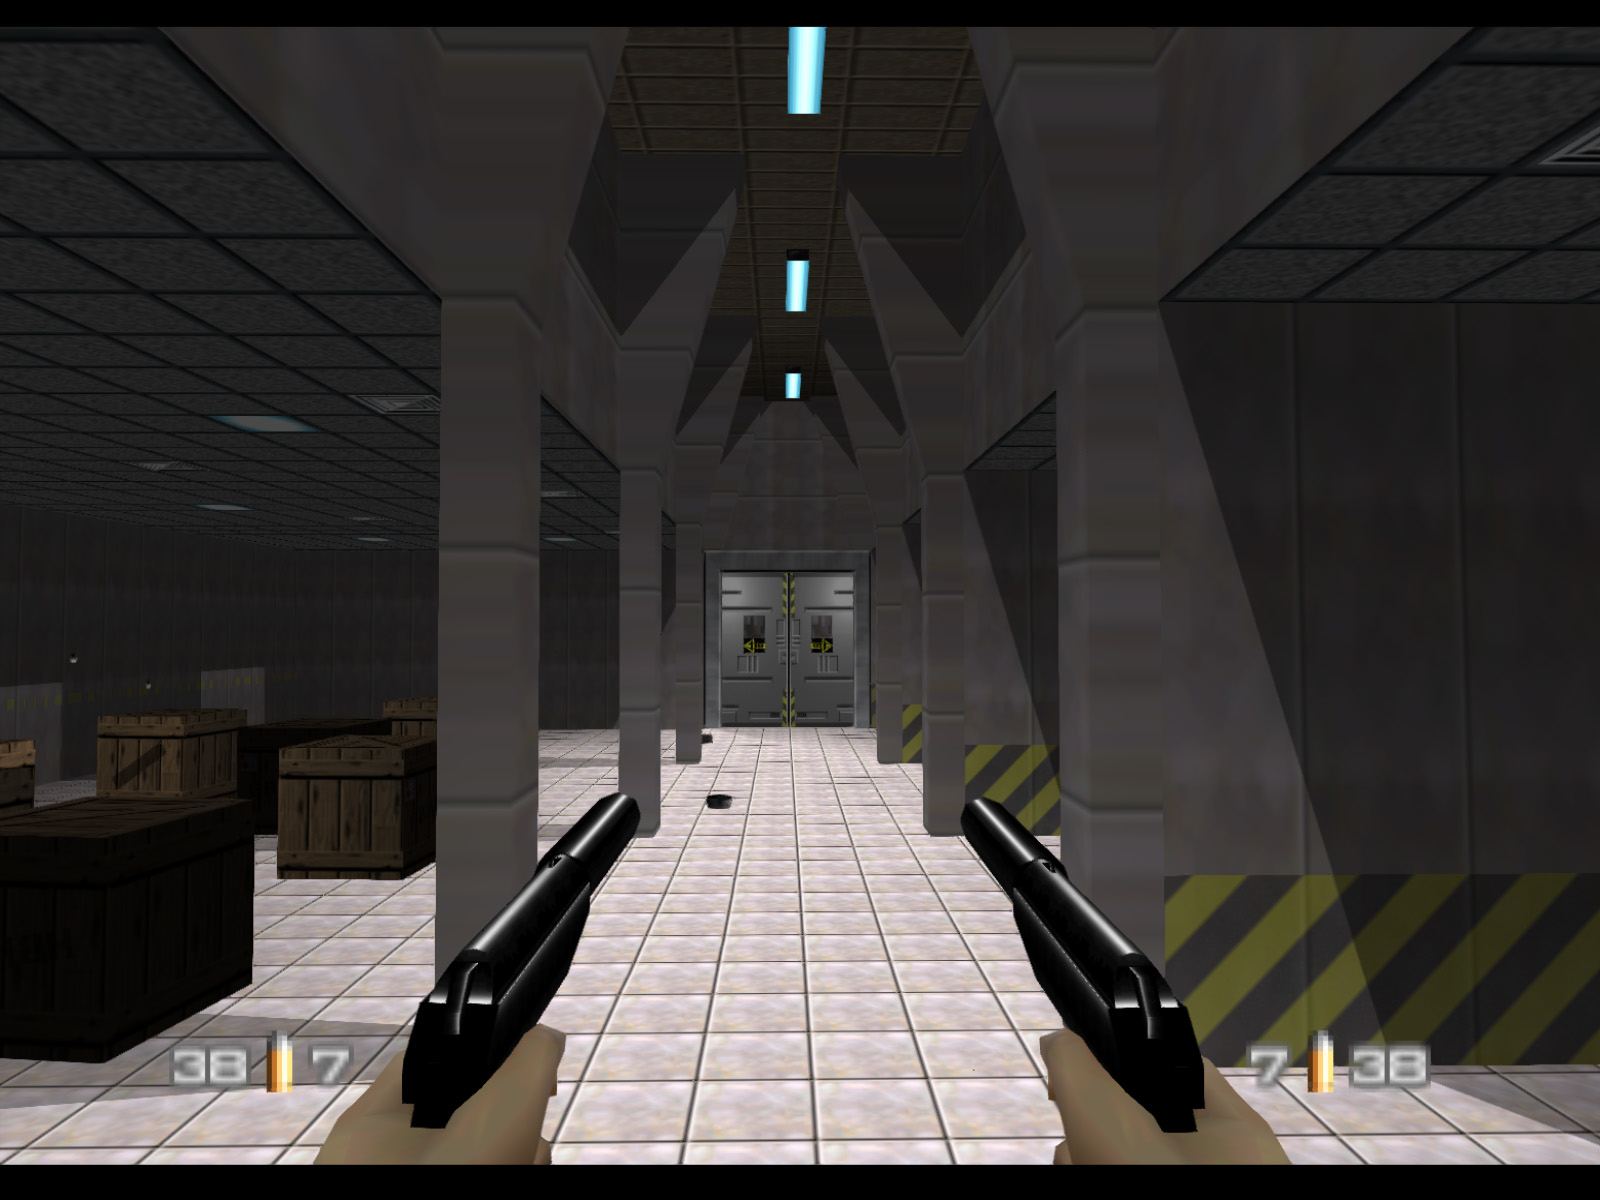
The windowless double doors next to the safe room are locked so going down the other hall is the easiest option.
▶ TIP: A guard carrying Keycard A passes through the hall going to those yellow and black hazard stripes. That keycard will unlock two of the security doors.
Take the hall to the right in the last screenshot and you'll find this room with the Severnaya Stafflist. It is 1 of 2 documents you need to collect for Objective A.
You need Keycard A to open the nearby security doors. You can wait for a guard with it to come along, or you can turn around and go down the hall with the hazard stripes.
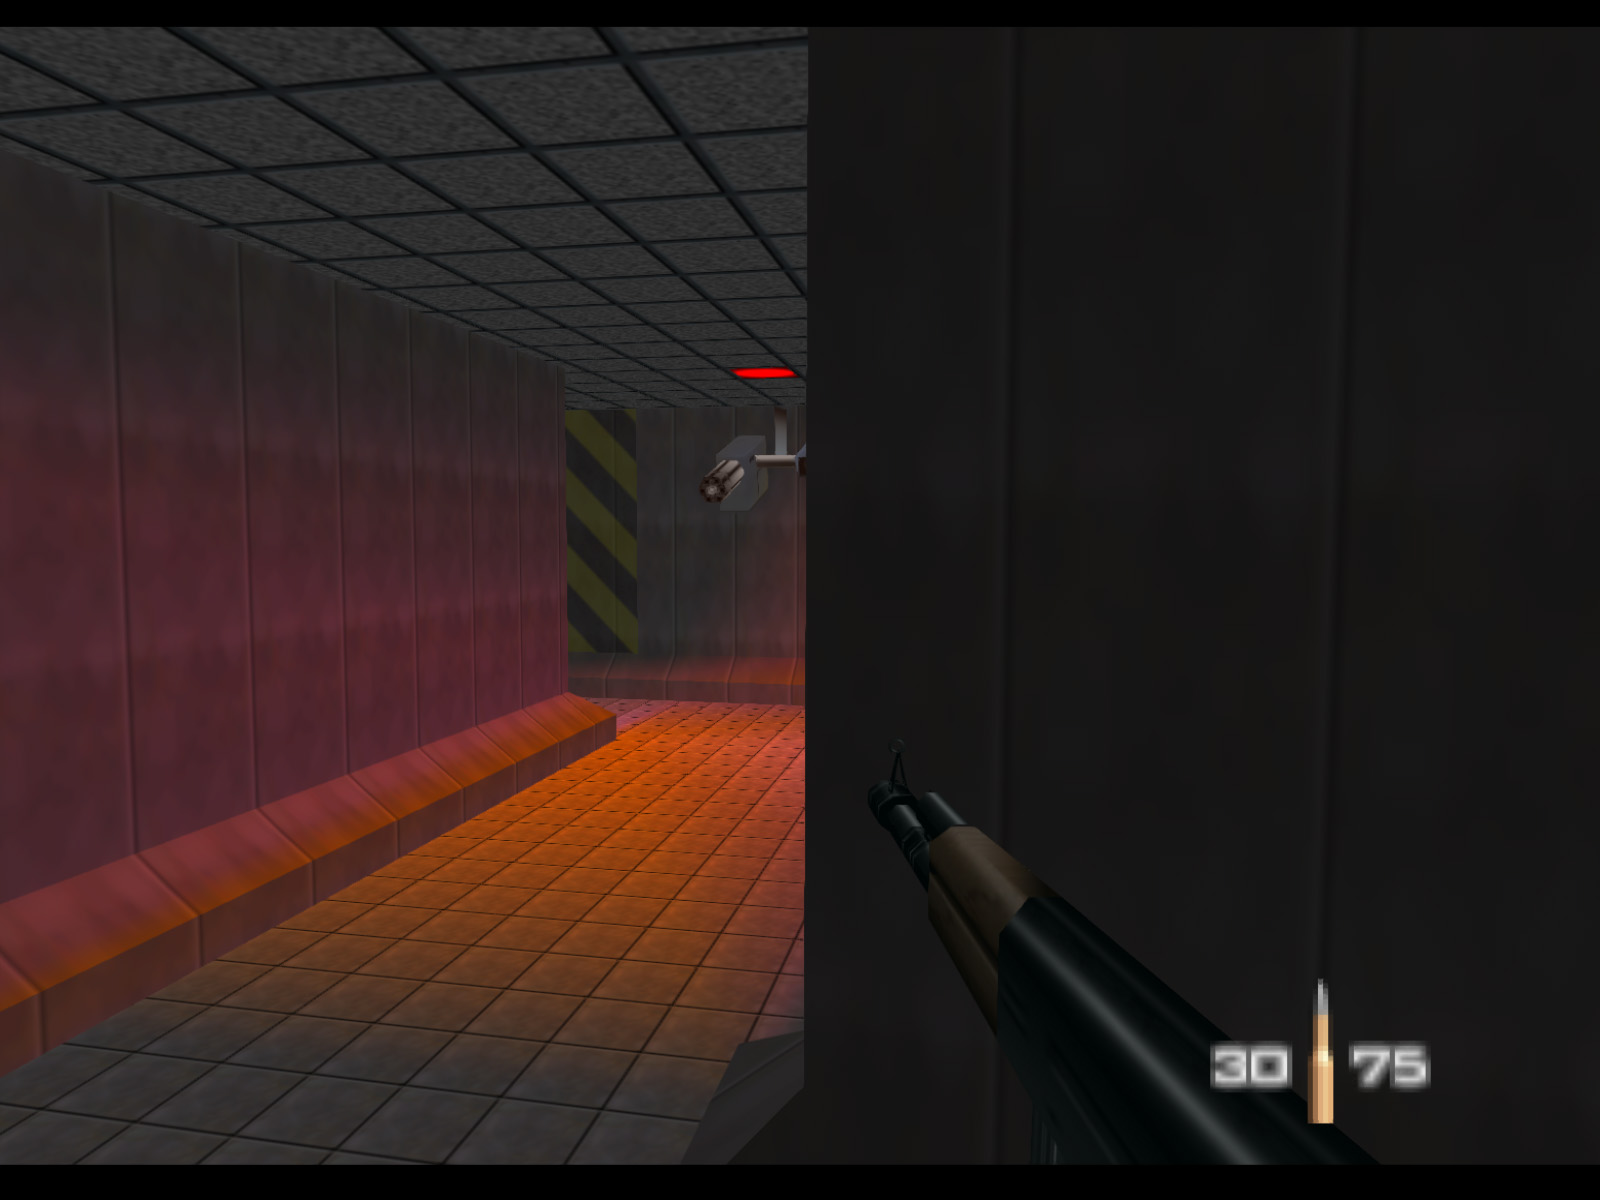
▶ TIP: There are three drone guns in this area. You can use slow, single shots from the KF7 Soviet to destroy them without alerting guards.
The second drone gun is in this hall with the red light. If you stand exactly here it cannot see you.
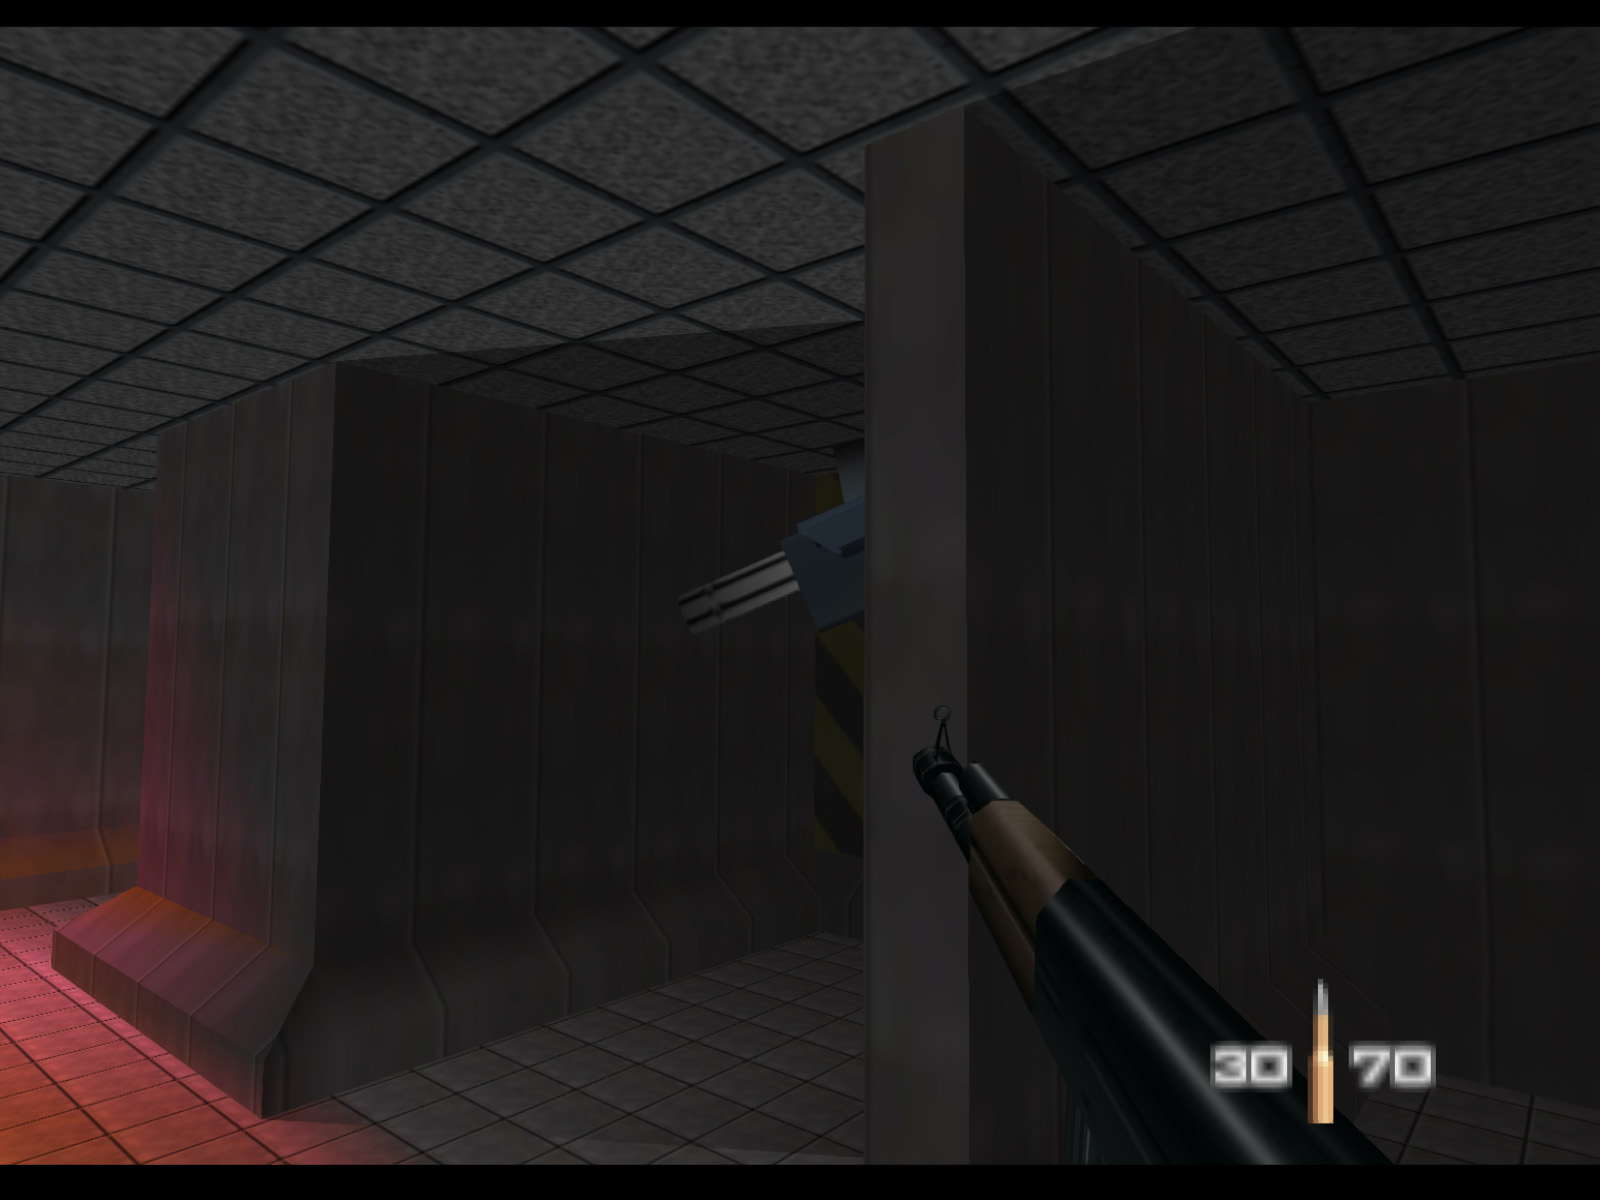
Look out for the third drone gun in this alcove on the right. Again, stand in the correct spot and it cannot see you.
At the end of the drone gun maze you emerge at this long hall with a view of 1 of 6 CCTV cameras that need to be destroyed. This can be a good spot to snipe it without being seen.
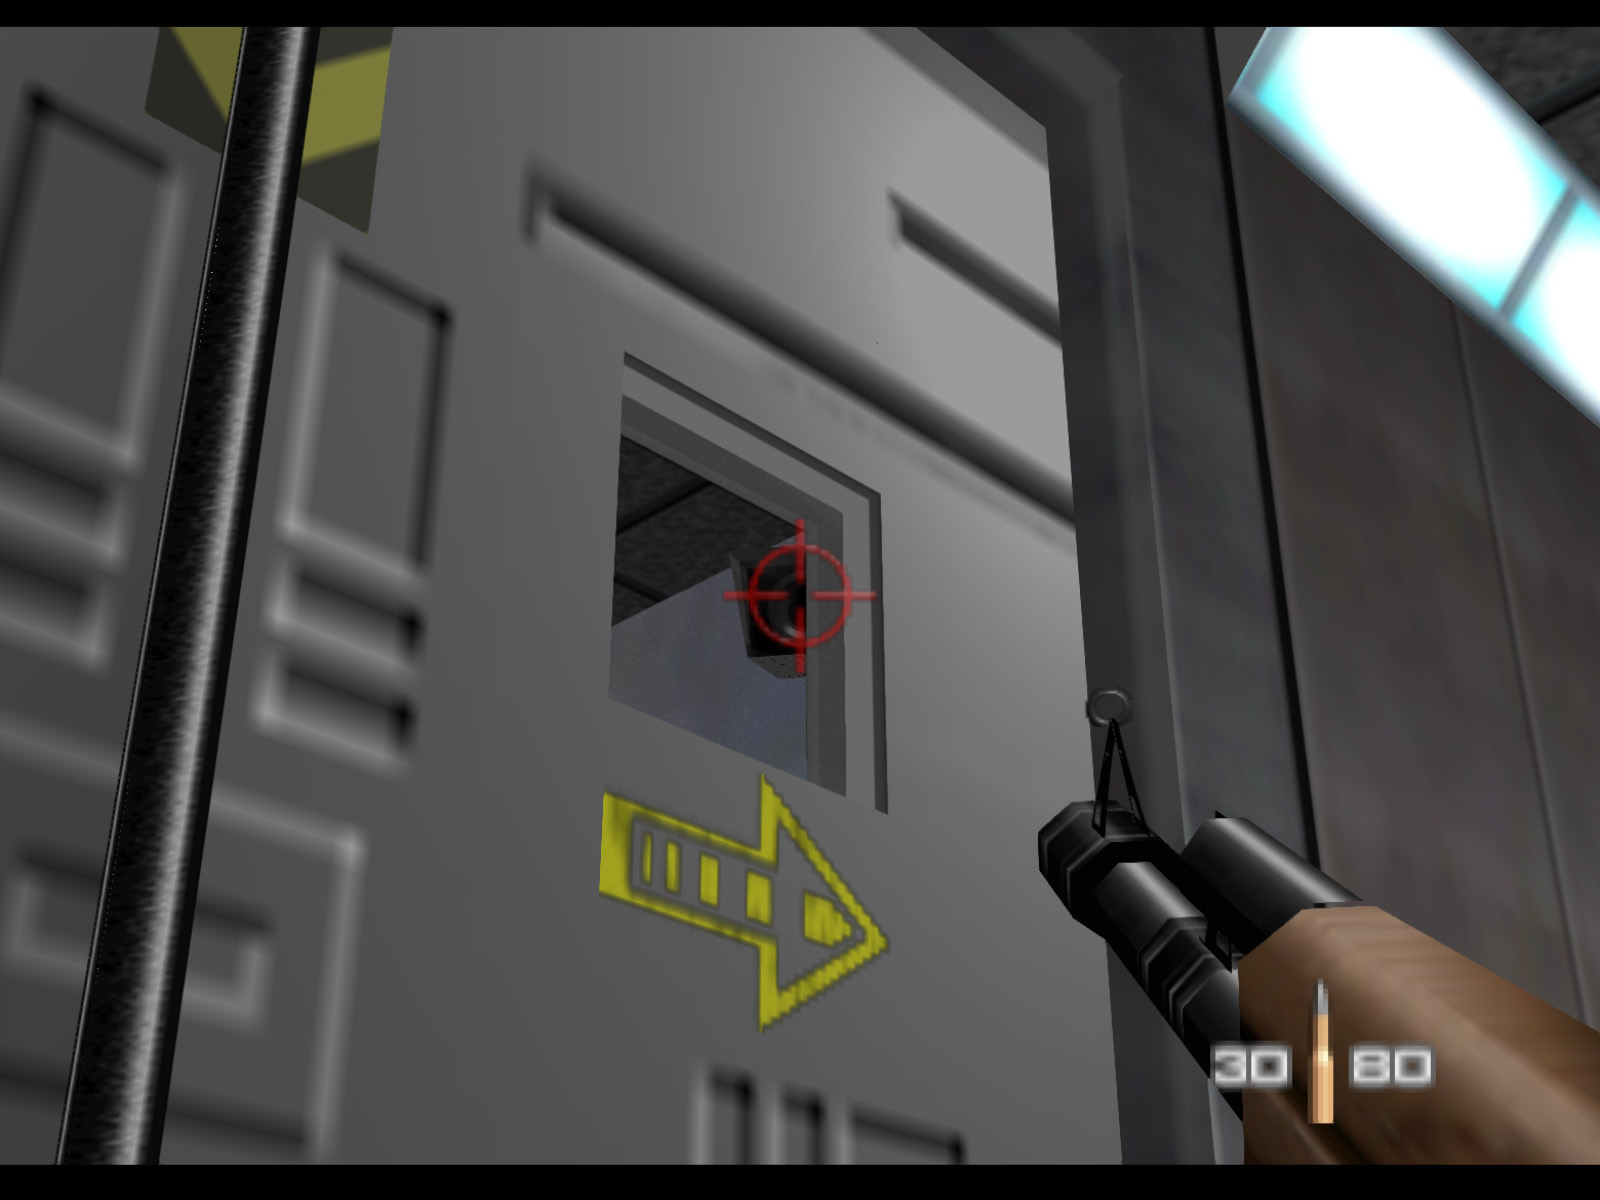
The ventilation room has CCTV camera 2 of 6. If you crouch outside the windowed security door you can take it out with one shot to the lens and not have to worry about it detecting you.
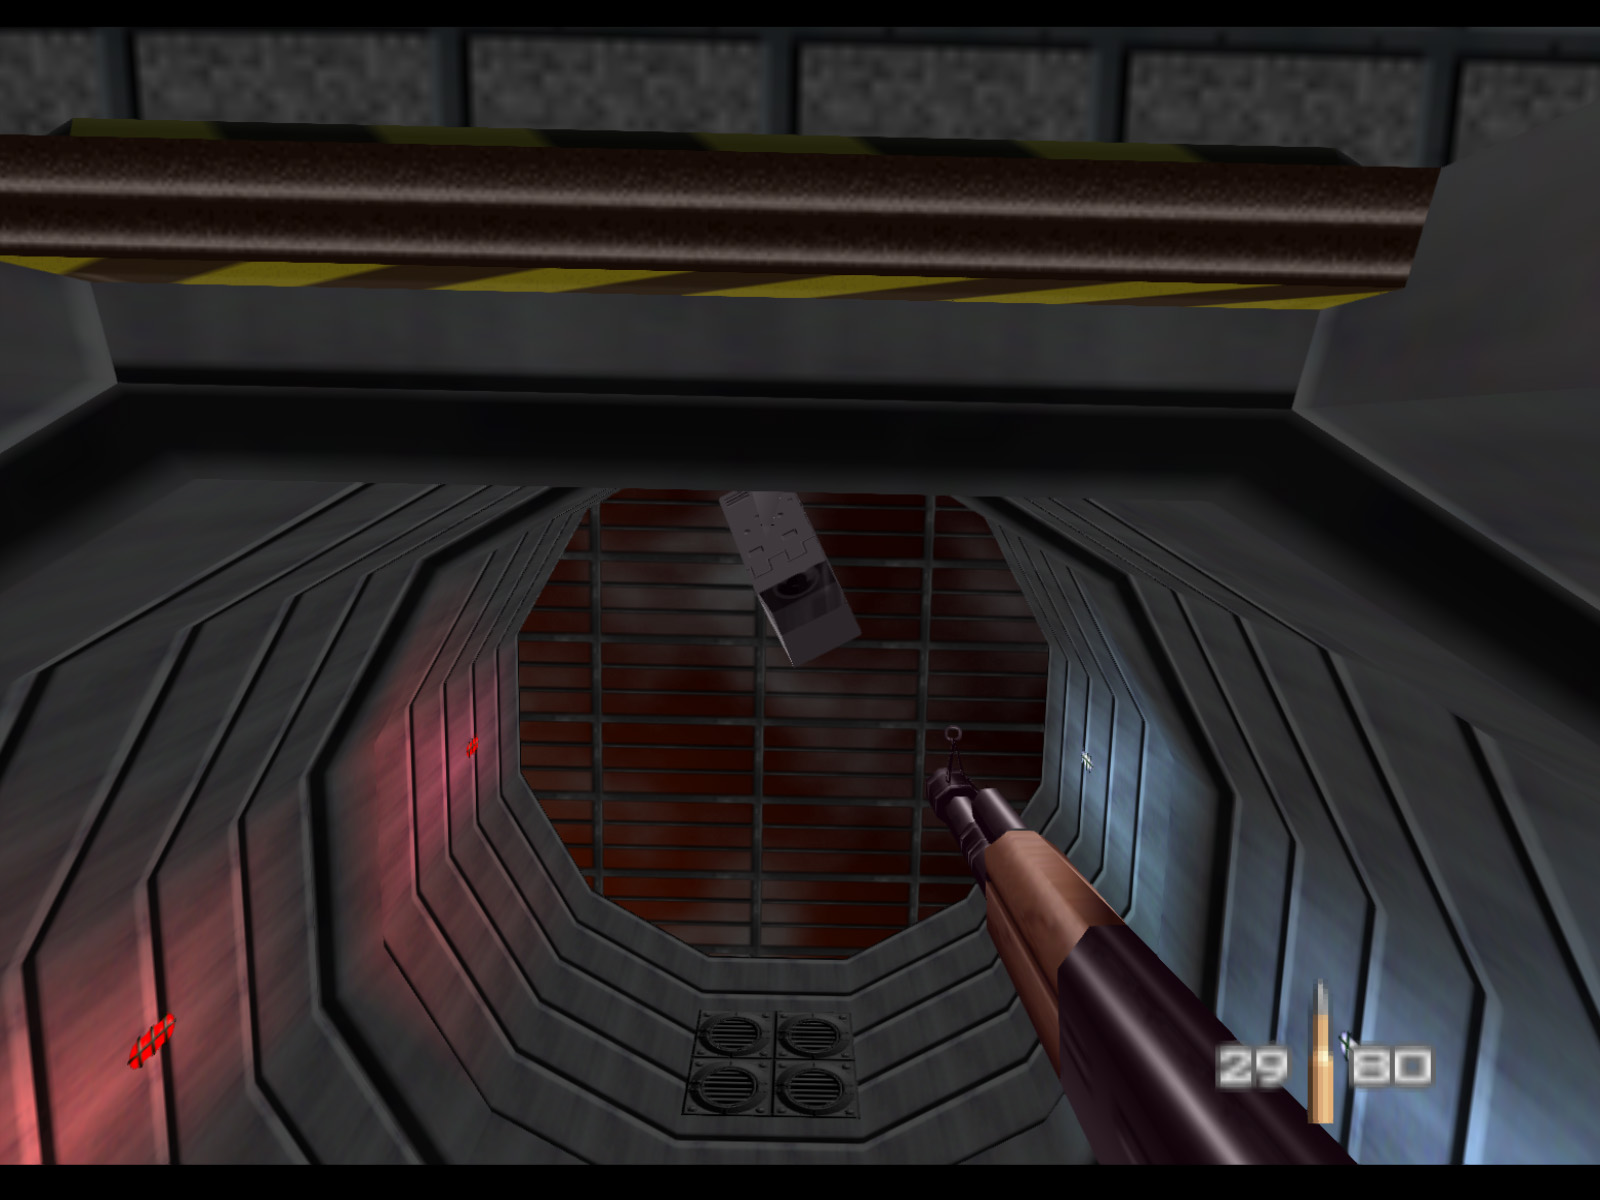
The Russians learned from their mistake in Bunker 1 and have added CCTV camera 3 of 6 to ensure no one can sneak in through the ventilation tower. But you can get your own drop on this camera by peeking under it through the ventilation room.
The room after the cooling tower has the CCTV Tape. Pick it up off the desk to complete Objective B.
We'll backtrack a bit and go to the mainframe room. You can snipe CCTV camera 4 of 6 from outside. You can also take out the one guard in there with a headshot.

The guard in the mainframe room has the second Safe Key.
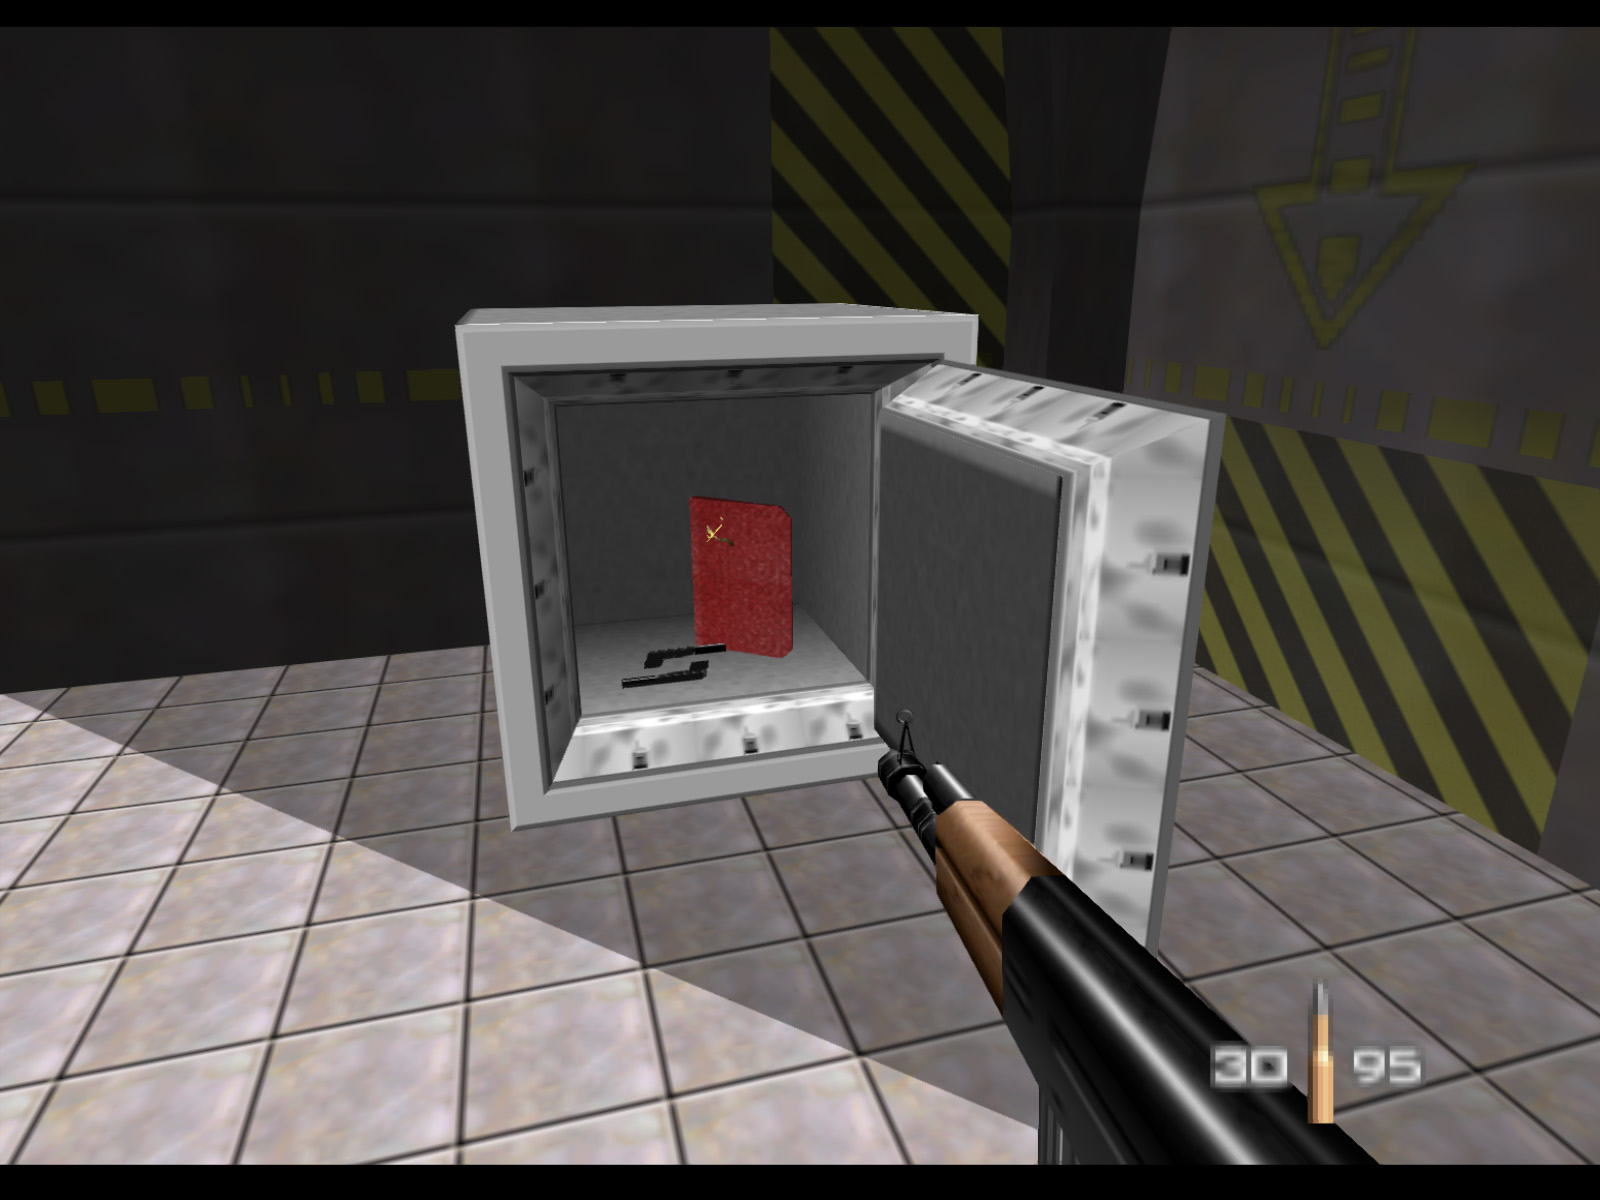
When you open the safe you'll find dual Silenced PP7s and the GoldenEye Operations Manual. Collect the manual to complete Objective D. Those PP7s will make the rest of the level far less tedious.
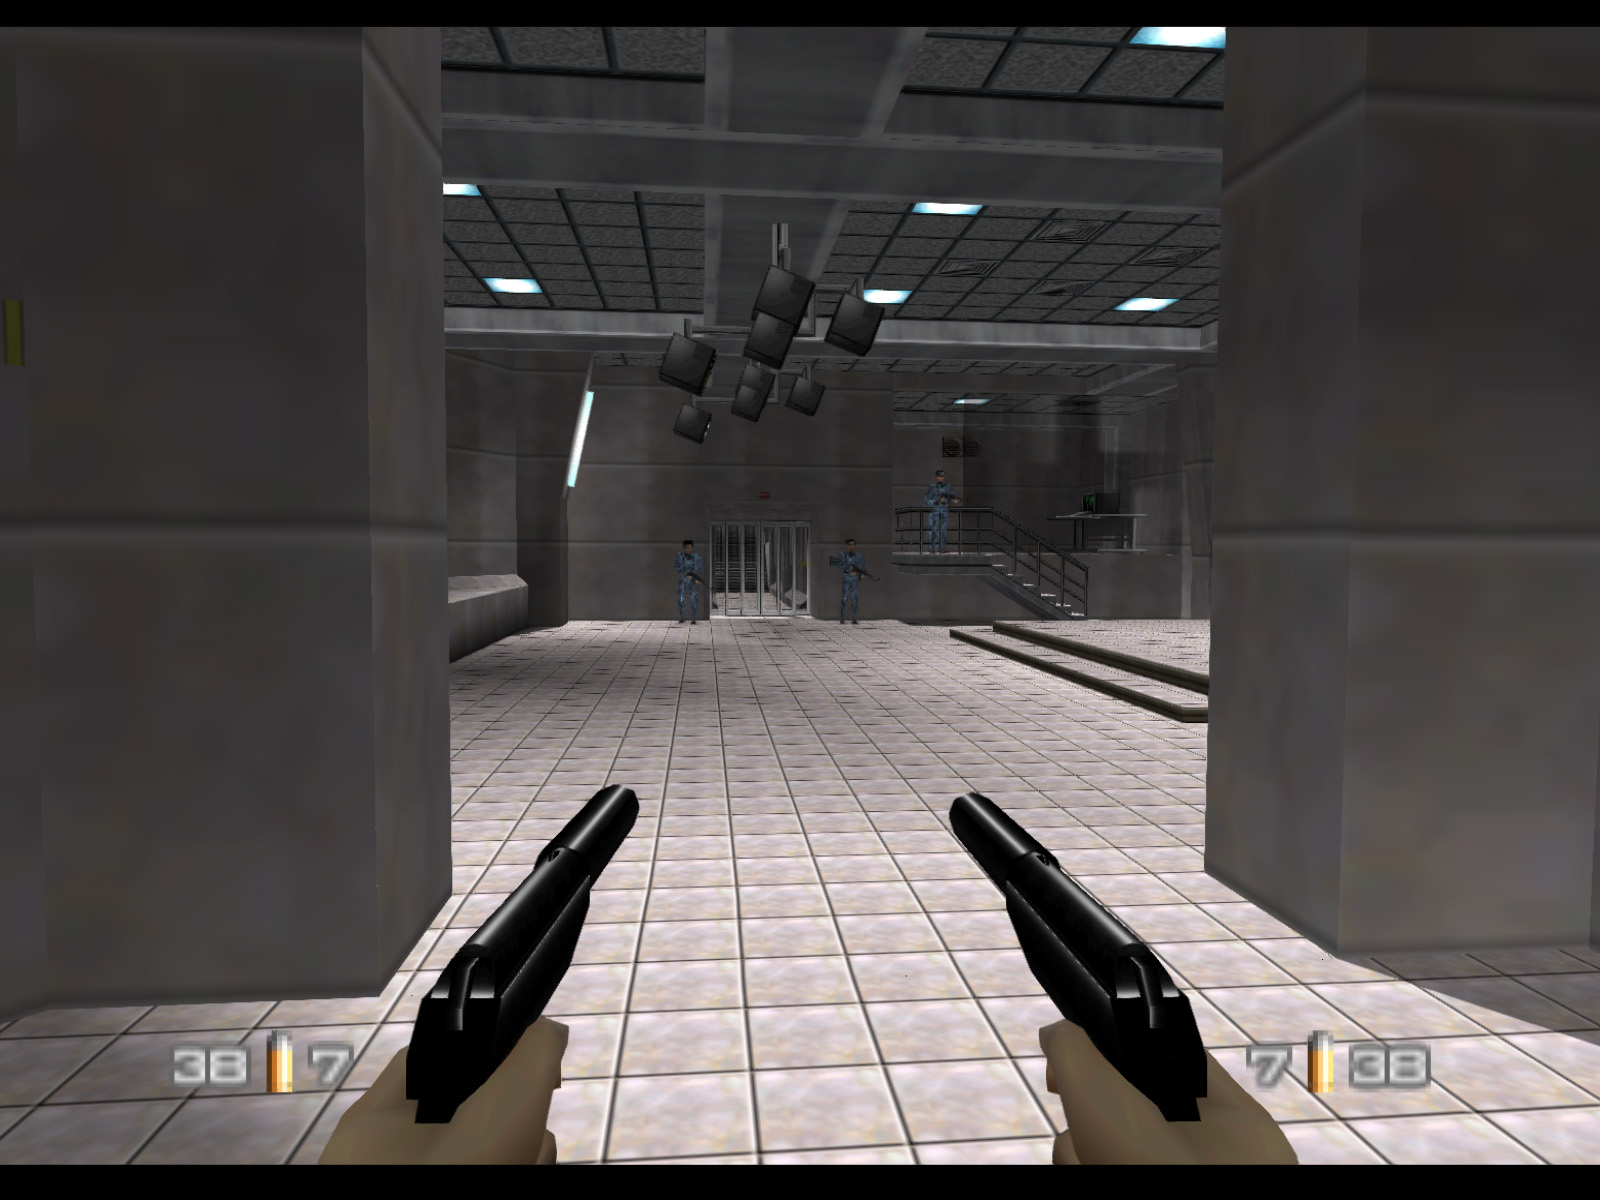
You can head through the previously locked security doors as long as you have picked up Keycard A by this point.
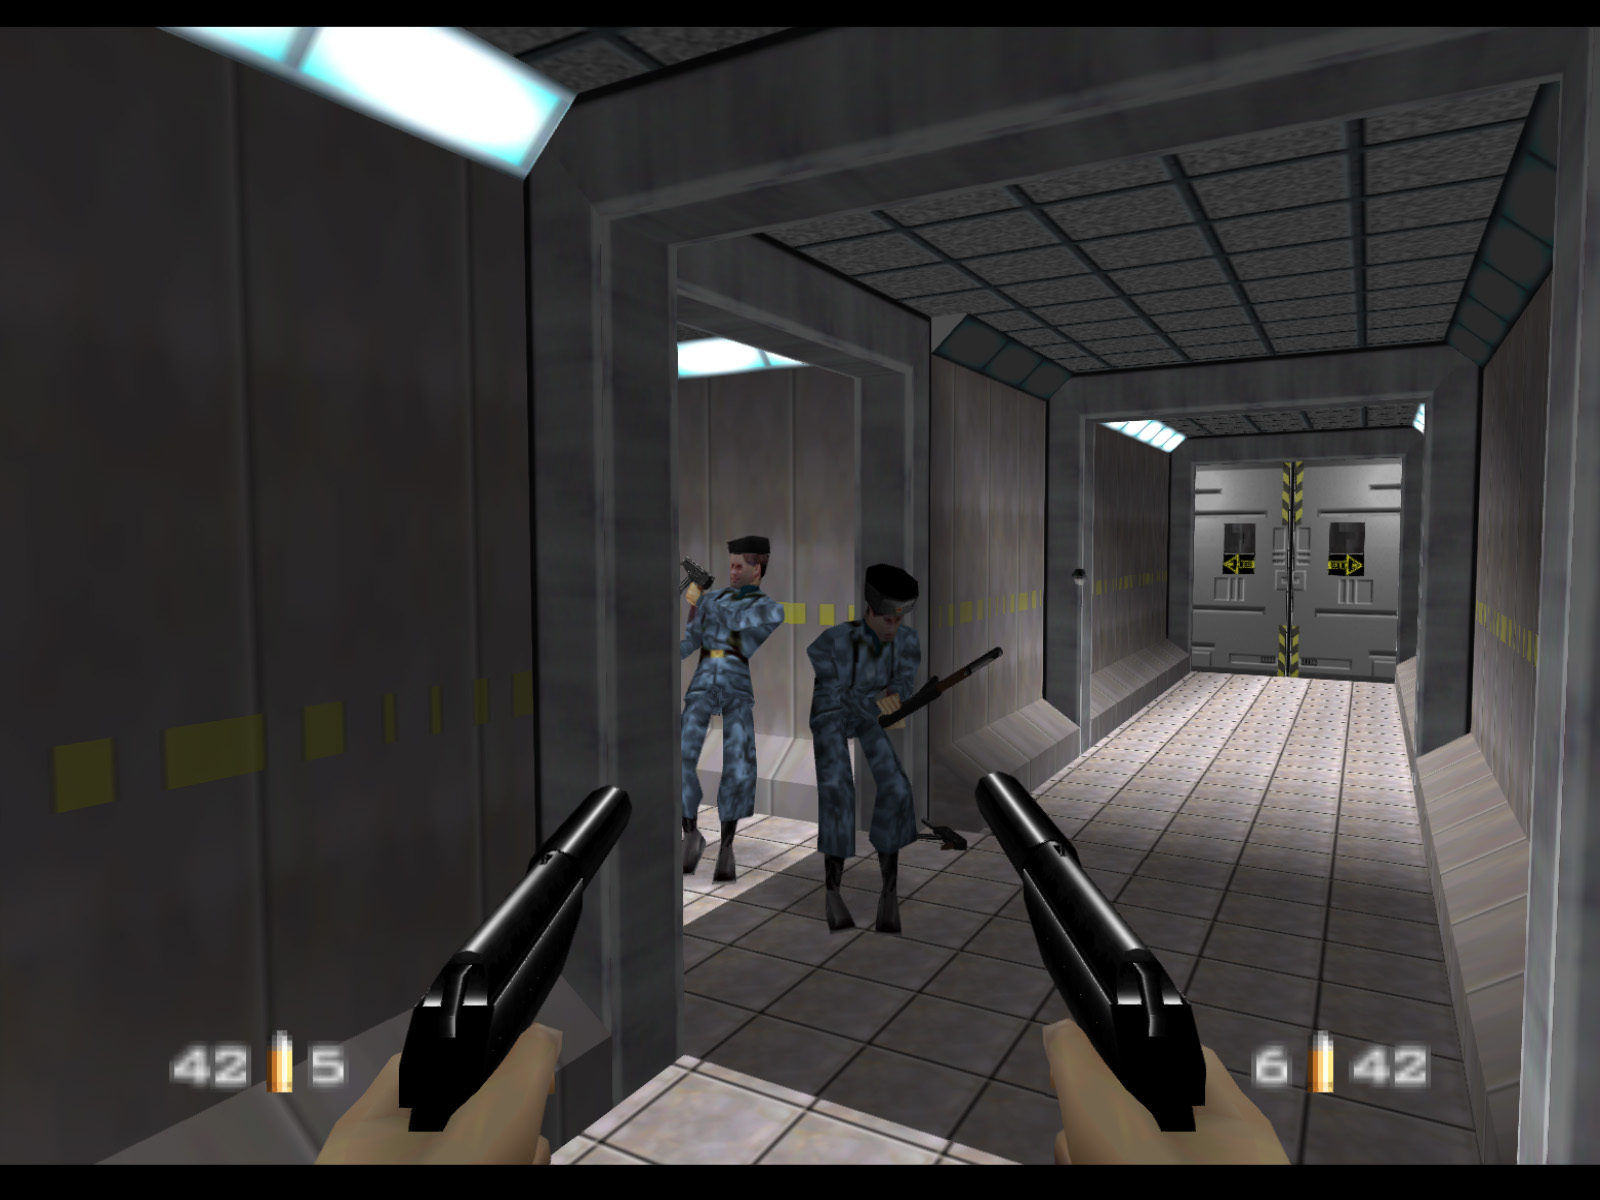
There is a patrolling guard with dual Klobbs making rounds in this area. Kill him to acquire Keycard B so that you can continue through the next set of security doors.
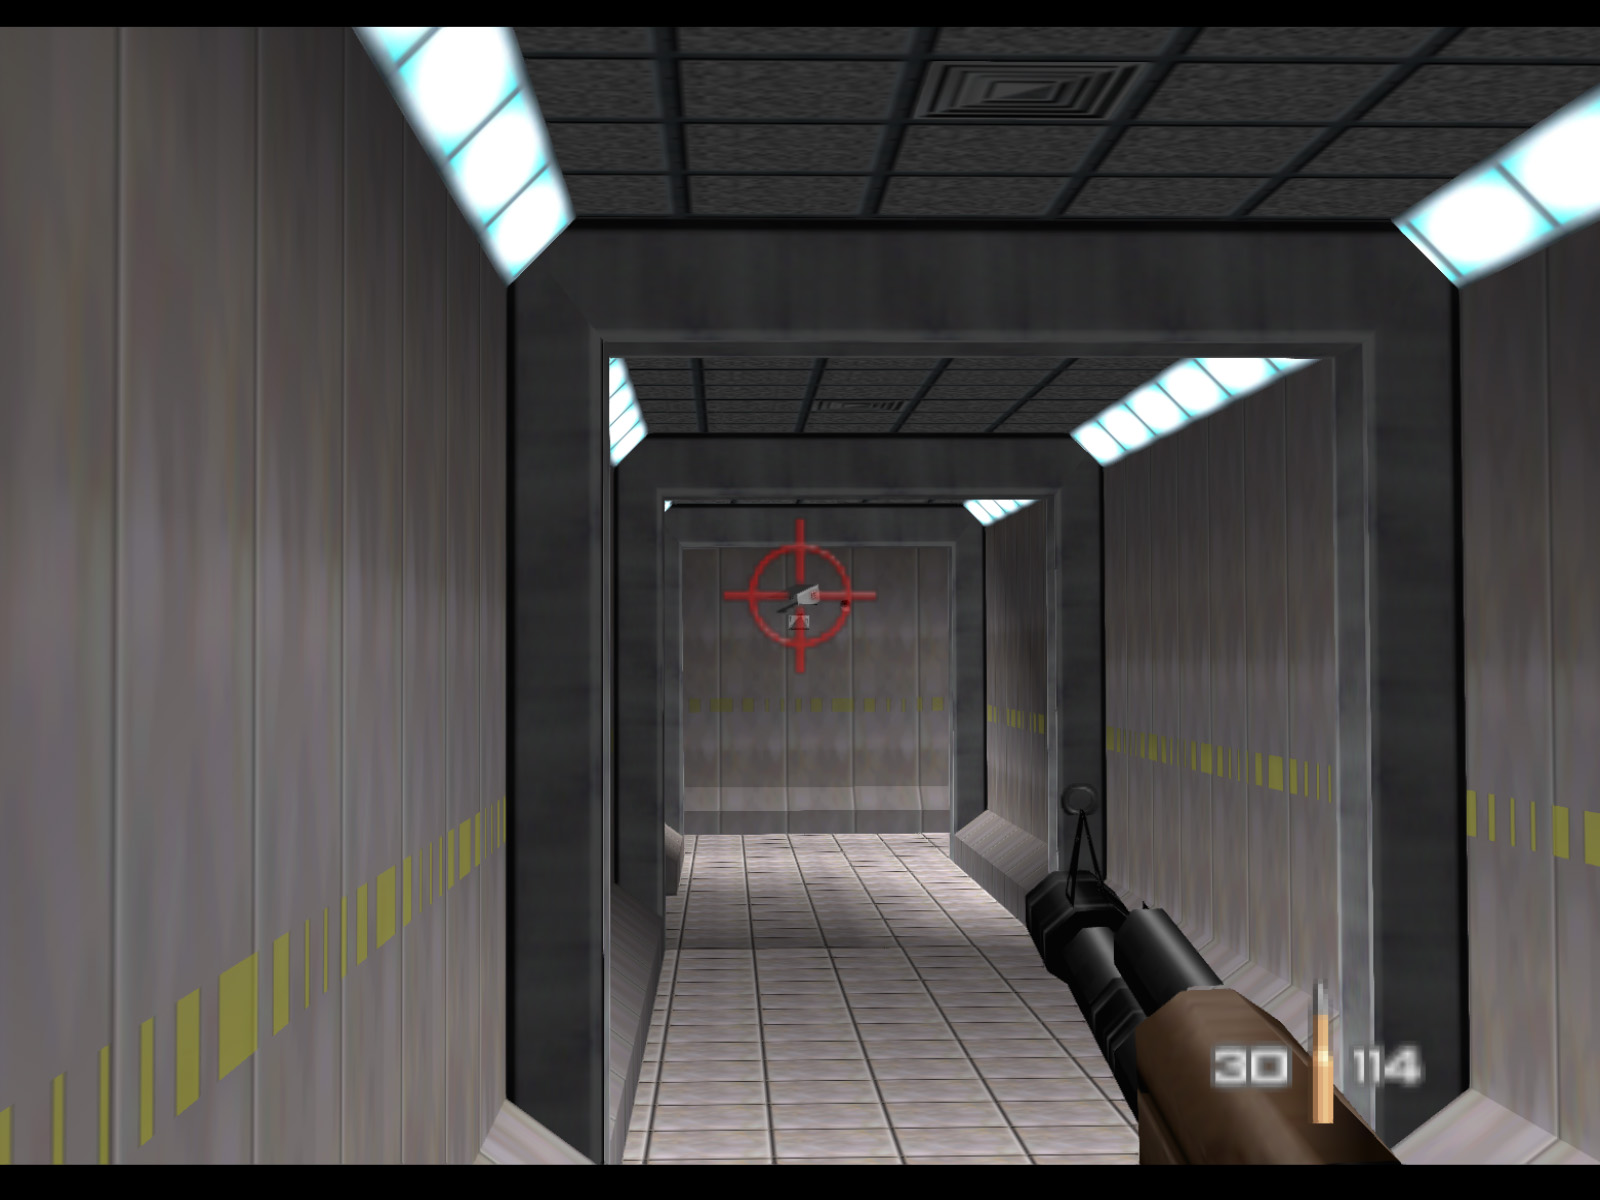
Watch out for CCTV camera 5 of 6 at the end of the hall. You can snipe it or you can run by it and flank it later.
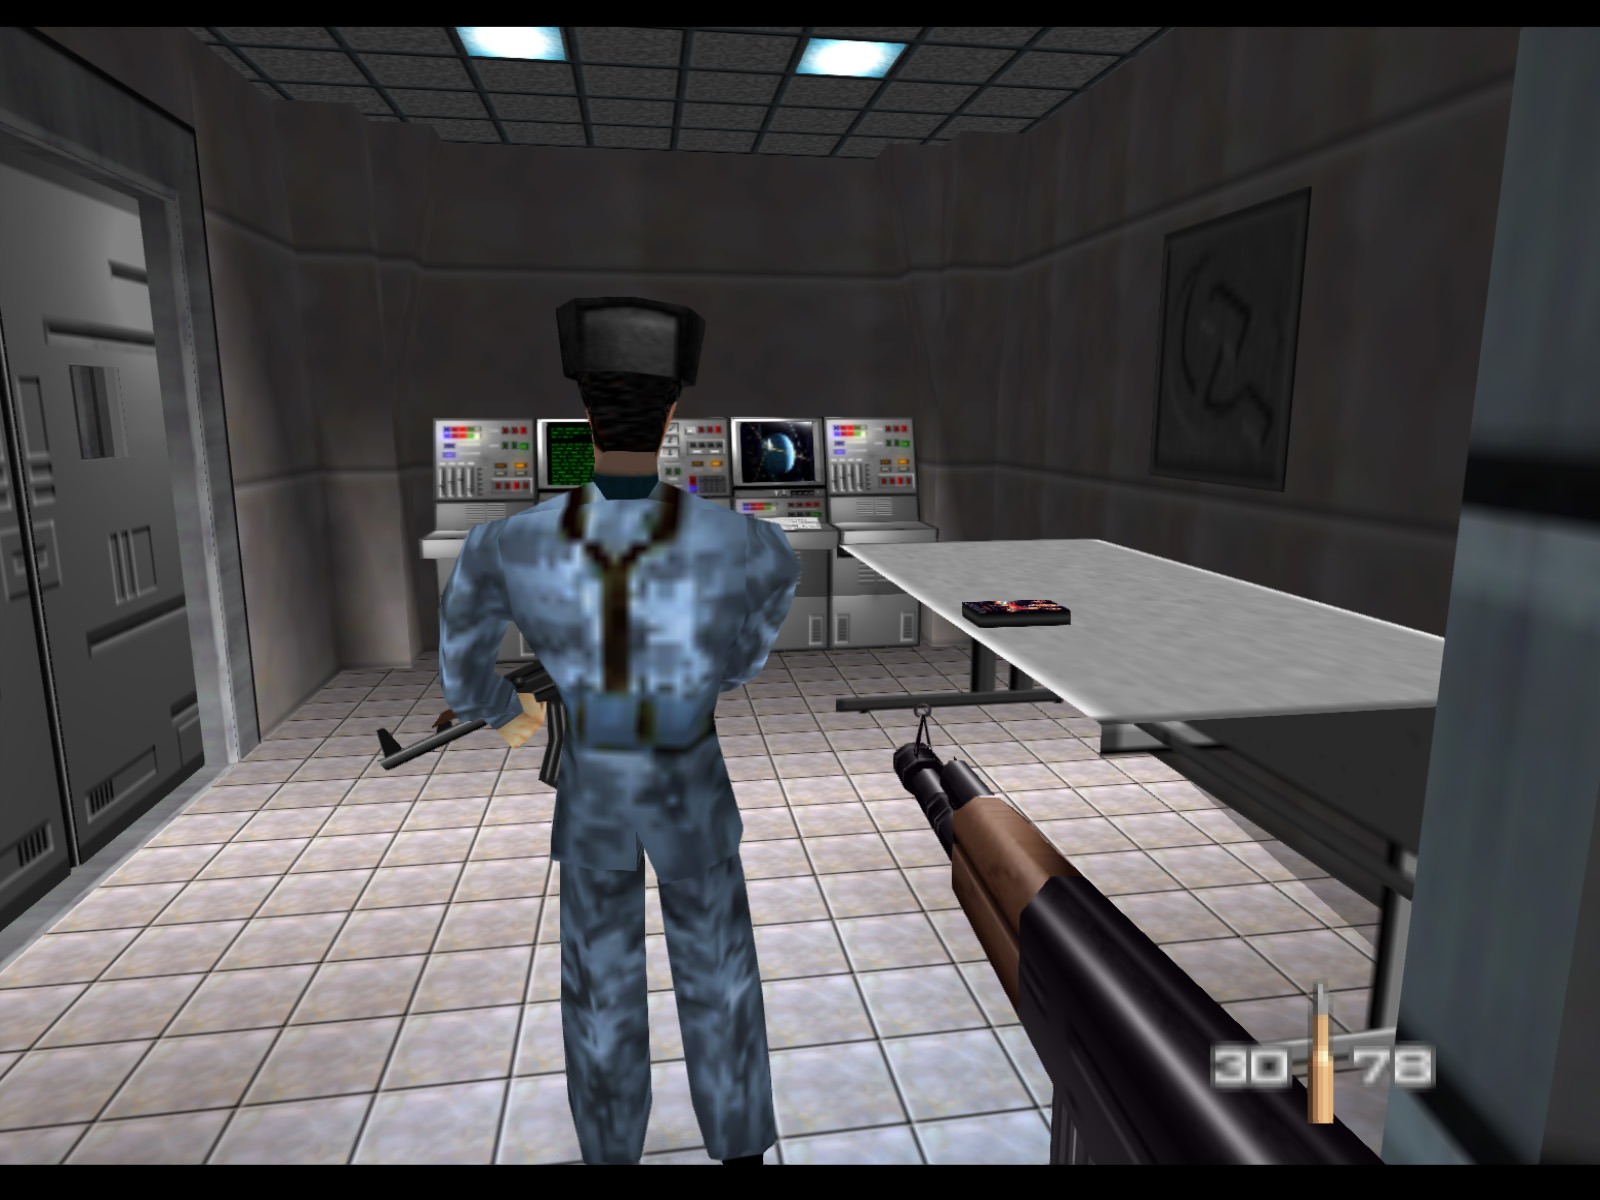
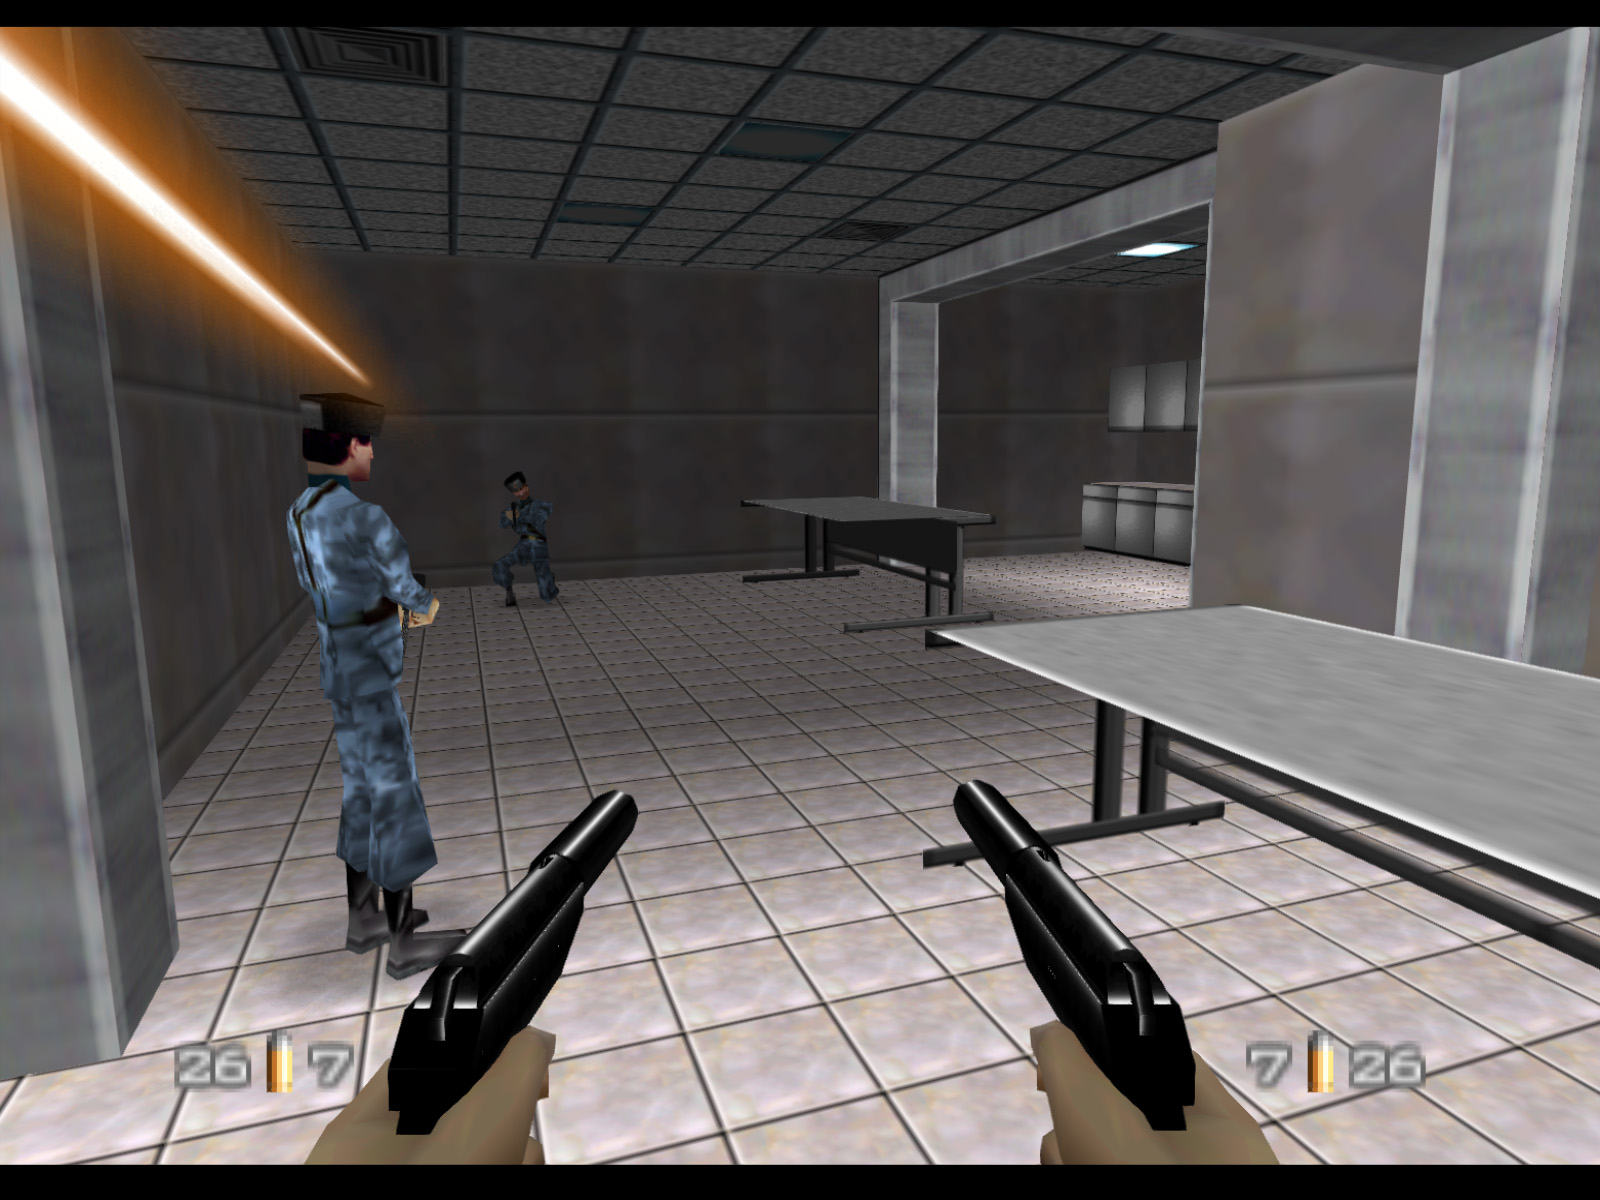
The next room has a guard holding the Casualty List. Take him out and collect the clipboard to complete Objective A.
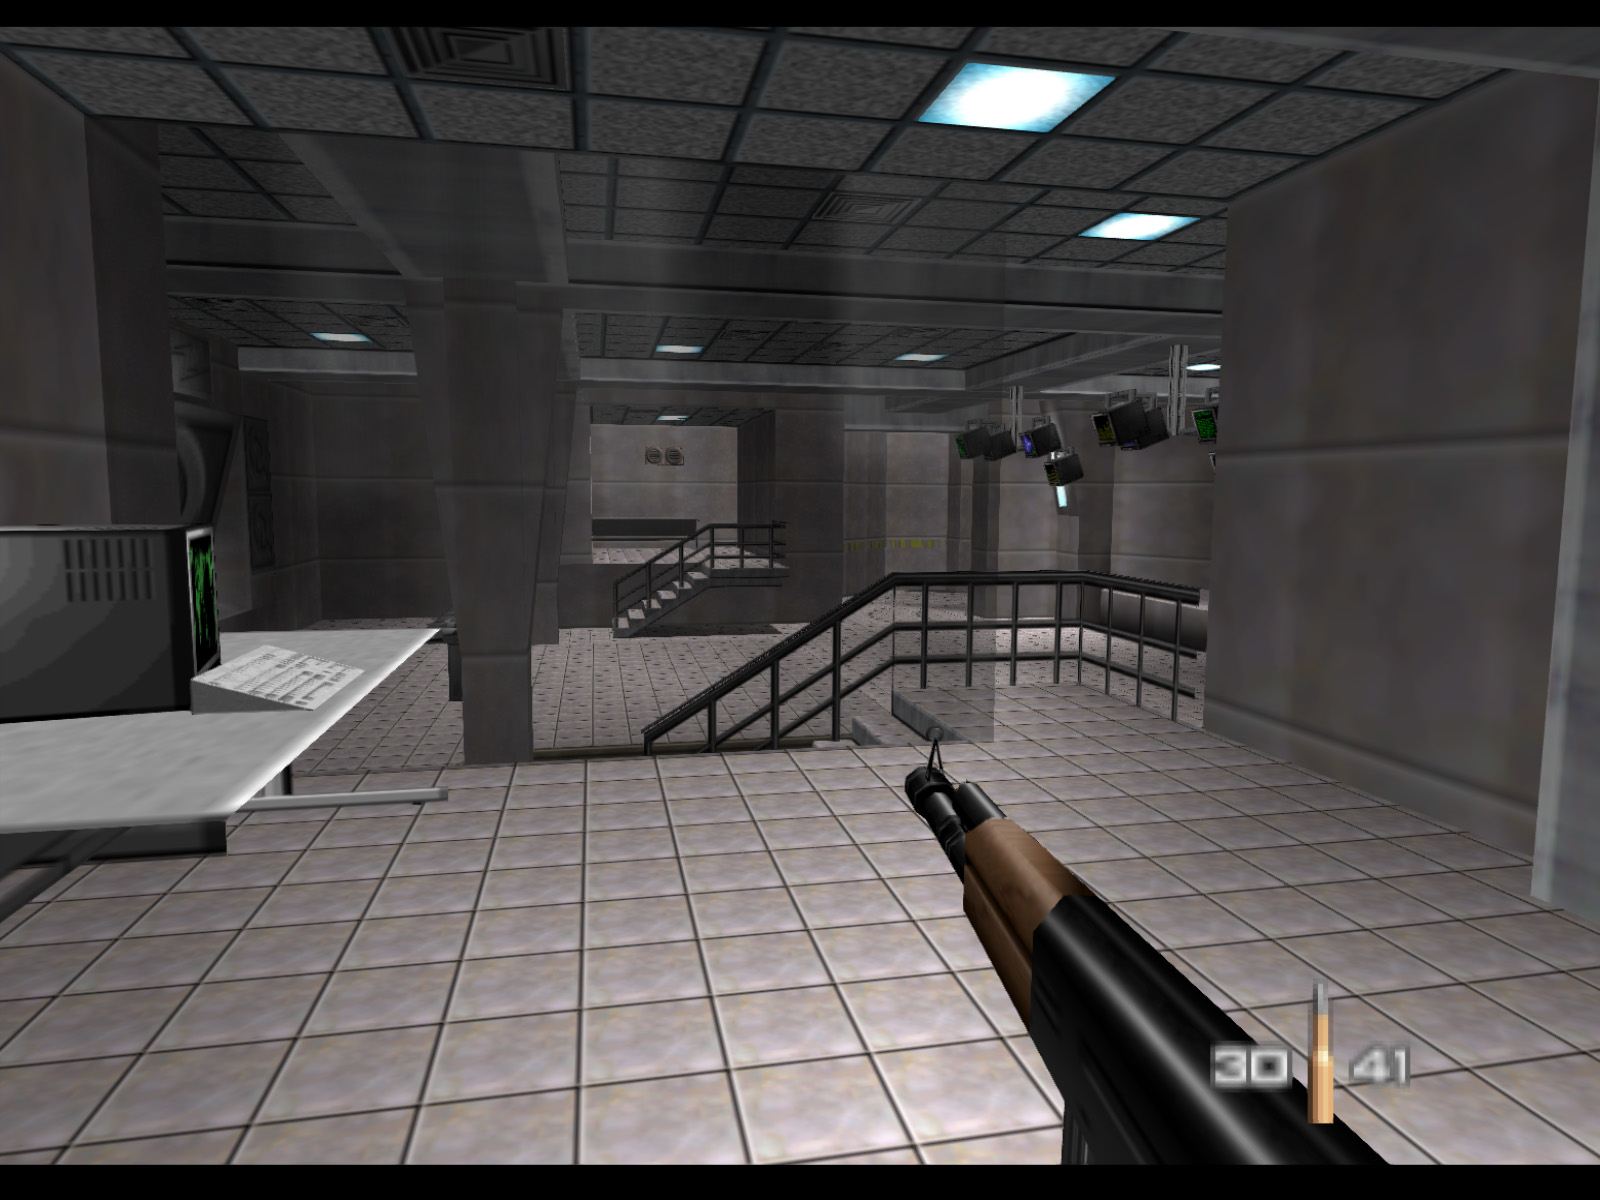
Another look at this room and its interesting design.
At this point it's time to head for the main control room. This might be a good time to let Natalya out of her cell. Just be careful about her running in your line of fire.
Visiting the finished kitchen.

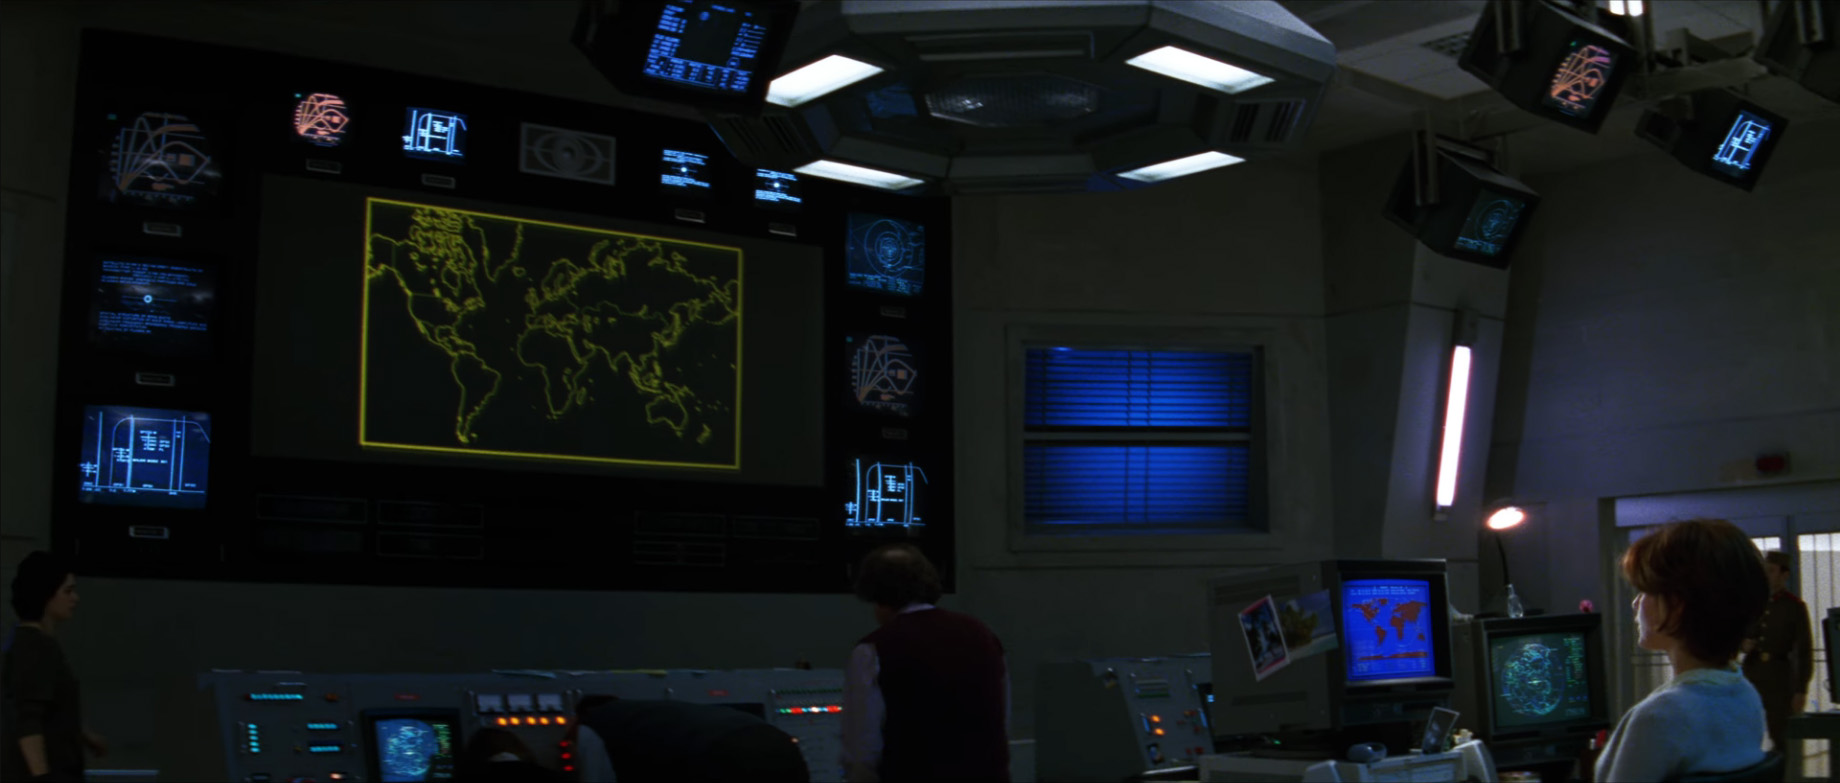
View of the consoles in the main control room. The center console for the GoldenEye Key only appears in the game this one time.
CCTV camera 6 of 6 is located in this side room. Destroy it to complete Objective C.
Another view of the main control room from the side room.
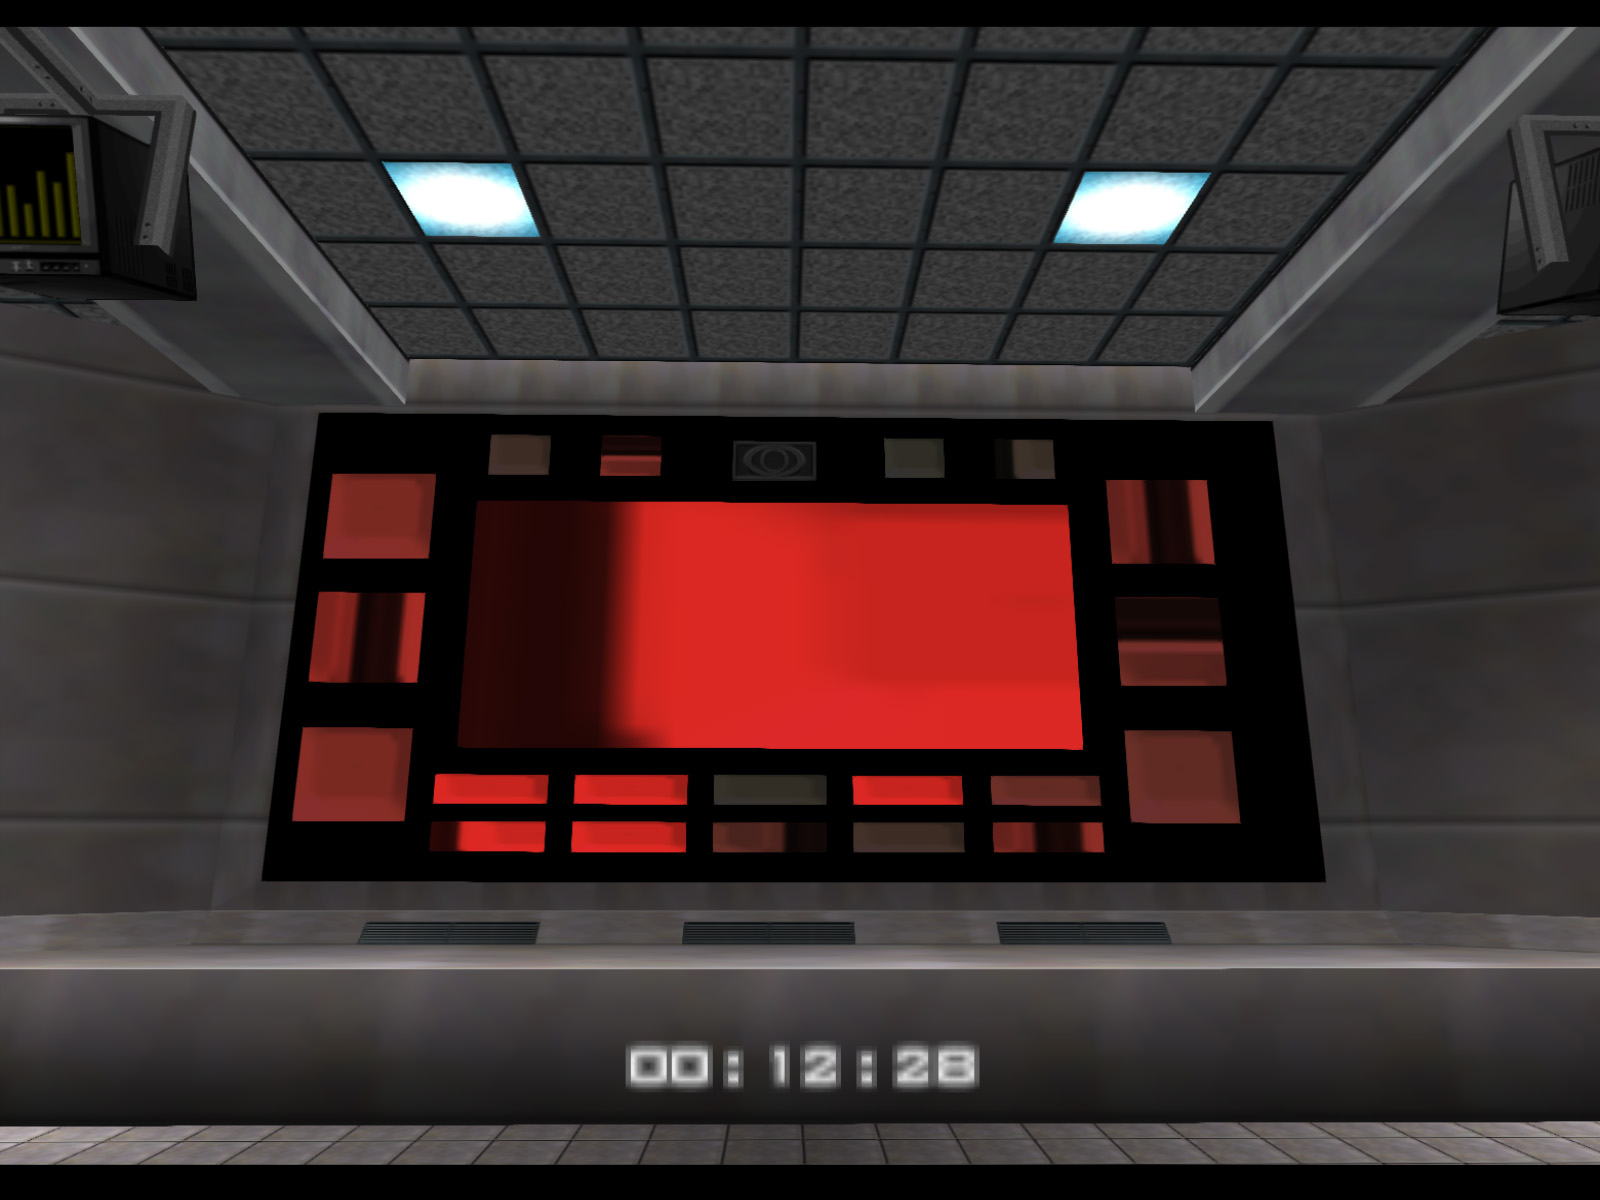
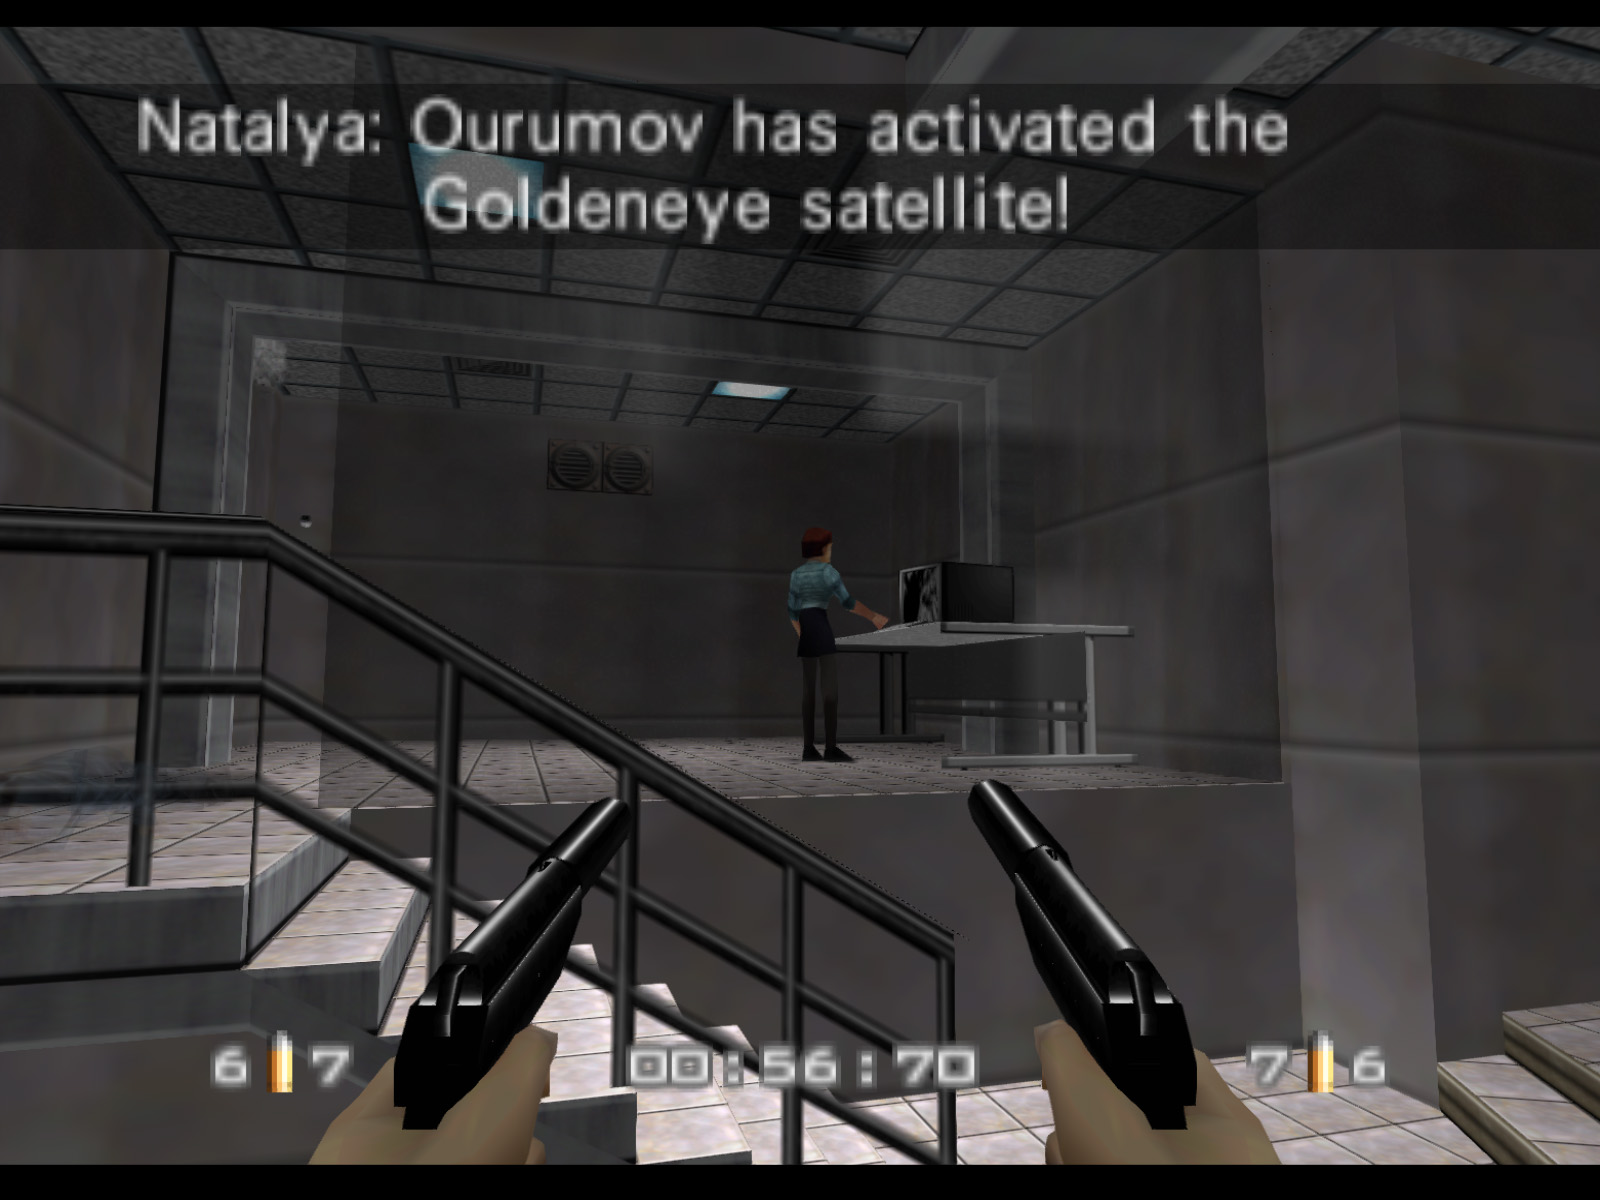
At this time you're free to leave the level. If you stick around Natalya will come check the computer and discover the GoldenEye Satellite is about to fire on Severnaya!
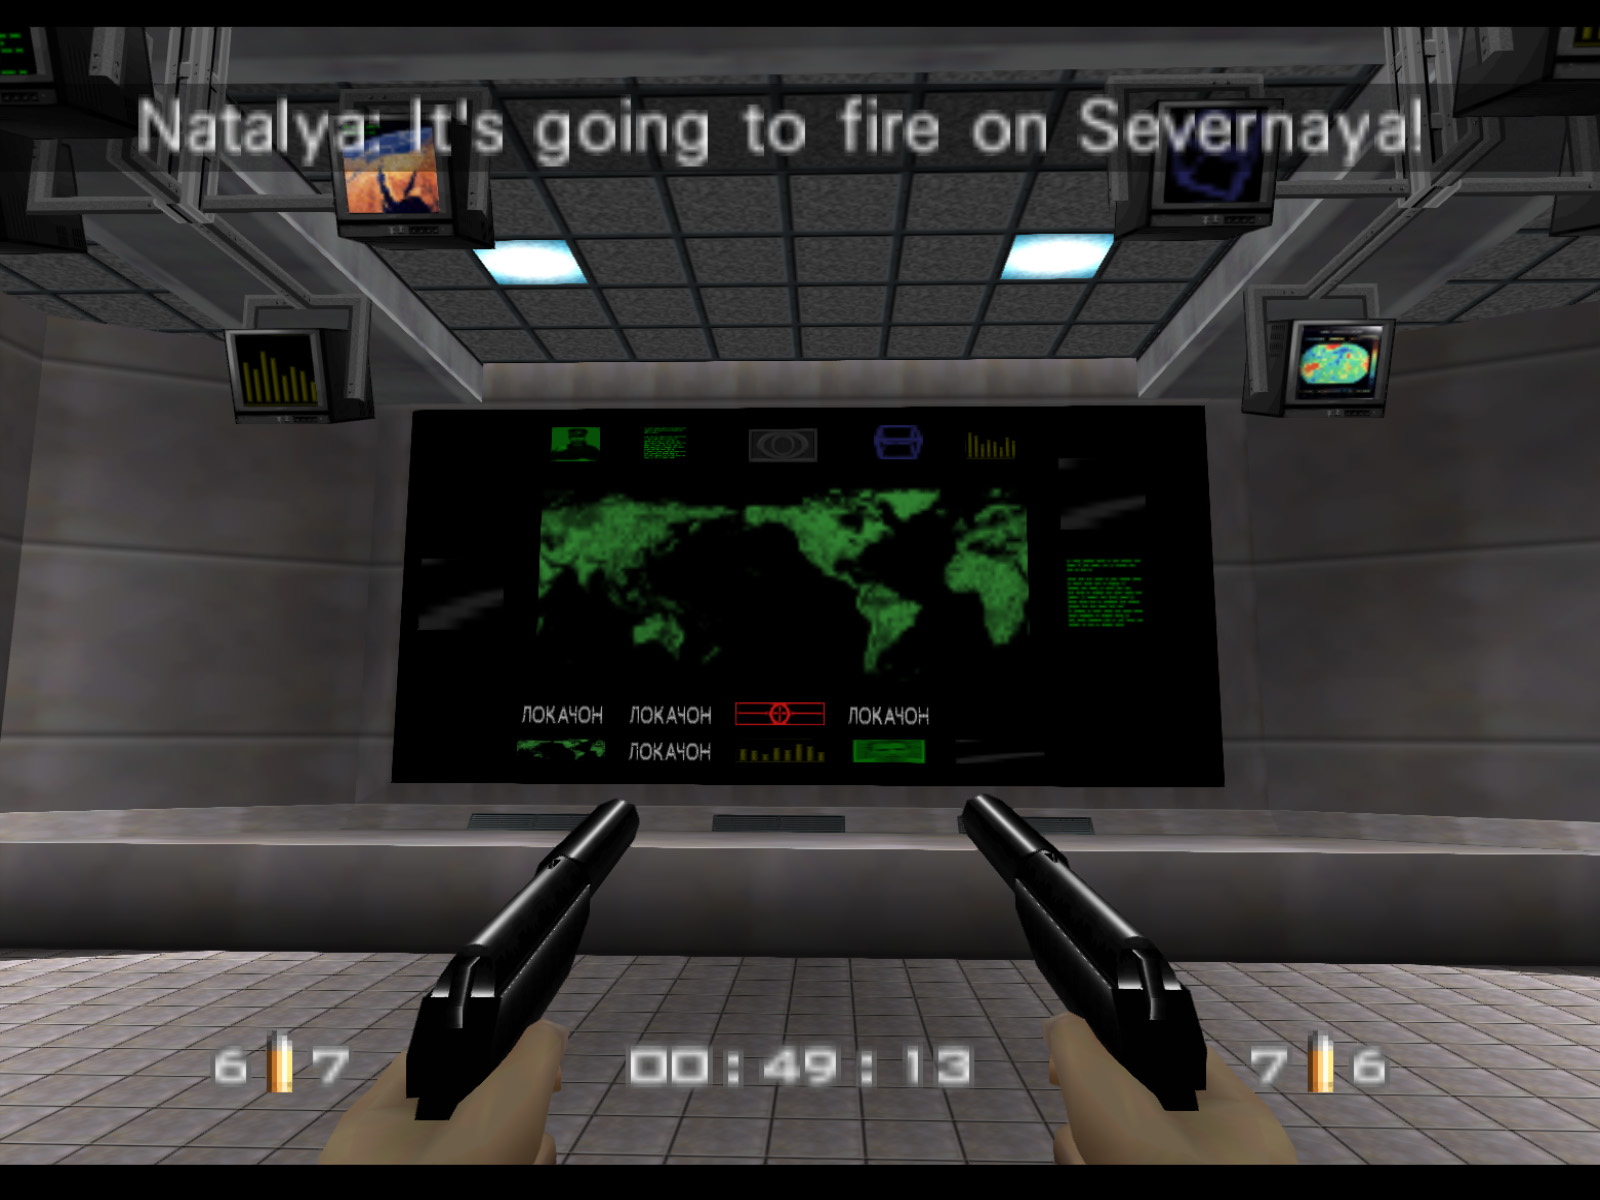
The previously black main screen comes to life once the countdown timer is activated.
Natalya escapes out the bunker door. Follow her to the helipad. This will complete Objective E and end the level.
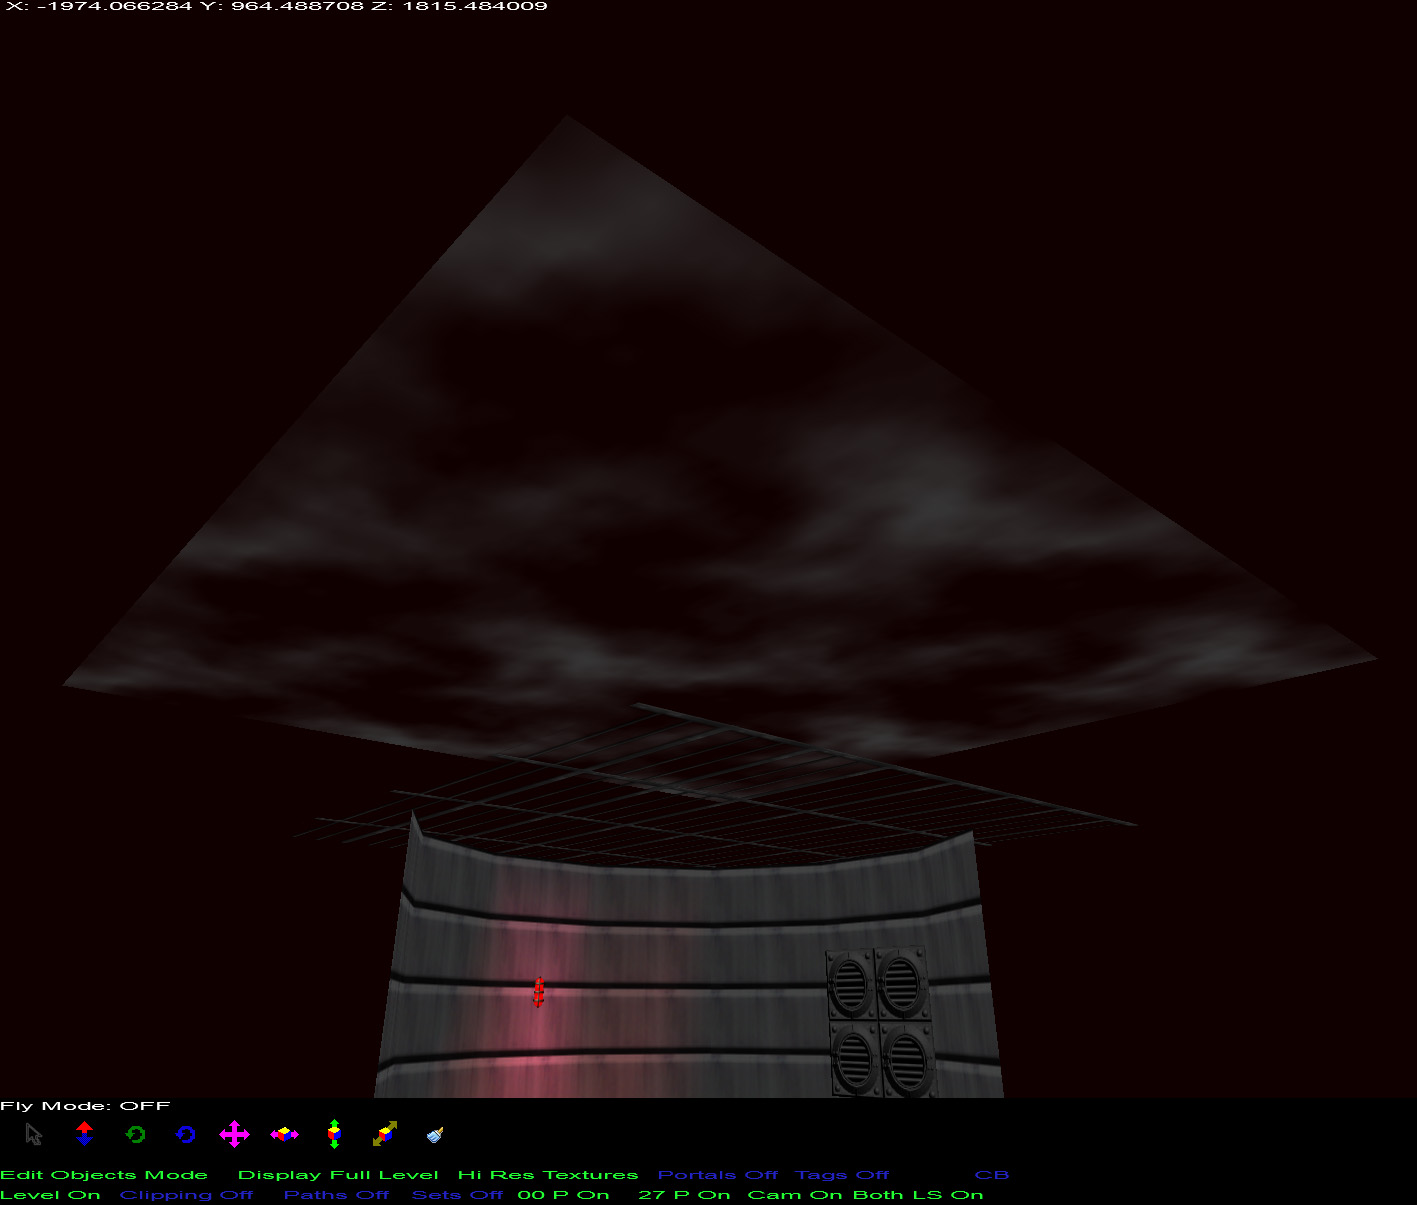
If you go to the ventilation tower and look up there are white clouds just beyond the grate. You can move around and use parallax to see they're not really at some high altitude. The normal sky with the red scrolling clouds works fine though, so why have these fake ones?
The only explanation I can think of is the fake clouds were copied over from Bunker 1 which was made first. Then Bunker 2 had its animated red clouds added but the developers forgot to remove the fake white clouds.
Bunker 1 has a metal pole at the top of the steps to the side room, but in Bunker 2 the pole is mysteriously removed.