Mission 7: Cuba
Part iii: Water Caverns
Mission 7: Cuba
Part iii: Water Caverns
The Janus Control Center communicates with the Goldeneye weapons system via a large satellite dish which is usually concealed underwater. The pumps which allow Janus to flood the communications dish are housed in a subterranean cave complex defended by crack Janus troops.
Don't jeopardize the mission by going for the man, Bond - nobody needs a dead hero. You'll be on your own but CIA combat support will be waiting. Find a radio and inform Jack Wade of the exact location of the dish and he'll send in the cavalry.
The satellite communication dish is exposed. If you remove the water pumps, Janus will be unable to hide it again. Destroy the servo control consoles close to the pumps and be sure to disable the master console.
Doing a spot of spelunking? Well, don't mess your trousers up, James.
Caverns is the seventeenth level of GoldenEye 007 and the third level of the seventh mission. The Water Caverns are a system of caves that are flooded when Janus drains the artificial lake that hides the GoldenEye Satellite dish and antenna. Similar to Silo, Caverns did not appear at all in the GoldenEye movie and was invented entirely for the game.
Caverns is a very large level. Its bounds measure approximately 181.4 x 106.5 x 48.1 meters. It's comprised of many caves, some dry and some flooded, connected by double watertight doors. The dry sections house water pumps and computer terminals responsible for draining and flooding the artificial lake. Bond needs to destroy the controls as well as radio his CIA contact Jack Wade for backup.
Trevelyan does appear in the level, but he is invincible and simply runs to the end of the stage as soon as he sees Bond. The other characters in Caverns are Janus Special Forces, many of them armored, and Scientists.

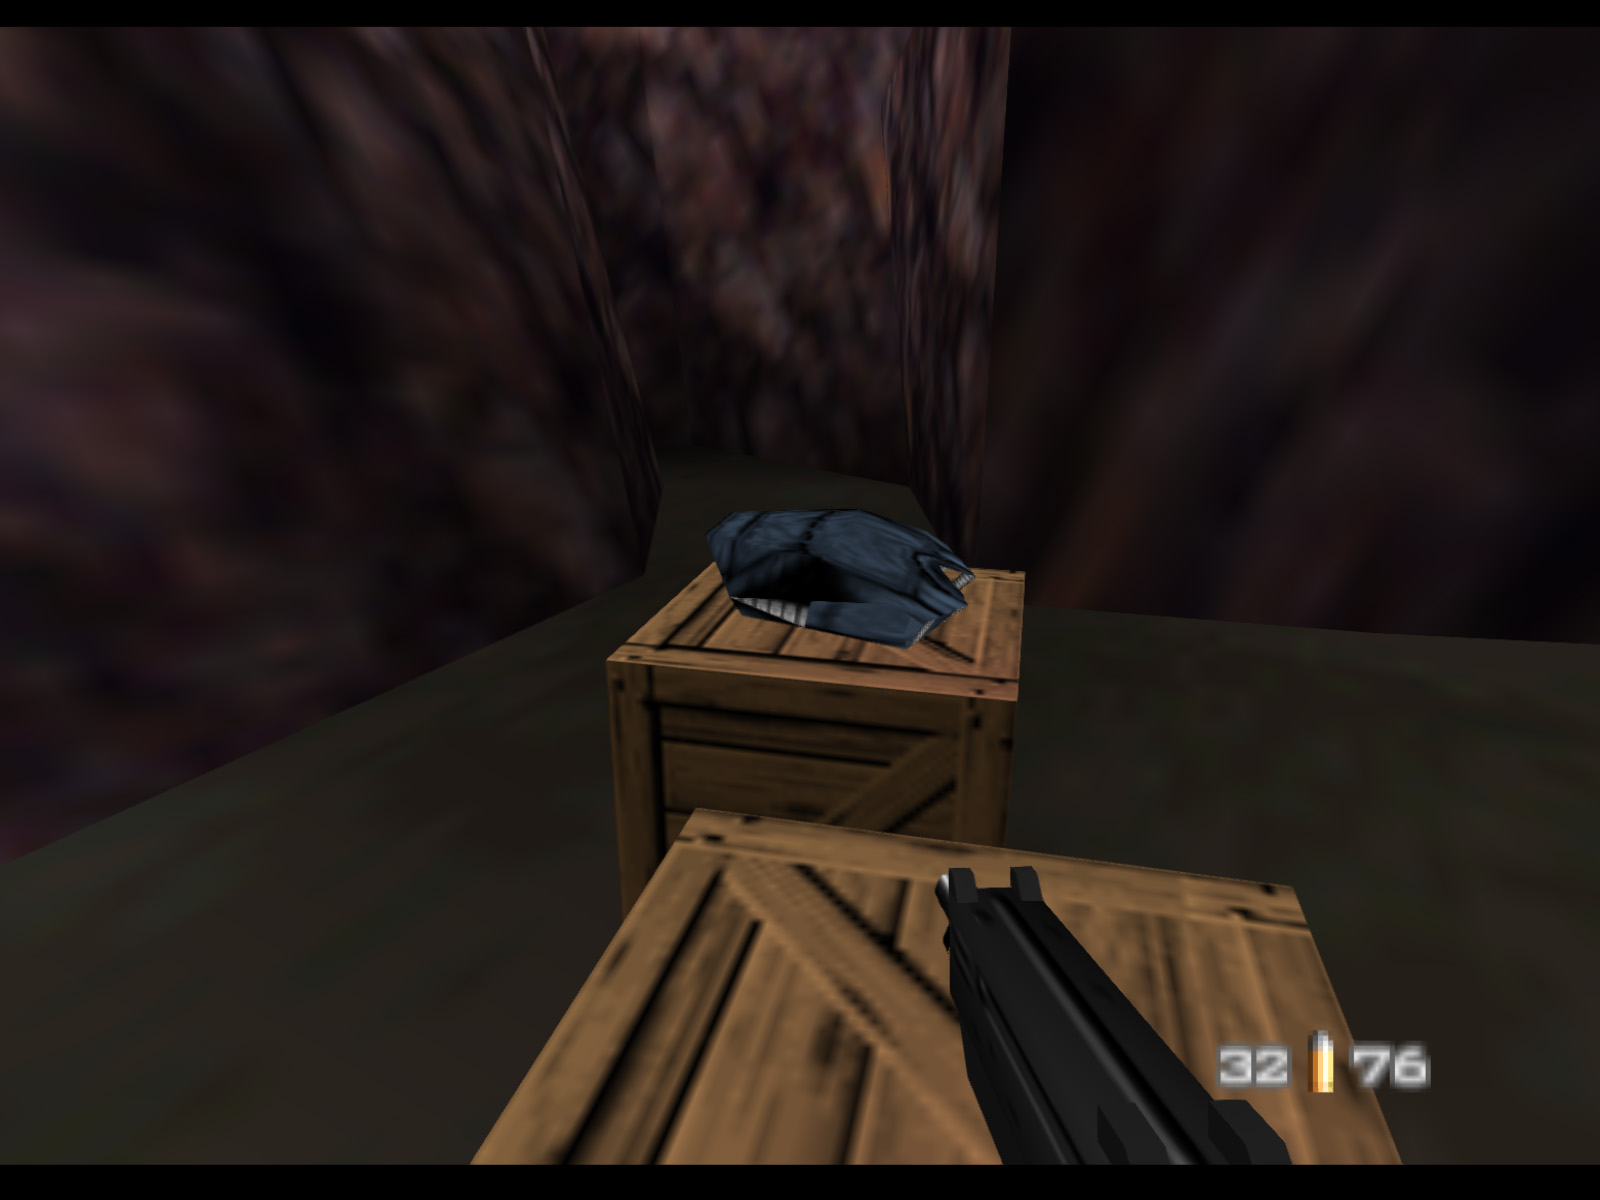
This armor sits on a crate next to the inlet pump. The inlet pump is the pump that is closest to the start of the level.

Located on a crate not far the radio.
Uniquely, Bond begins with a ZMG in Caverns. He also has his standard PP7 and six Timed Mines.
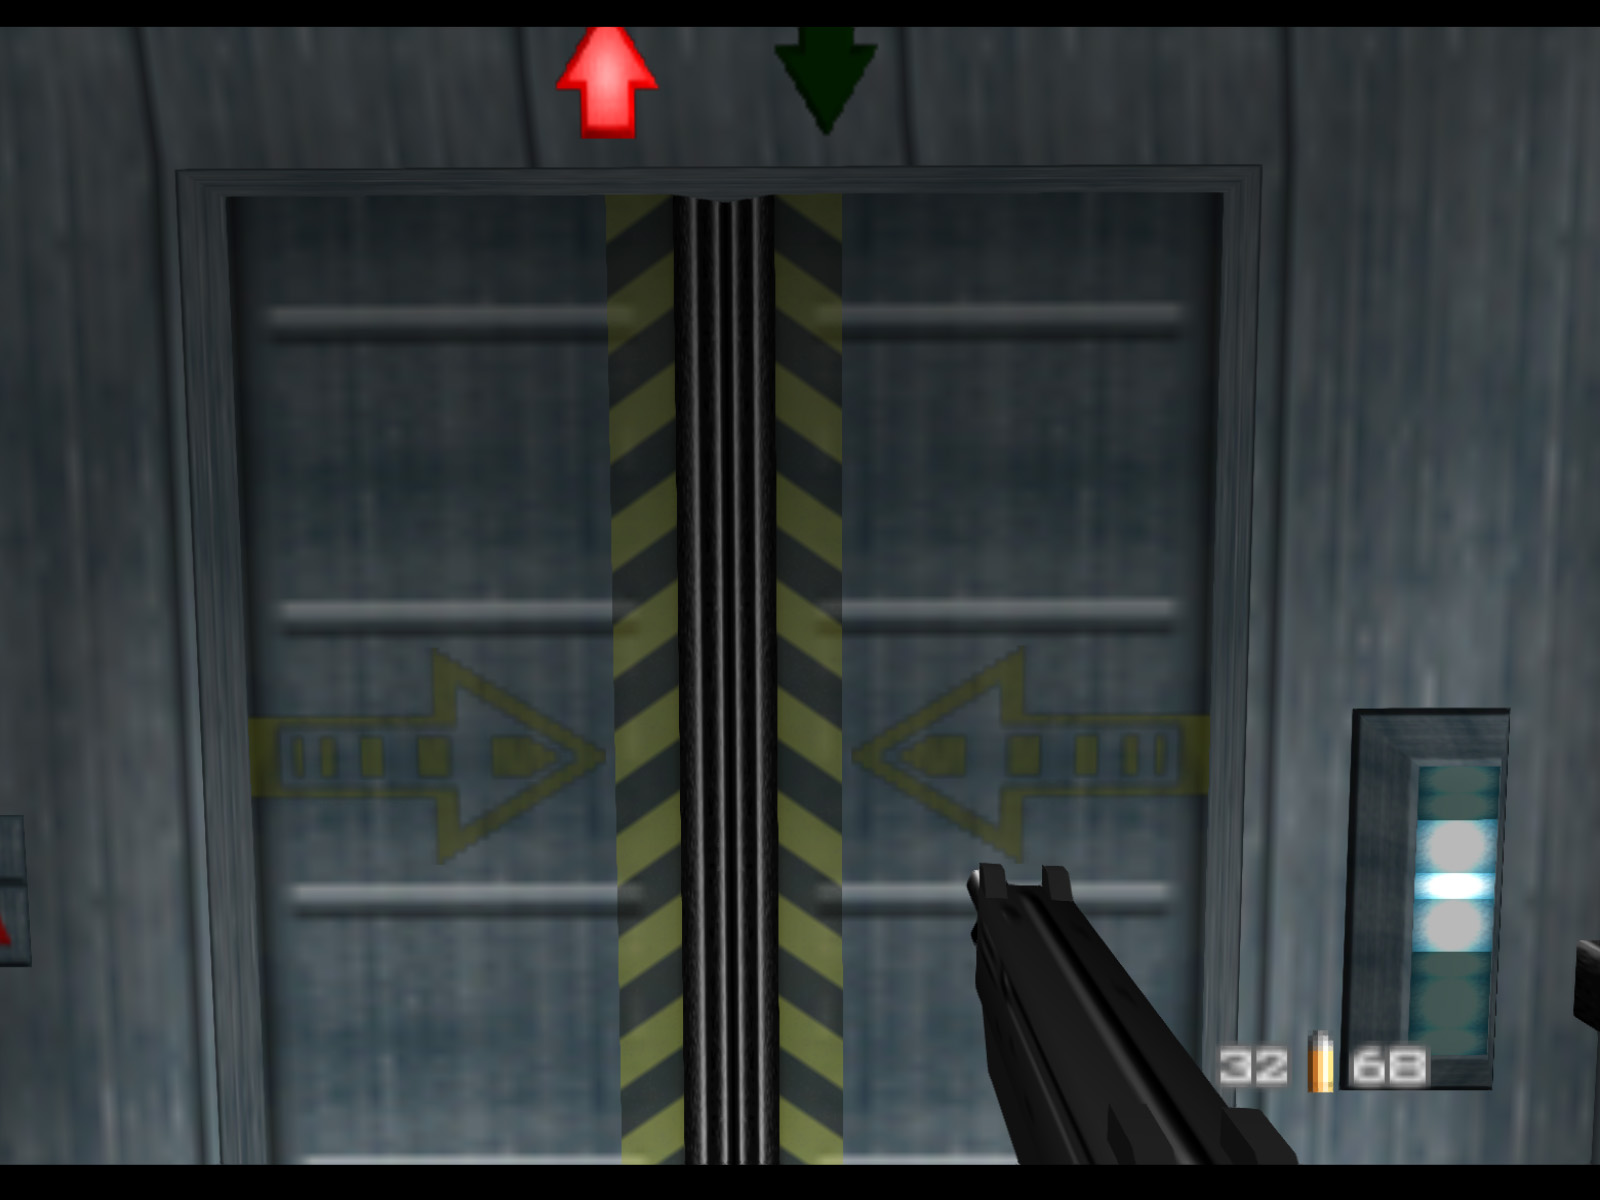
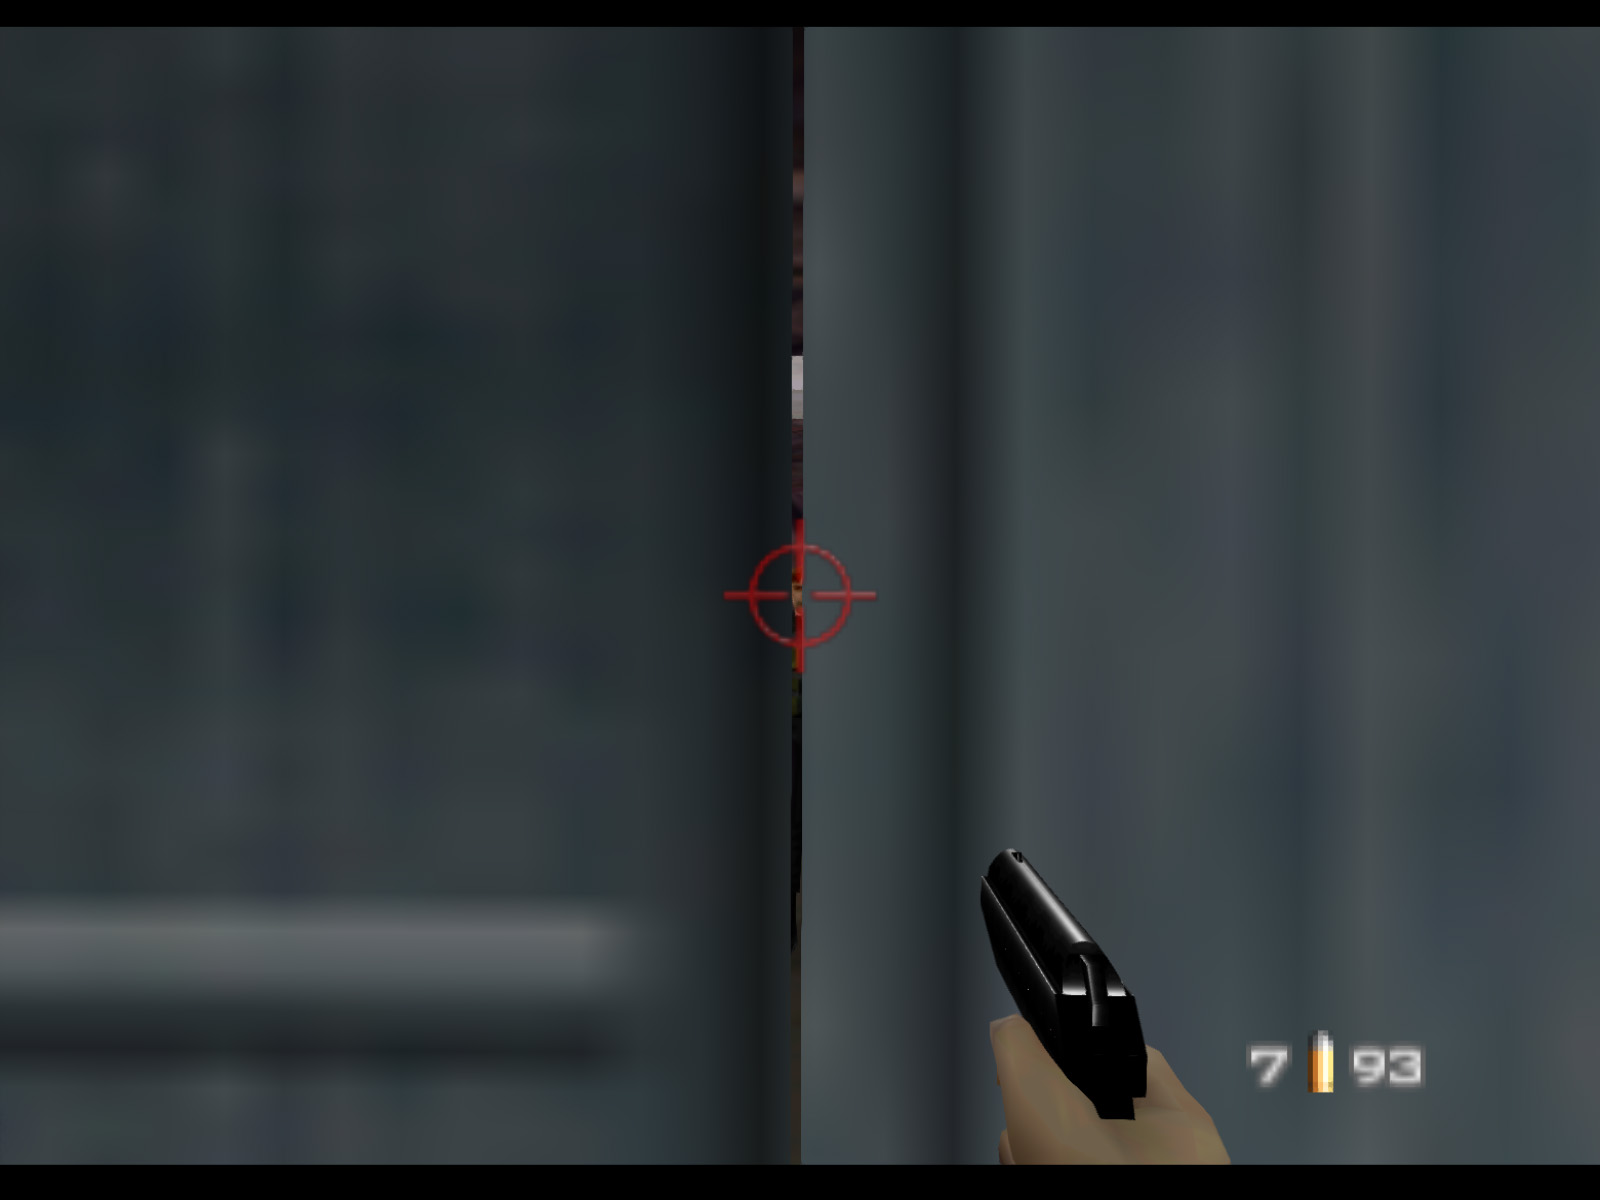
▶ TIP: There is a very tiny gap between the right elevator door and the wall. If you want, you can use this gap to headshot a guard.
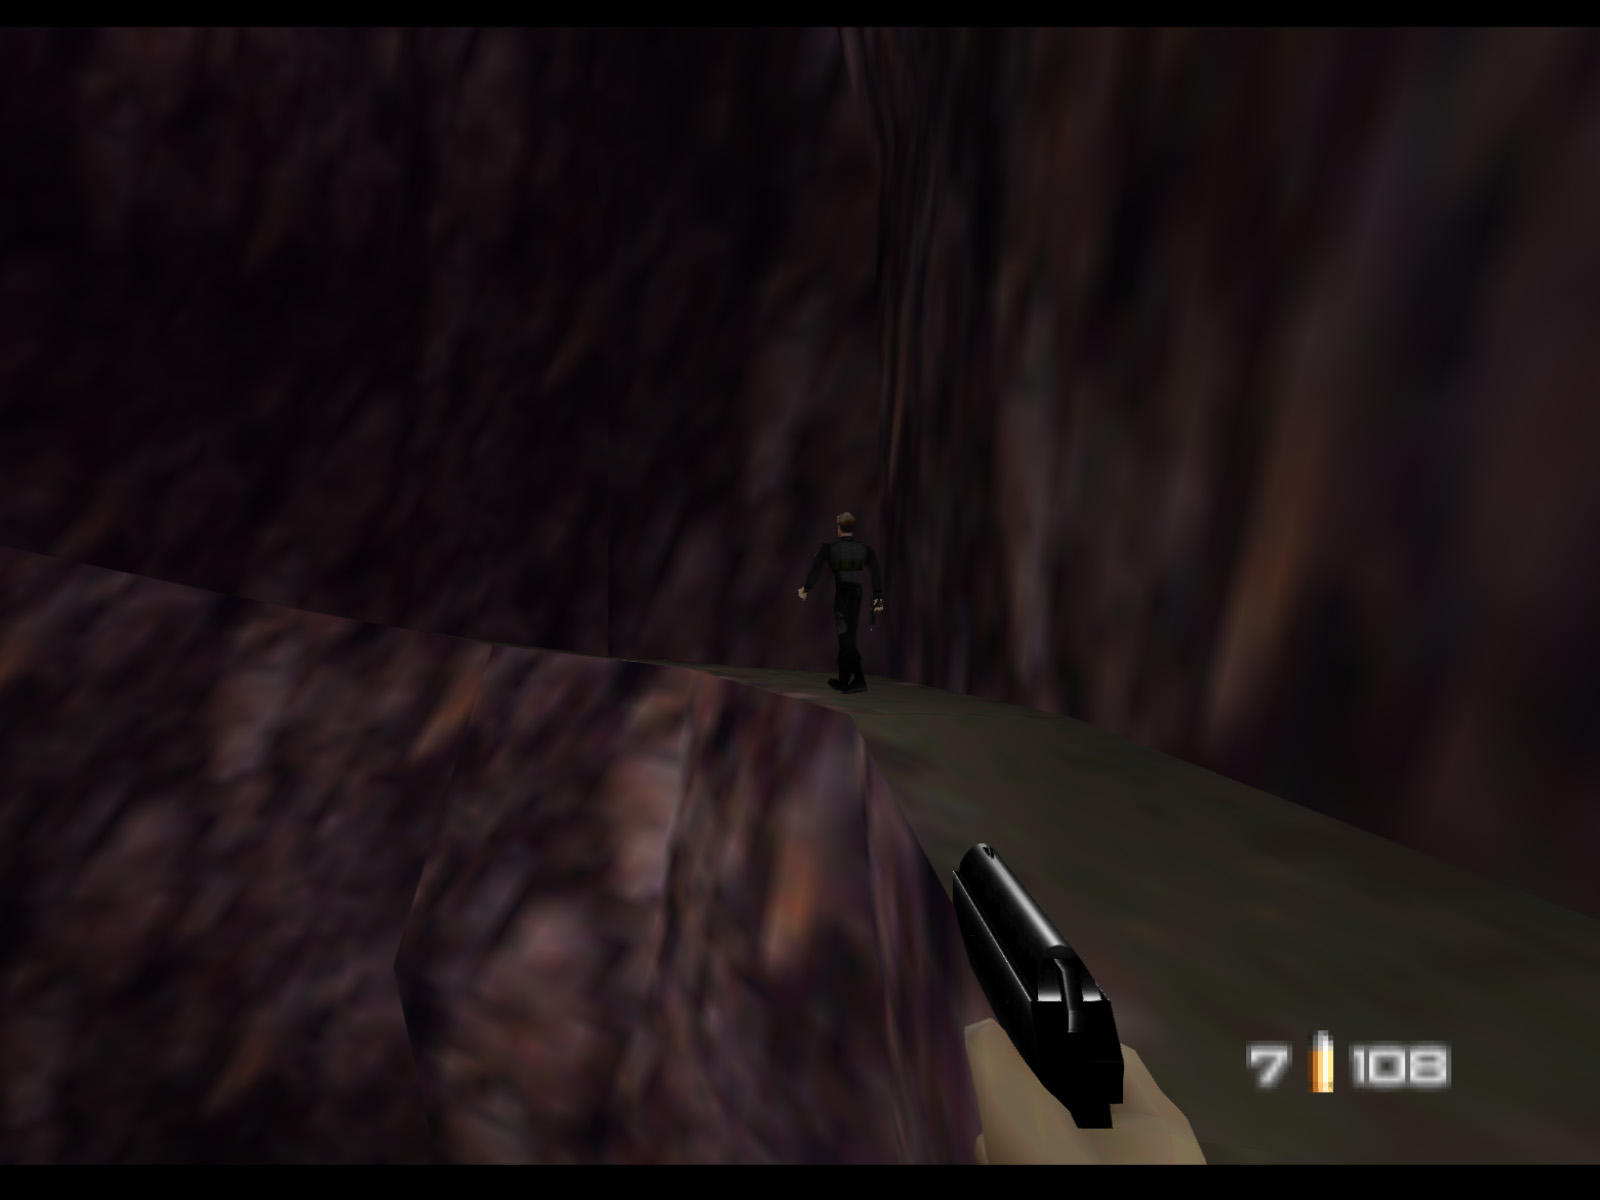
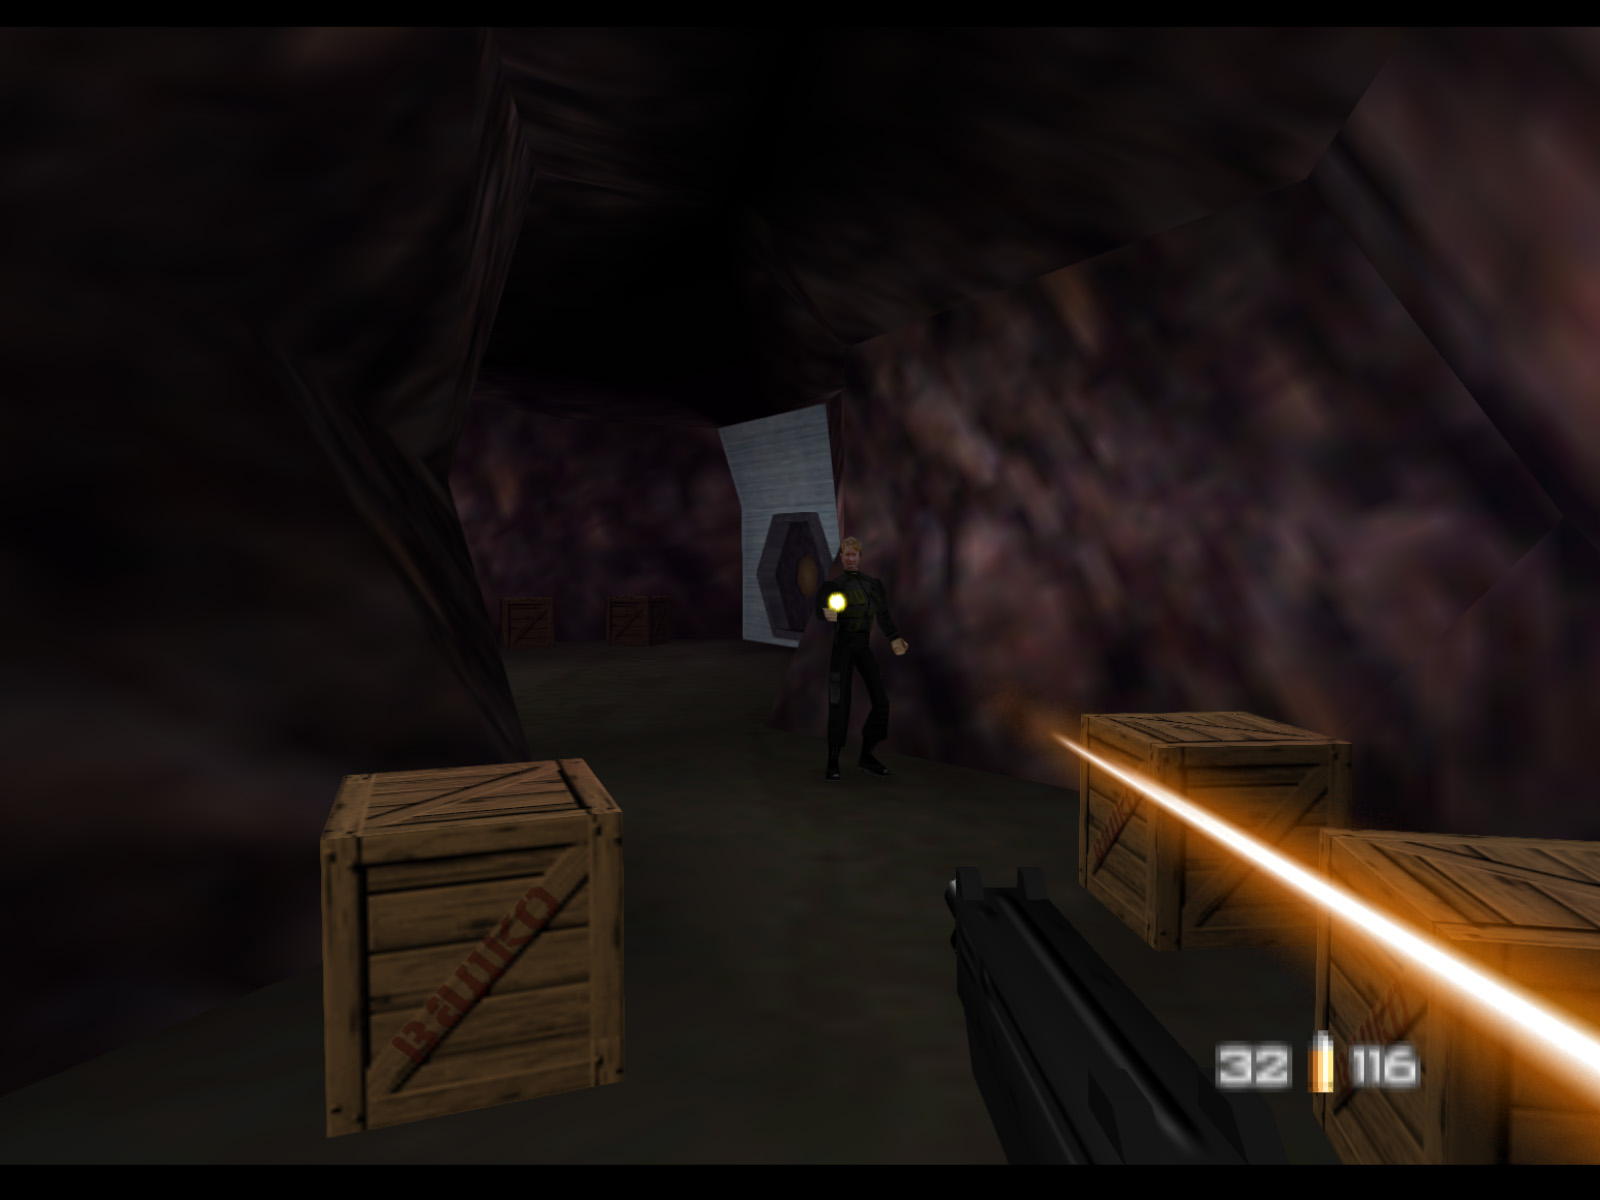
Trevelyan stands outside the elevator with an Automatic Shotgun, but he runs off the moment he sees you without shooting it.
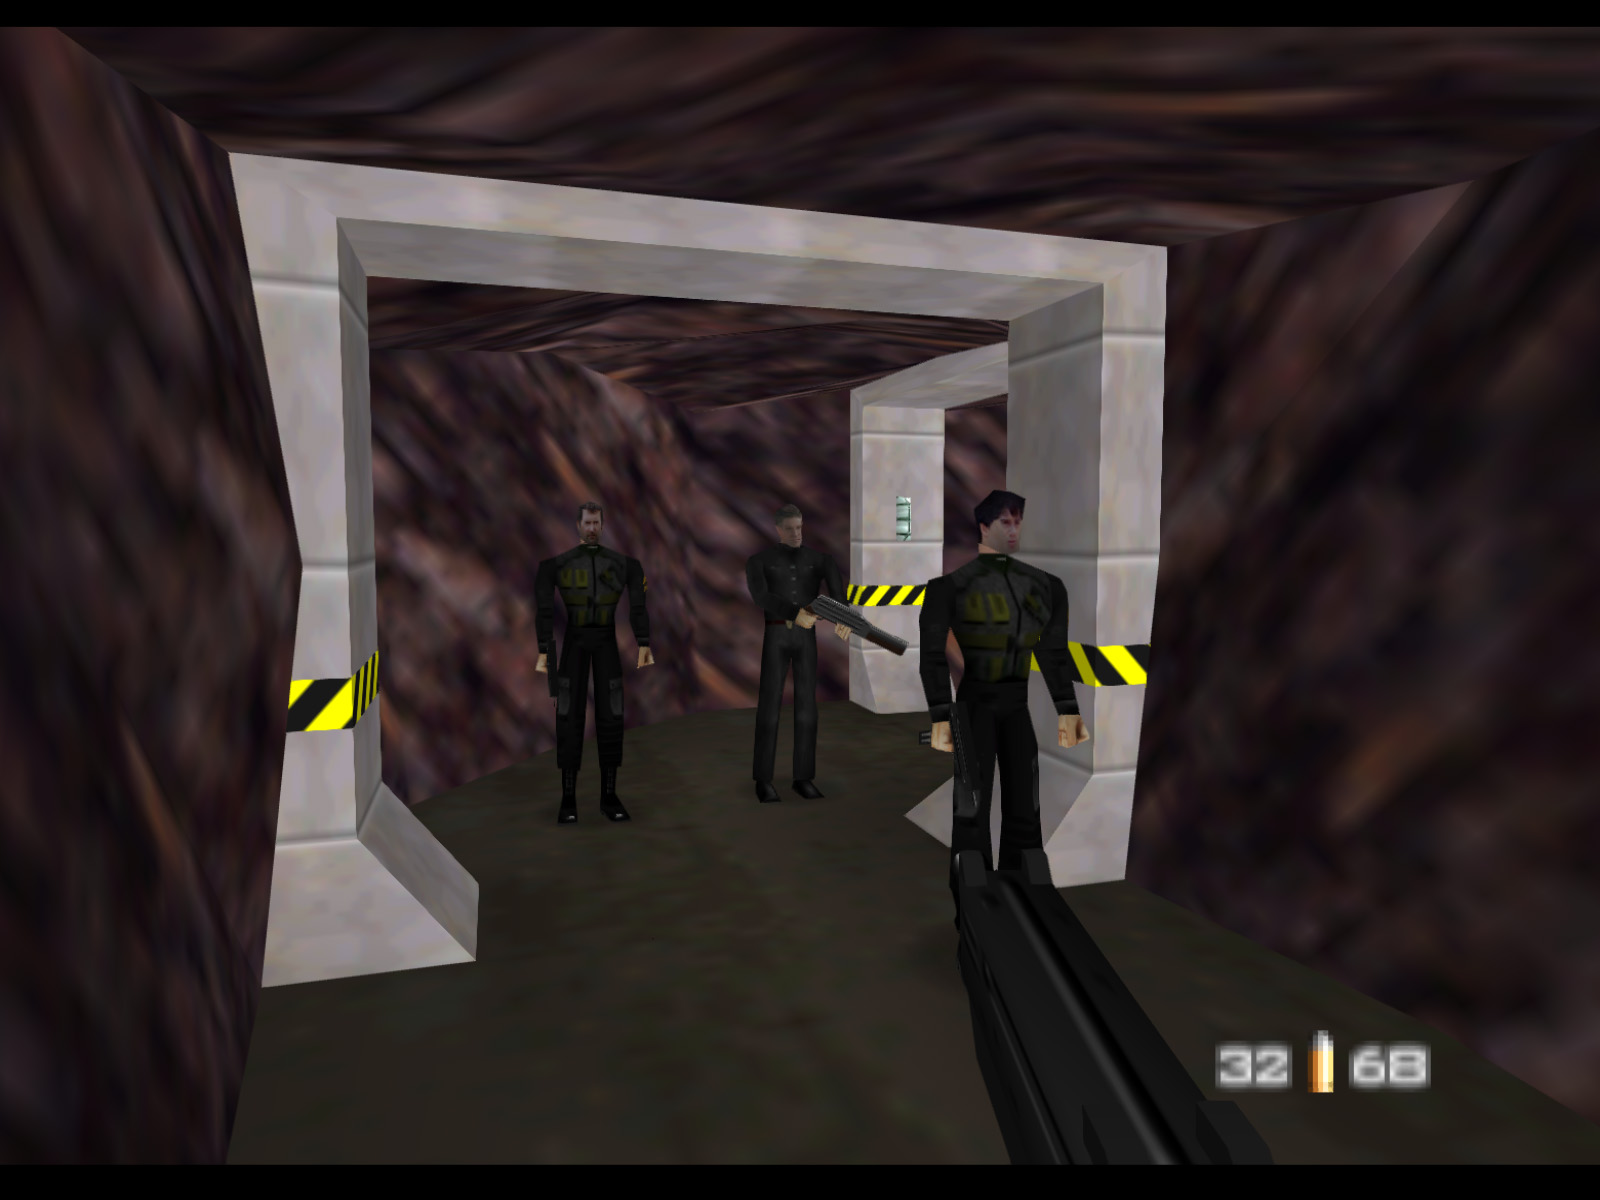
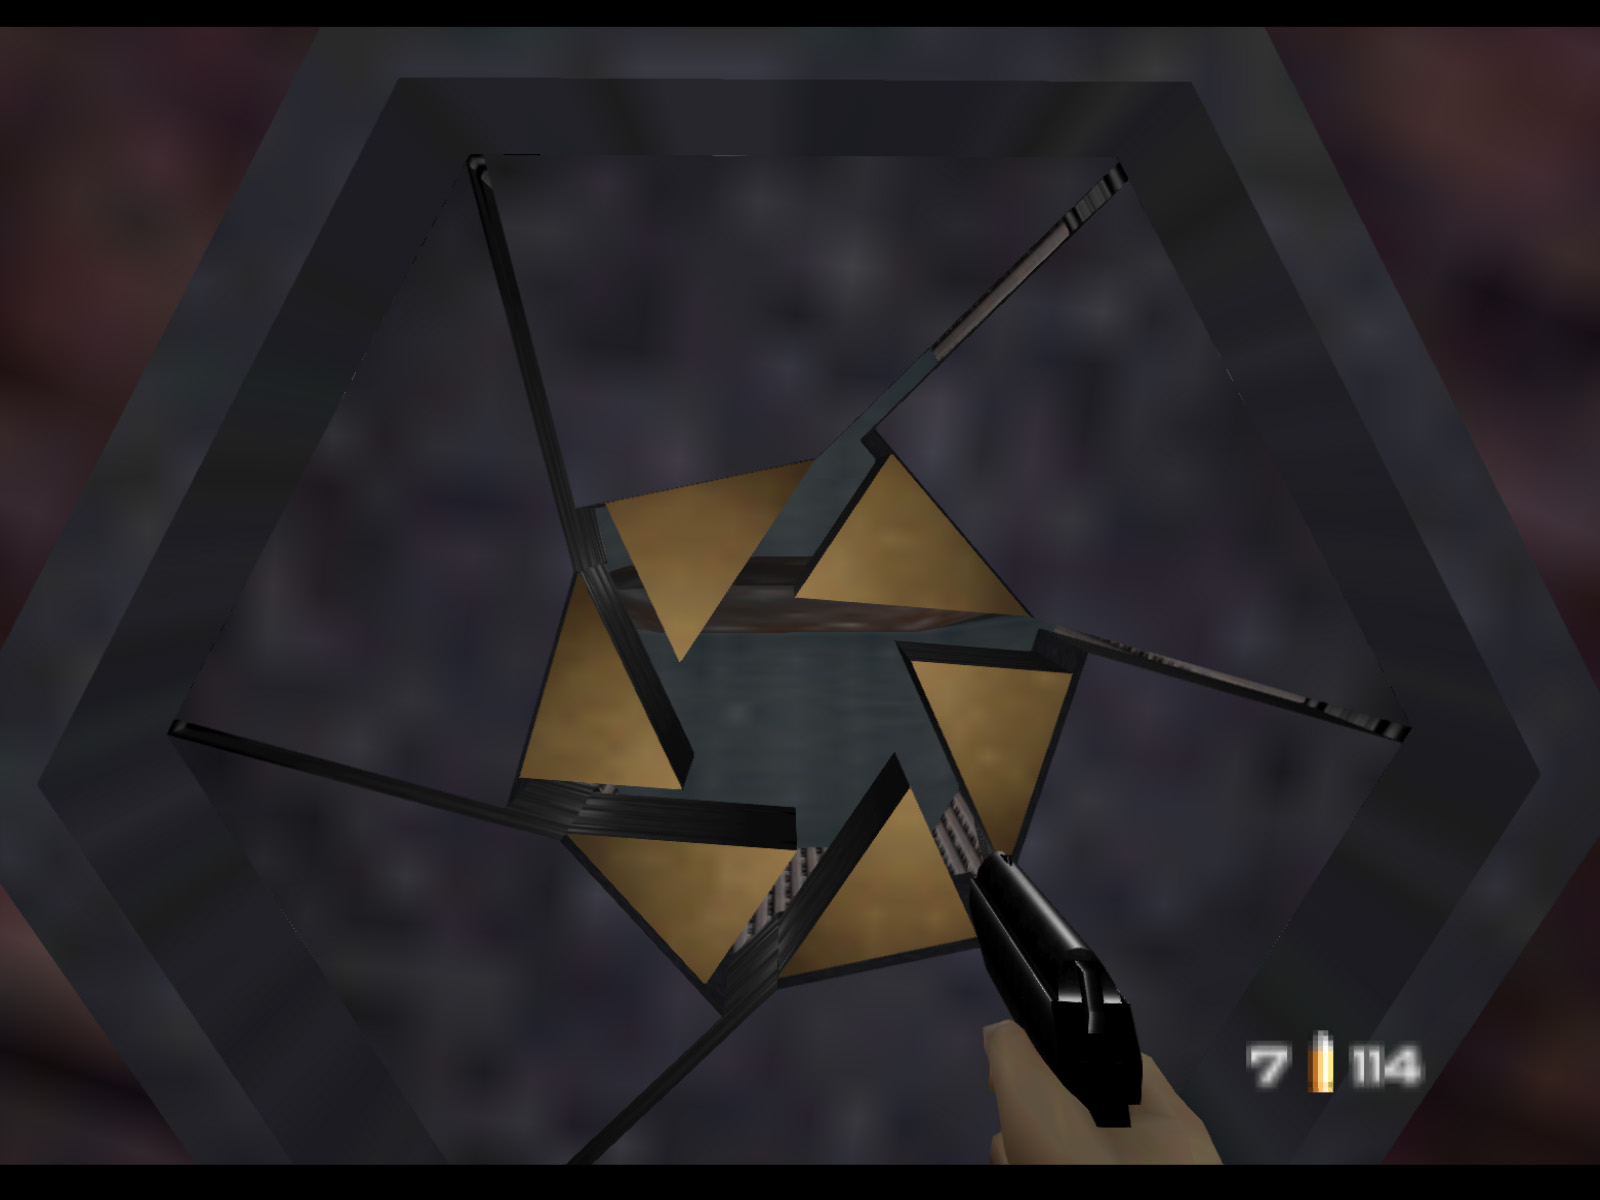
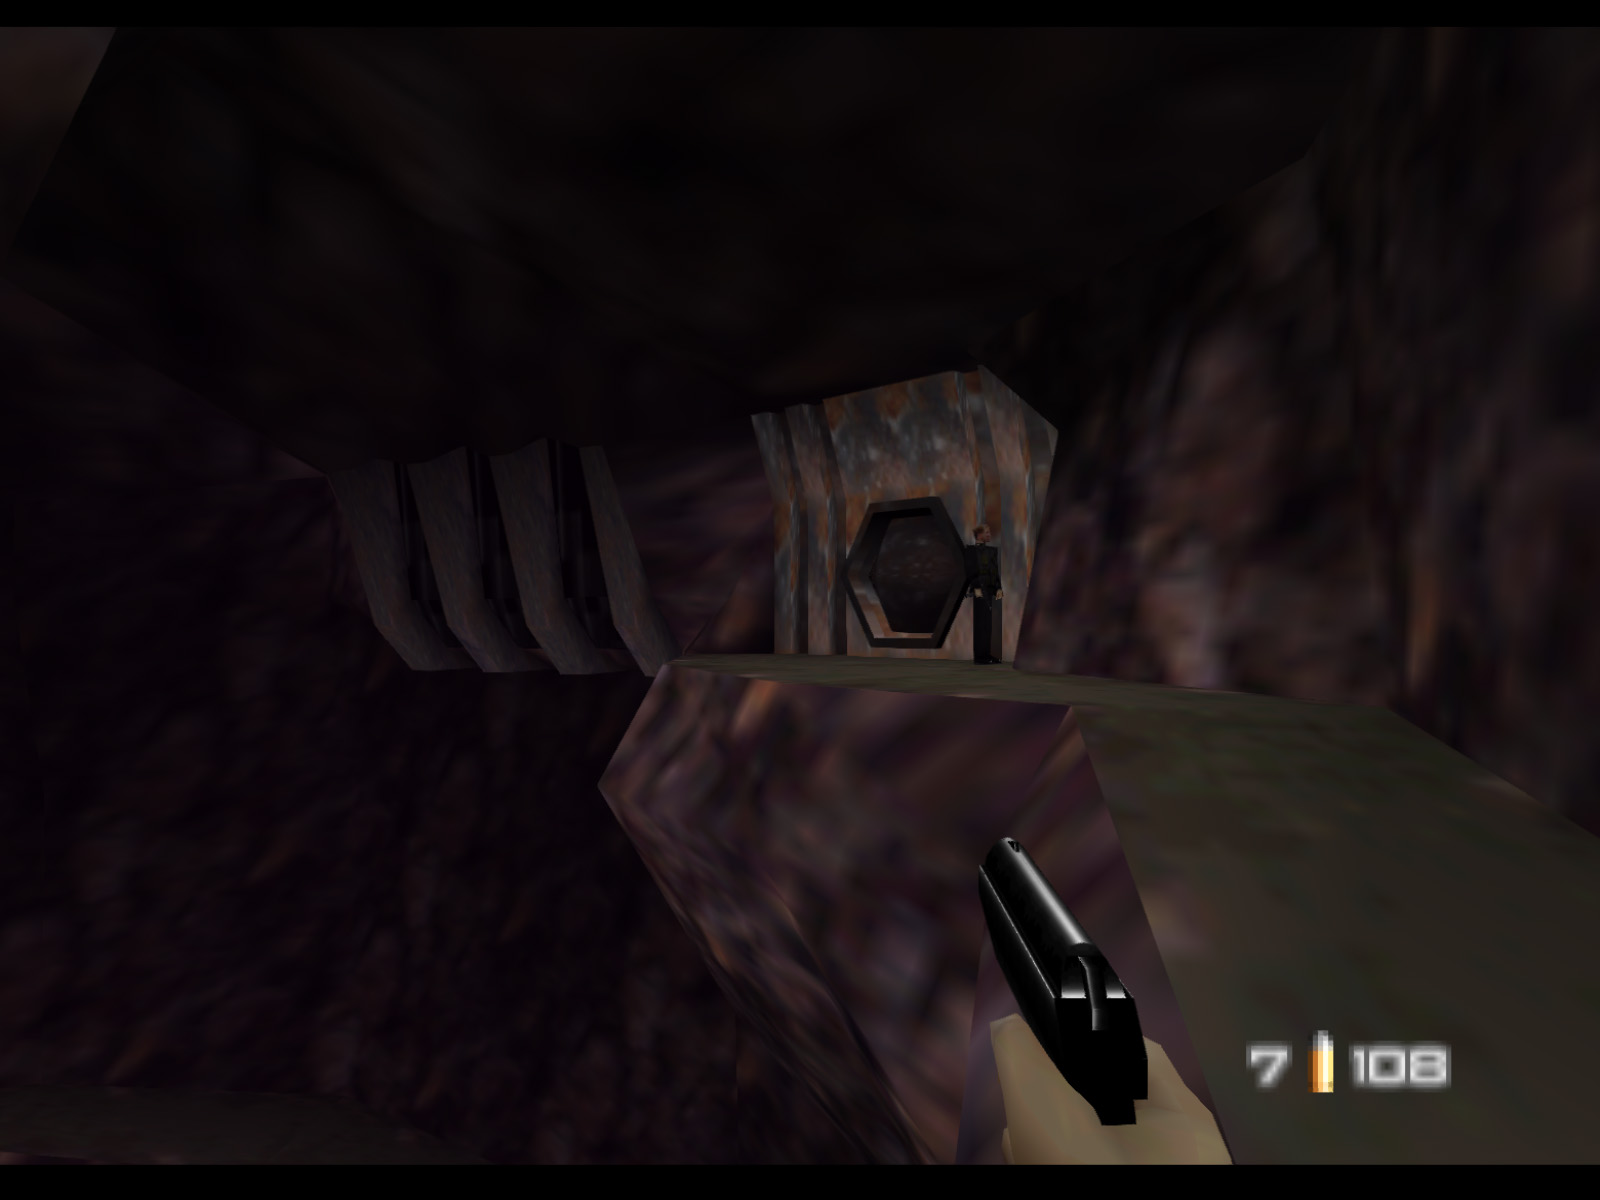
Caverns has really cool iris doors with six segments that rotate open. These start in an open state, but close as soon as Trevelyan runs through them.
Go past the watertight doors and you will find descending stairs to the first water cavern. Most of the Janus Special Forces in this level carry ZMGs and AR33 Assault Rifles.
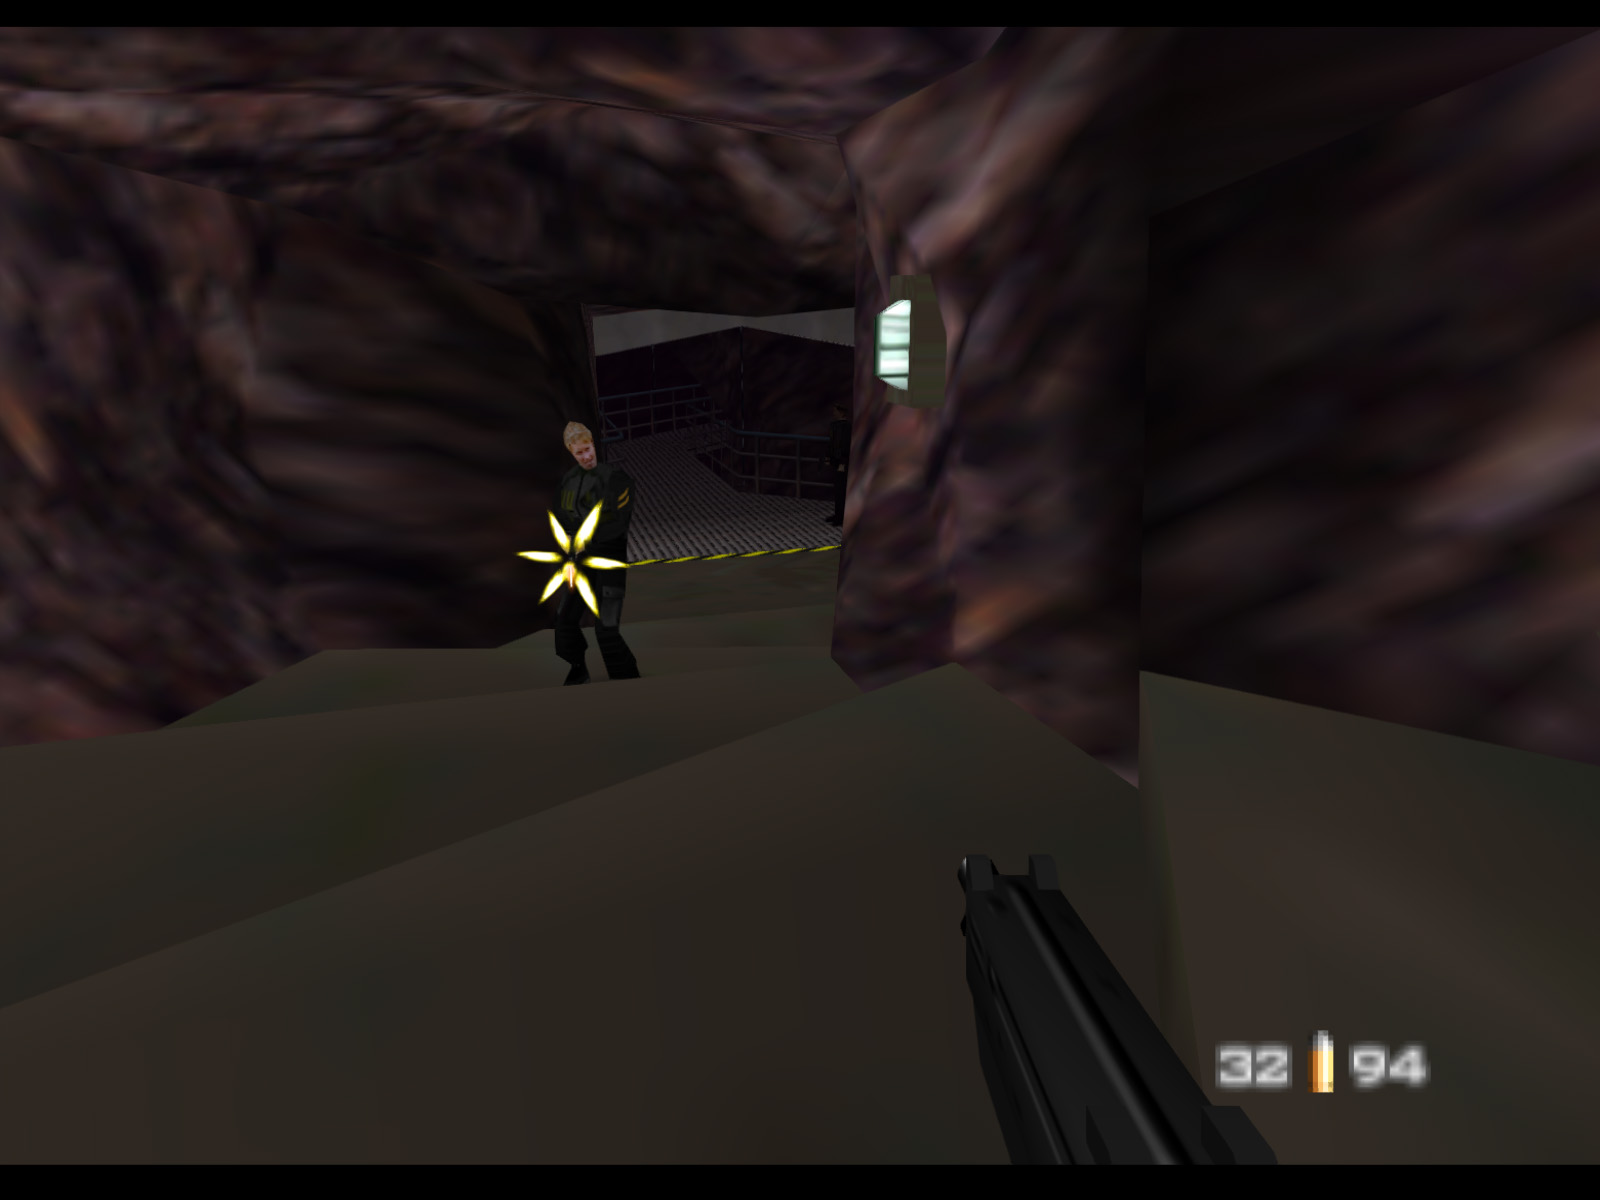
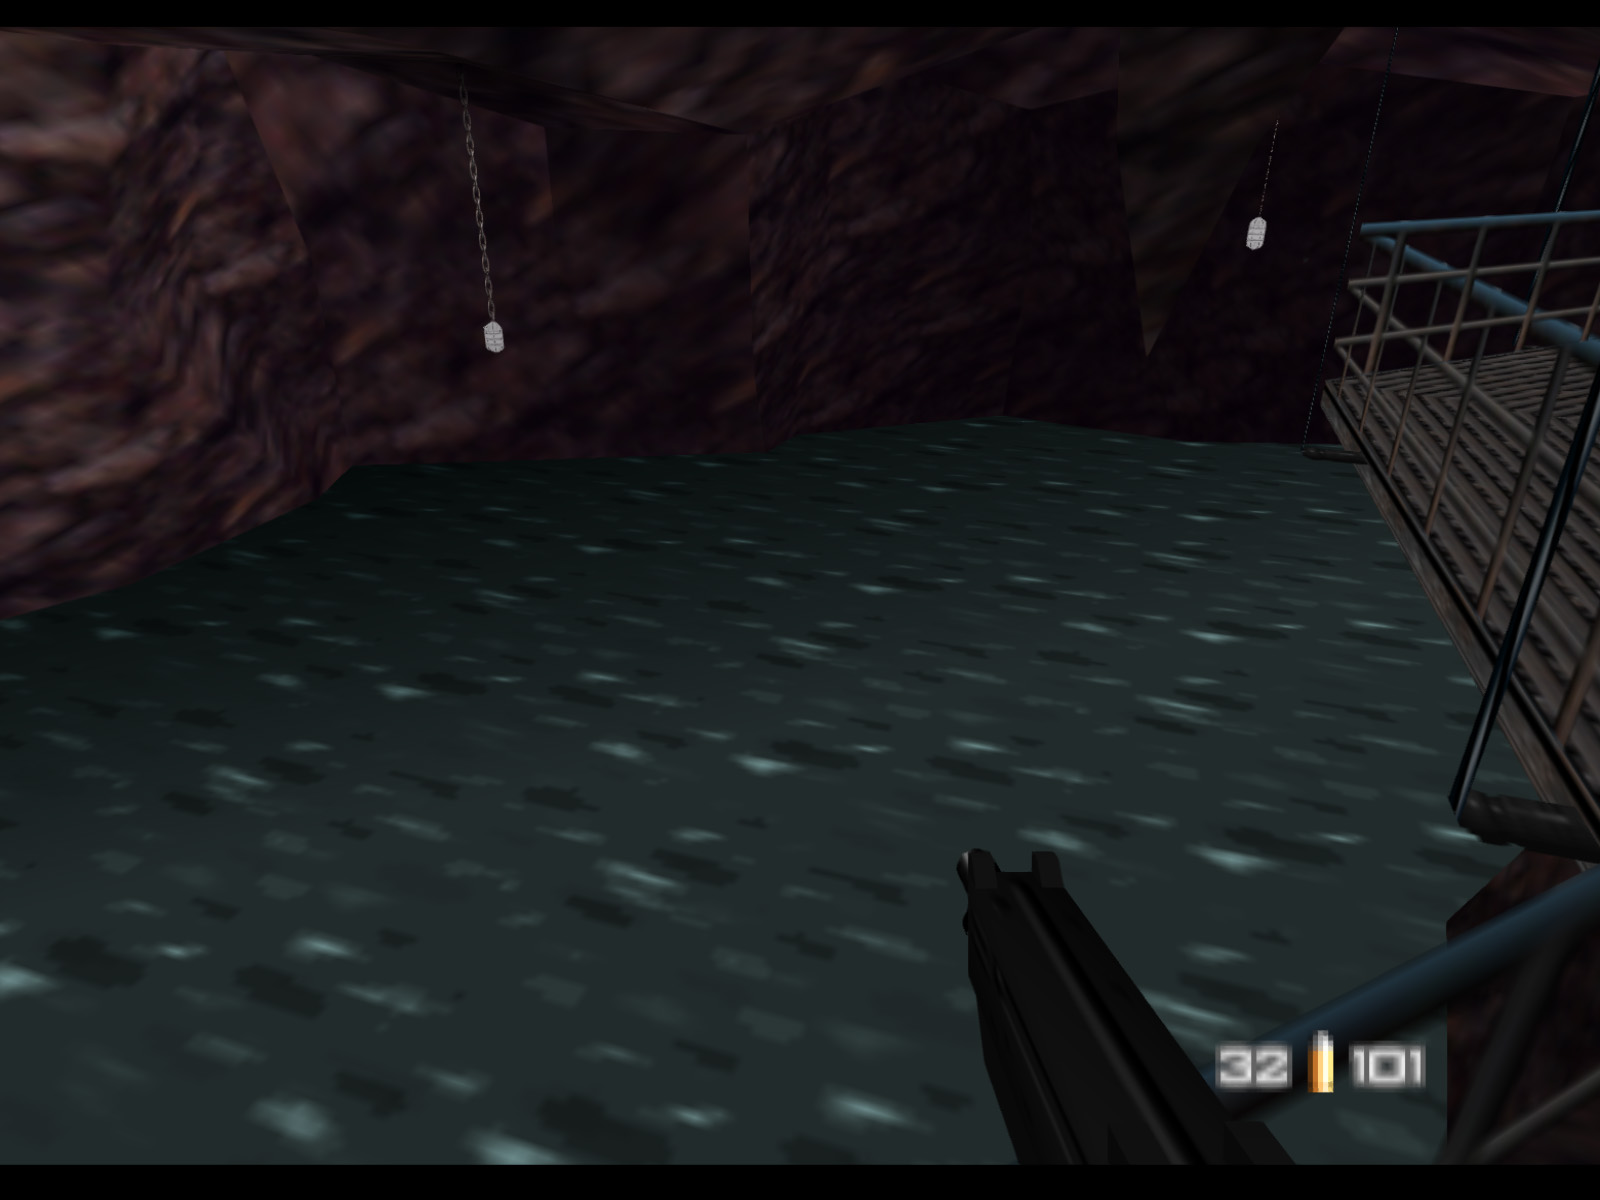
These water caverns hold the water drained from the artificial lake above.
You can shoot these guards from here without them seeing you thanks to GoldenEye's limited AI vision.
This next area has the Inlet Pump down at the lower left.
These are the first 2 of 4 Inlet Pump Controls that need to be destroyed. You will have to intimidate the Scientist by shooting near him to make him run away.
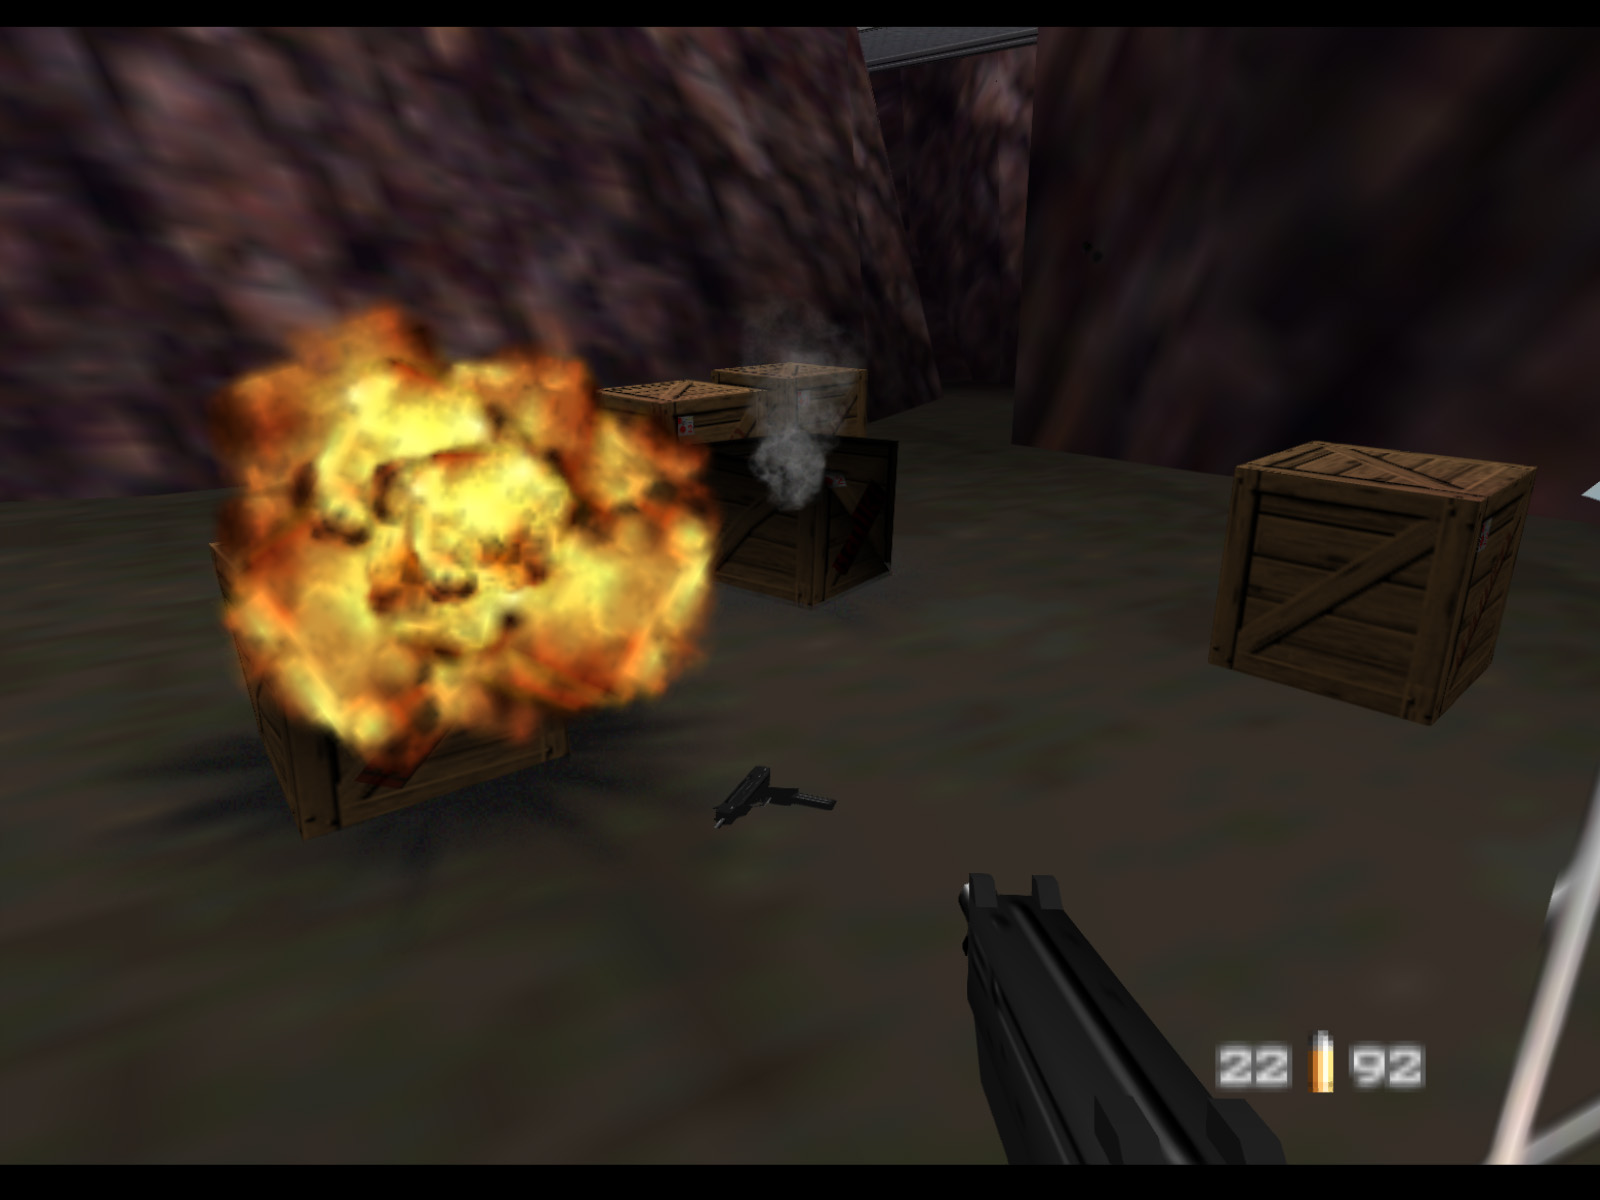
▶ TIP: The crates in this level drop ZMGs, 9mm magazines, and AR33s when destroyed.
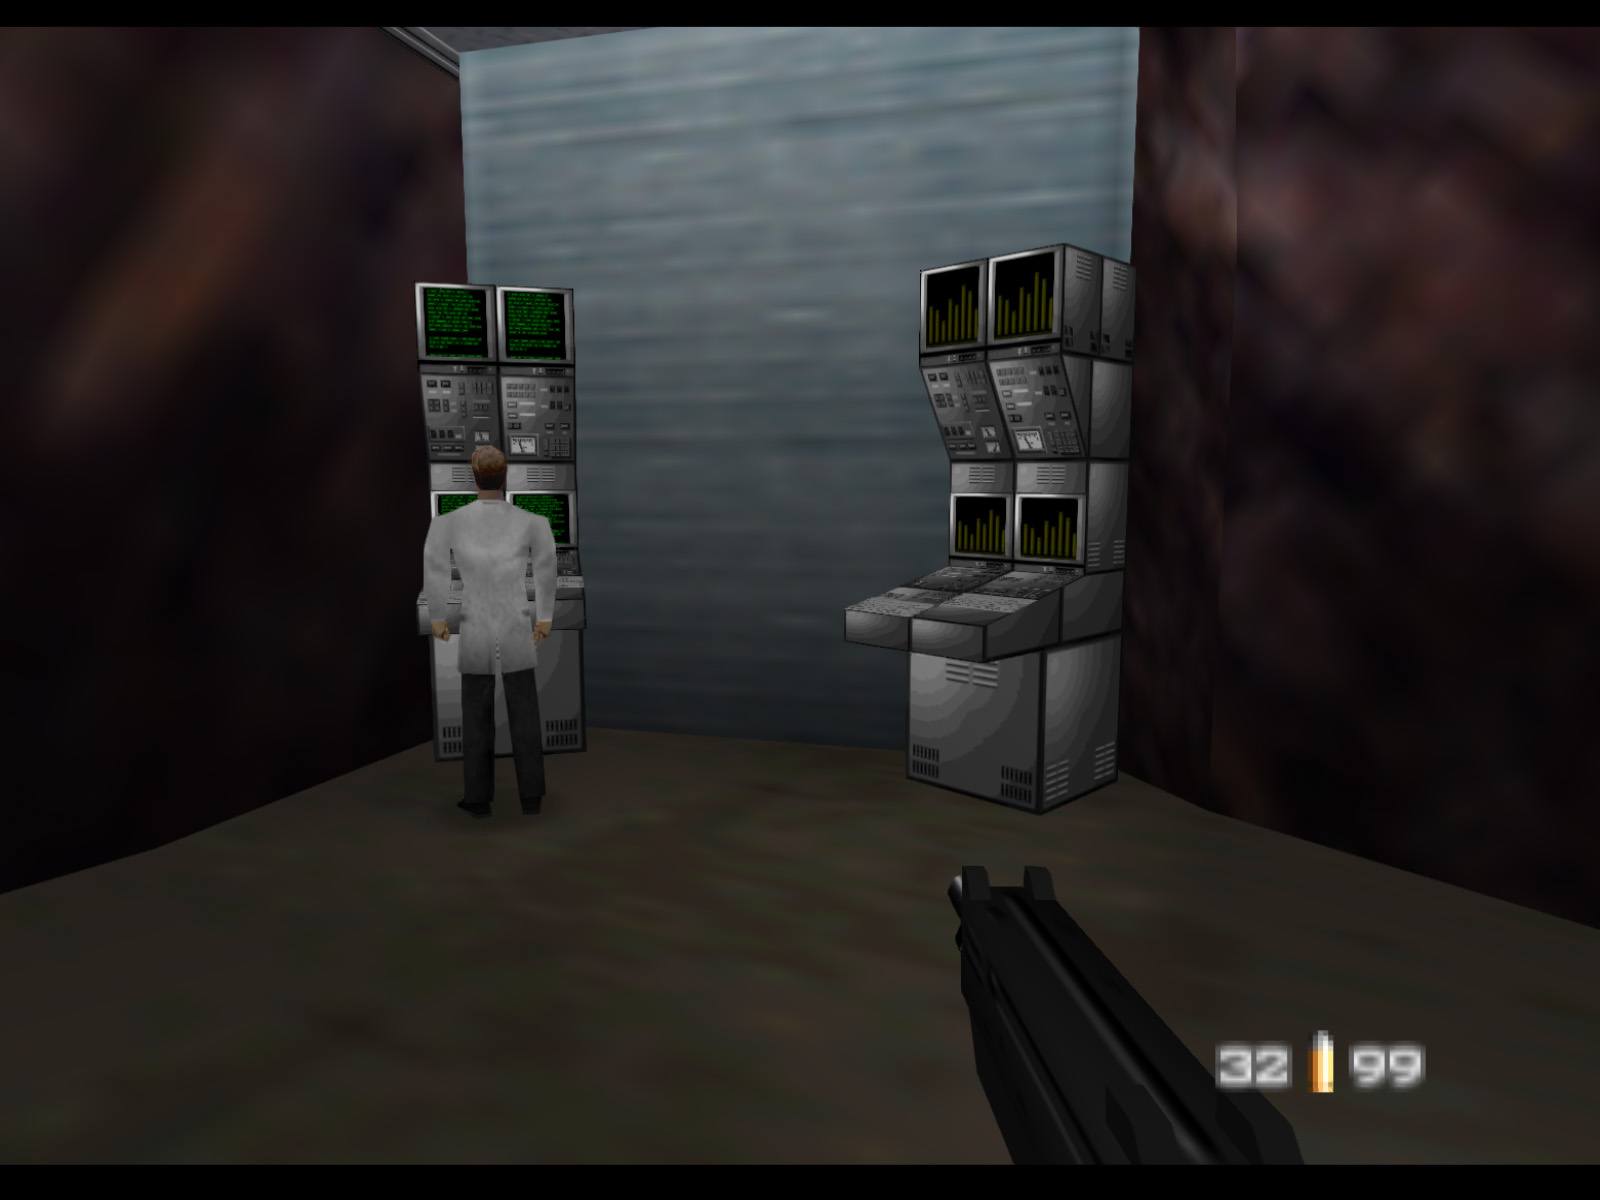
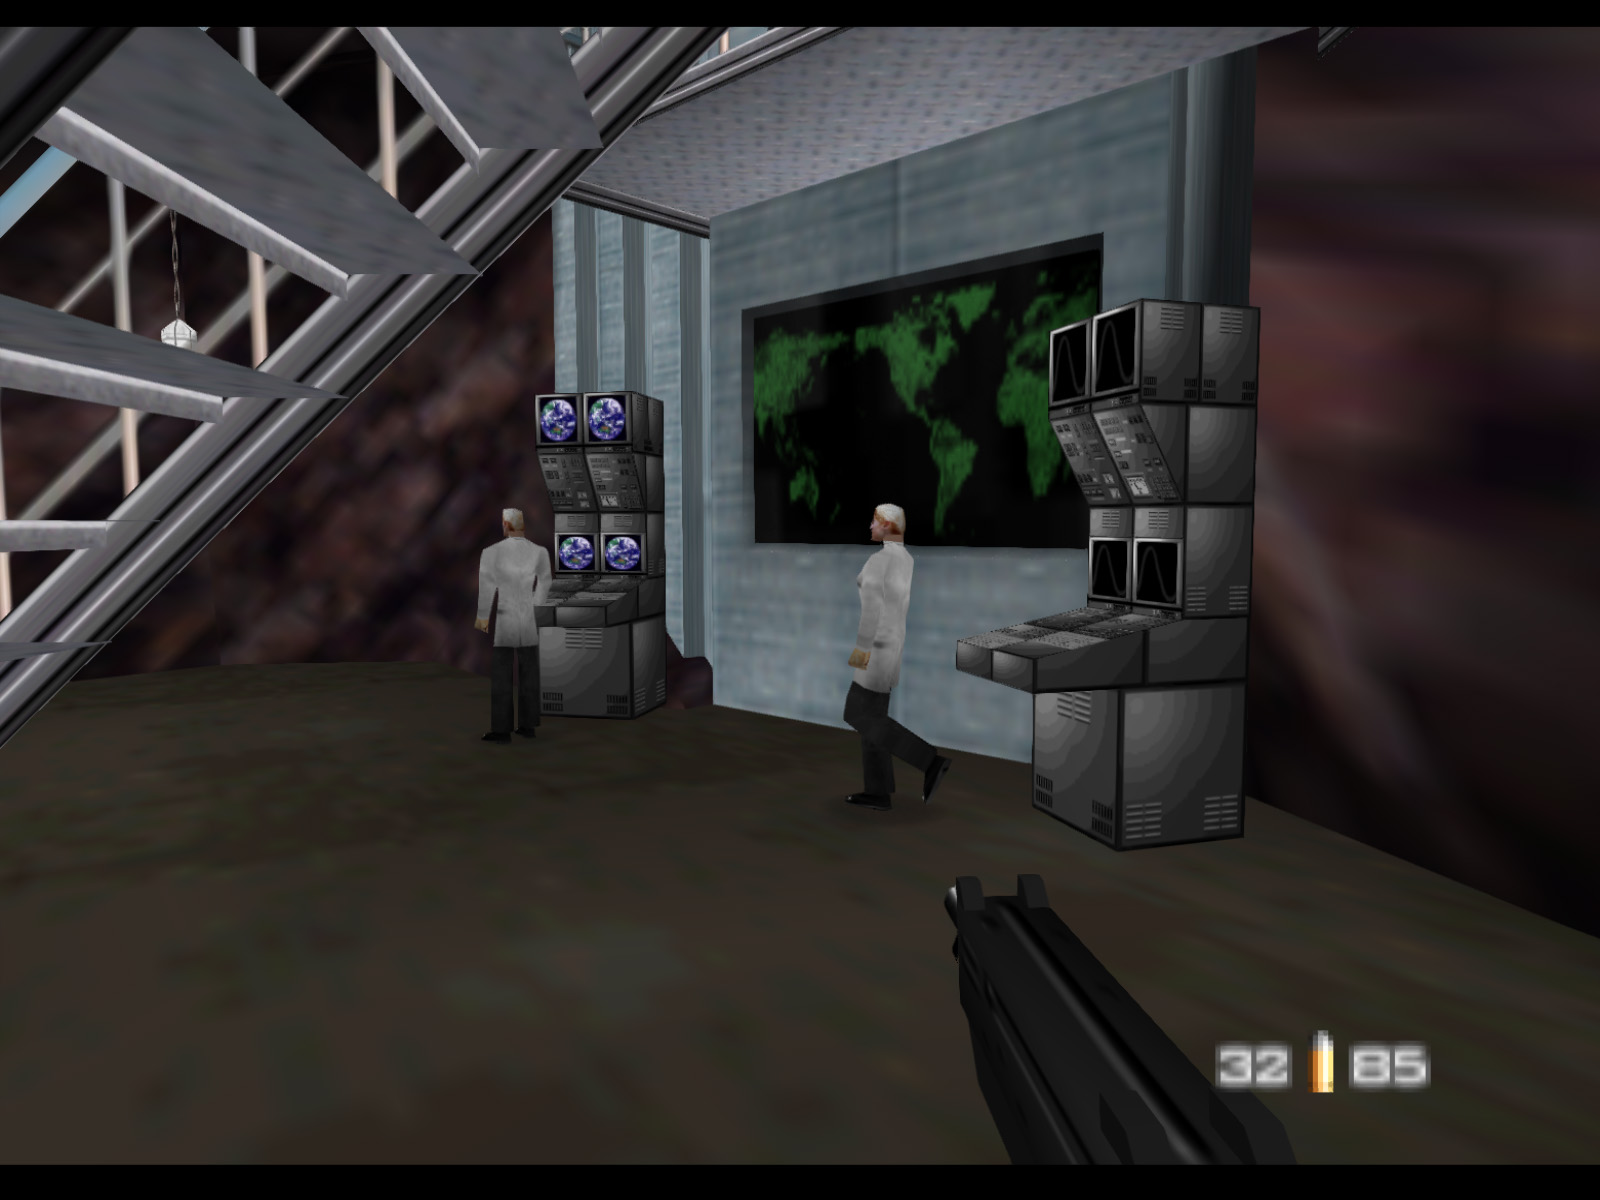
This is the second pair of Inlet Pump Controls. You have to destroy the consoles, but not the video screen. Again, watch out for the scientists because they like to wander into explosions.
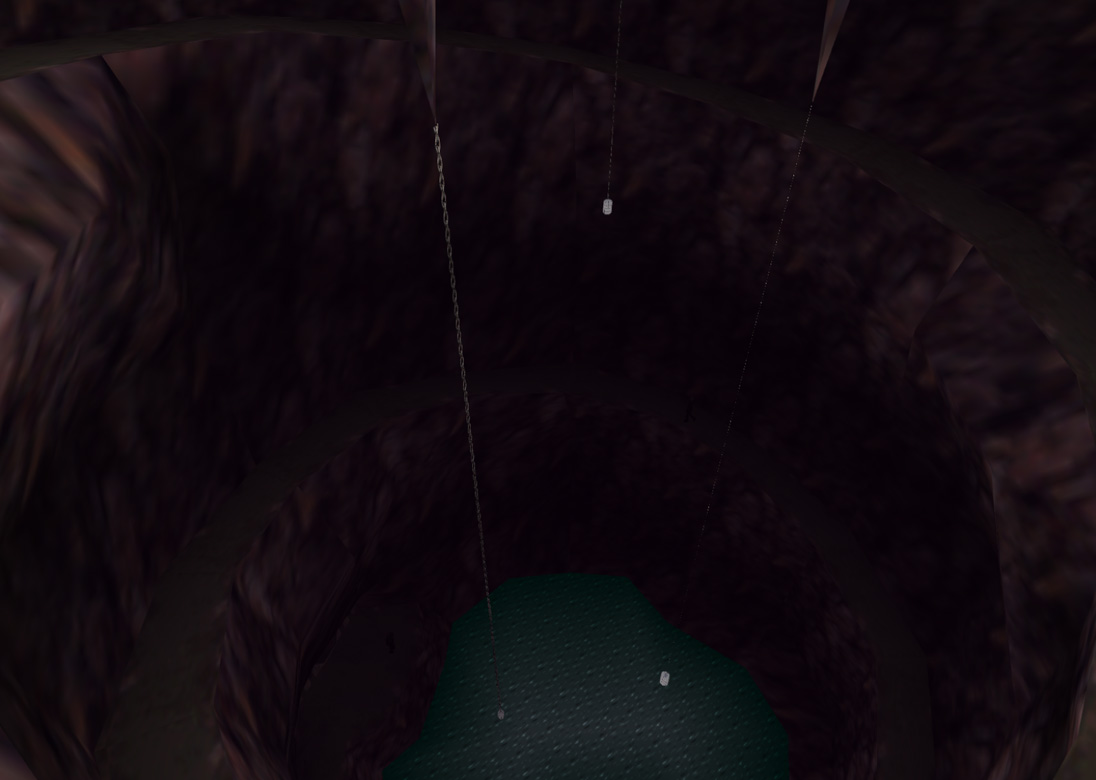
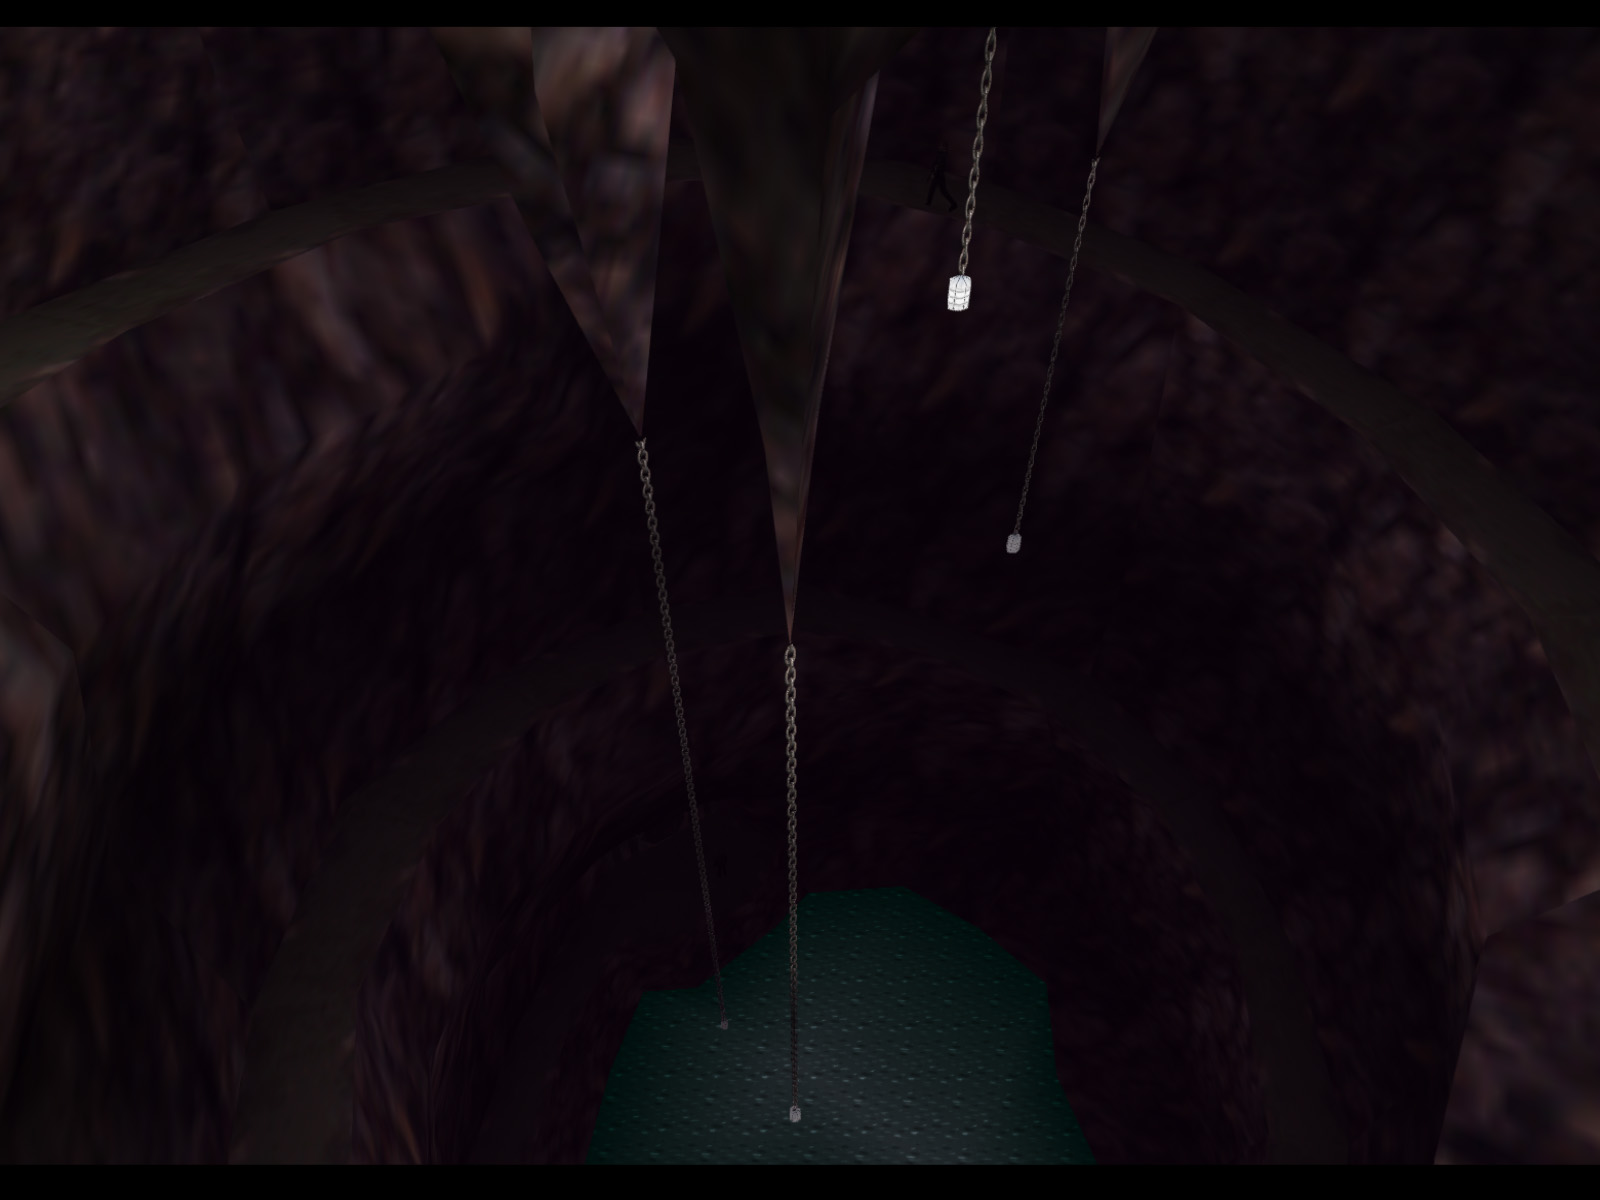
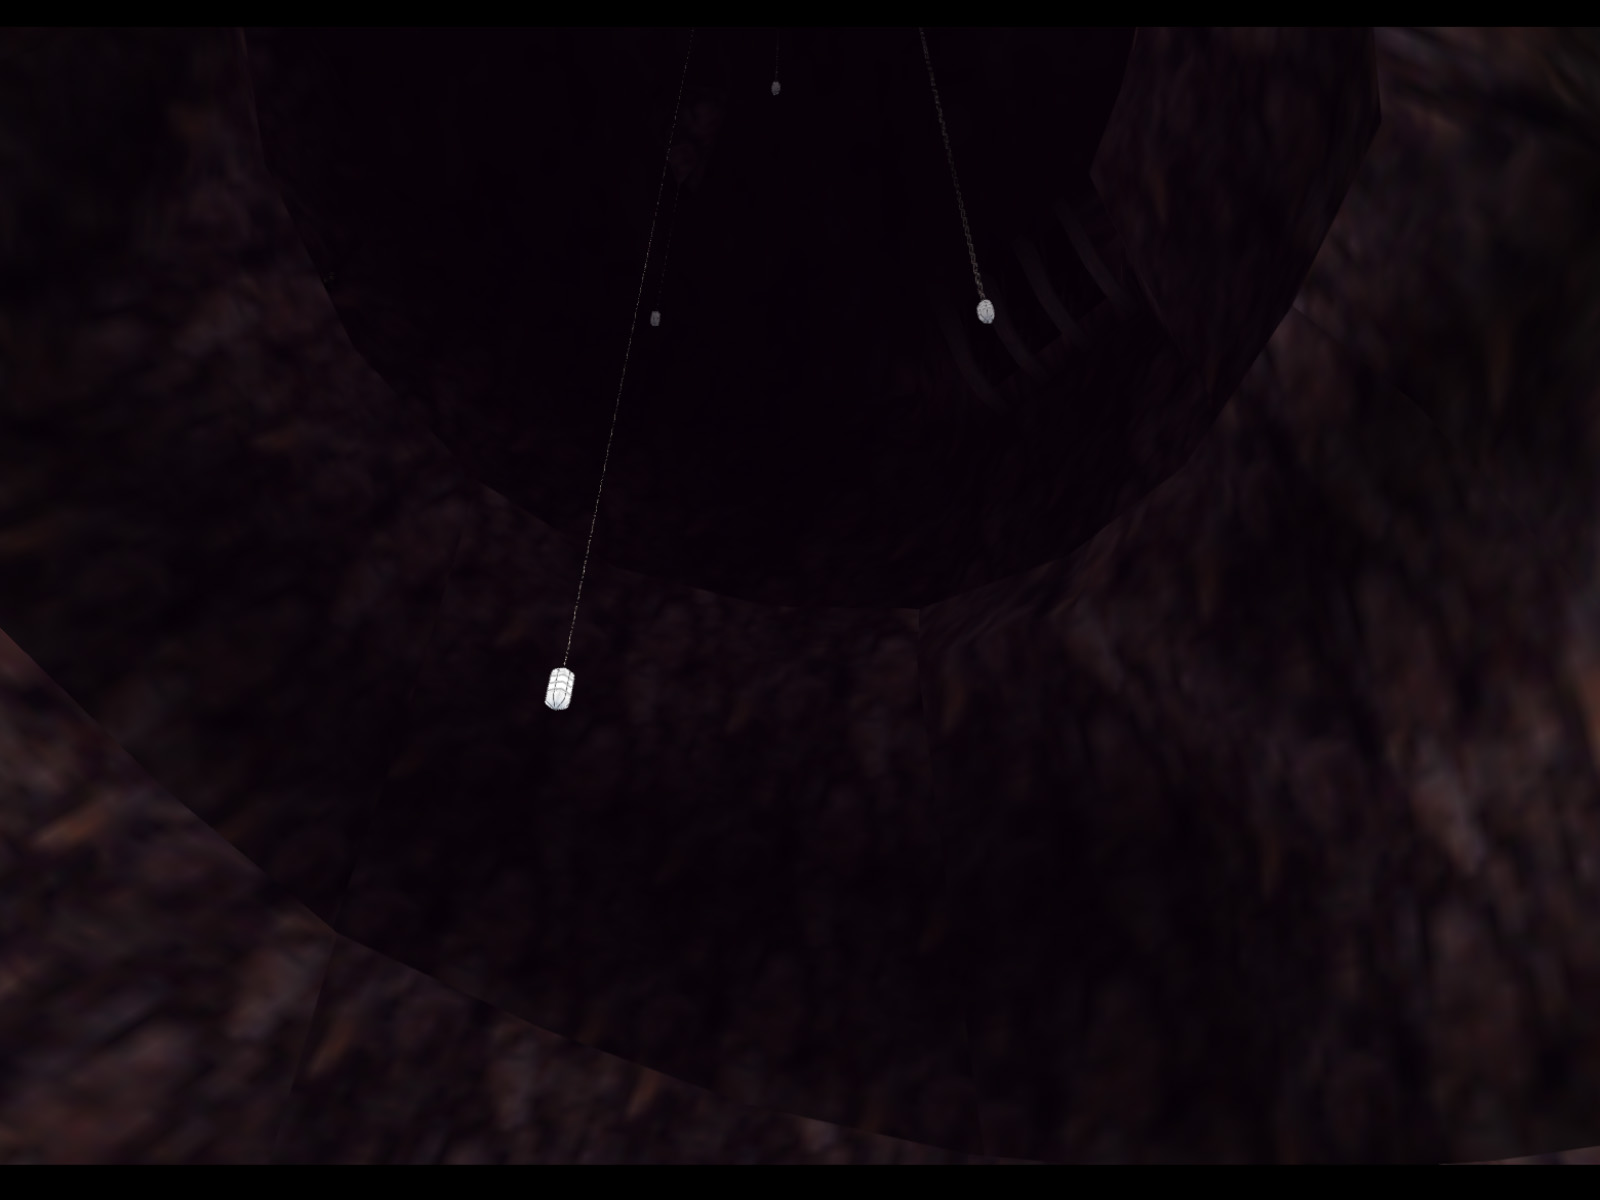
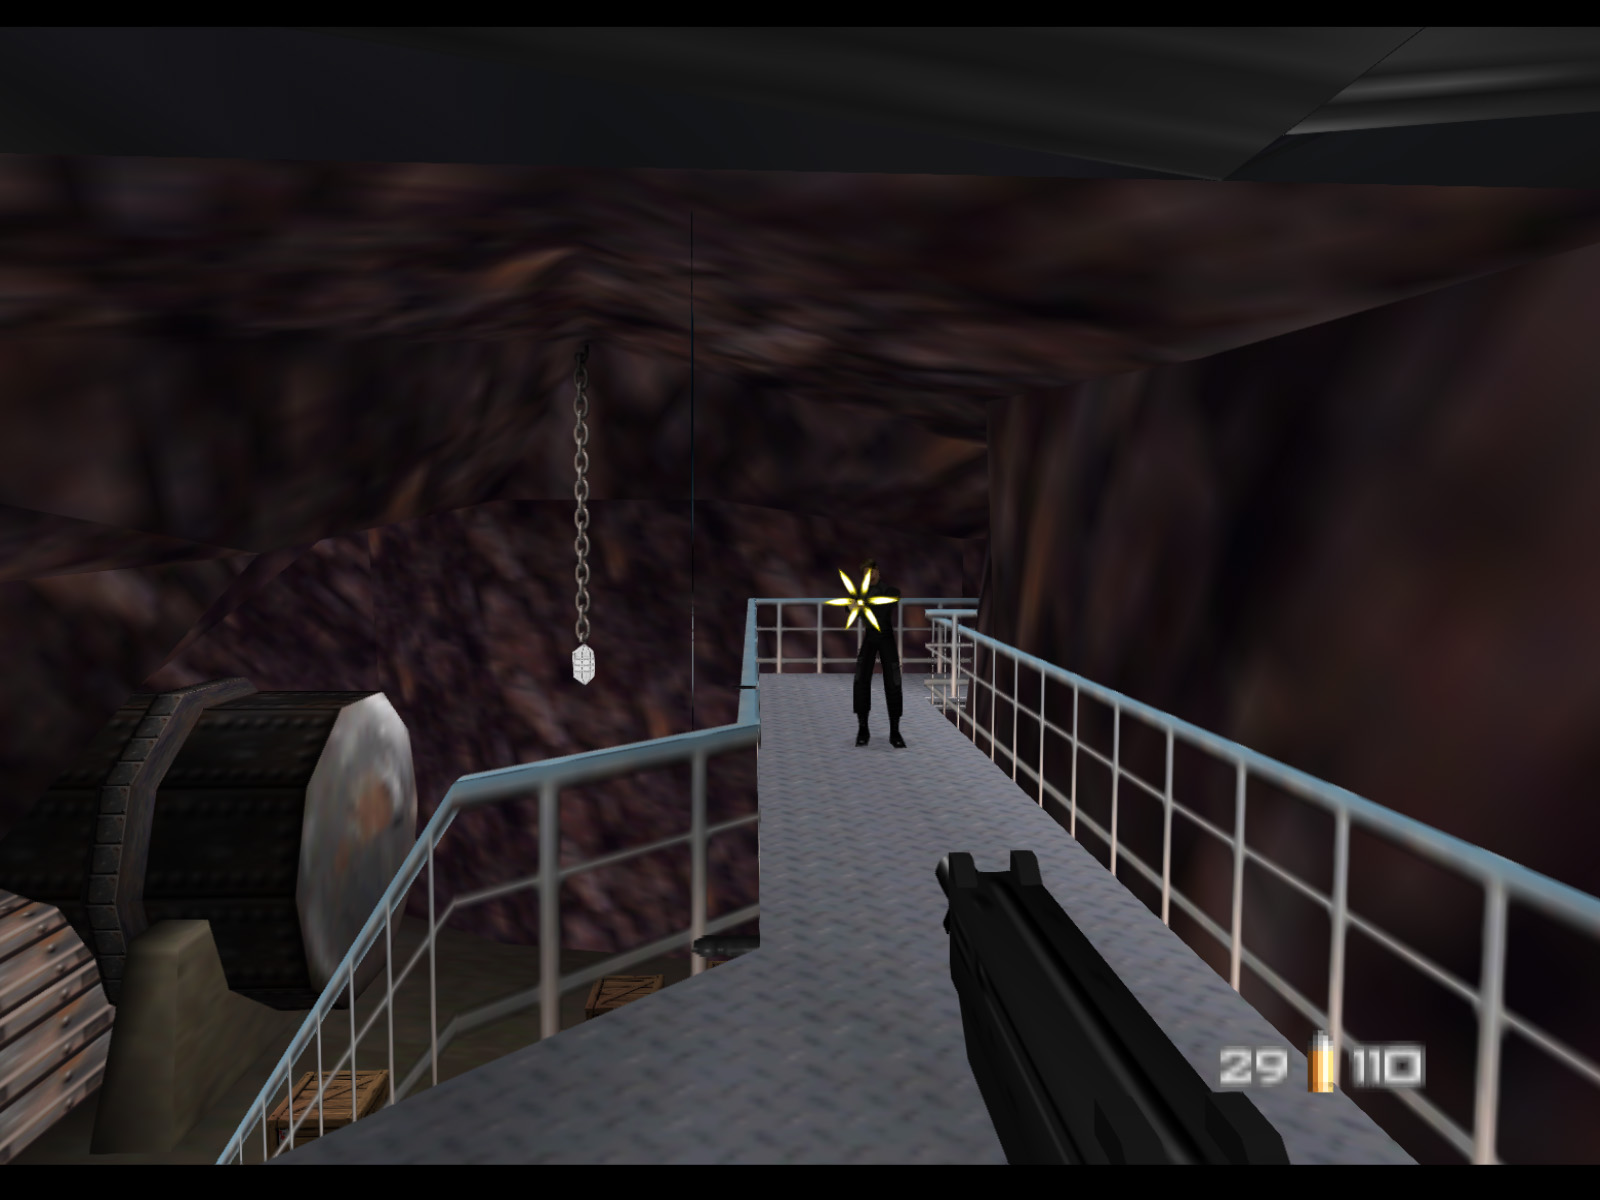
The next cavern is enormous. A spiral ramp winds its way around the perimeter up to the top.
Two Janus Special Forces patrol the ramp.
Another enemy stands here at the top.
▶ TIP: There are a lot of guards in this next chamber. You might consider tossing a Timed Mine to clear the ones next to the door.

Proceeding through the chamber. Remember that these crates have ammo in them.
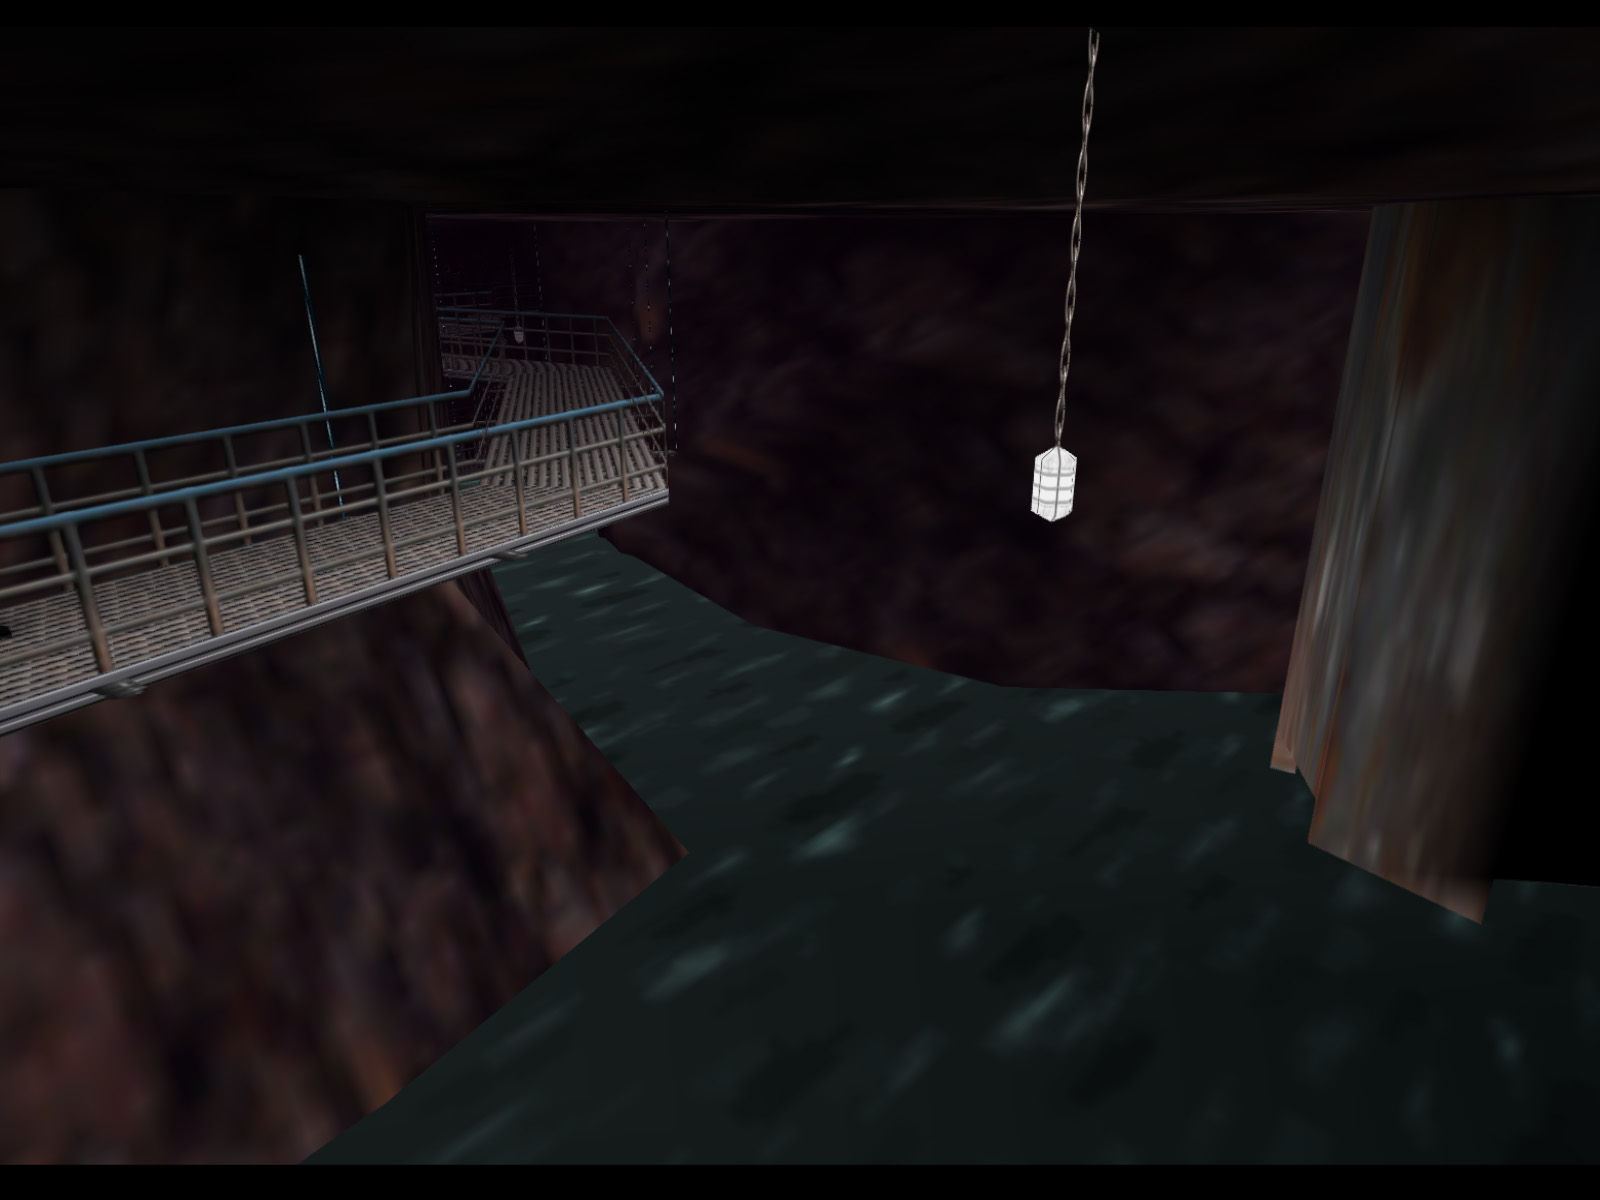
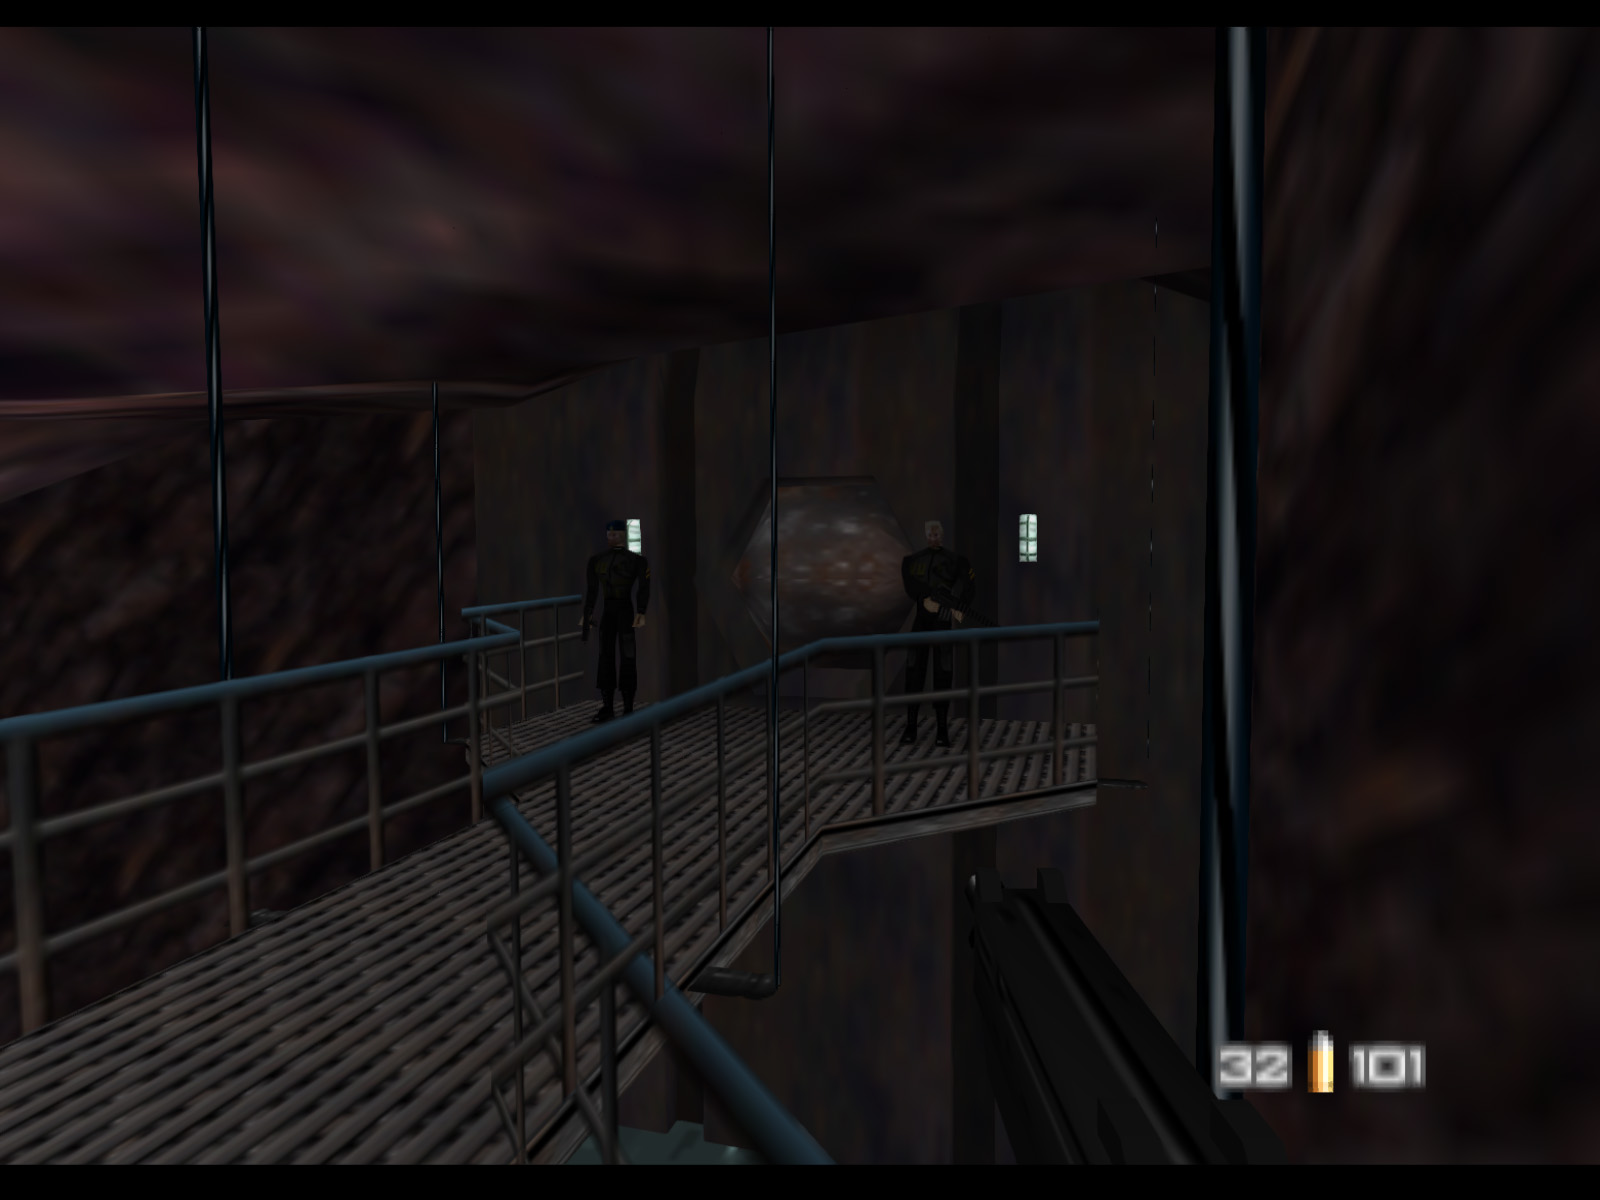
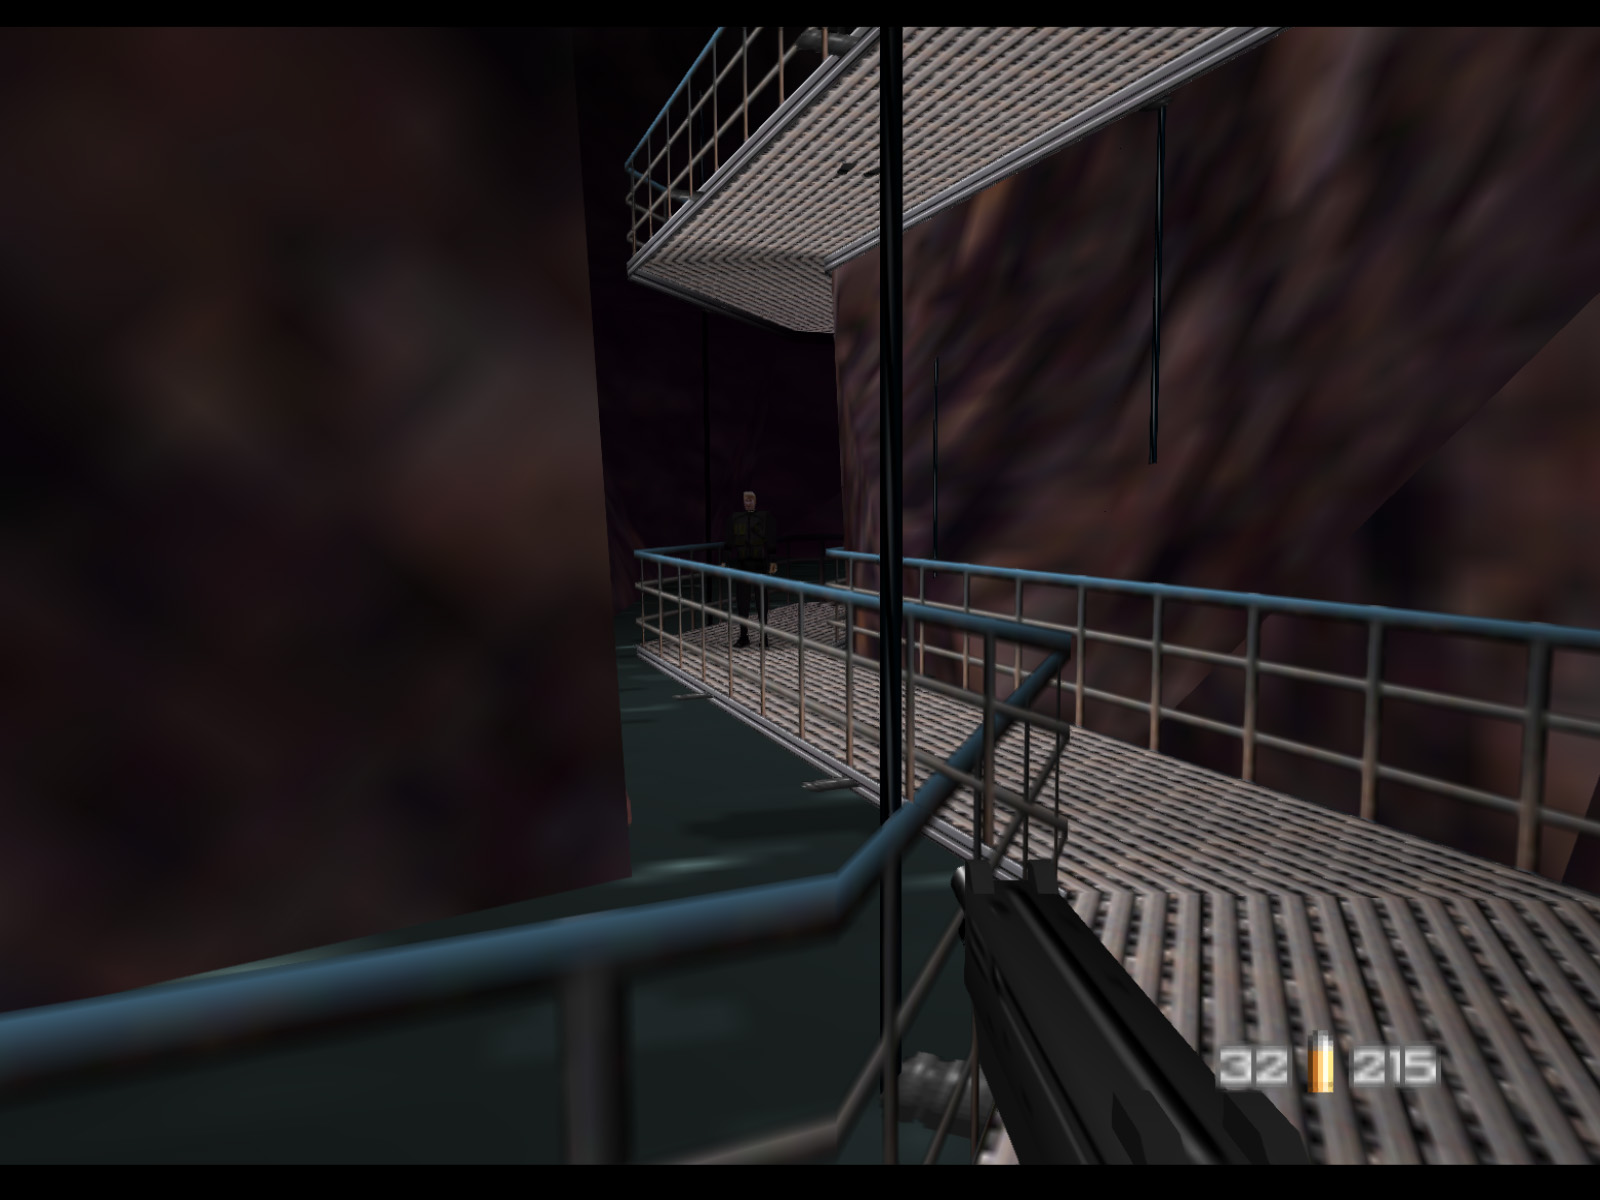
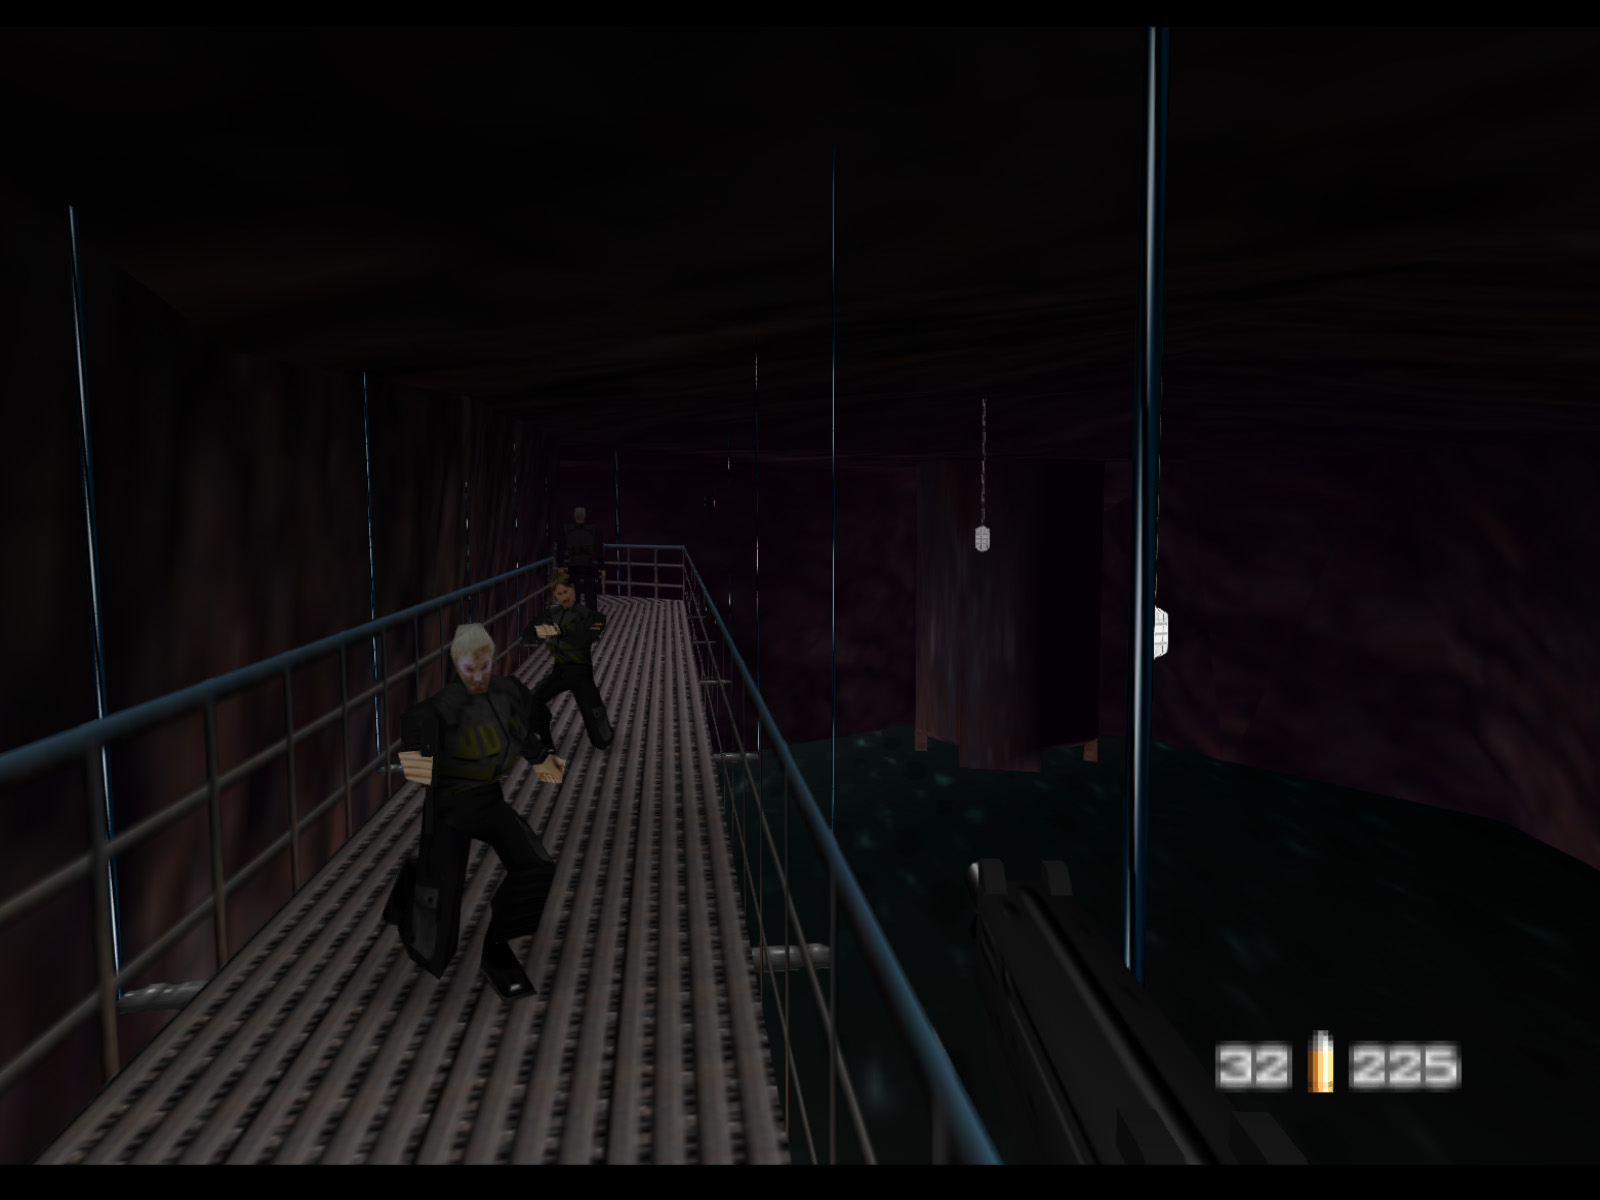
Now comes the largest water cavern. Double deck catwalks span this section.
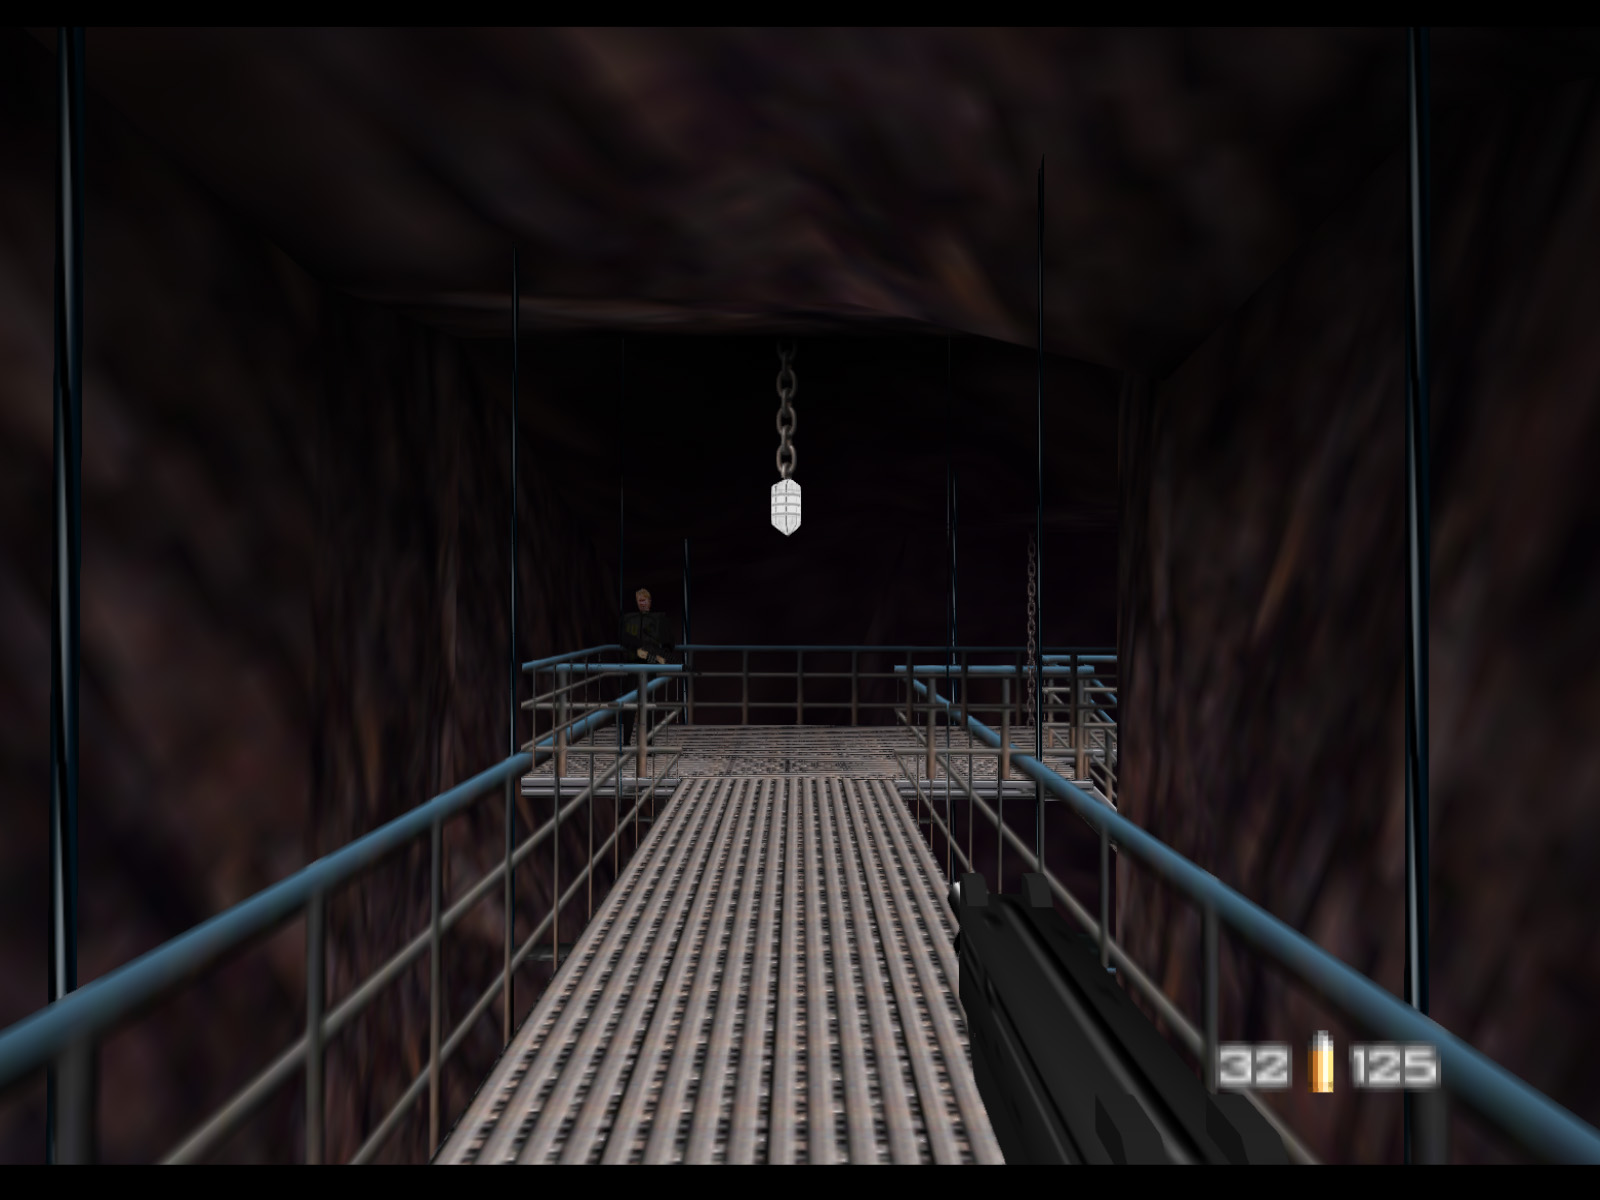

You can go down the stairs or stay on the top level. For this tour we'll go down.
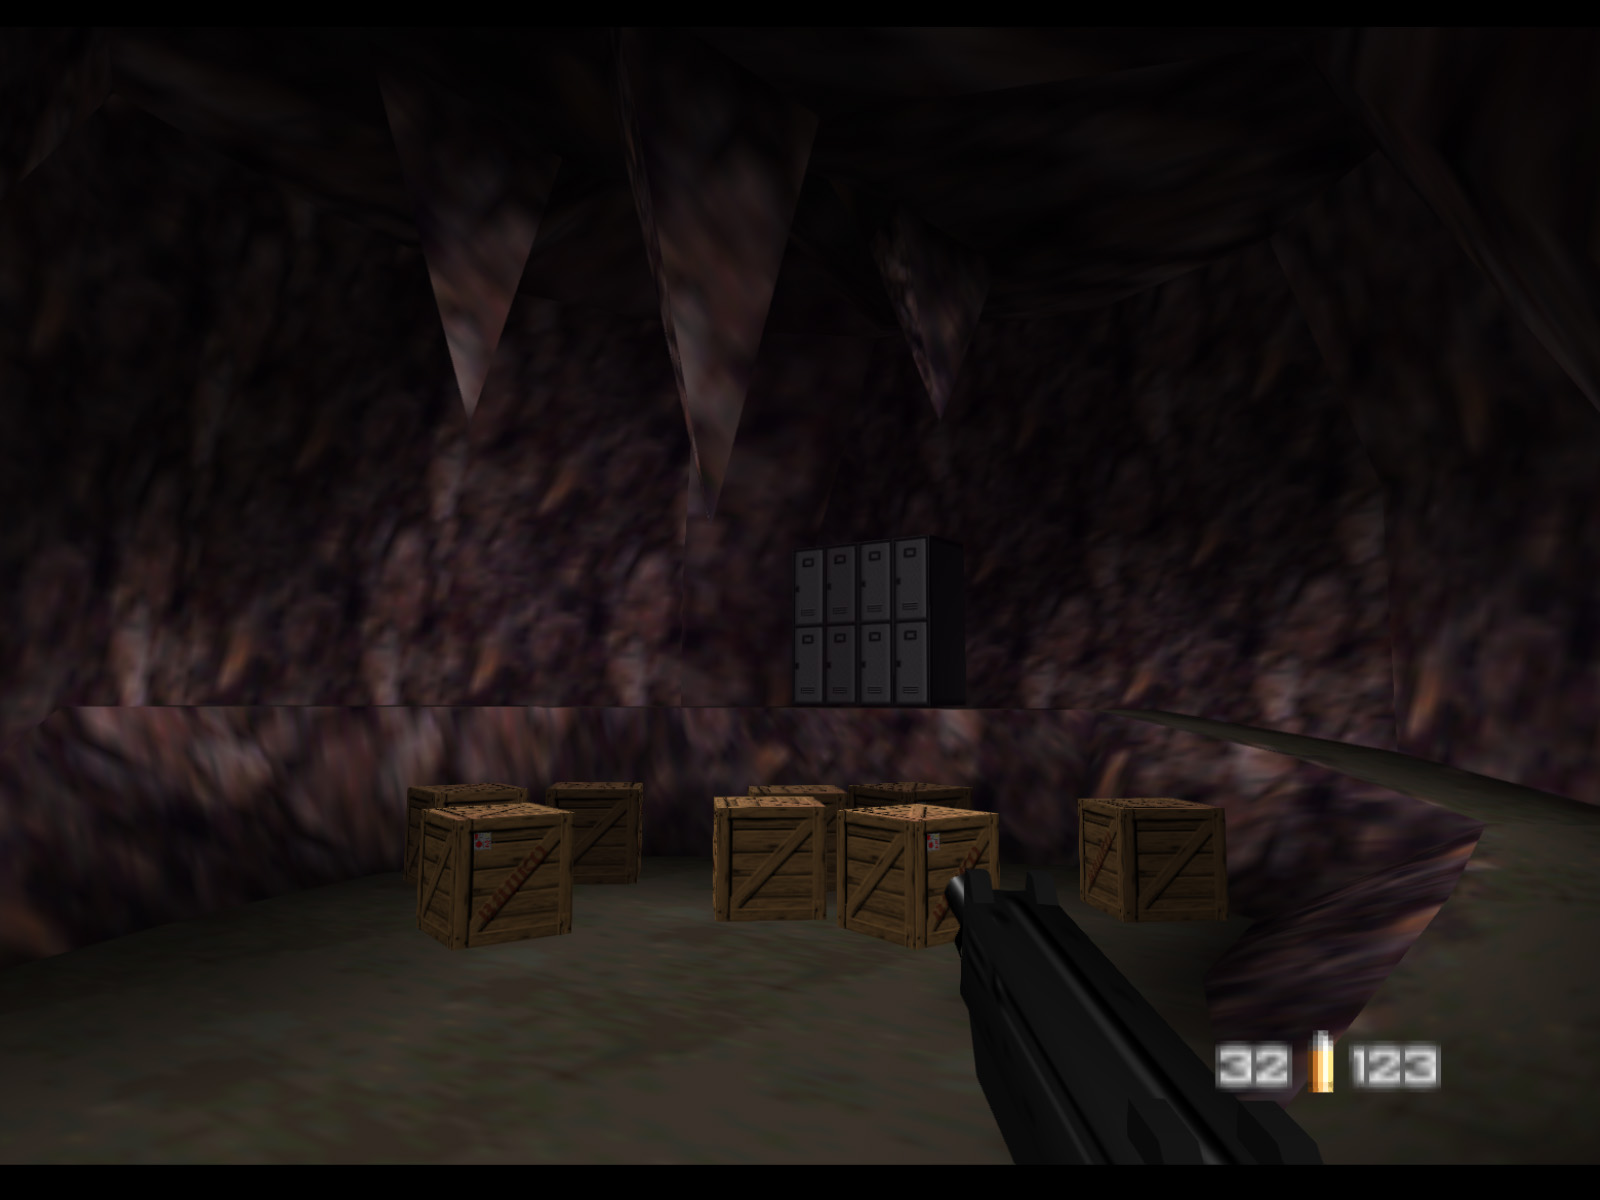
After you reach the bottom of the stairs do a 180 degree turn and follow the catwalk to this chamber. There's a lot of ammo in these boxes.
▶ TIP: There is a secret passage behind the lockers. Destroy them to access it.
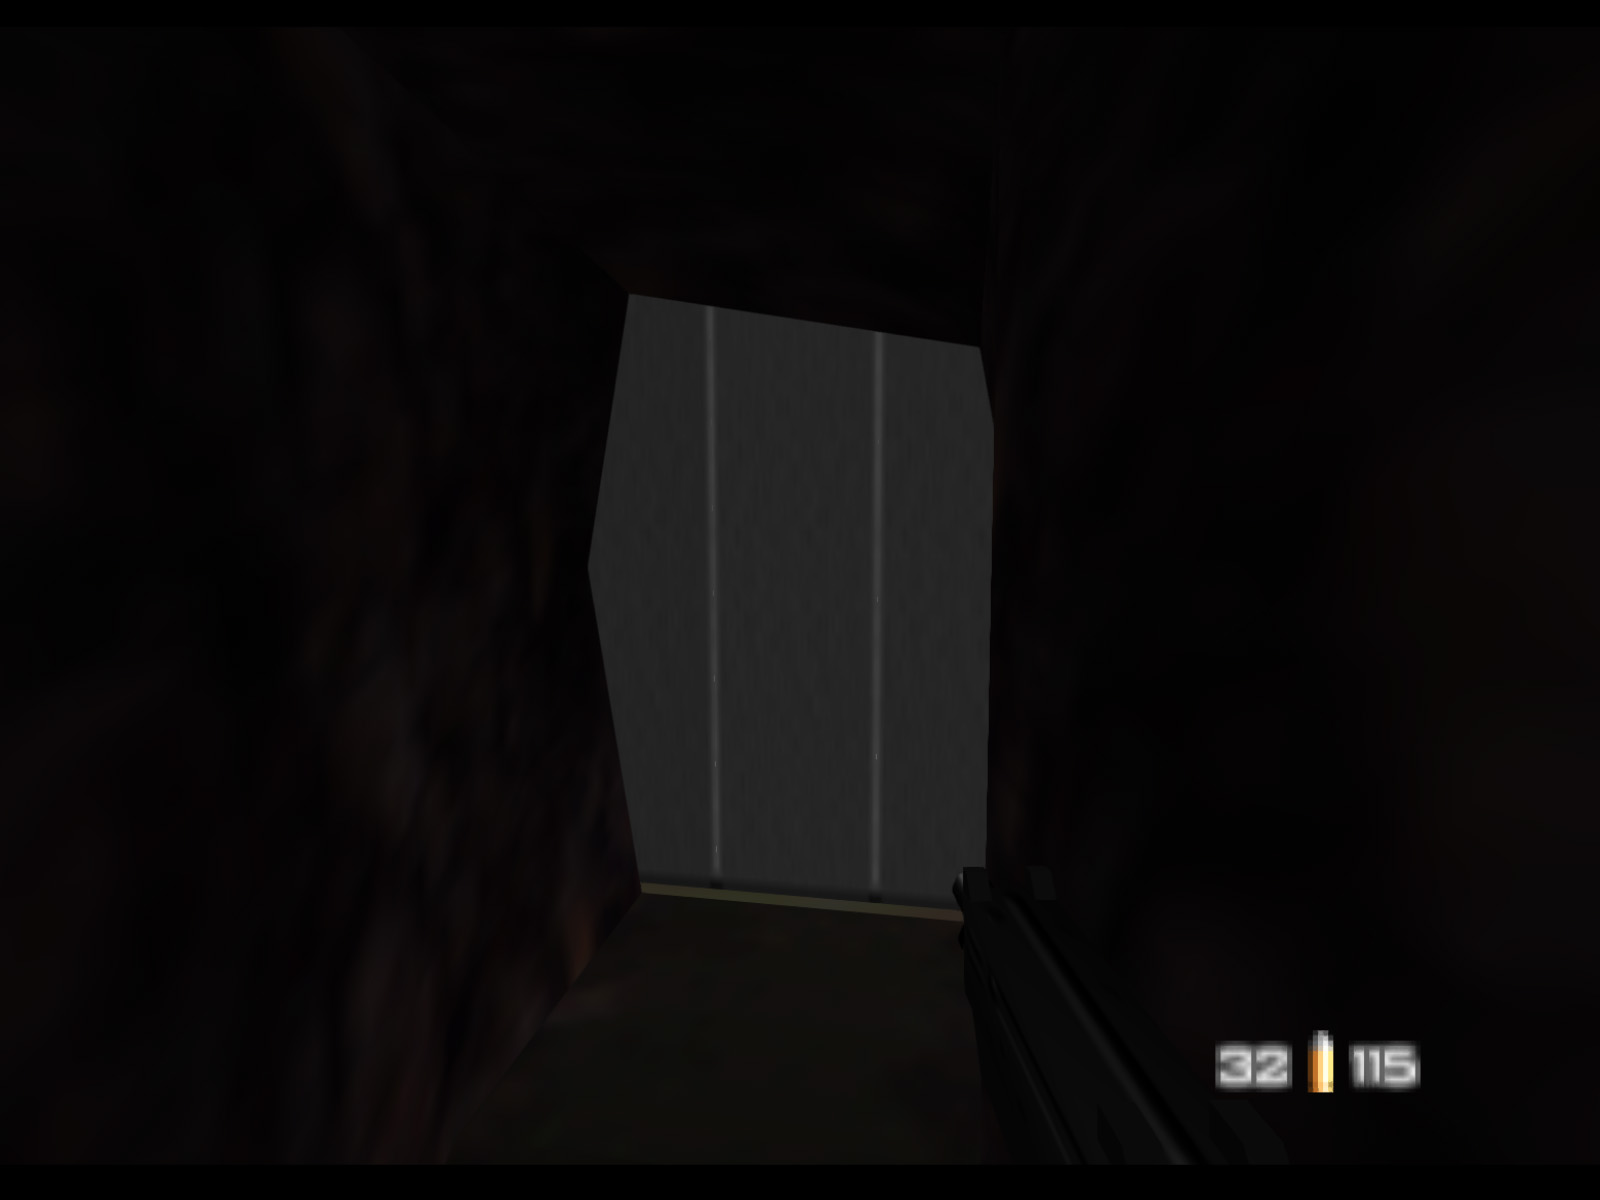
The secret passage ends in another set of lockers. You can destroy them and enter the next room. We're going to backtrack to explore the rest of the catwalks though.
This is forward from those stairs we went down earlier. You can abuse guard line of sight to take headshots without them seeing you.
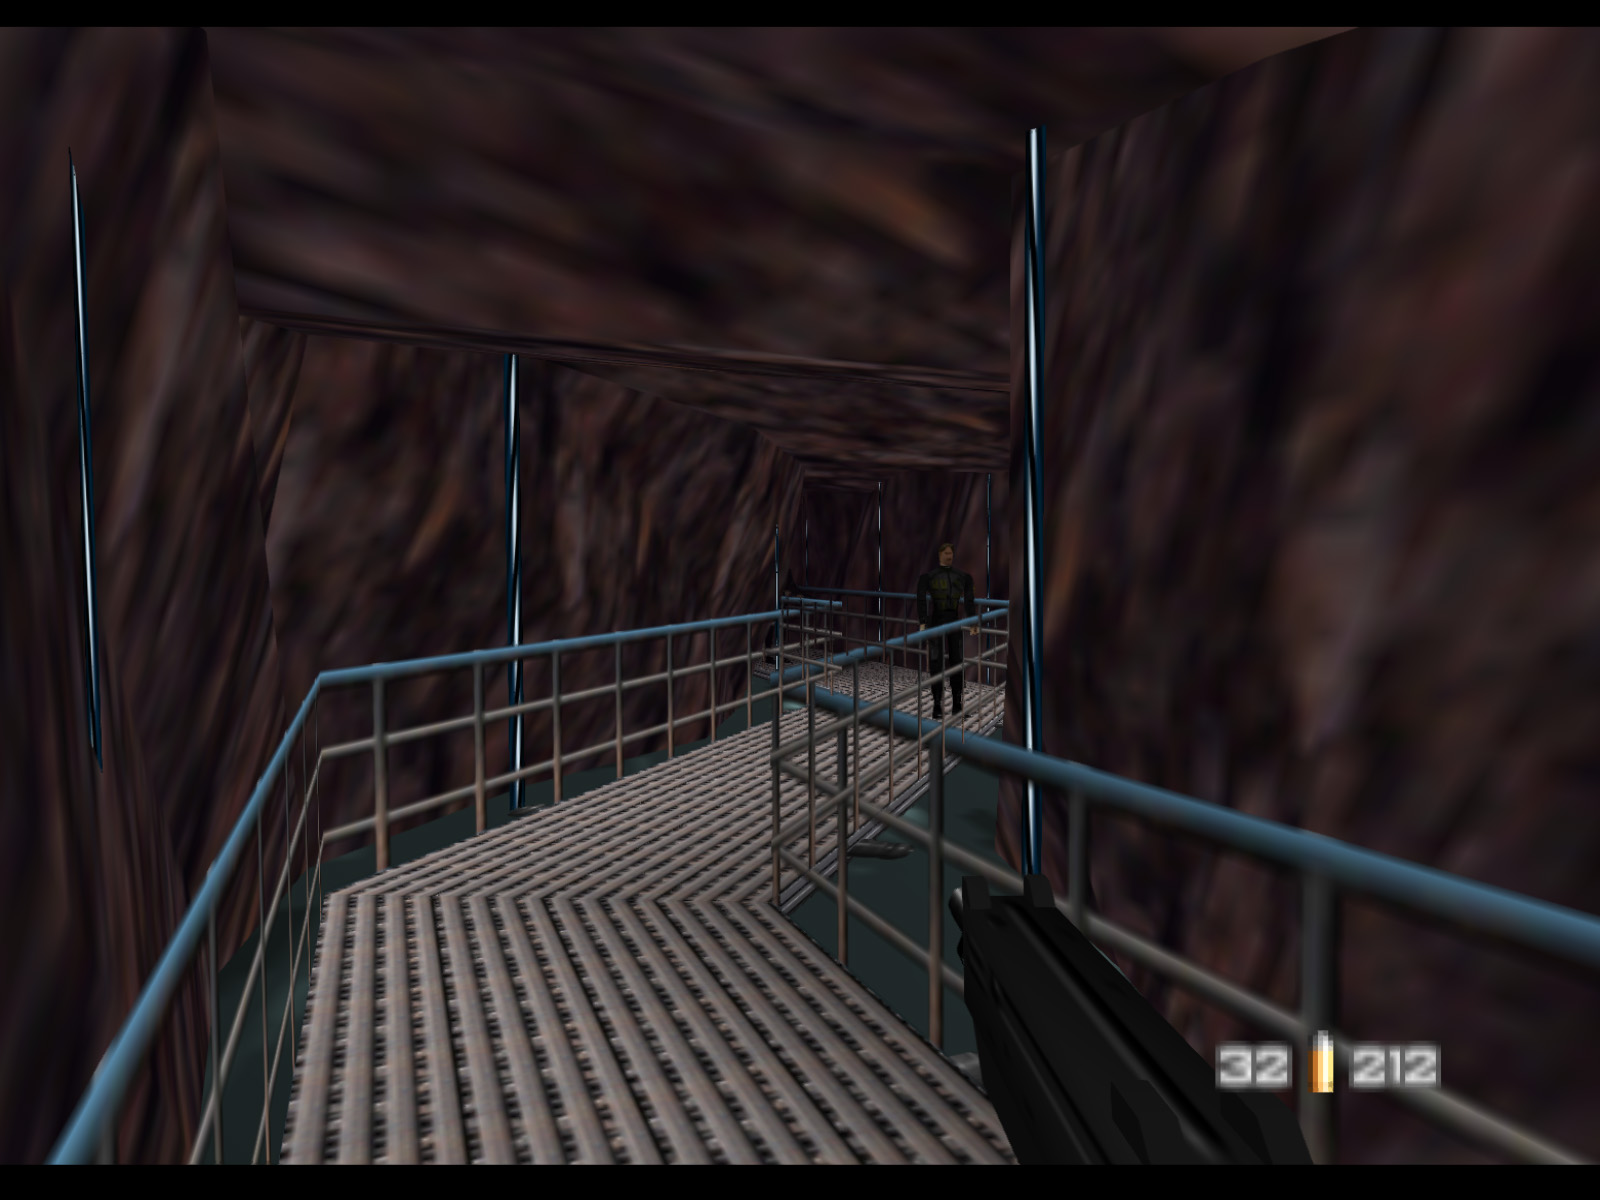
Continuing down the lower catwalks.
These stairs take you to the upper catwalk. I don't actually recommend going this way because the guards at the top of the stairs can shoot you when you cannot shoot them. I would suggest taking the upper catwalks.
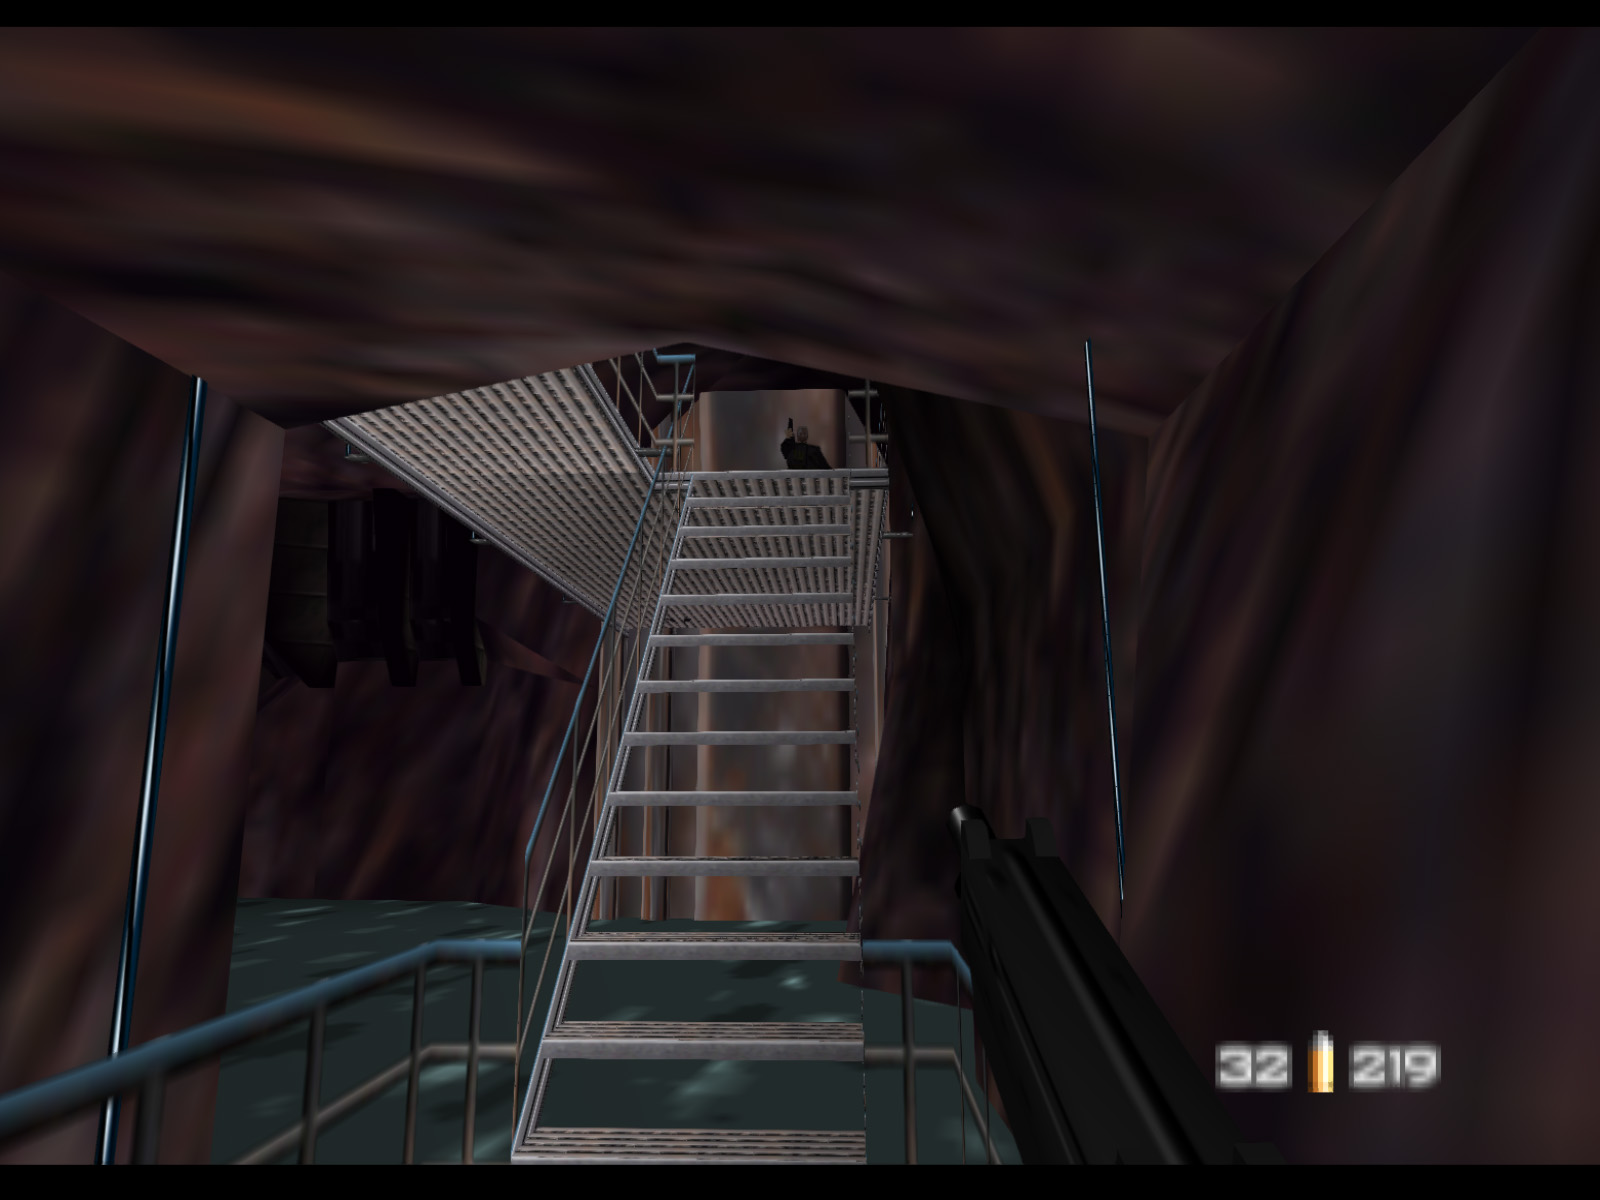
The guard at the top of the stairs drops Code Card C which is a keycard that opens the blast door to the level's exit. We'll need other keycards before we can get there.
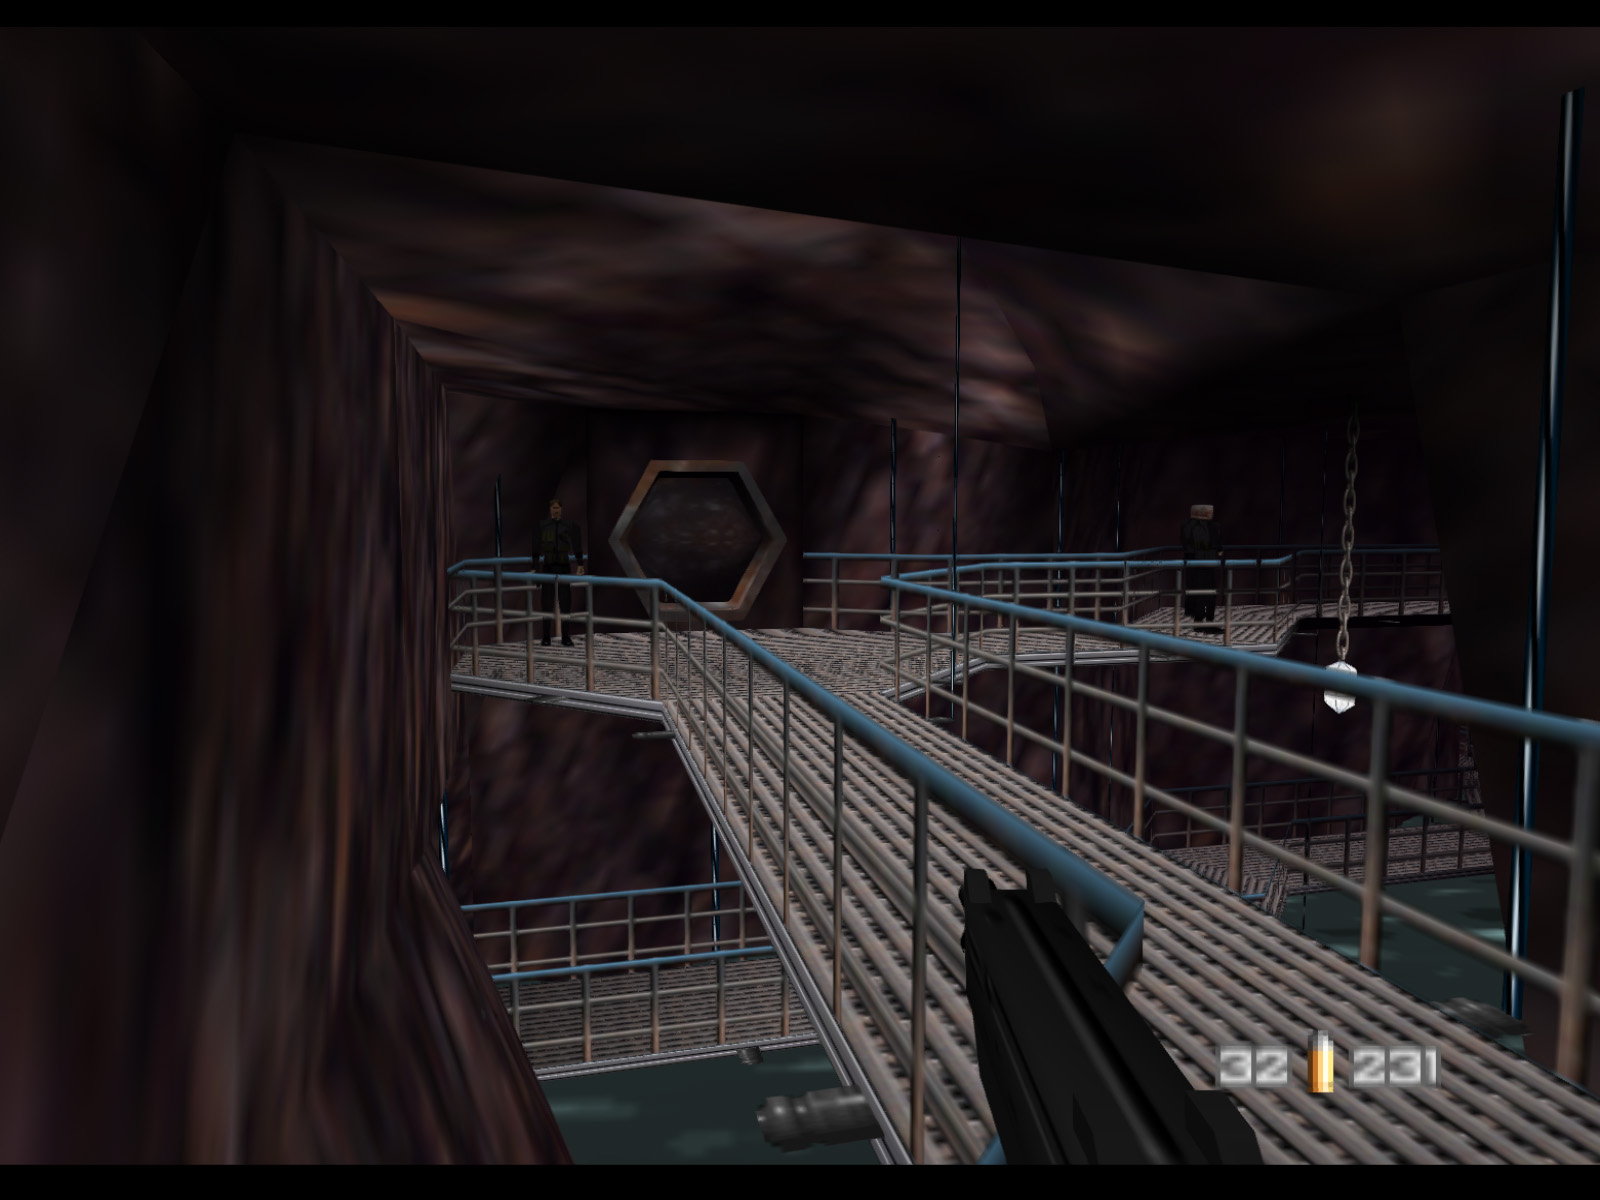
The watertight doors in the center of this screenshot lead to the Master Pump Control Room, but we won't go there yet.
Instead we will travel along the upper catwalks and head for the Outlet Pump Control Room.
Here's the door to the Outlet Pump Controls.
This cavern has many Janus Special Forces and even a Drone Gun.
This is the outlet pump and the Outlet Pump Controls. You have to destroy all four consoles to complete Objective B.
The guard in the navy beret has Code Card A which allows you to open the blast door in the Main Control Room.
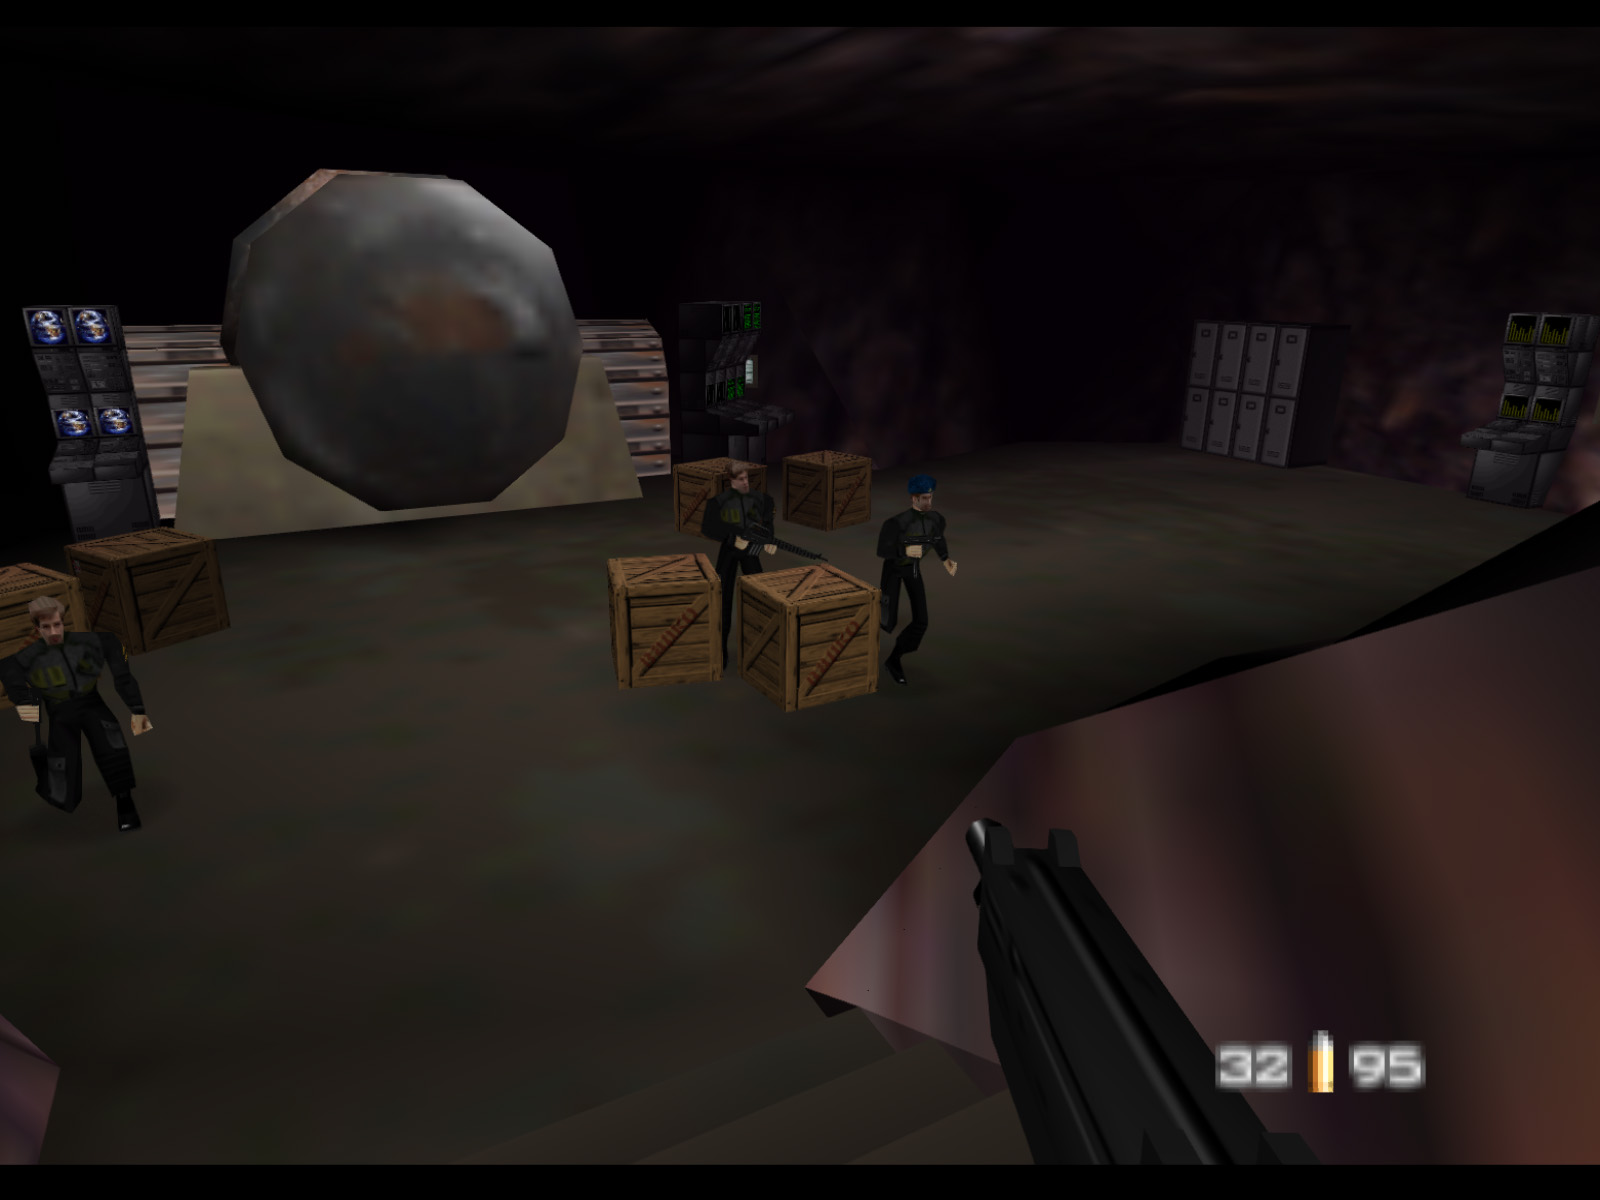
Now it's time to head back to the Master Pump Control Room. This room has some very tough guards. There's a Janus Special Forces with a navy beret who carries a RC-P90 and Code Card B which opens the blast door back in the Outlet Pump Room.
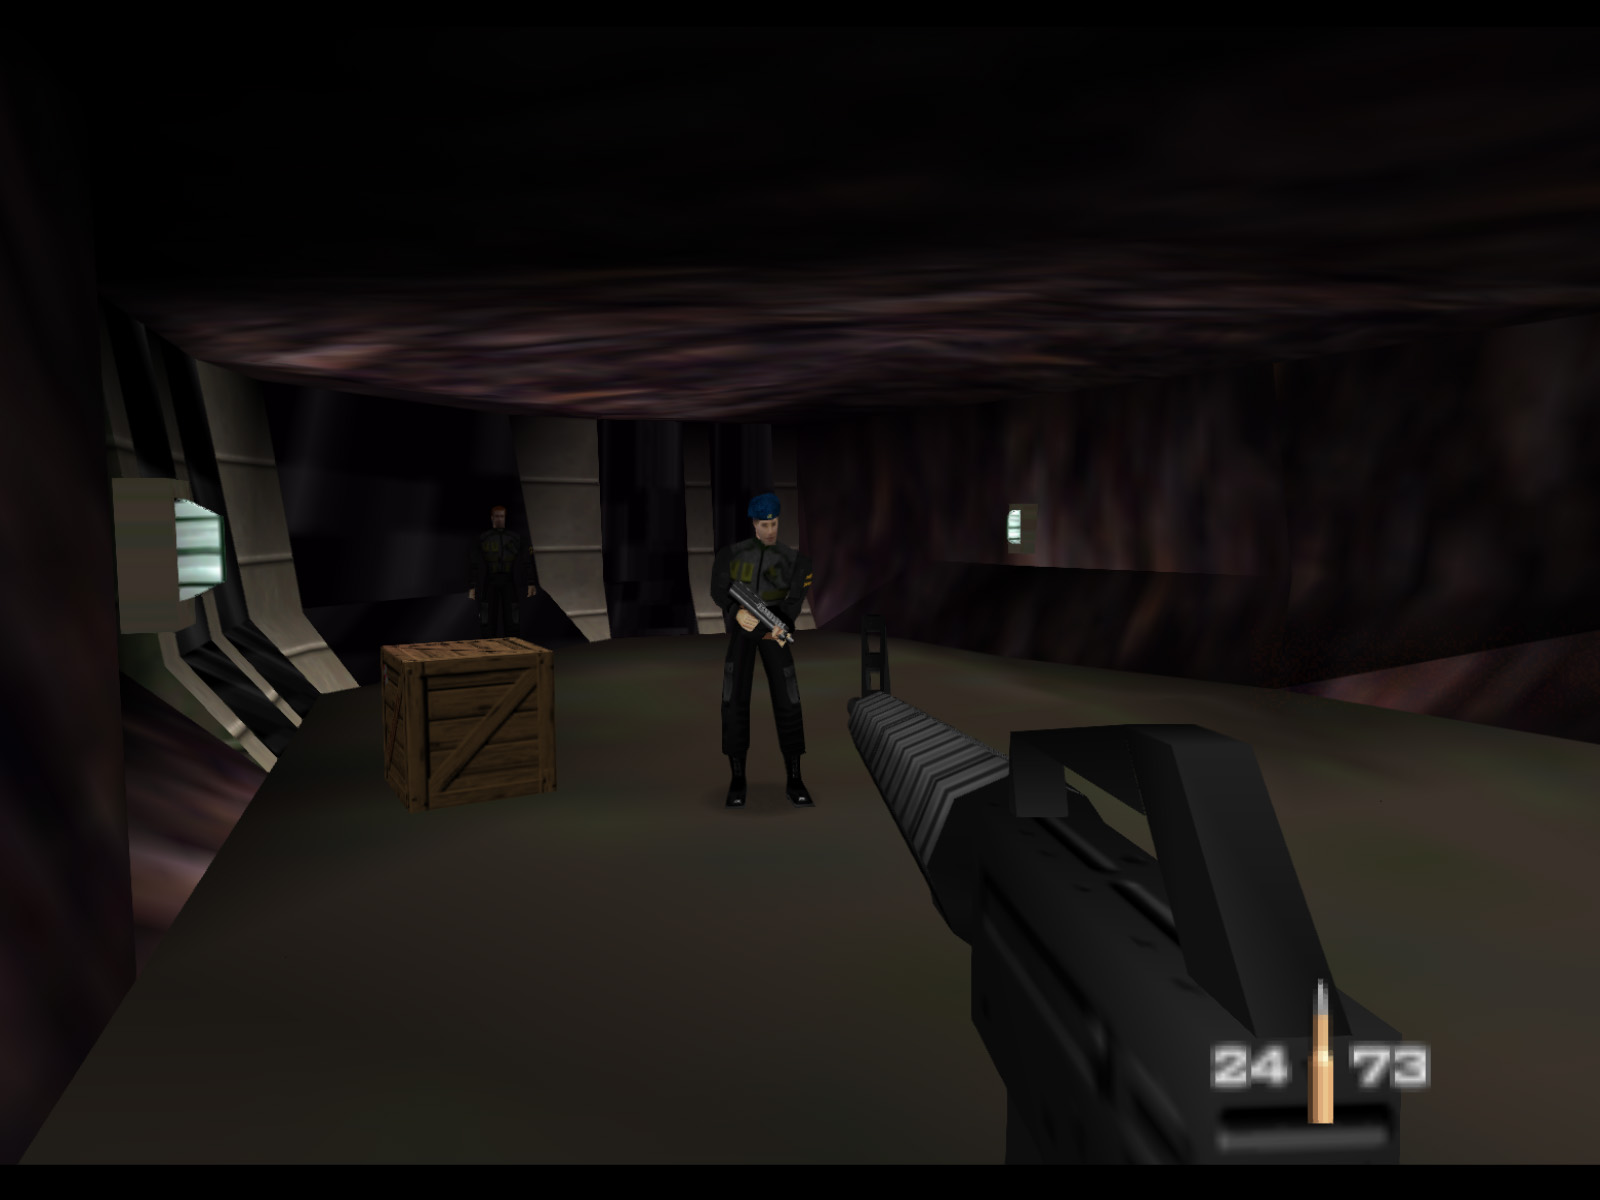

This room has both the Master Pump Controls and the Radio. The guards in here like to spam Grenades and they can blow themselves up along with the Scientists and all the equipment. It's really a very devilish design on behalf of the developers. I like to do quick peeks with the PP7 and go for headshots. Be very careful not to detonate those oil drums.
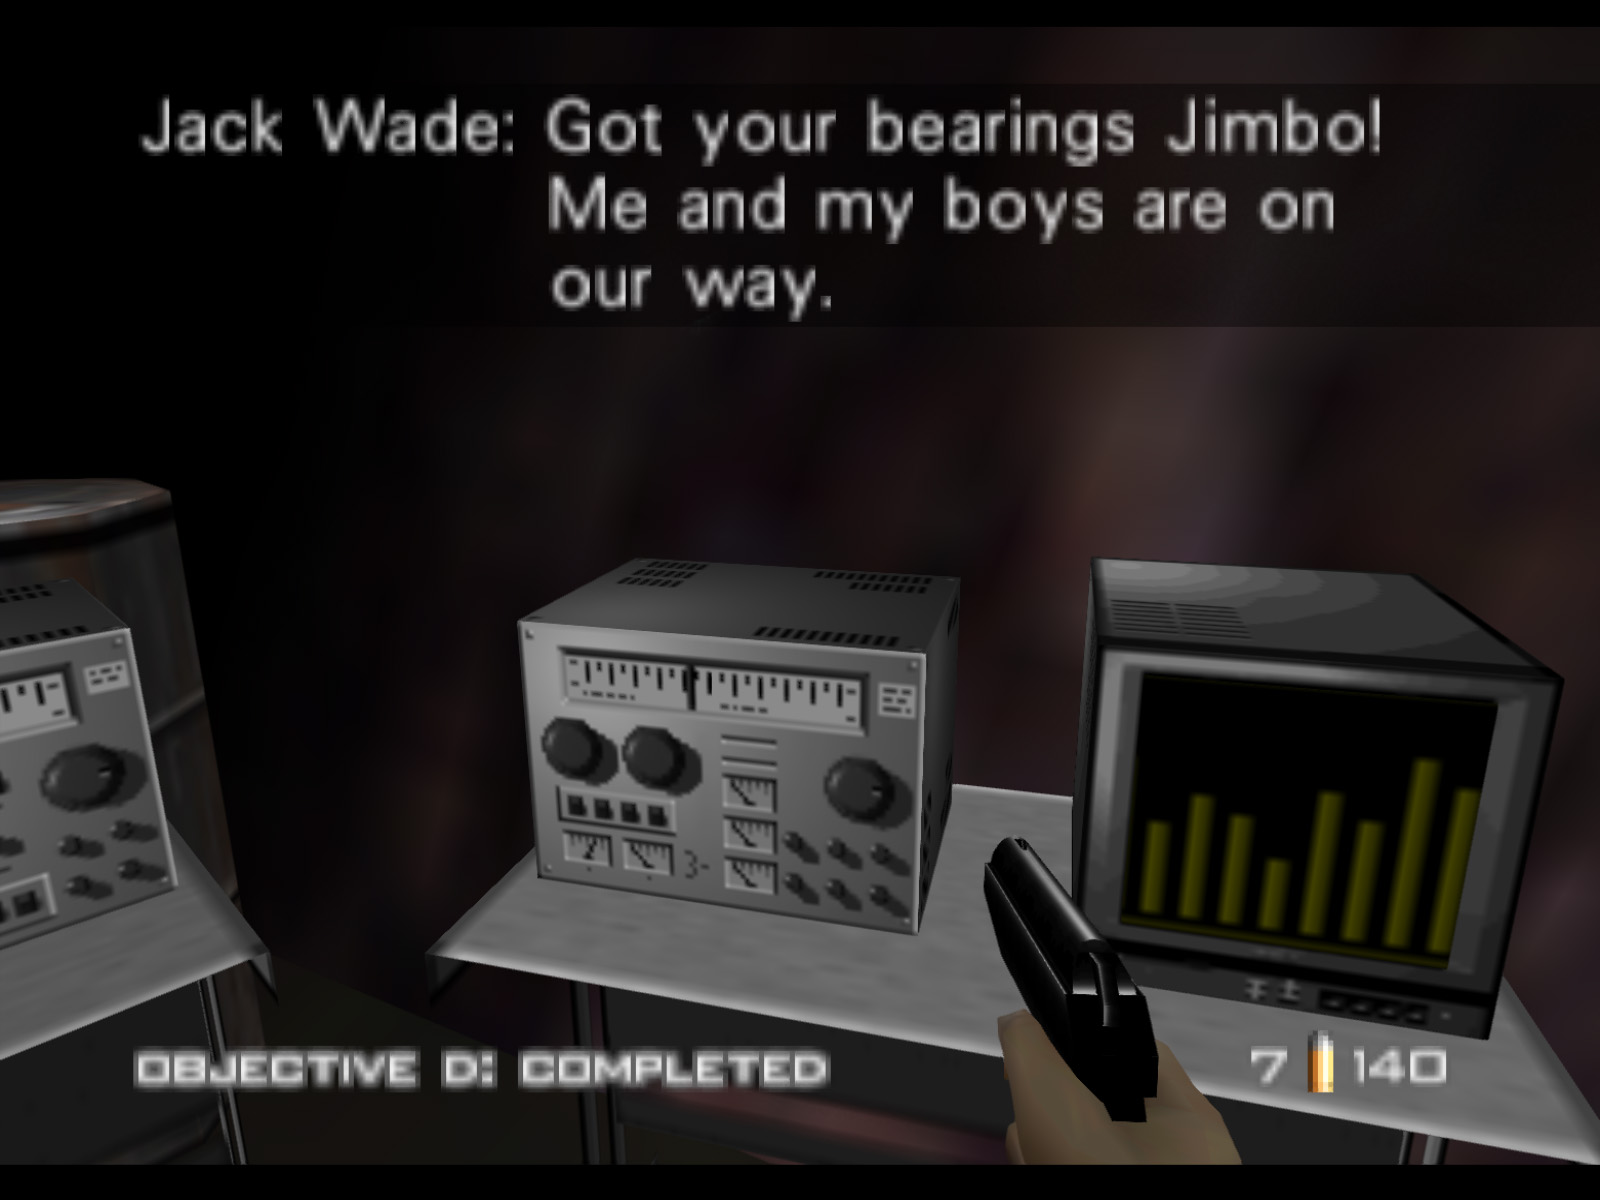
Once the area is cleared you can press B at the Radio to complete Objective D.

Now we can enjoy some fireworks. Blow up that stack of oil drums and enjoy the show as the Master Pump Controls explode and you complete Objective C.
Here is the other side of the Master Pump Control Room.
If you shoot out the glass you can see another water cavern. The dark brown tunnel on the right leads to the end of the level. This is really cool detail!
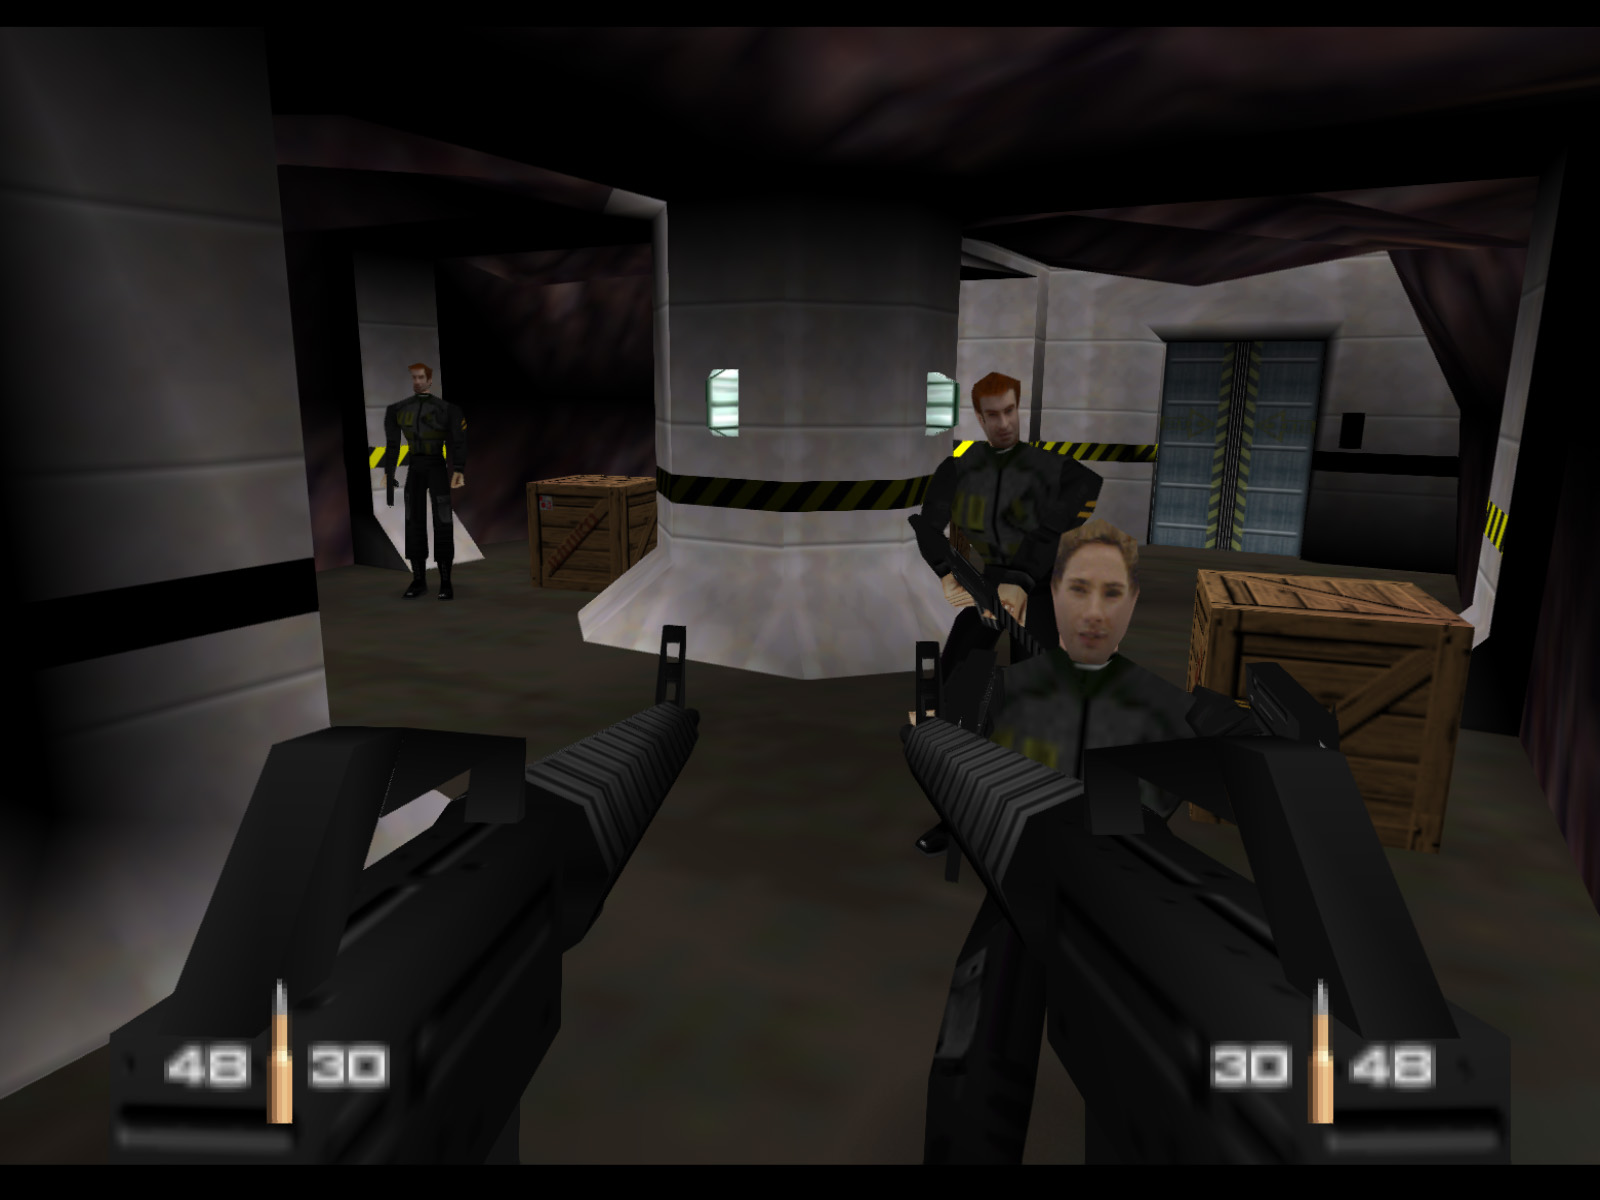
▶ TIP:This unassuming crate holds a secret. Shoot it and a smaller crate comes out. Shoot that one and another smaller crate pops out. And again. And again.

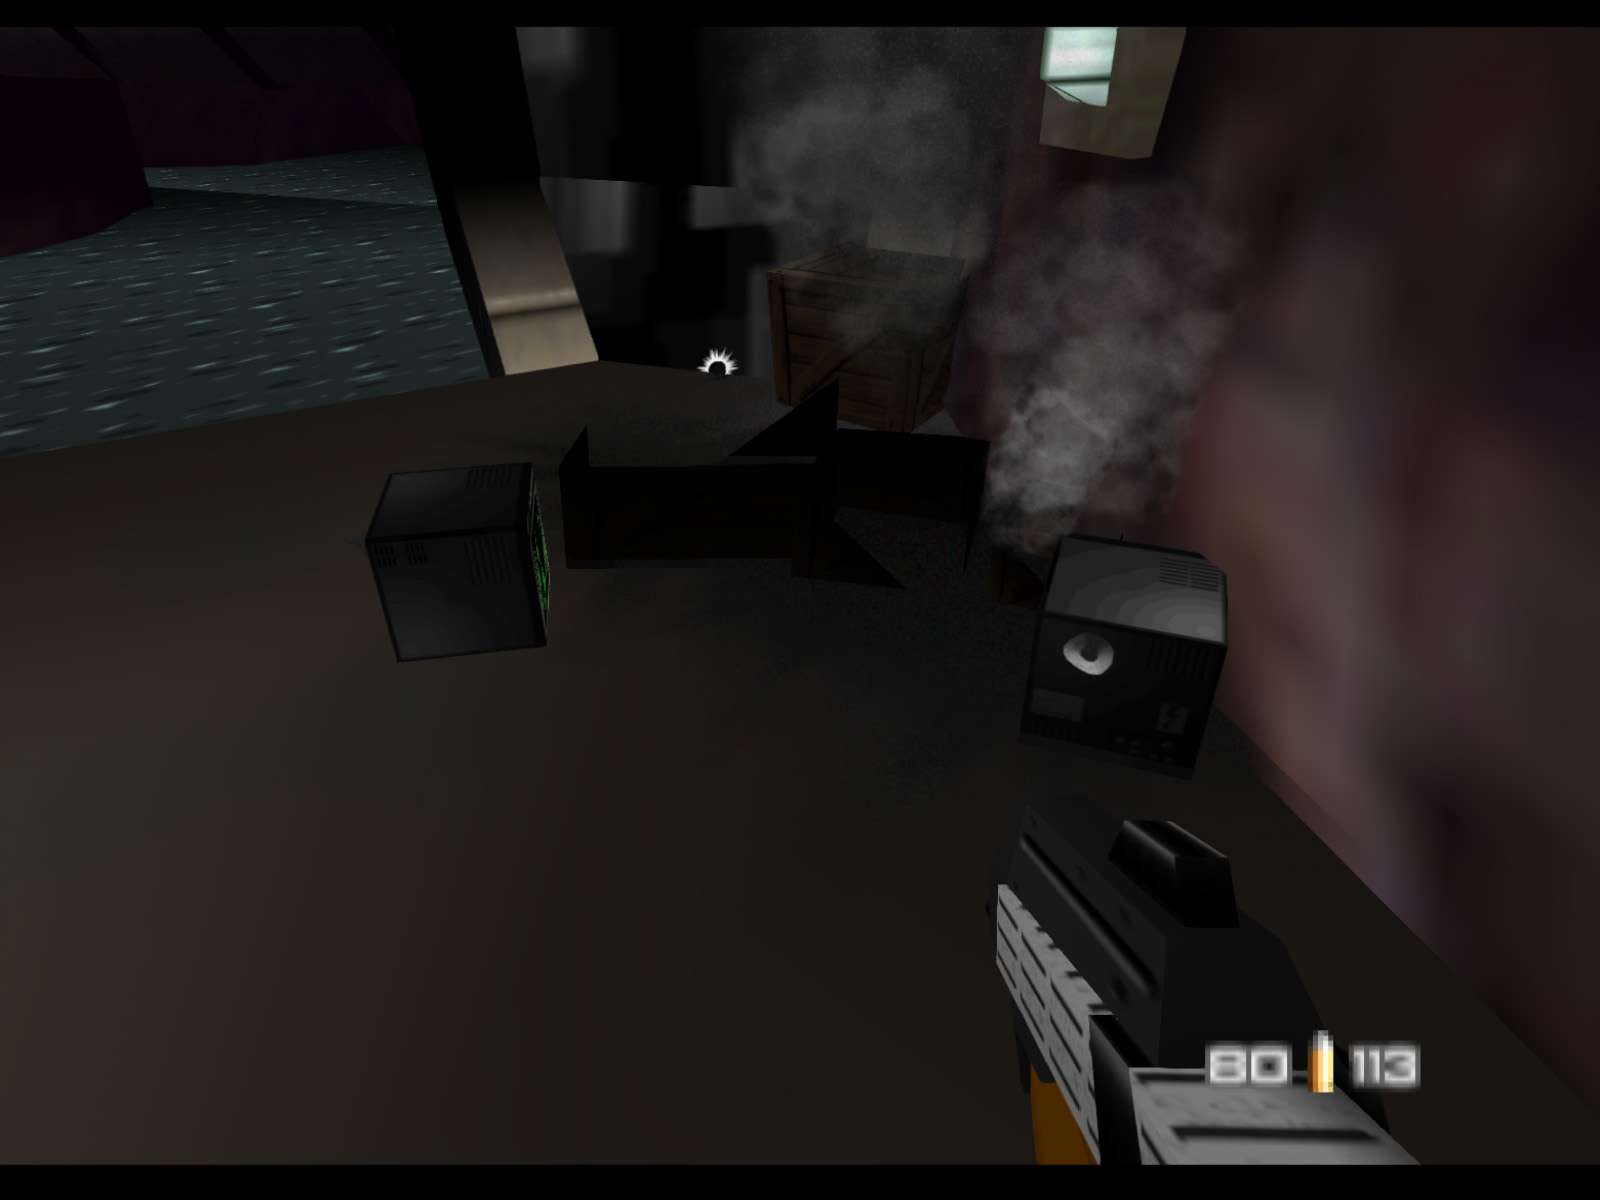
Finally two monitors pop out. Destroy those and you get dual AR33s!
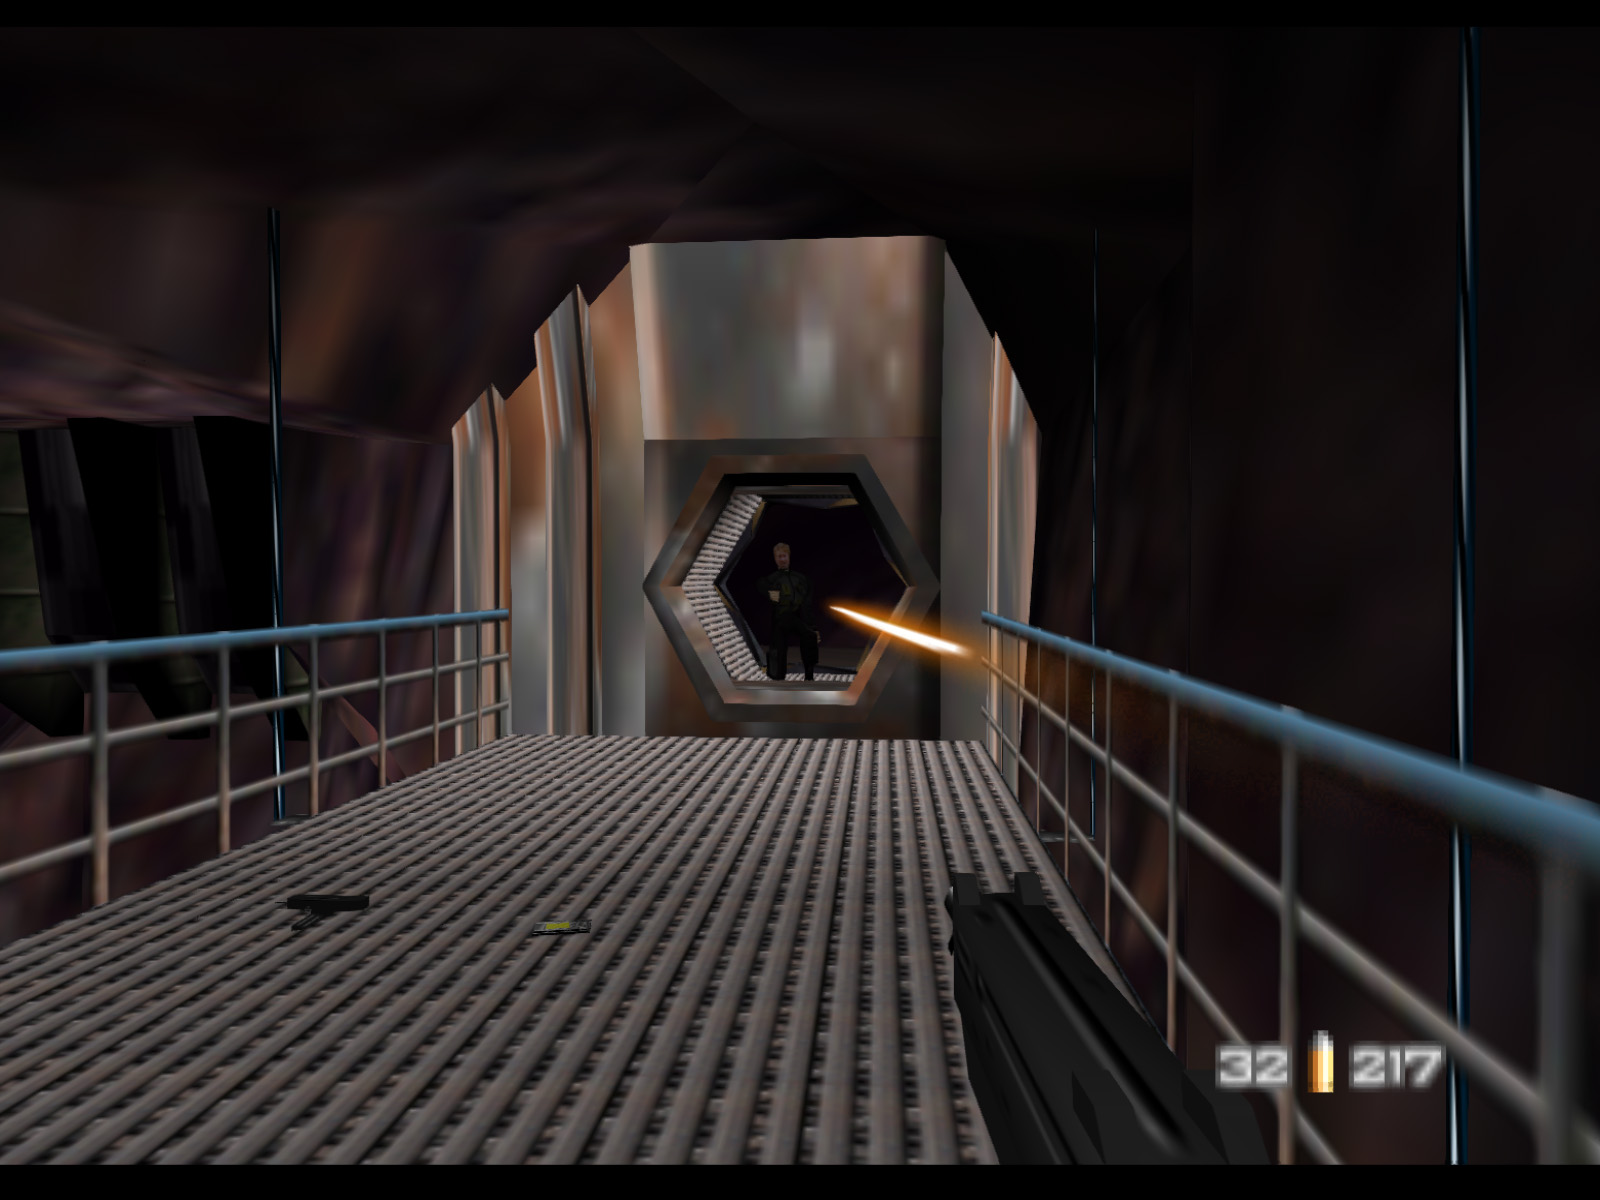
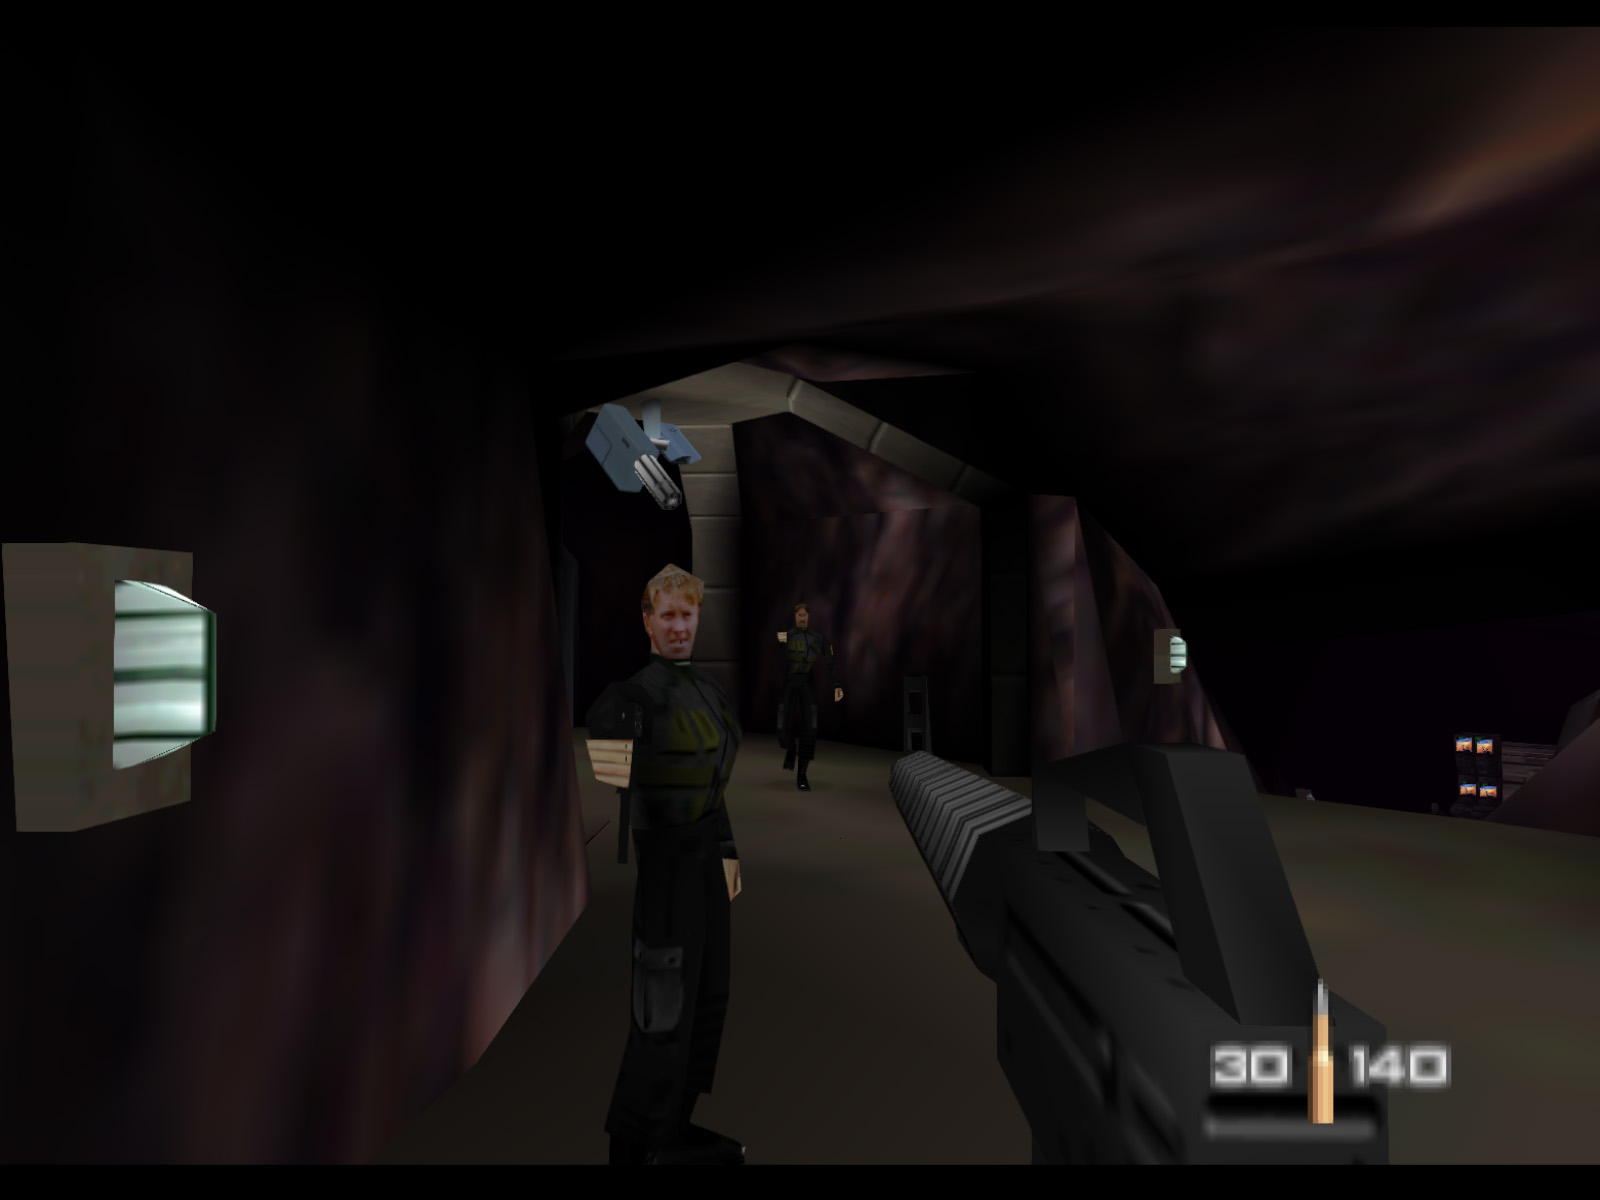
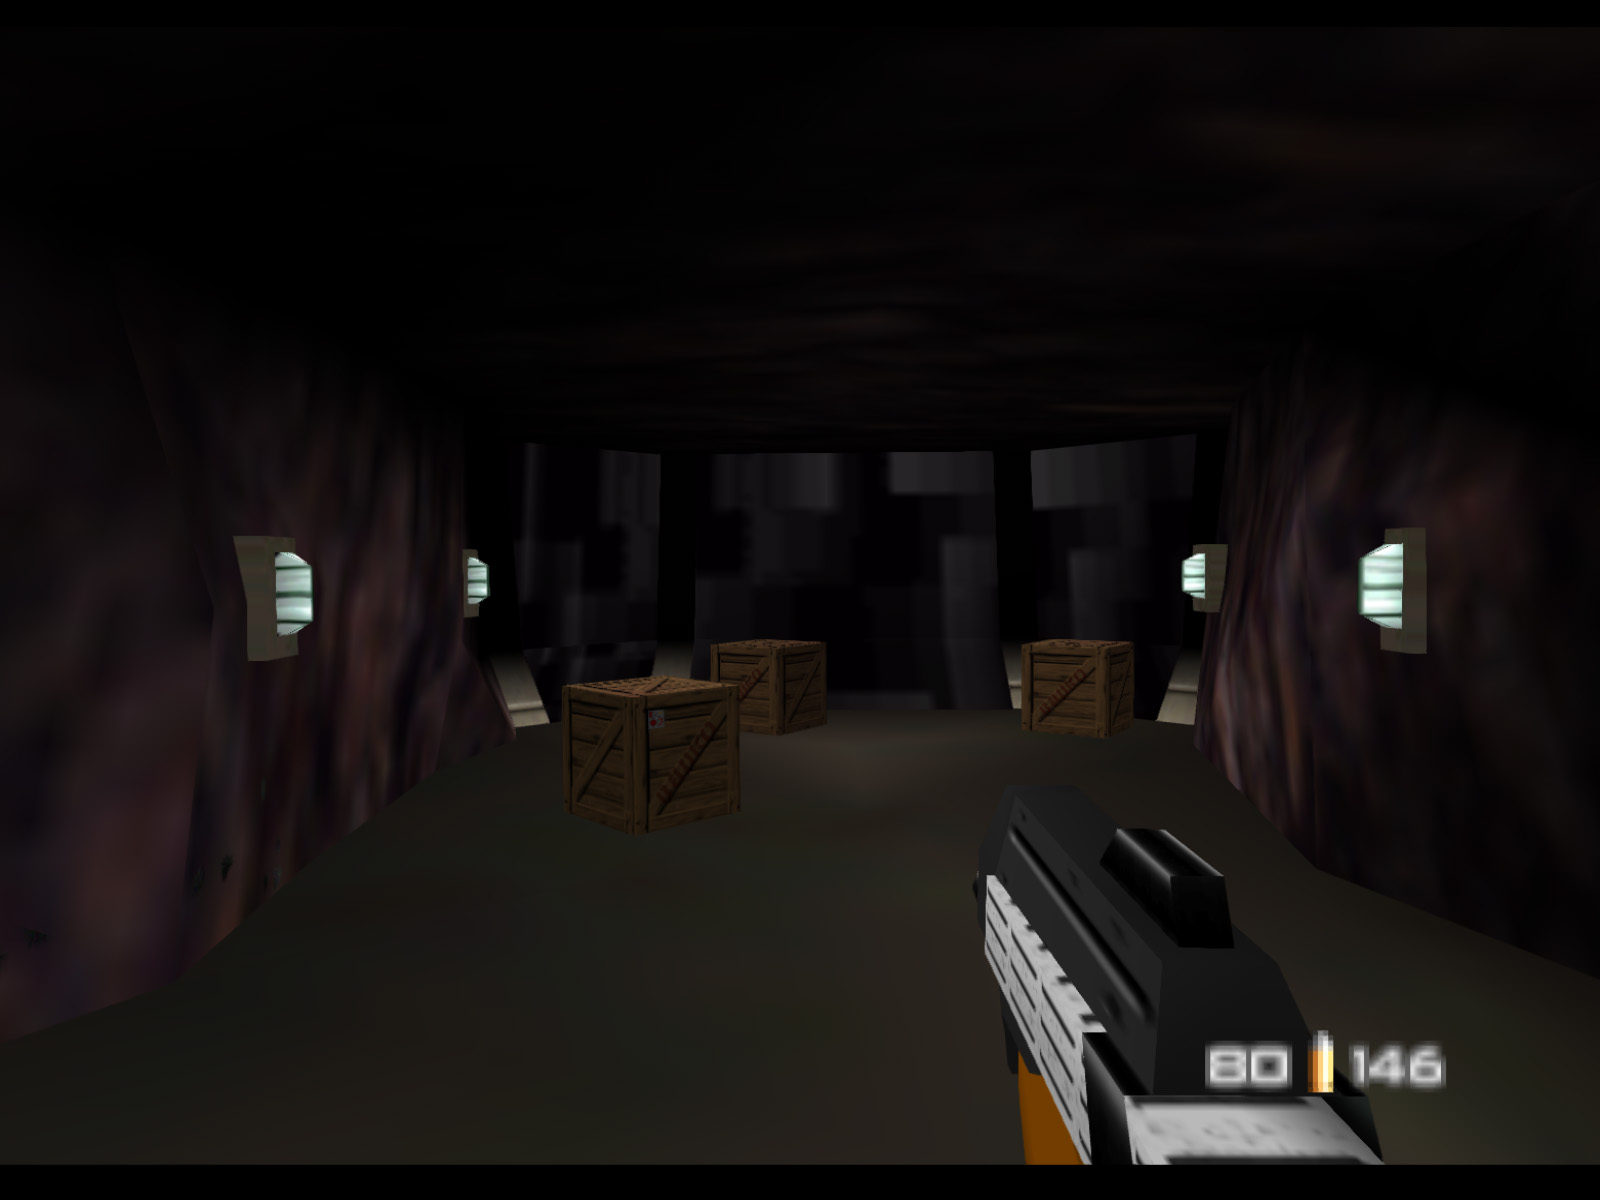
One more hall with two Janus Special Forces.
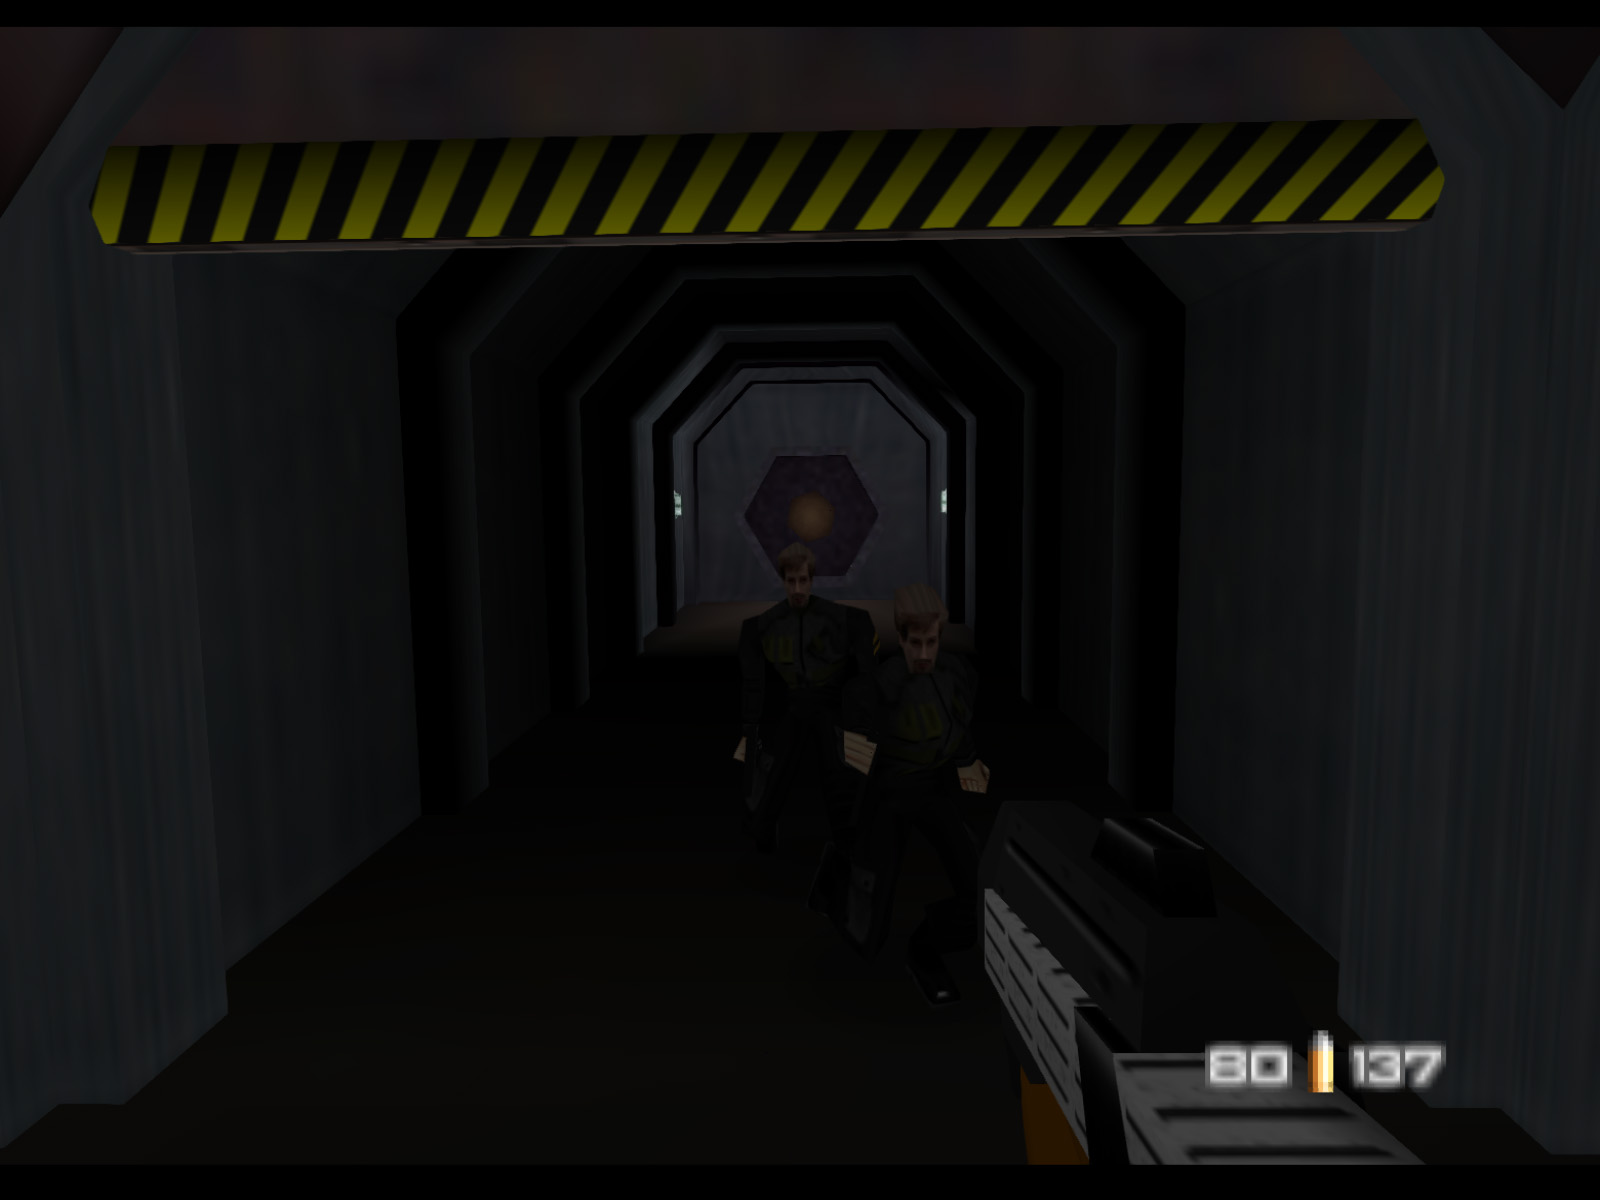
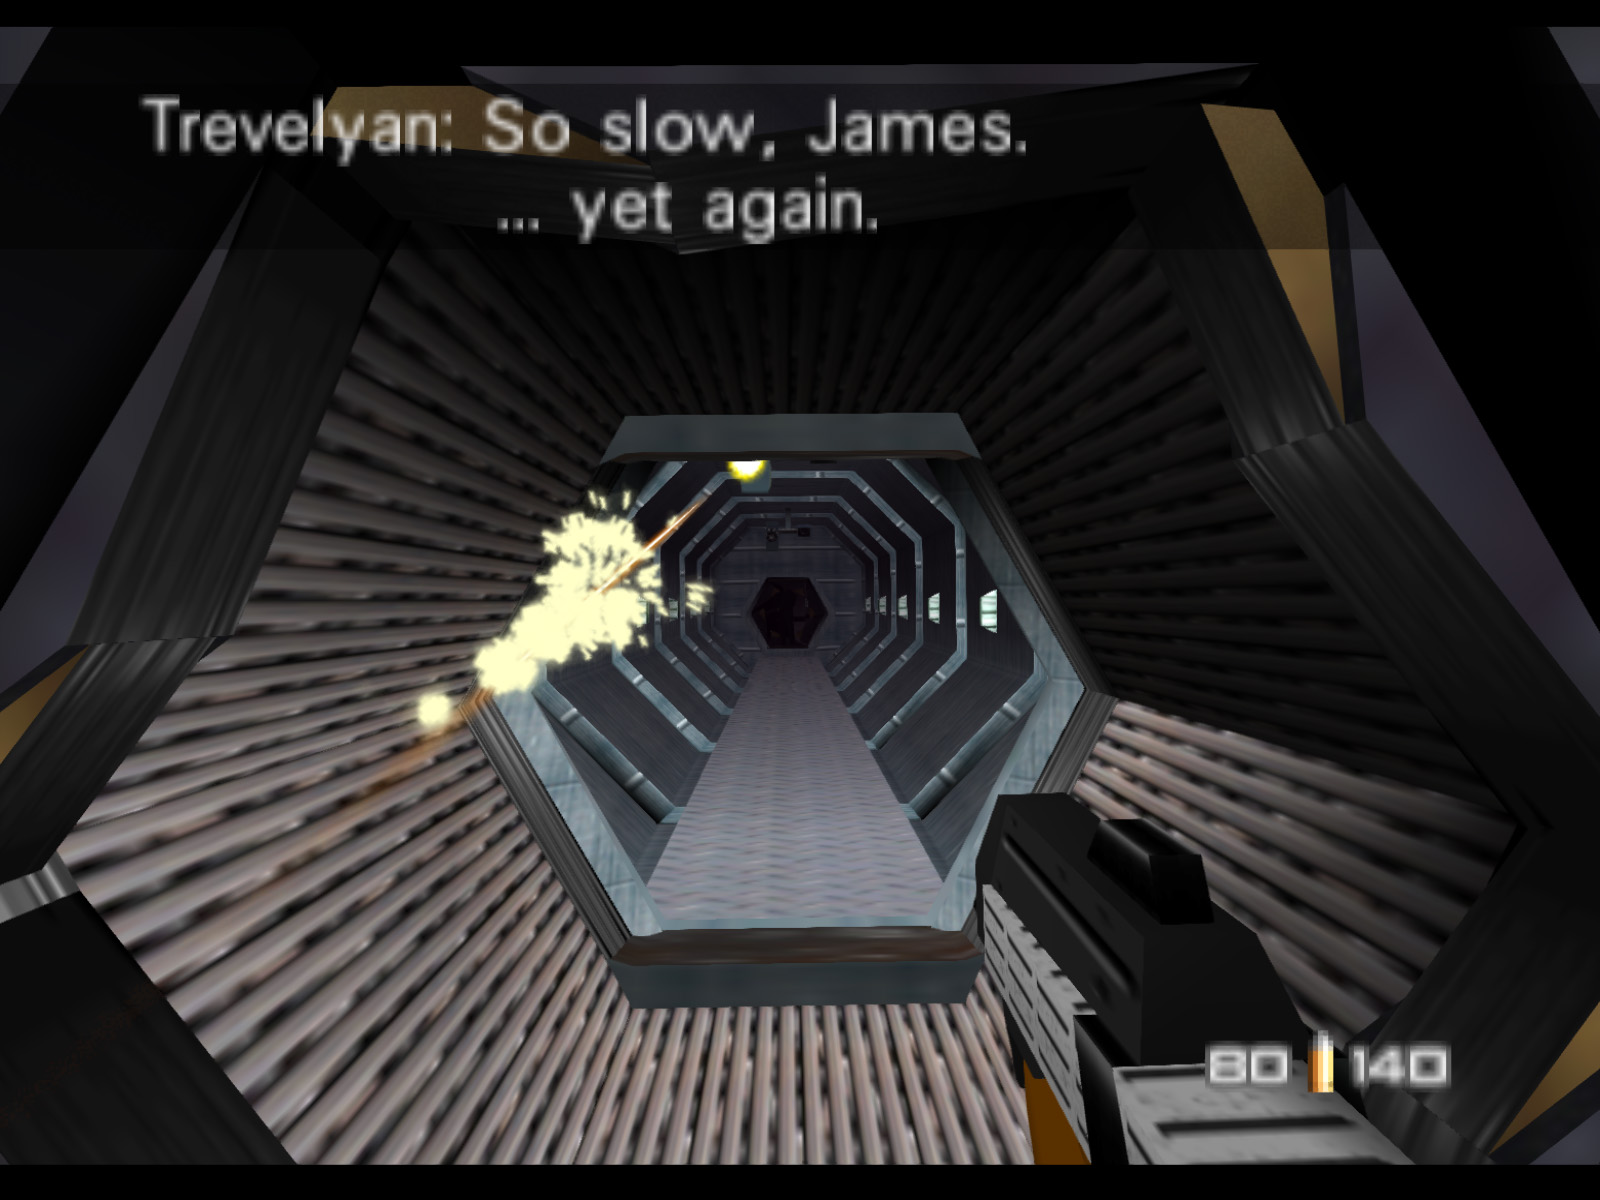
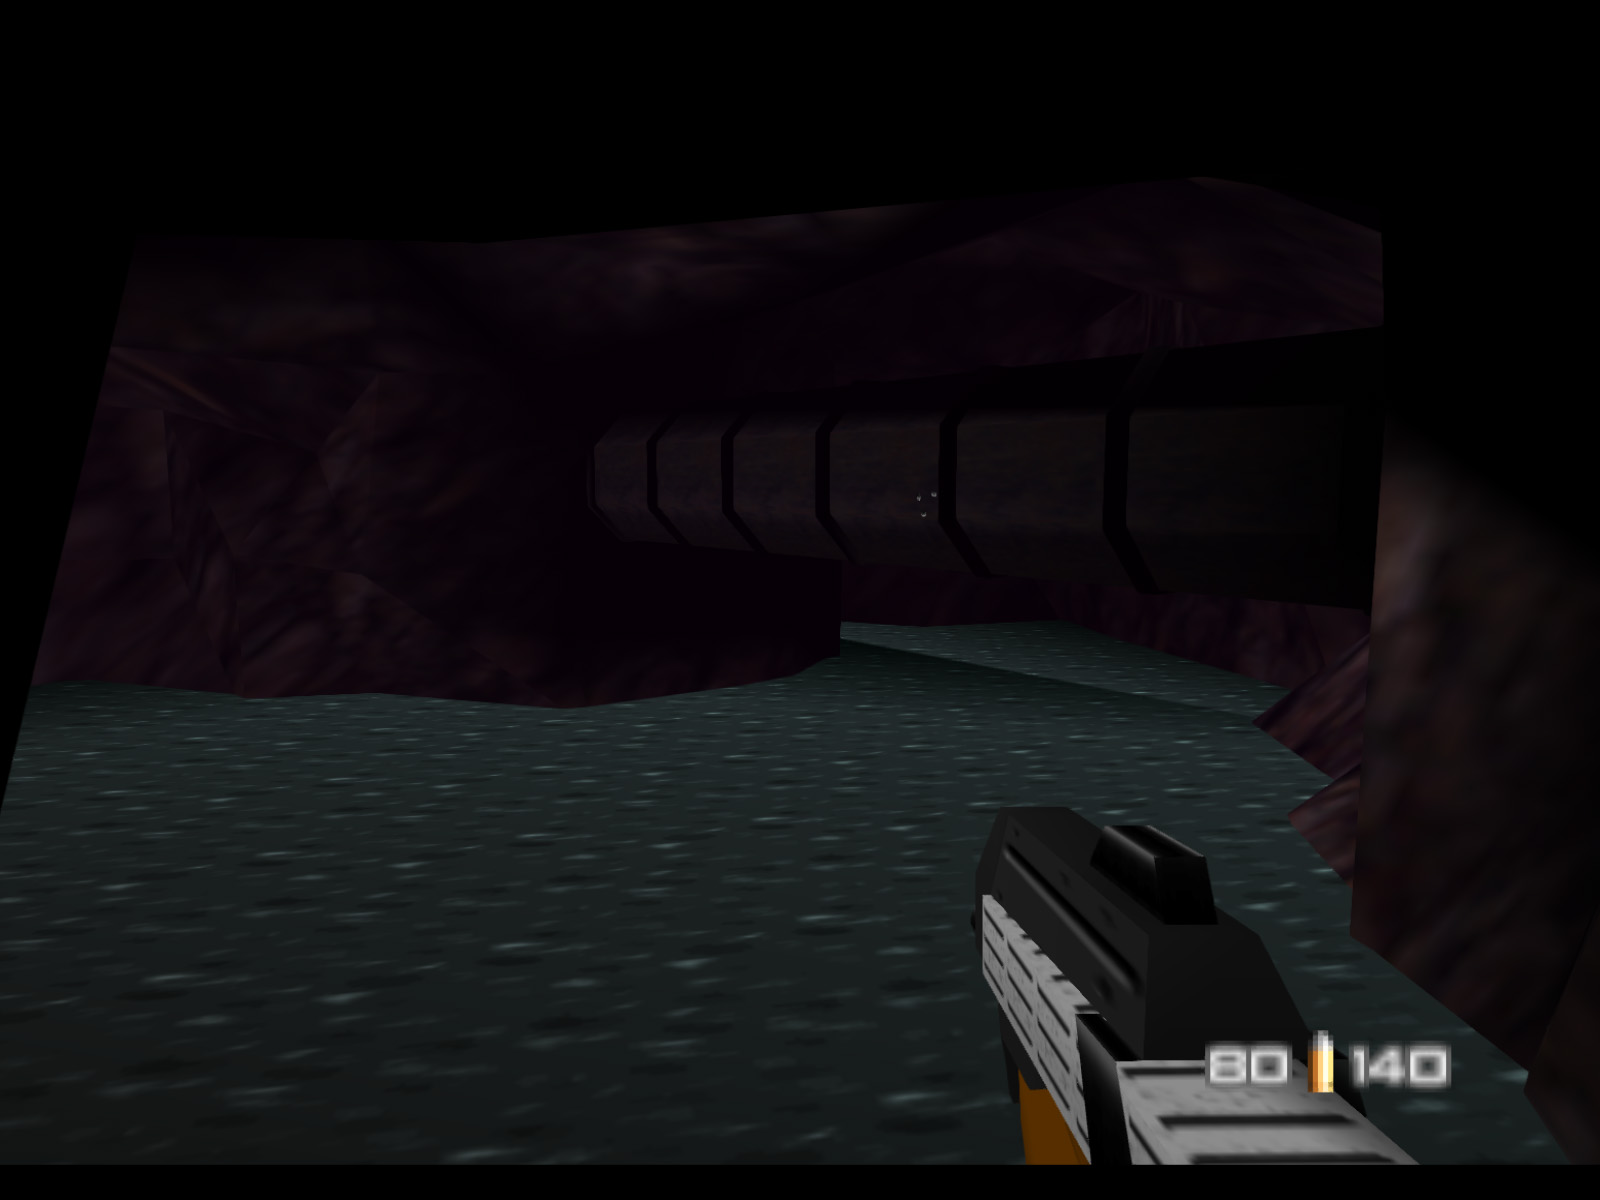
This next part is very dangerous. There are two ceiling mounted Drone Guns in this blue tunnel. And as soon as Trevelyan sees you infinite guards will start spawning behind you. Take out the guns as quickly as you can and run through the tunnel.
Once again Trevelyan gets away, but his demise draws near. Clear the room and head into the elevator to complete the level.
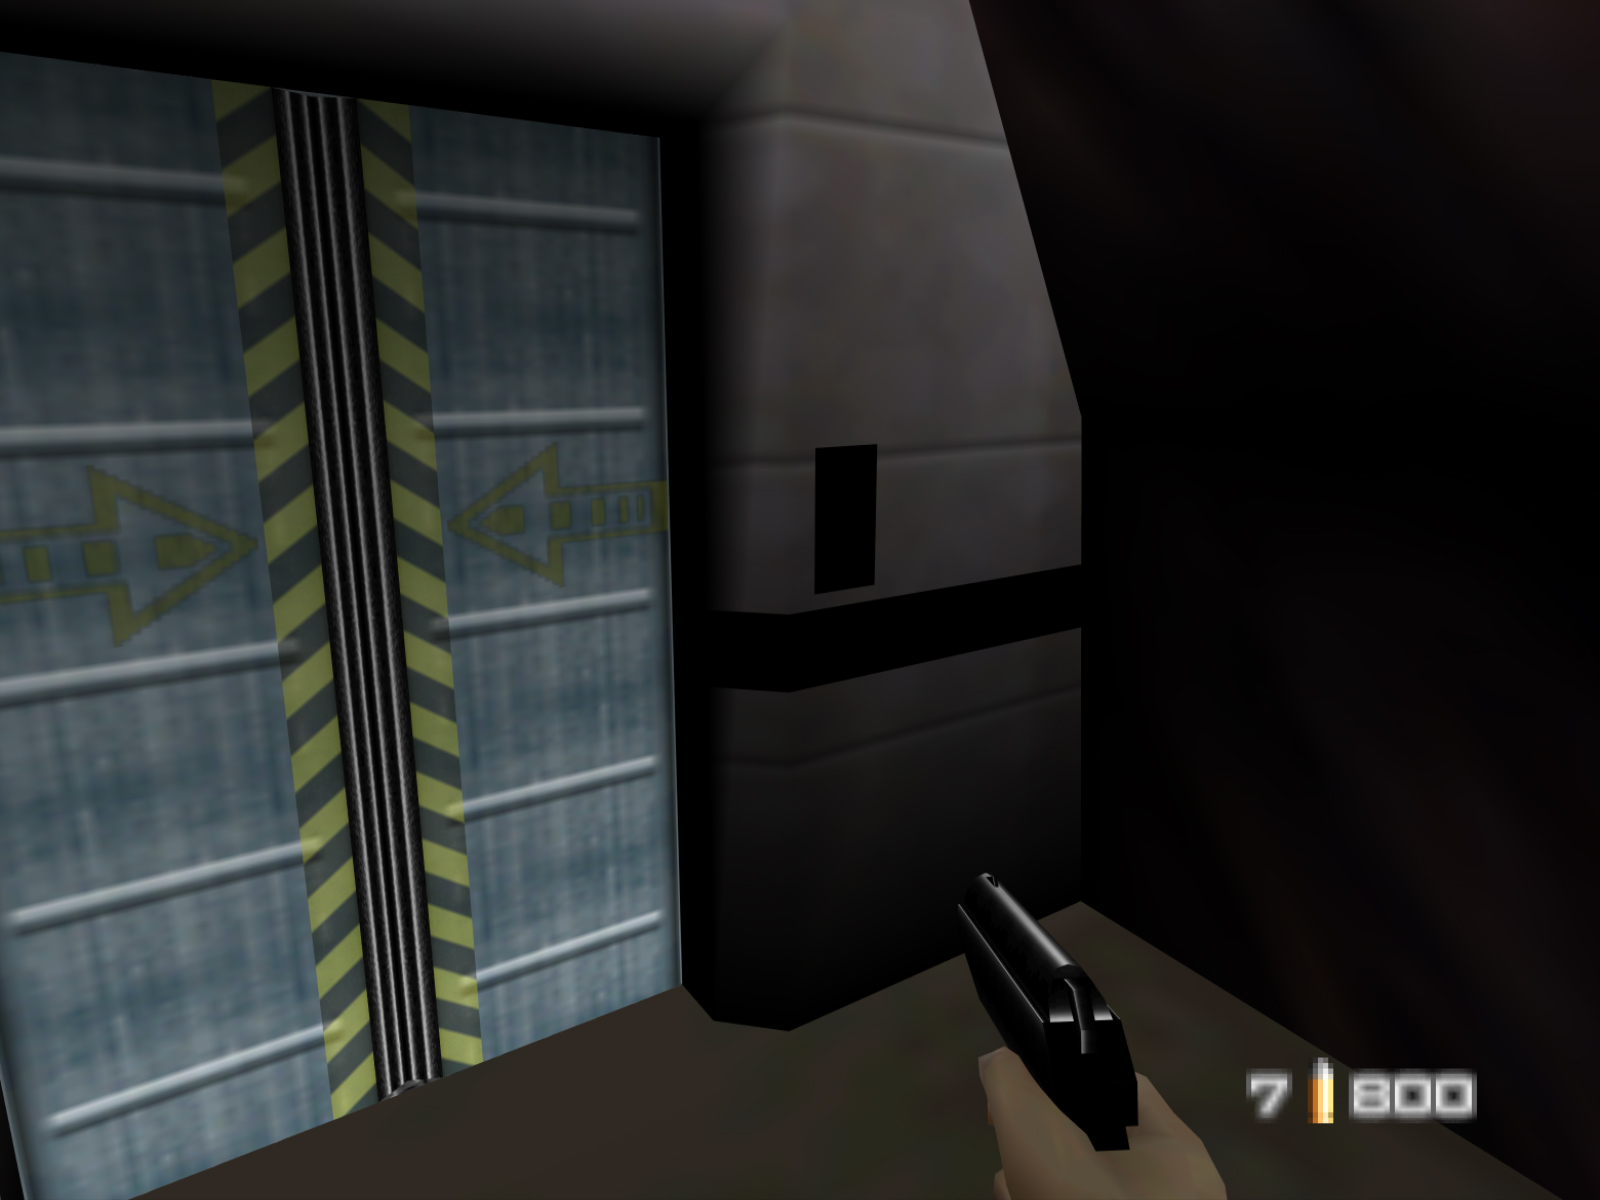
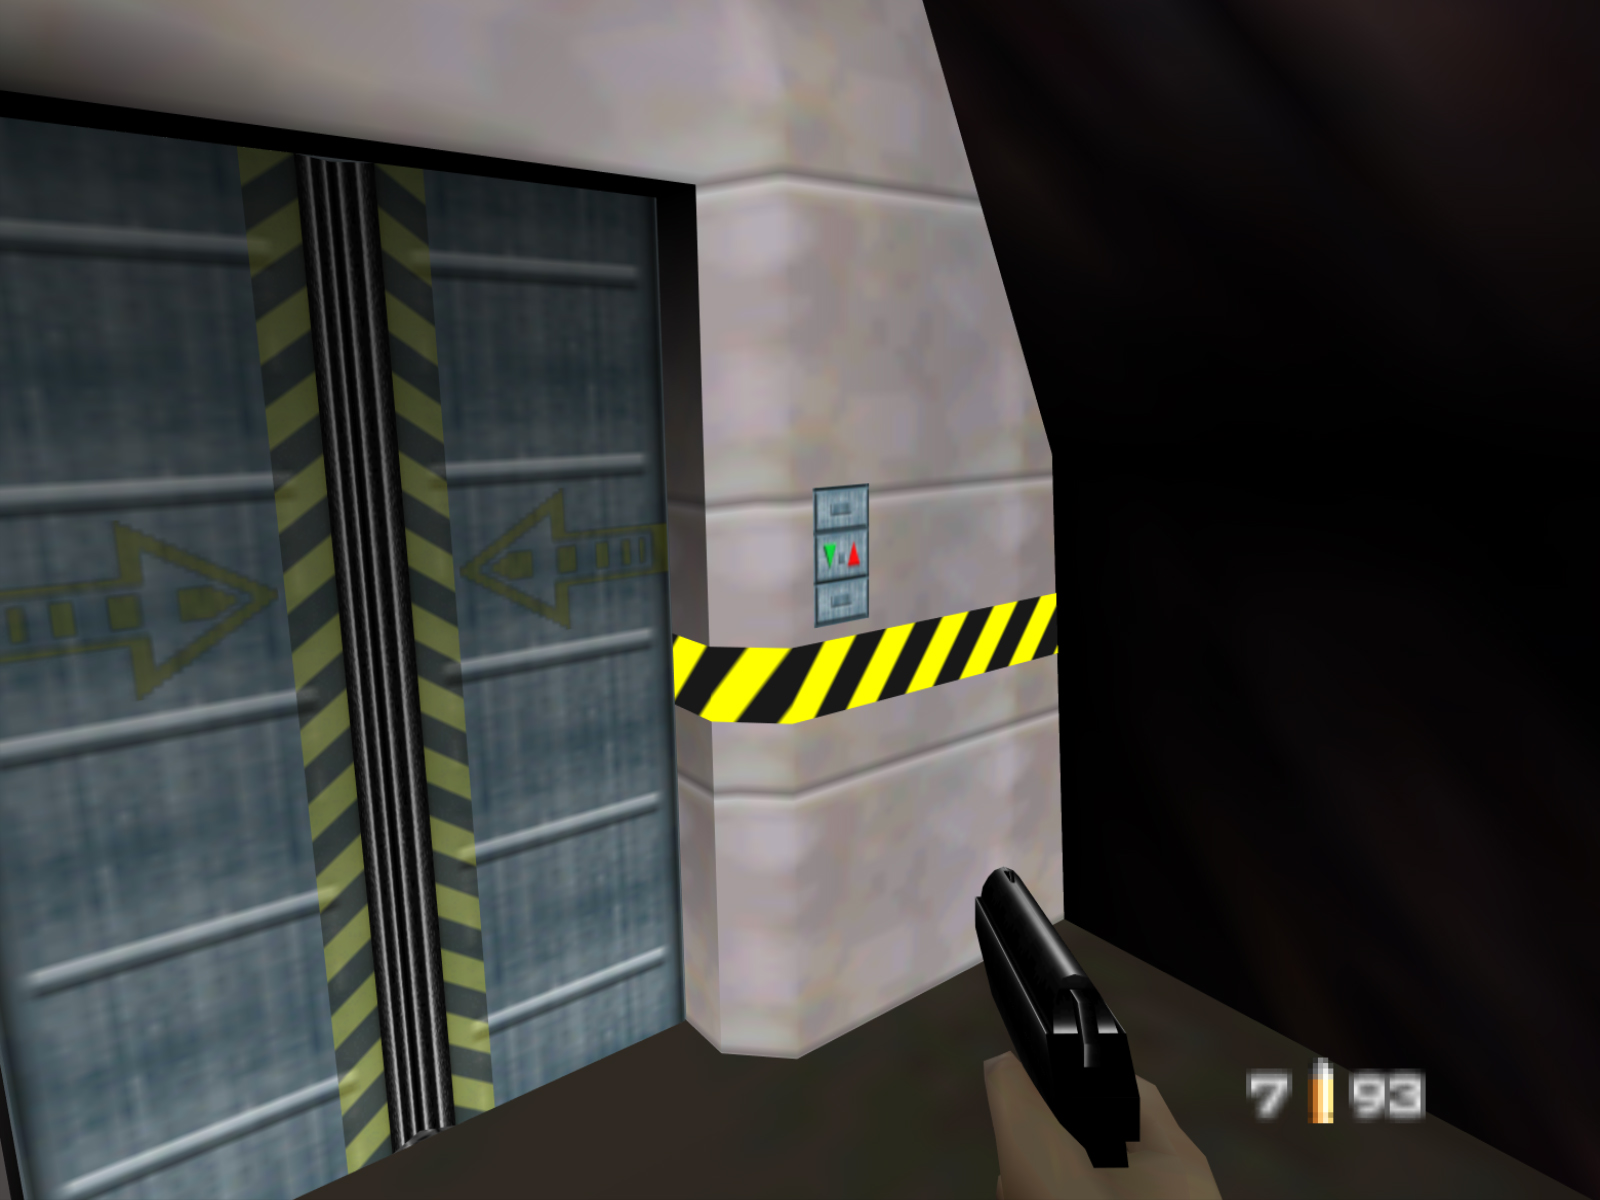
At the exit elevator there is a black rectangle on the wall and a black line below it. These are actually textured but you cannot tell because the vertex colors are so dark. If they are brightened you can see the rectangle has the standard elevator buttons.
The vertex coloring in this area generally feels a bit rushed, almost unfinished. I wonder if this exit area didn't get quite the same amount of attention as the rest of the level.
Throwing Knives act strangely when tossed against some walls in Caverns. This wall near the Outlet Pump Controls is a good example. Instead of bouncing off as expected, the knives will often settle on the wall itself. It seems this wall just happens to be at an angle the projectile code doesn't handle well.
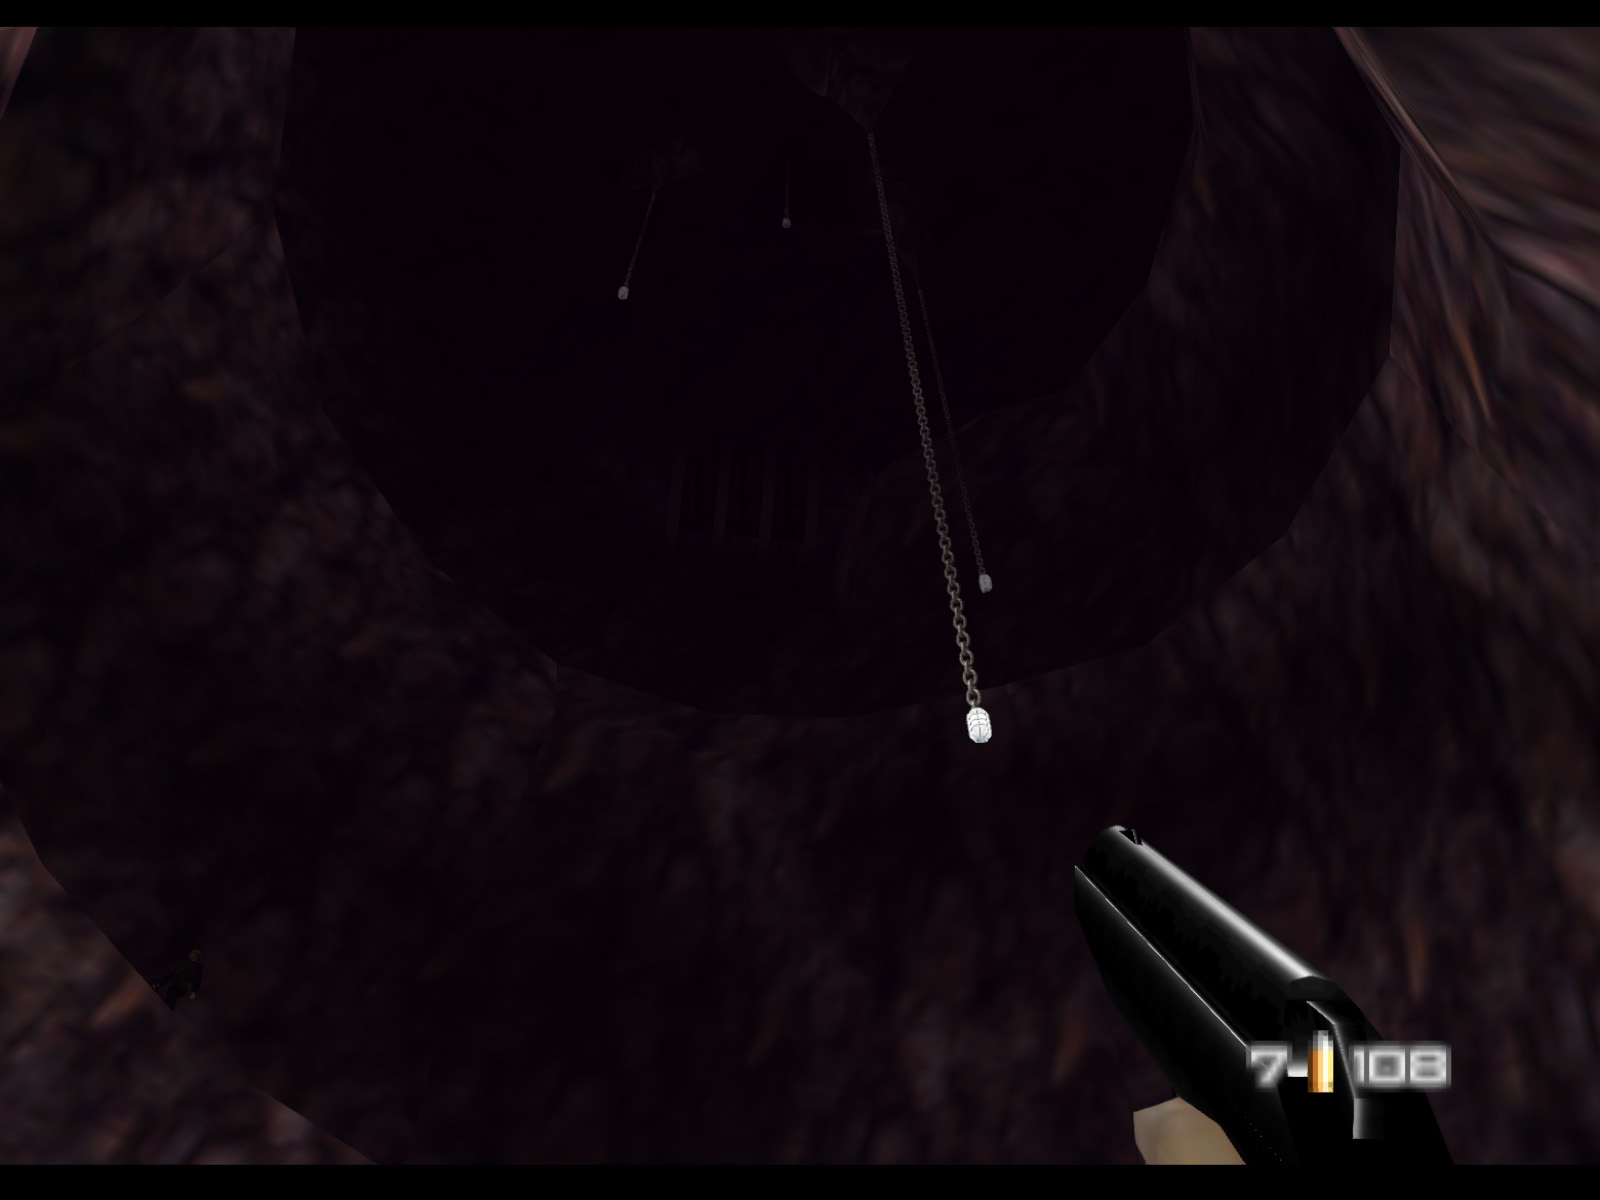
In the chamber after the spiral ramp there is a hole in the ceiling. With precise aim you can toss mines and other projectiles through it, though they will fall through the level rather than land on the other side.
