Mission 7: Cuba
Part ii: Control Center
Mission 7: Cuba
Part ii: Control Center
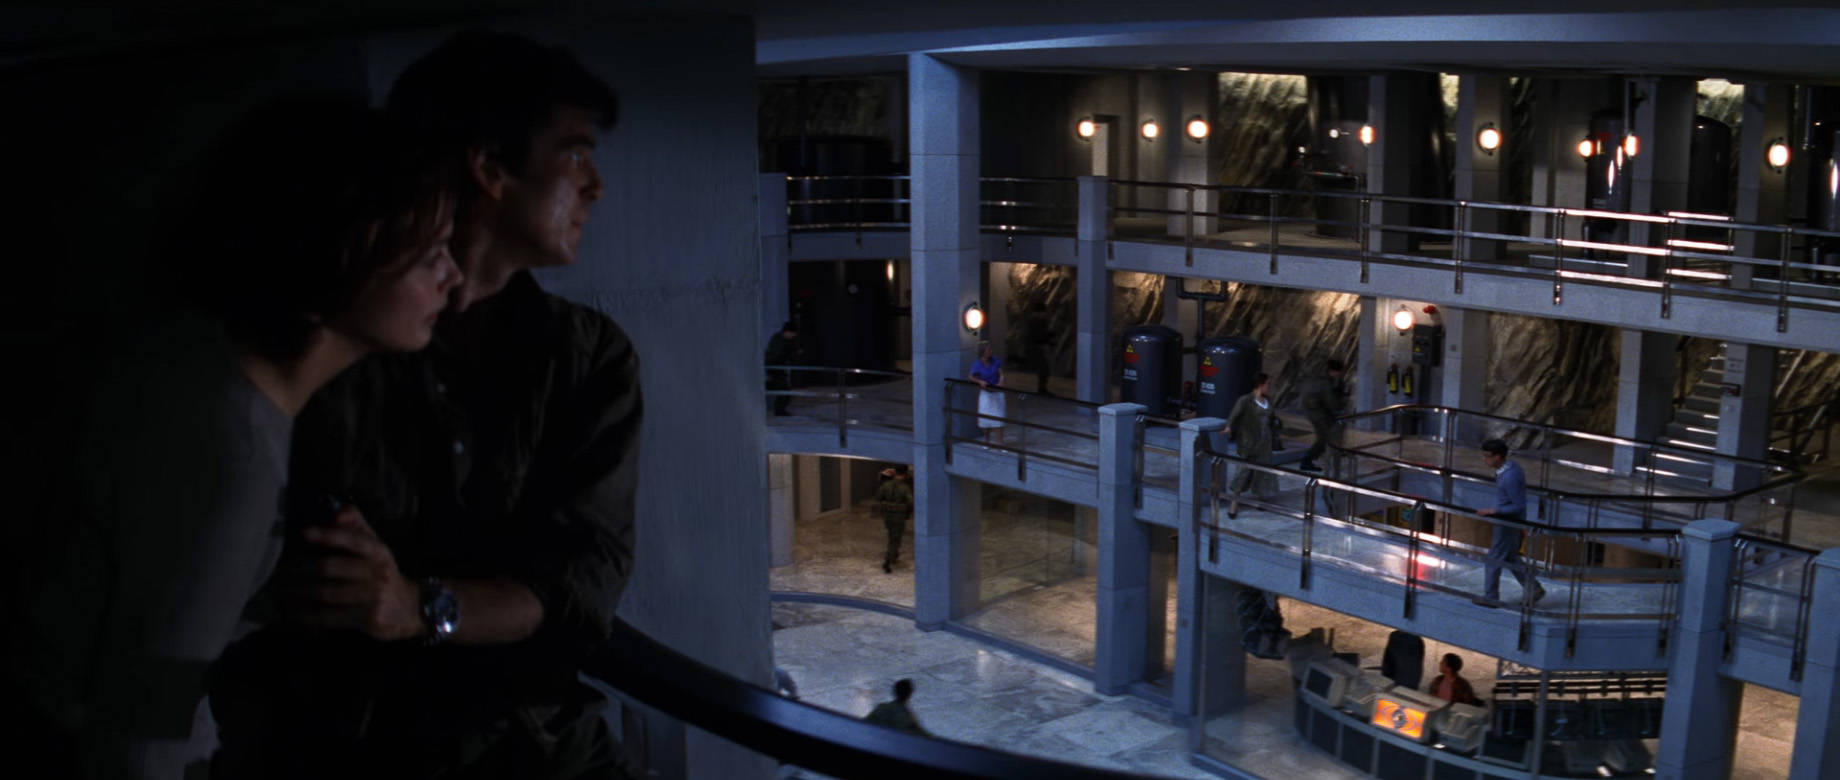
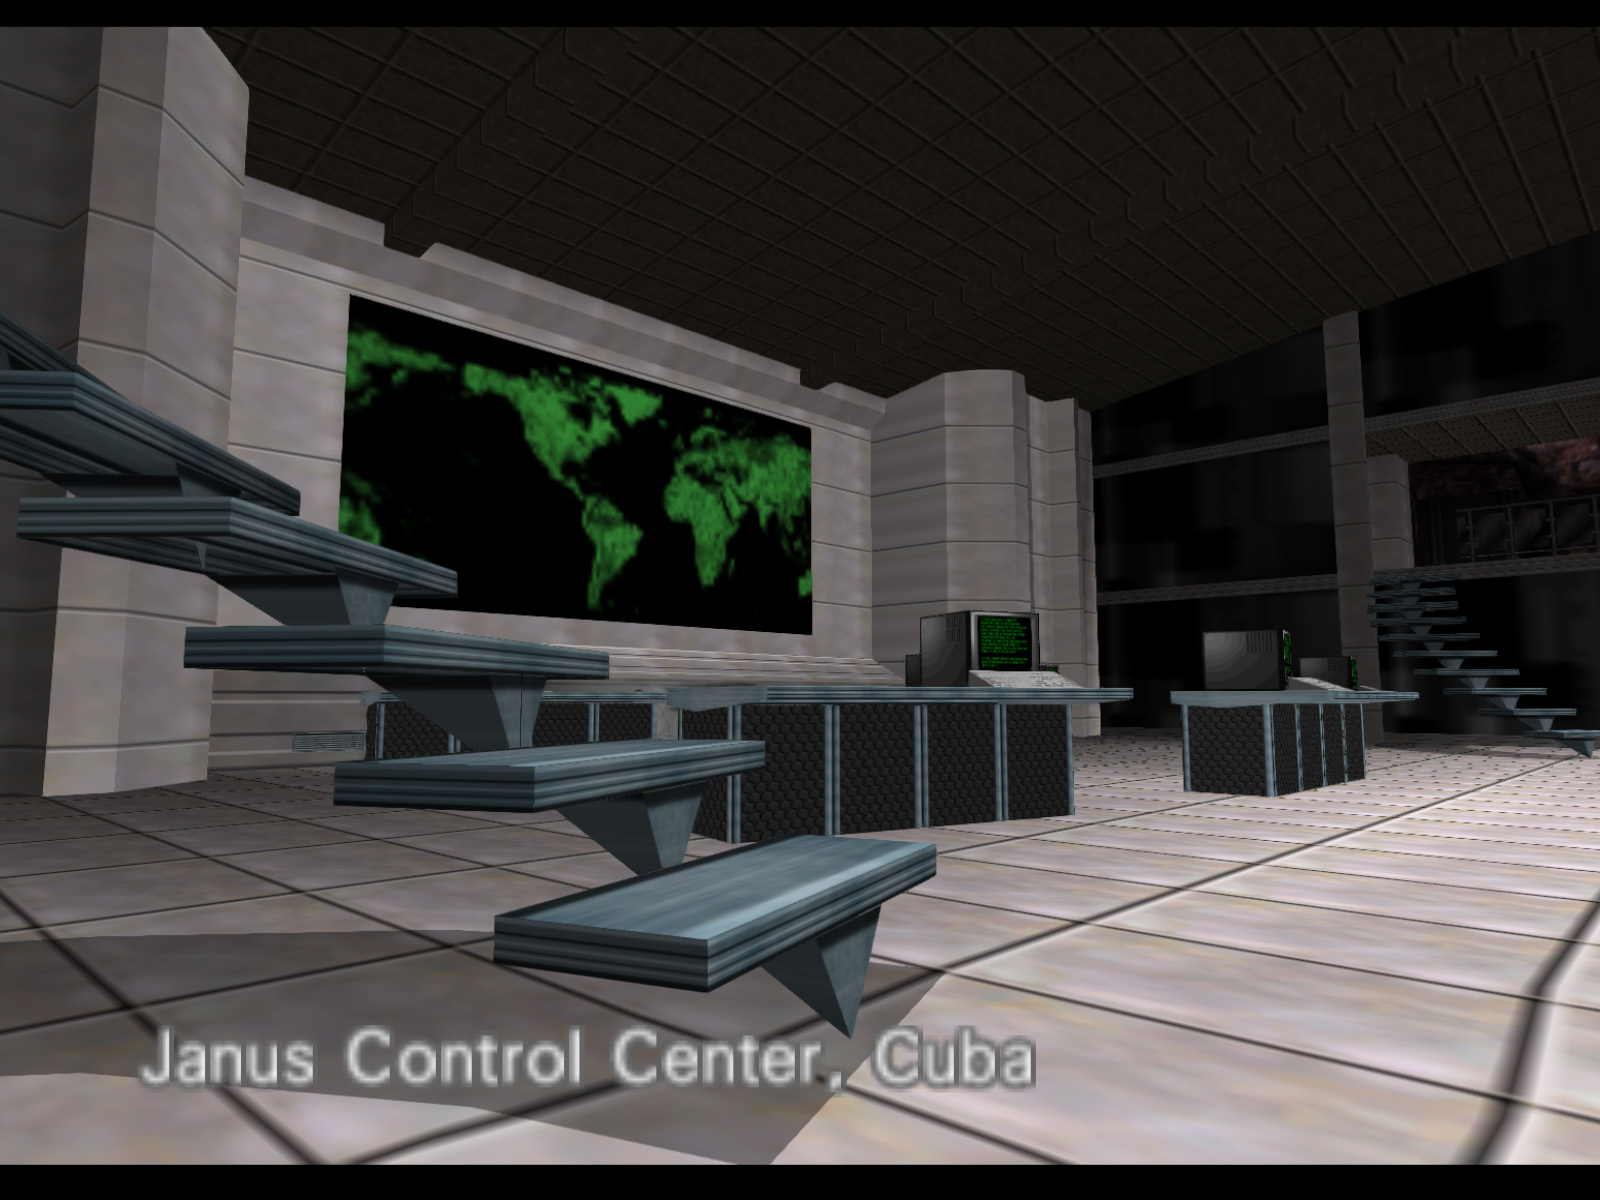
The Janus Control Center has been located in an underground complex in the Cuban jungle.
Into the lion's den, 007. Well, just be careful. Remember that you and Miss Simonova are a team, it's critical that you protect her while she's hacking into the Janus computers. With any luck she'll be able to stop the Goldeneye from firing.
While you're there old boy, see if you can't erase their databases. The details of Janus' criminal bankrolls are stored on specially armored mainframe units. That information is worth millions to Janus - I'm sure you'll find some way of deleting it.
You know, James, she's not the only woman who can operate a computer.
Control is the sixteenth level of GoldenEye 007 and the second level of the seventh mission. This is Janus' high tech secret base where he plans to digitally rob major banks then detonate the GoldenEye Satellite over London to cover up the crime. Of course, it is up to Bond and Natalya to stop him. Natalya does the hacking while Bond takes care of the Jungle Commandos who garrison the control center.
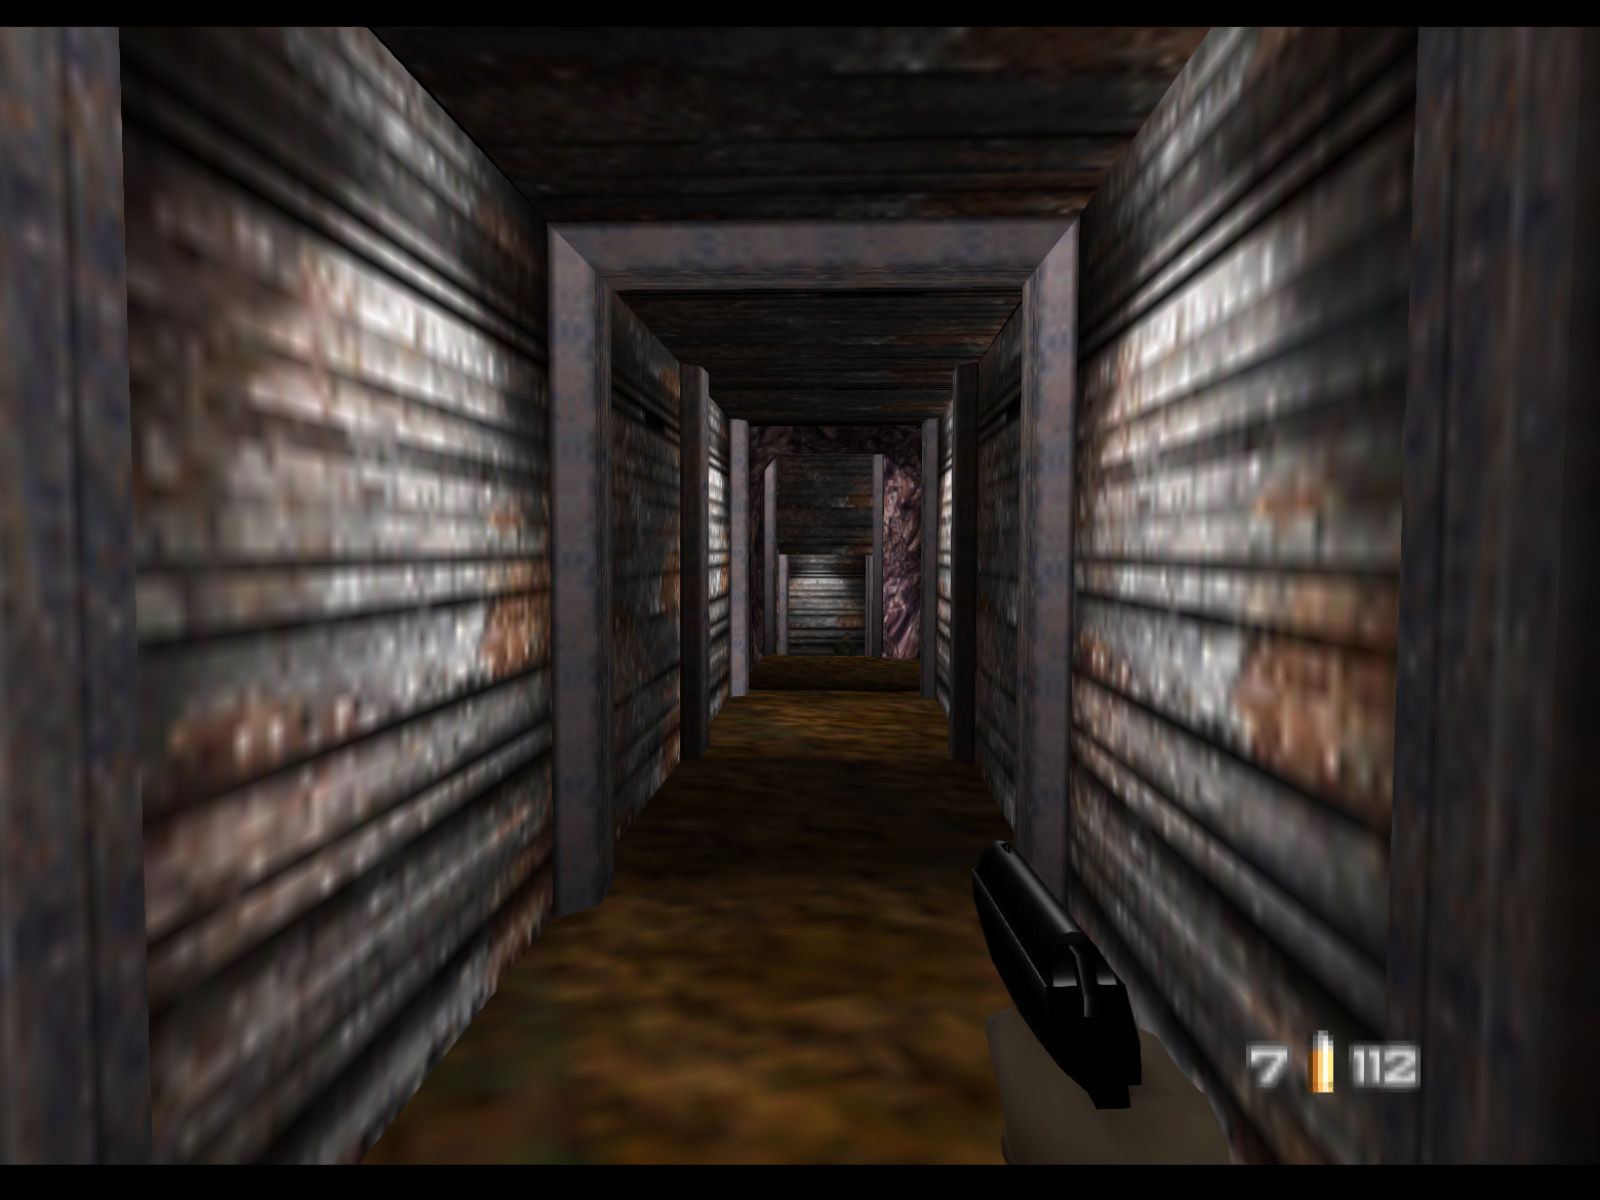
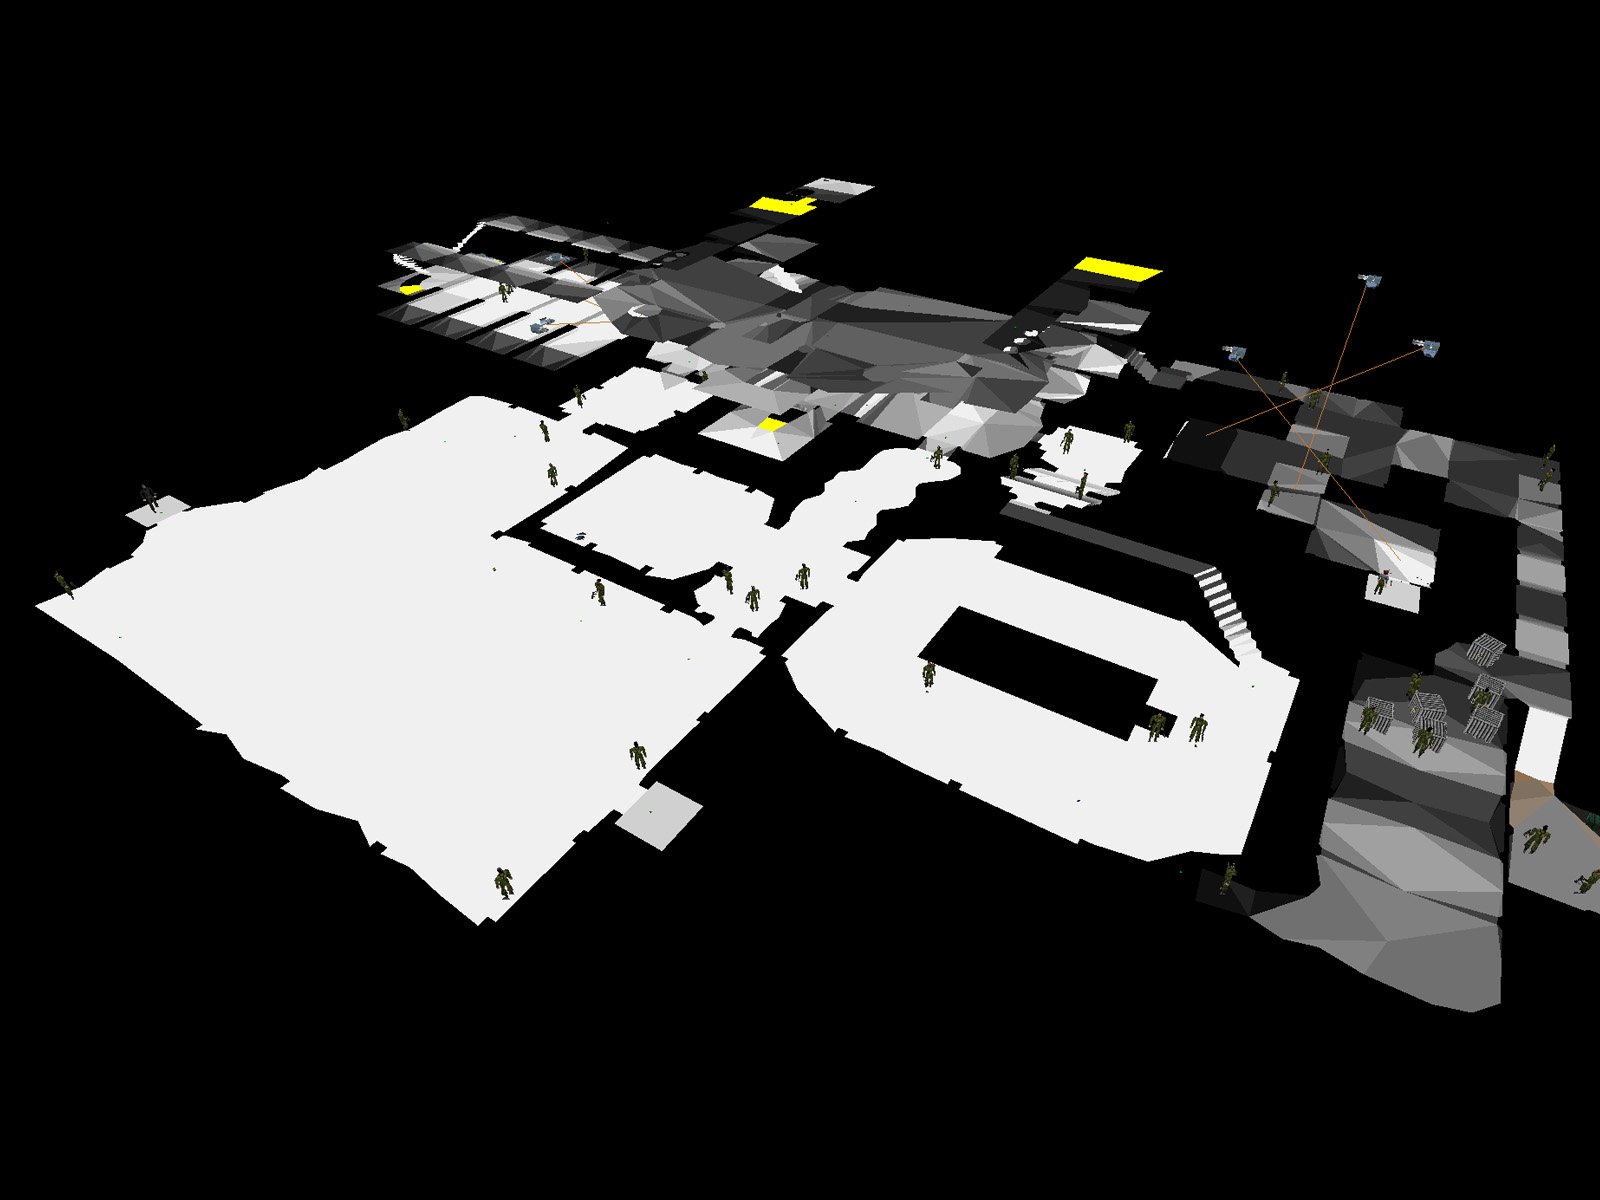
The Control complex is quite substantial. There is the main control room seen in the movie, but the game expands on that tremendously. There is an excavating area lined with corrugated metal walls, a generator room, a locker room, a large warehouse, offices, and even a somewhat hidden room. The enemies you face are not the toughest in the game, but the sheer number of them makes Control a challenging level.
Like Jungle, Natalya carries a Cougar Magnum, but she will not use it. It is entirely up to the player to defend her.
This armor can be found in the locker room.
This armor can be a little difficult to find if you're not familiar with Control. Take the staircase Boris flees up to the third level then go to your right. Go all the way to the back and you will see a grate. Crouch through it and find the armor in the small room.
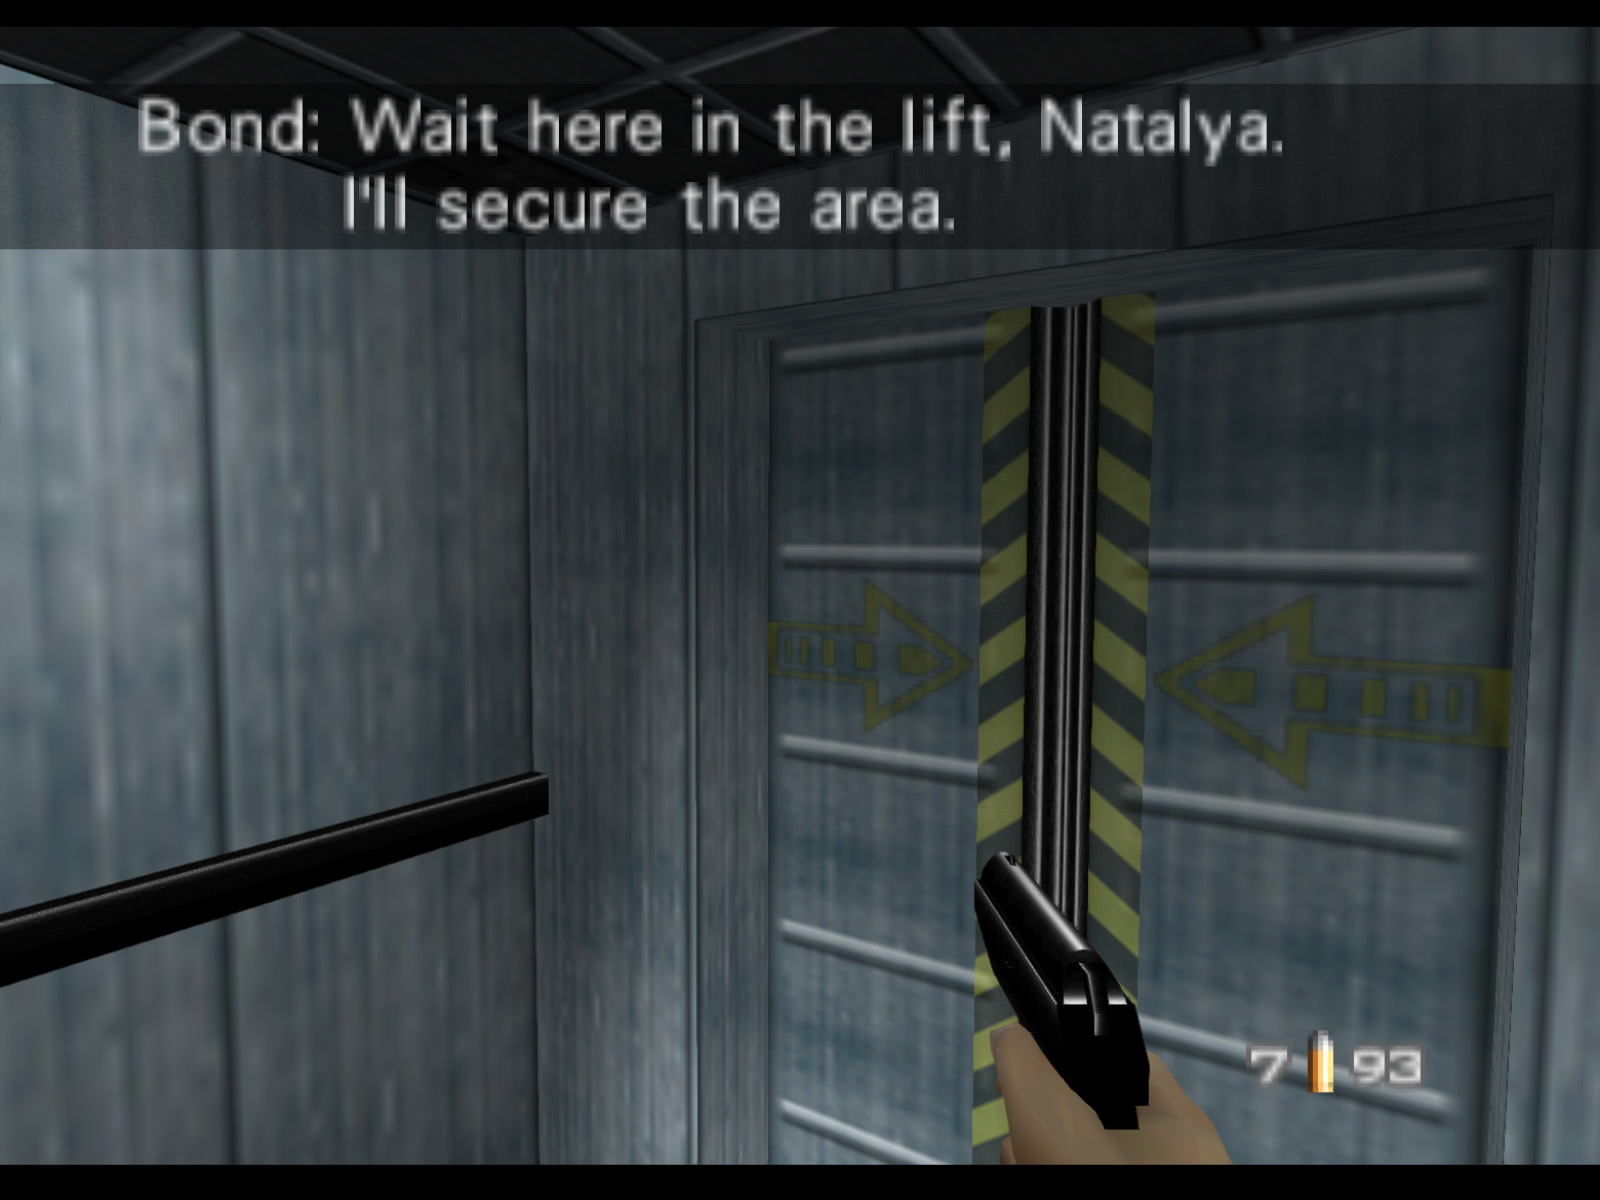
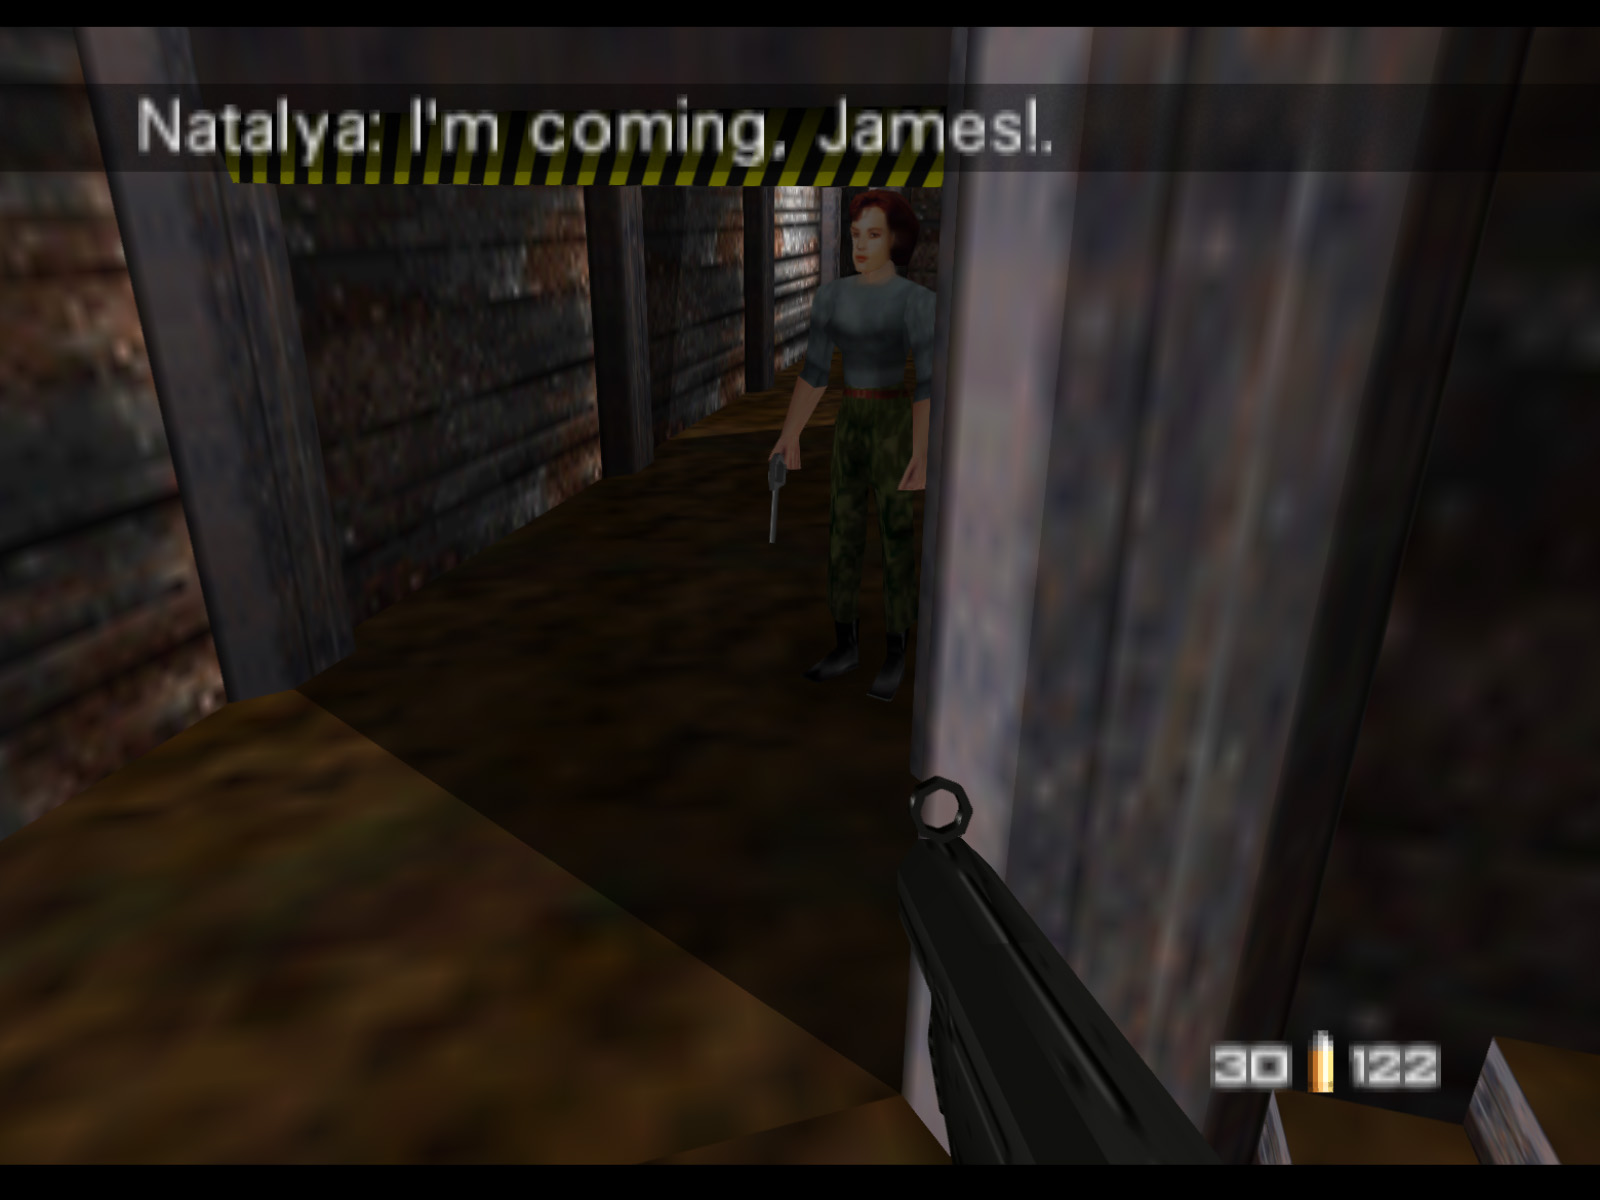
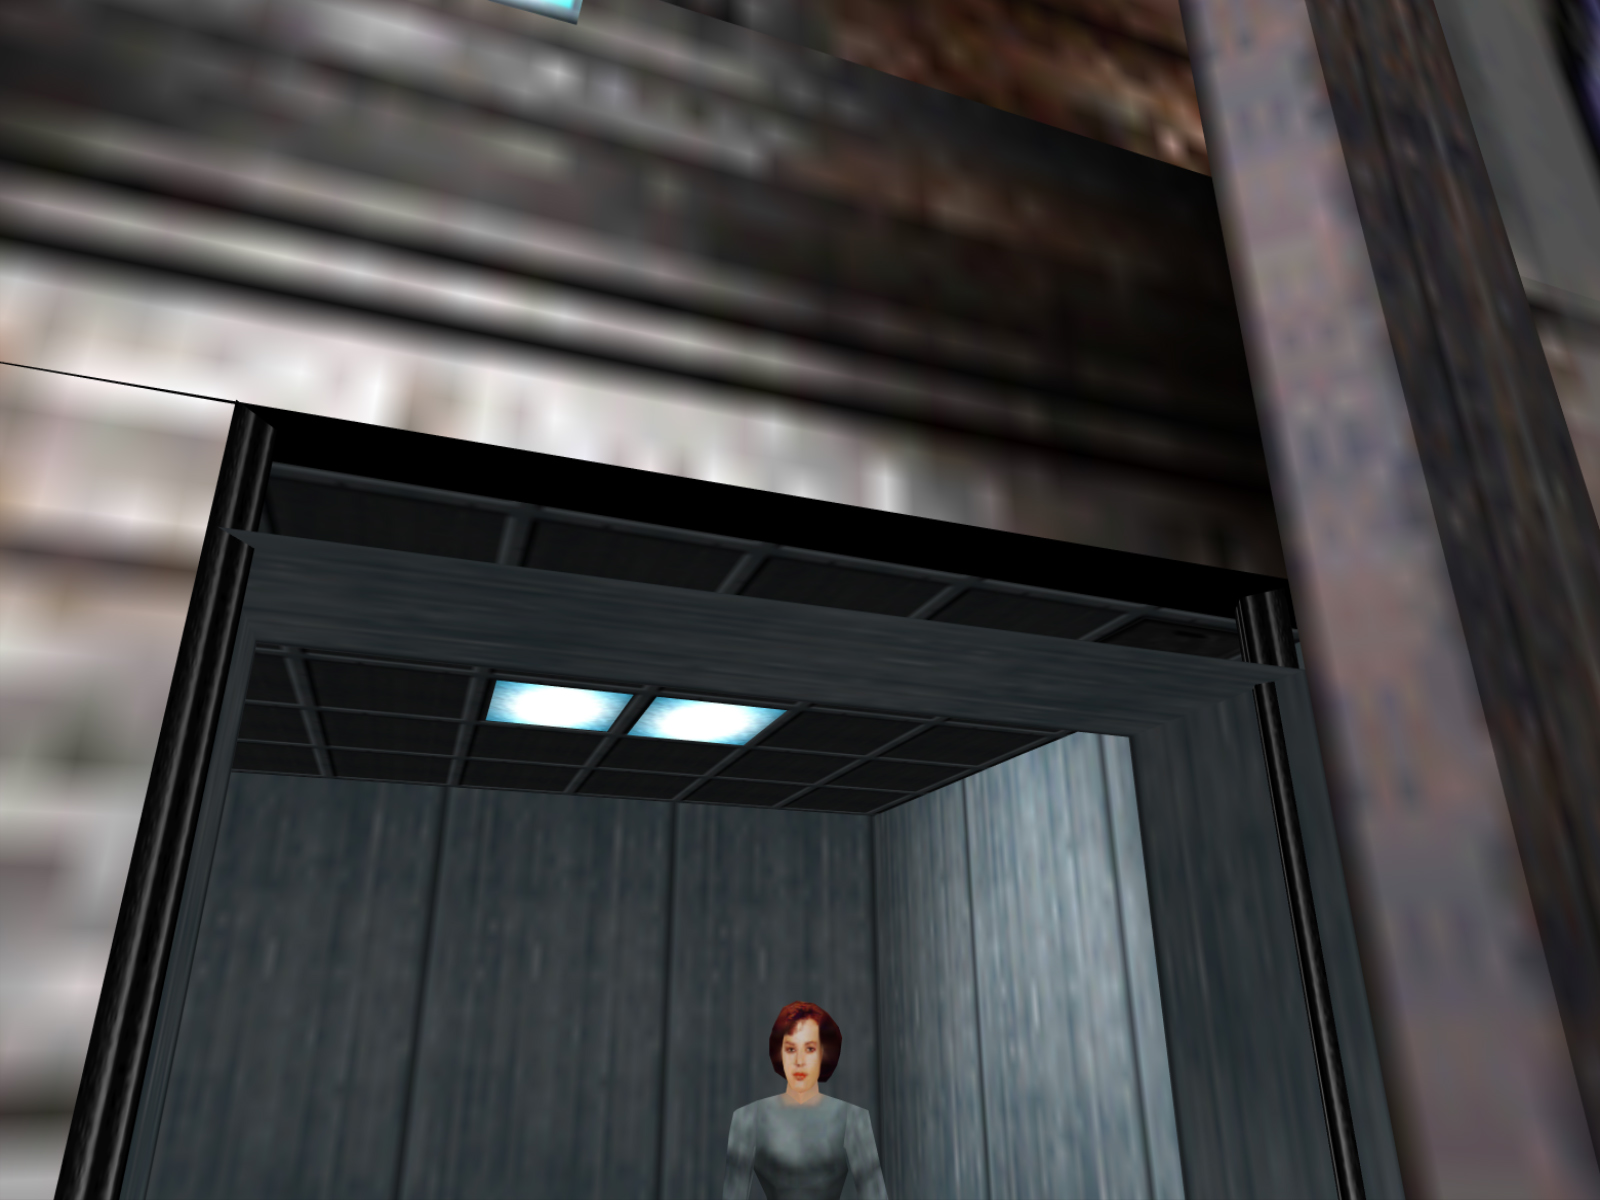
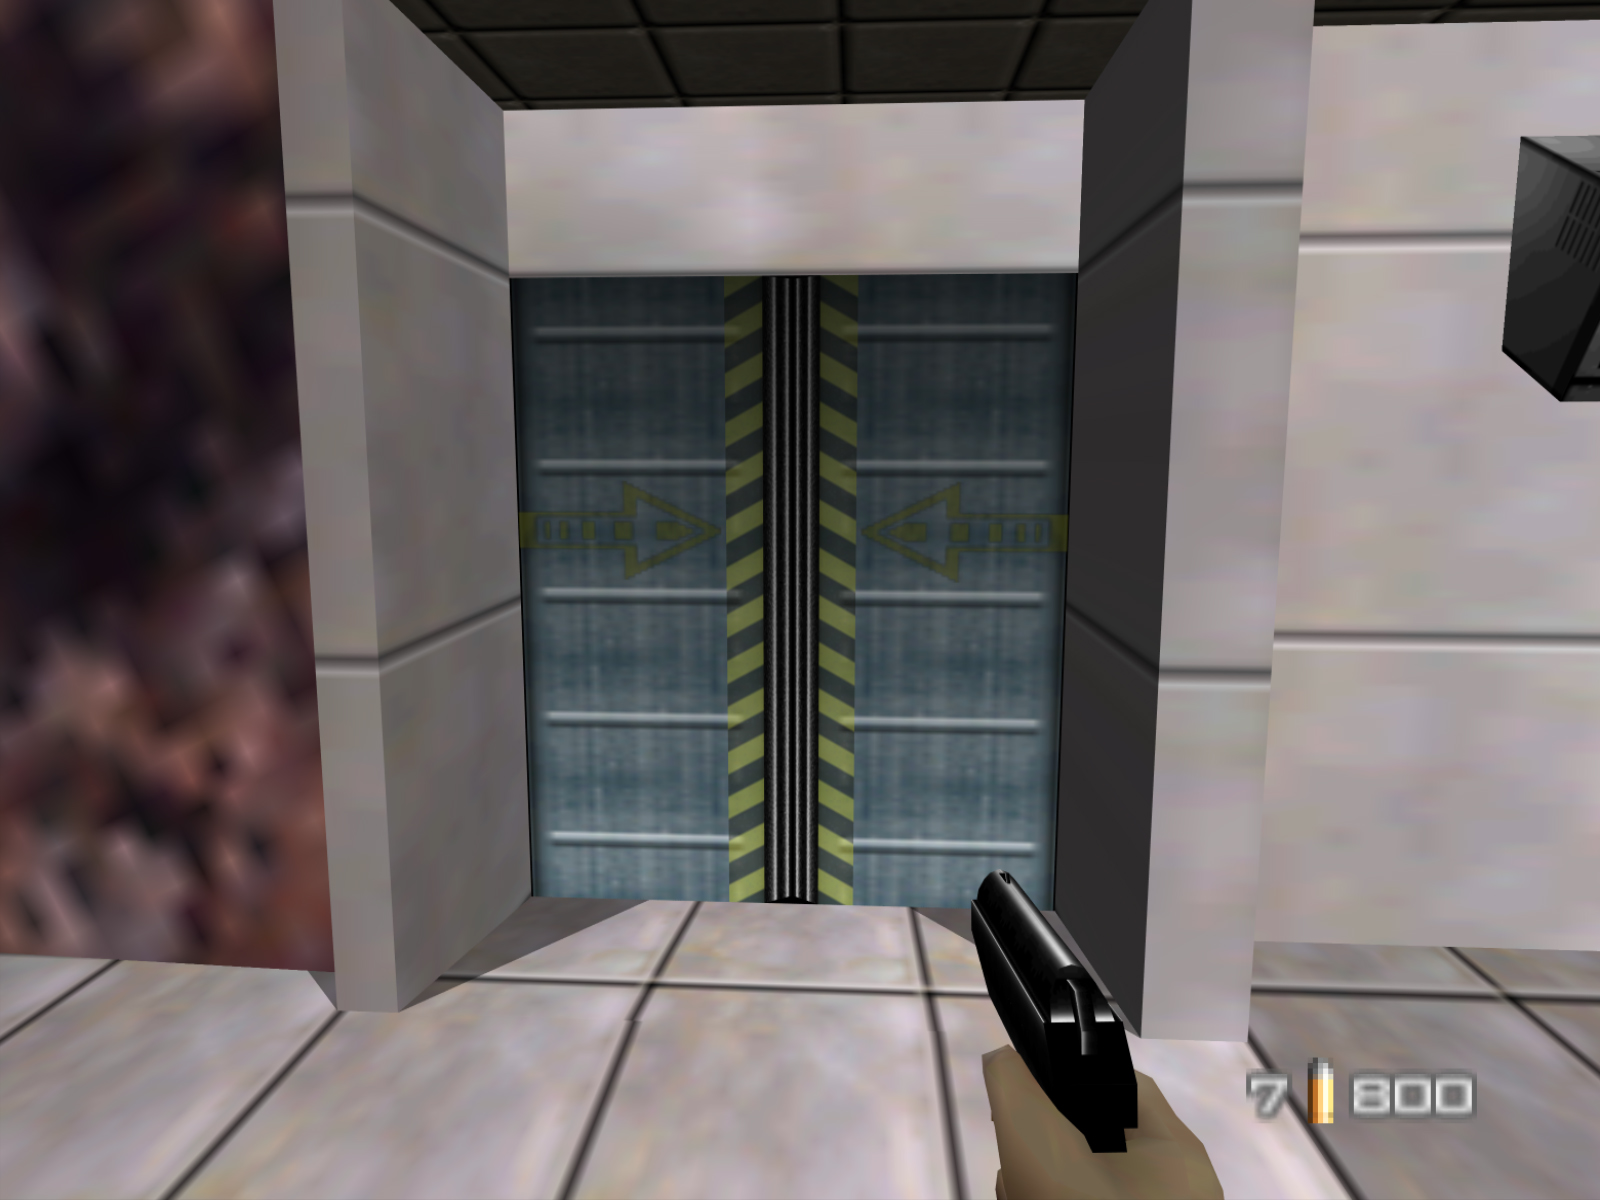
Control begins with Bond and Natalya in the same elevator from which they exited Jungle. Natalya will always wait here until the area ahead is cleared.
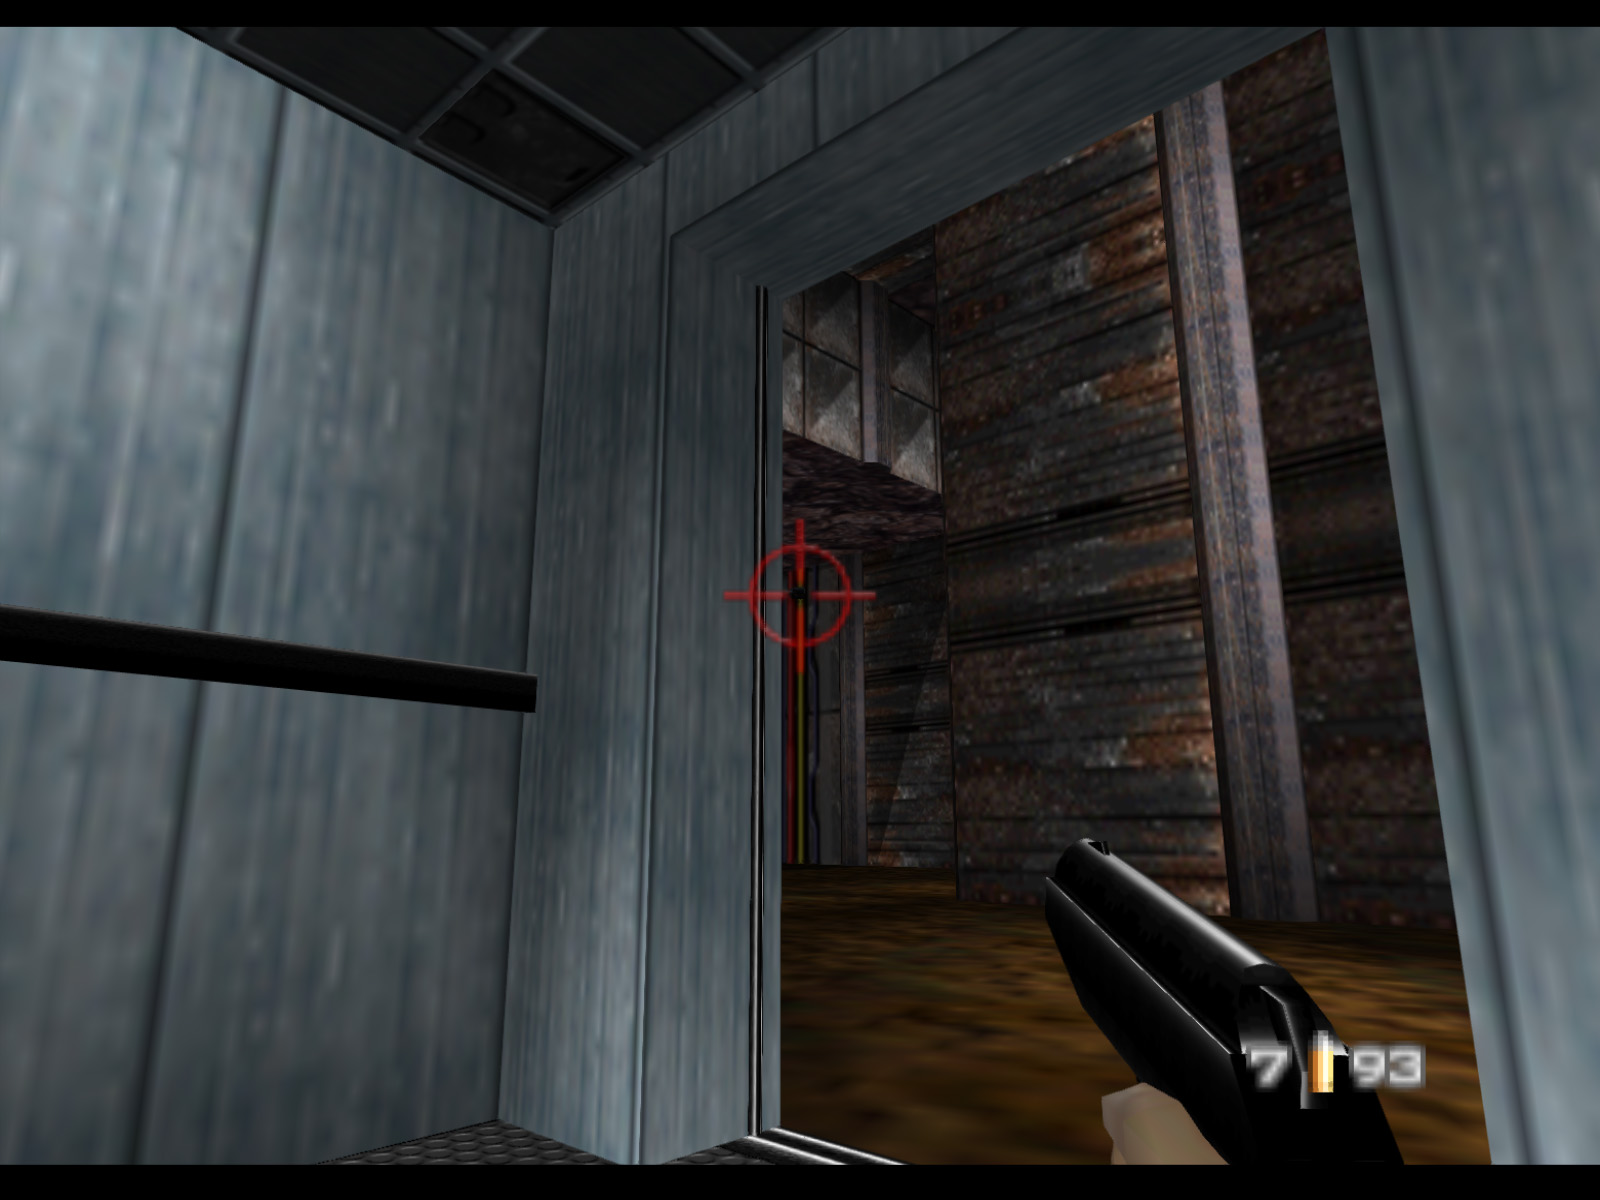
Open the elevators doors and crouch. Edge to the right until you can see the camera arm of a Drone Gun. Hit it five times to destroy it.
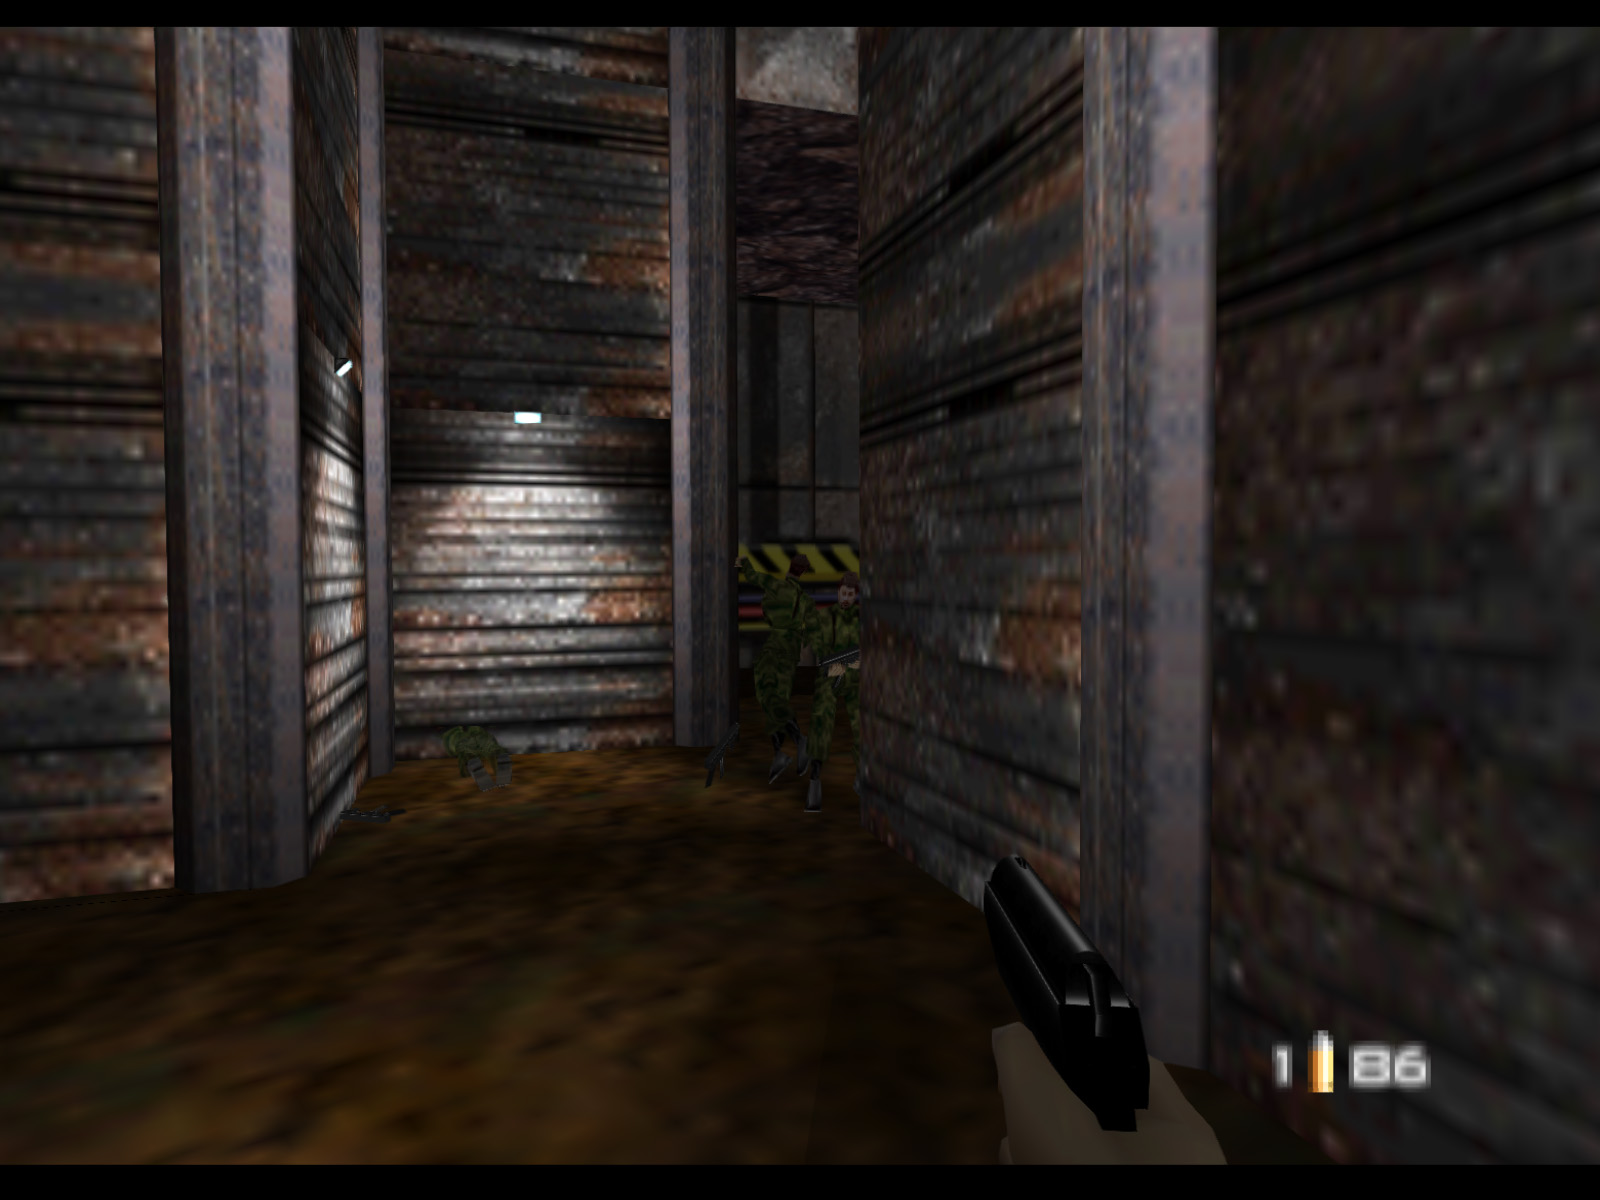
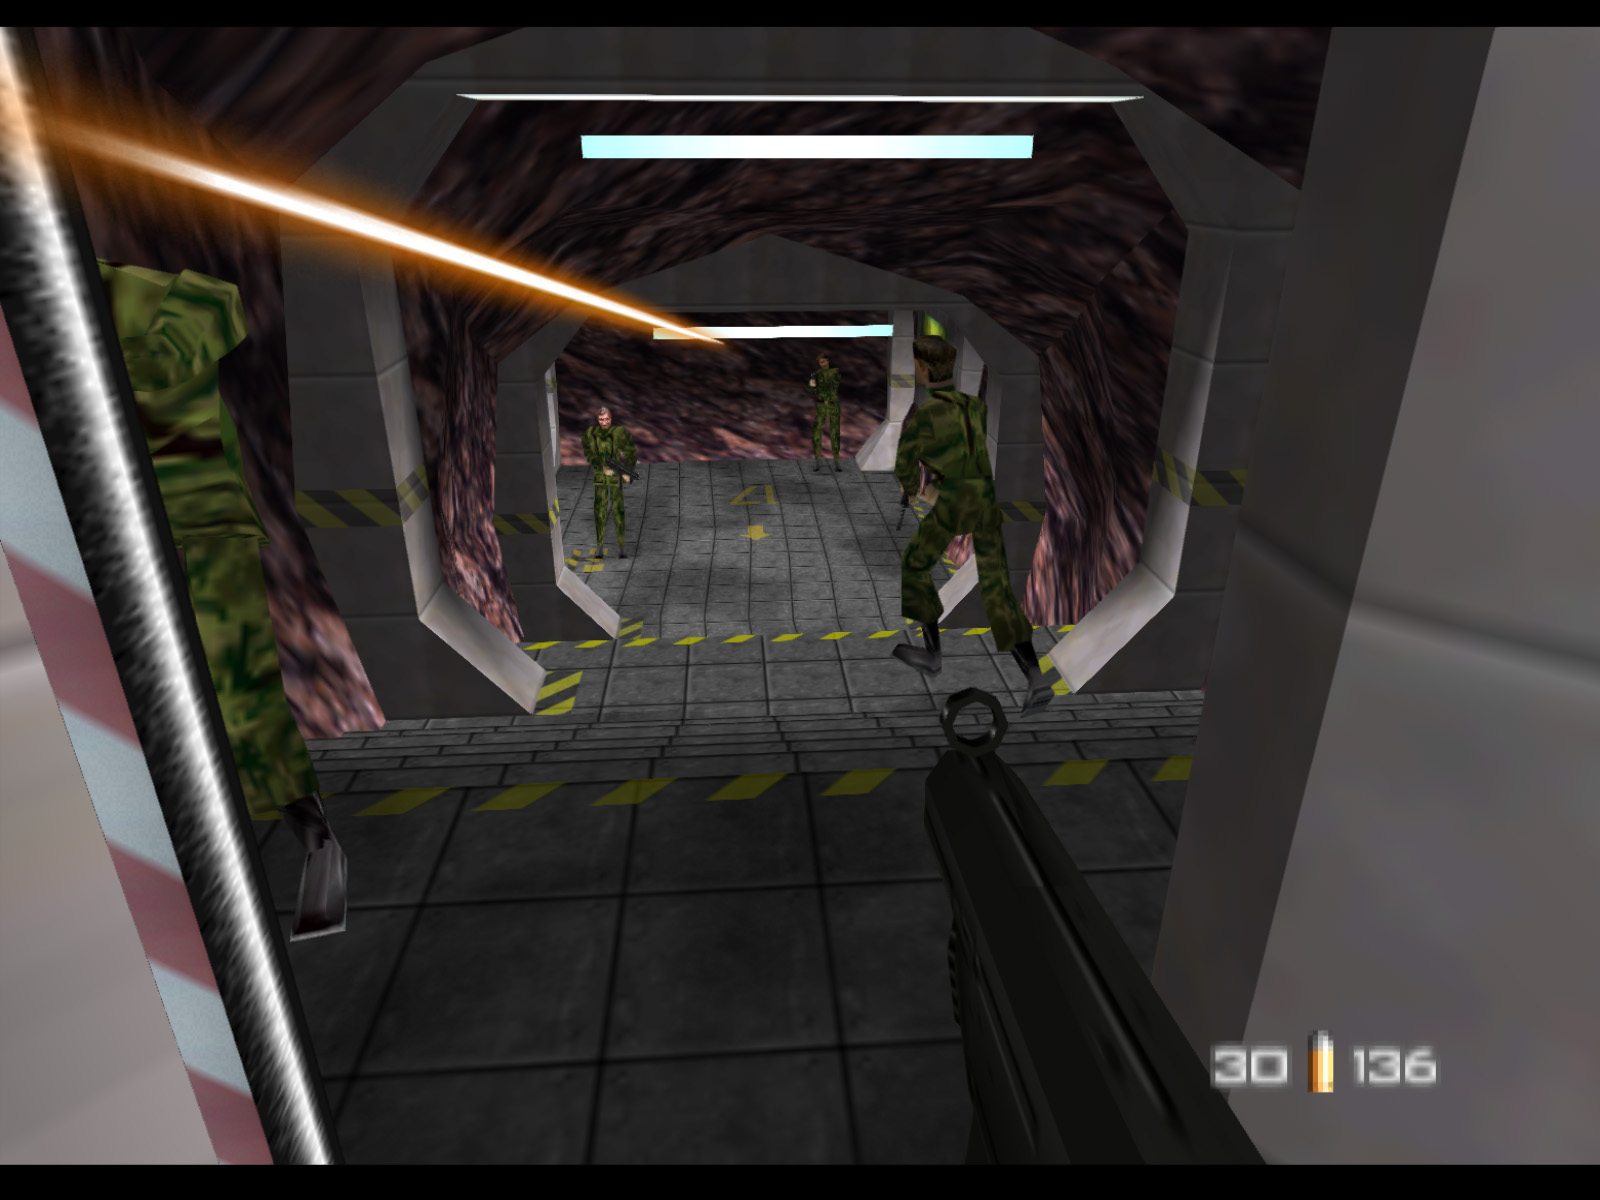
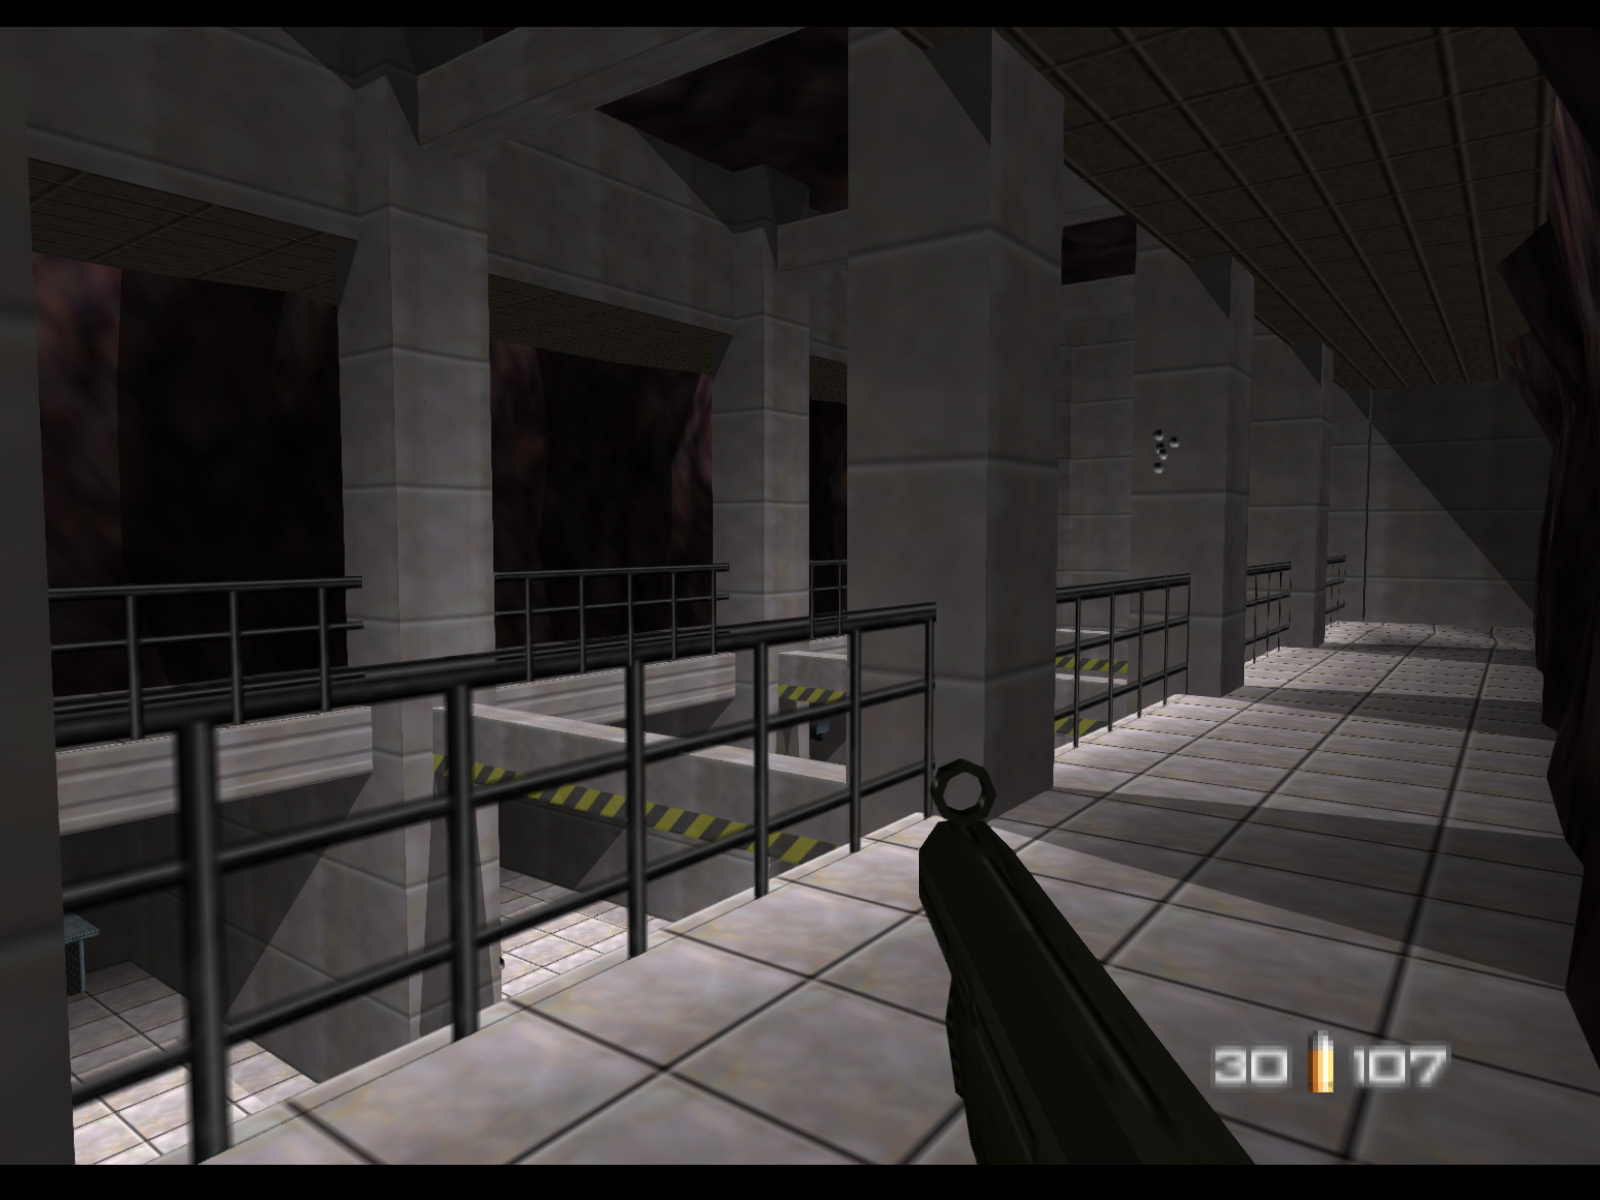
Outside the elevator Jungle Commandos stand guard. Stay back here and eliminate them.
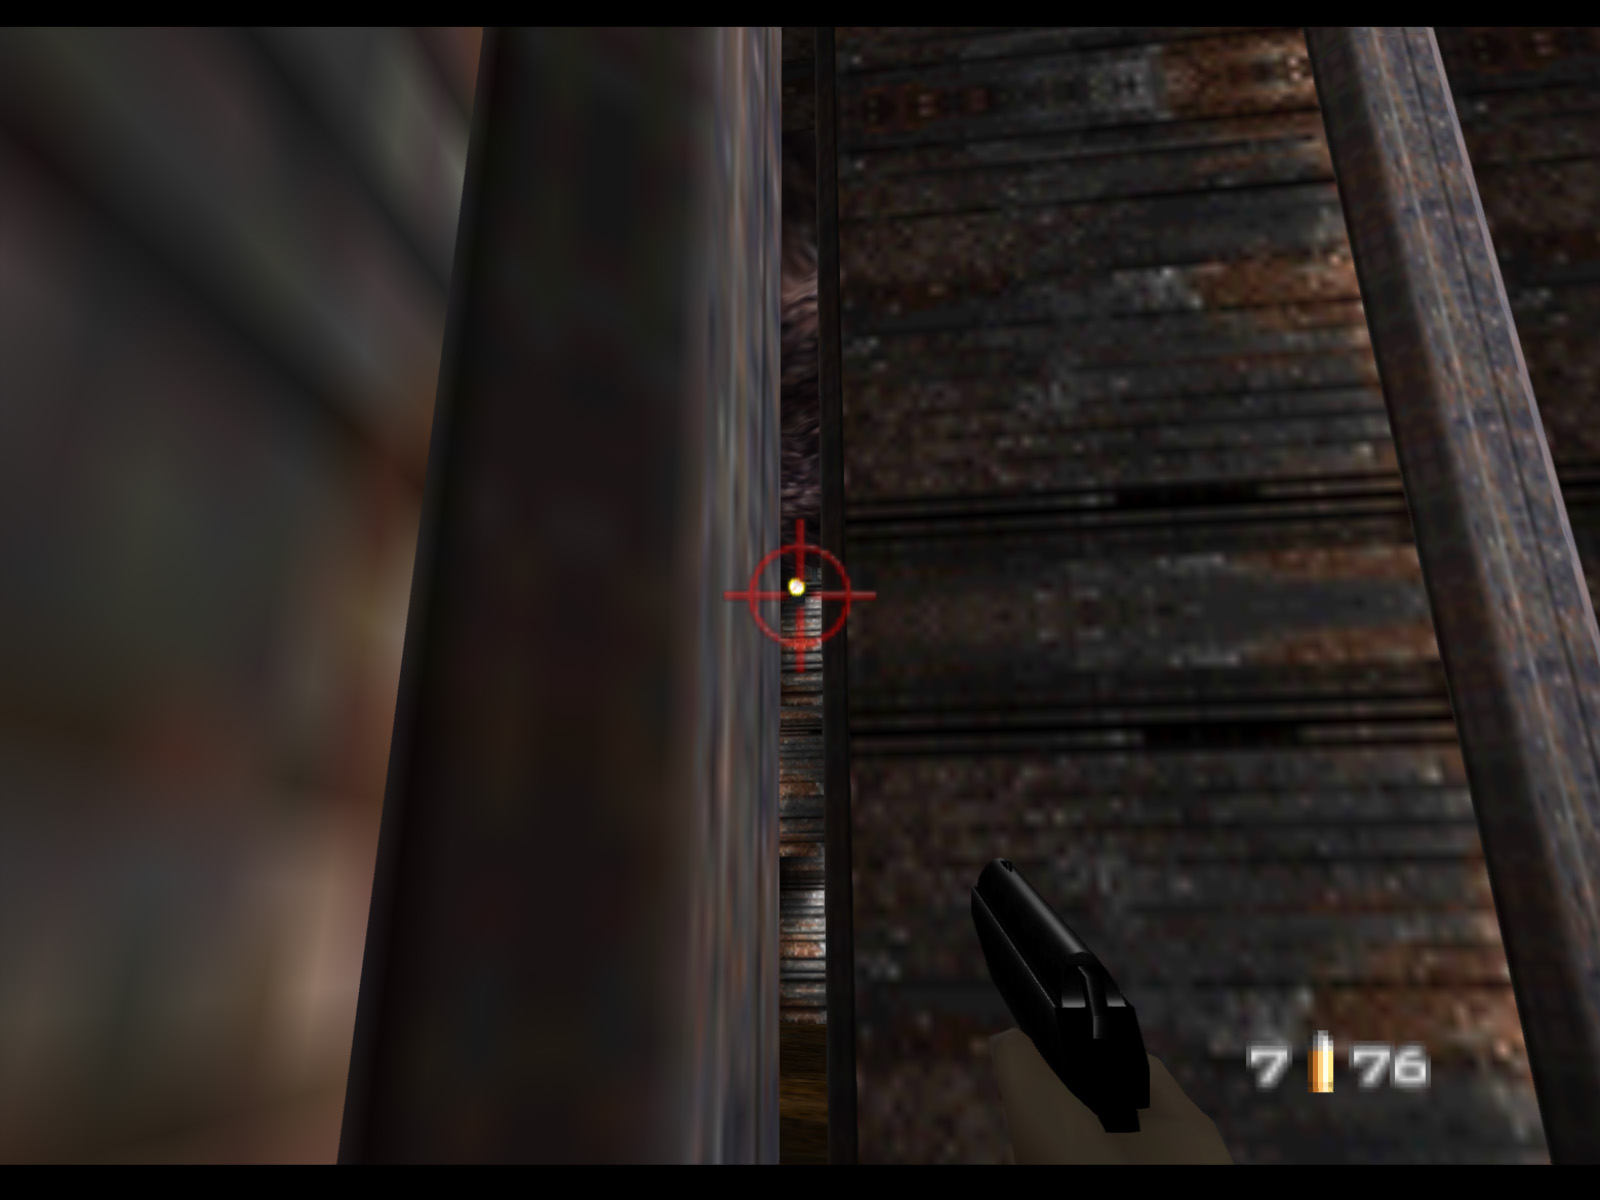
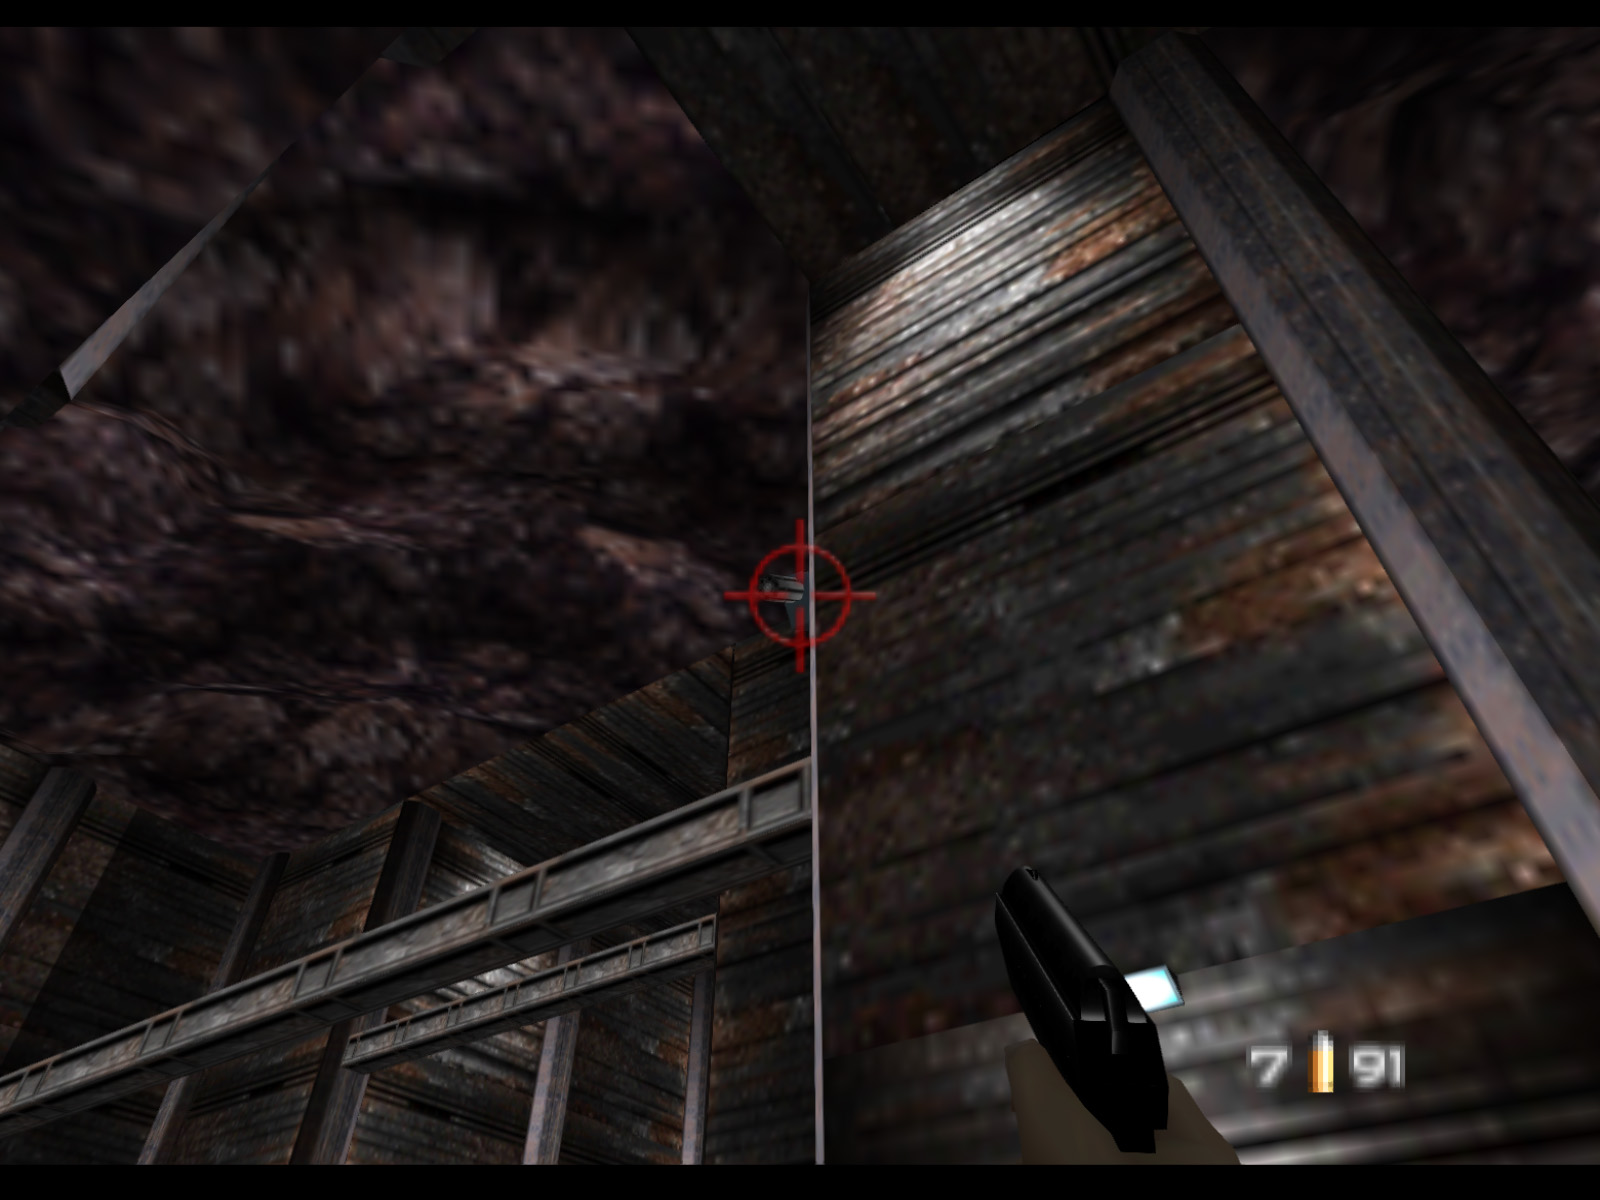
There's a second Drone Gun up high.
▶ TIP: Stand against this wall and it cannot hit you. Take your time, line up your aimer, and destroy it.
There is a third Drone Gun up here. Luckily you can position yourself to see it without the gun seeing you.
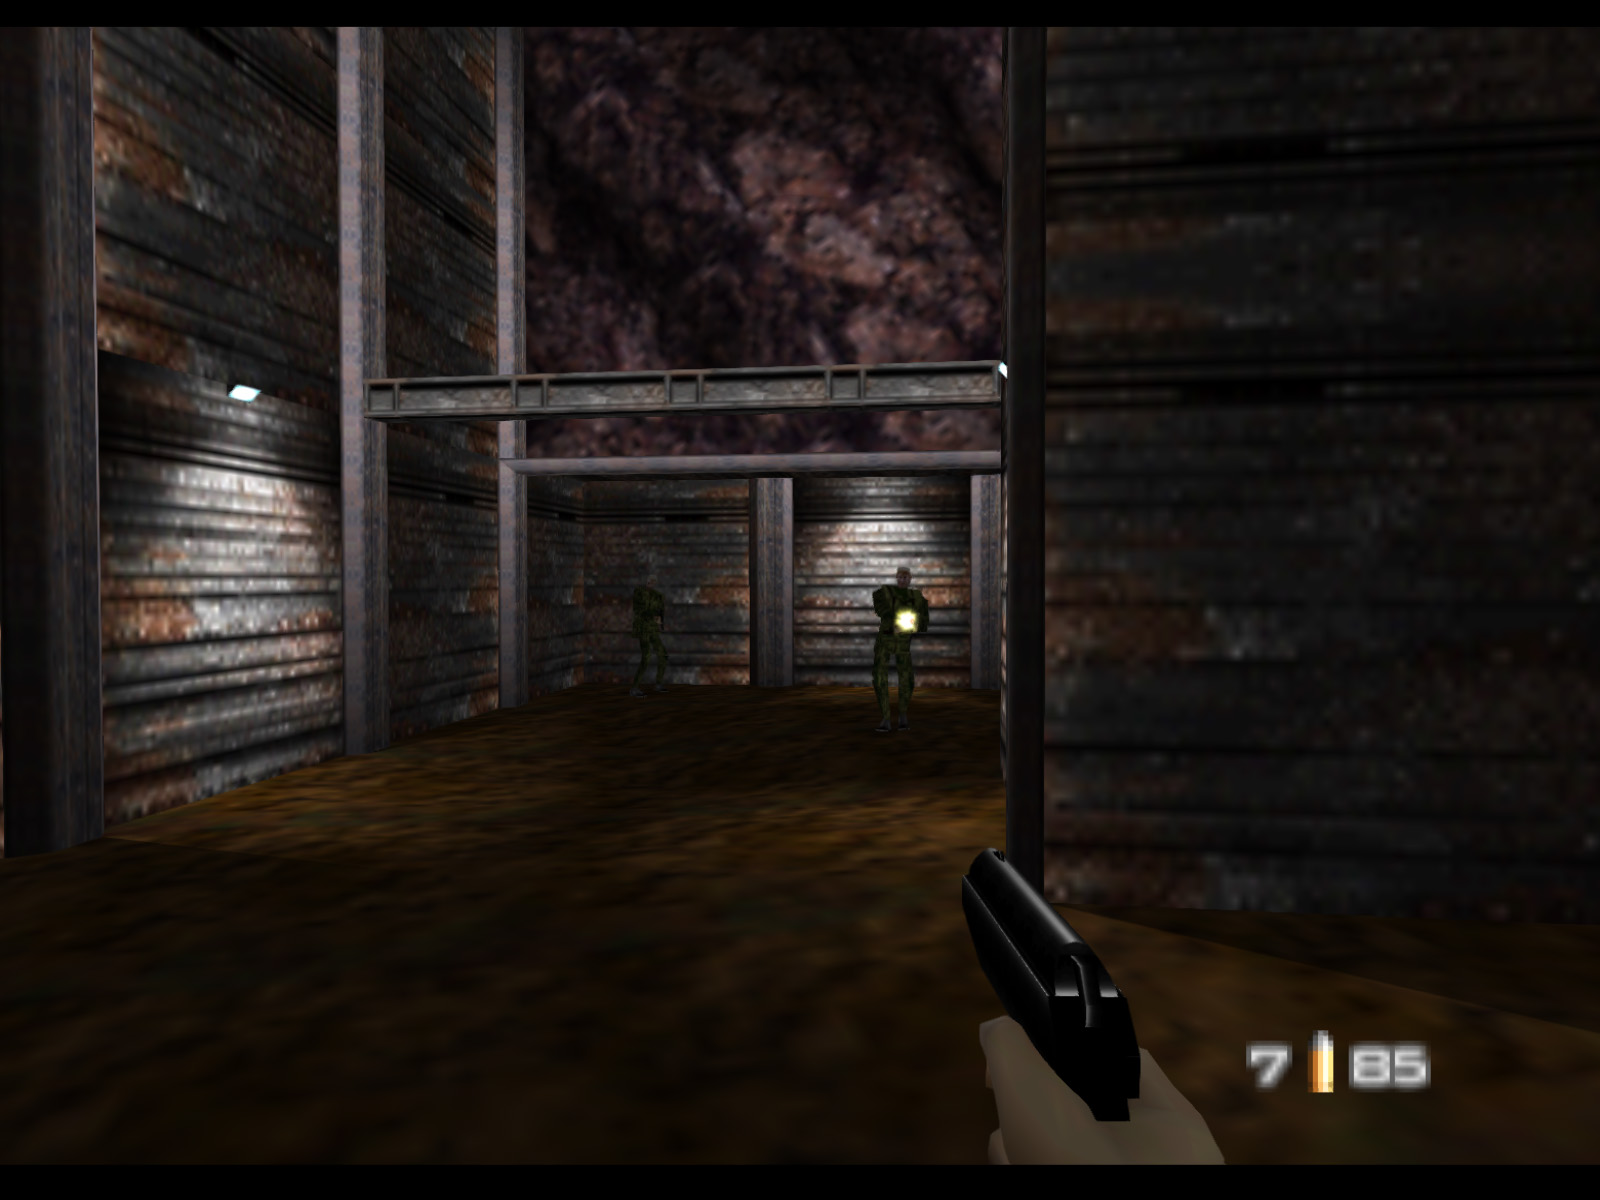
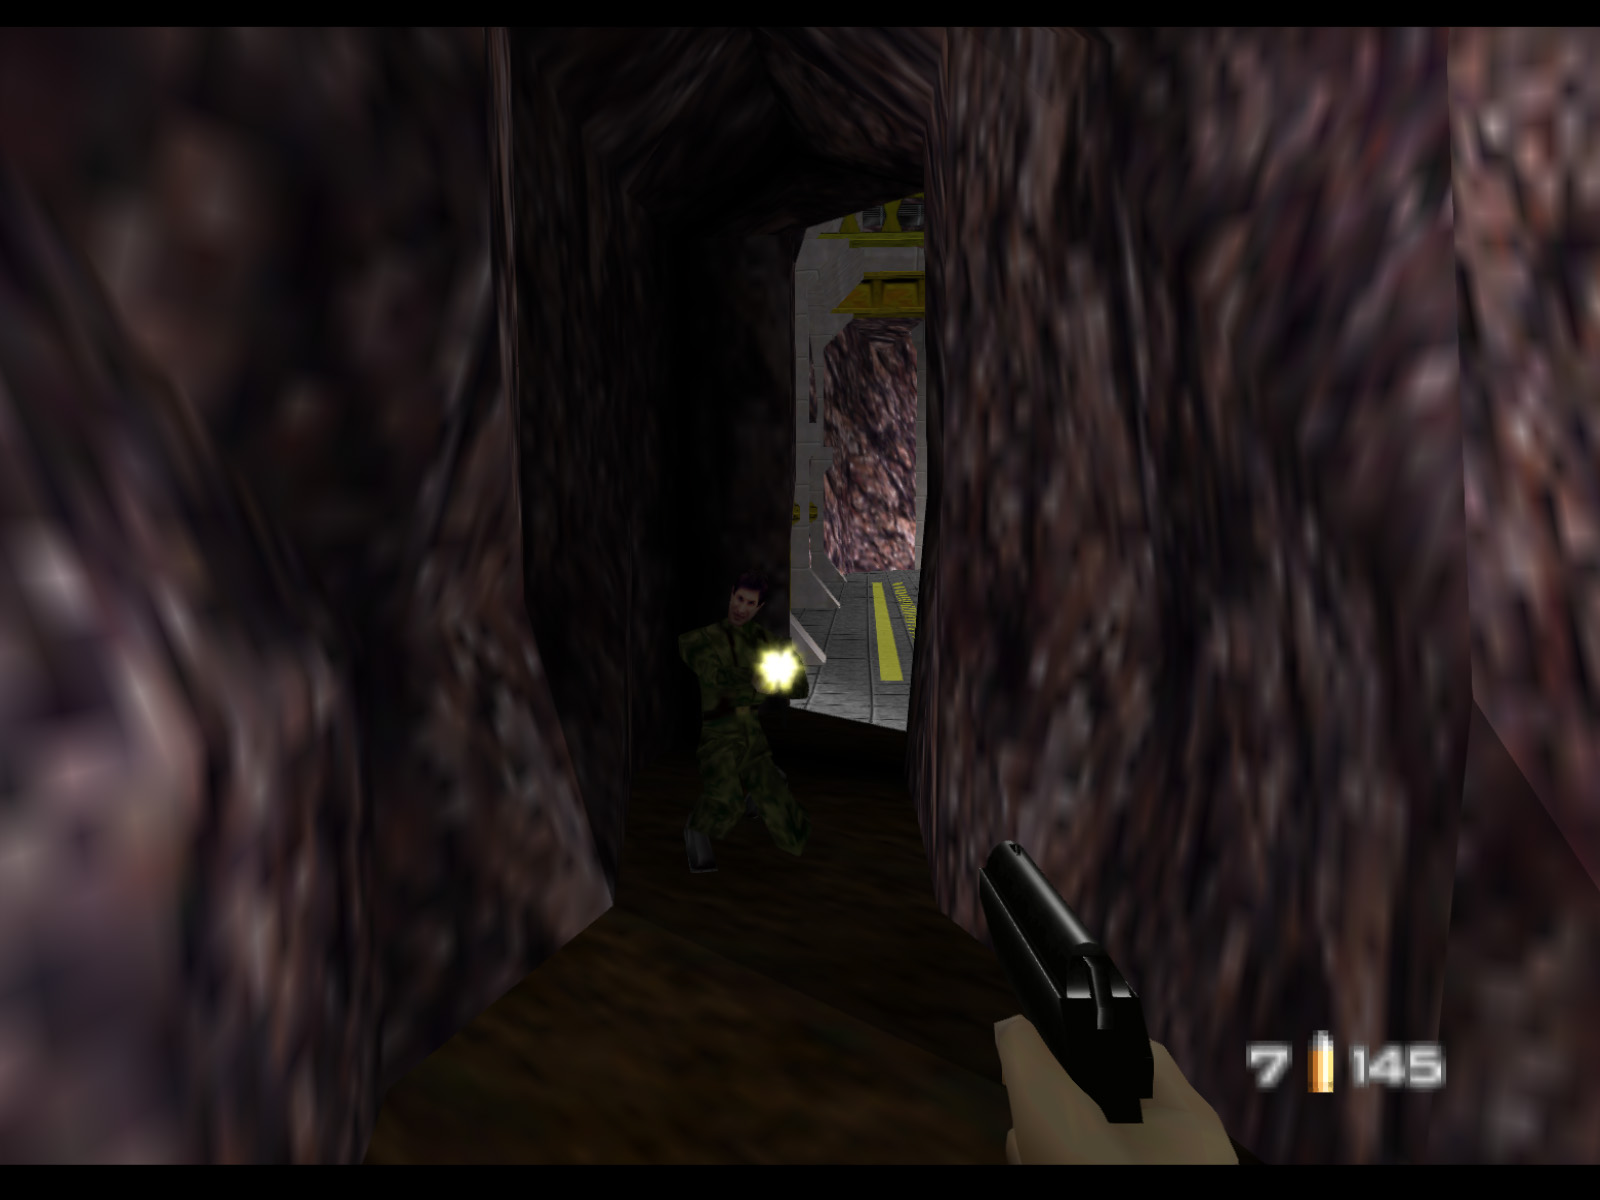
There are two more Jungle Commandos back here.
And there is one more guard near the blast door to the main control room.
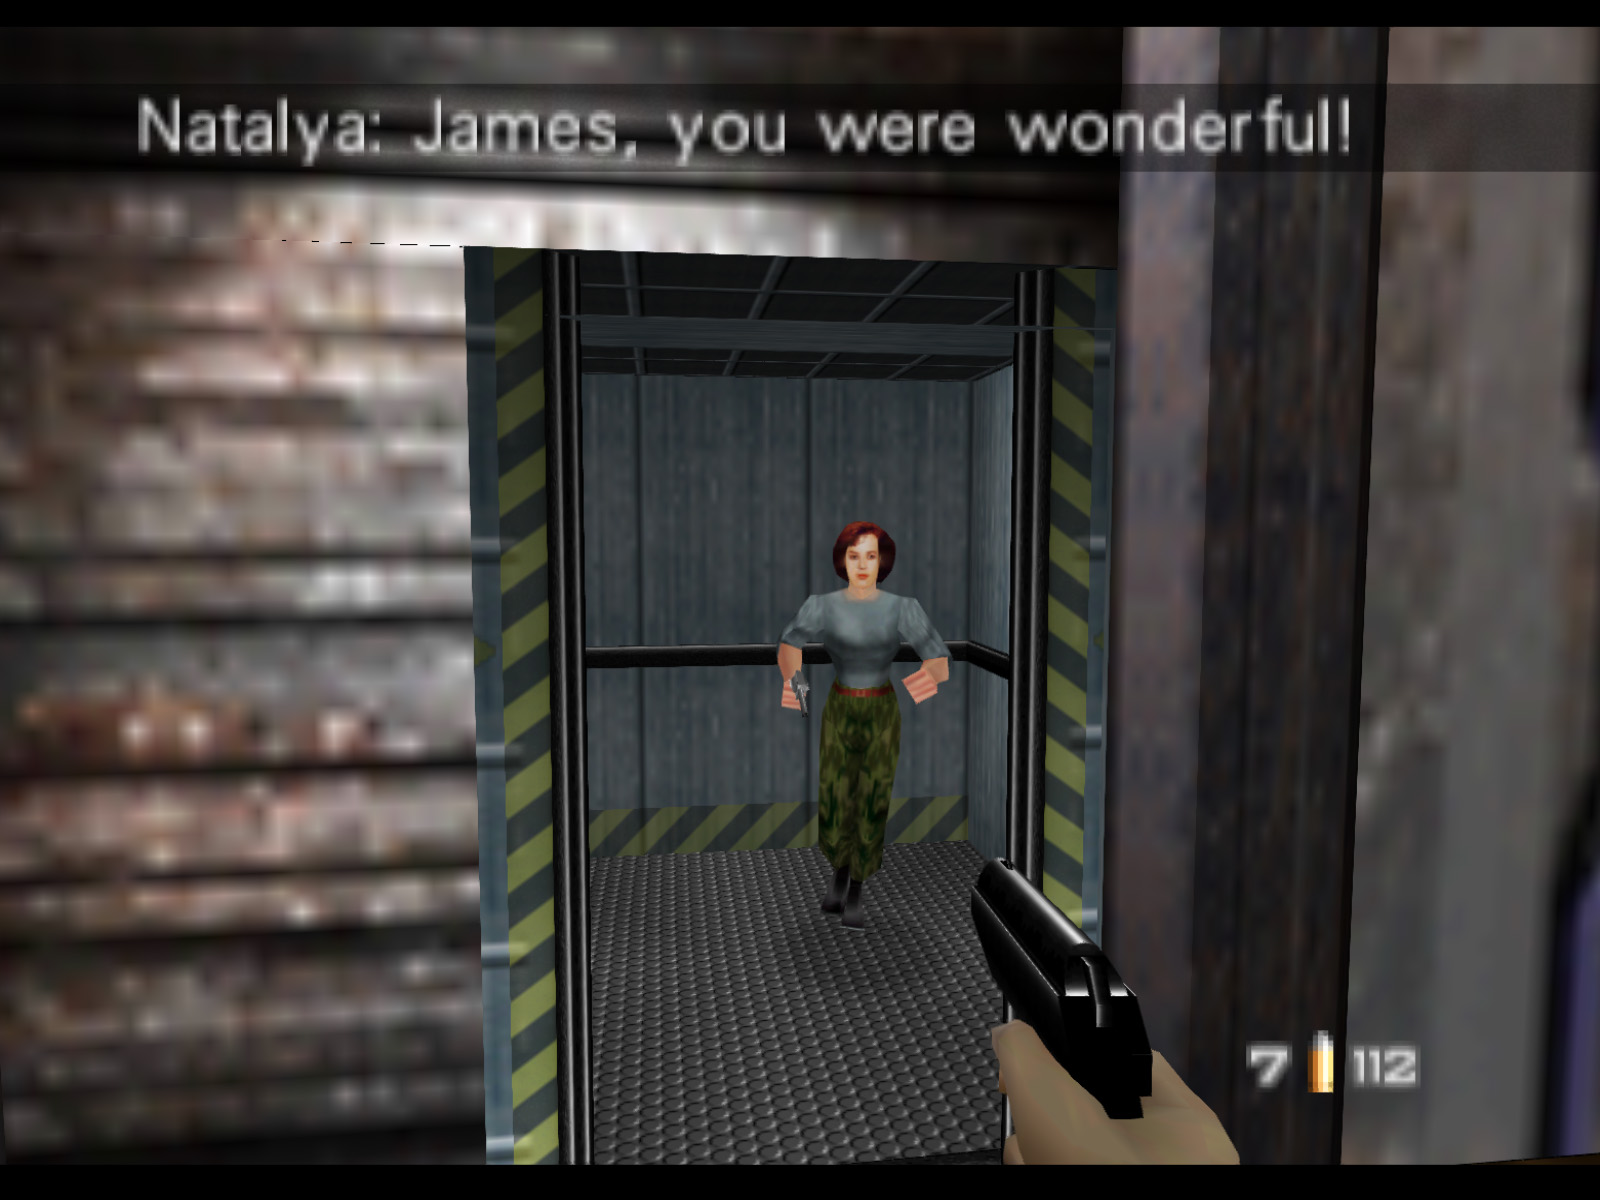
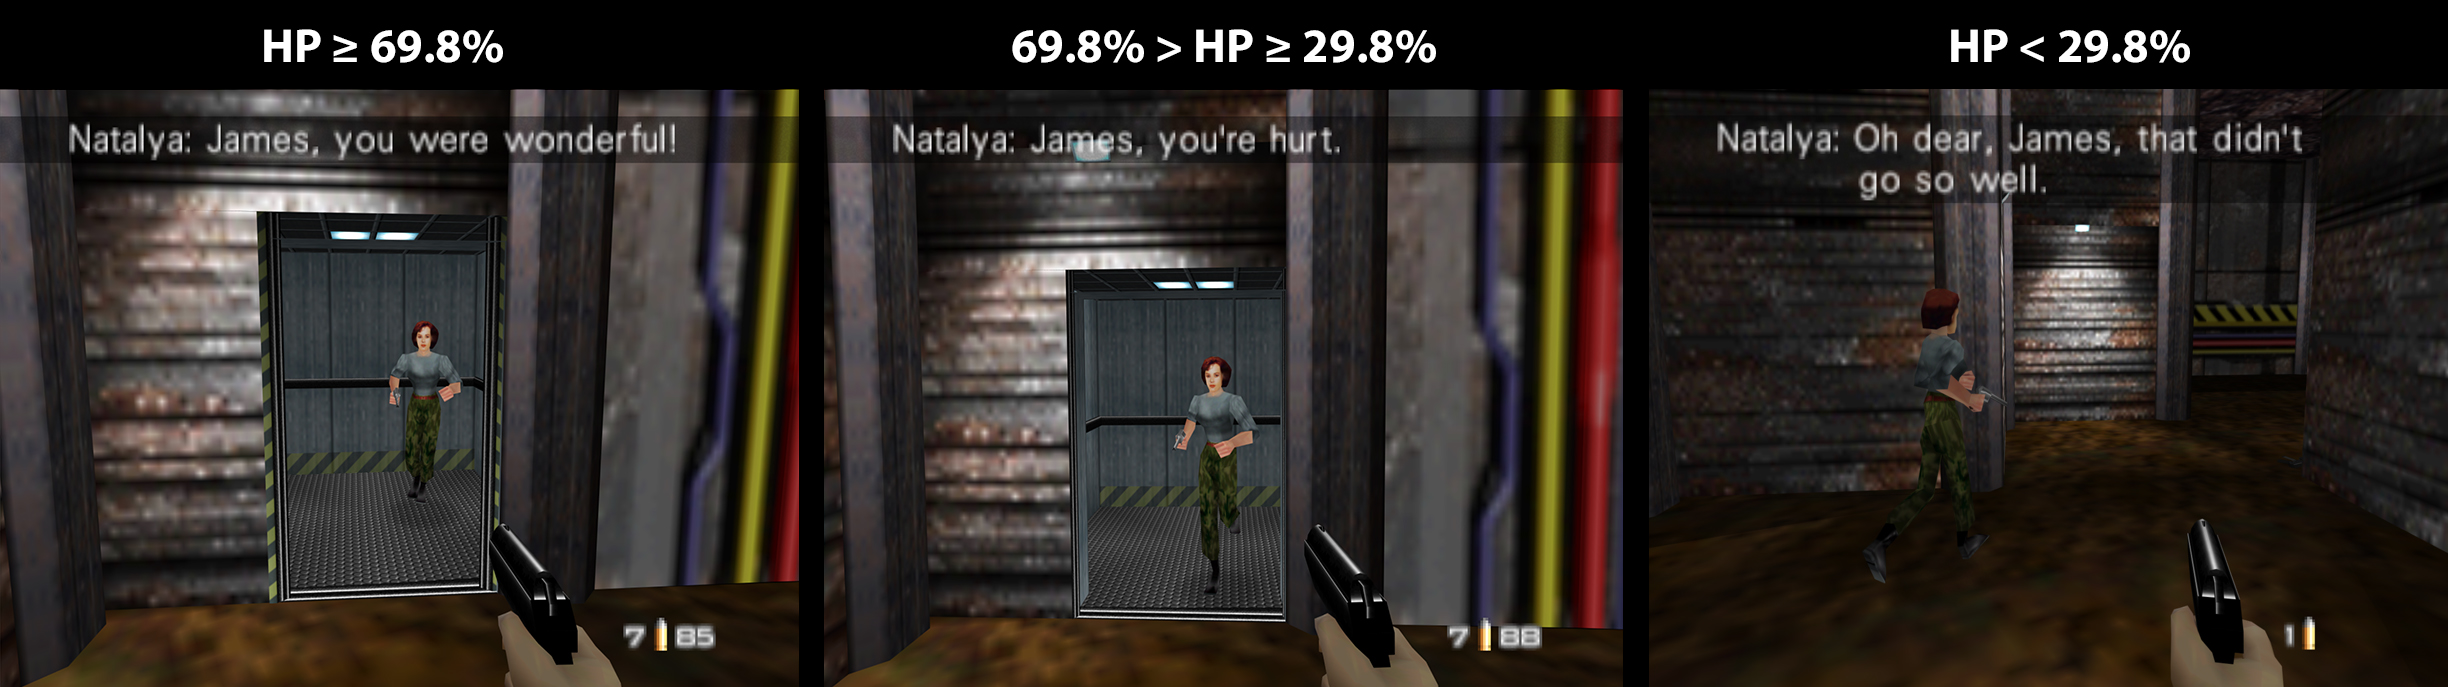
Once the area is clear go back to the elevator and let Natalya out. Her line will change depending on your health. Between about 100% and 70% health she will say, "James, you were wonderful!" Between about 70% and 30% her line is, "James, you're hurt." Lower than that and she says, "Oh dear, James, that didn't go so well."
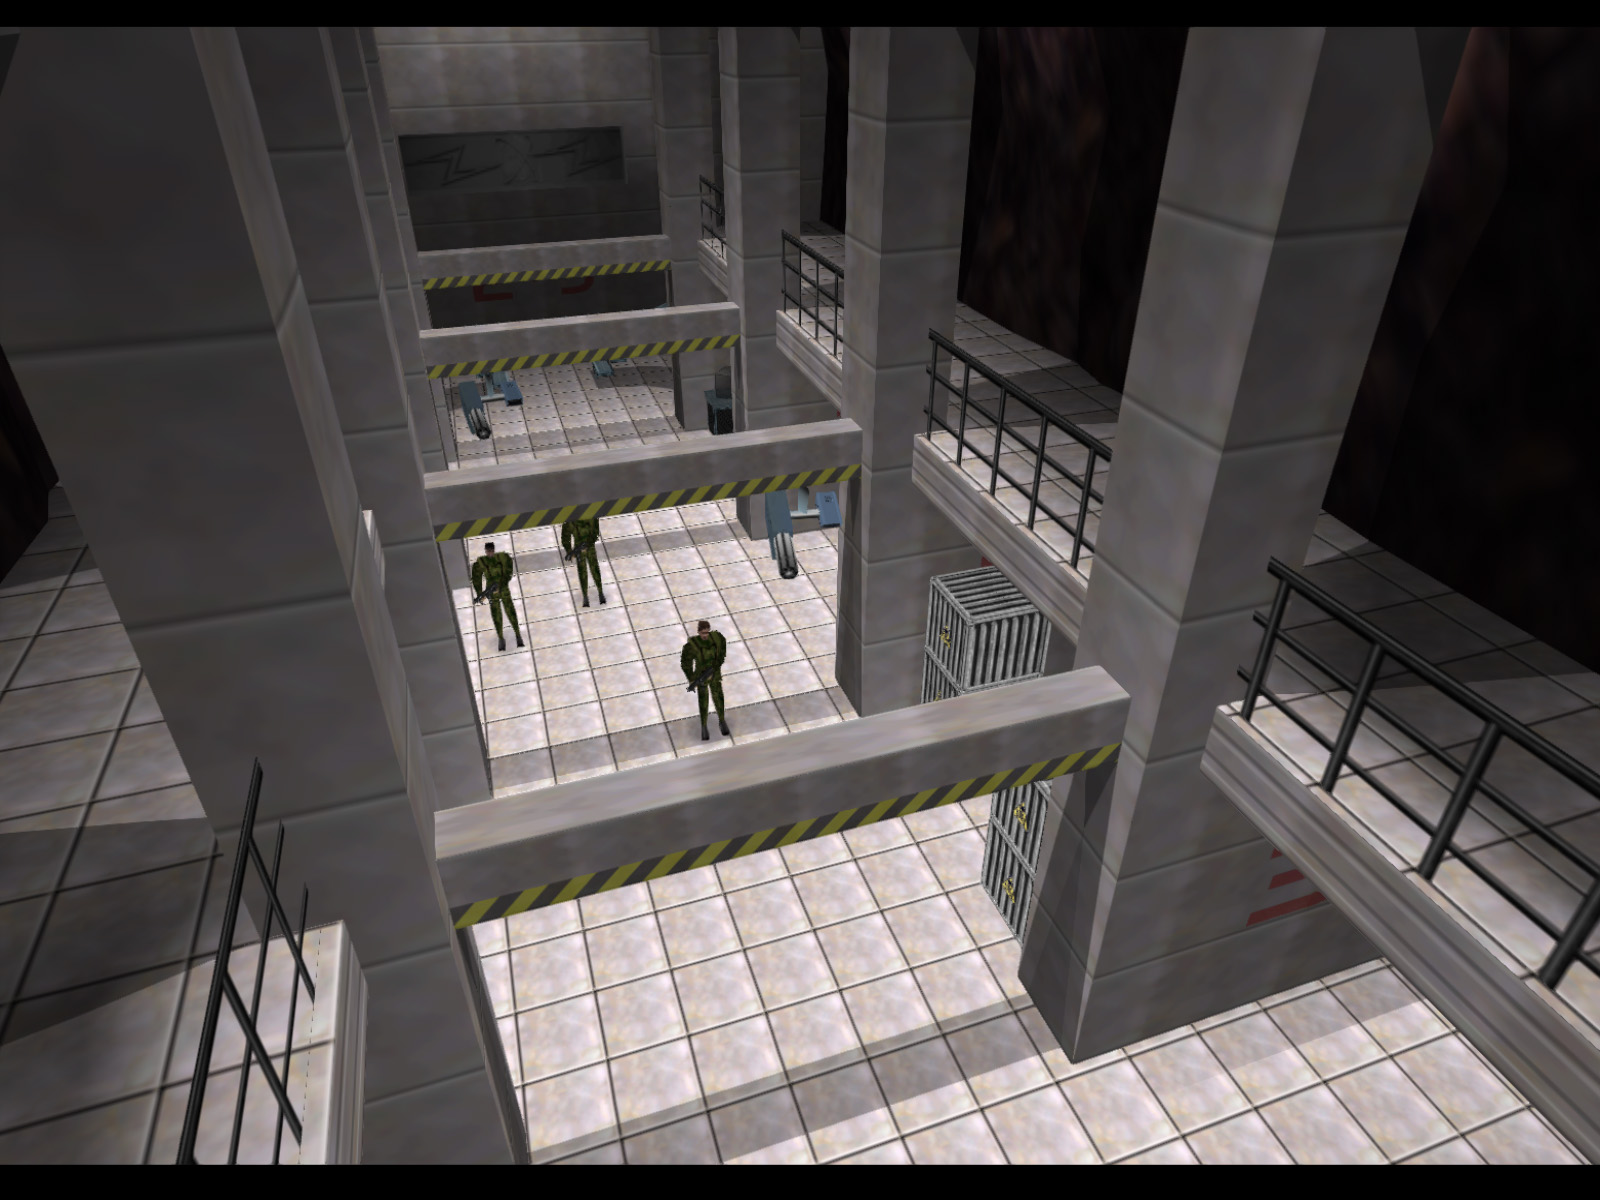
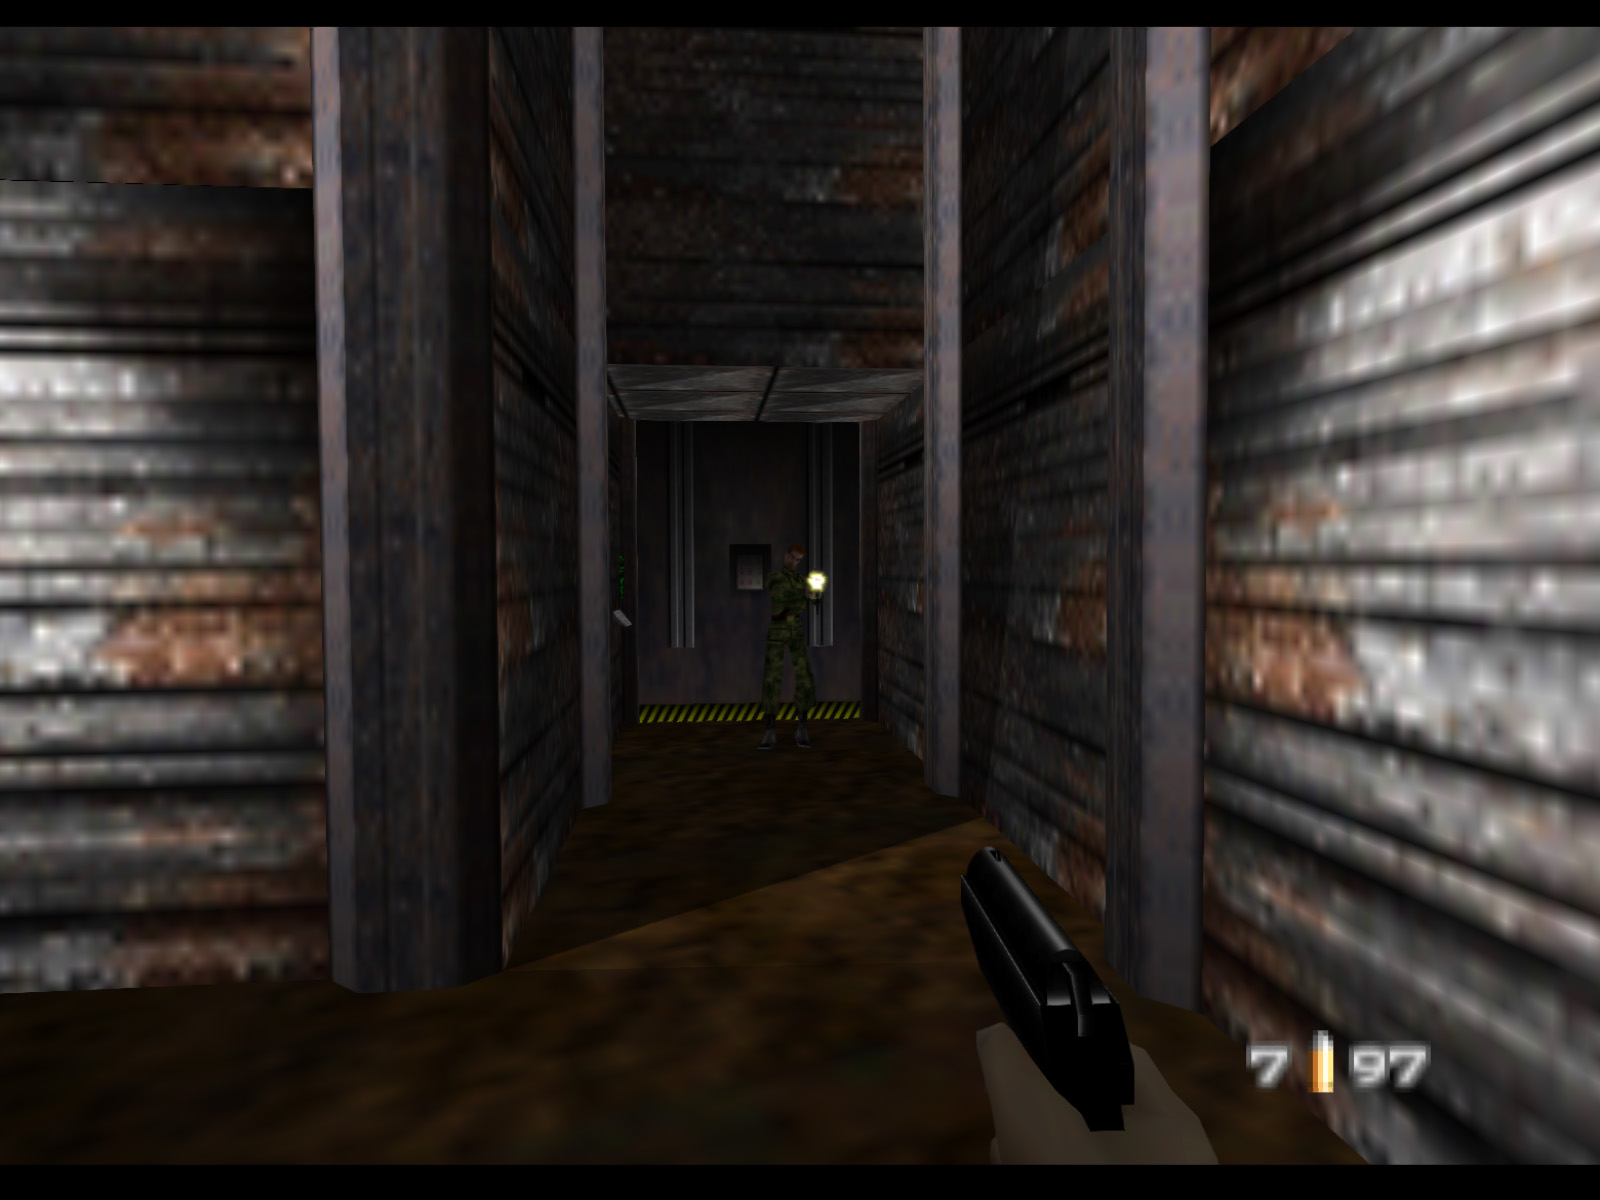
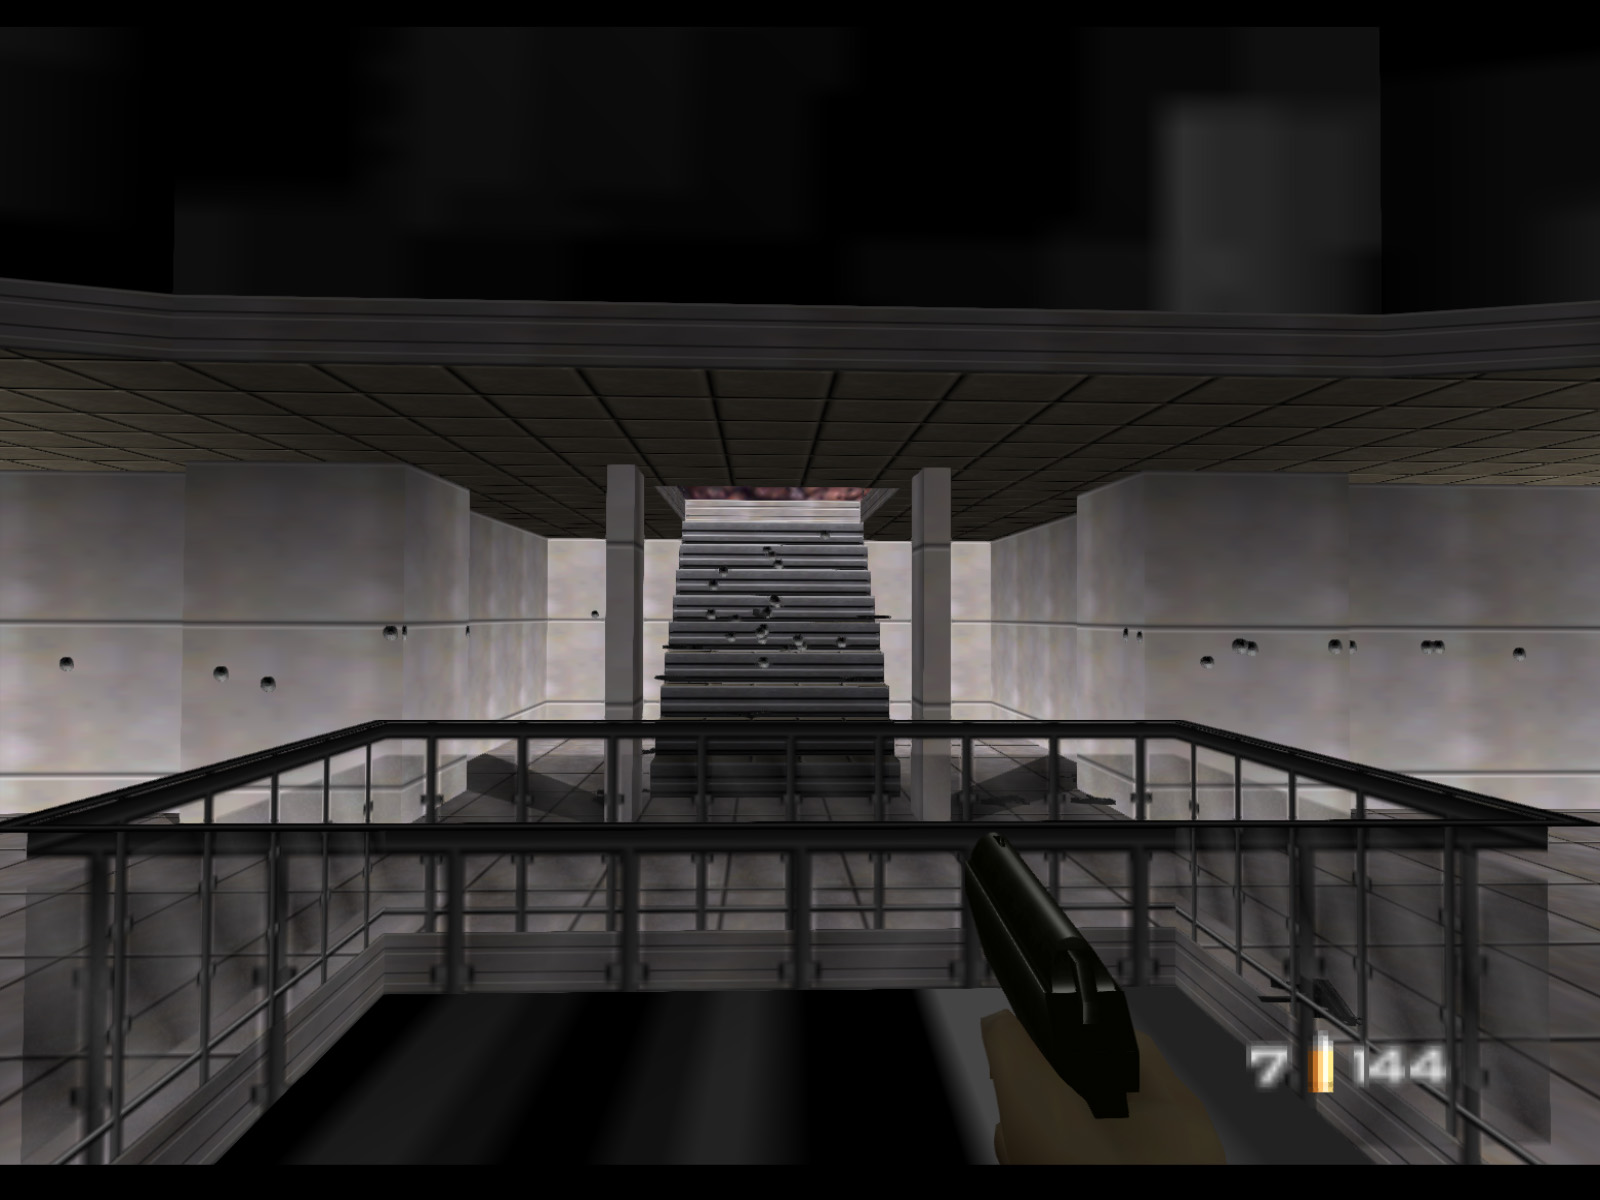
Natalya goes to a console and after some time opens up a blast door for you. This is the hall beyond that door. Watch out for two guards at the far end in the pit.
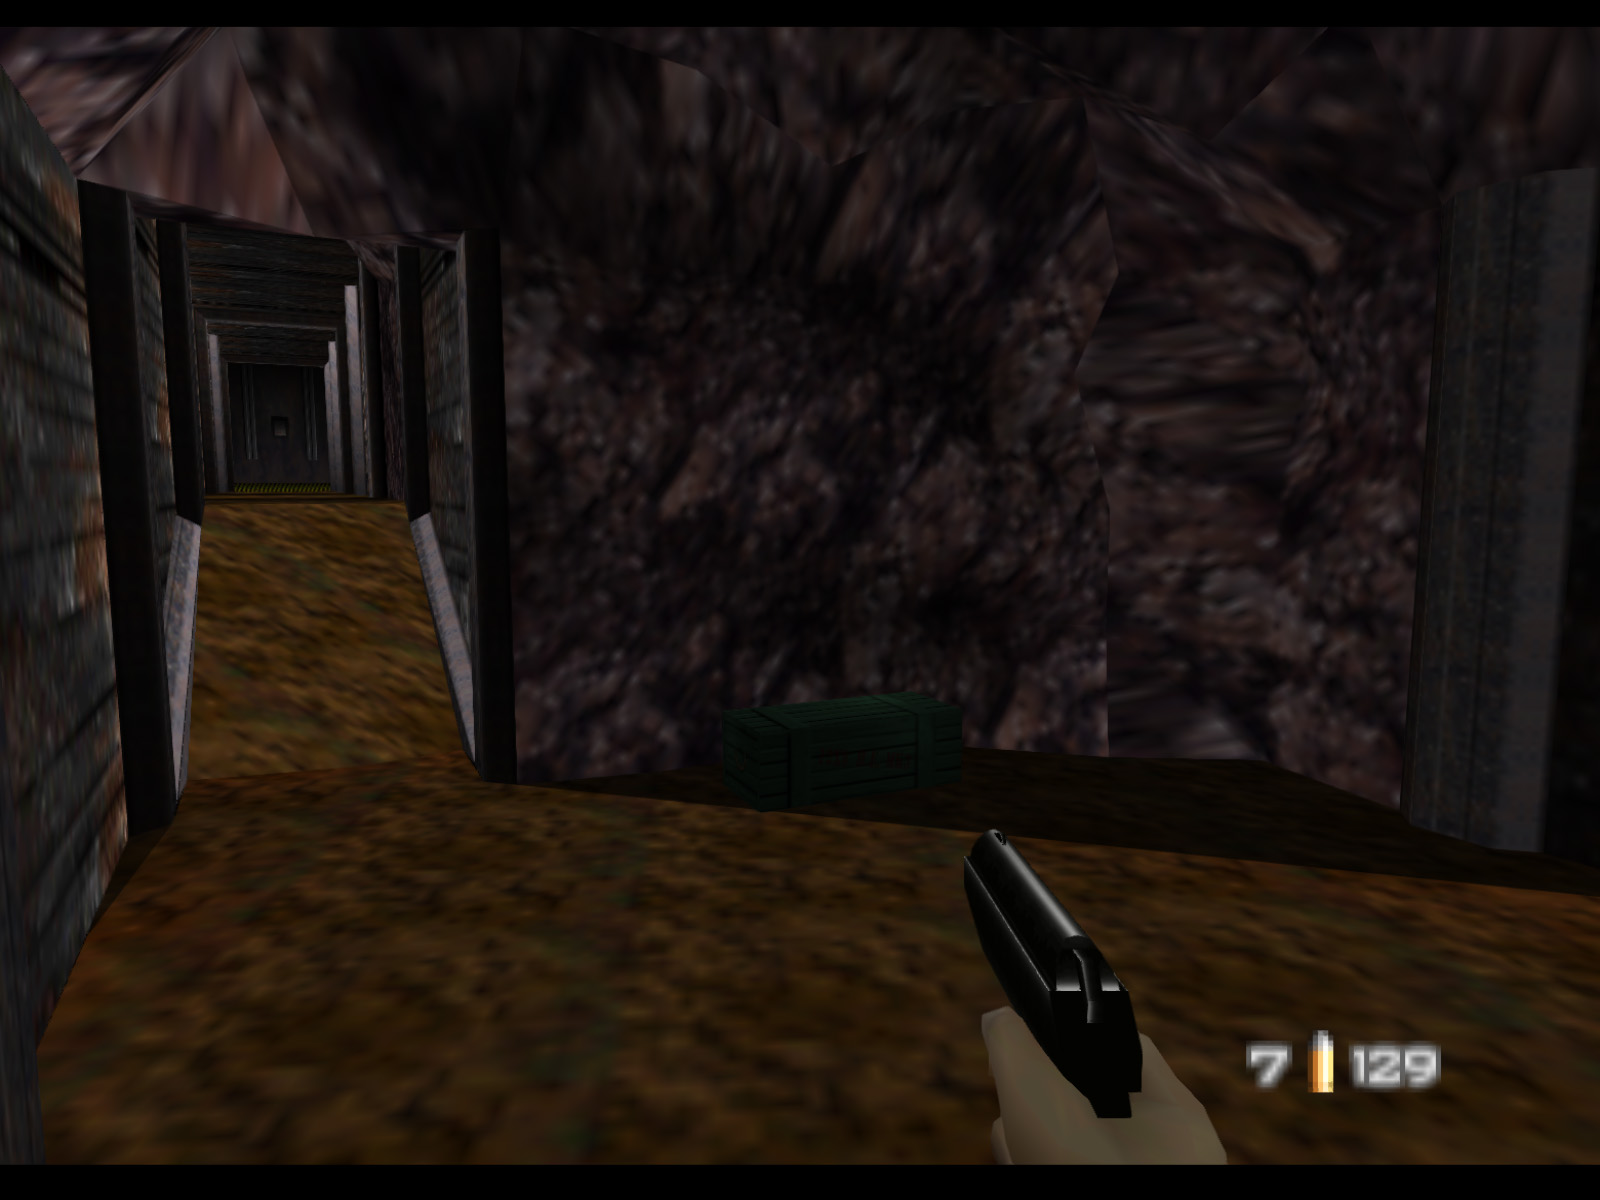
The pit has a box of Remote Mines. These are needed to destroy the armored Mainframes.
Up the ramp and to the left of the last screenshot there are four Jungle Commandos who take cover behind crates and love to toss Grenades.

After the crate area there is a narrow passage that leads to the generator room.
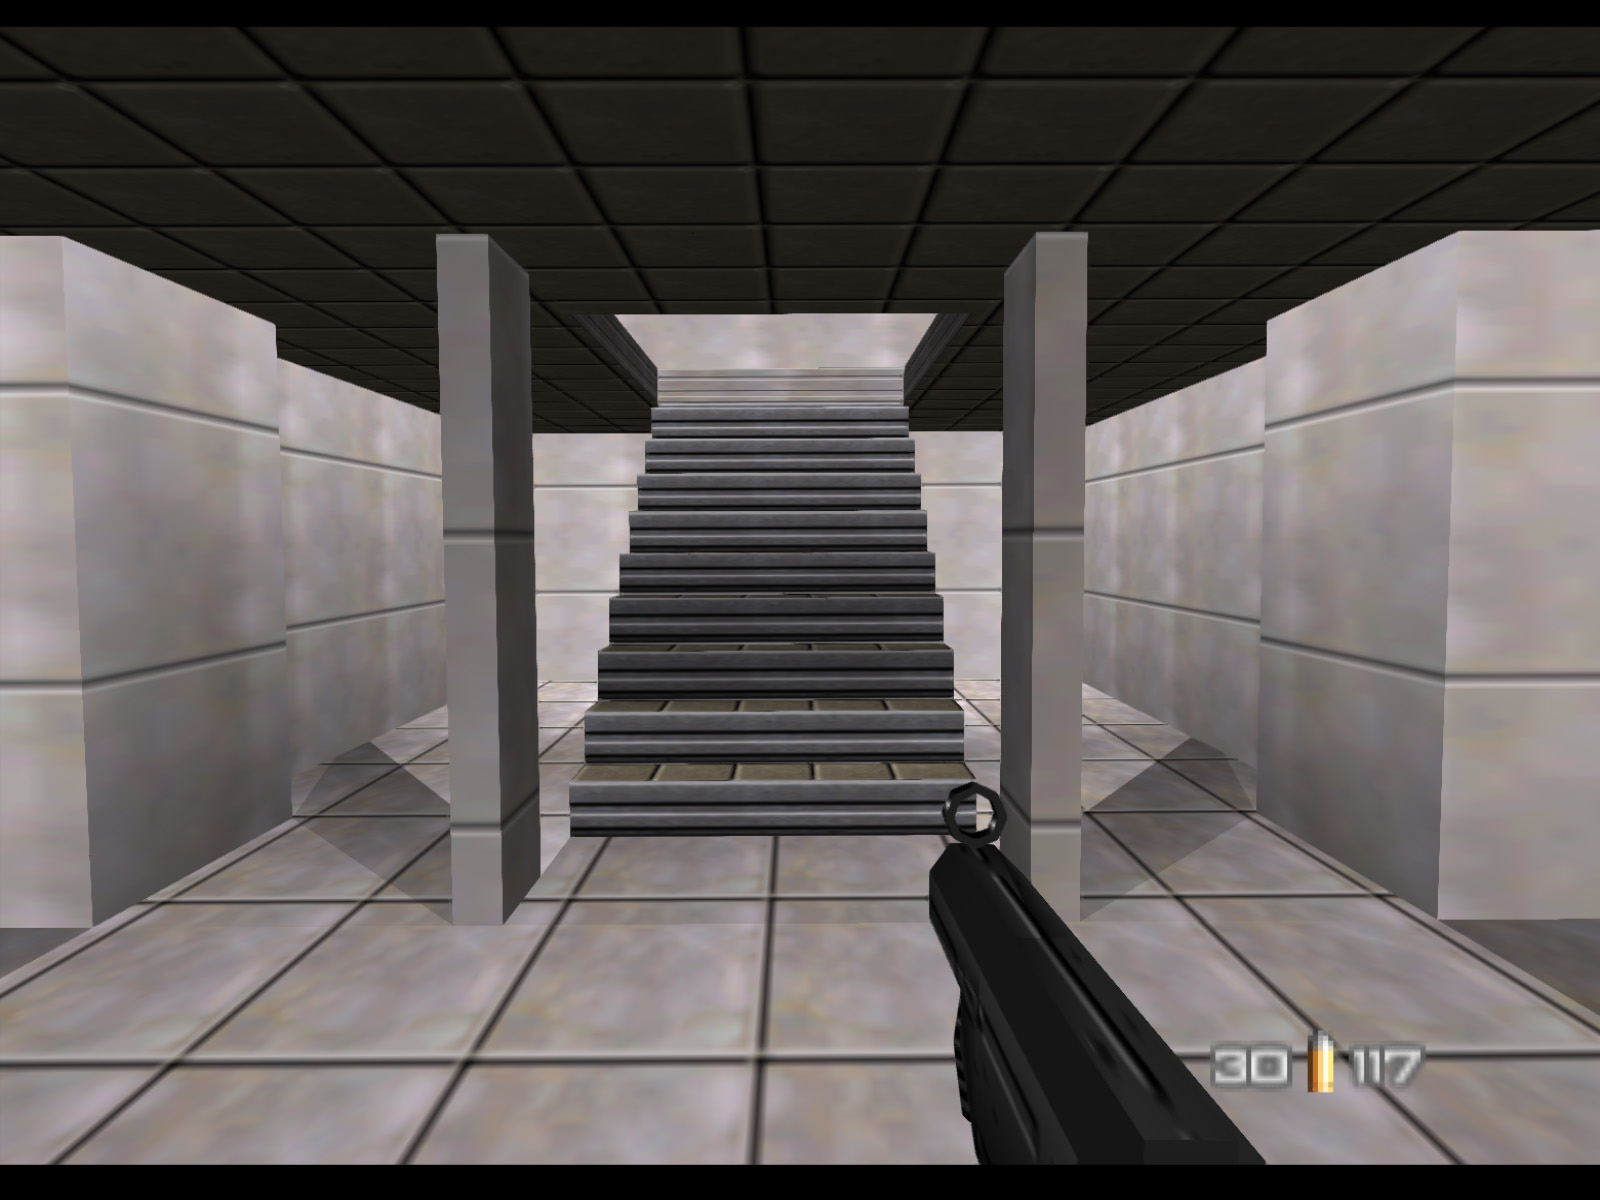
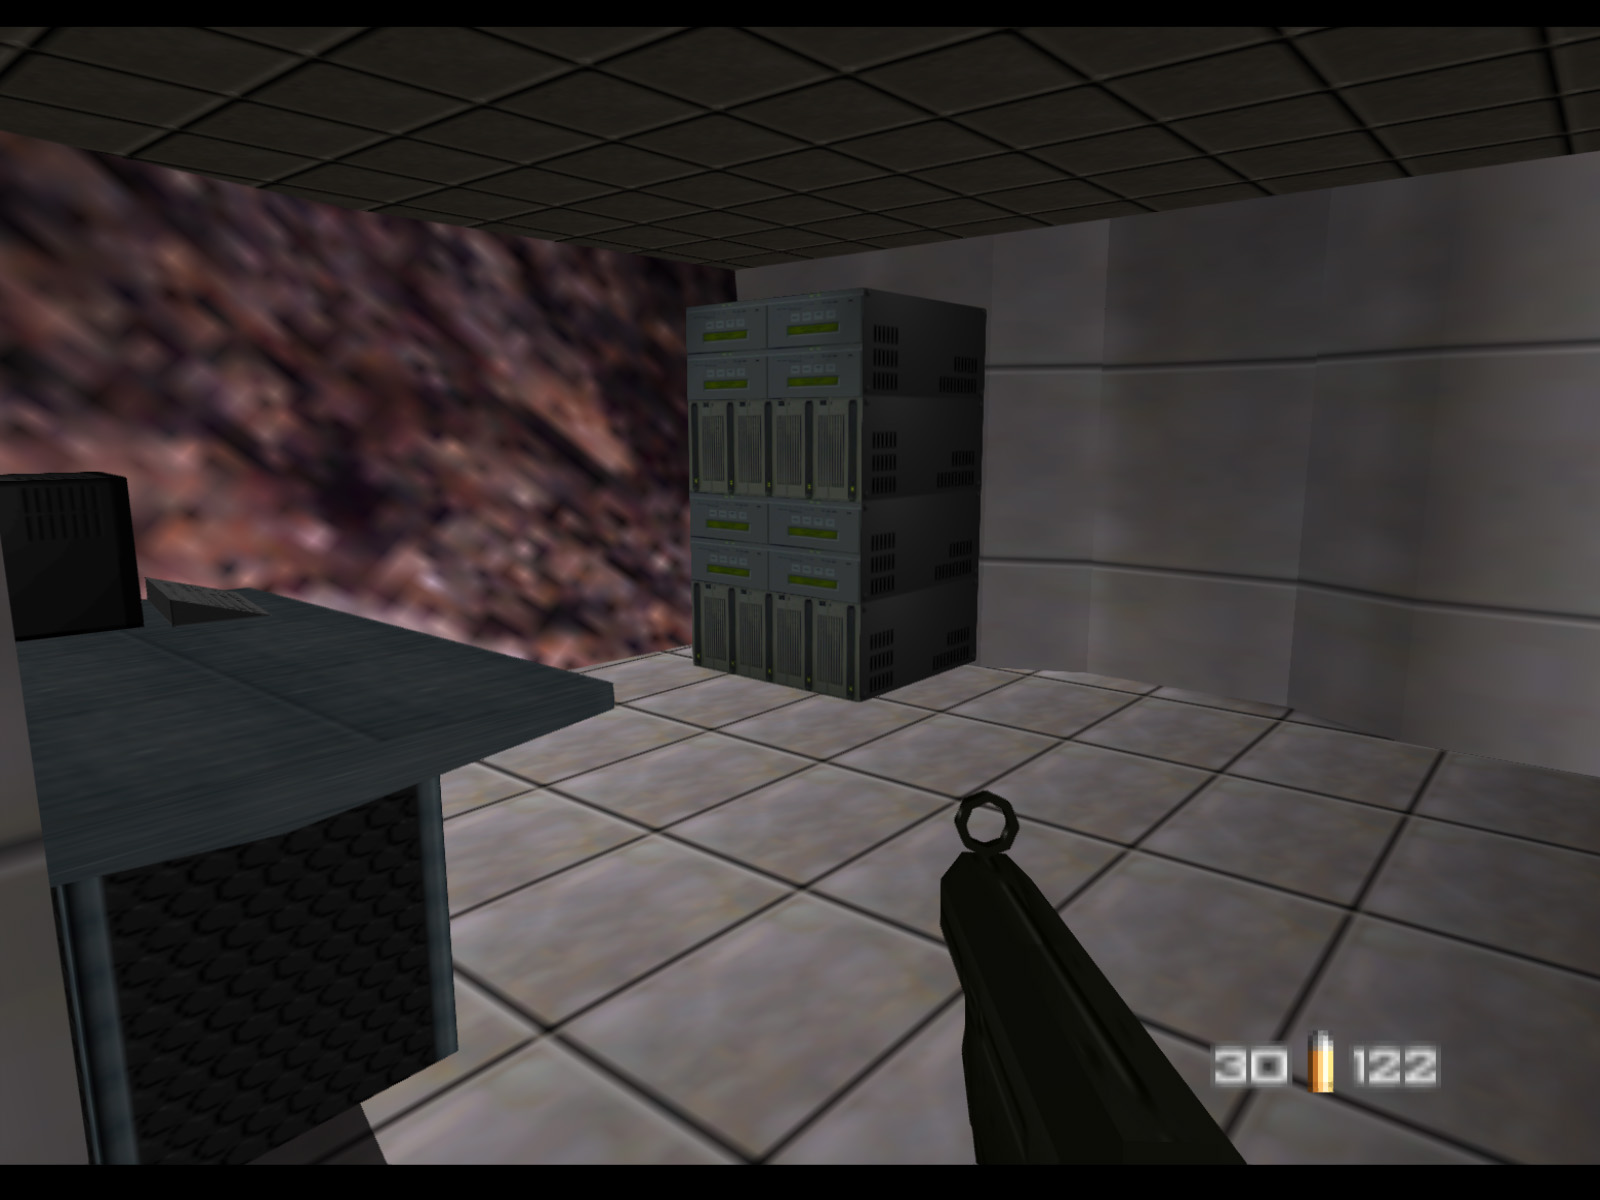
This is the generator room. The blast door on the left is locked so the only way forward is up the stairs.
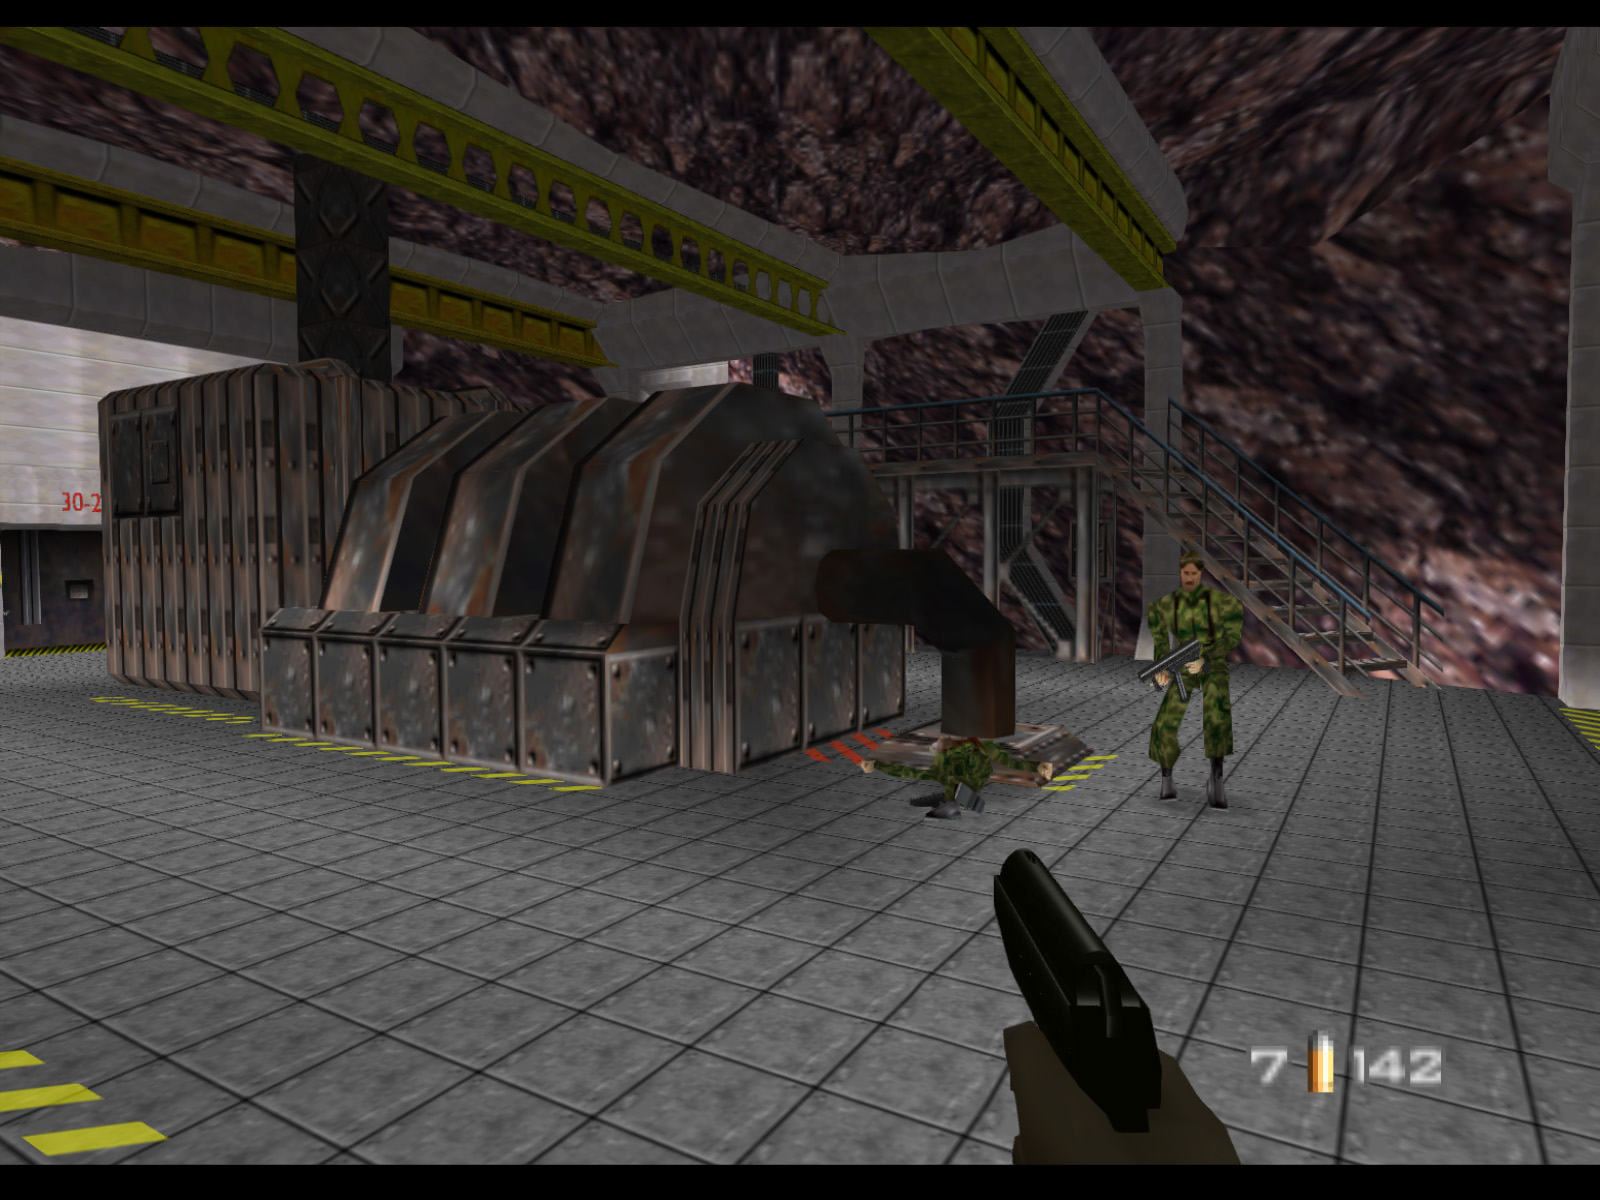
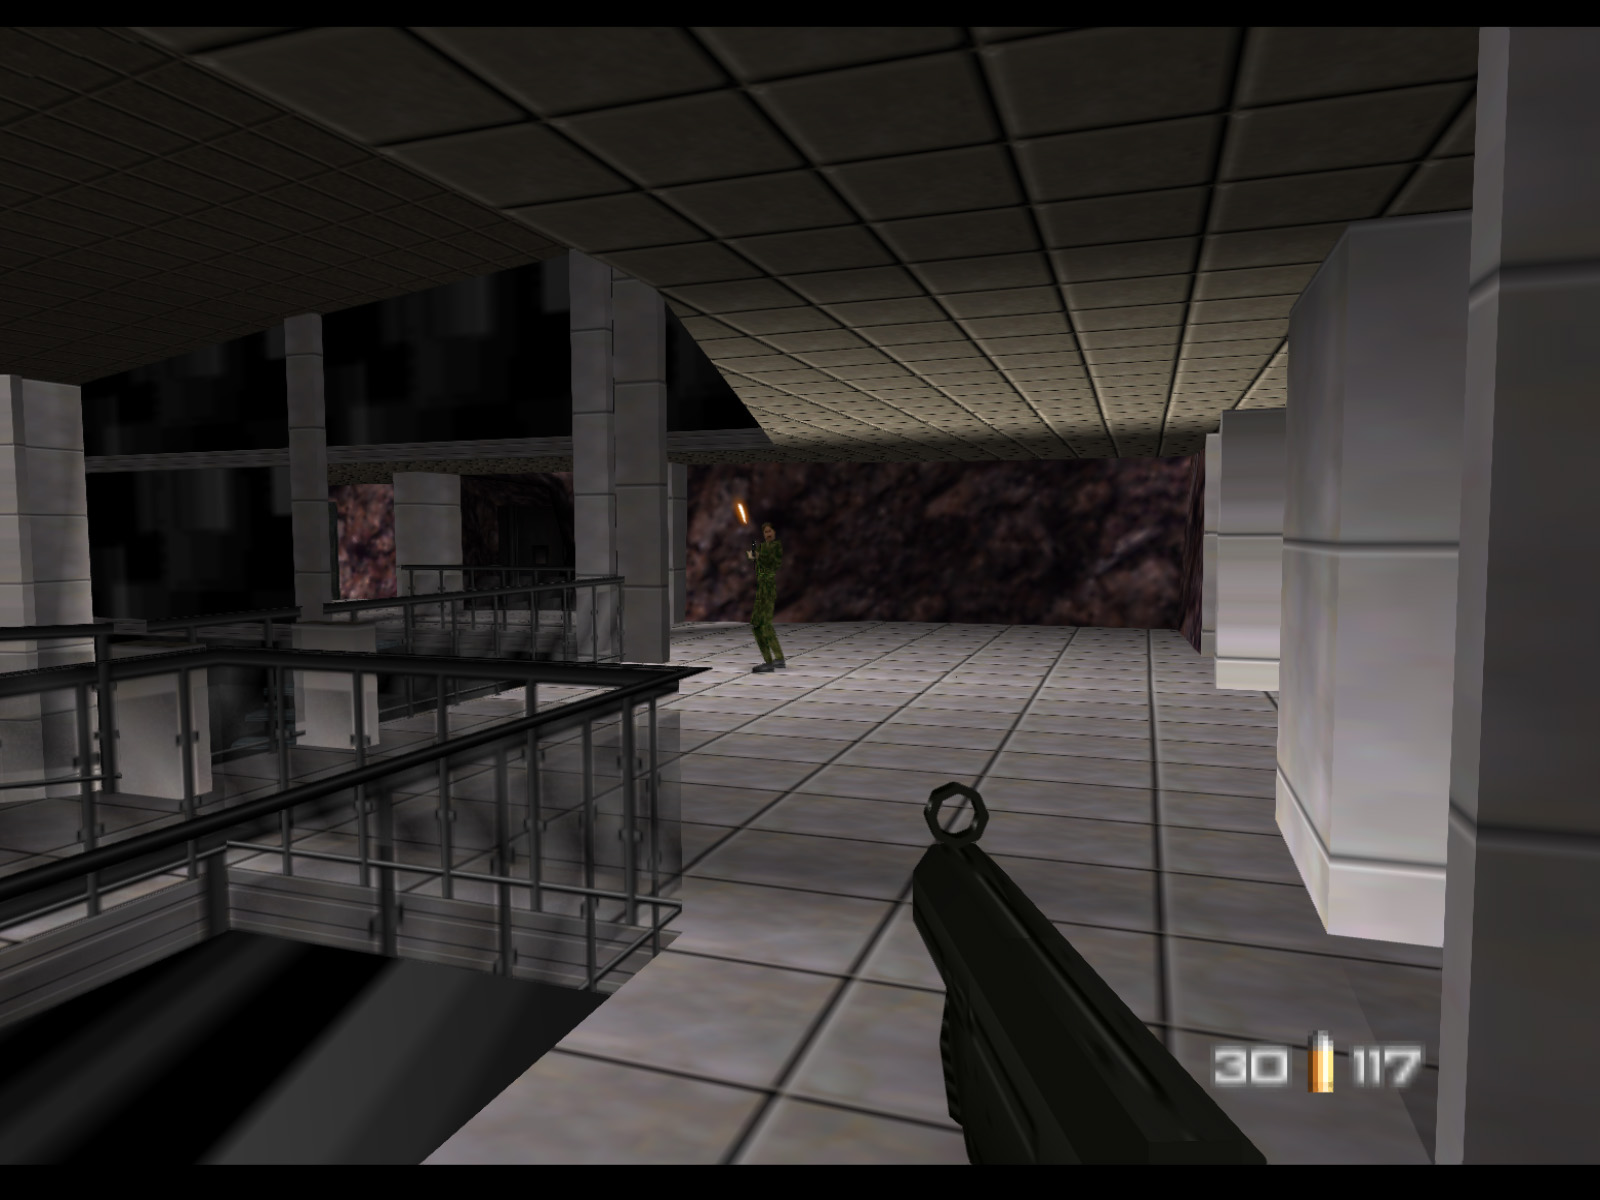
This descending hall has four guards.
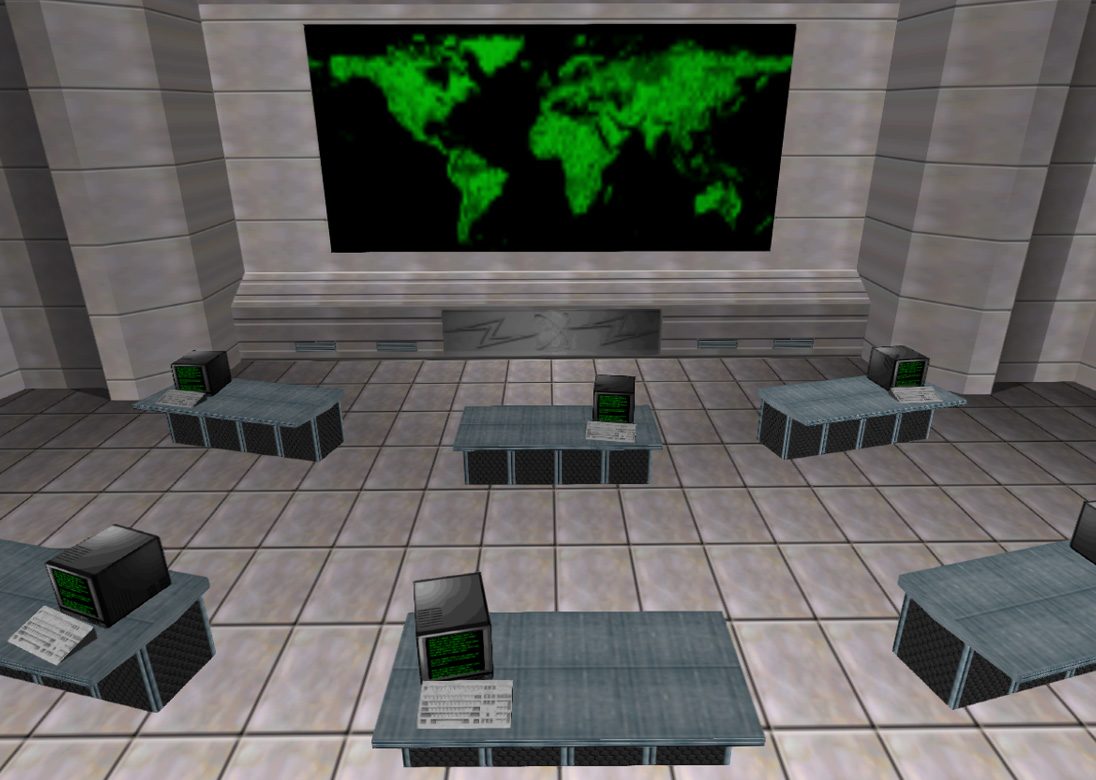
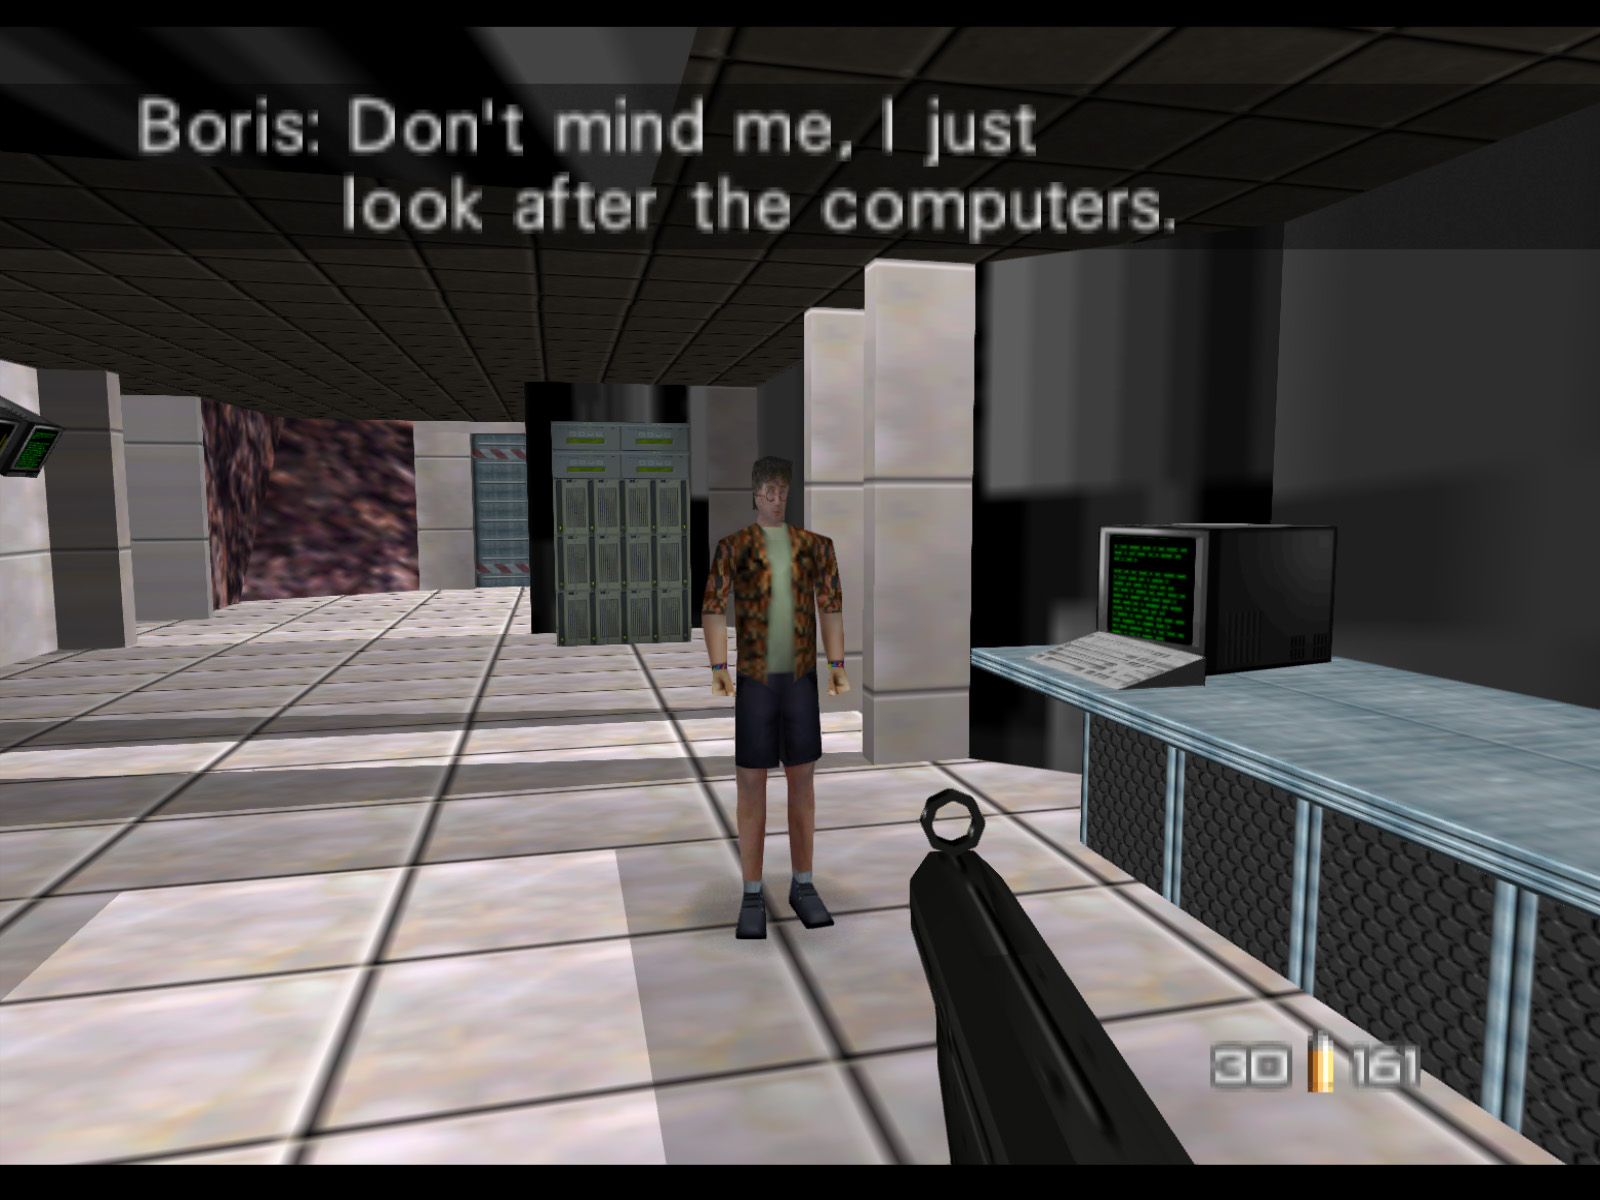
Next comes the main control room. Opaque glass separates you from the area with most of the computer terminals. You will find Boris in this back part. Do not shoot him or Natalya will refuse to work with you. Place Remote Mines on the Mainframes 1 and 2 of 6 here.
▶ TIP: Boris will run off. If you follow him all the way to his despawn point he will take you to an Armor Vest.

Straight ahead from the last screenshot is this room with four guards and four Drone Guns. Two are immediately visible. Two more are on the flanks ready to ambush you.
This is one of the Drone Guns which is on the right from the last screenshot.
▶ TIP: If you run at full speed you can bypass these two guns without taking damage.

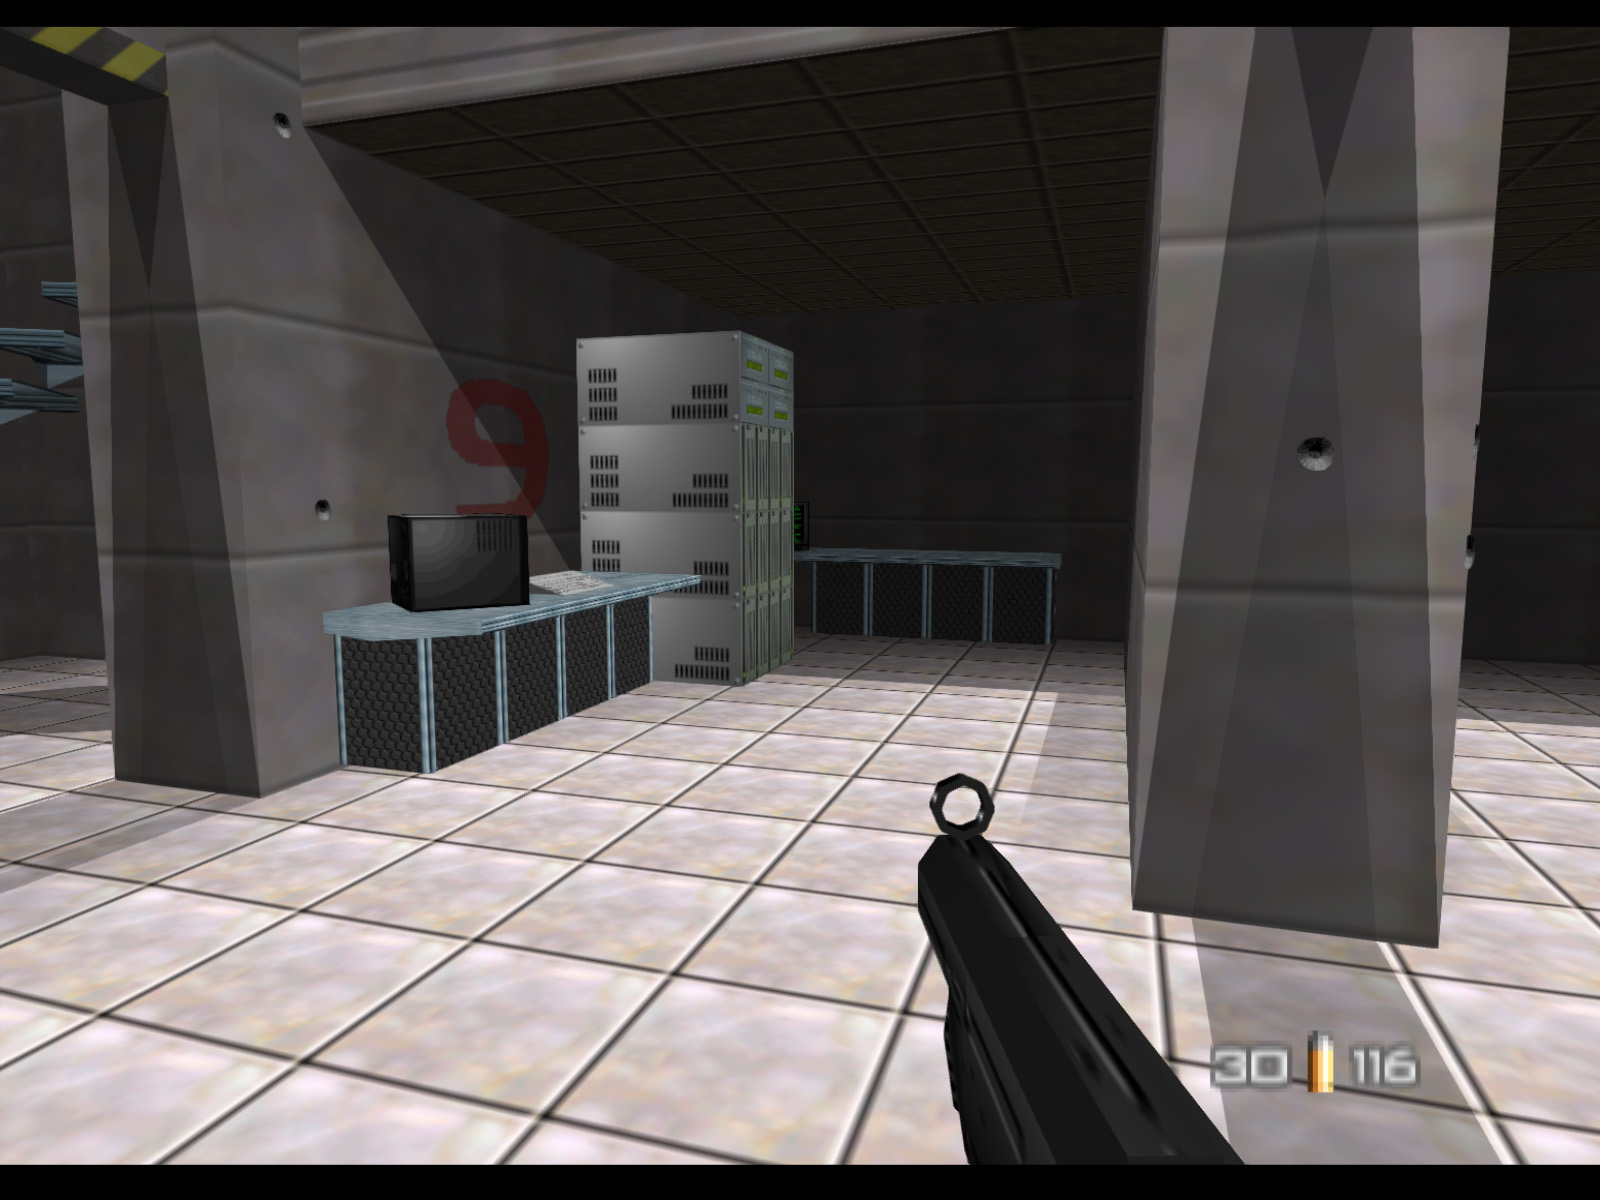
This room has a bunch of alcoves. Alcove #9 at the back here has Mainframe 3 of 6.
Another look at this room from the other side.
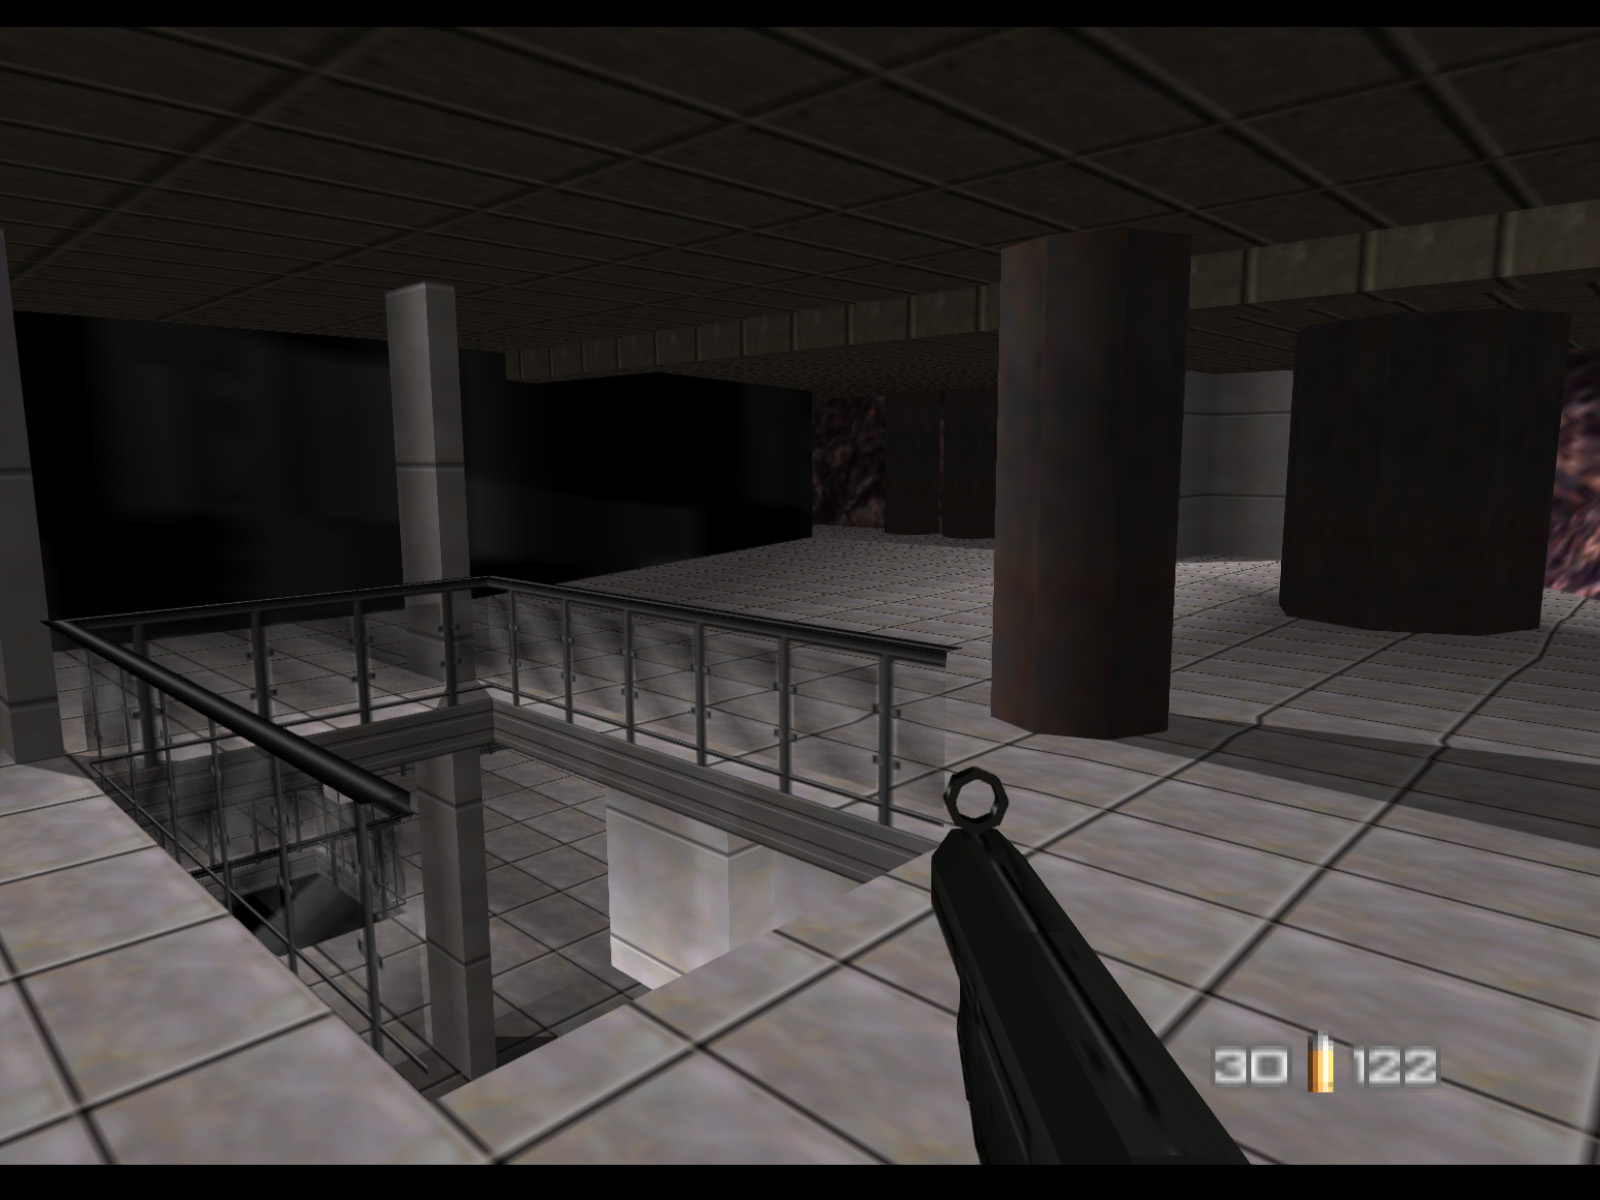
This room even has a second level. There's nothing up here but it's still a cool space.
Back to the main room and up the steps to the second floor.
There will be two guards up on this level, or possibly fewer if your gunshots have alerted them before.
Over to the left and back from the last screenshot is Mainframe 4 of 6.
Mainframe 5 of 6 is over on the other side of the control room.
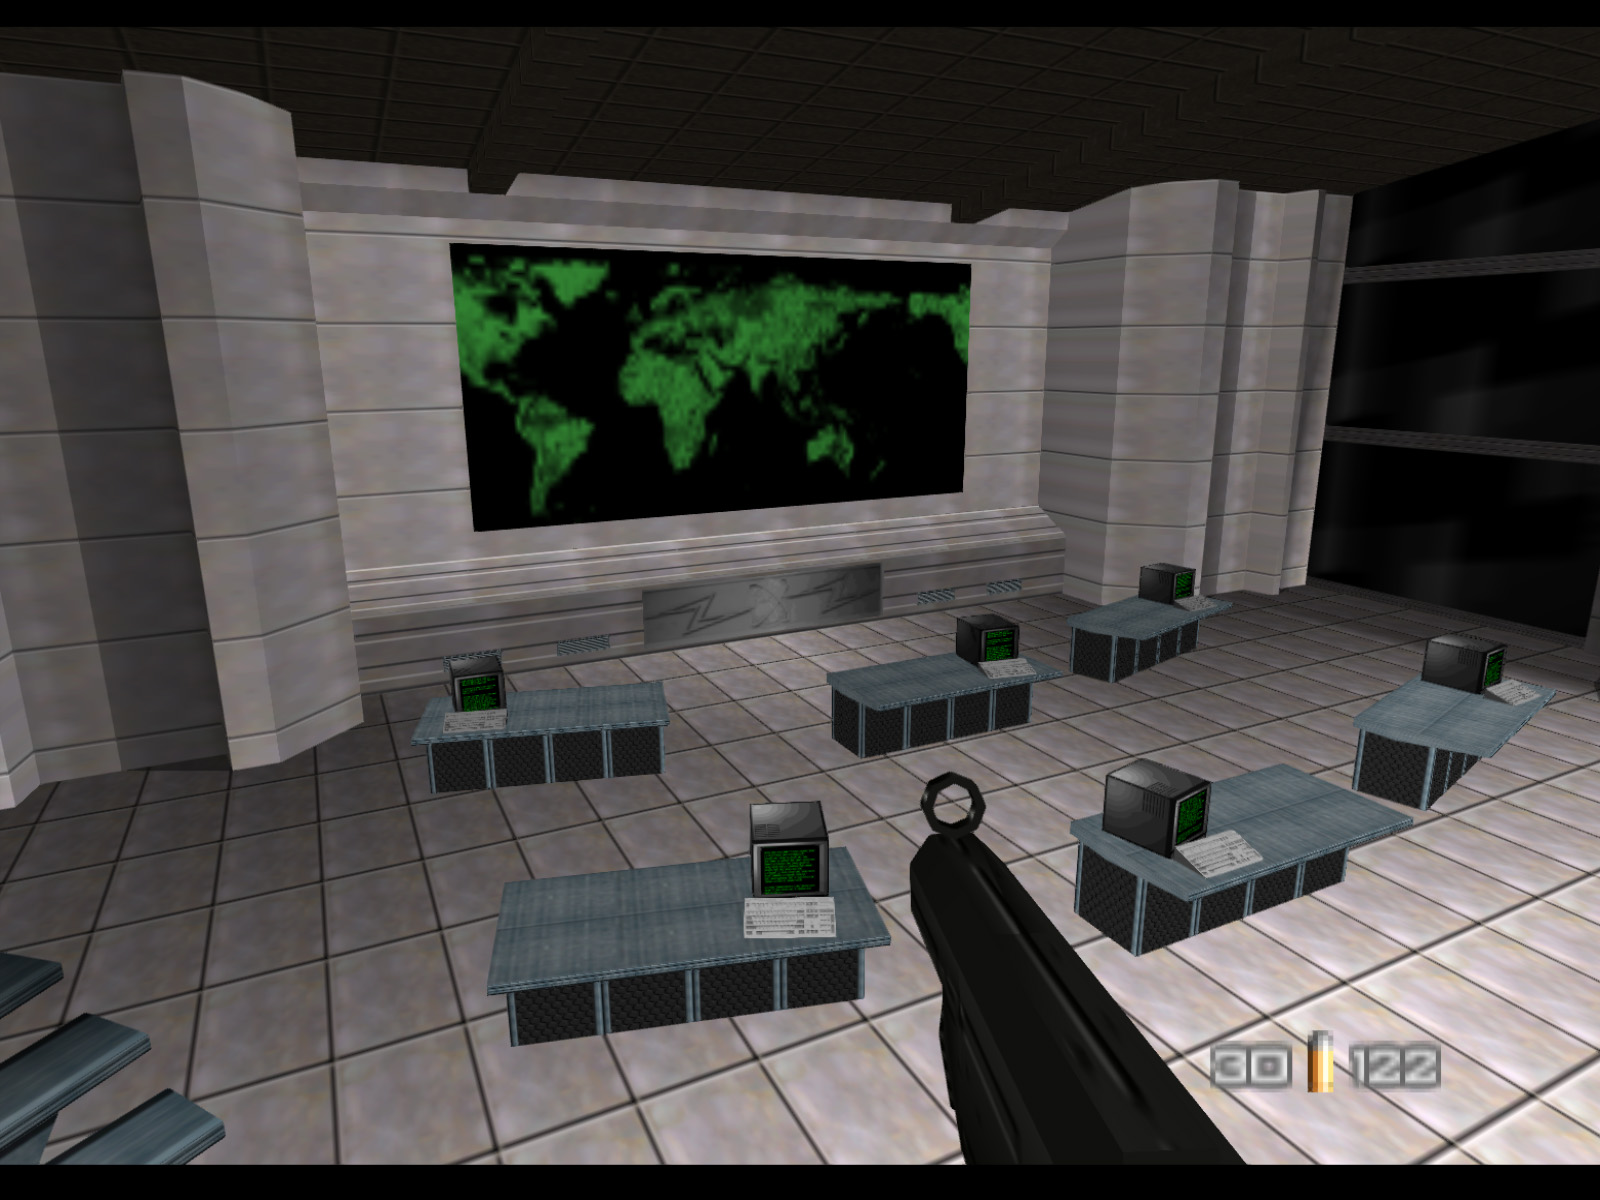
Overview of the control room.
The control room's third floor has opaque glass blocking the view of the main area. The developers did this to help the frame rate.
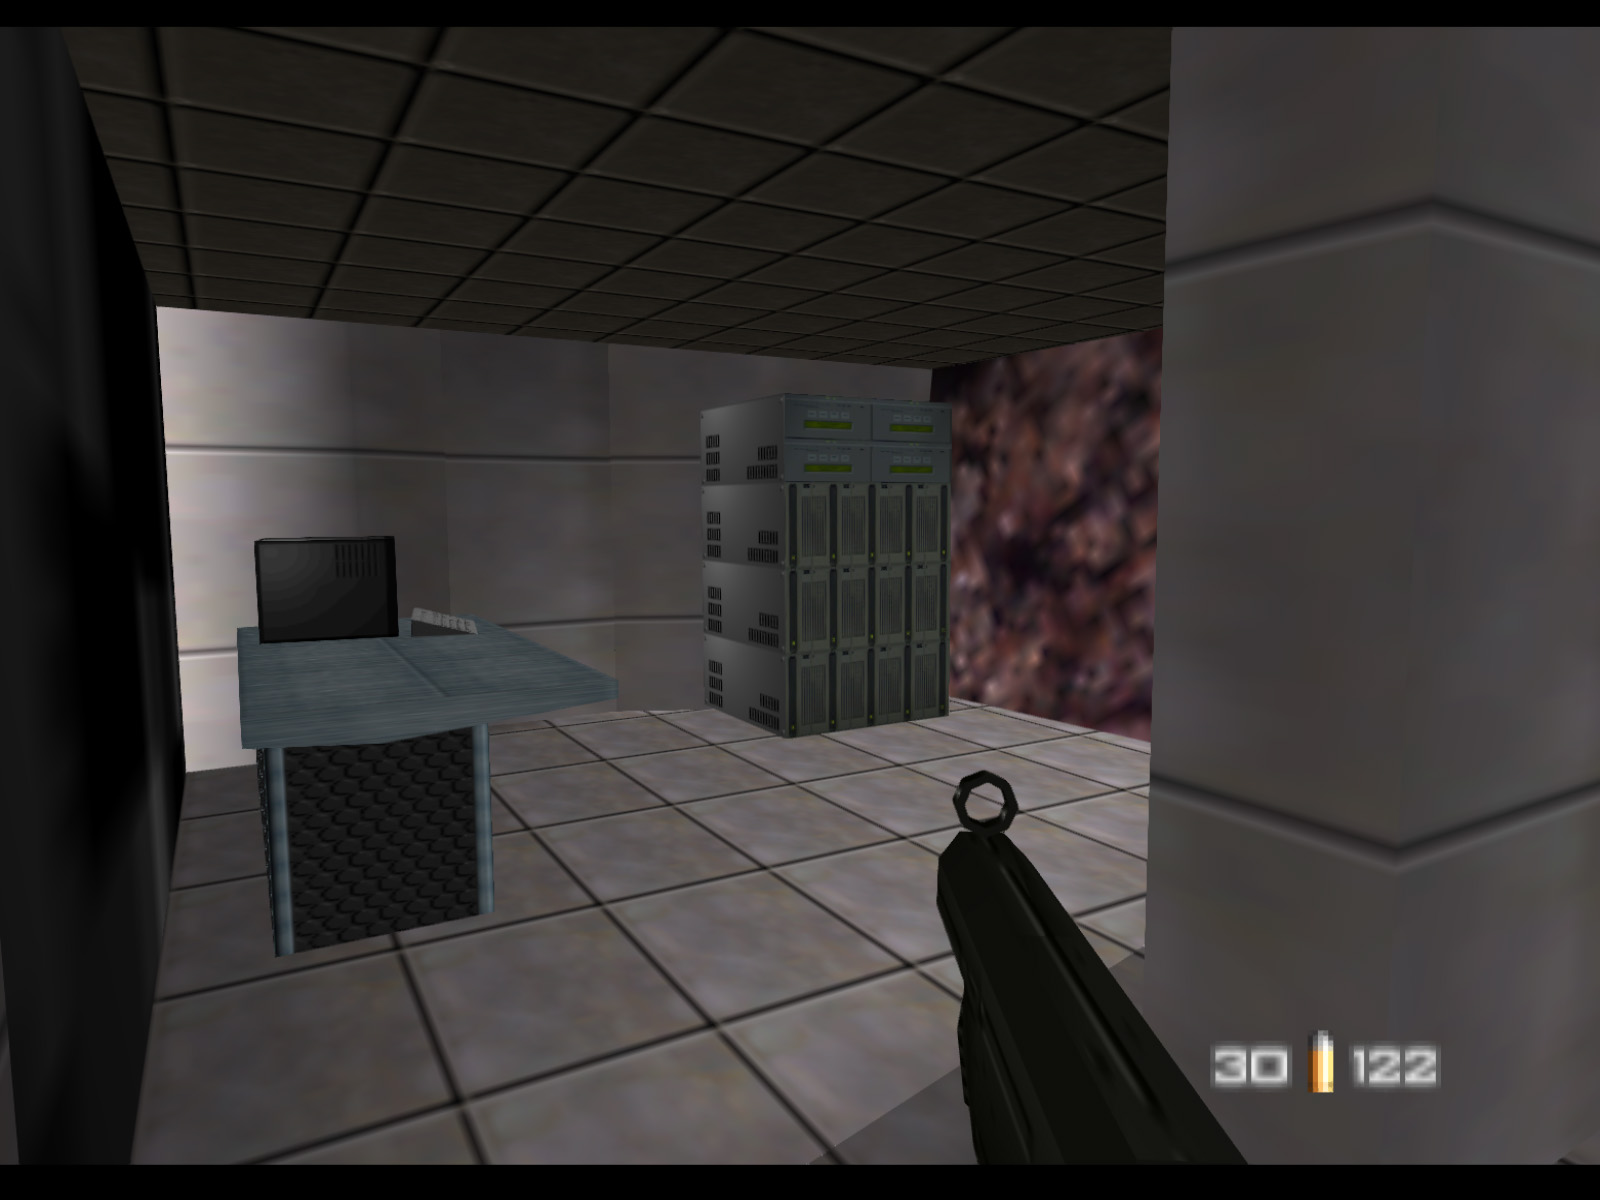
To the left of the last screenshot and at the very back is this small dingy room with an Armor Vest. This is where Boris escapes to after running from you.
Back down to the second level and through the blast door. This triggers Natalya to join you and head for the control room.
Natalya heads over to this center computer to begin her approximately 2 minute and 10 seconds hacking sequence.
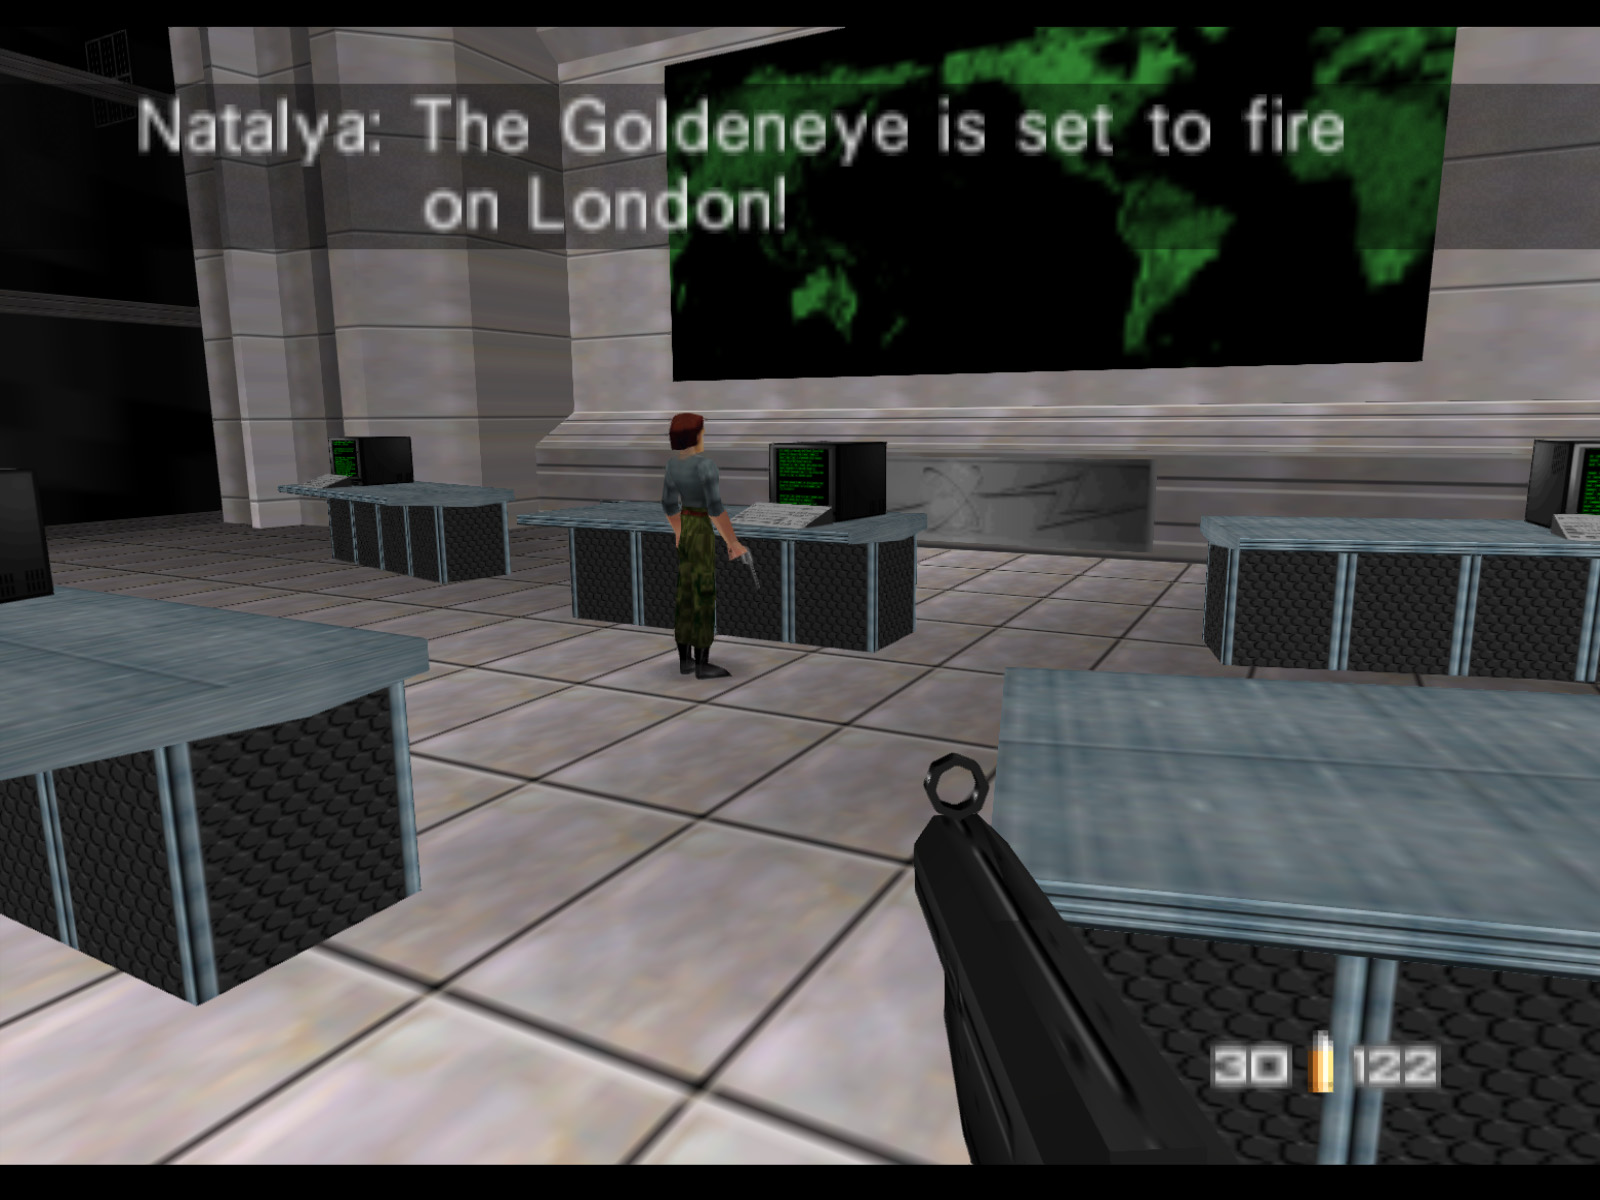
▶ TIP: The traditional way to defend Natalya is stay near her on the first floor, but this means having to defend against guards coming down both staircases and eventually two breakable glass walls on either side of the room. A smarter position is up here on the second floor. All the guards filter through this point. Jungle Commandos in black berets target Bond, while the ones with no hats target Natalya. Once Natalya finishes her hacking protect her while she heads back to the elevator and that will complete Objectives A and B.
At this point the doors to the remainder of the map are unlocked. This room has Mainframe 6 of 6 hidden behind this glass partition. You can toss a mine over the partition onto the mainframe.
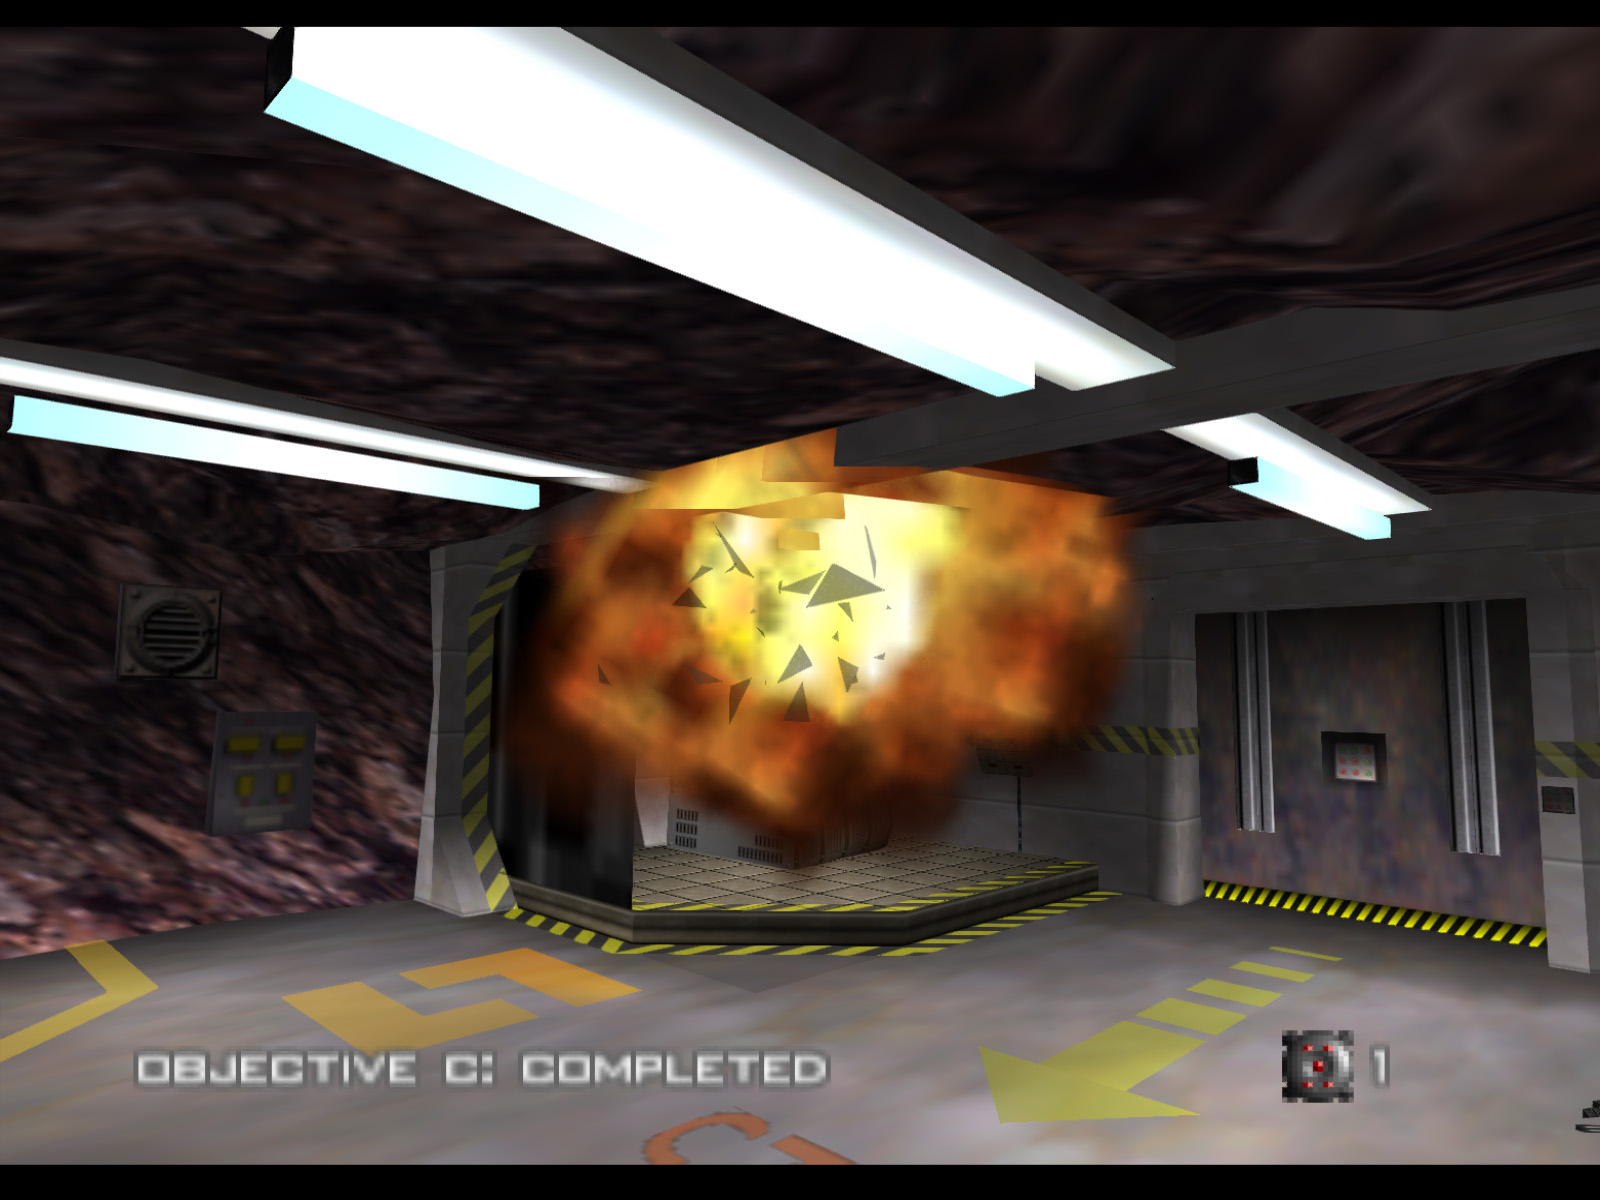
Blow up the mines you have placed to complete Objective C. Now you just have to escape the level.
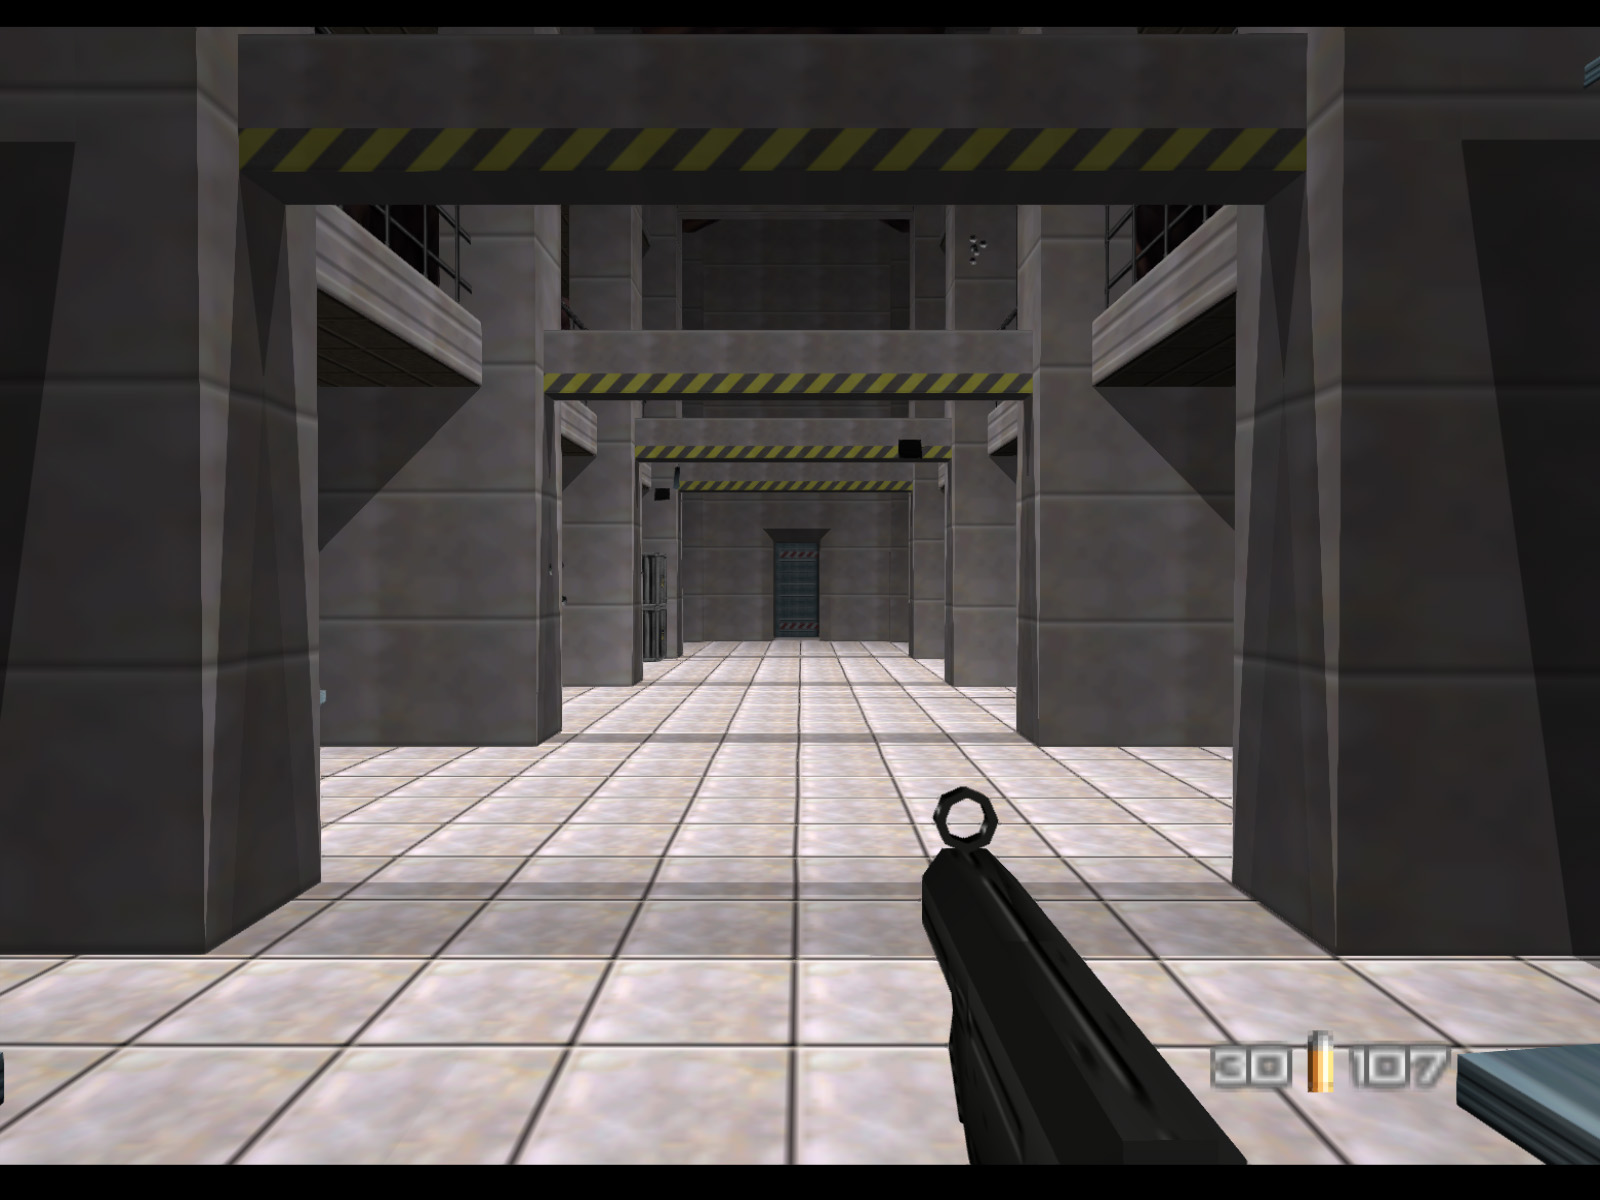
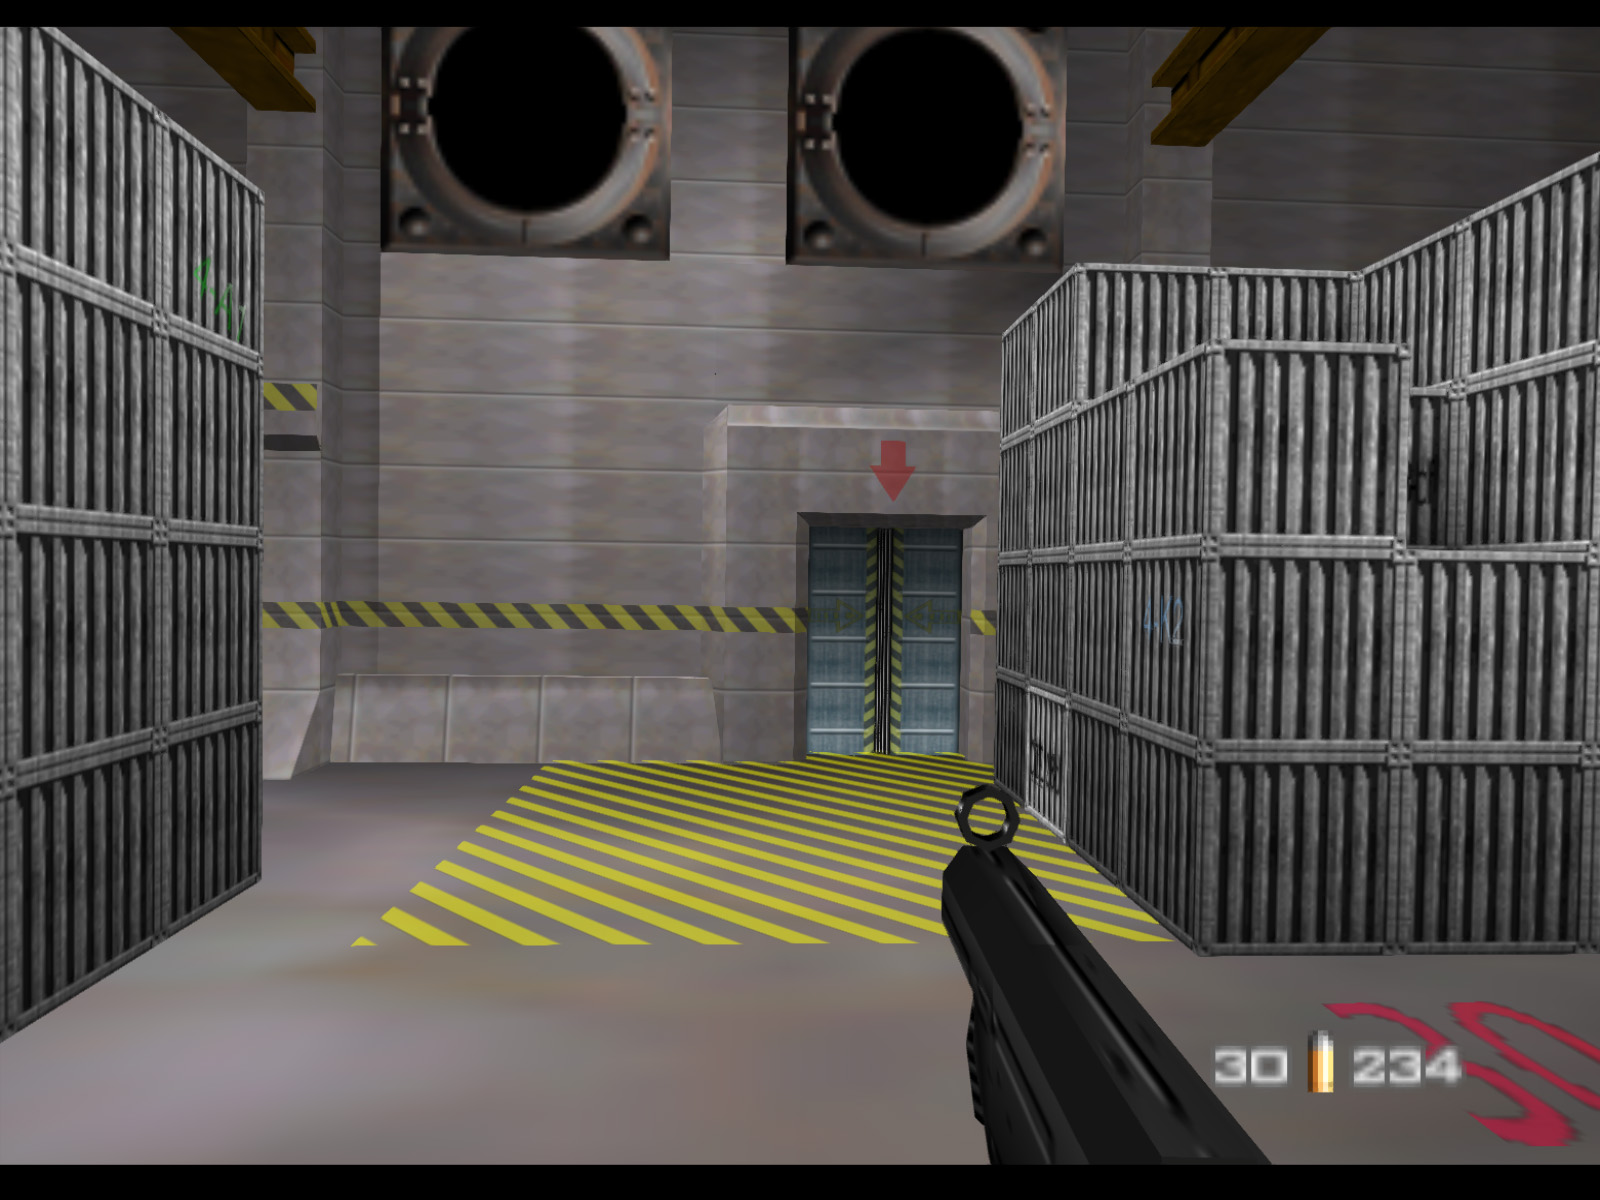
In order to fully tour the level we'll backtrack and go through the control room doors that look like elevator doors. Those lead to this hall.

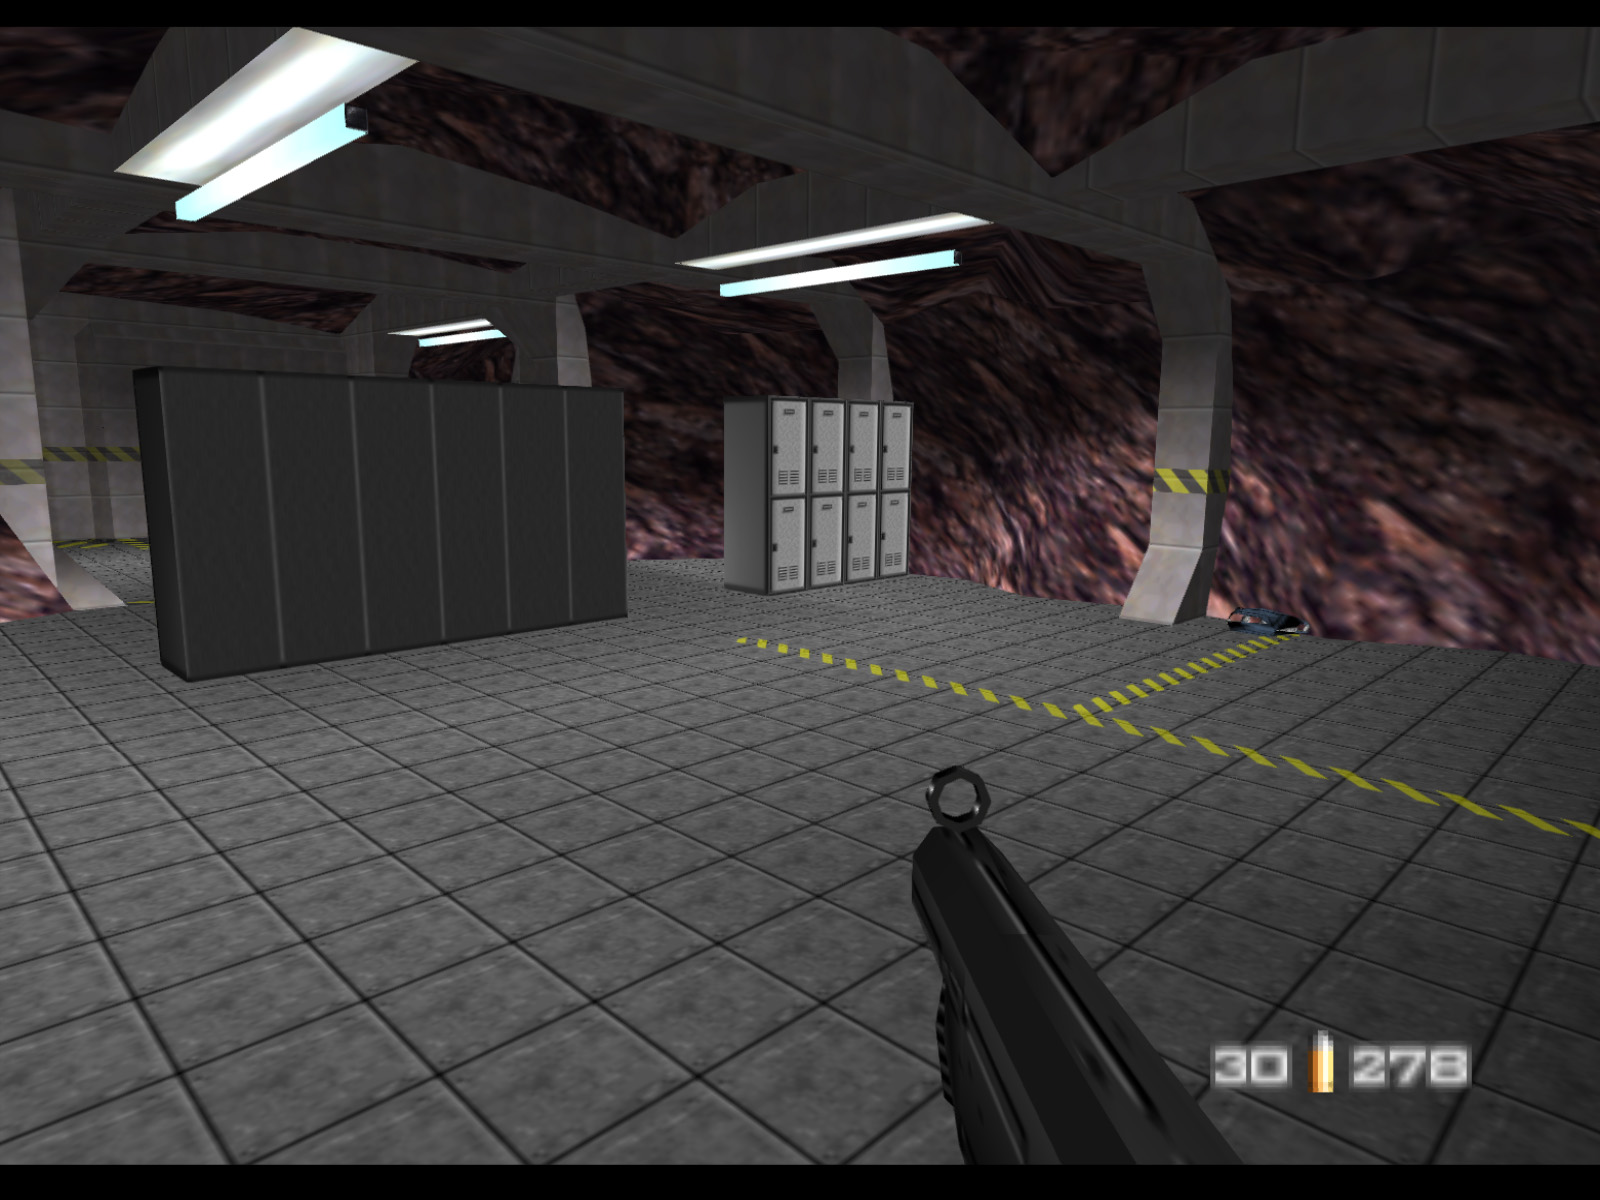
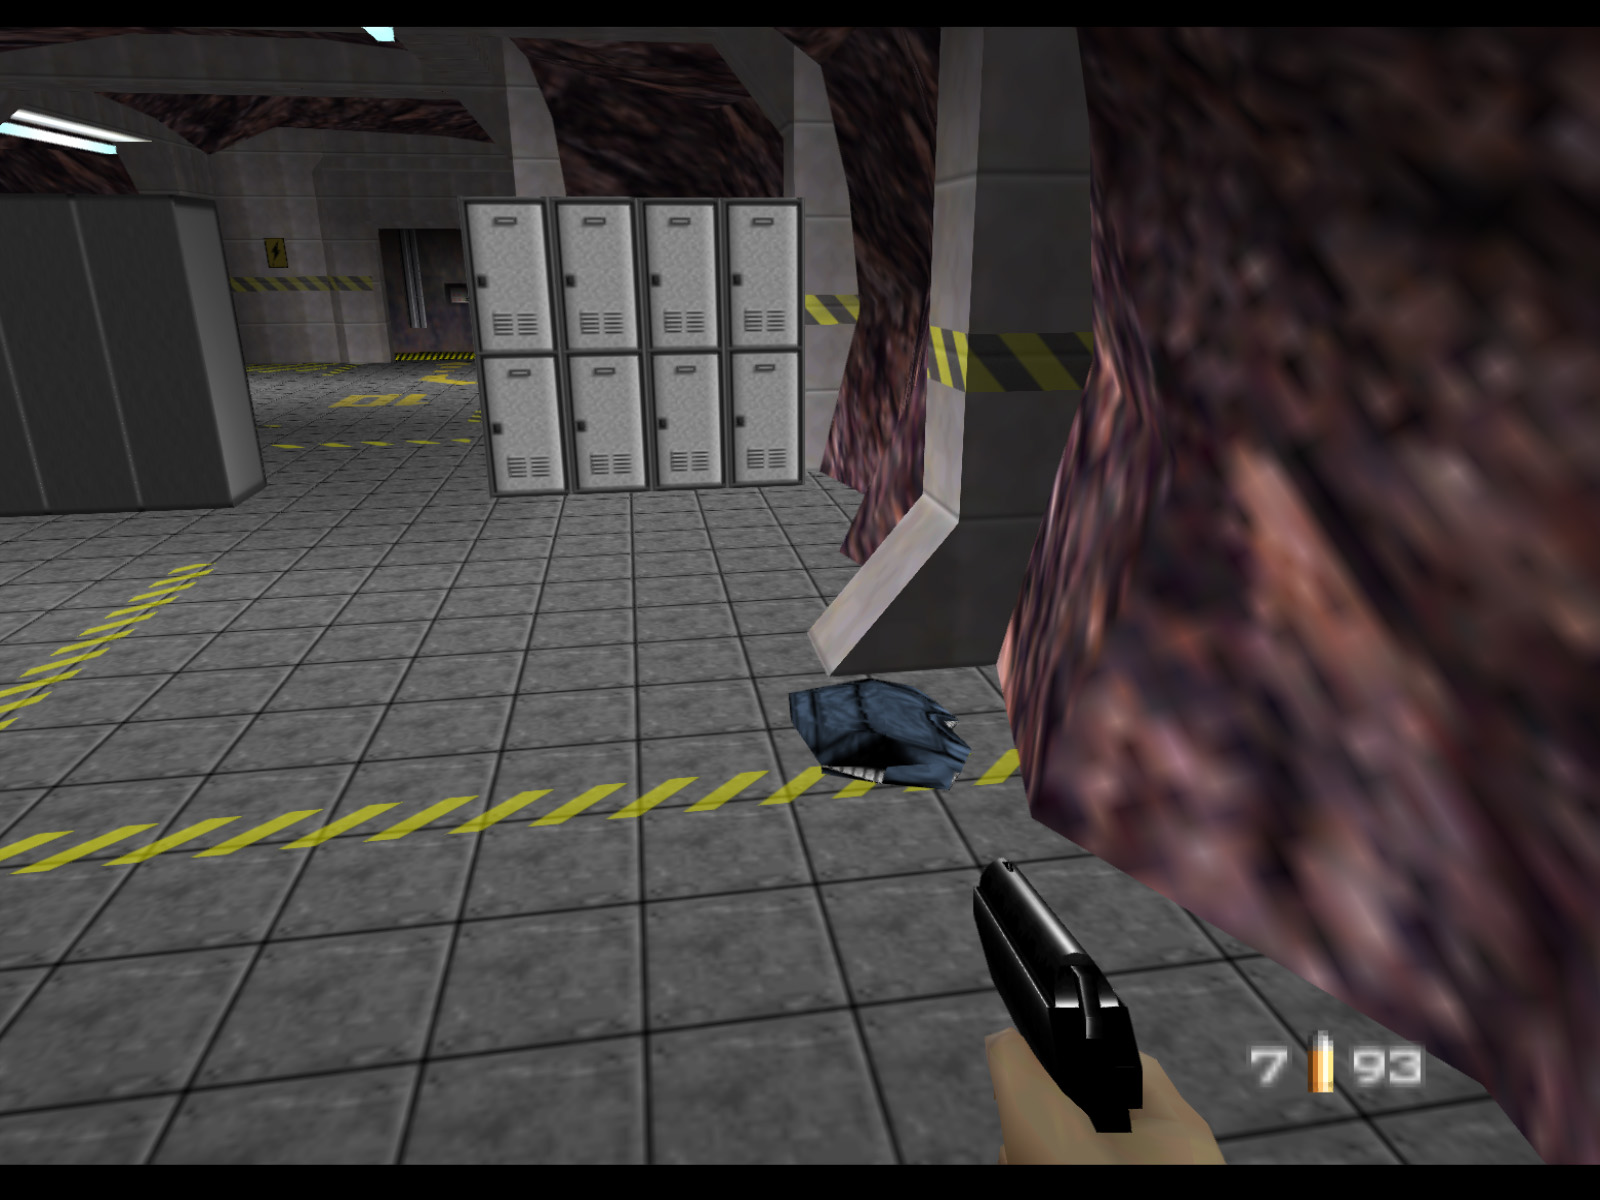
Off to the right there are some lockers and an Armor Vest.
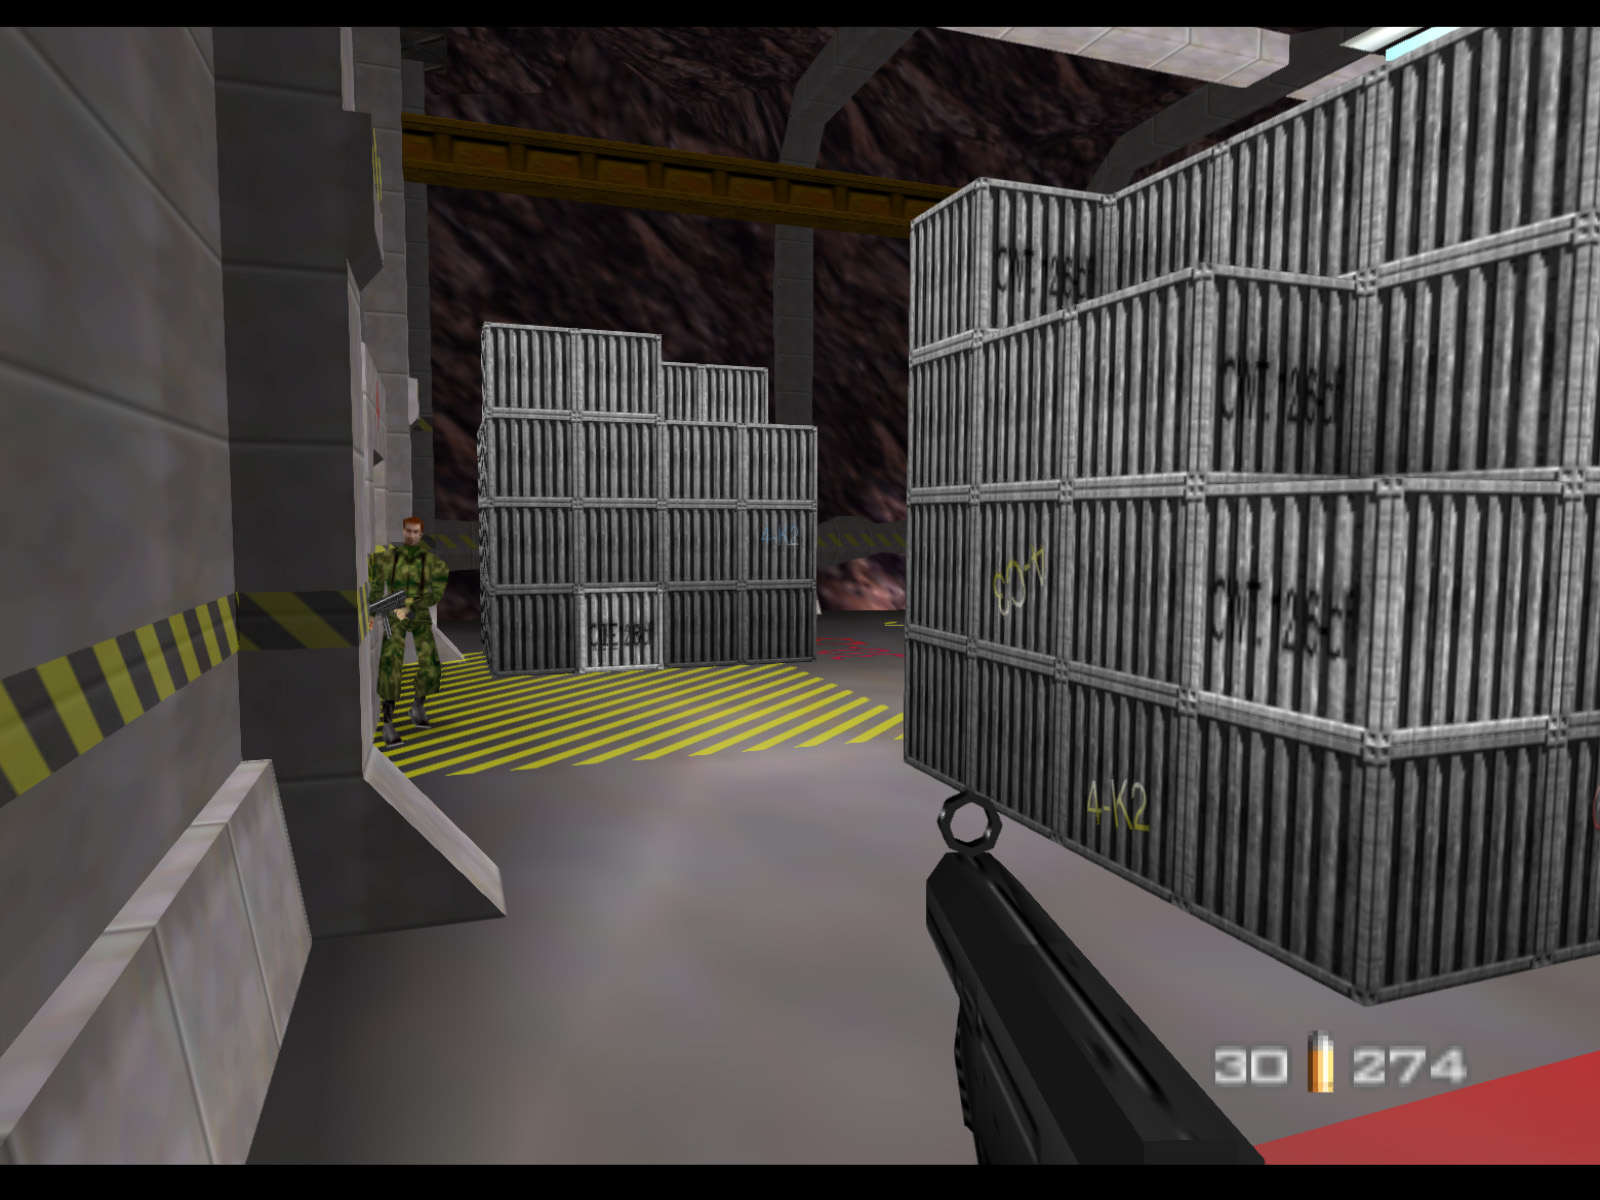
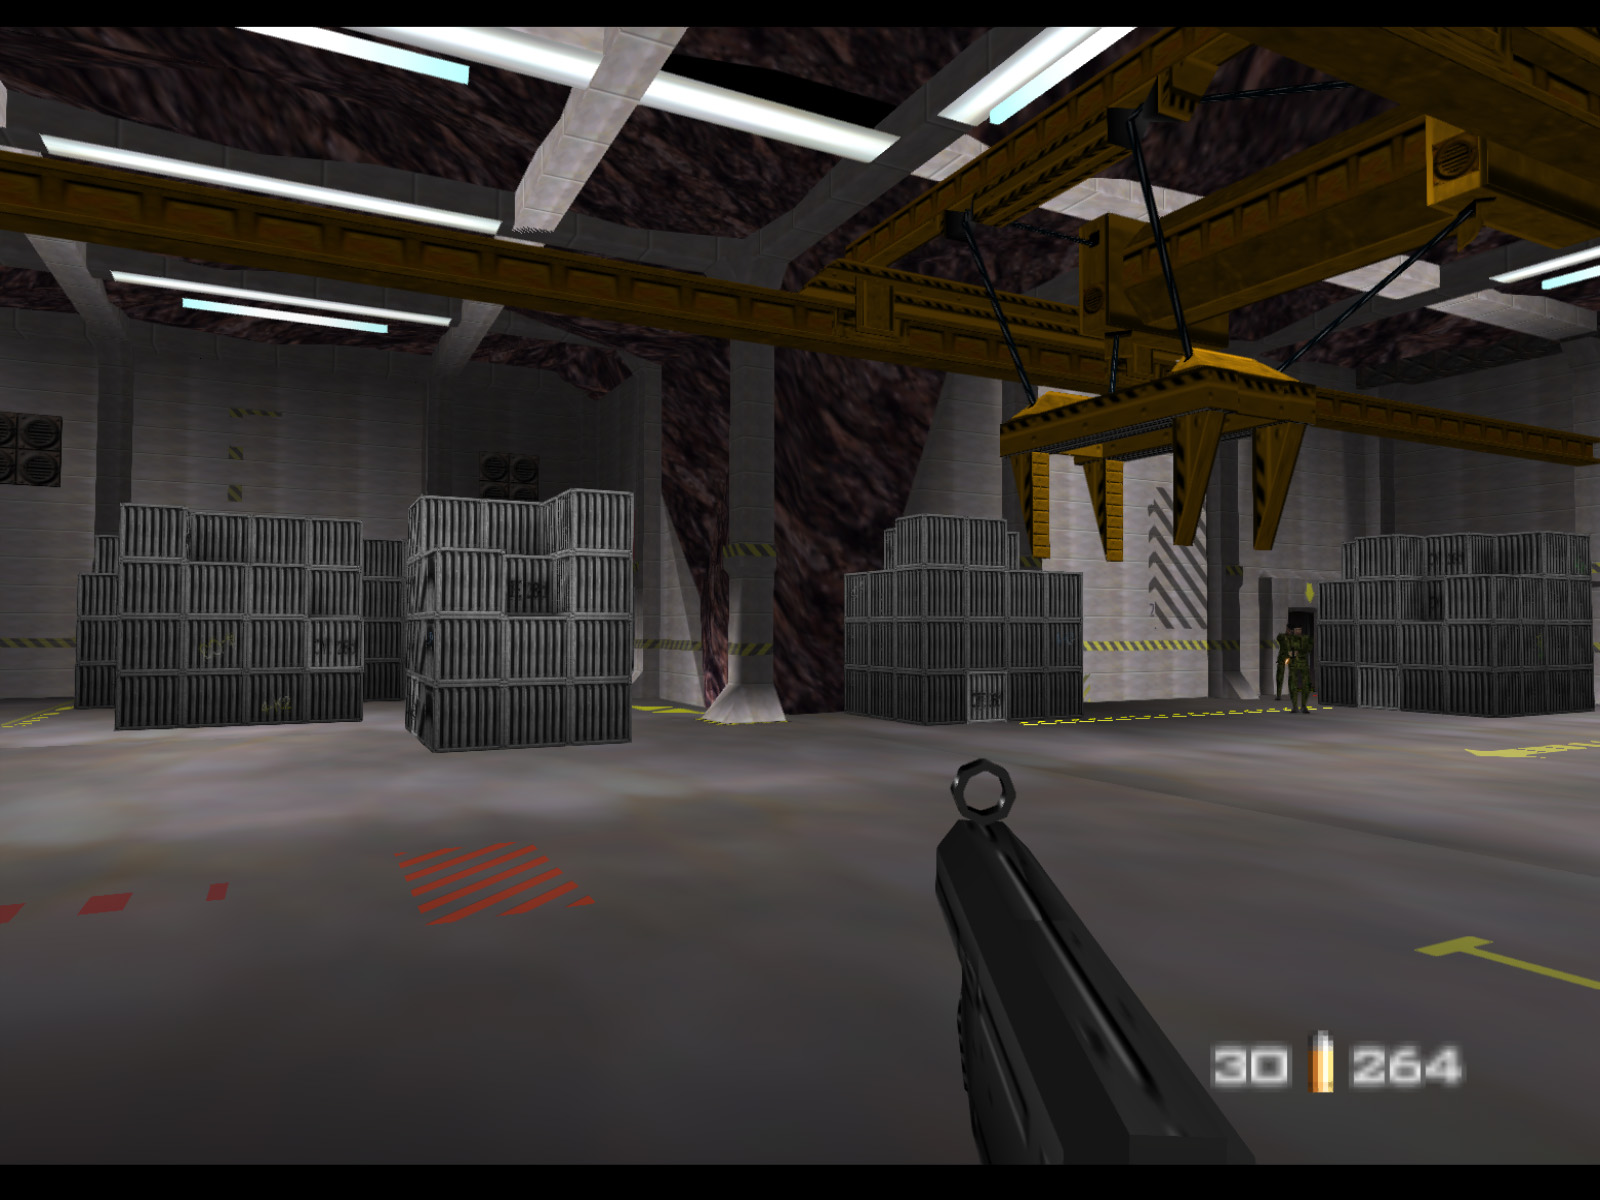
Control's final room is this huge warehouse with a crane and many stacks of crates.
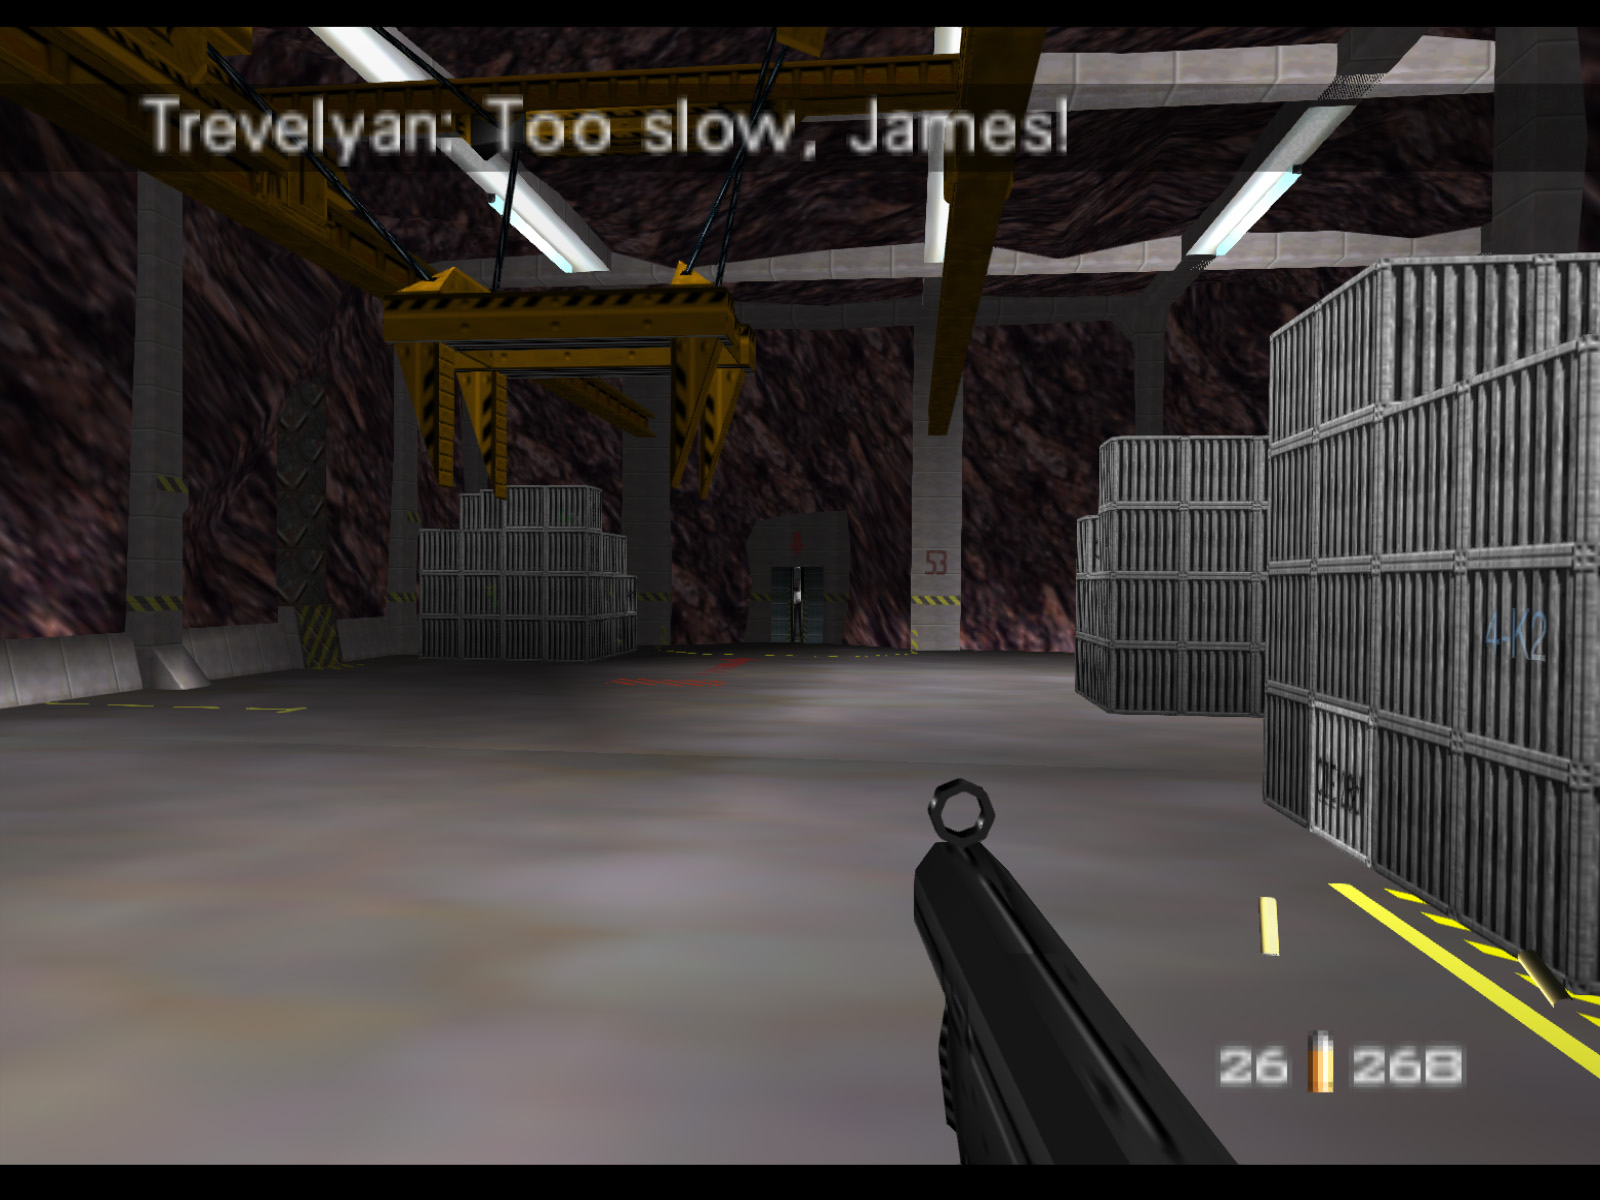
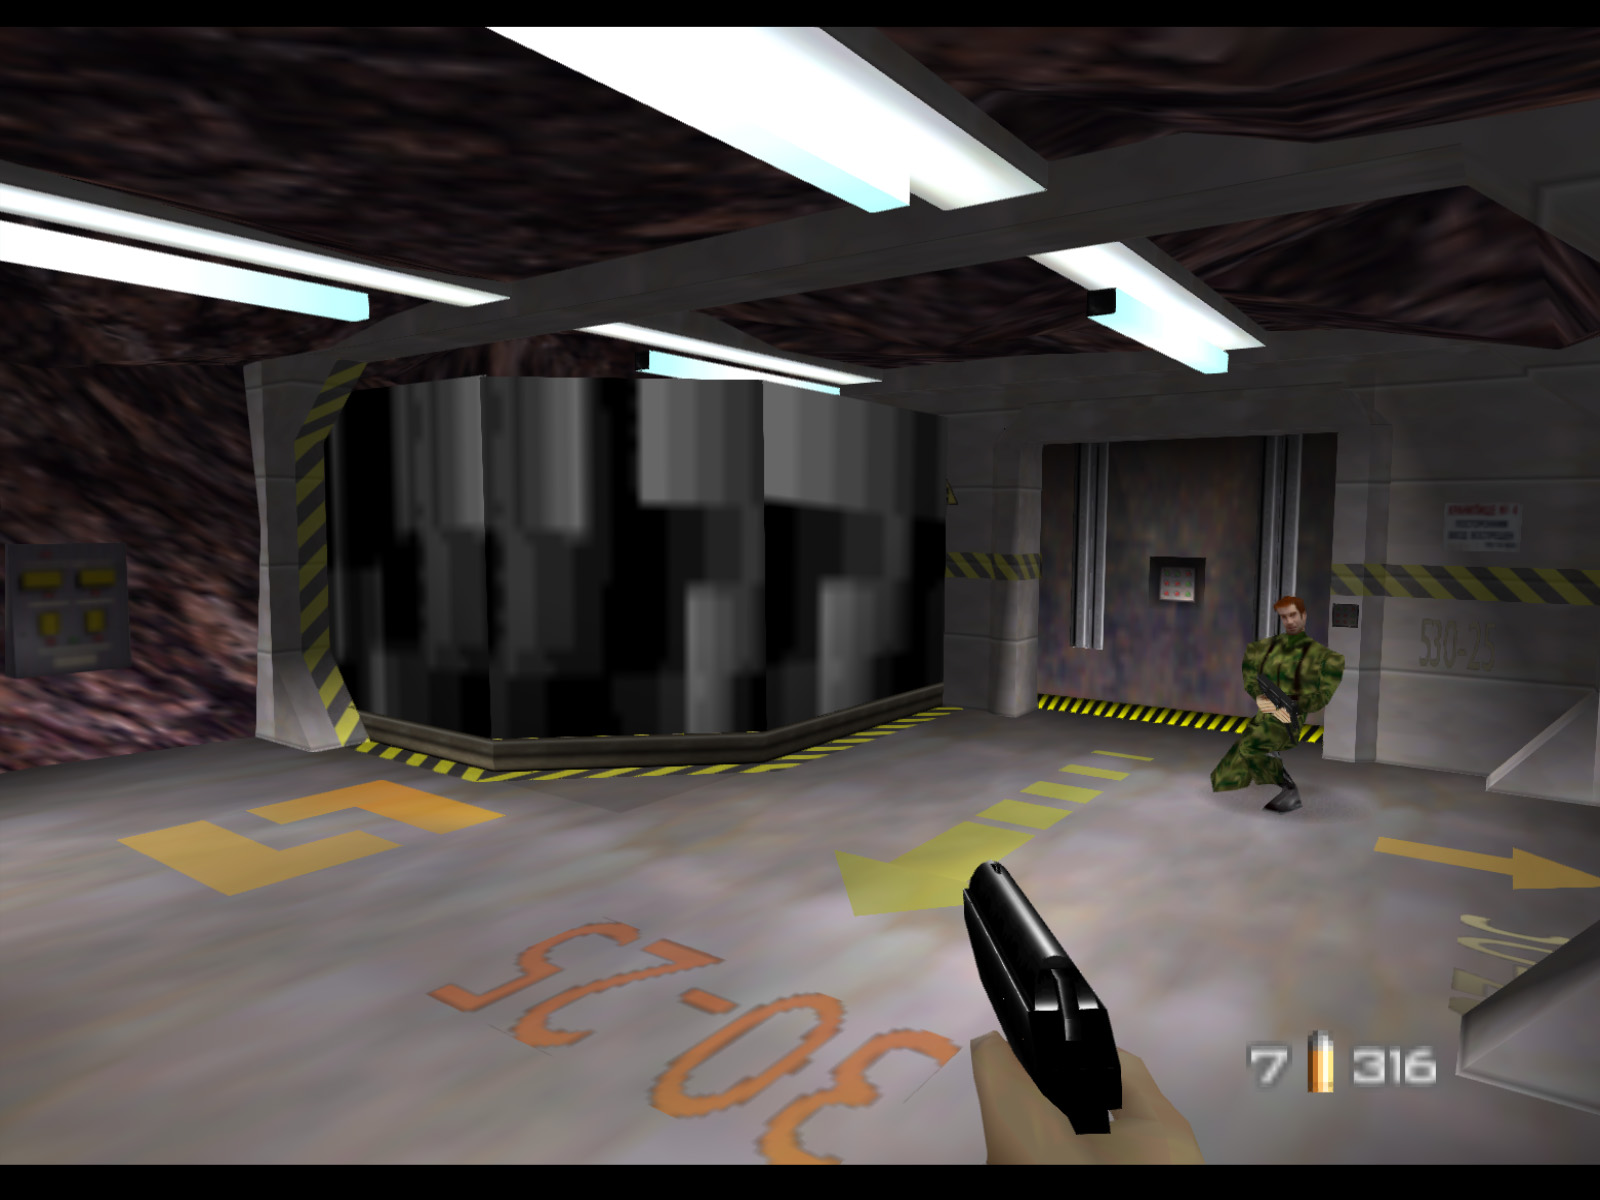
Trevelyan is at the far end of the warehouse in an elevator. As soon as you hit him the elevator doors close and lock. You'll have to deal with him in a future level.
Another angle of the warehouse showing the large crane and more stacks of crates.
Let's blow this place. Step into the other elevator and finish the level.
The clipping tiles in the "back" areas of Control — the generator room, locker room, and warehouse, are almost all pure white. This is quite unusual because typically the developers made an effort for the clipping coloring to be close to the vertex lighting.
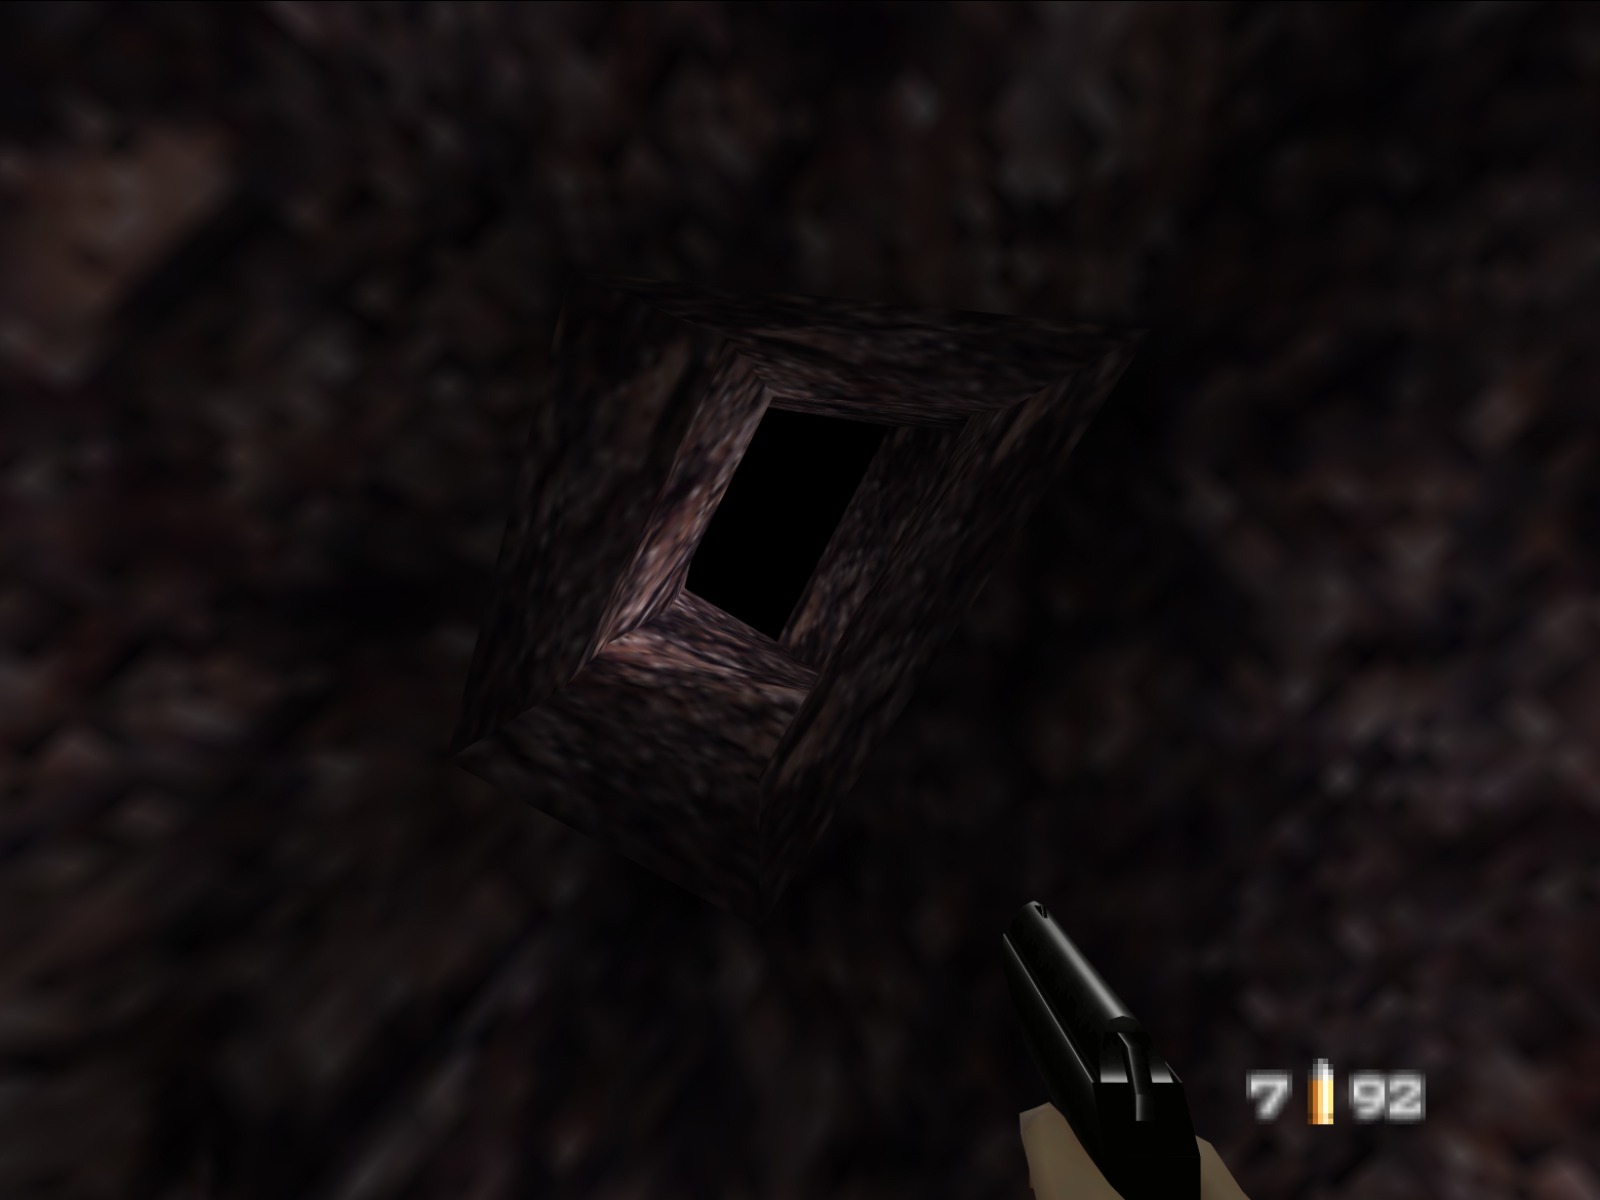
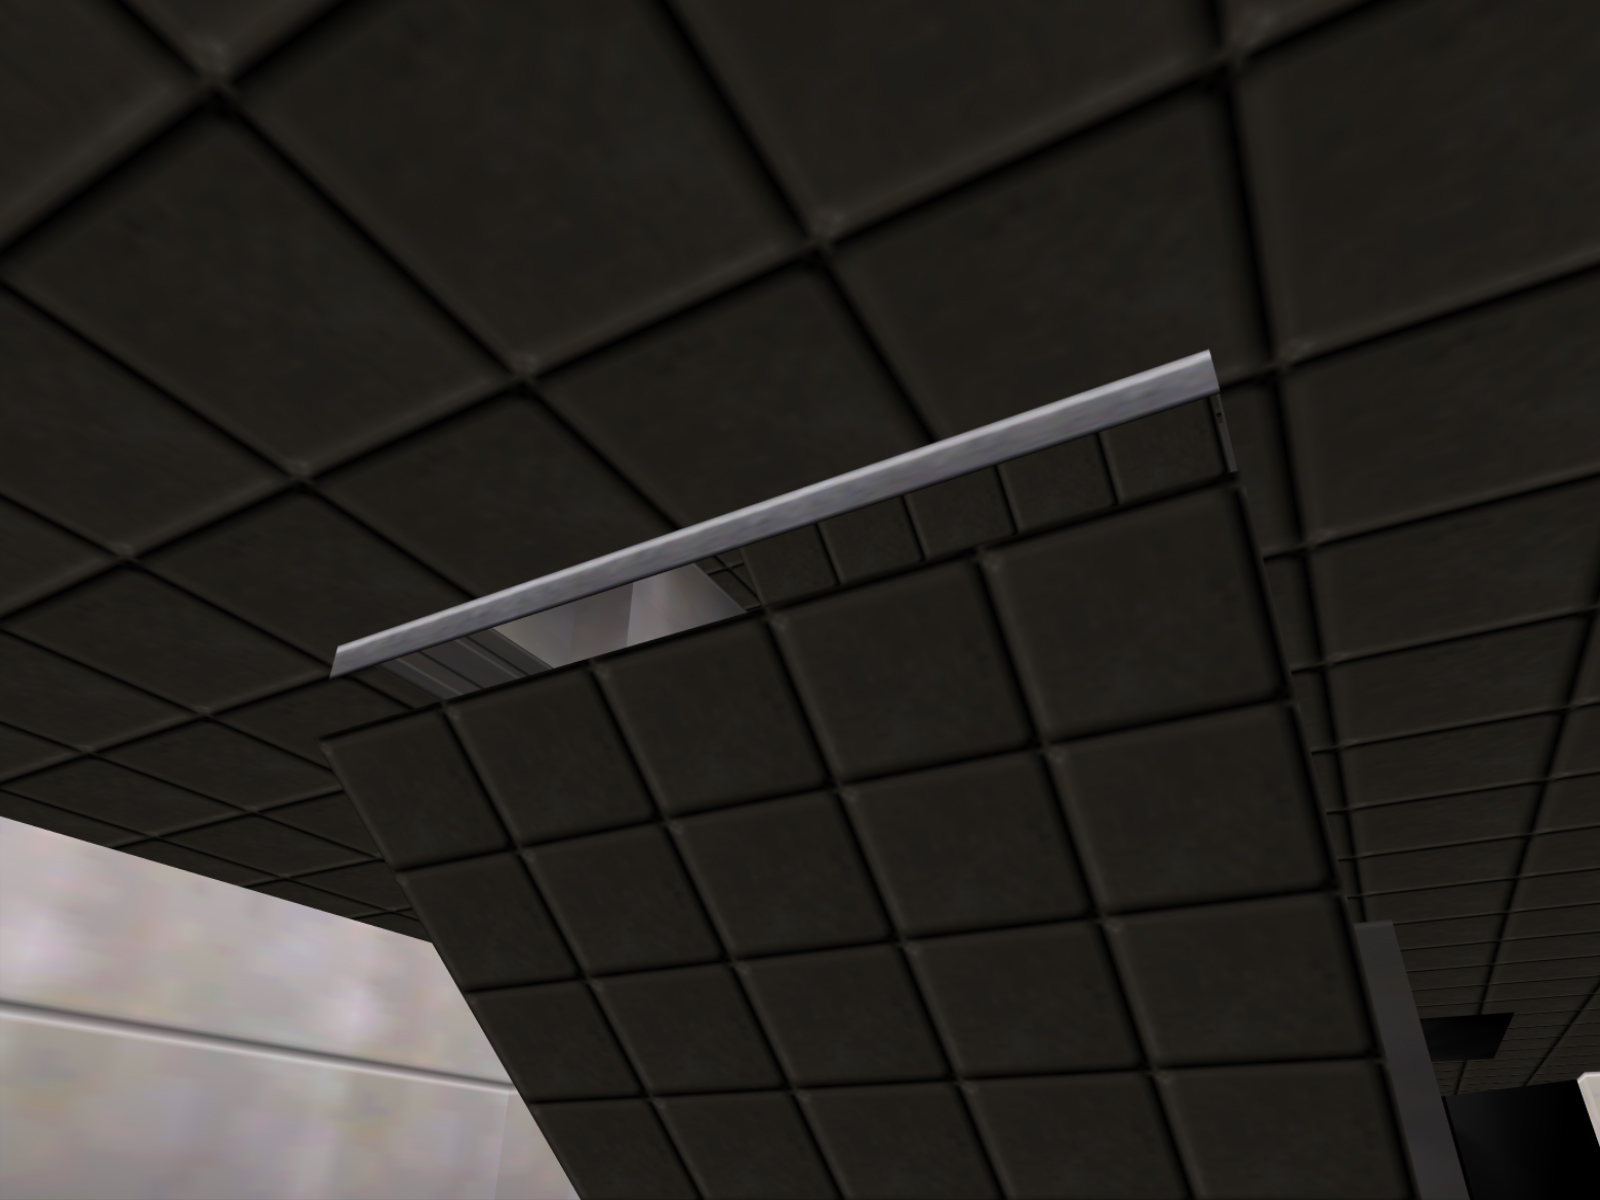
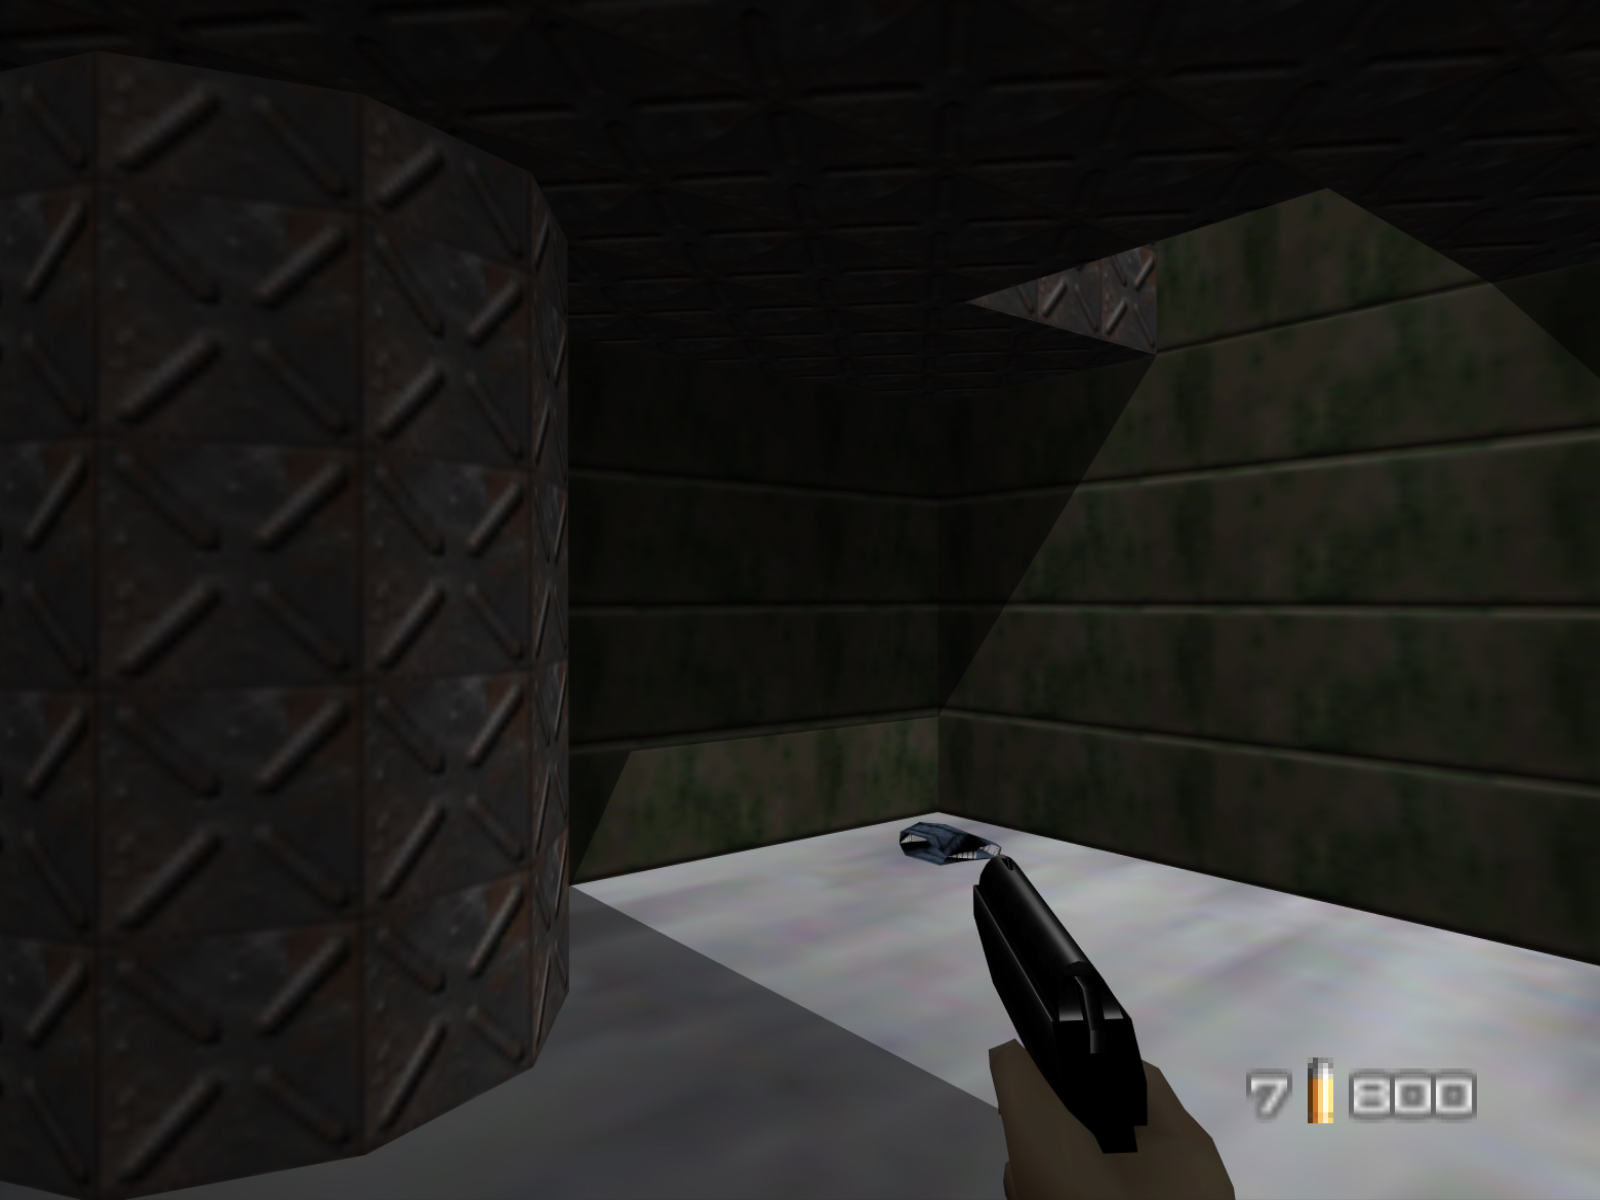
In the chamber where you collect the Remote Mines there is a hole in the ceiling and a shaft that leads up to the black sky. Why is it here? Is it supposed to explain something or did a developer add it for no particular reason? We have theories but no definitive answers.
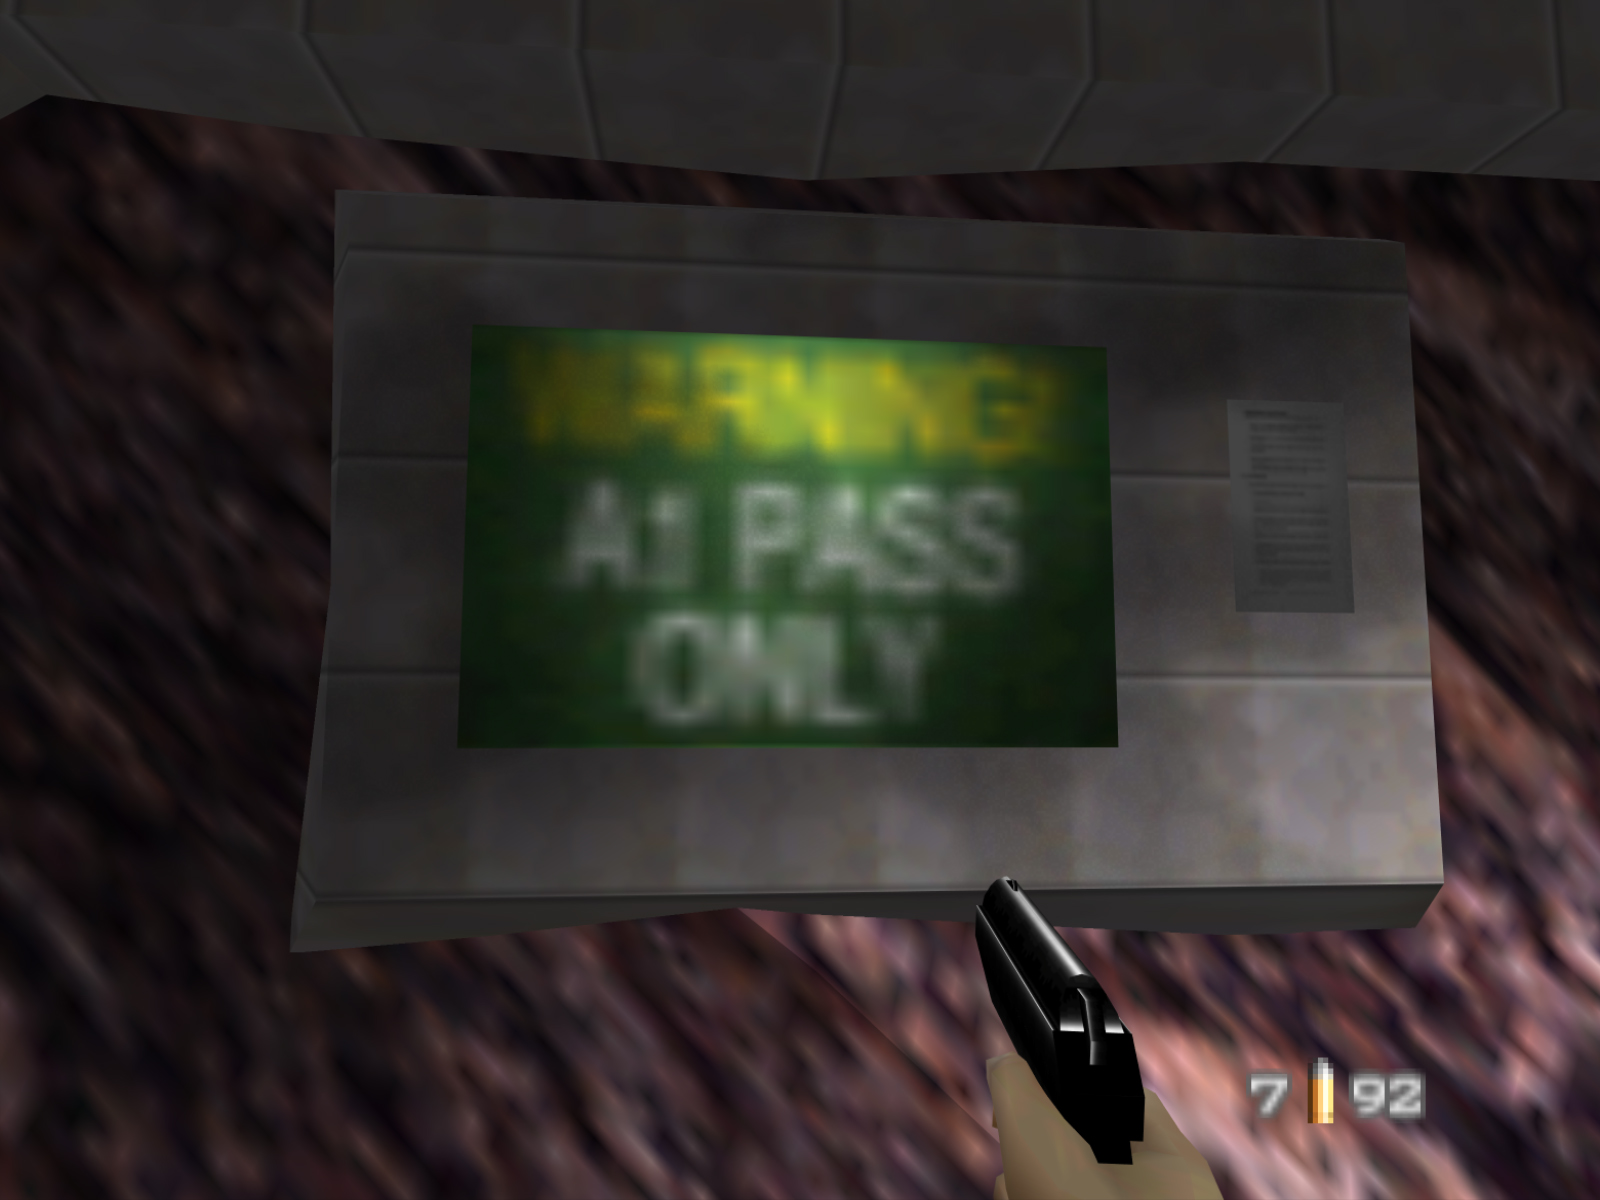
On the route to the main control room you pass by a sign that reads, "WARNING! A1 PASS ONLY" but there are no passes or keycards in this level. Were there ever meant to be? It's just a little strange.
Unlike entry #2 these holes appear to be unintentional. Missing geometry is by no means unheard of in GoldenEye, but Control seems to sport an unusally large number of holes.

This type of blue door with the yellow hazard stripes is seen often in GoldenEye, but it is always coupled with elevators. Always except for this one place in the main control room. Why? Was there originally going to be an elevator here?
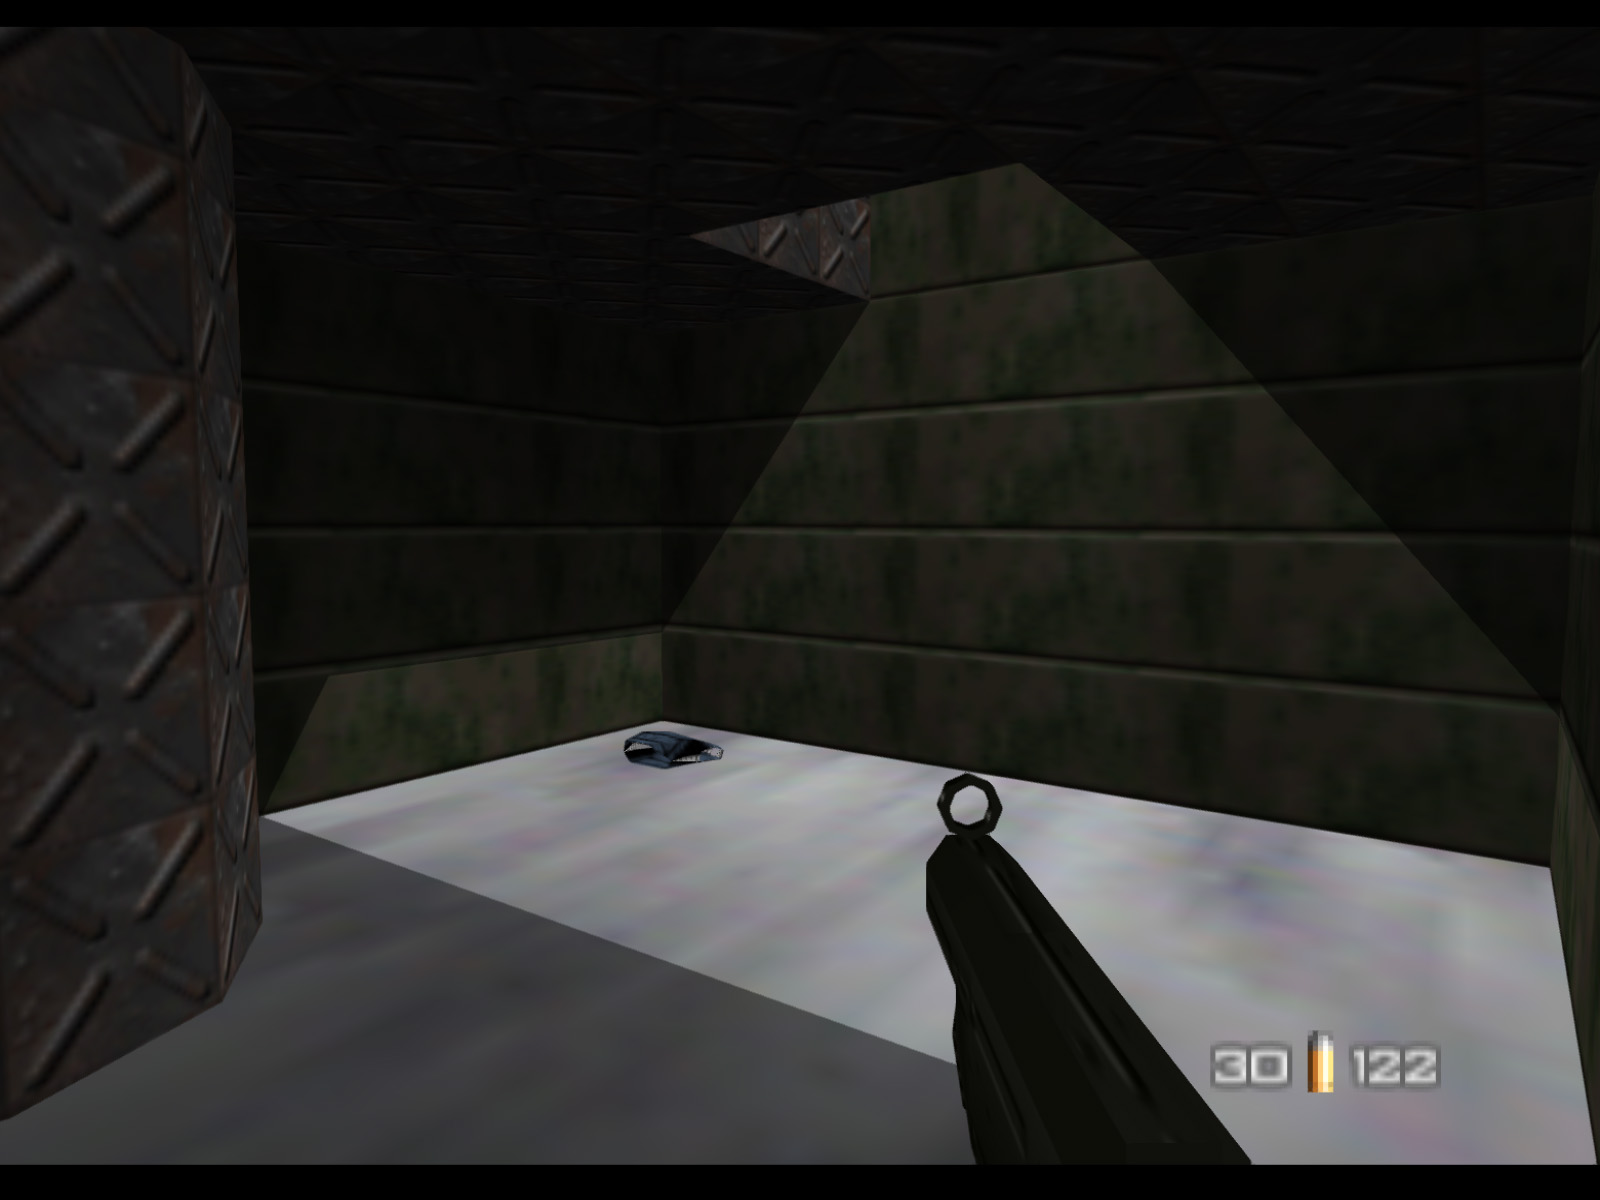
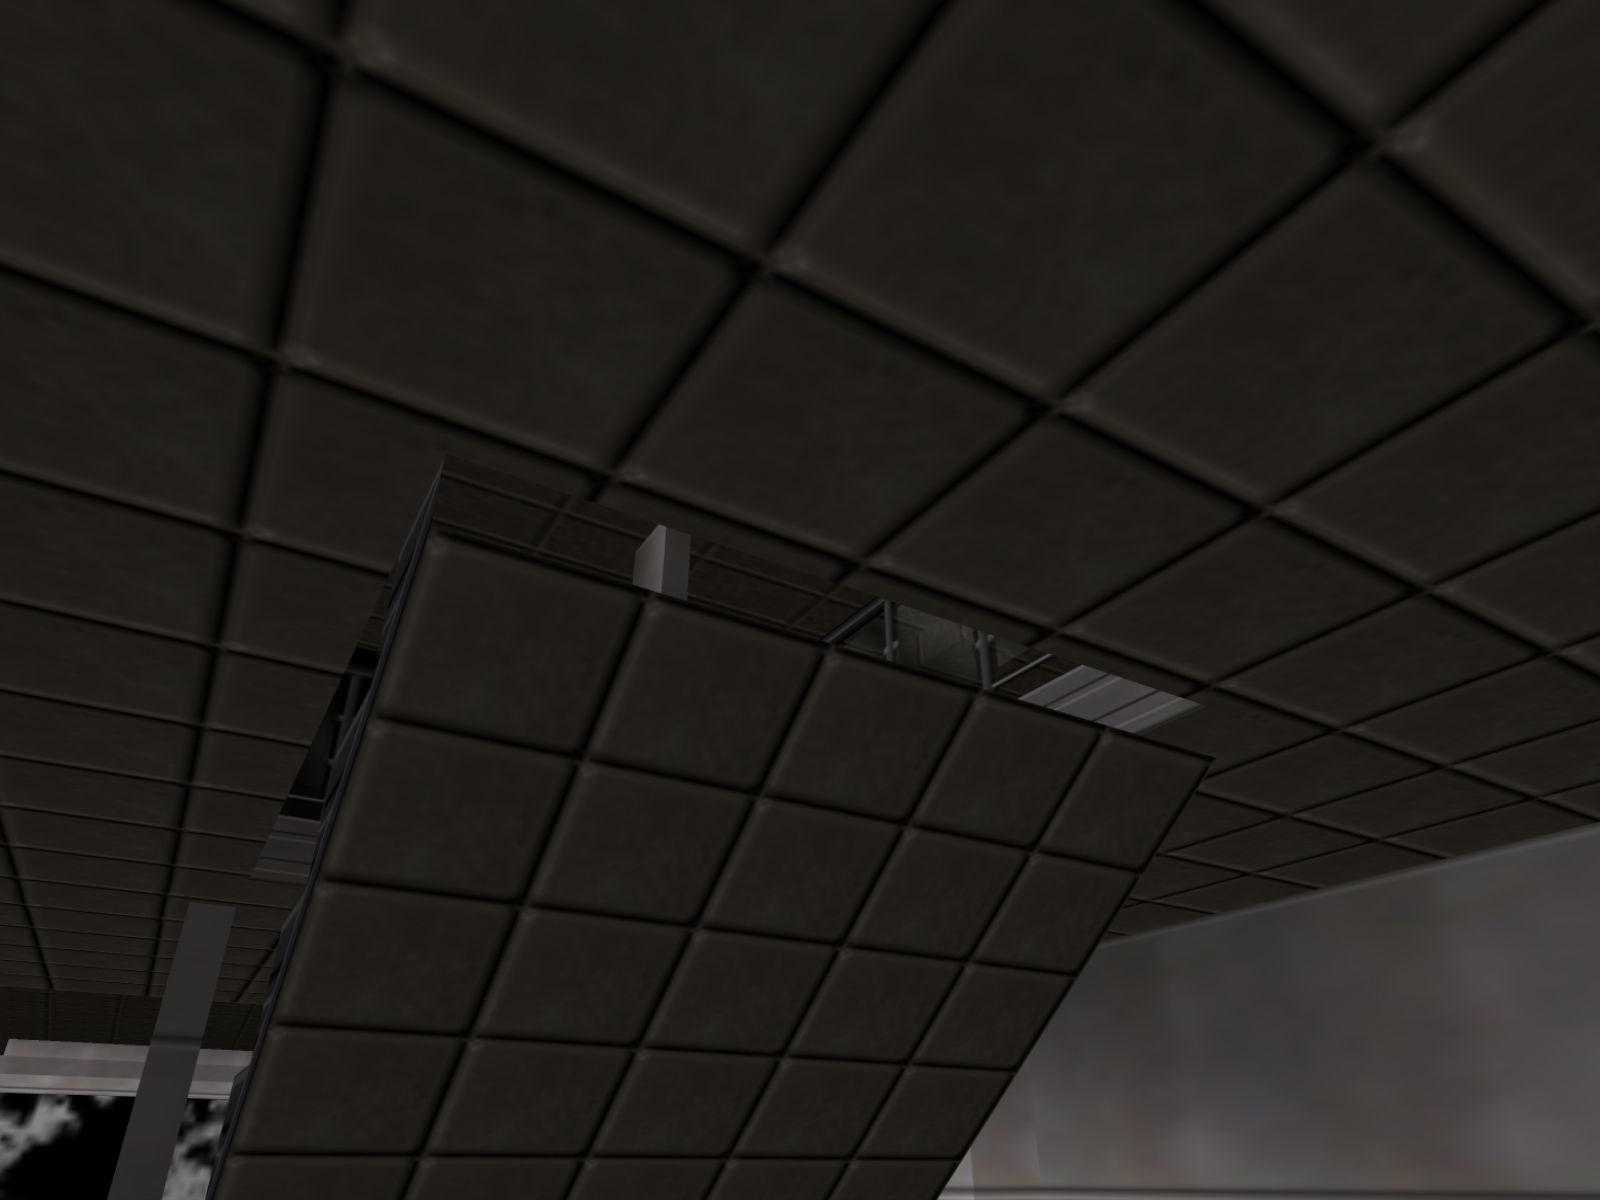
I call this the Boris room because it's where he runs to after his unsuccessful attempt to shoot you. Players have long noted that this room feels strange because of how out of the way it is. The wall texture in here is unique from the rest of the level and a shaft leads up to a pitch black sky above. It feels like a weird amount of detail to put into a place you never have to visit. One possibility is that this was the originally intended start point for Control. That would line up perfectly with how Bond and Natalya infiltrate the control center in the movie.