Mission 7: Cuba
Part iv: Antenna Cradle
Mission 7: Cuba
Part iv: Antenna Cradle
Janus control communications have been jammed and the Goldeneye satellite orbit is decaying. Only Trevelyan and his personal bodyguard remain unaccounted for.
You know my feelings about personal vendettas interfering with mission success, 007. However, in this case, I think we can turn a blind eye to whatever happens out there.
Be careful, and remember,
- you are licensed to kill.
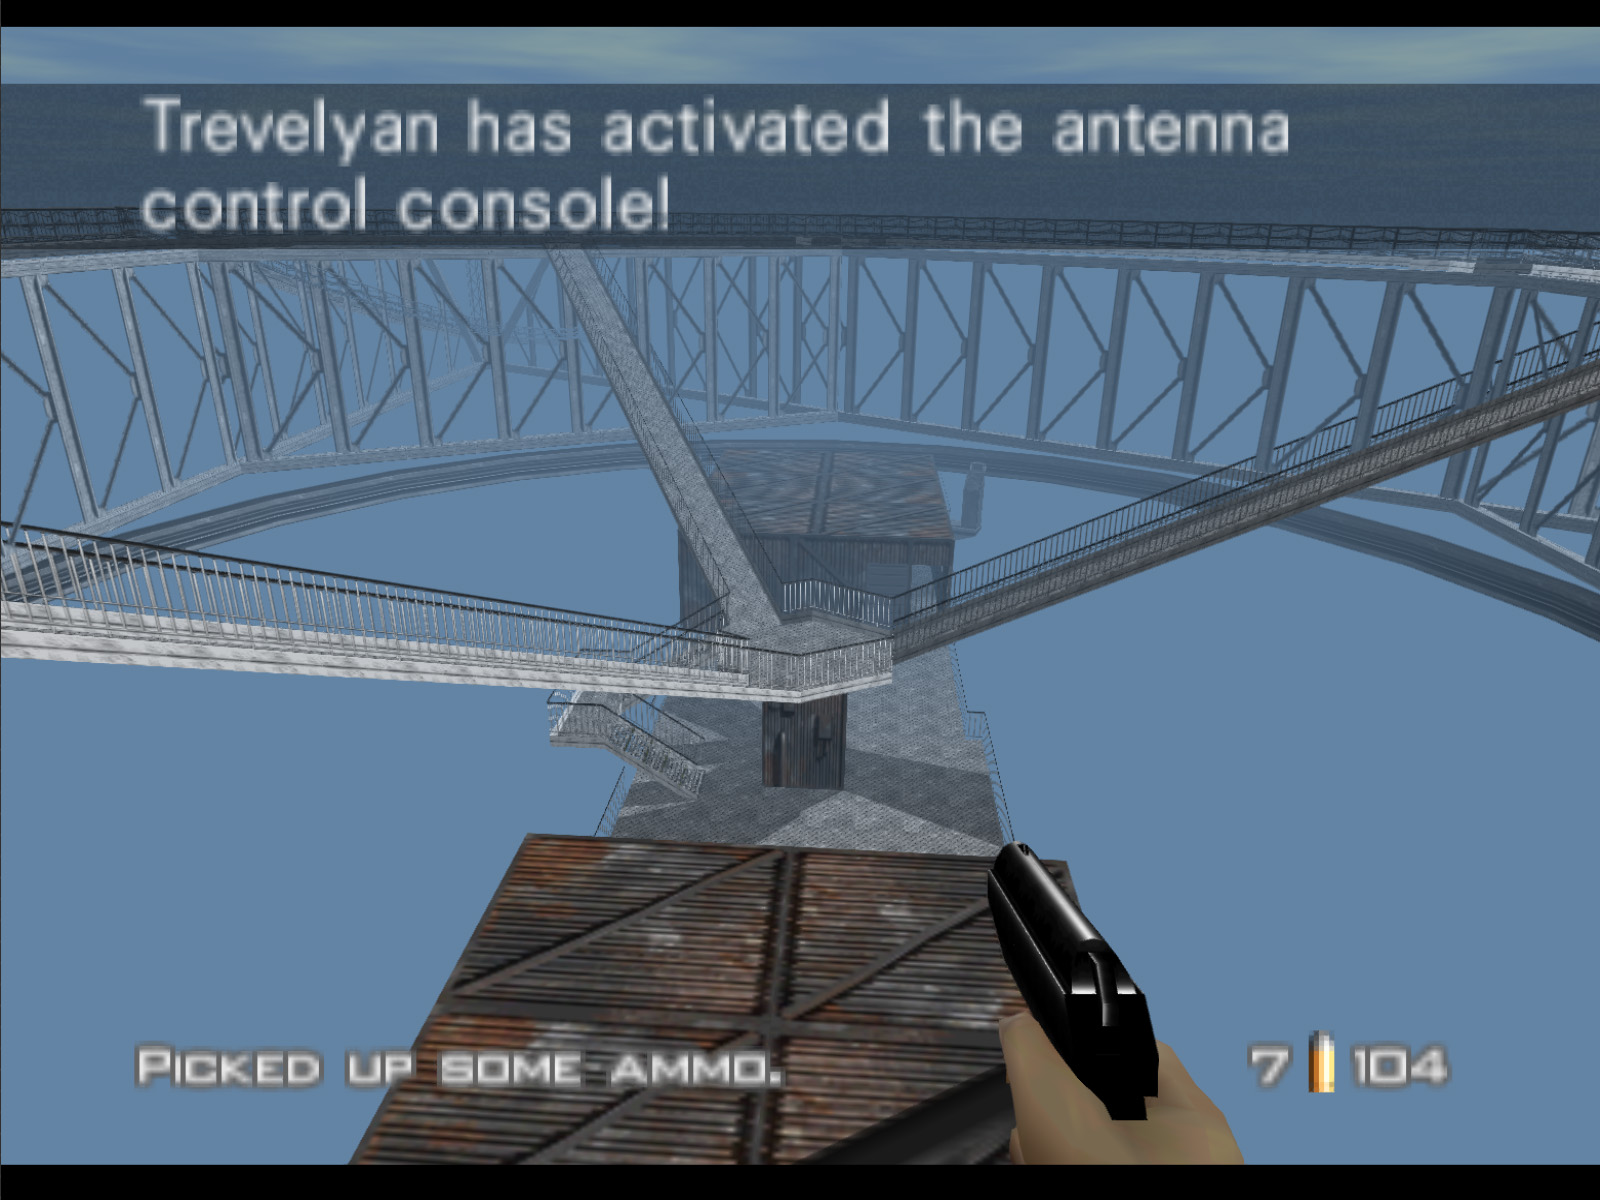
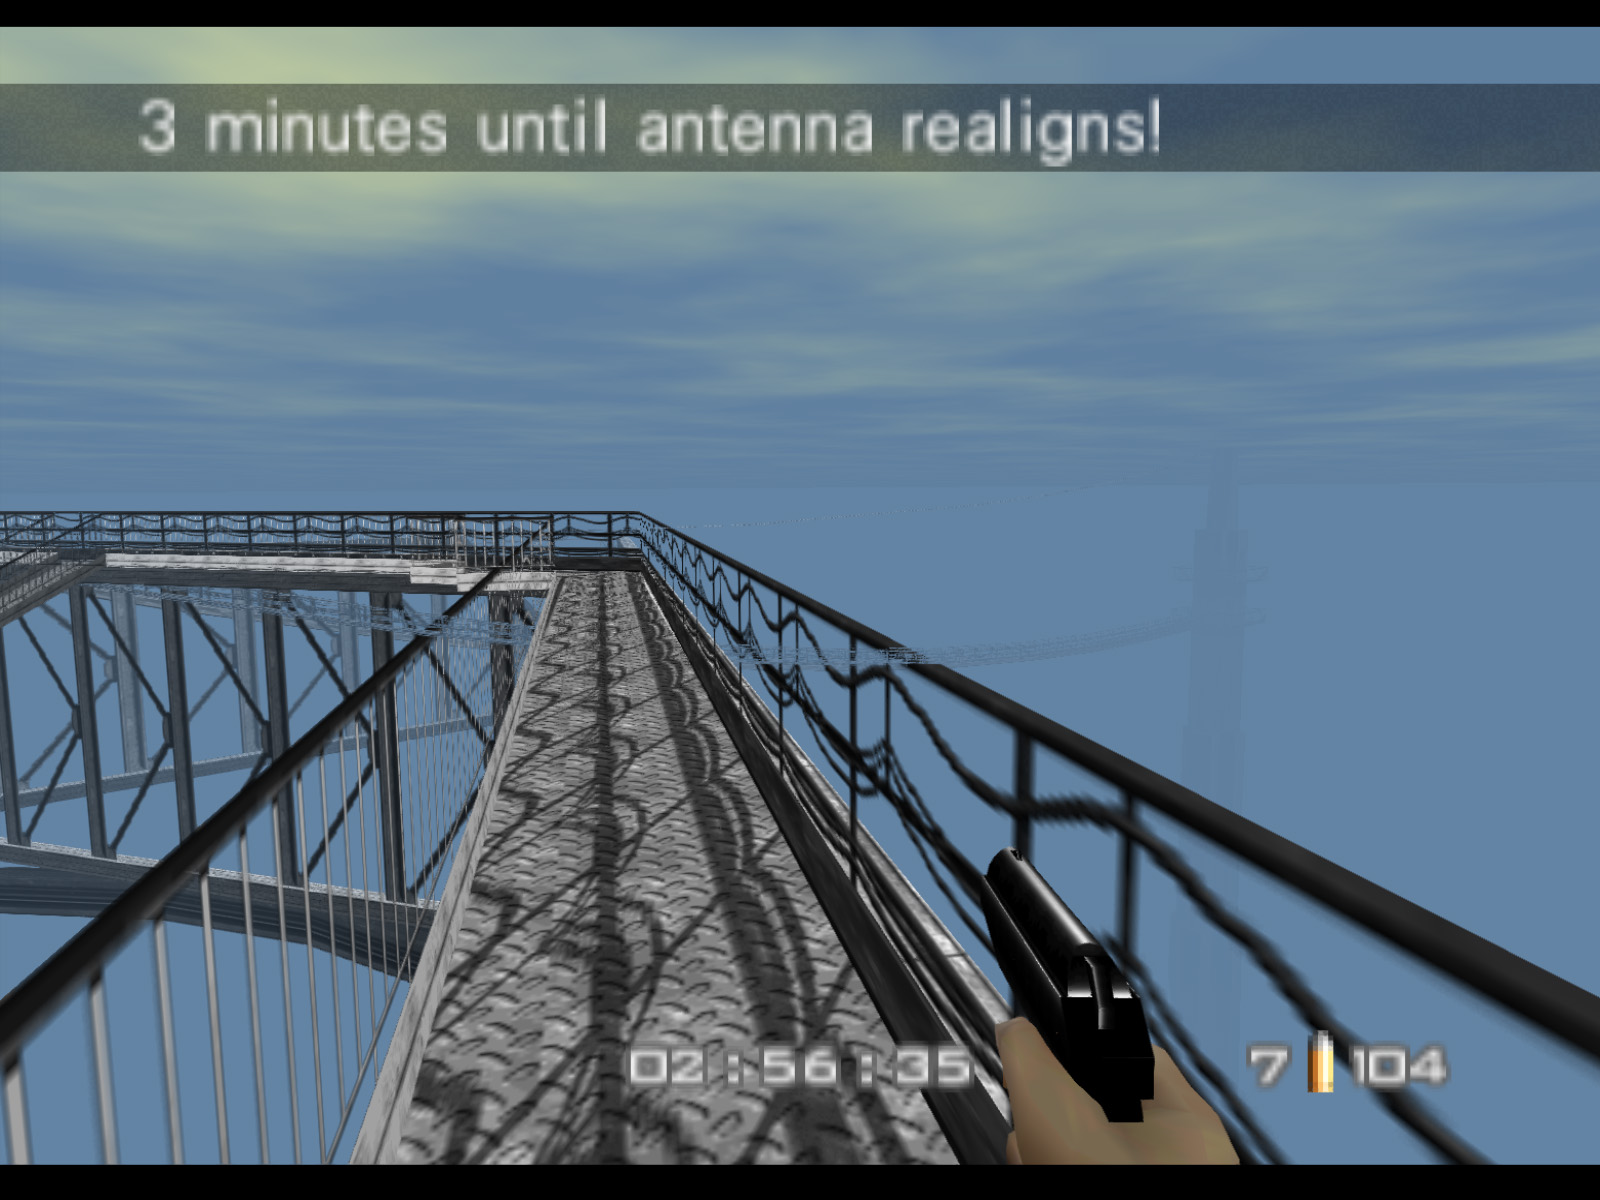
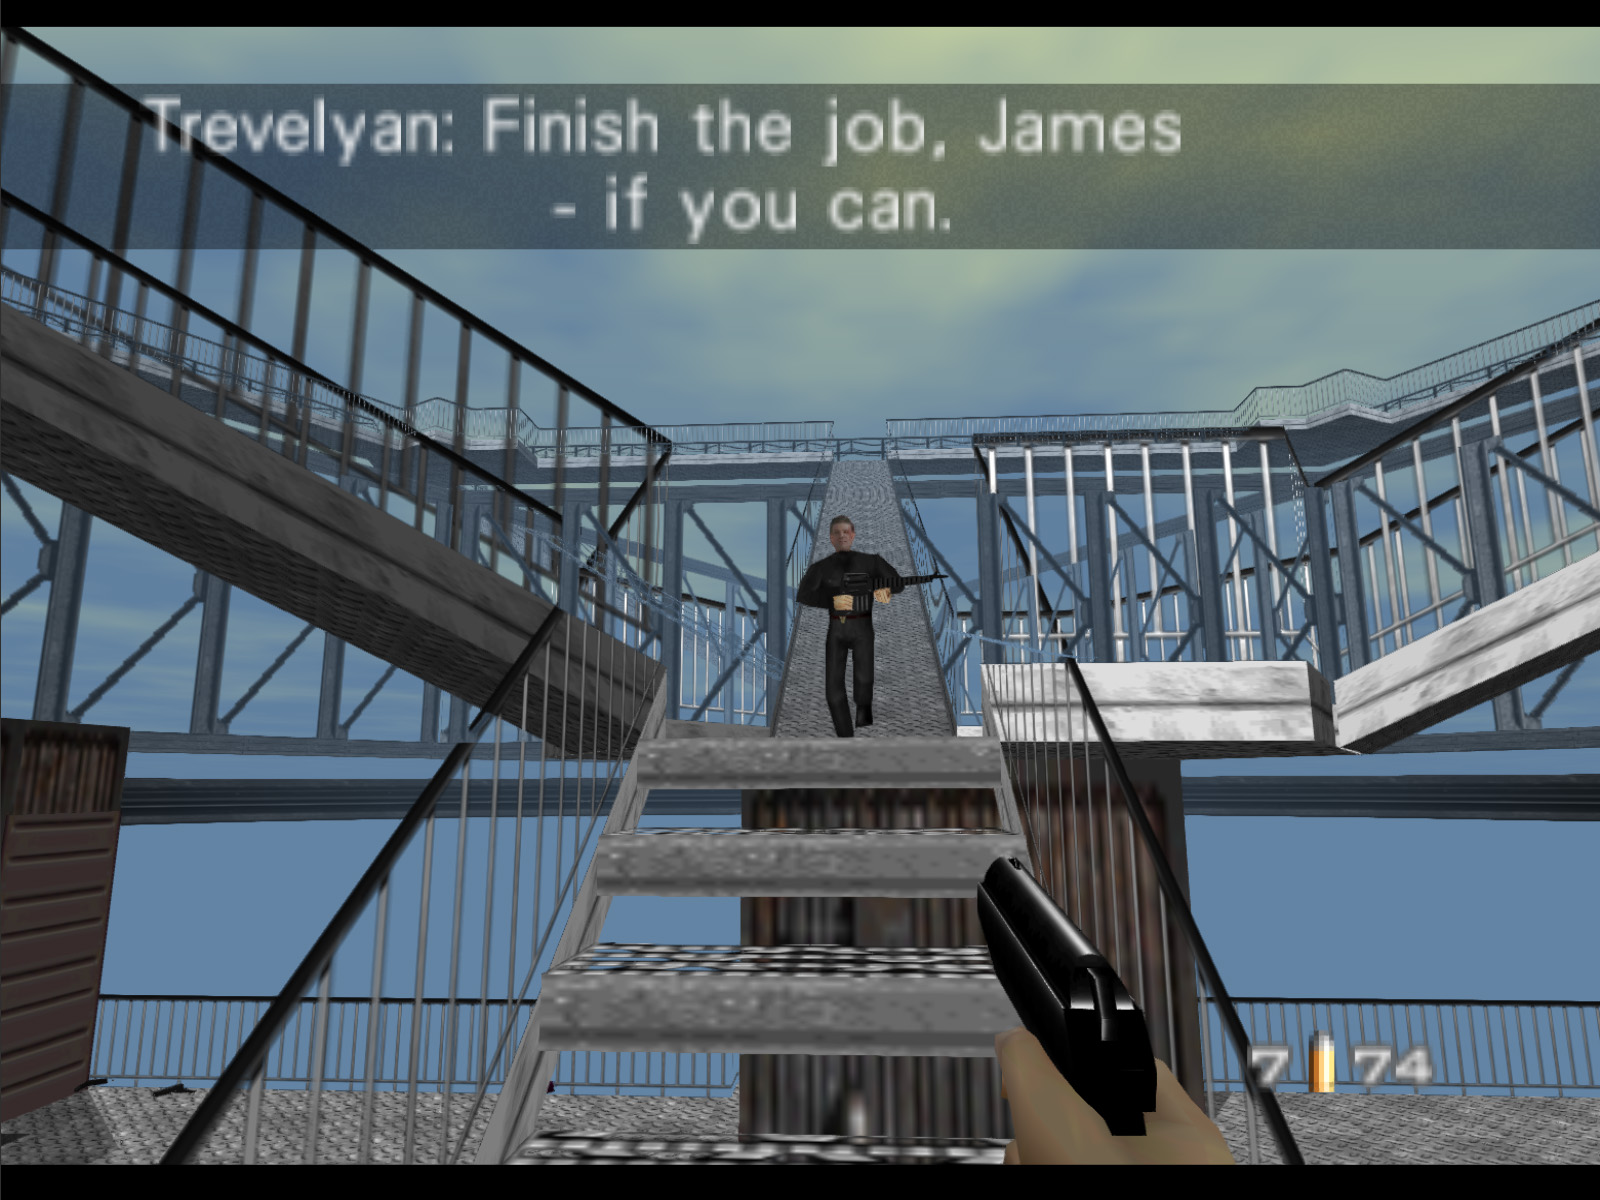
Would you believe it, 007? There's another blasted control thingy actually on the antenna cradle. Trevelyan might be able to realign the antenna and get one last firing message through to the satellite. Get out there and destroy it! We don't want things going pear-shaped at the last minute.
The hand that rocks the cradle rules the world, James. You know I won't sleep soundly until you get back to England in one piece.
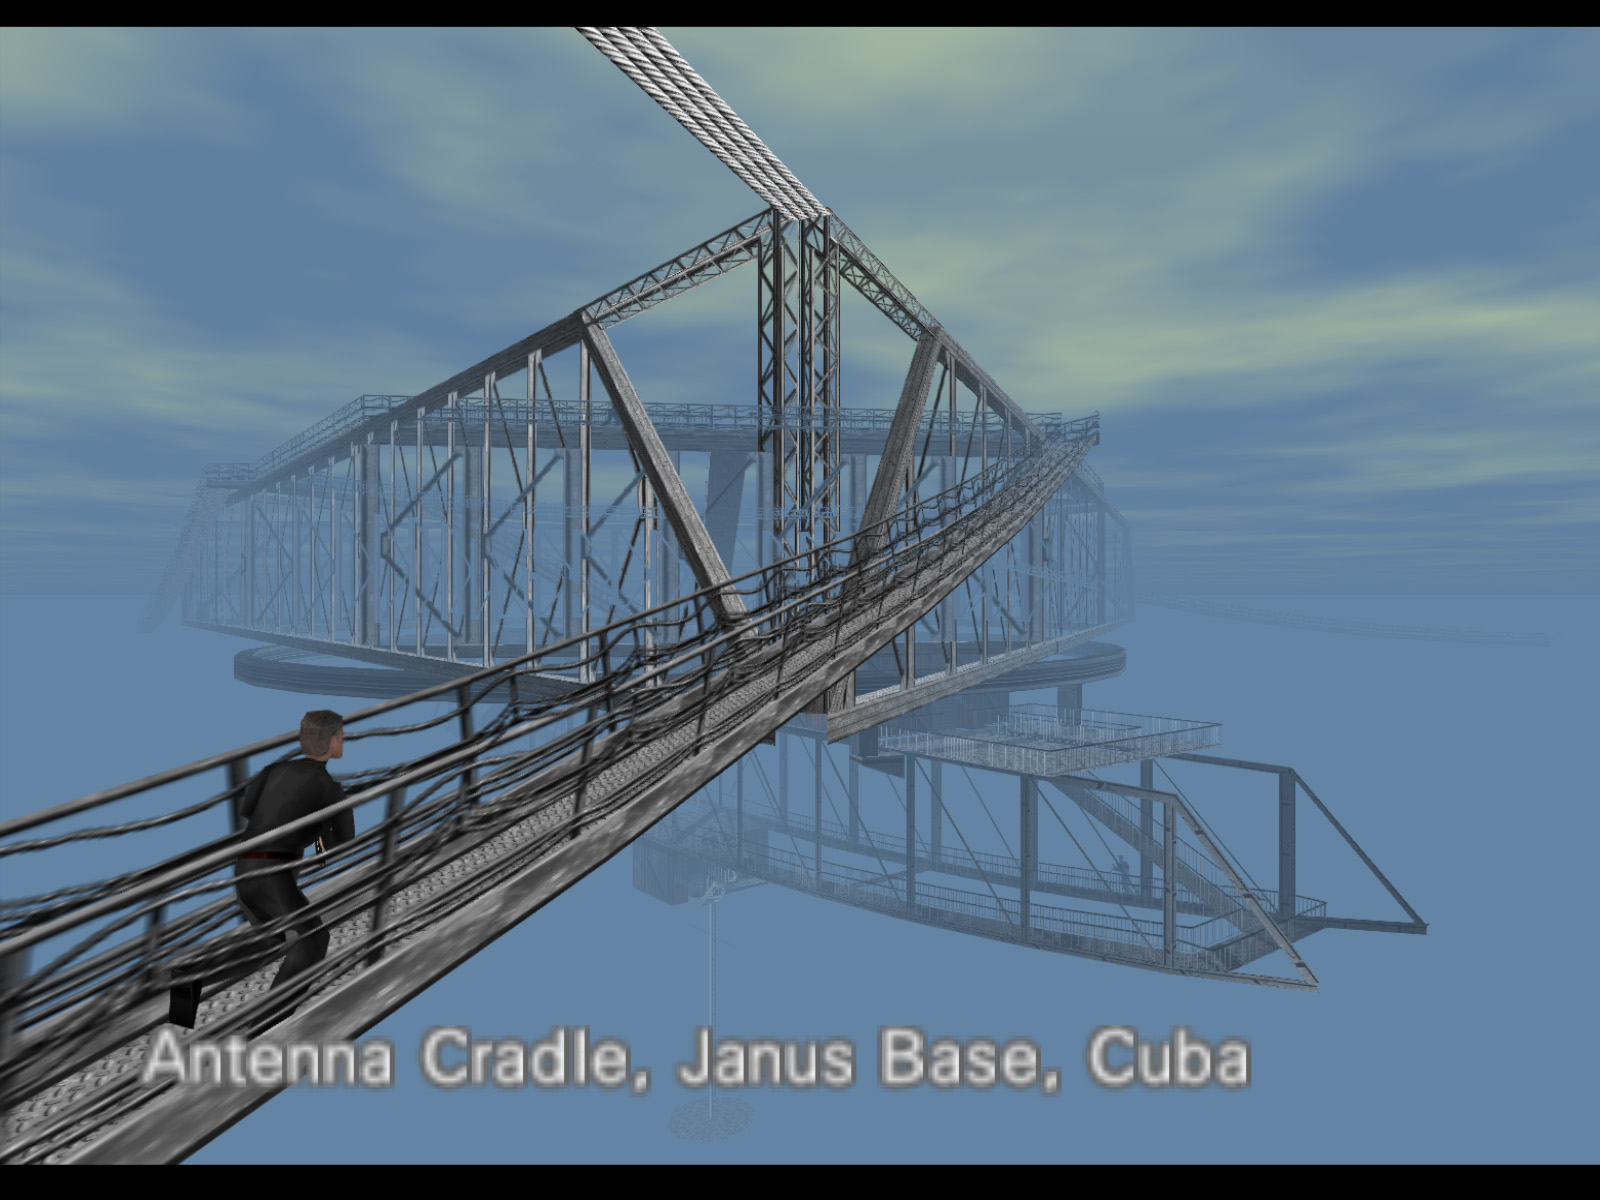
Cradle is the eighteenth level of GoldenEye 007, the fourth level of the seventh mission, and the final level of the main campaign. It's the climax of GoldenEye's plot where Bond and Alec Trevelyan battle to the death. At the same time Bond must prevent Trevelyan from getting one last detonation command out to the GoldenEye Satellite.
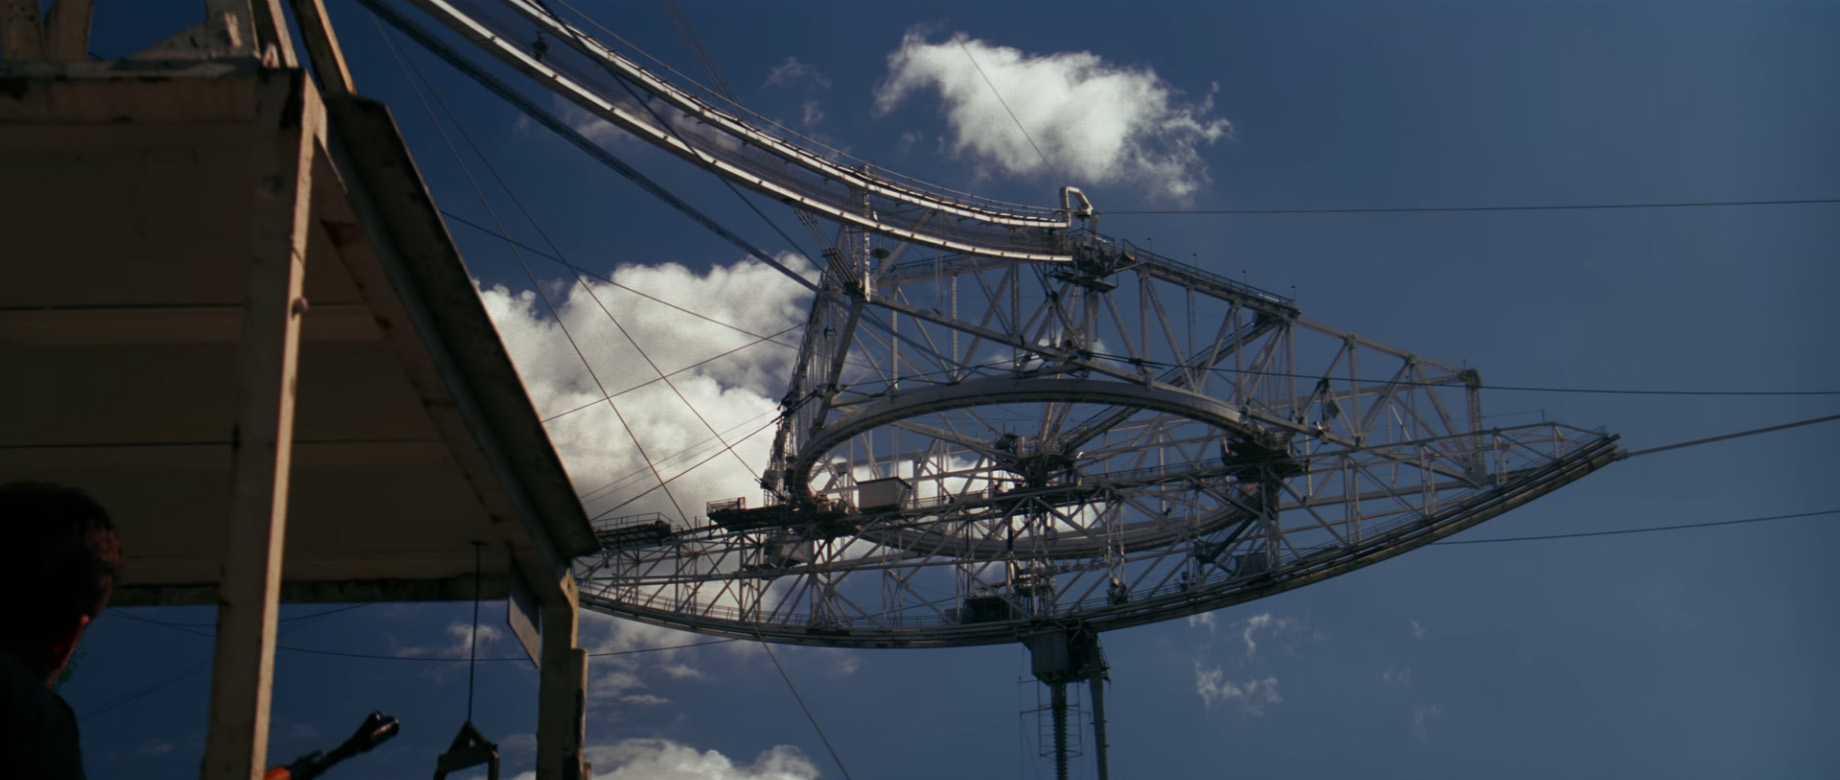
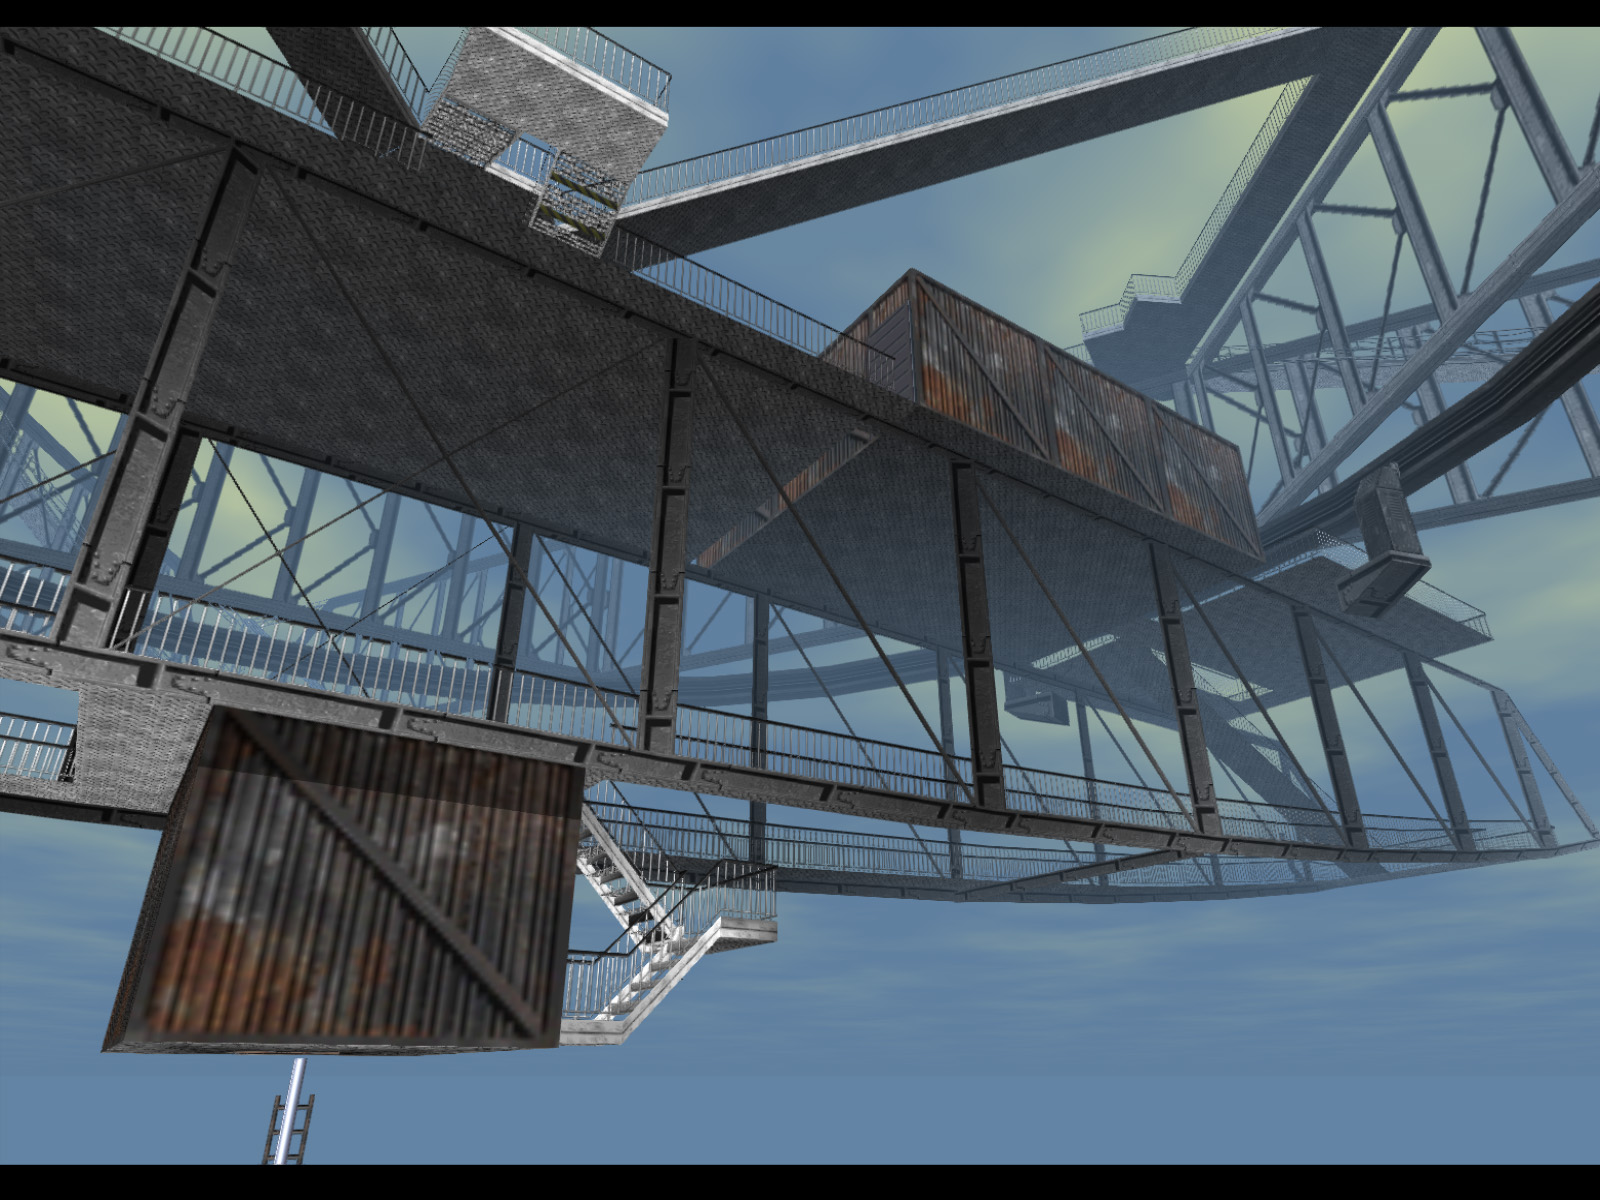
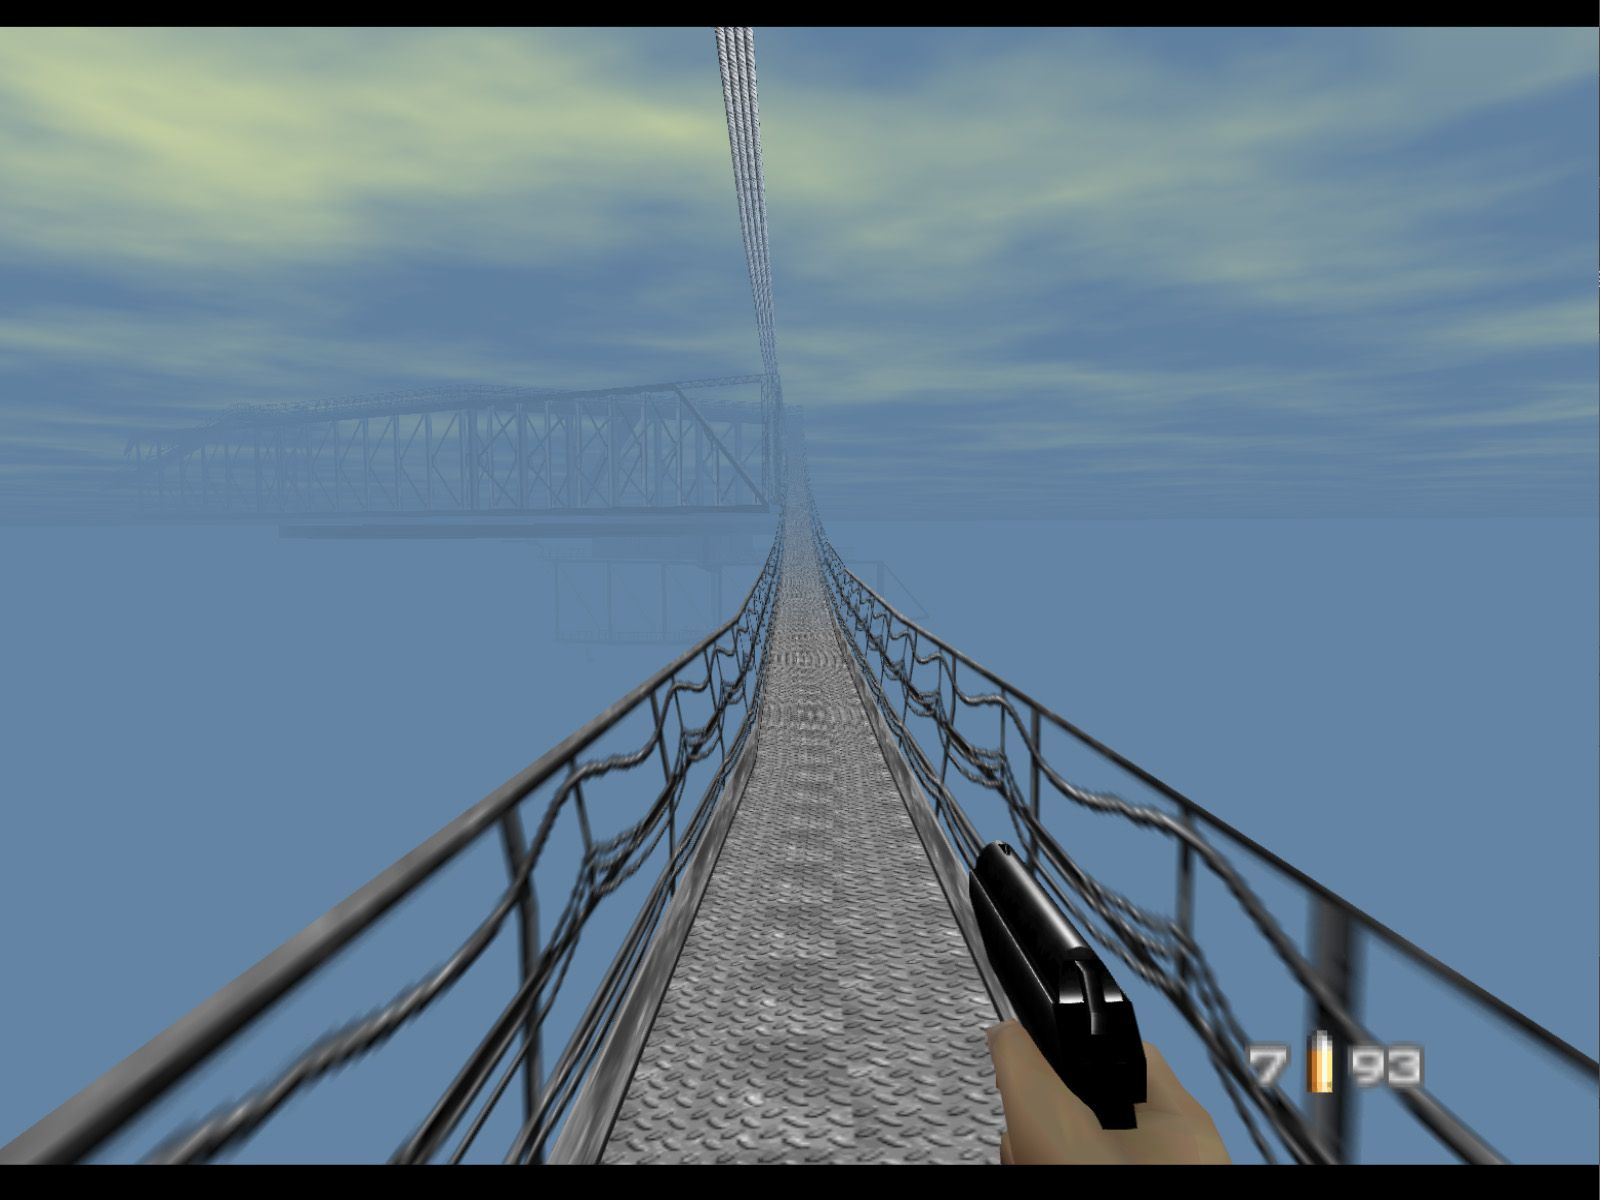
Cradle is based on the former radio telescope at the Arecibo Observatory in Puerto Rico. The telescope was built in 1963 and collapsed on December 1, 2020 due to damage from earthquakes and hurricanes as well as neglected maintenance. The telescope was suspended by three concrete towers and 18 eight centimeter diameter steel cables. One tower was 111 meters high and the other two were 81 meters high. The steerable receiver was mounted 150 meters above a 305 meter diameter spherical (not parabolic) dish made of perforated aluminum panels.
The complex observatory had to be simplified for the game. GoldenEye does not attempt to render the dish or surrounding terrain. There is only sky below the player. Even so the Nintendo 64 struggles to render the structure and frame rate suffers. In the game all three support towers are about 98.6 meters high. The distance from the center of the cradle to each support tower is about 106 meters.
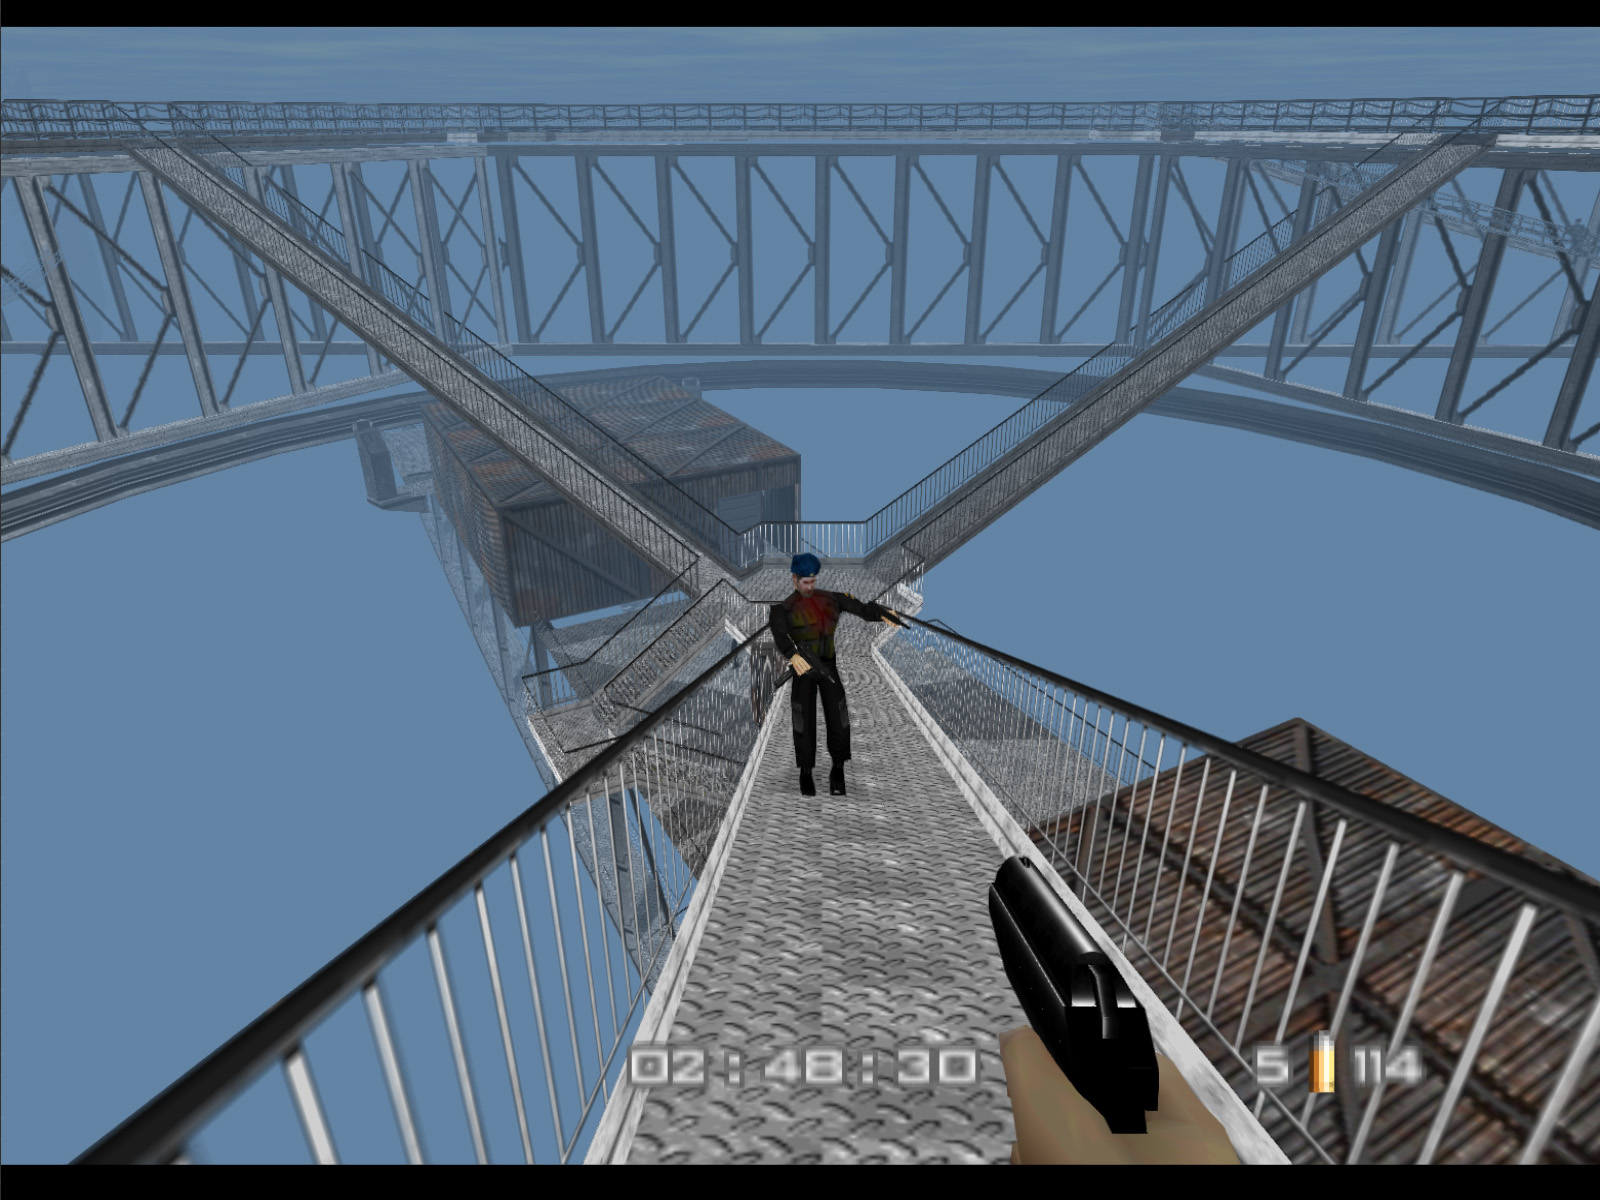
The battle with Trevelyan is the most complex in the game. Trevelyan runs between preprogrammed locations until he takes enough damage to make him retreat to a tiny platform at the bottom of the antenna. Once there the player must finish him off while being careful not to be knocked off the platform themselves.
This armor is in the shed opposite of the one housing the control console. Circle around the back of the machinery to find it.
This and the next two armors are all located on Cradle's support towers. This particular one is on the tower to the right of where you begin.
This armor is on the catwalk for the support tower to the left of the starting point.
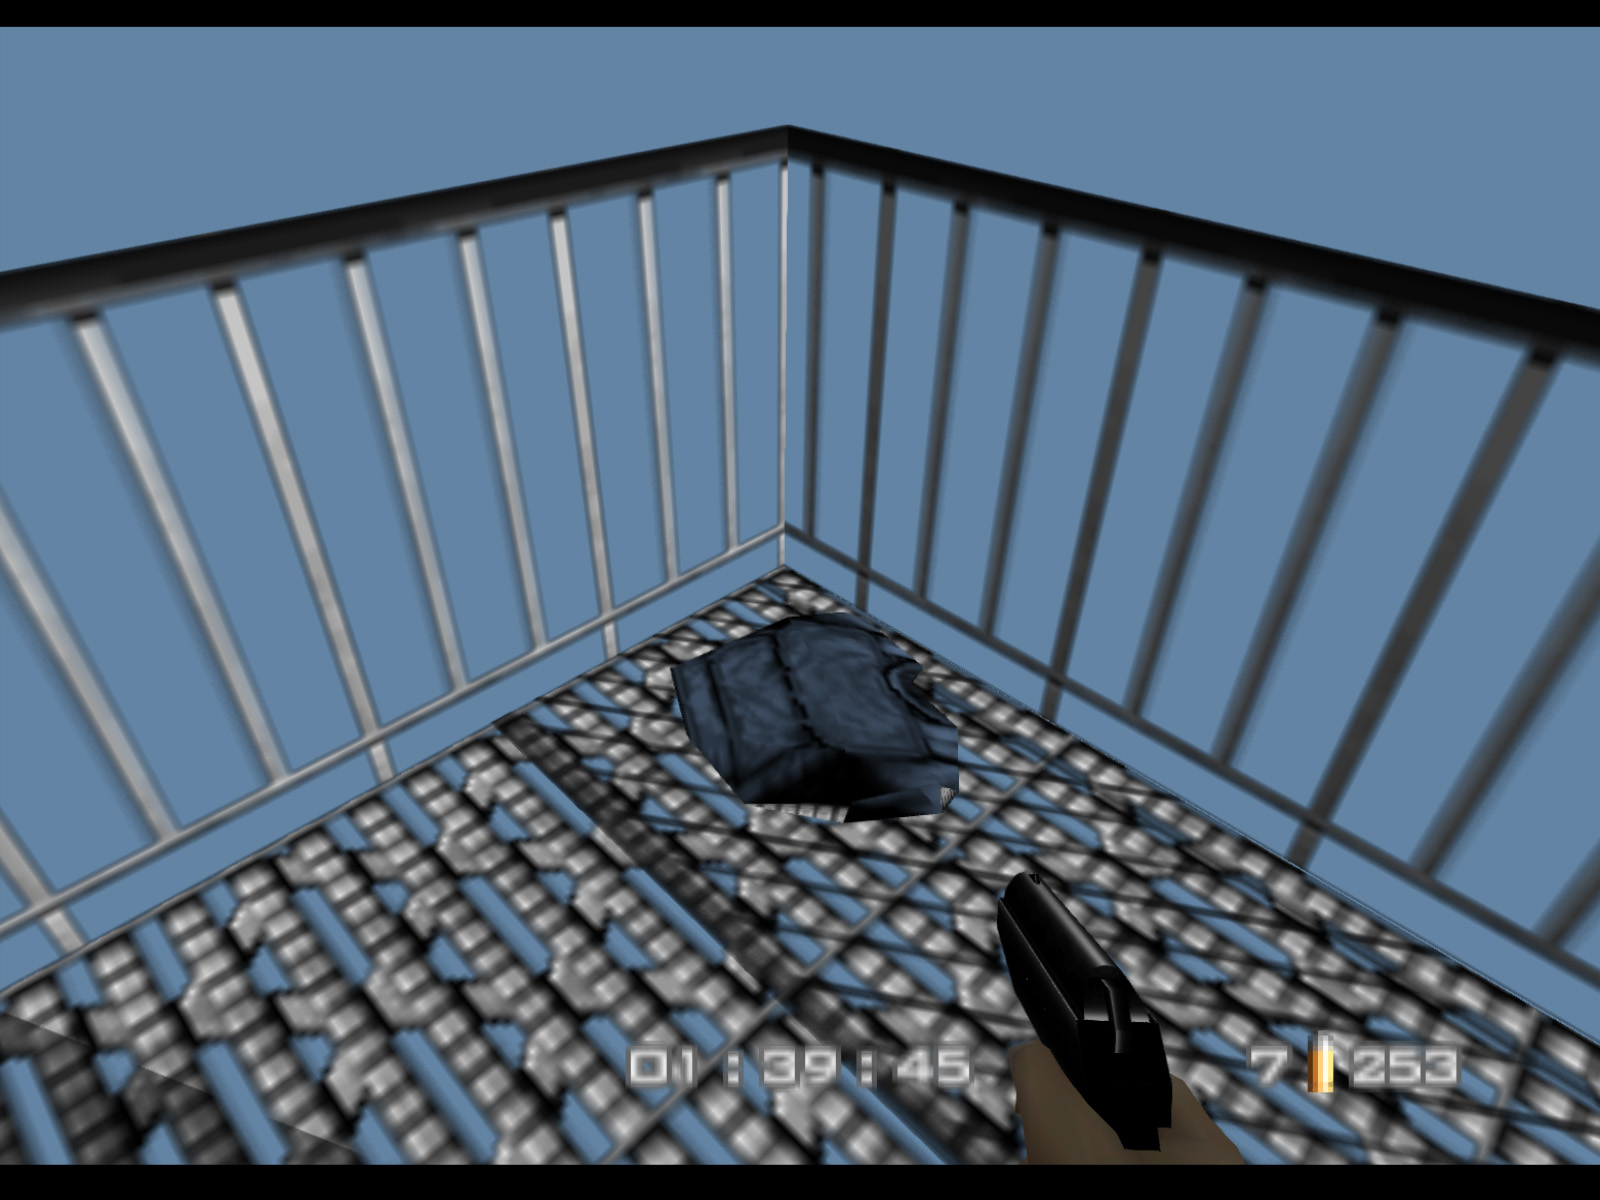
The final armor is right behind where you spawn. Swing around to your left and grab it. Well, it's the final armor as the game has them ordered. In a typical playthrough it's probably your first armor.
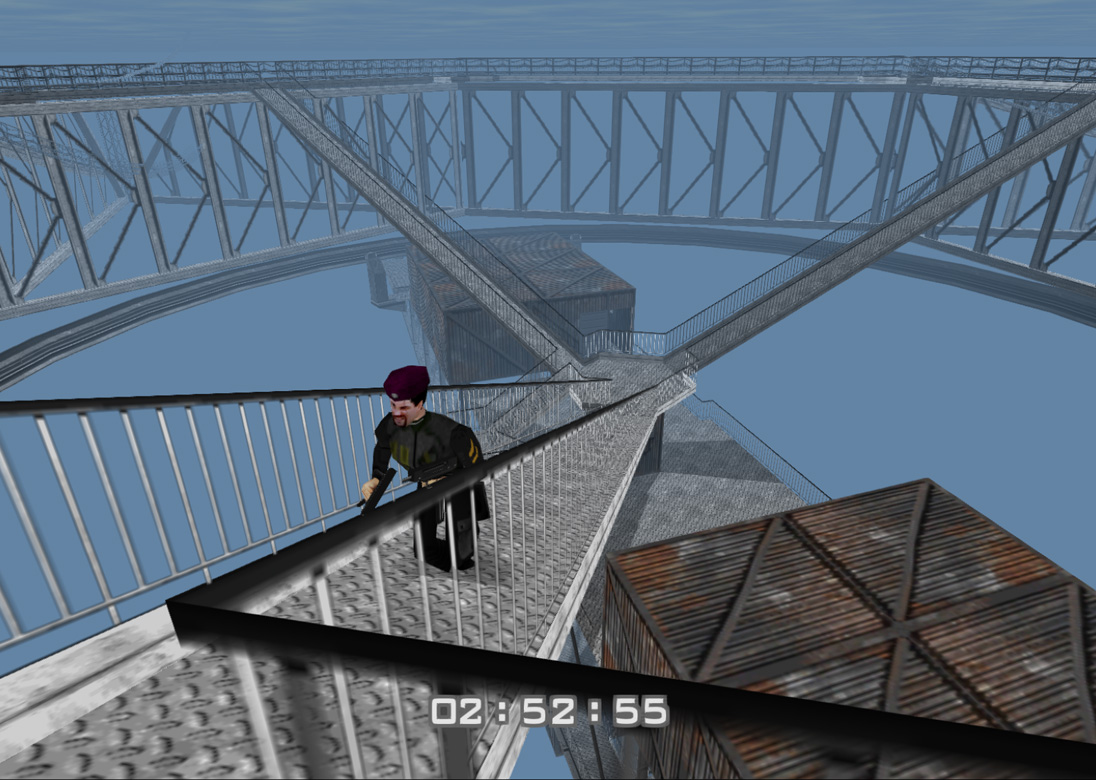
This is your start position in Cradle on one of the three support towers. It is tempting to just run forward, but be aware that there is an Armor Vest just behind you and to your left.
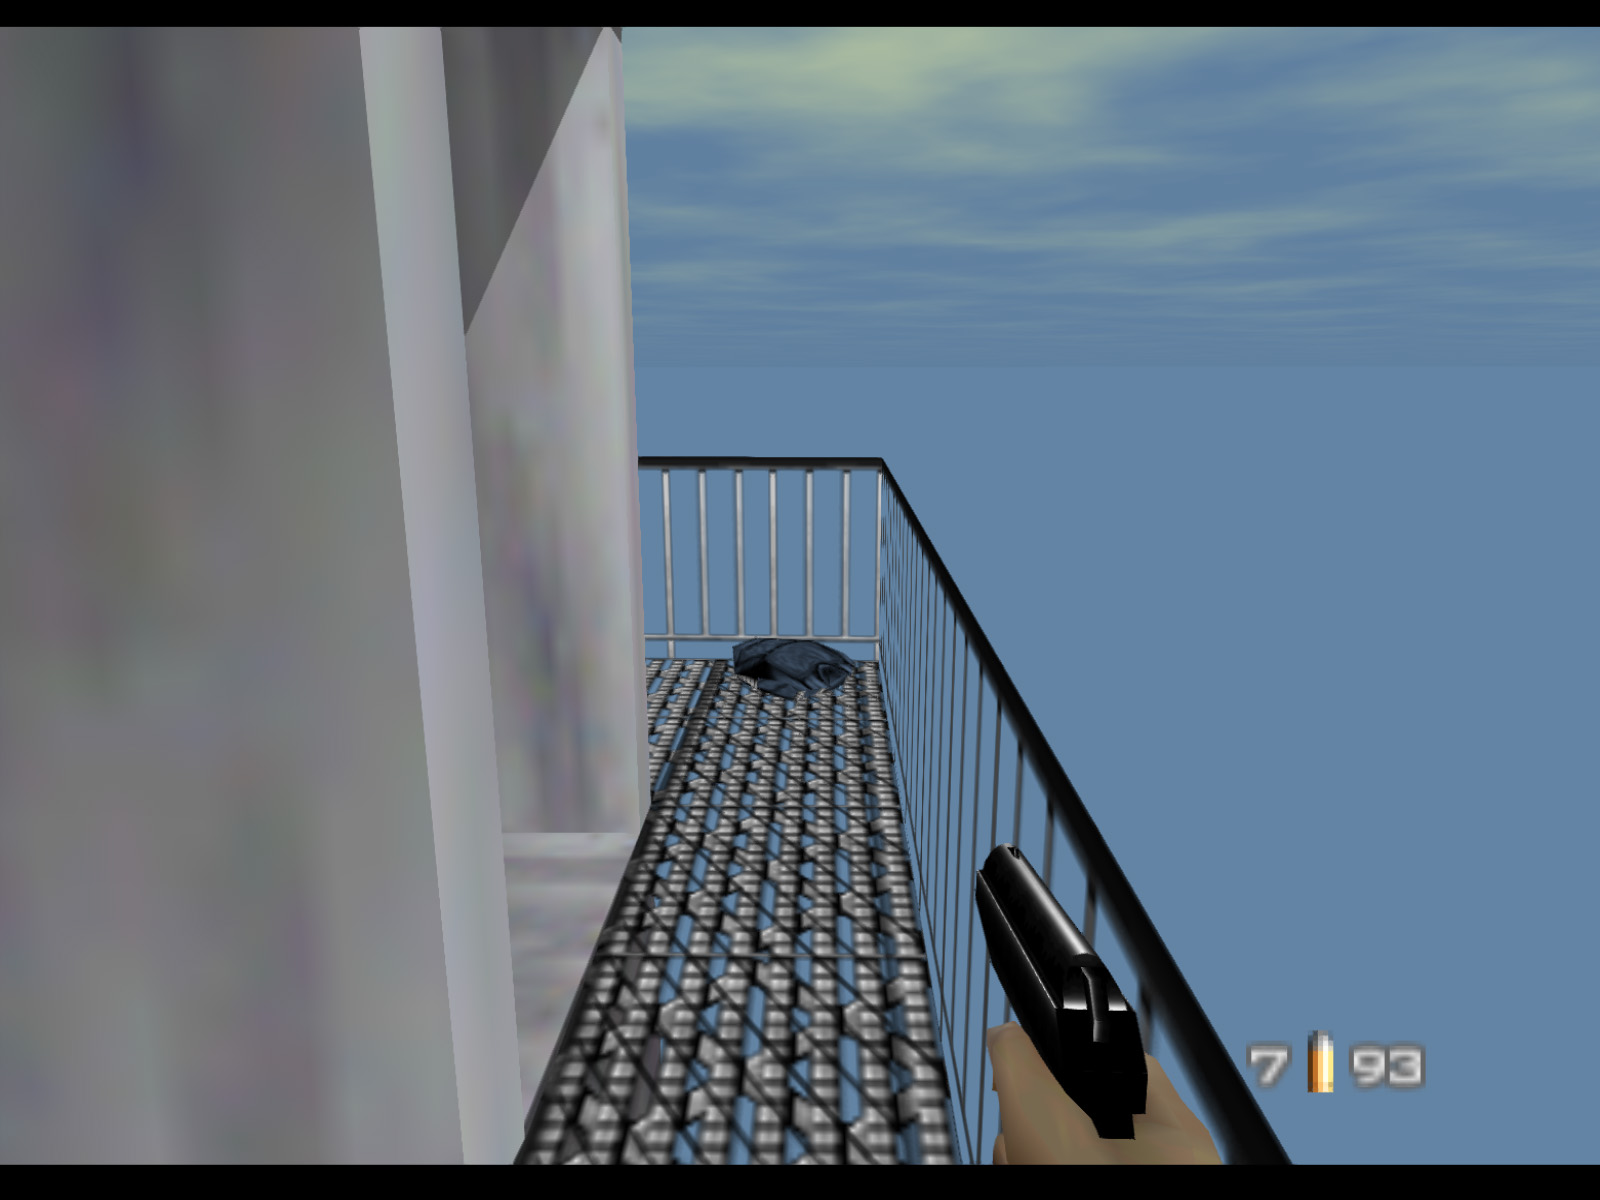
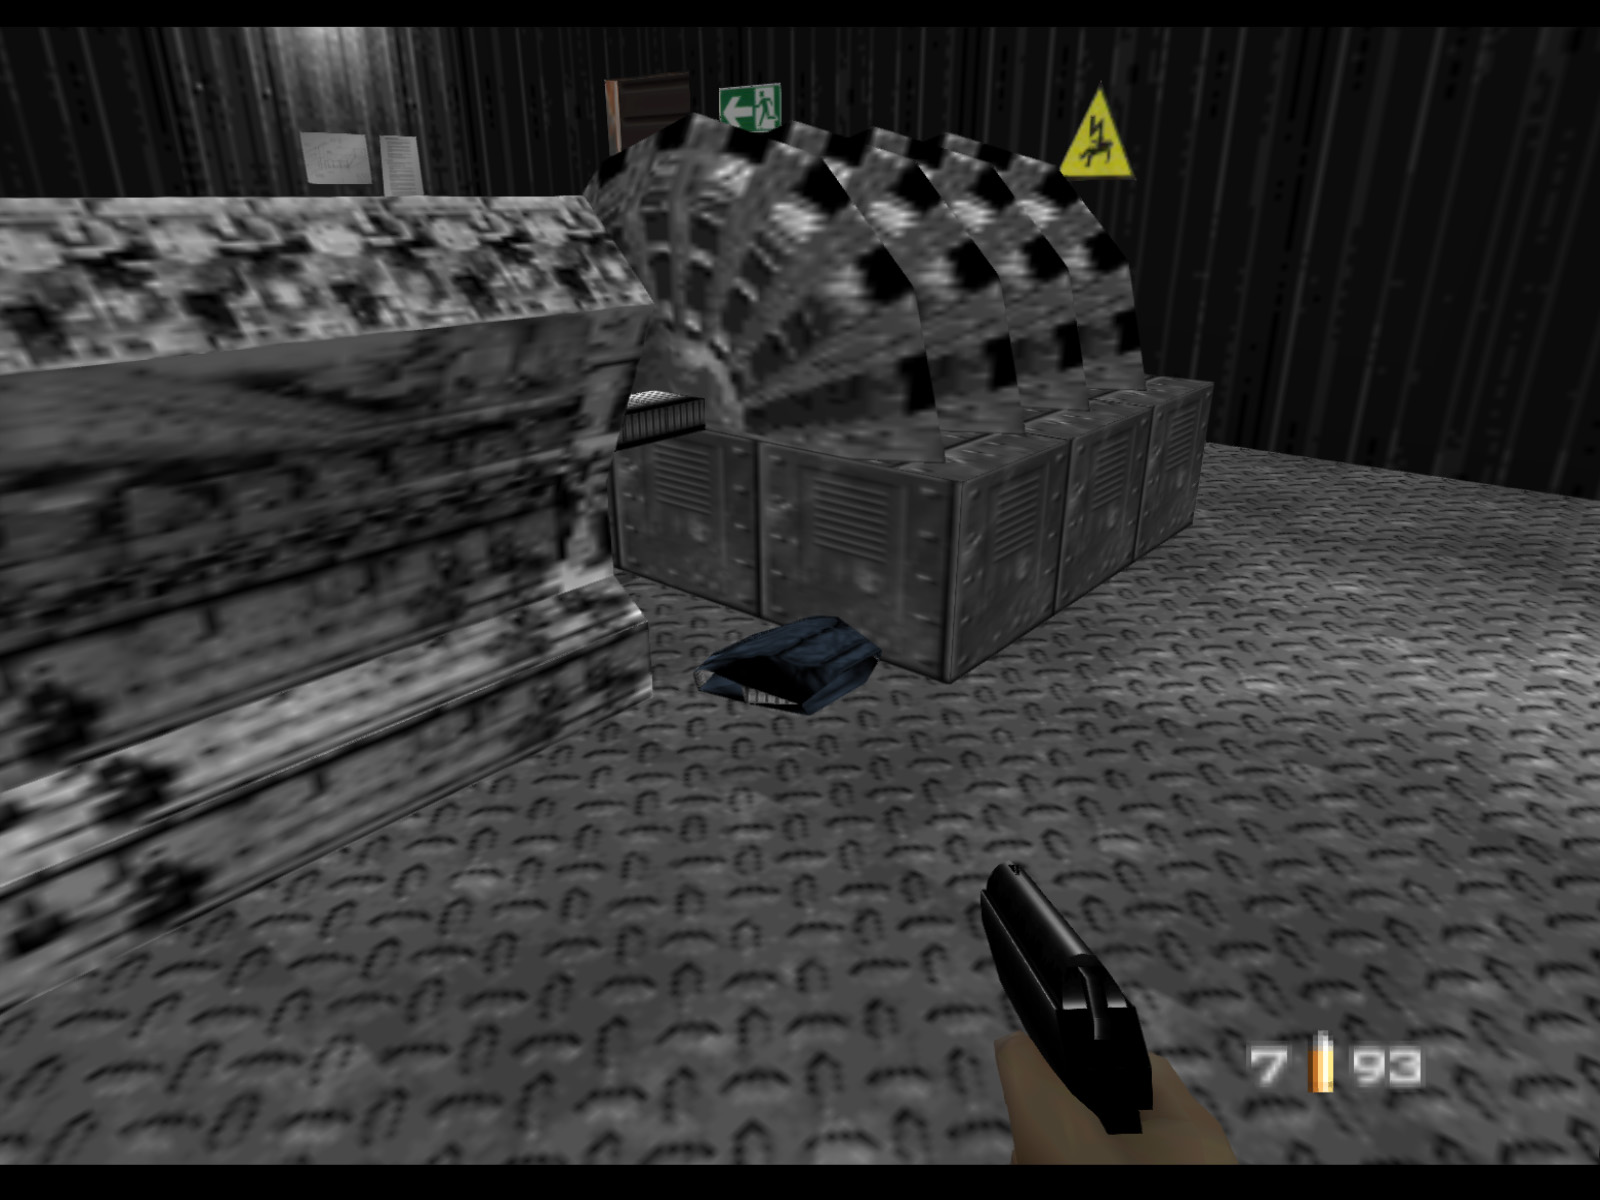
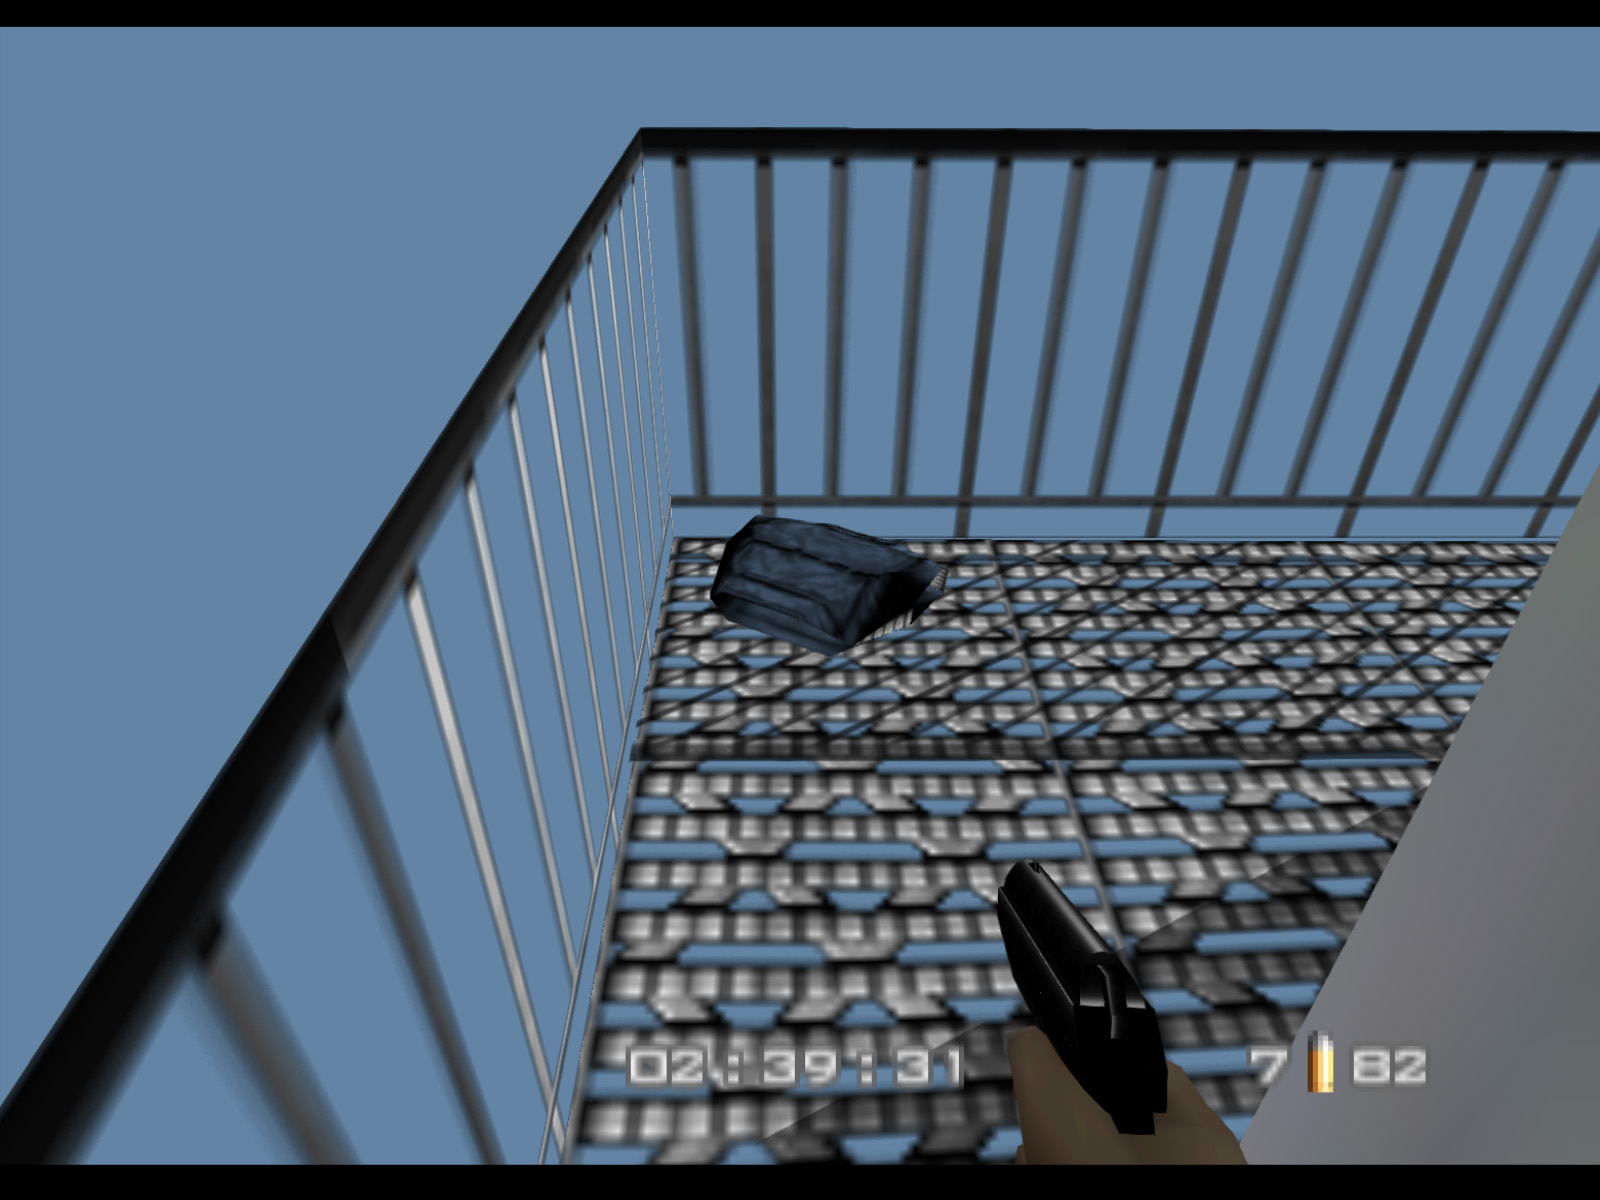
Here is that Armor Vest. Also be aware that the other two support towers have armors as well.
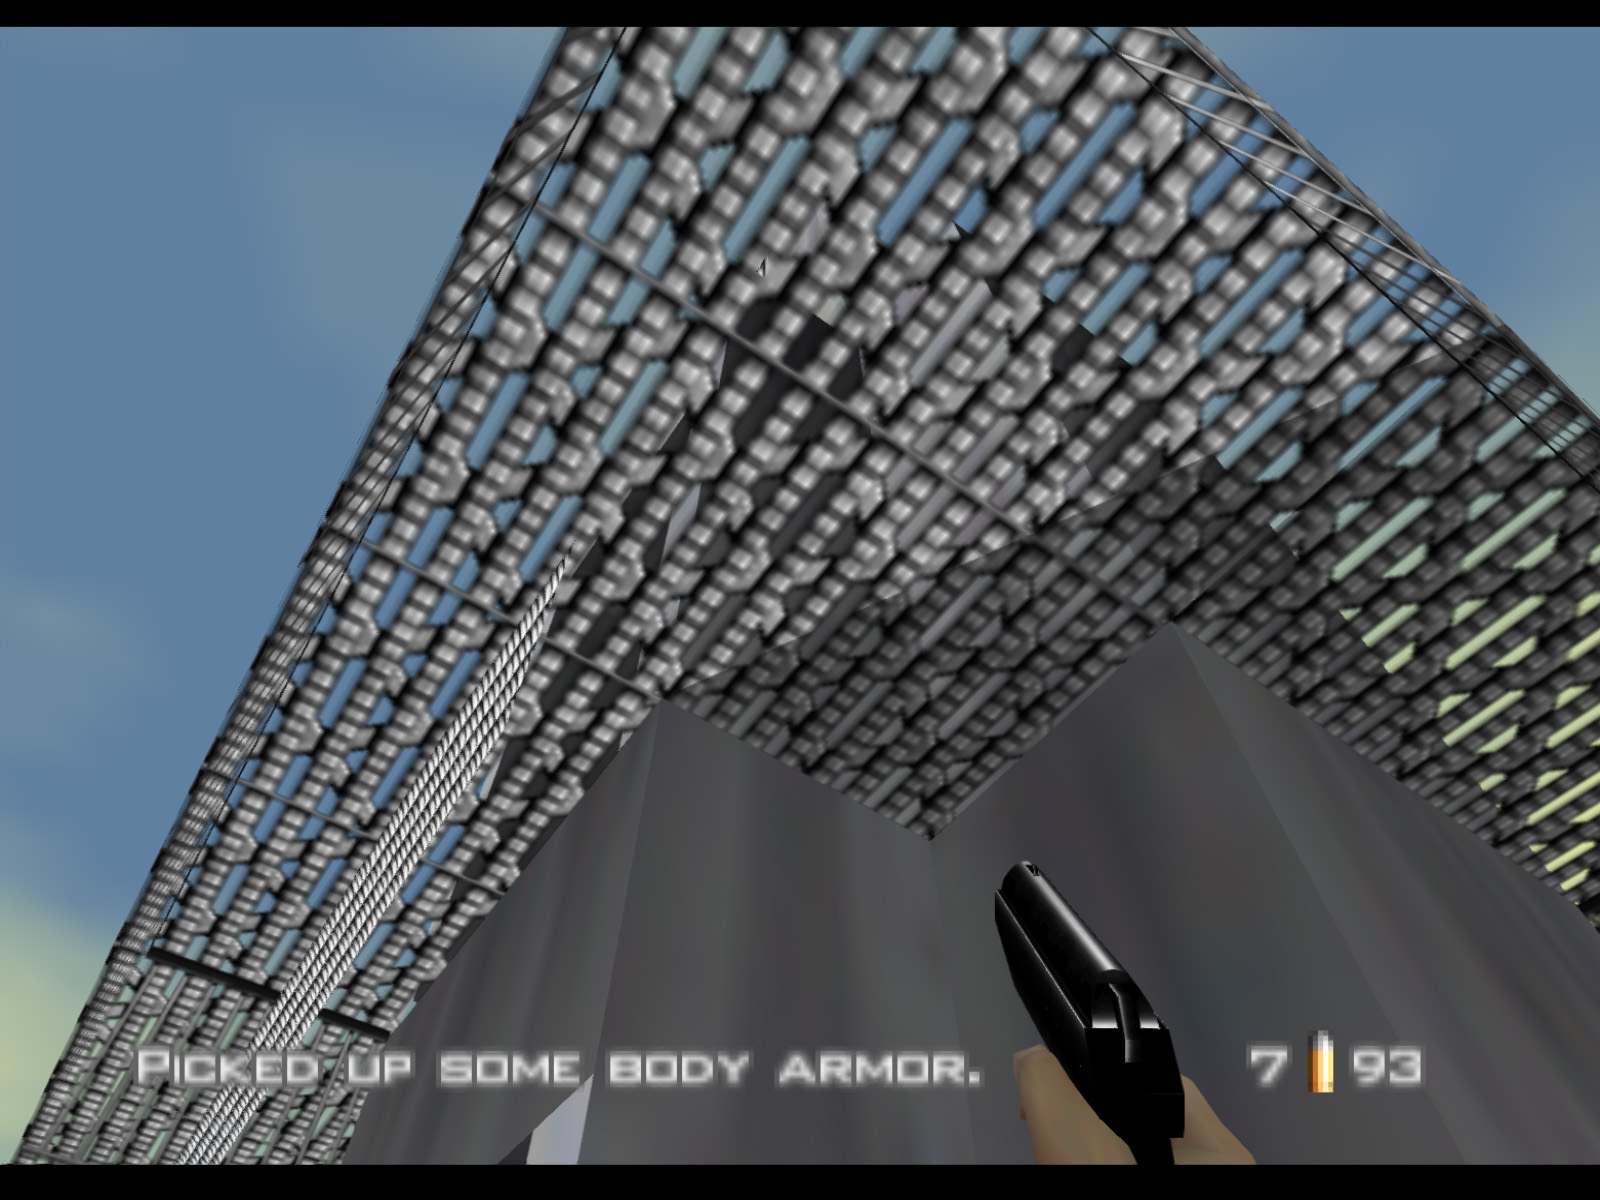
You might also notice that there are catwalks above you, but there is no way to get to those.
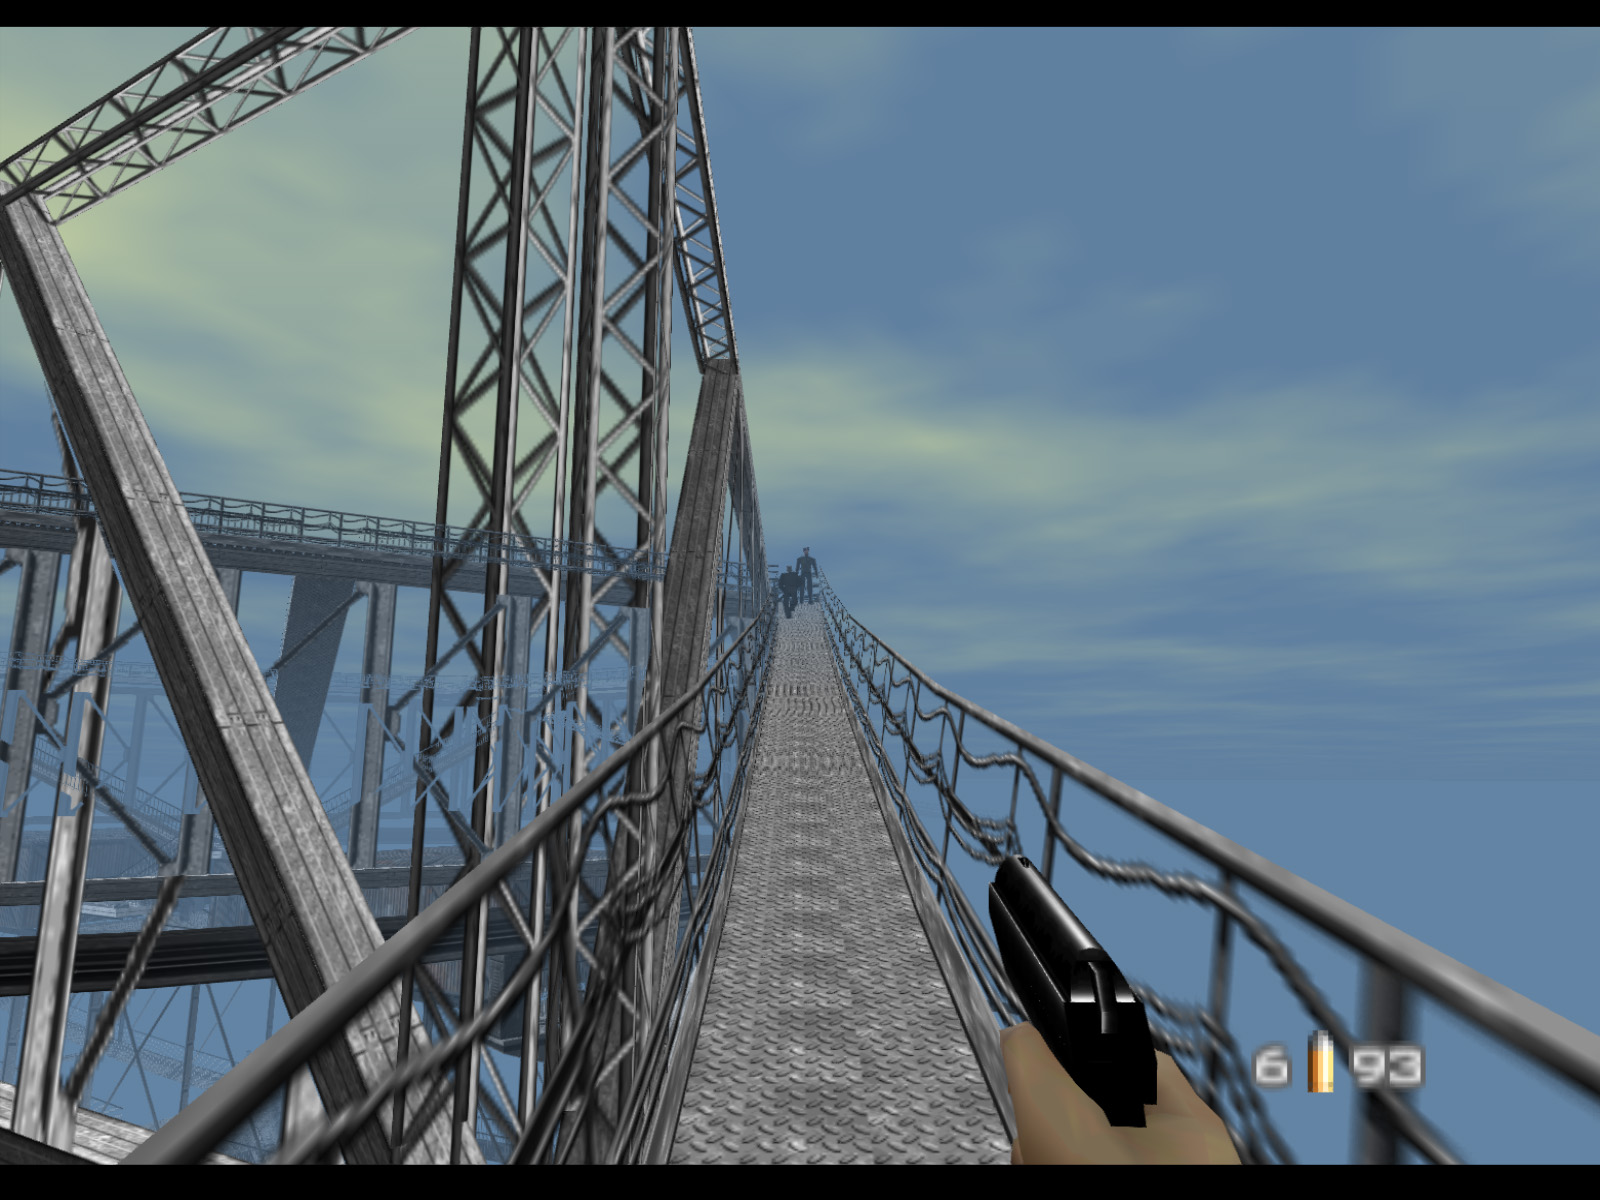
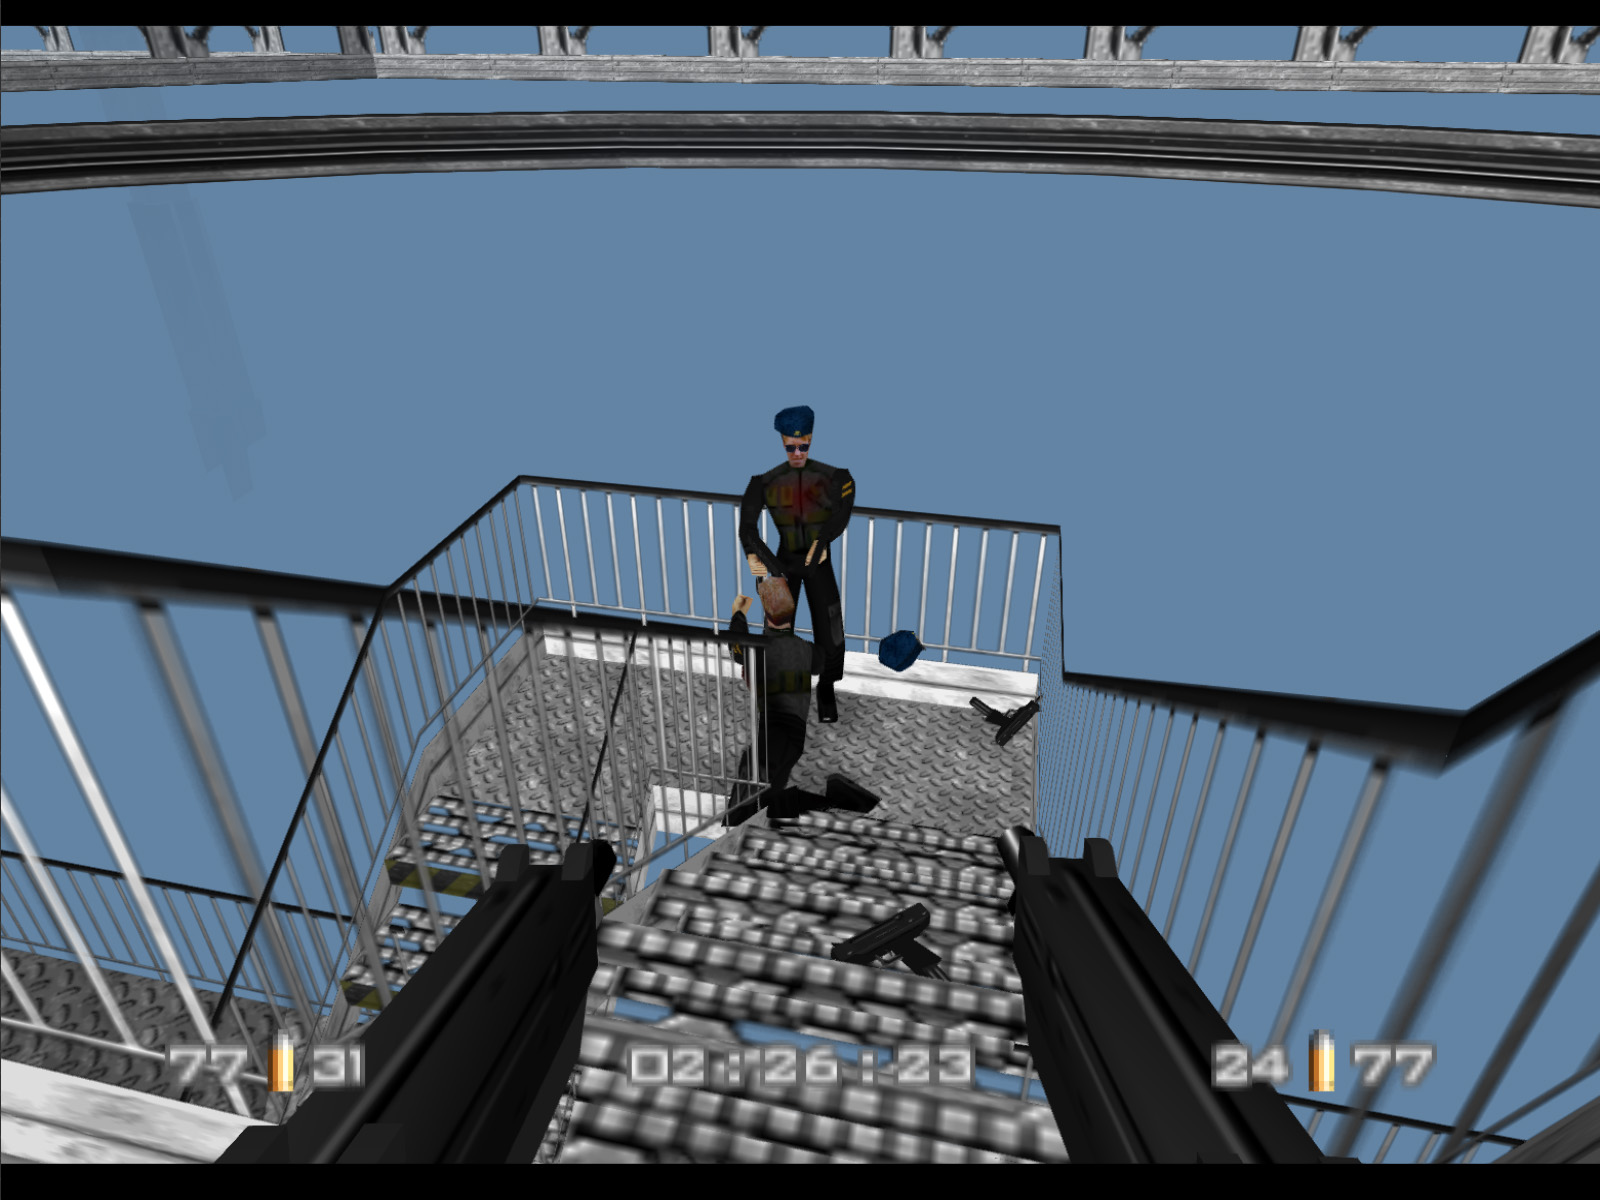
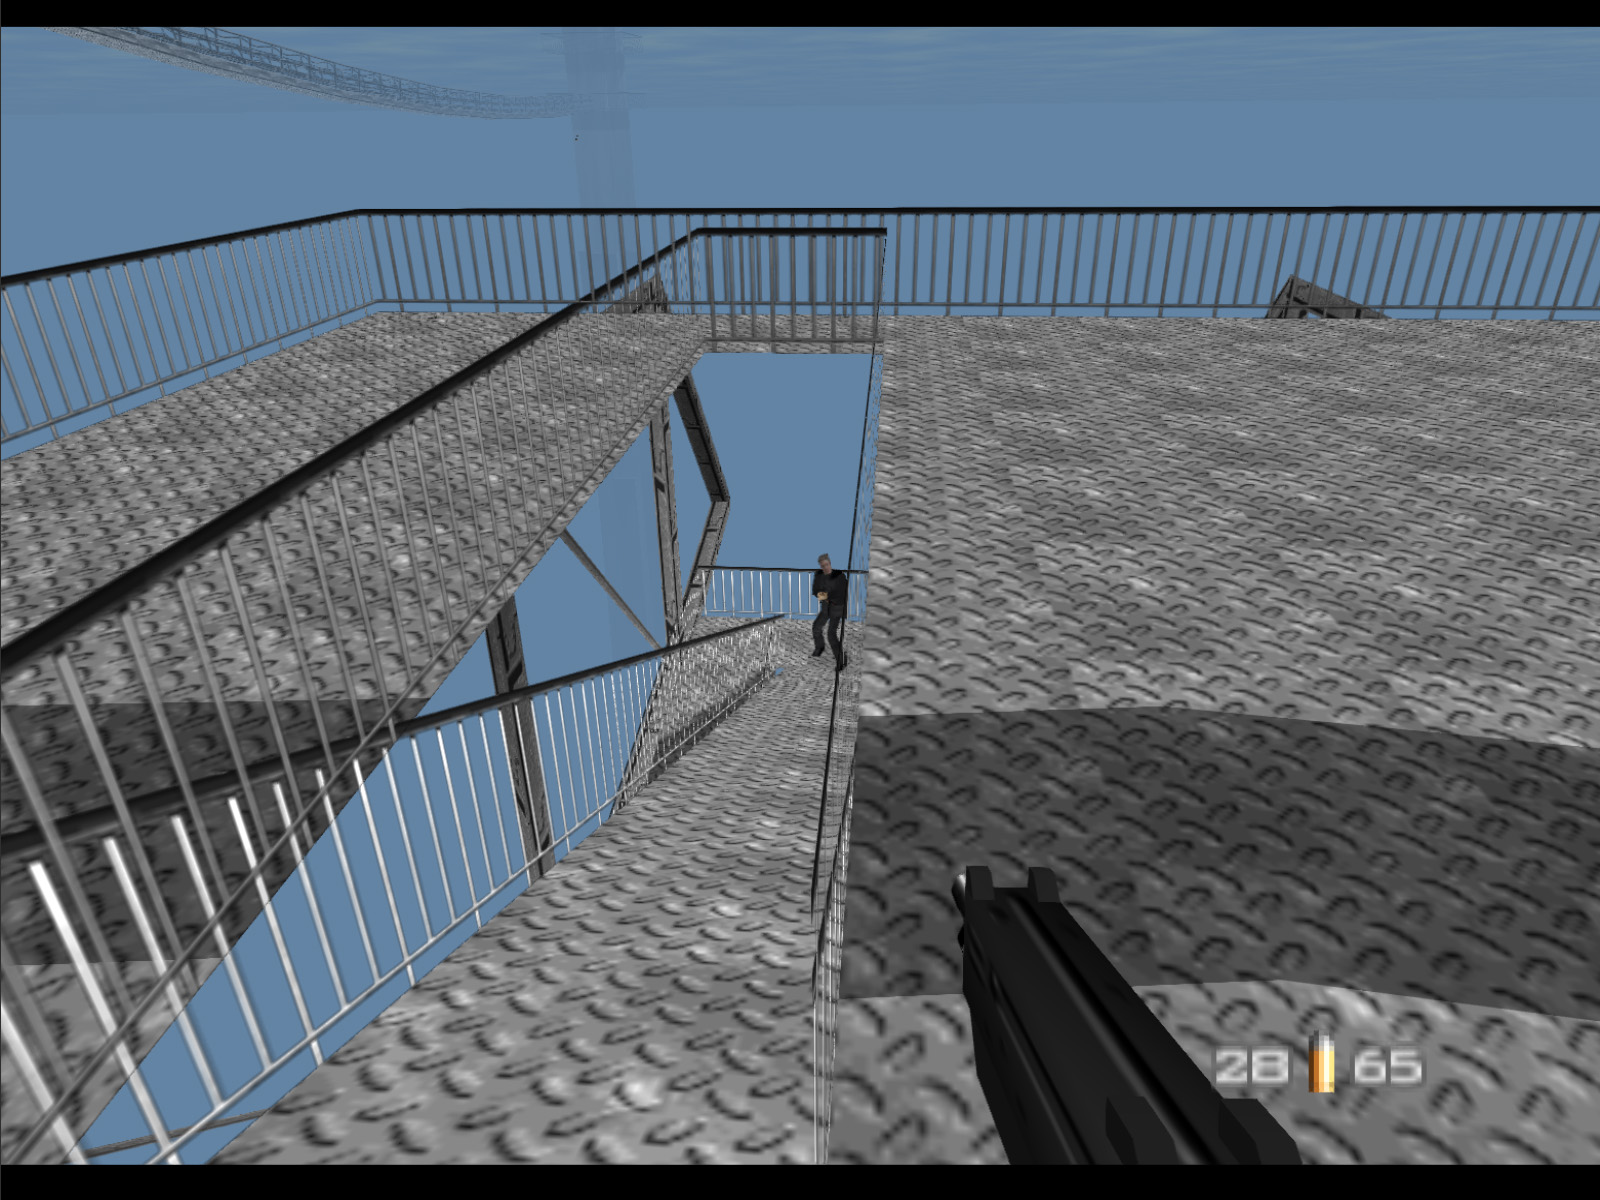
In the distance the character on the left is Trevelyan and the one on the right is Janus Special Forces wielding two ZMGs.
Looking down on the platform from the top of the catwalks.
A look from the right of the last screenshot with another support tower faintly visible.
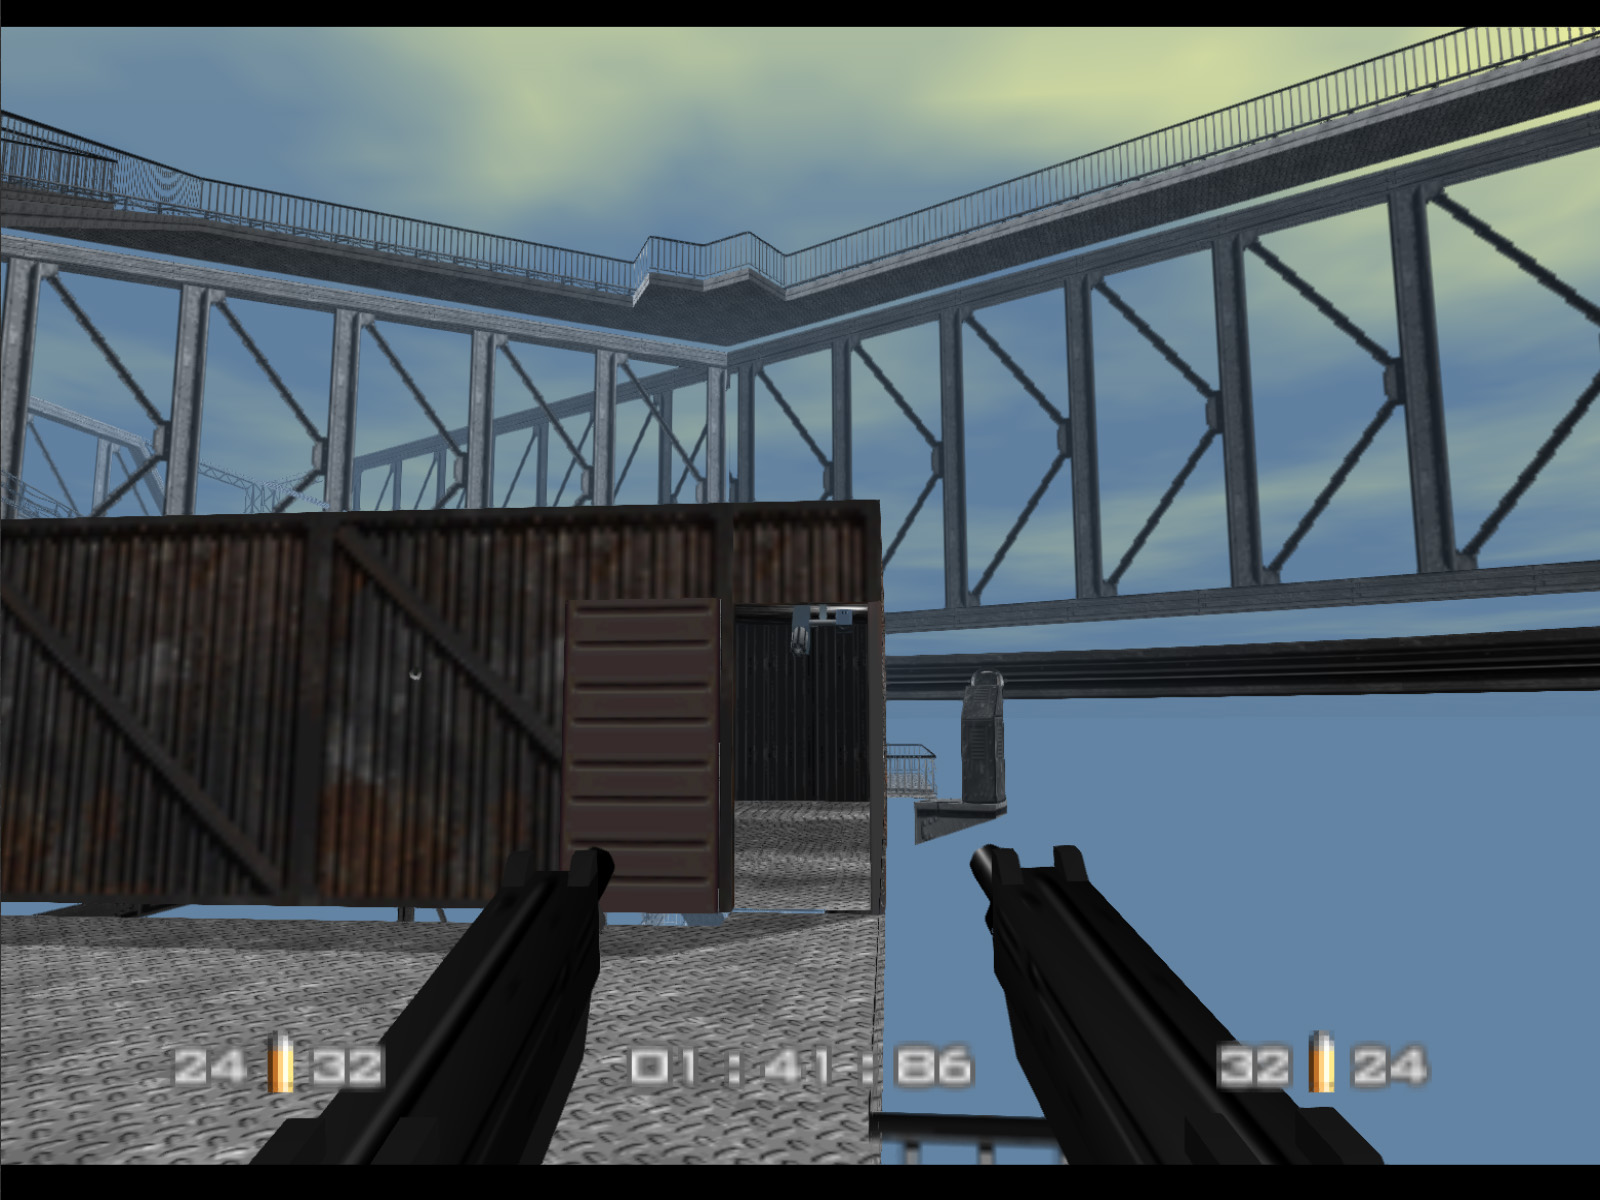
Heading down a ramp and towards the shed with the Control Console.
Steps down to the platform. Janus Special Forces continually spawn and chase after you on this level.
▶ TIP: There is an extrusion on the platform that makes for a good place to take out this Drone Gun which cannot see you when you're standing here.
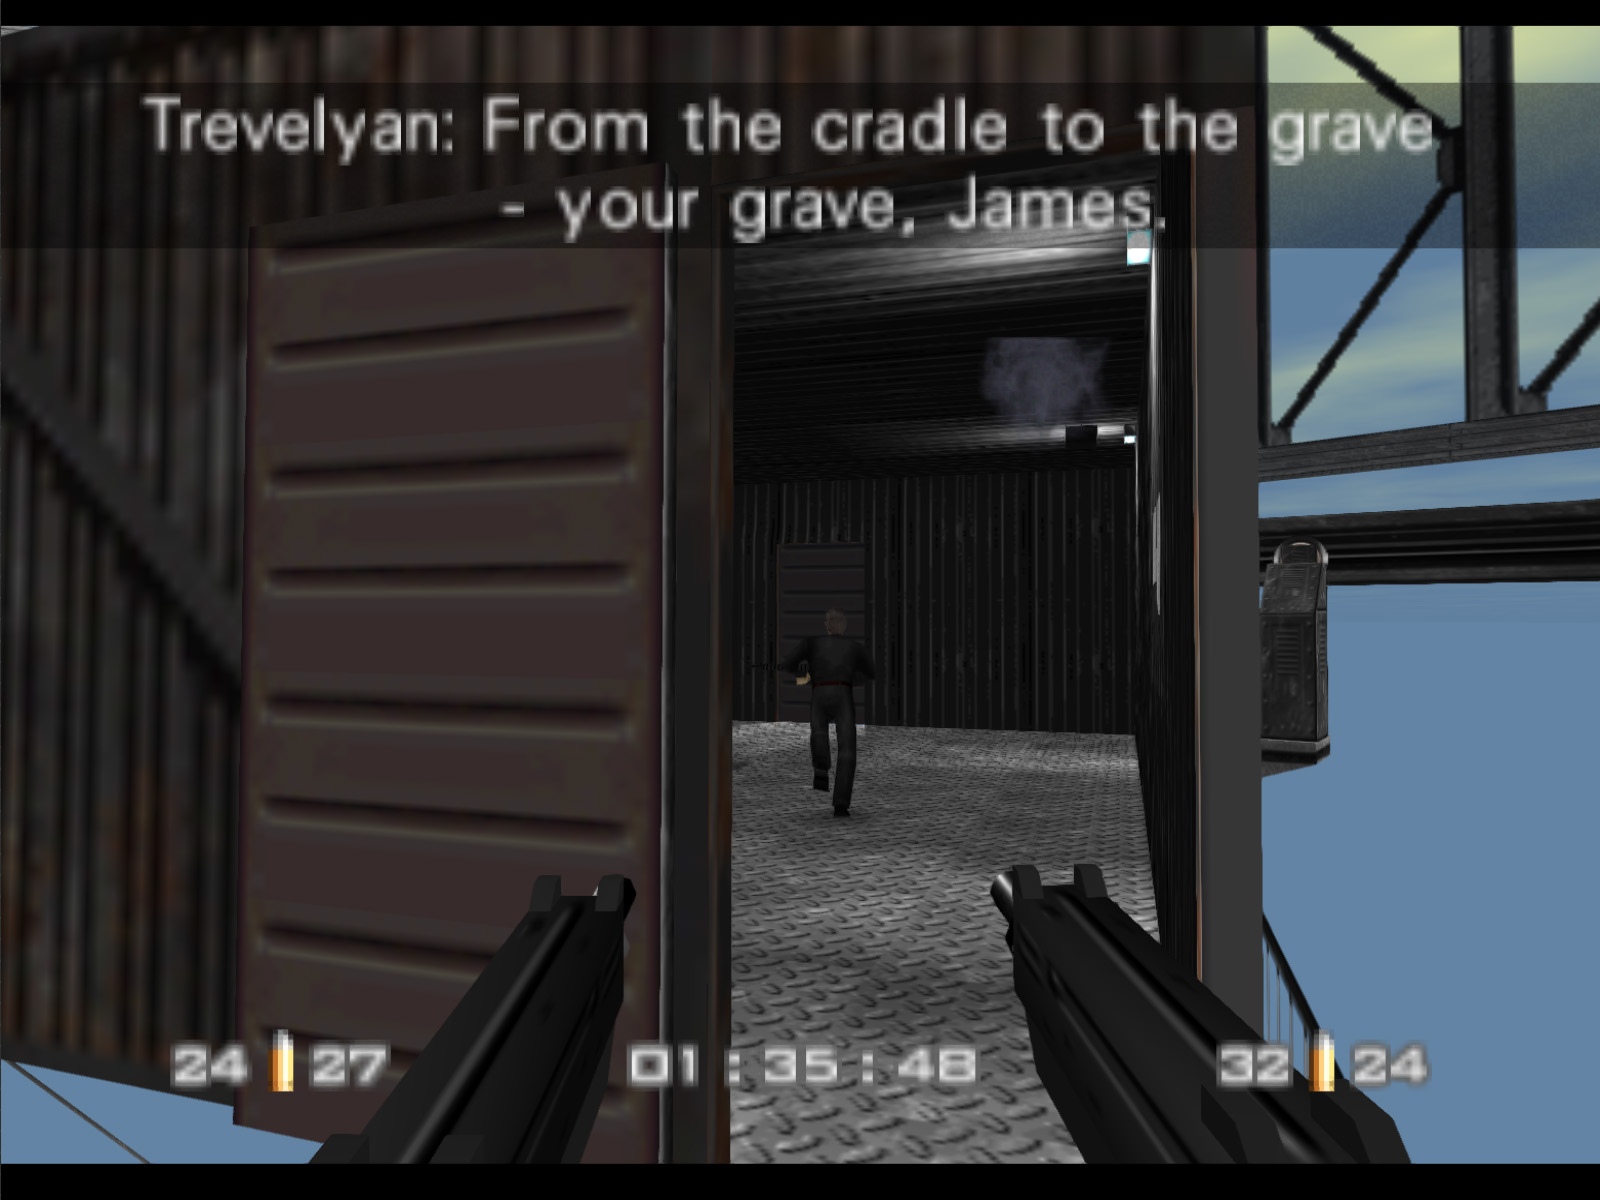
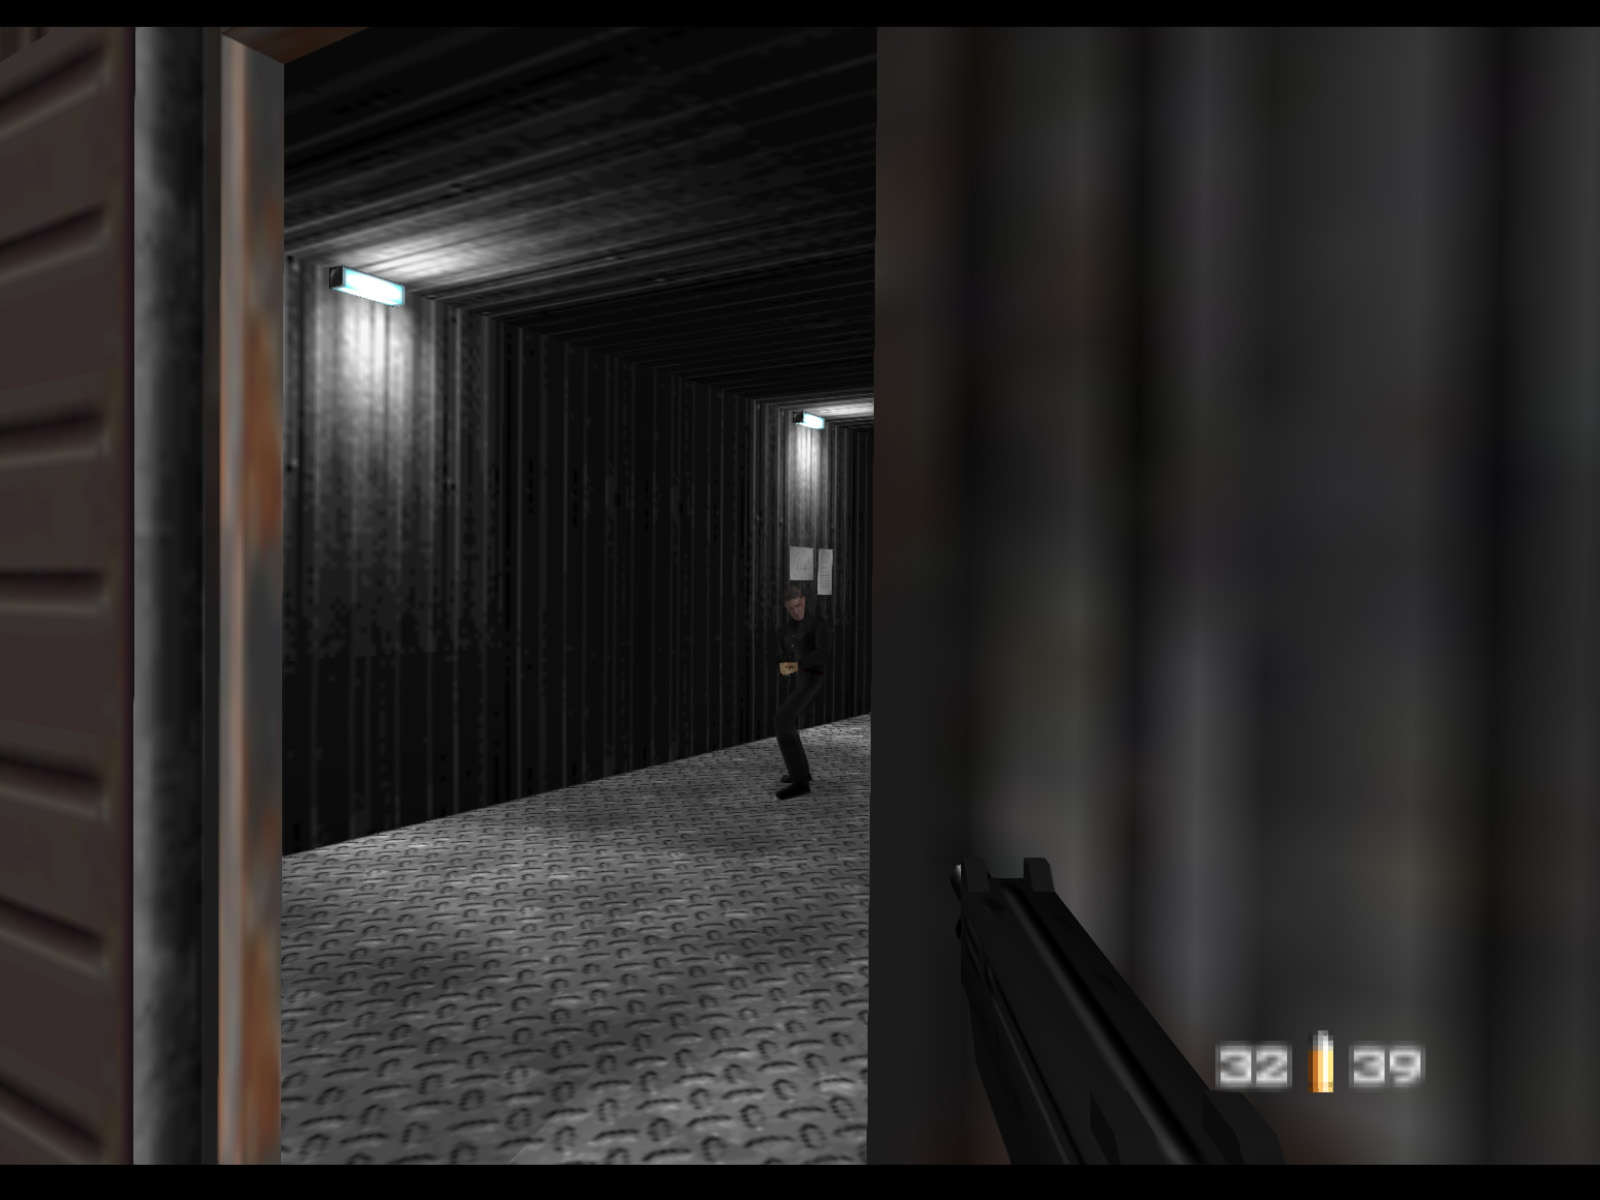
When Trevelyan sees you he will run off to his next preprogrammed position. Try to get a headshot on him. Once he takes damage he becomes invincible until he reaches his next position.
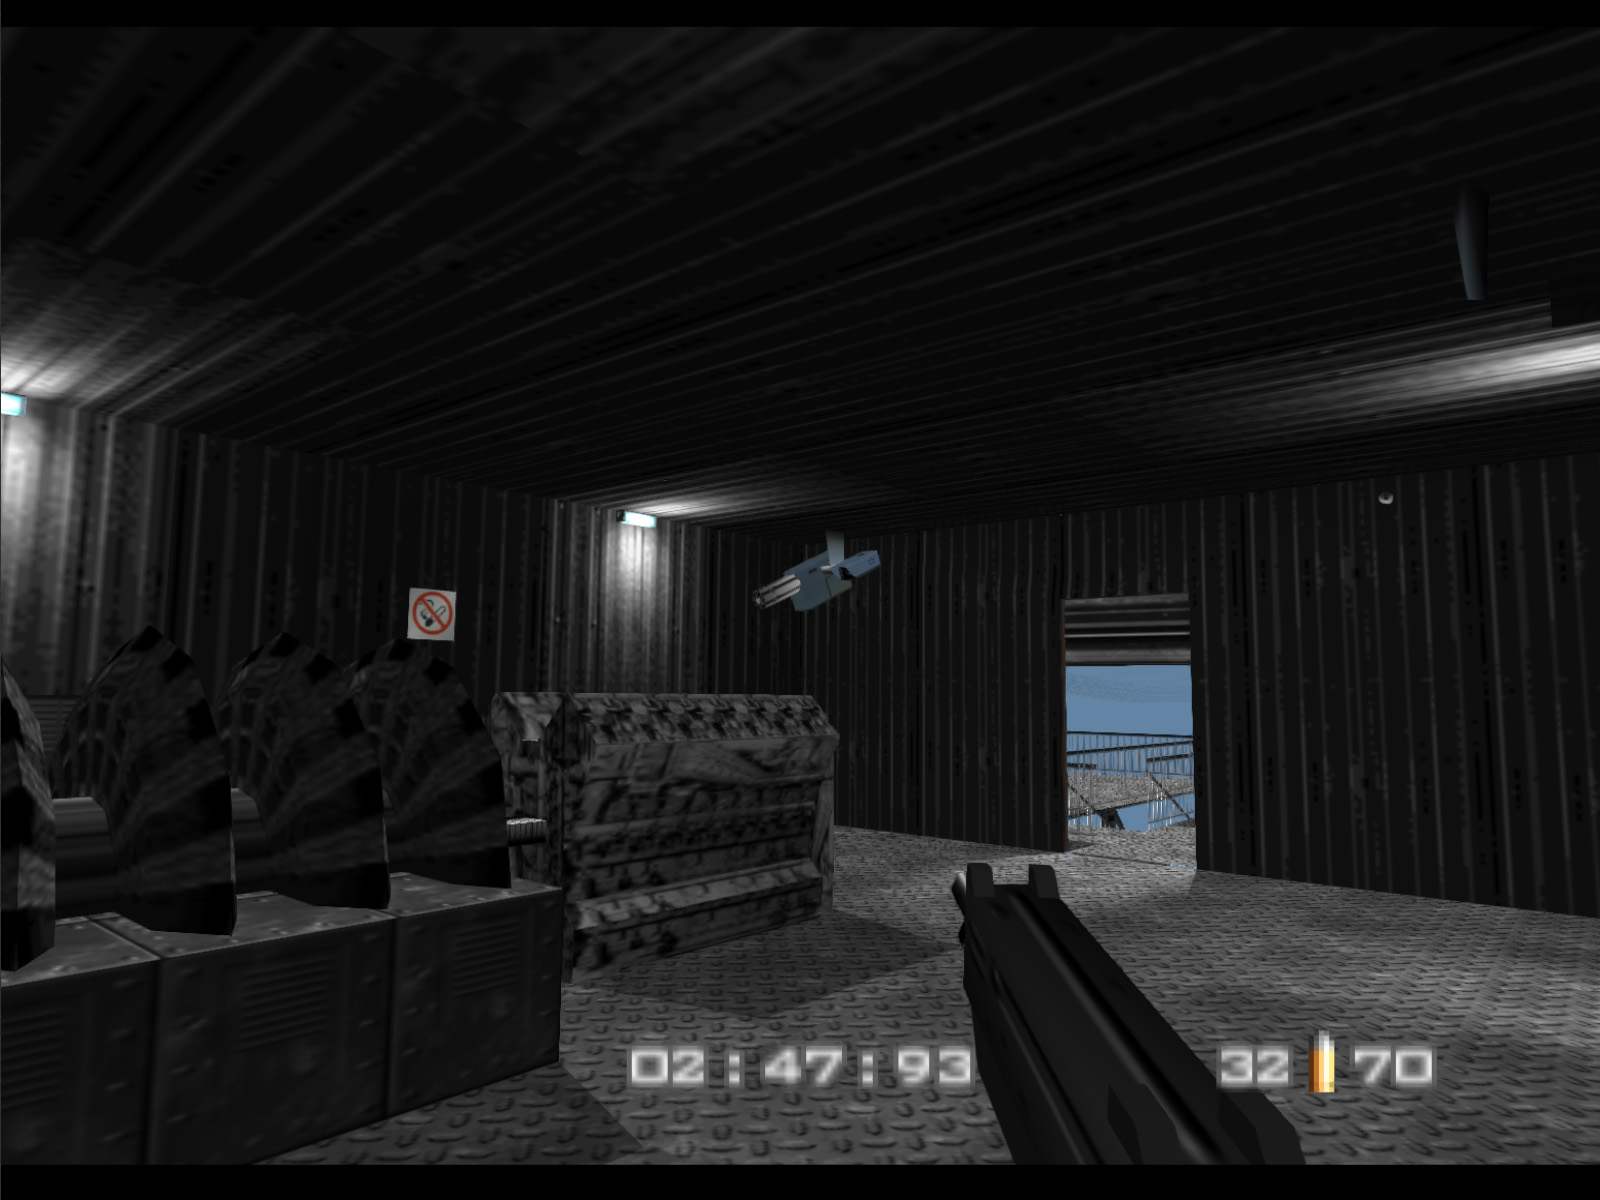
You can take out this second Drone Gun from behind the gears. As long as you stay on the other side of the machinery the gun will not see you.
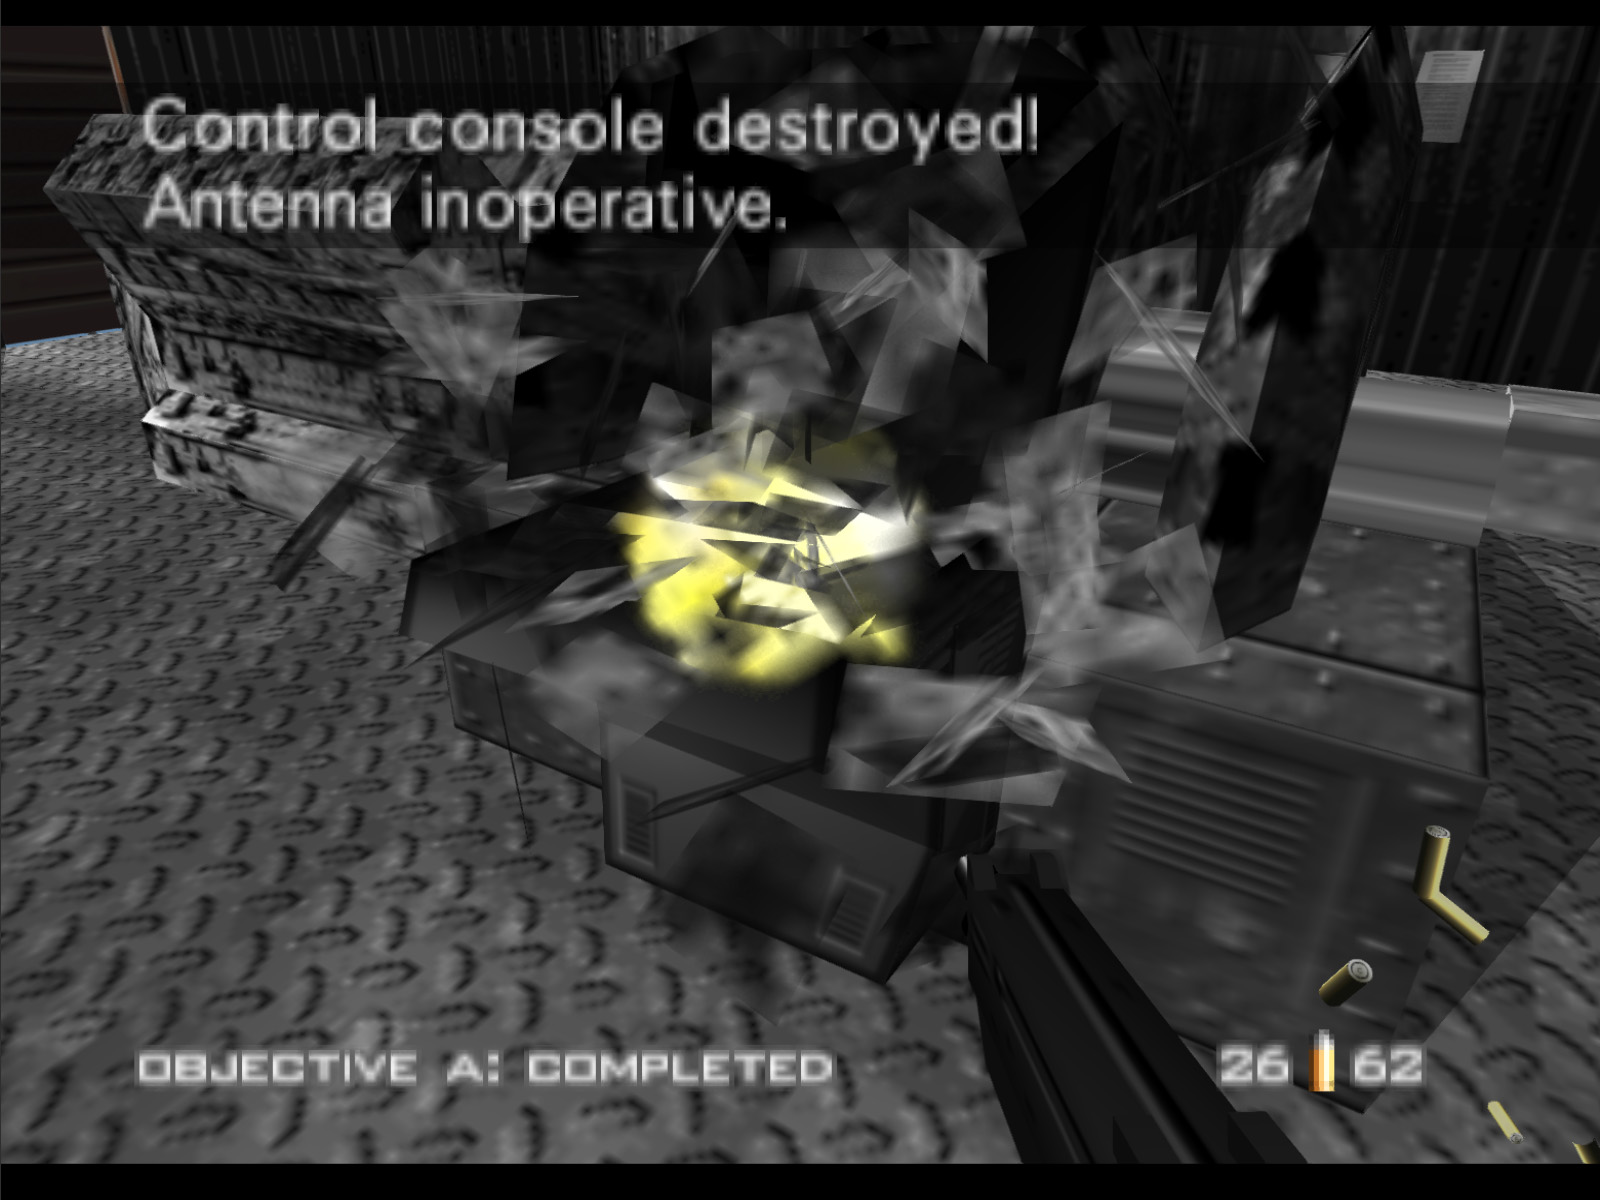
Swing around to the other side of the machinery and pump lead into the Control Console. That will complete Objective A and save you from having to worry about the timer.
Trevelyan always runs to the bottom of this ramp.
▶ TIP: If you stand exactly here you can shoot Trevelyan without him seeing you. Be careful when he takes off because sometimes he will drop Grenades behind him.
Trevelyan next runs across the bottom of the cradle and to the other shed.
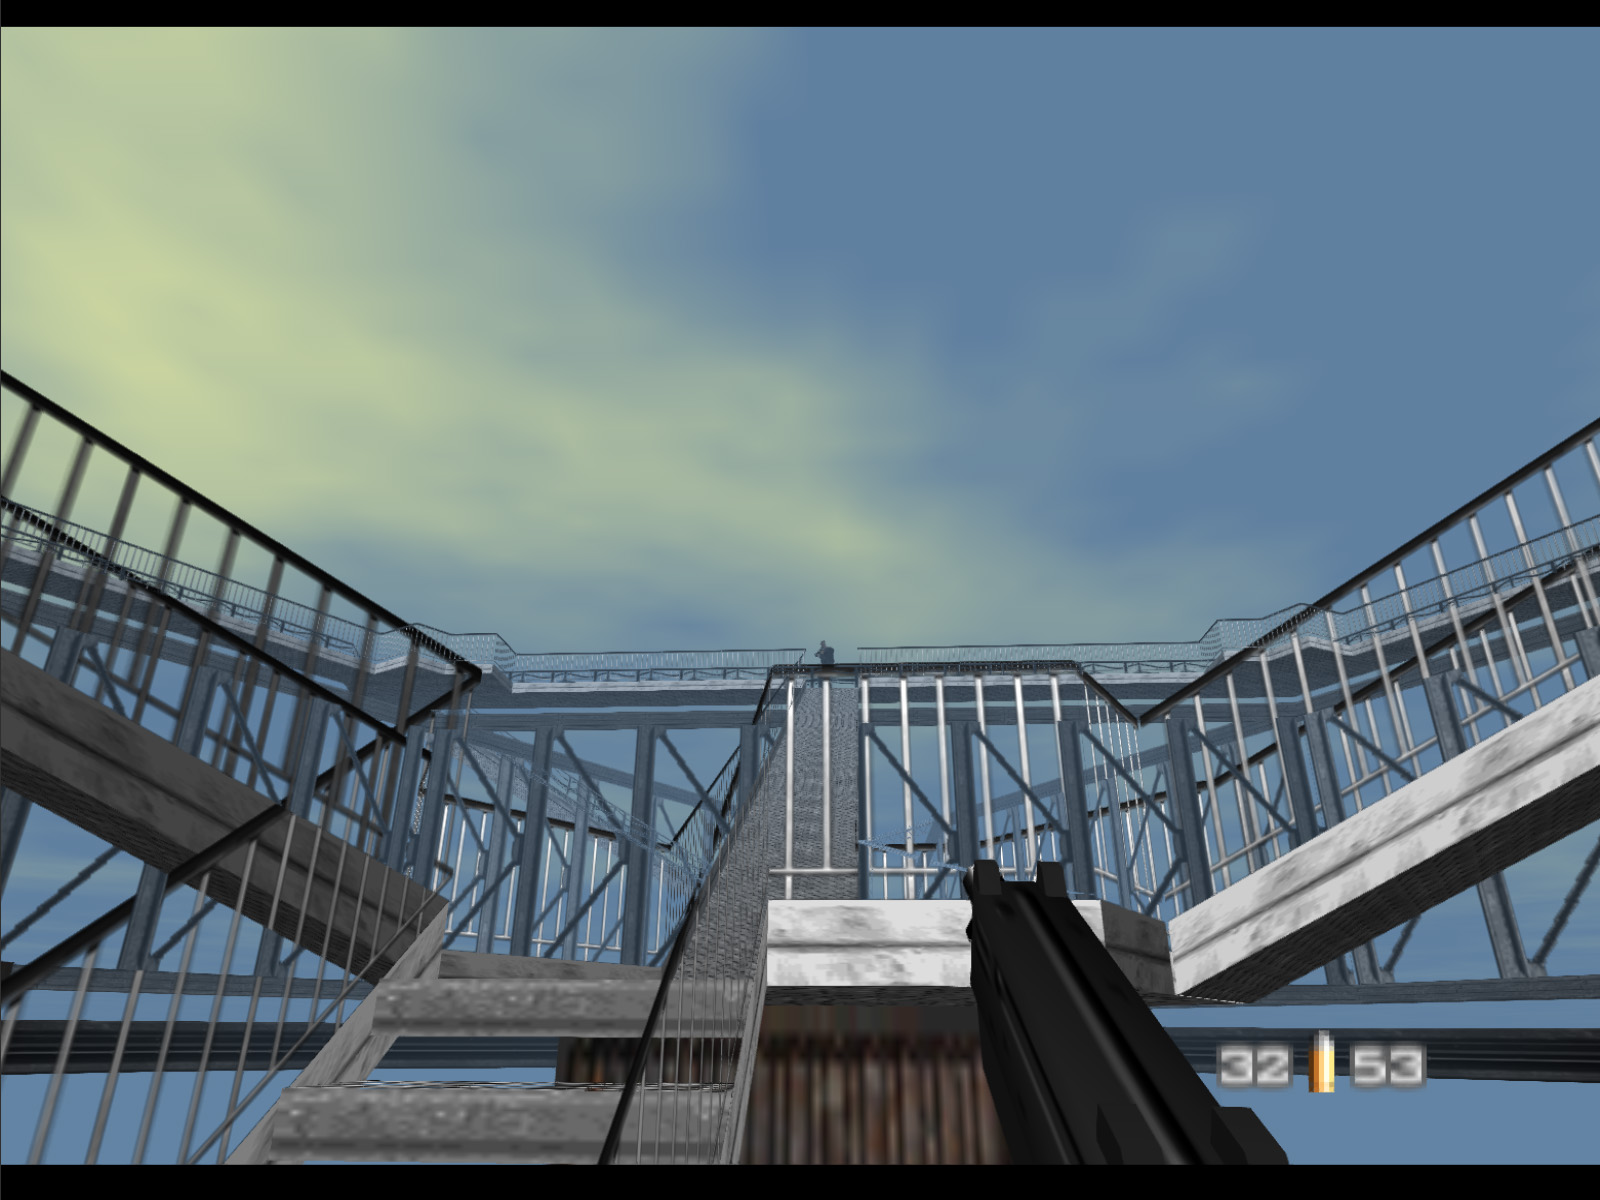
Now Trevelyan runs up to either the top of the catwalks or back to the first shed. If Trevelyan runs up to the top, it's random which of the three ramps he will pick.
If you land good headshots Trevelyan will take off towards the very bottom of the antenna cradle like what has happened here. If you still need to do more damage Trevelyan will run to random positions you reach that damage threshold.
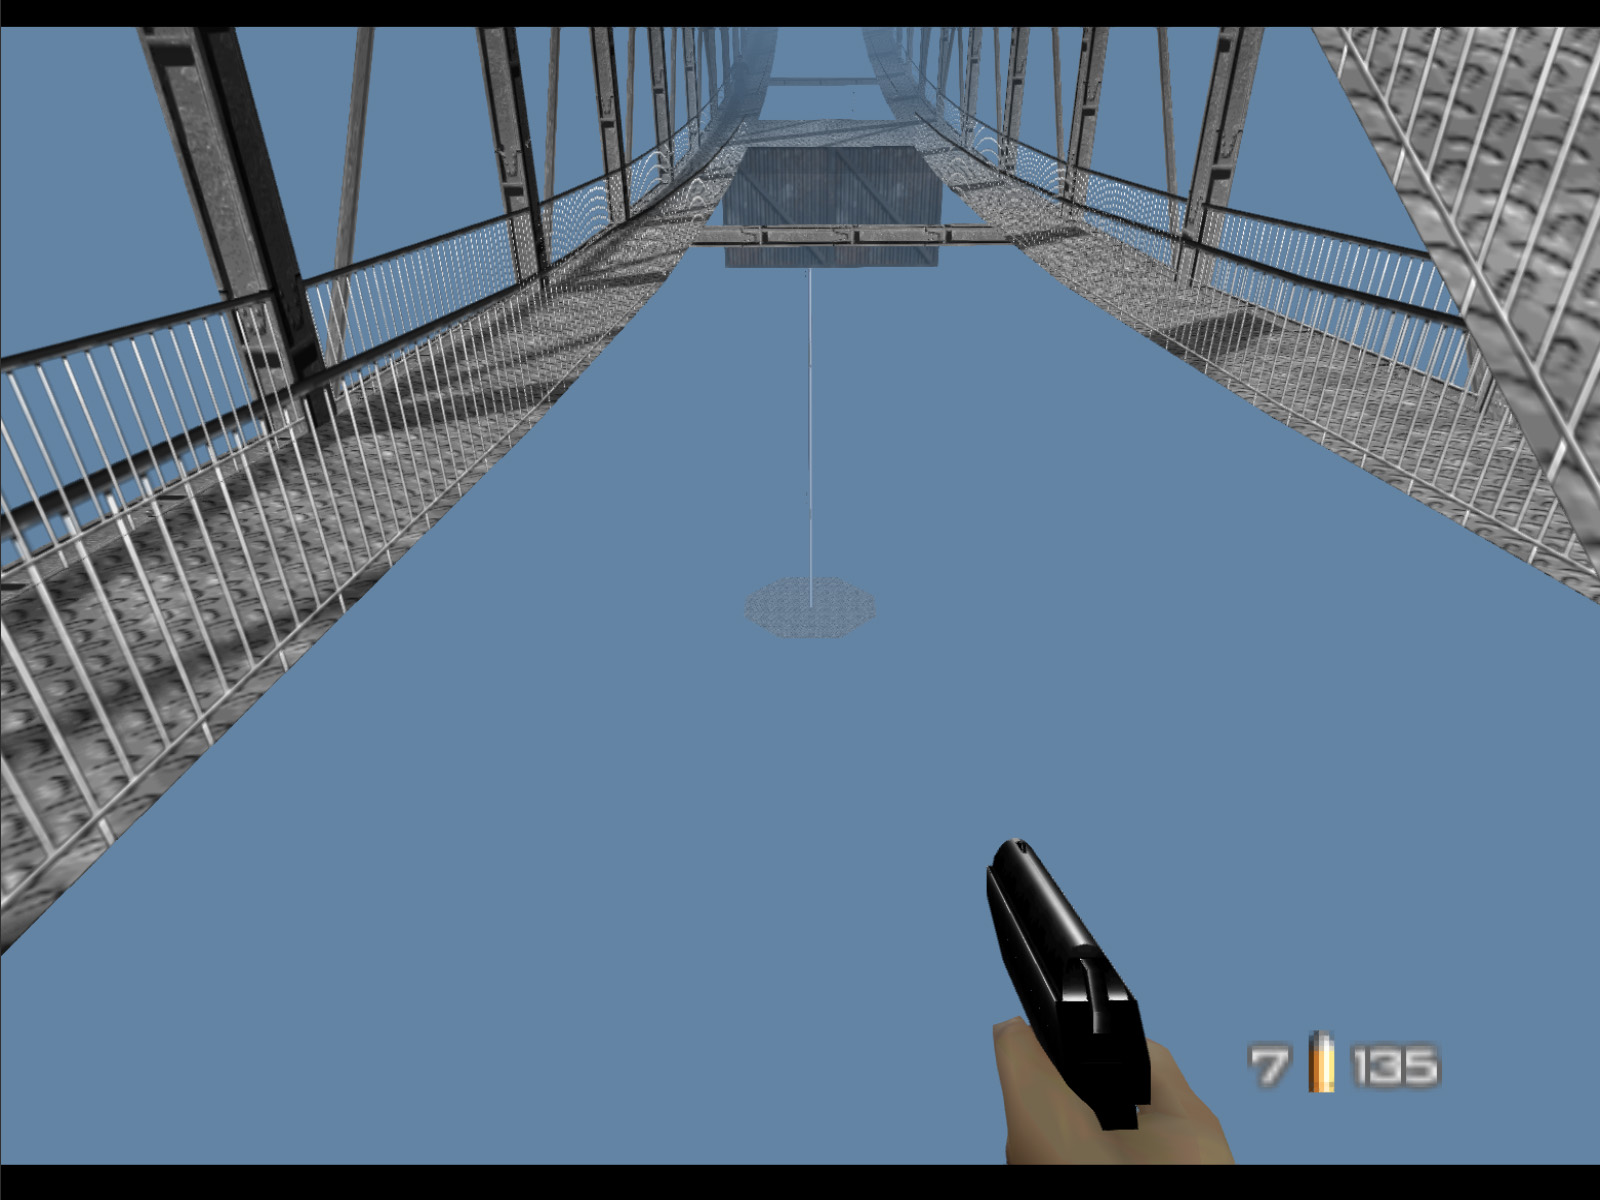
This is the small platform suspended below the cradle. Trevelyan won't go down to it until you enter the shed above.
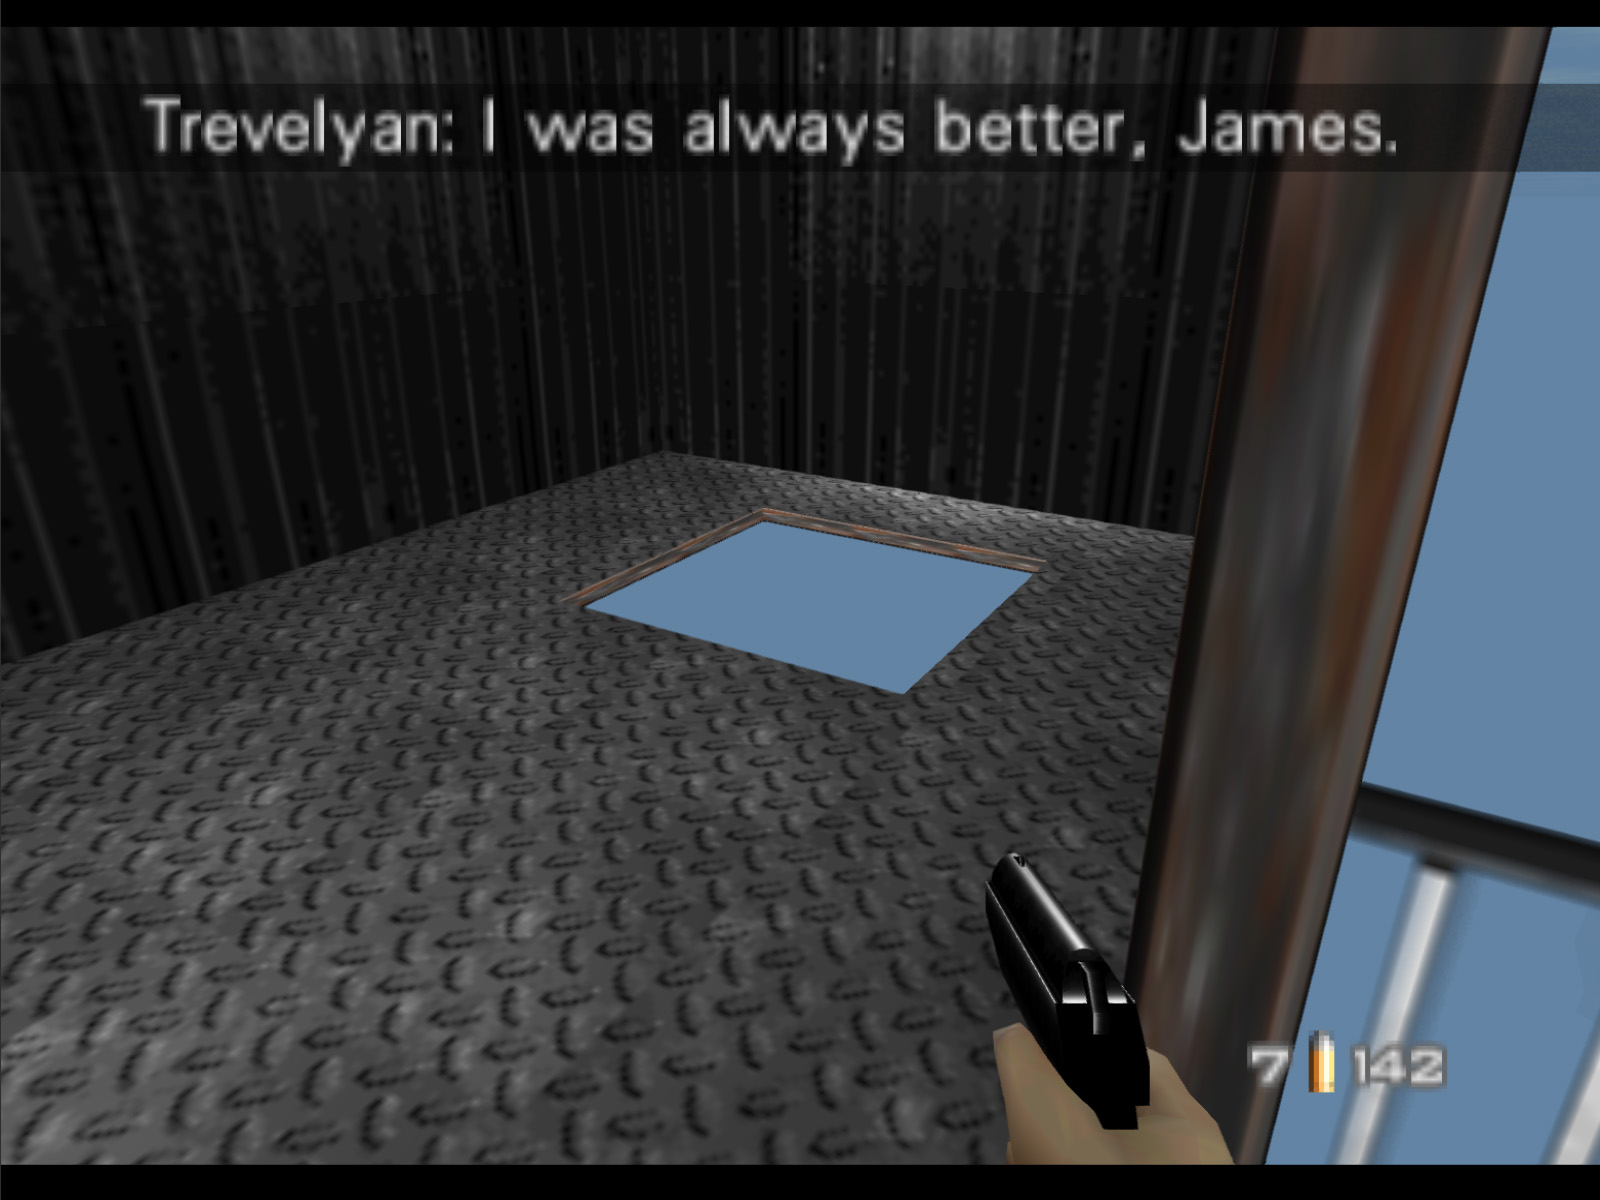
This is the last shed and Trevelyan drops down the hole when he sees you.
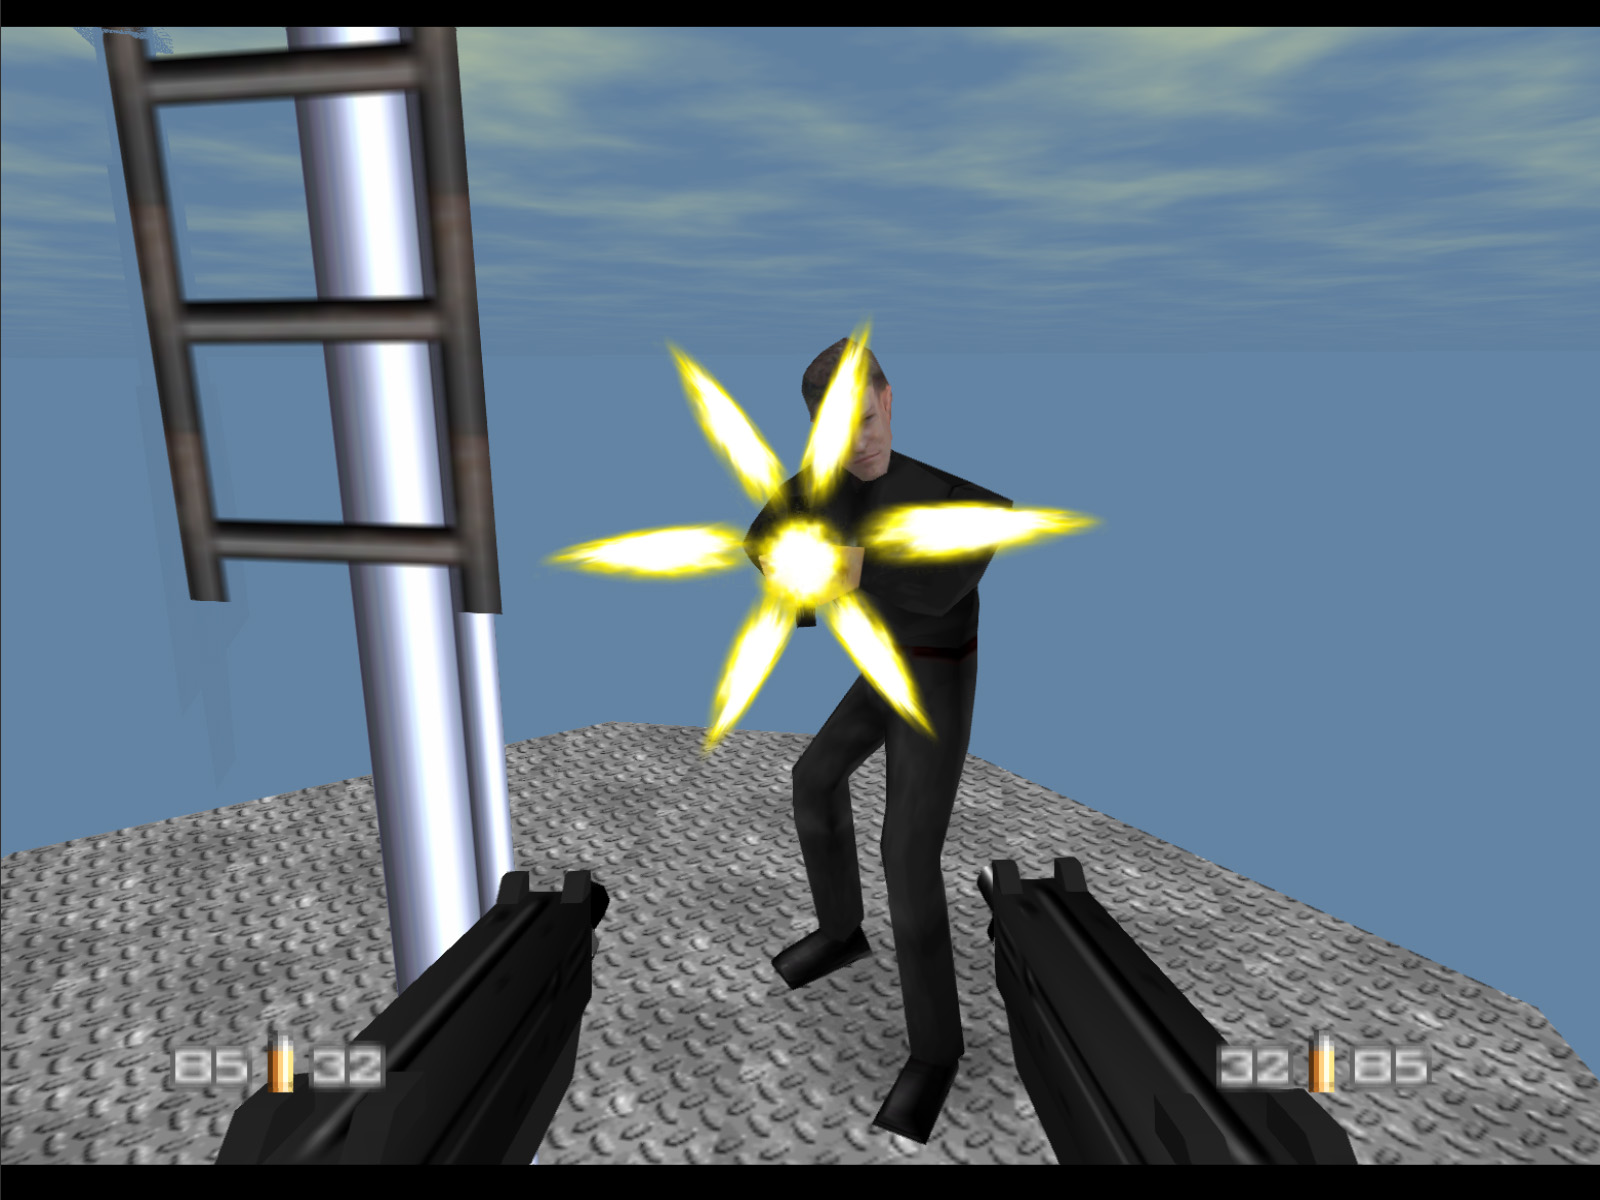
At the bottom of the platform Trevelyan draws his AR33 and takes his best shot at you. It's important to dispatch him quickly so he cannot knock you off the small platform.
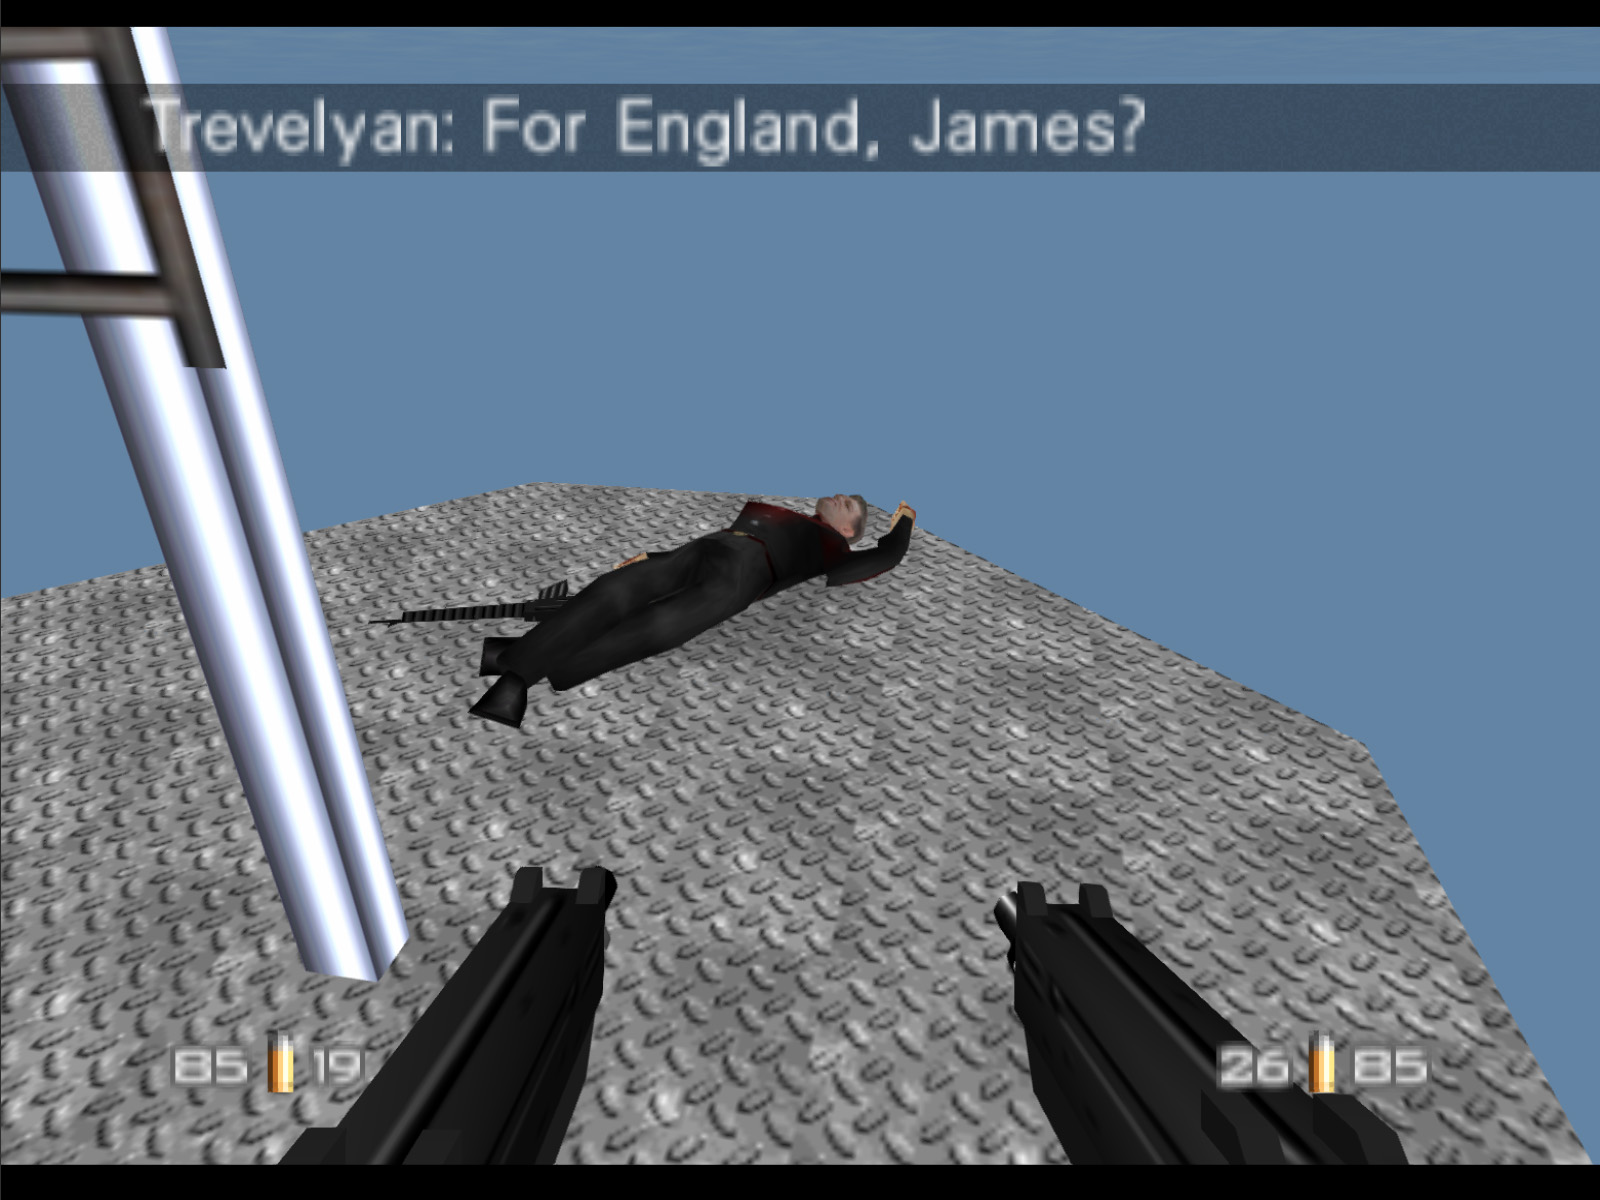
At last our nemesis is vanquished.
Congratulations, Mr. Bond, you have saved the world again!
*info here*
