Mission 6: St. Petersburg
Part iv: Depot
Mission 6: St. Petersburg
Part iv: Depot
The Janus operations base in St. Petersburg is located in a disused military rail depot. From here the crime syndicate coordinates illegal arms deals, international terrorism and extortion.
Quite a nest of vipers, 007 - do your best to disrupt the Janus operations. We'd be particularly interested if you could retrieve their blueprints for a modified version of the stealth helicopter, it seems they may be thinking of going into production. We also believe that Ourumov has taken Natalya to Trevelyan's converted missile train in the depot. You need to be on that train when it leaves.
They've got a pretty sophisticated computer network hidden away somewhere in that depot, 007. Be a good chap and shut it down for them. Oh, and don't forget to blow up the Janus arms cache - I'm just sorry I can't be there myself to enjoy the fireworks.
Don't miss your train, James.
Depot is the thirteenth level of GoldenEye 007 and the fourth level of the sixth mission. It only appears very briefly in the movie. In fact it's quite impressive the developers were able to make a whole level out of just a couple film shots.
The level is a sprawling run down military storage facility. At the end of the Cold War the Soviet military moved out and a few years later the Janus Syndicate moved in. The Janus Syndicate uses the site as a base of operations and weapons cache. Bond's main goal remains rescuing Natalya, but he makes time to disrupt Janus Syndicate operations at the site.
Depot consists primarily of twelve warehouses connected by open areas of asphalt pavement. There are also two train stations, railroad spurs, collections of shipping containers, and an office building attached to one of the warehouses.
Depot holds quite a few secrets. That's part of why it was chosen as the mascot level for this website. We'll get to those secrets later.

From the start make your way around the green warehouse where those two Janus Marines are standing. Go to the very back left corner of the shipping containers and you'll find the armor.
Near the starting green warehouse there's a teal warehouse. Go to the very back of it and you'll see this armor.
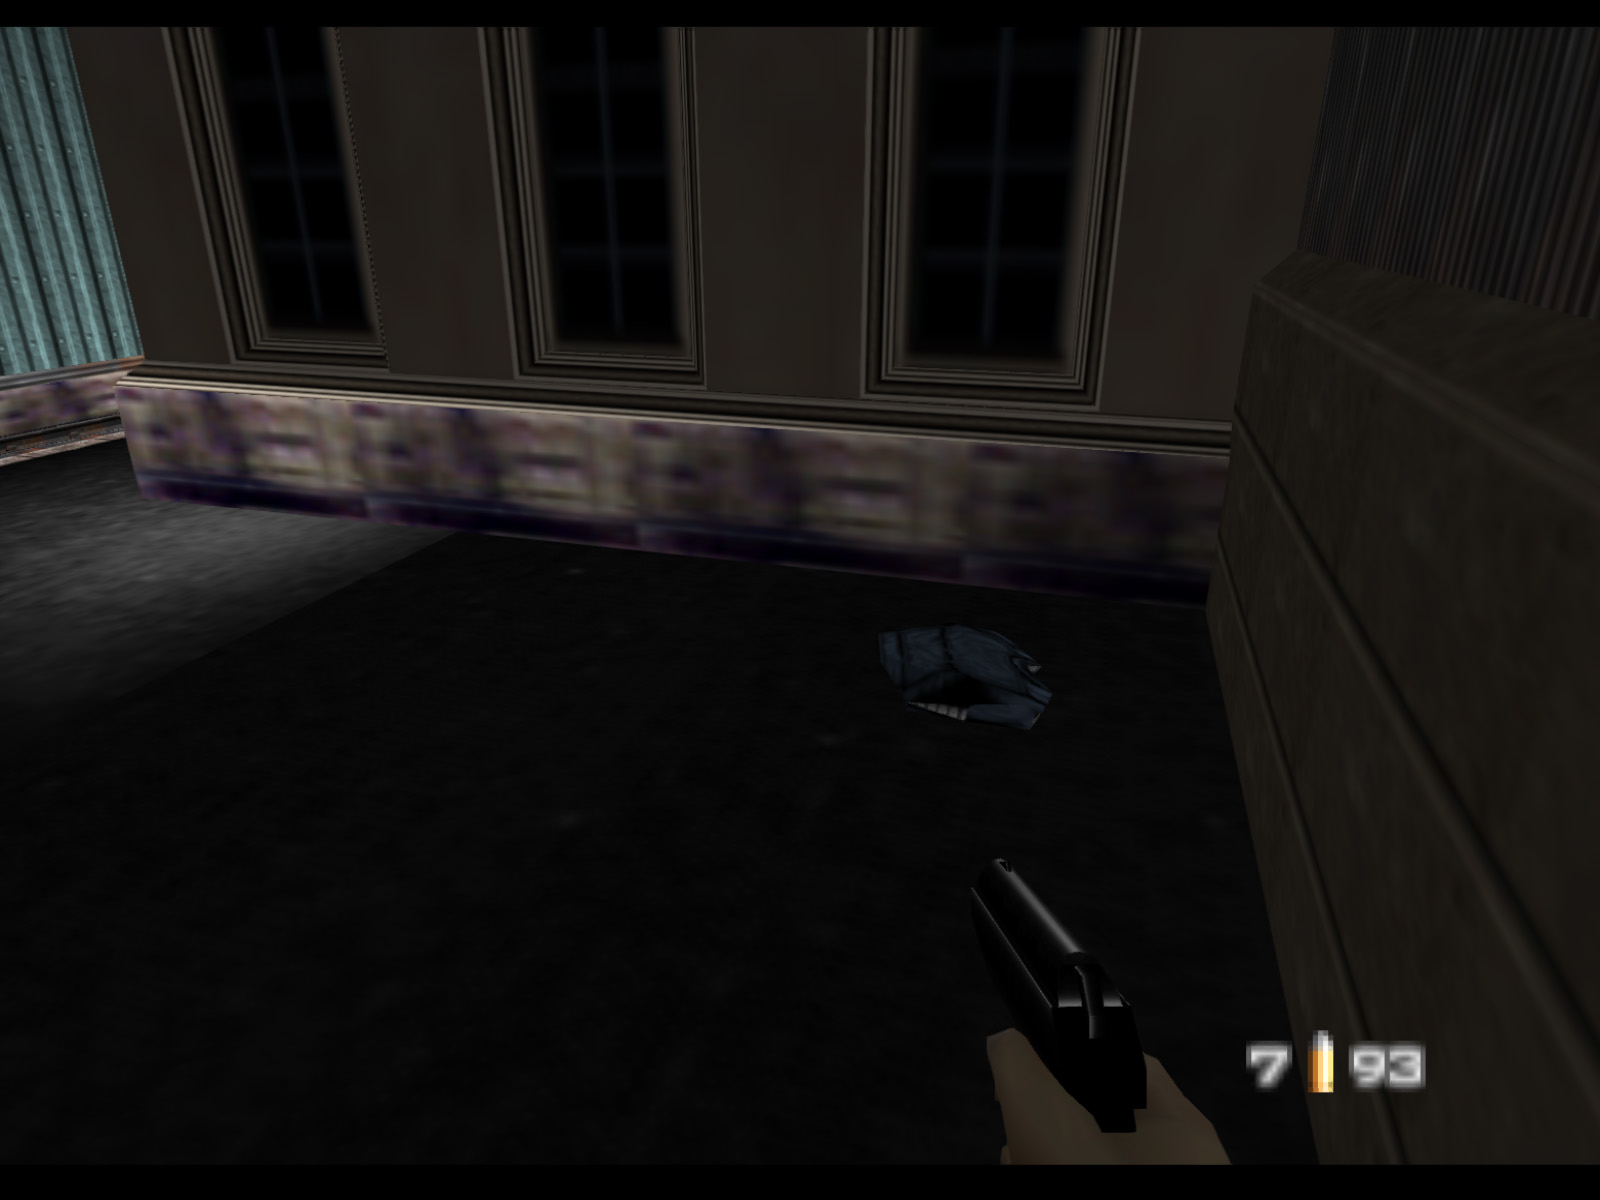
Adjacent to the teal warehouse from the last entry there is an abandoned station building. This armor is around the back corner of that building.
Straight ahead from the start location is a gray warehouse. Go to the back of that warehouse and you'll find this armor.
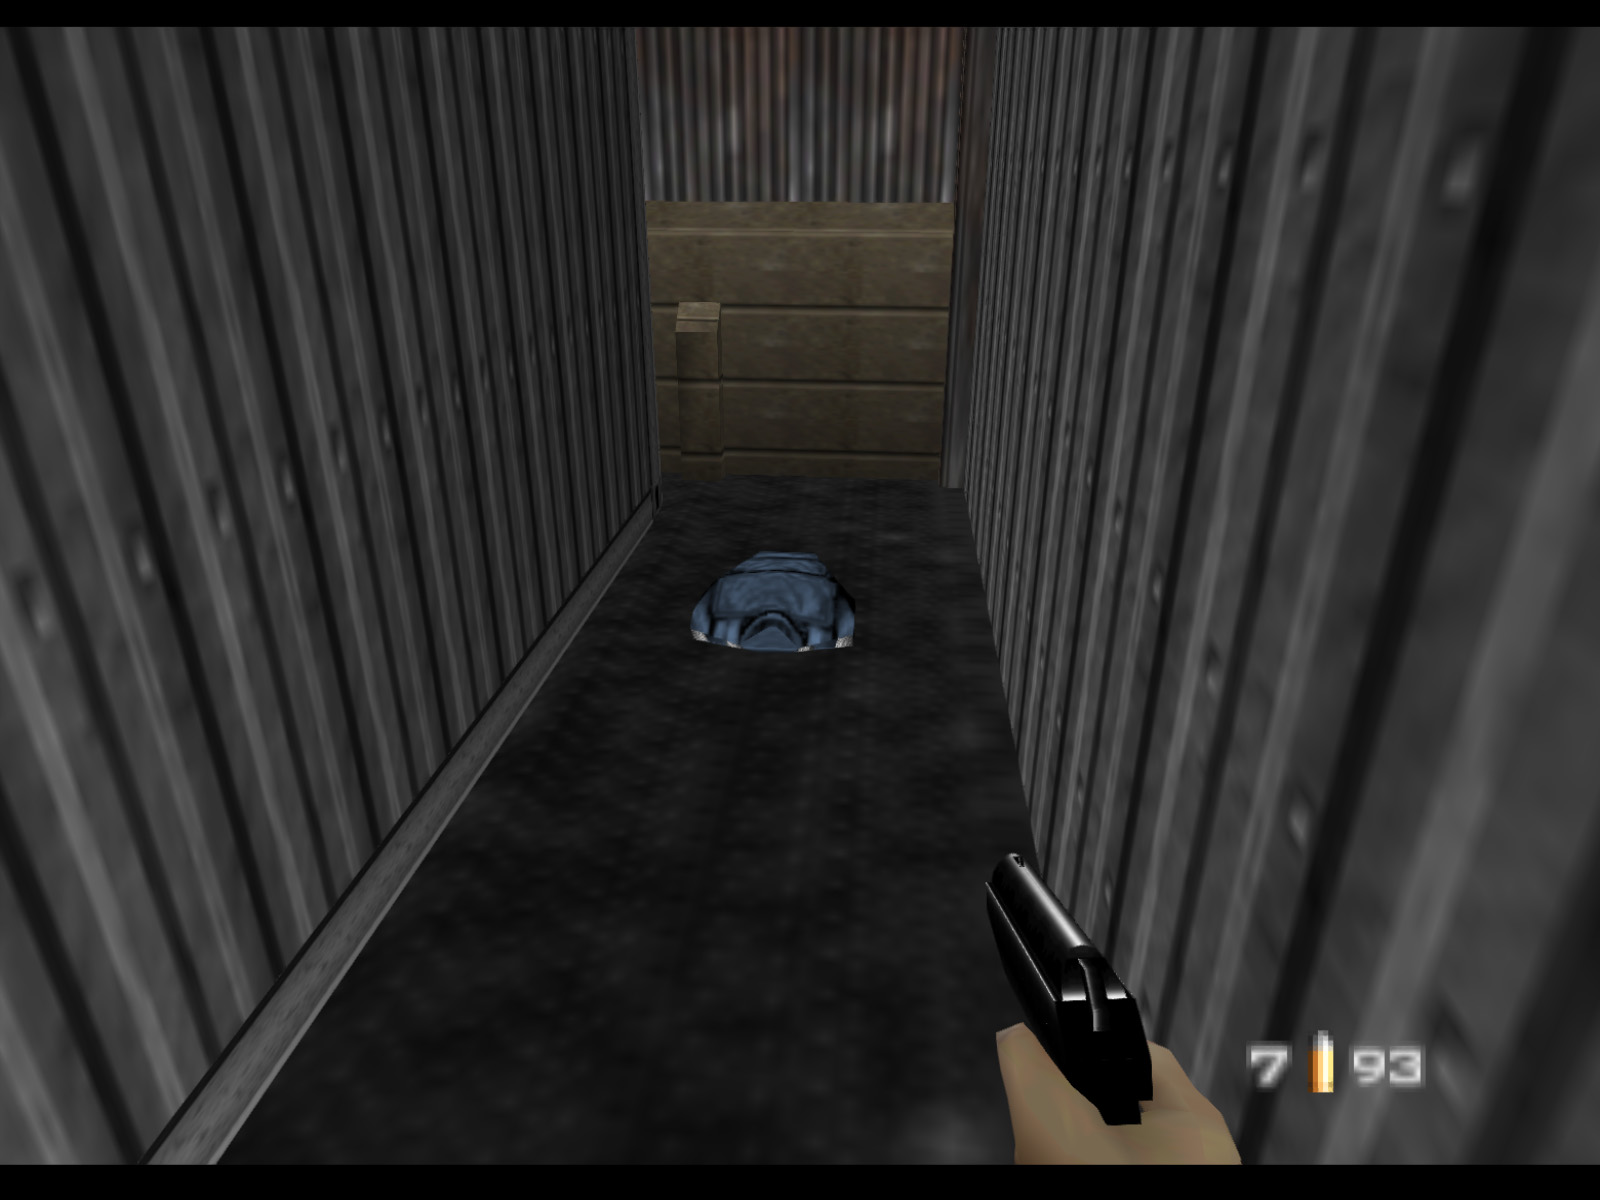
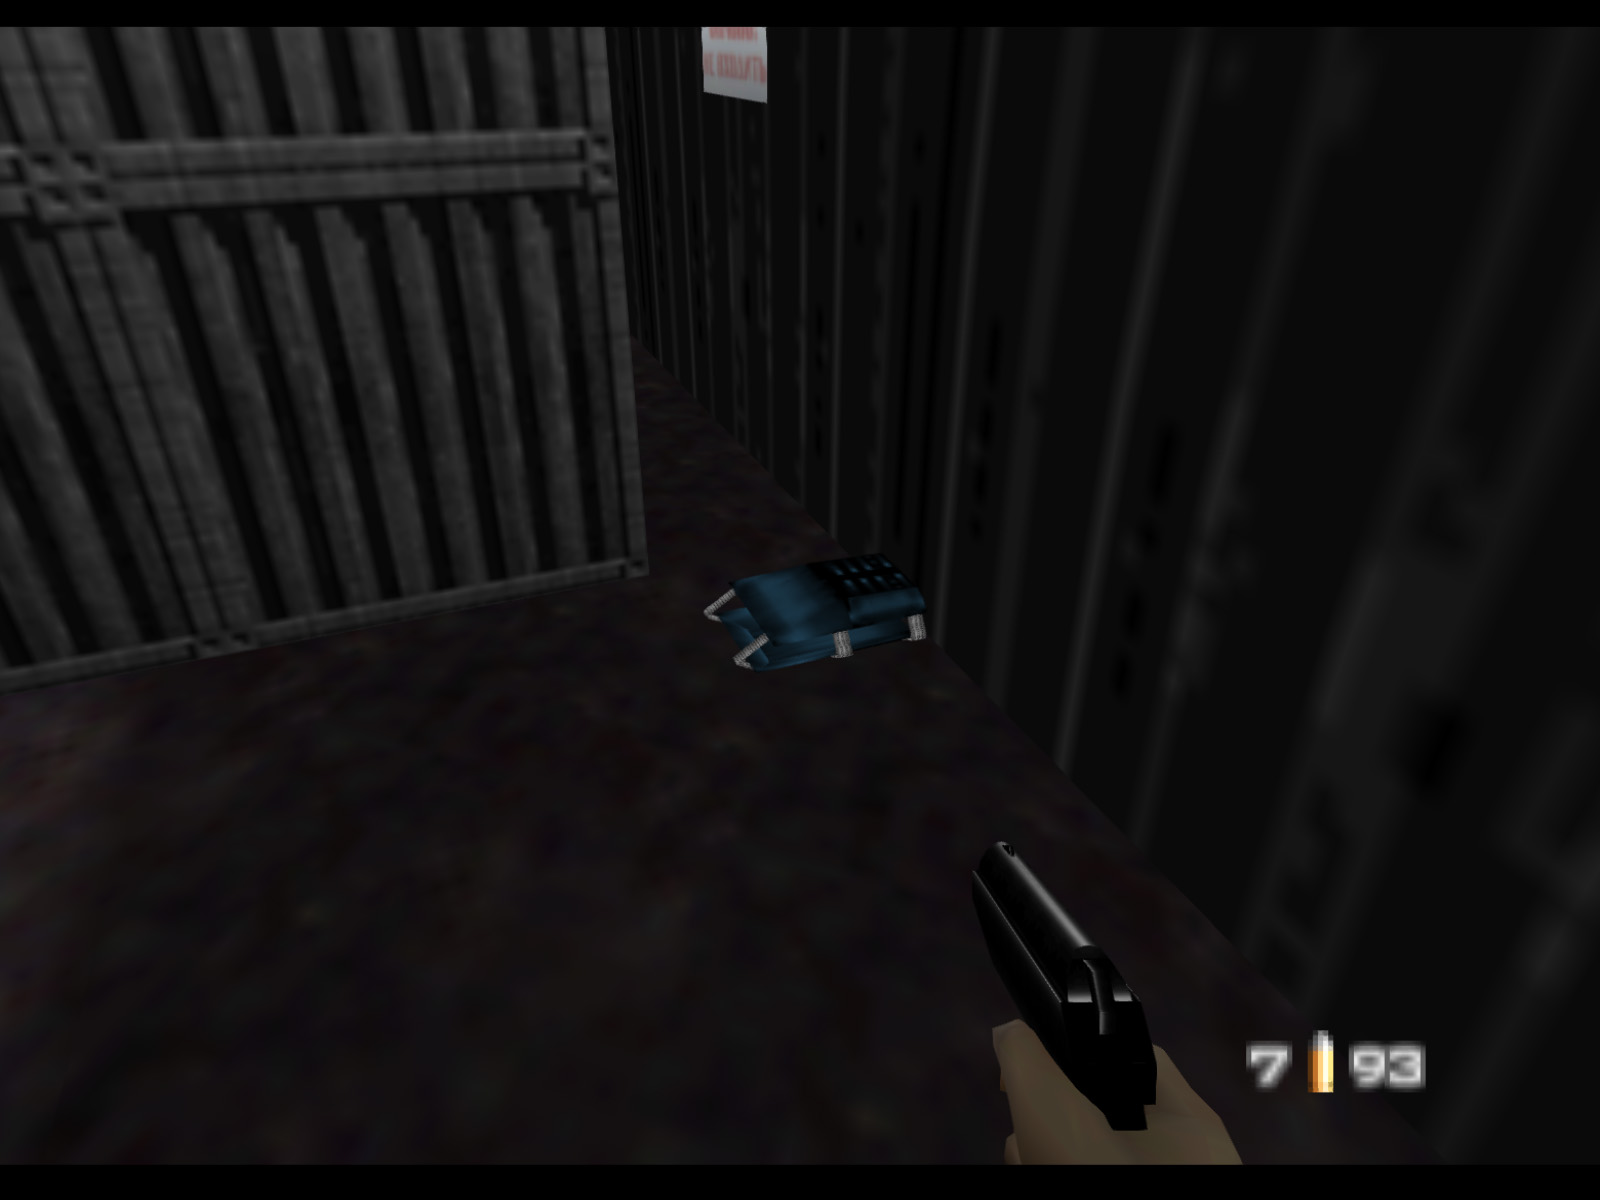
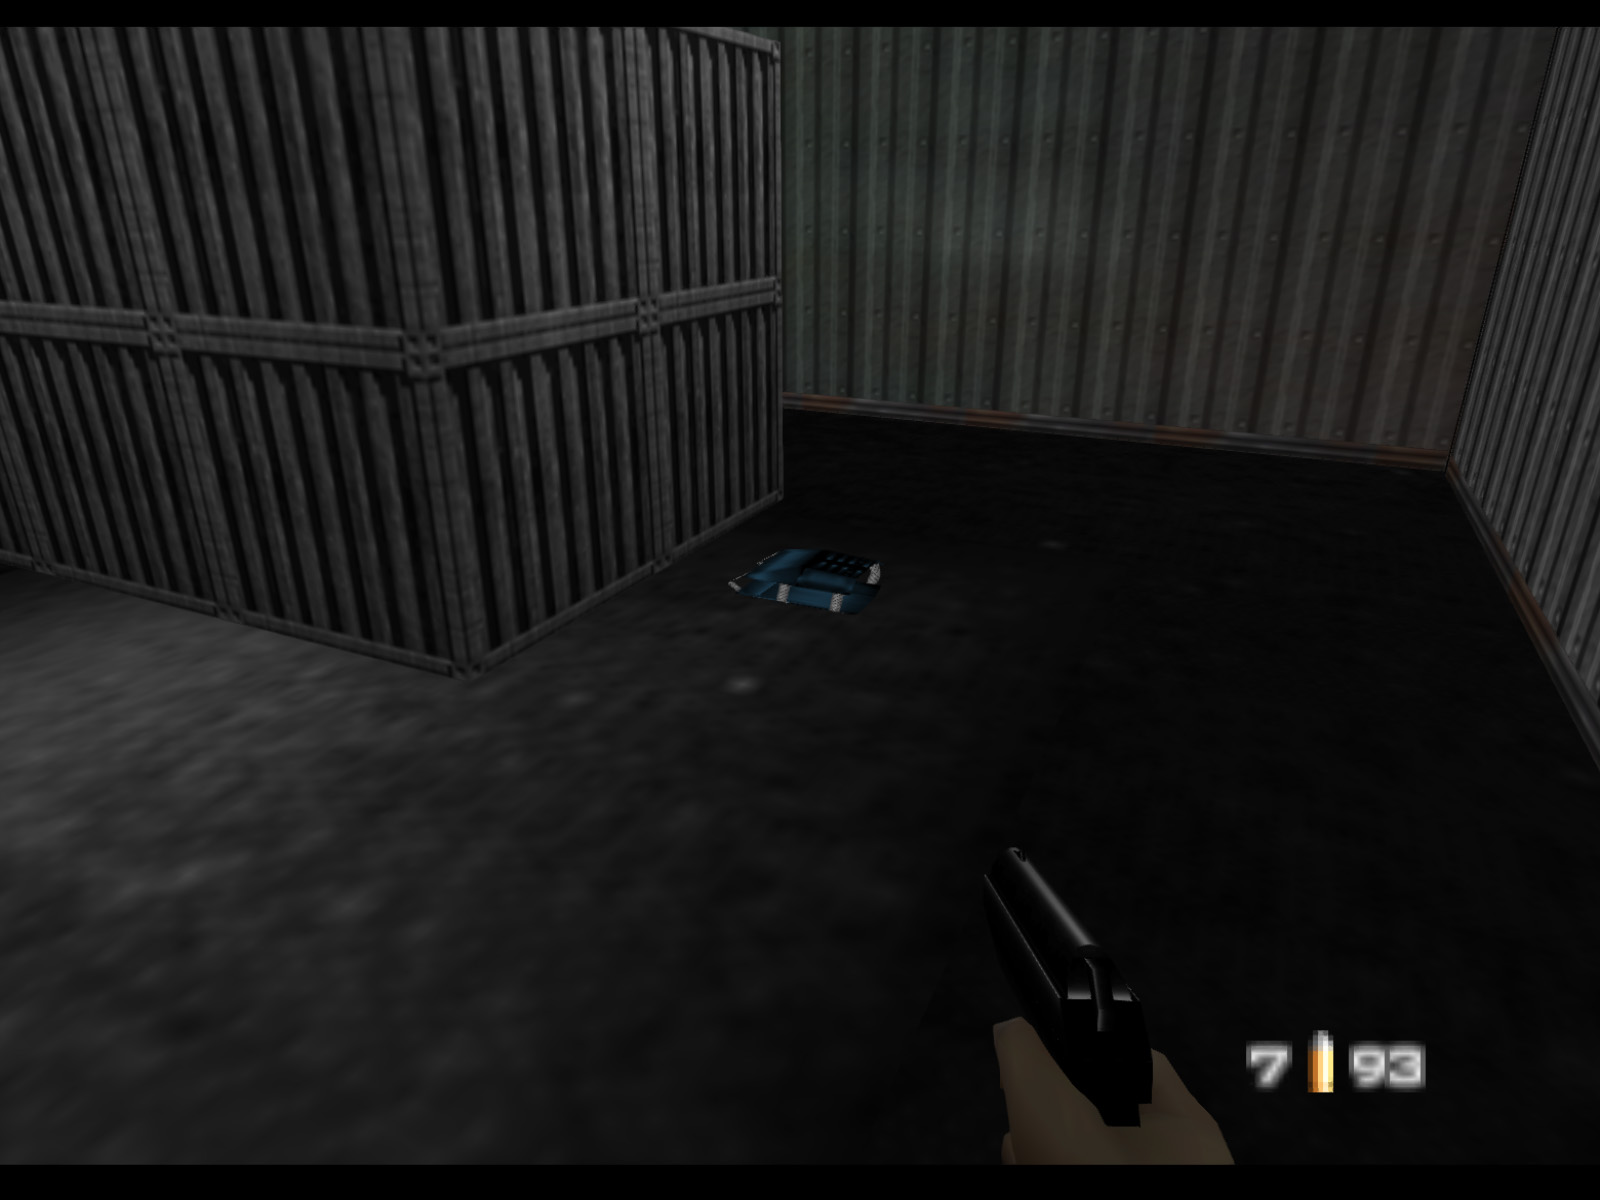
There is a gray shipping container right ahead from where you start. Make your away around it and you'll encounter this armor.
This armor is at the back left of the large warehouse with the three rollup doors.
Towards the end of the level there is a small ramp. Instead of going down it, turn to the left, and you'll find this armor at the back corner.
Towards the end of the map there is another teal warehouse (the one in the mission briefing picture.) Inside it you'll find this half armor.
Across from the arms cache wearehouse sits a rusty gray warehouse. This armor is at the back of it.
After the big green warehouse with the three rollup doors make a right and go to the very end of the street. This armor is in the warehouse on the left, at the back, and partly clipping through the wall.
This armor is in the final large warehouse; the one attached to the safe room.
This armor is adjacent to the disused station towards the end of the level with the pinkish walls.
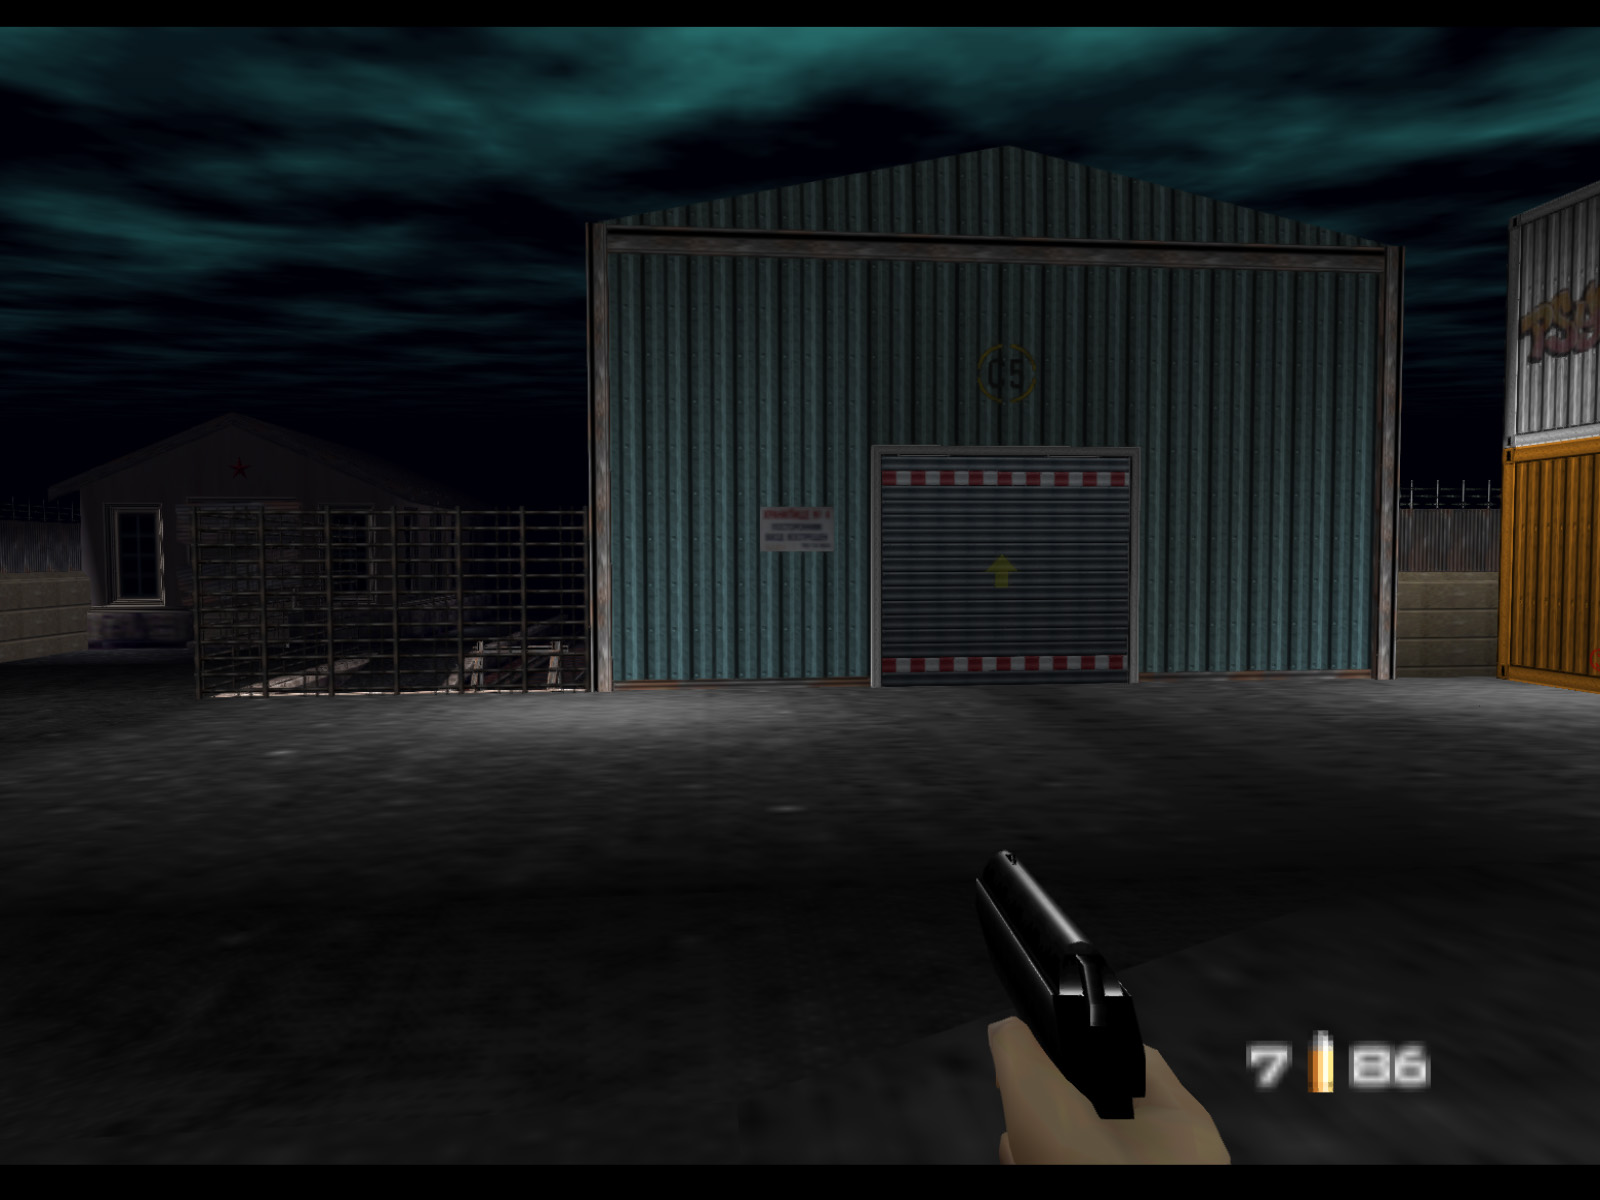
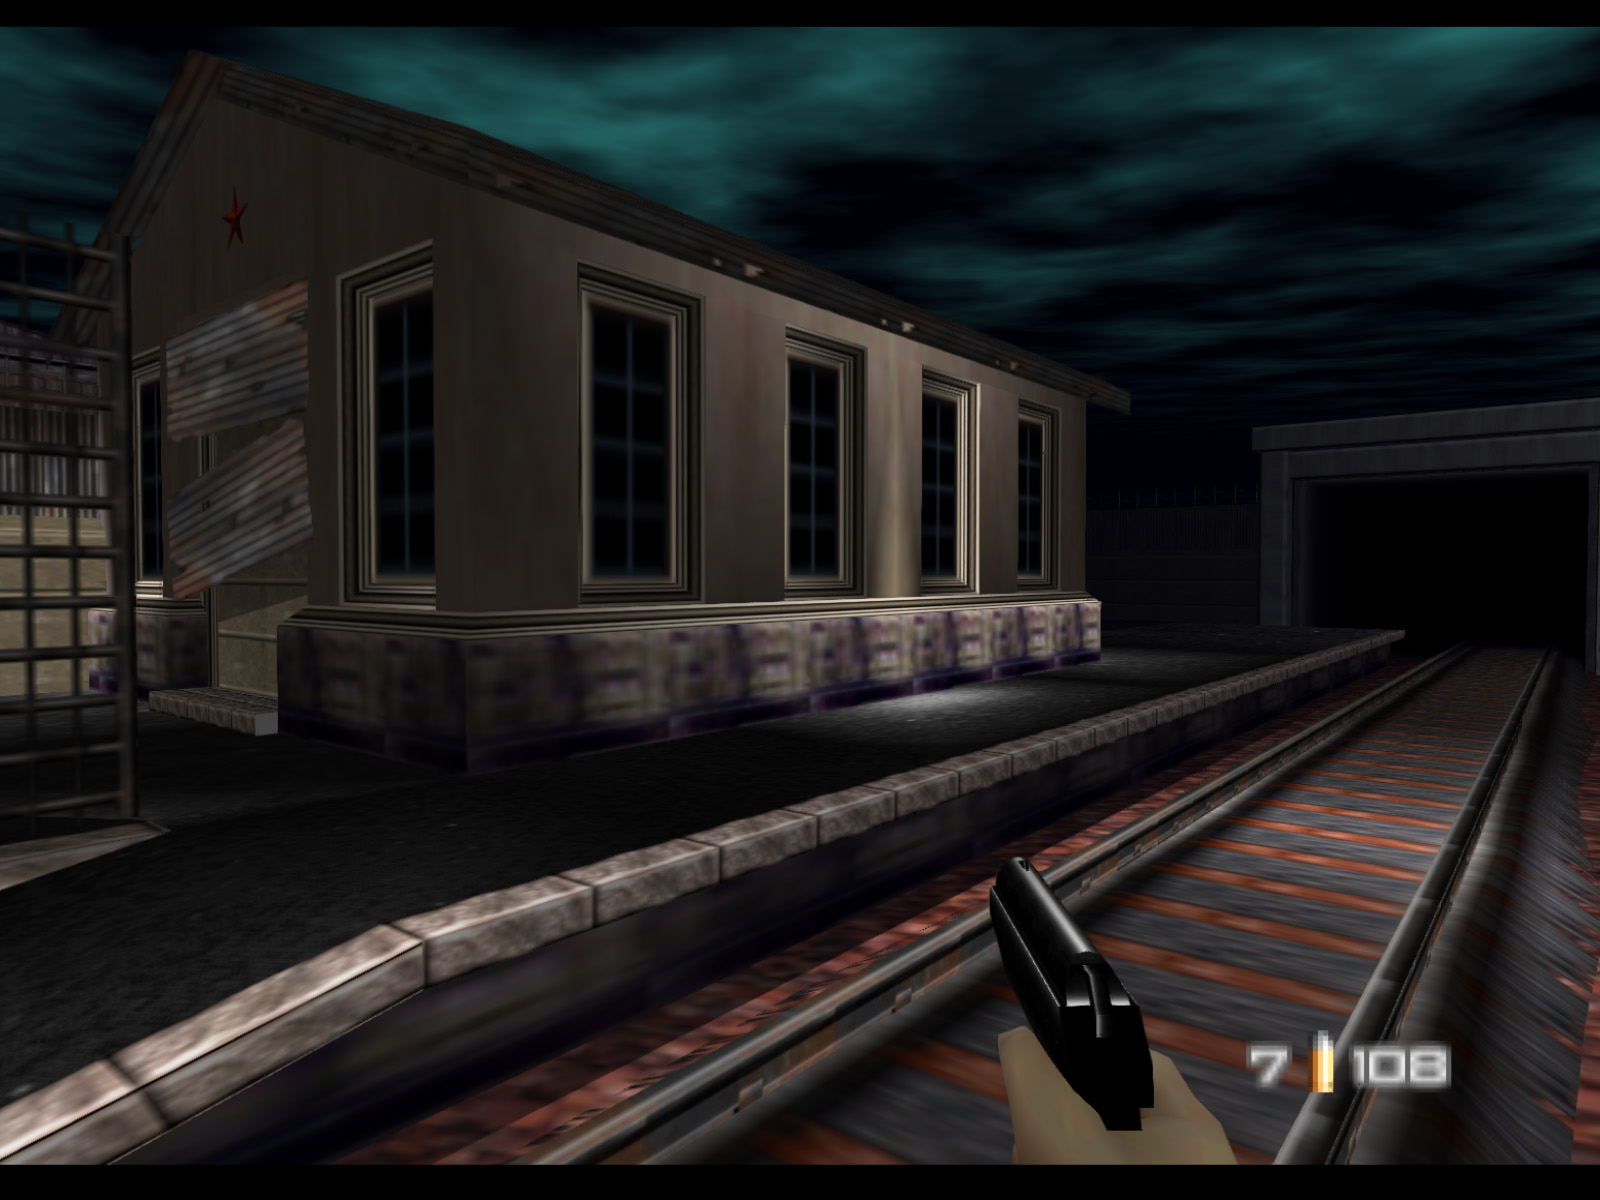
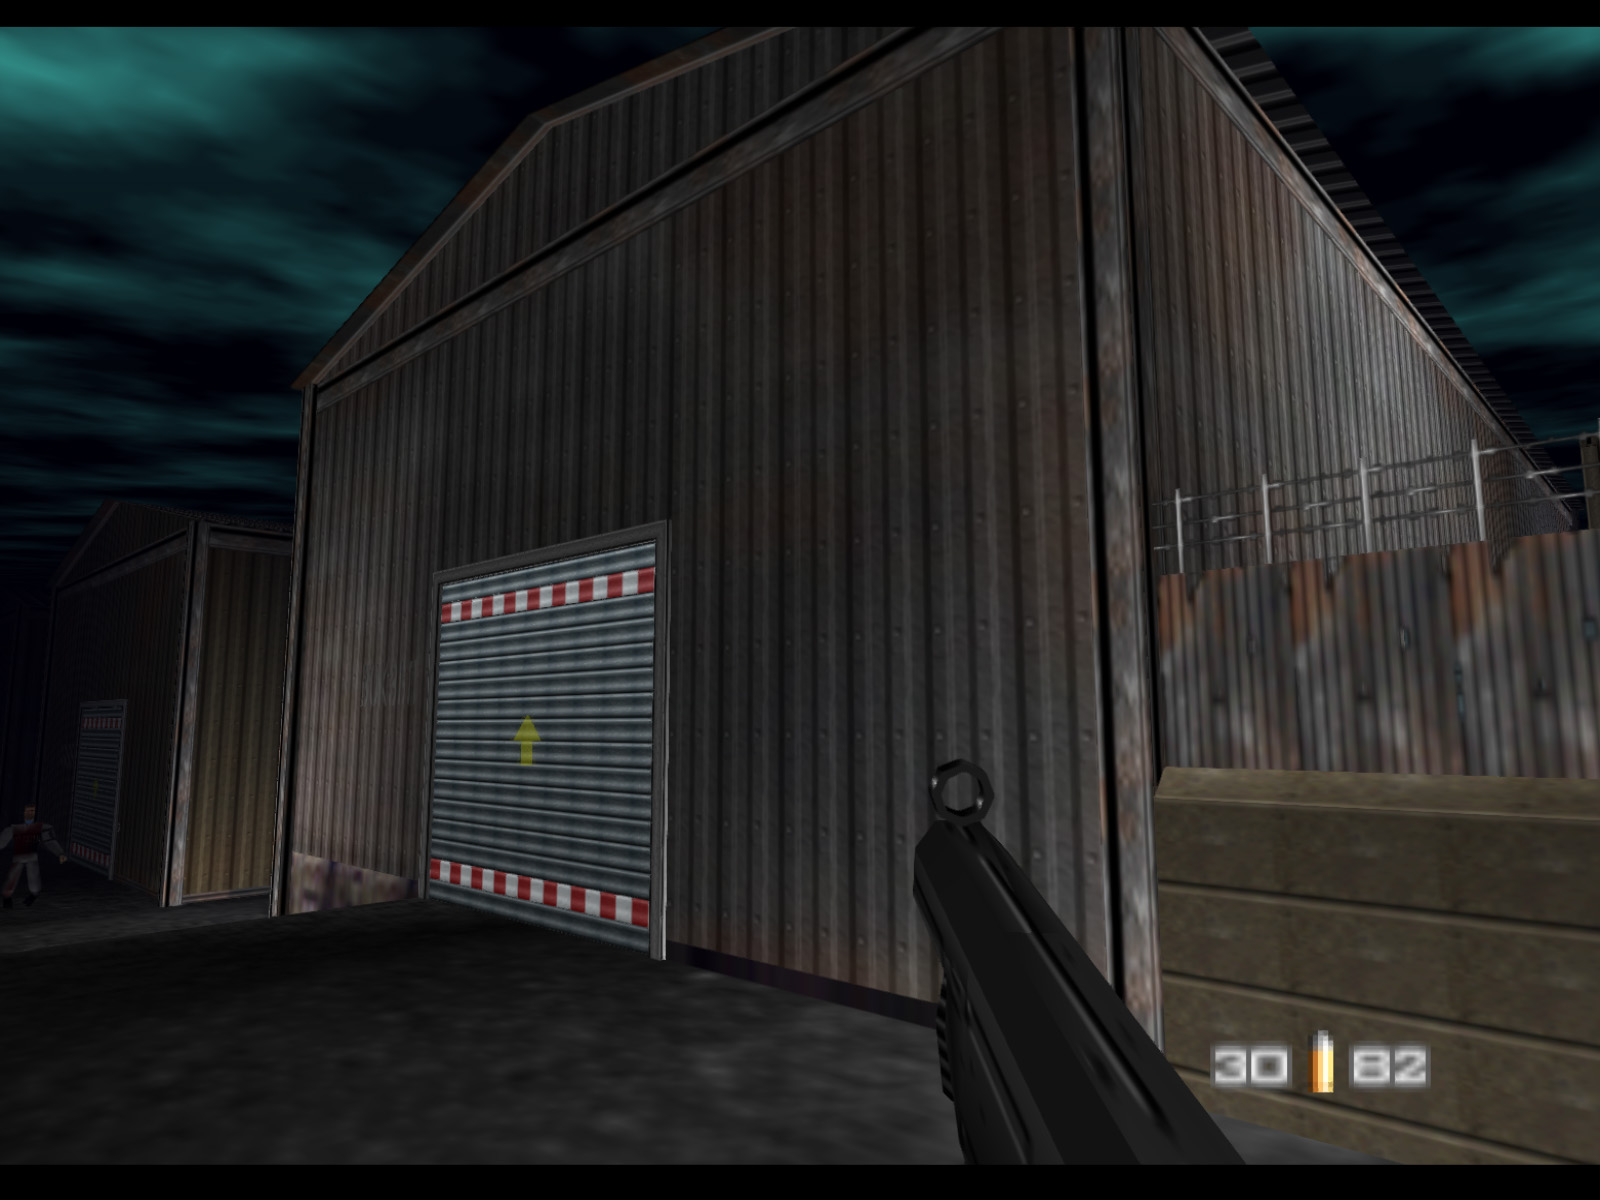
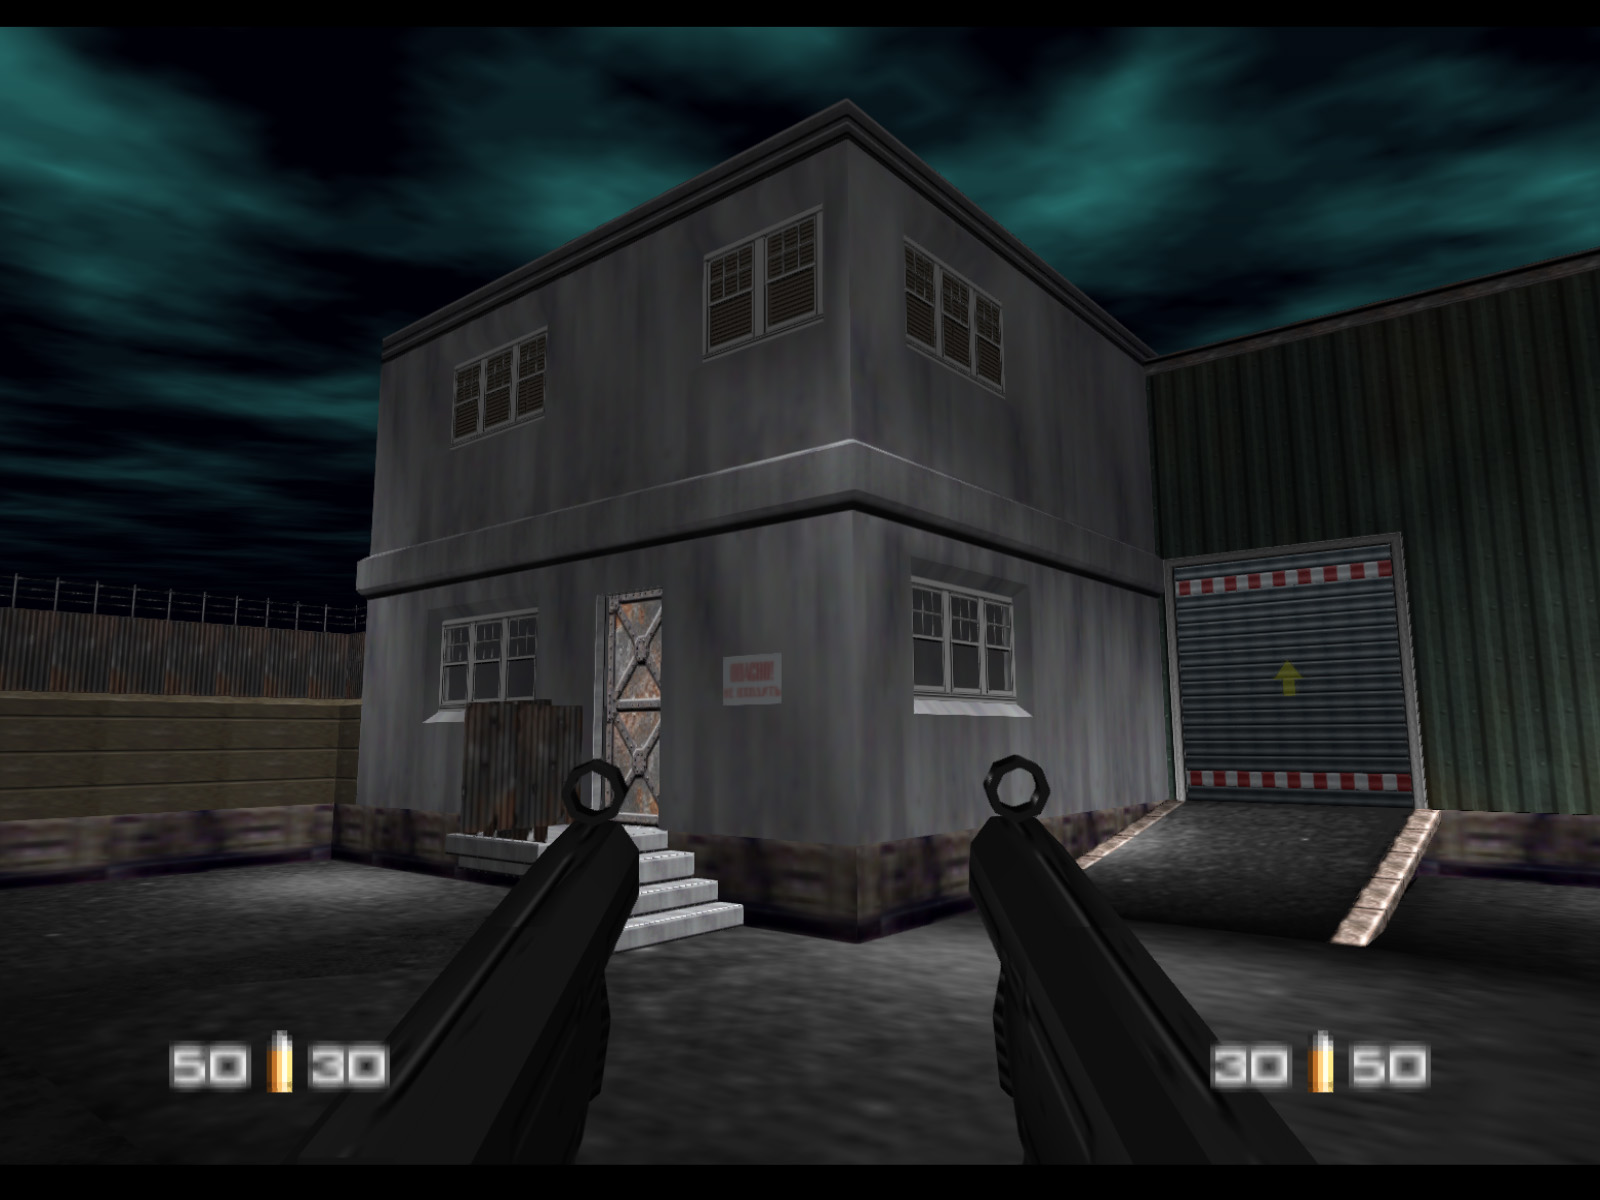
Bond exits the streets and steps into the disused military depot. This dark level has black skies with teal clouds. Or is it teal skies with black clouds? Regardless, it's time to look for Trevelyan's train.
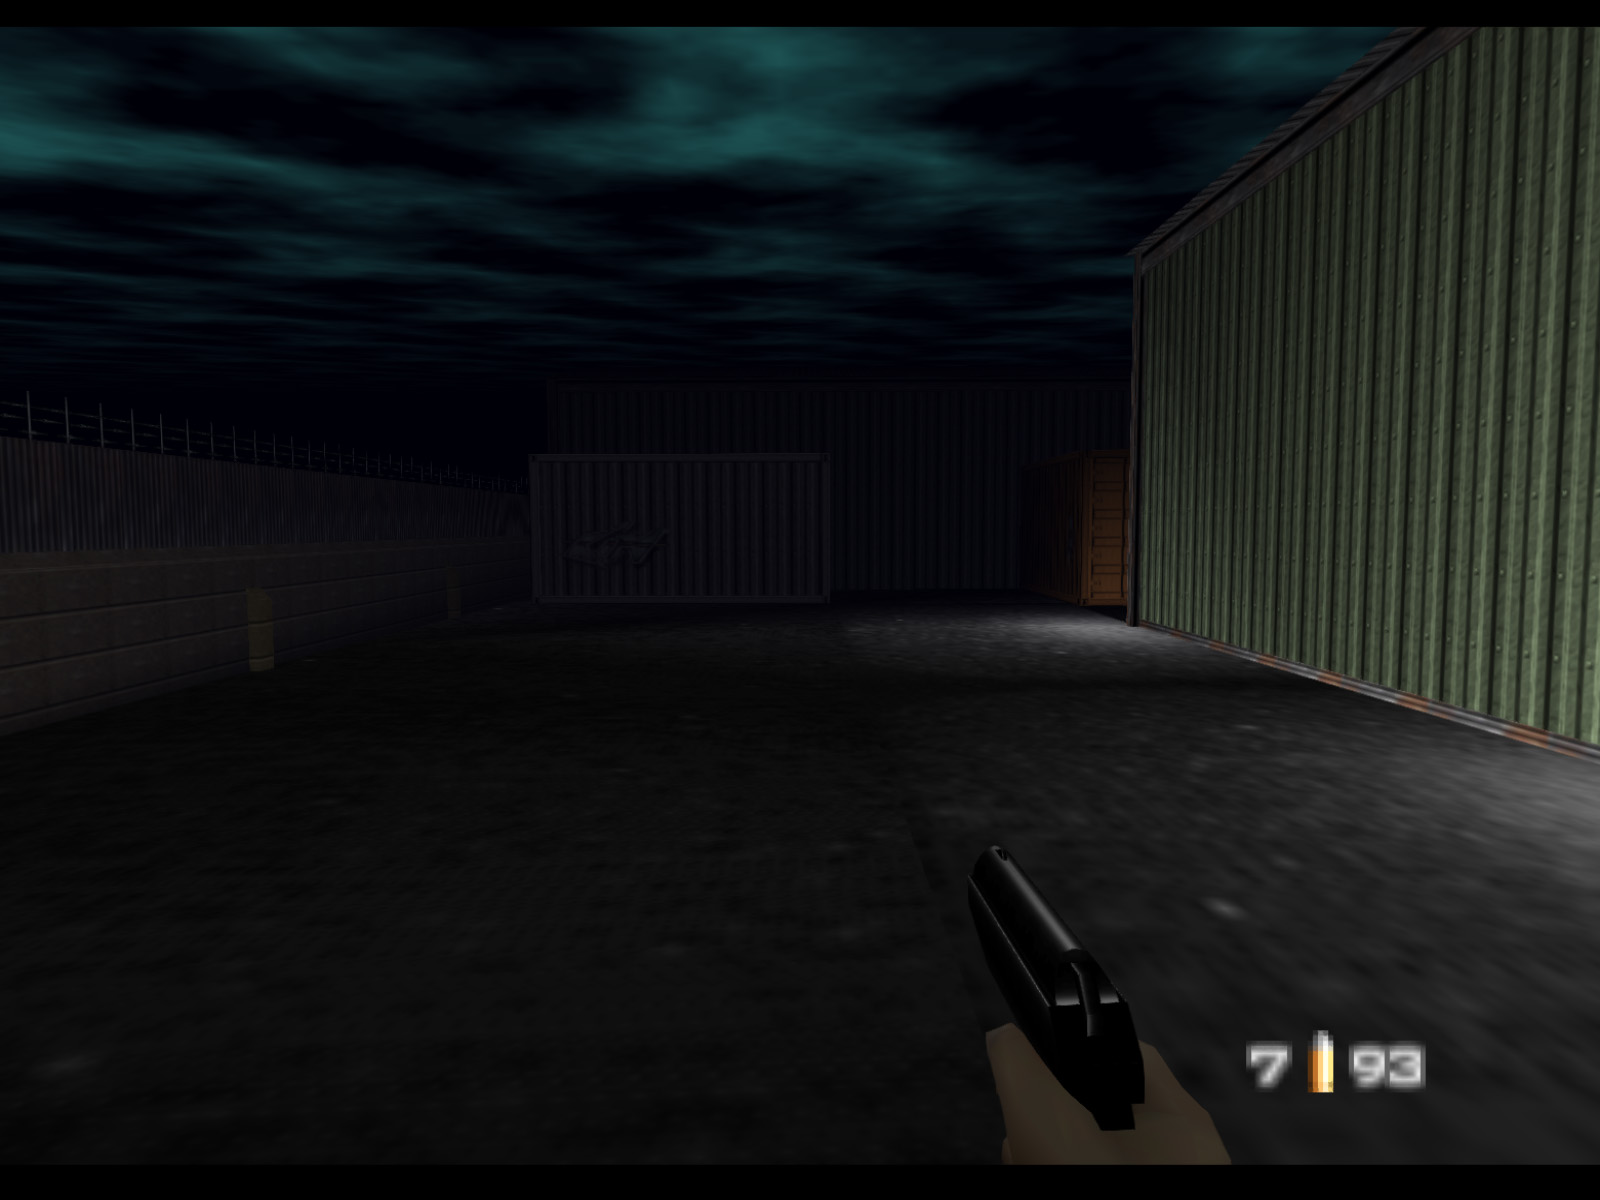
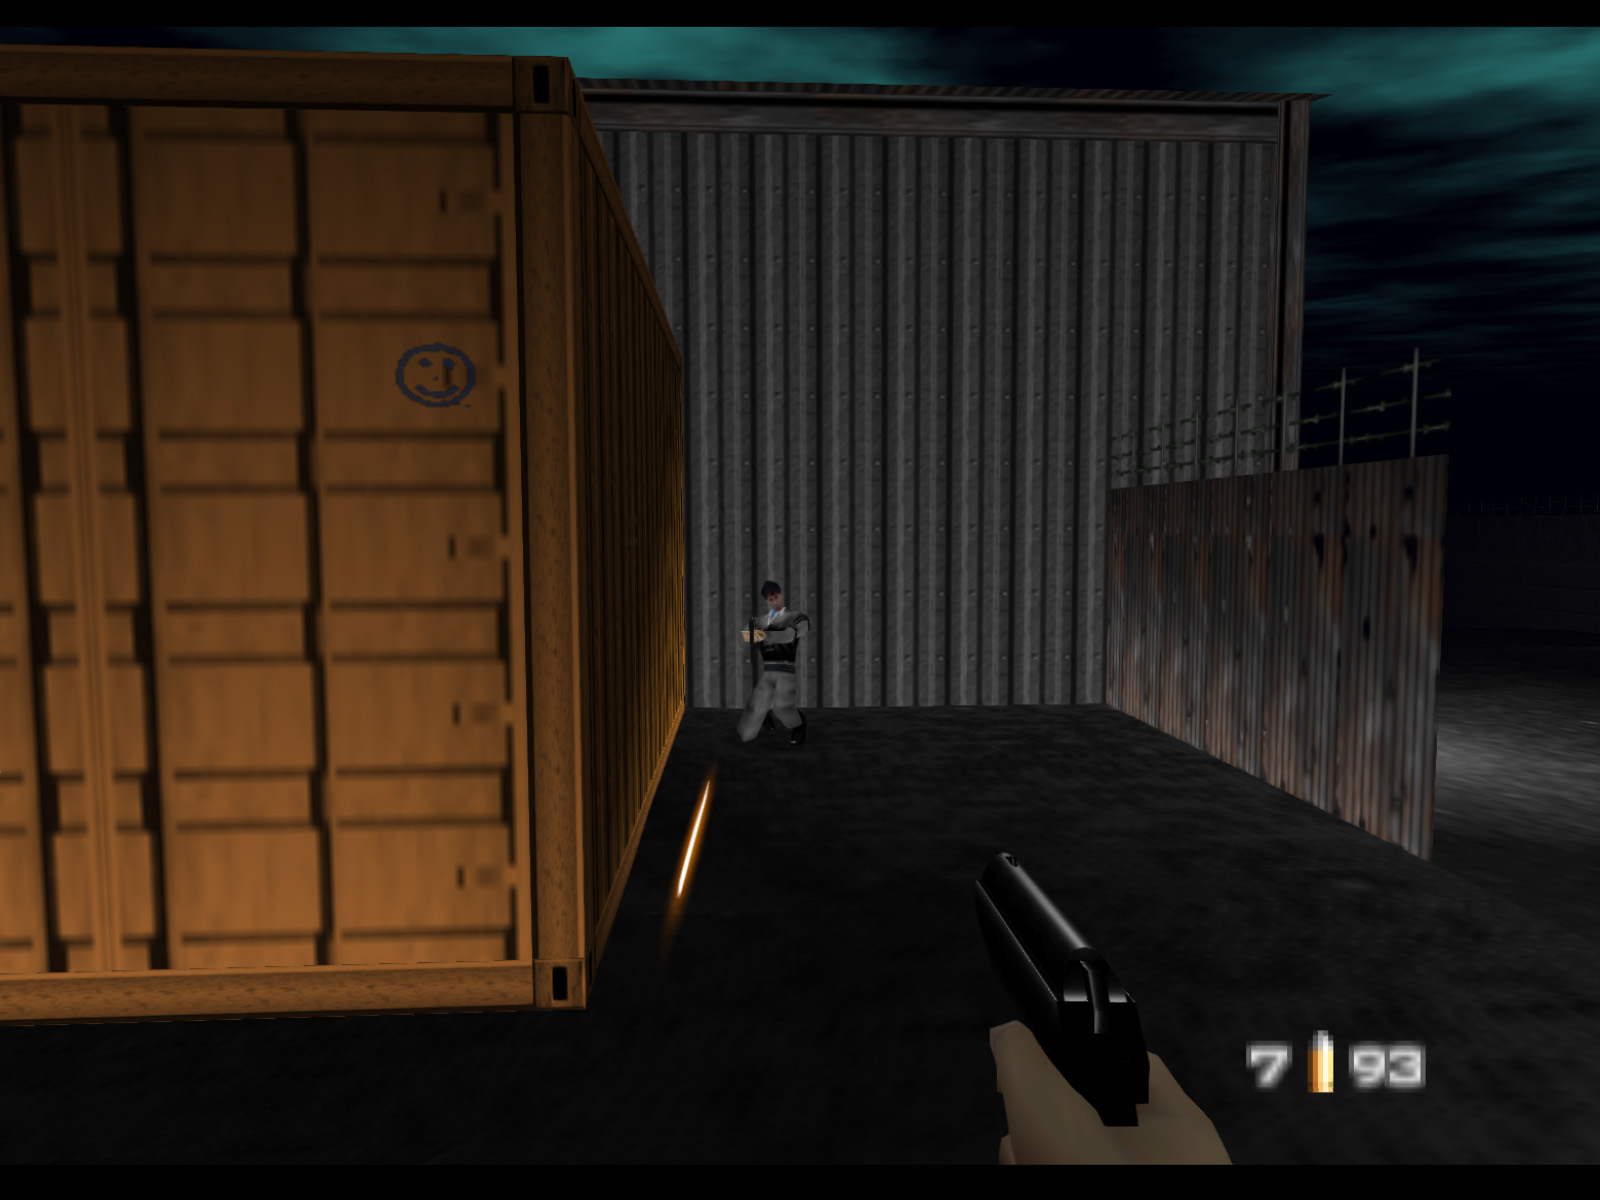
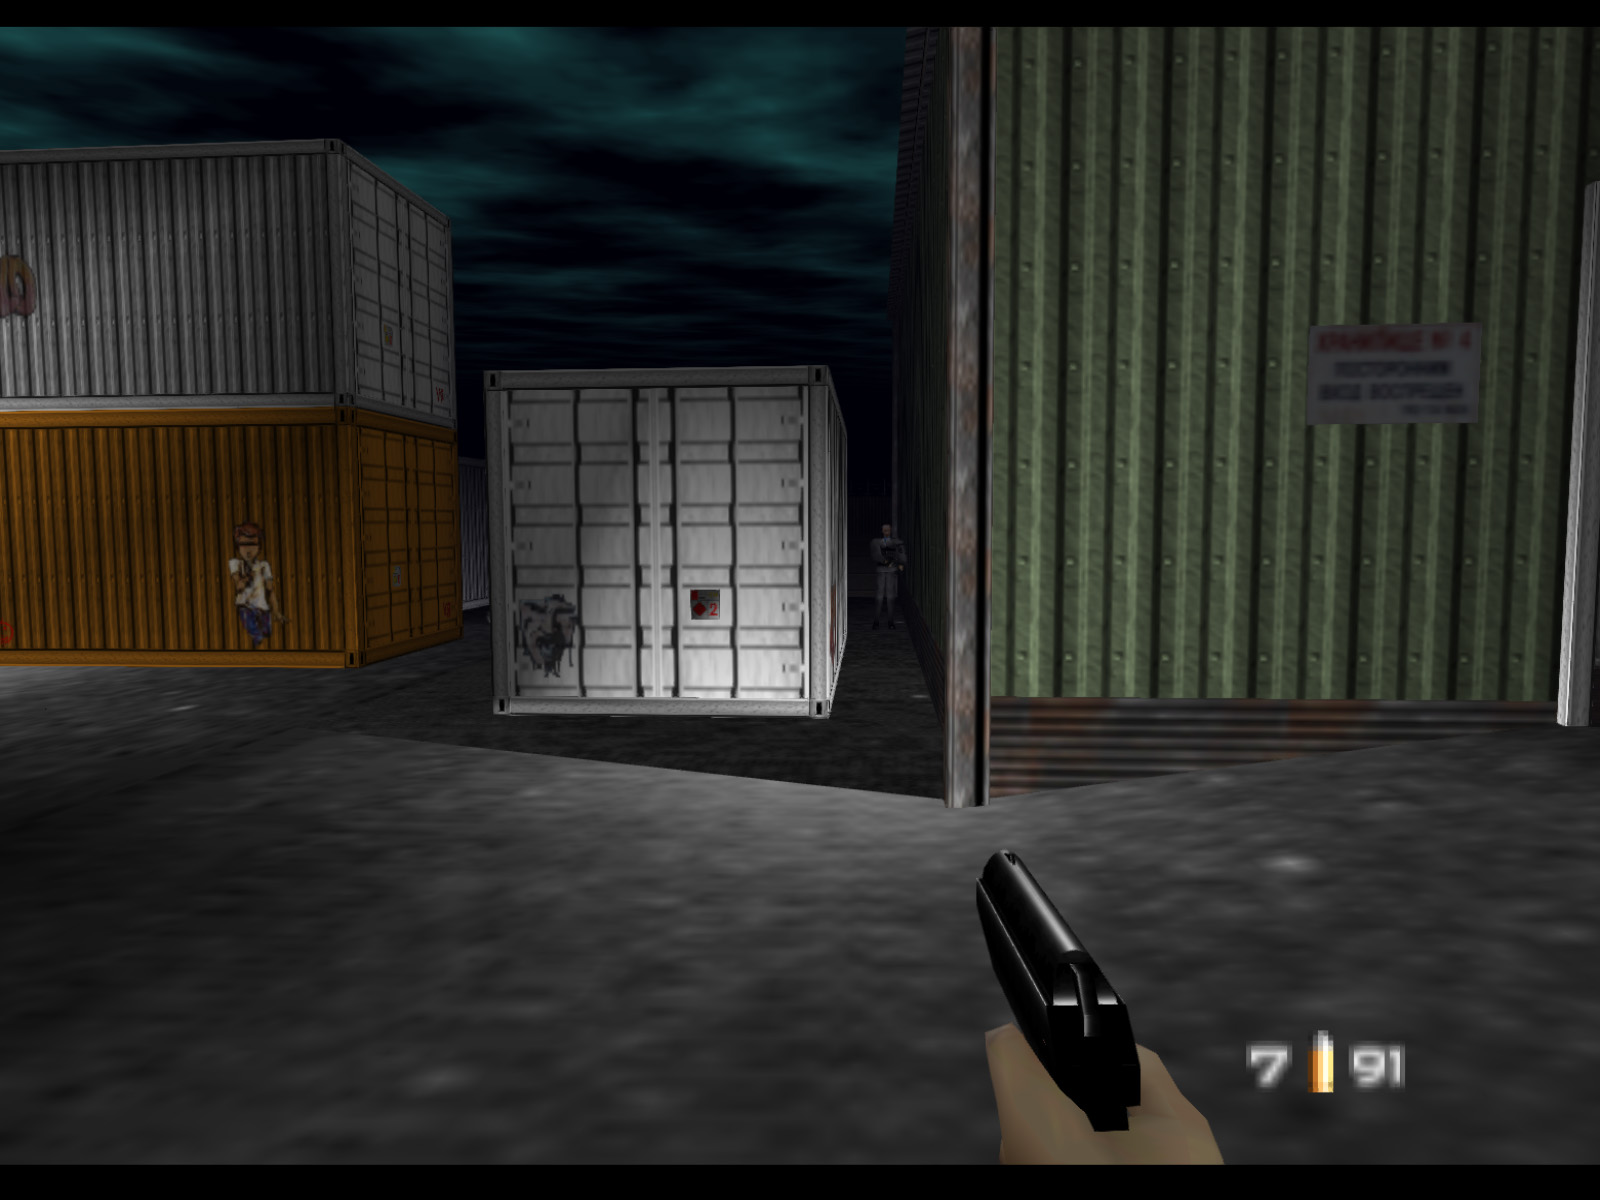
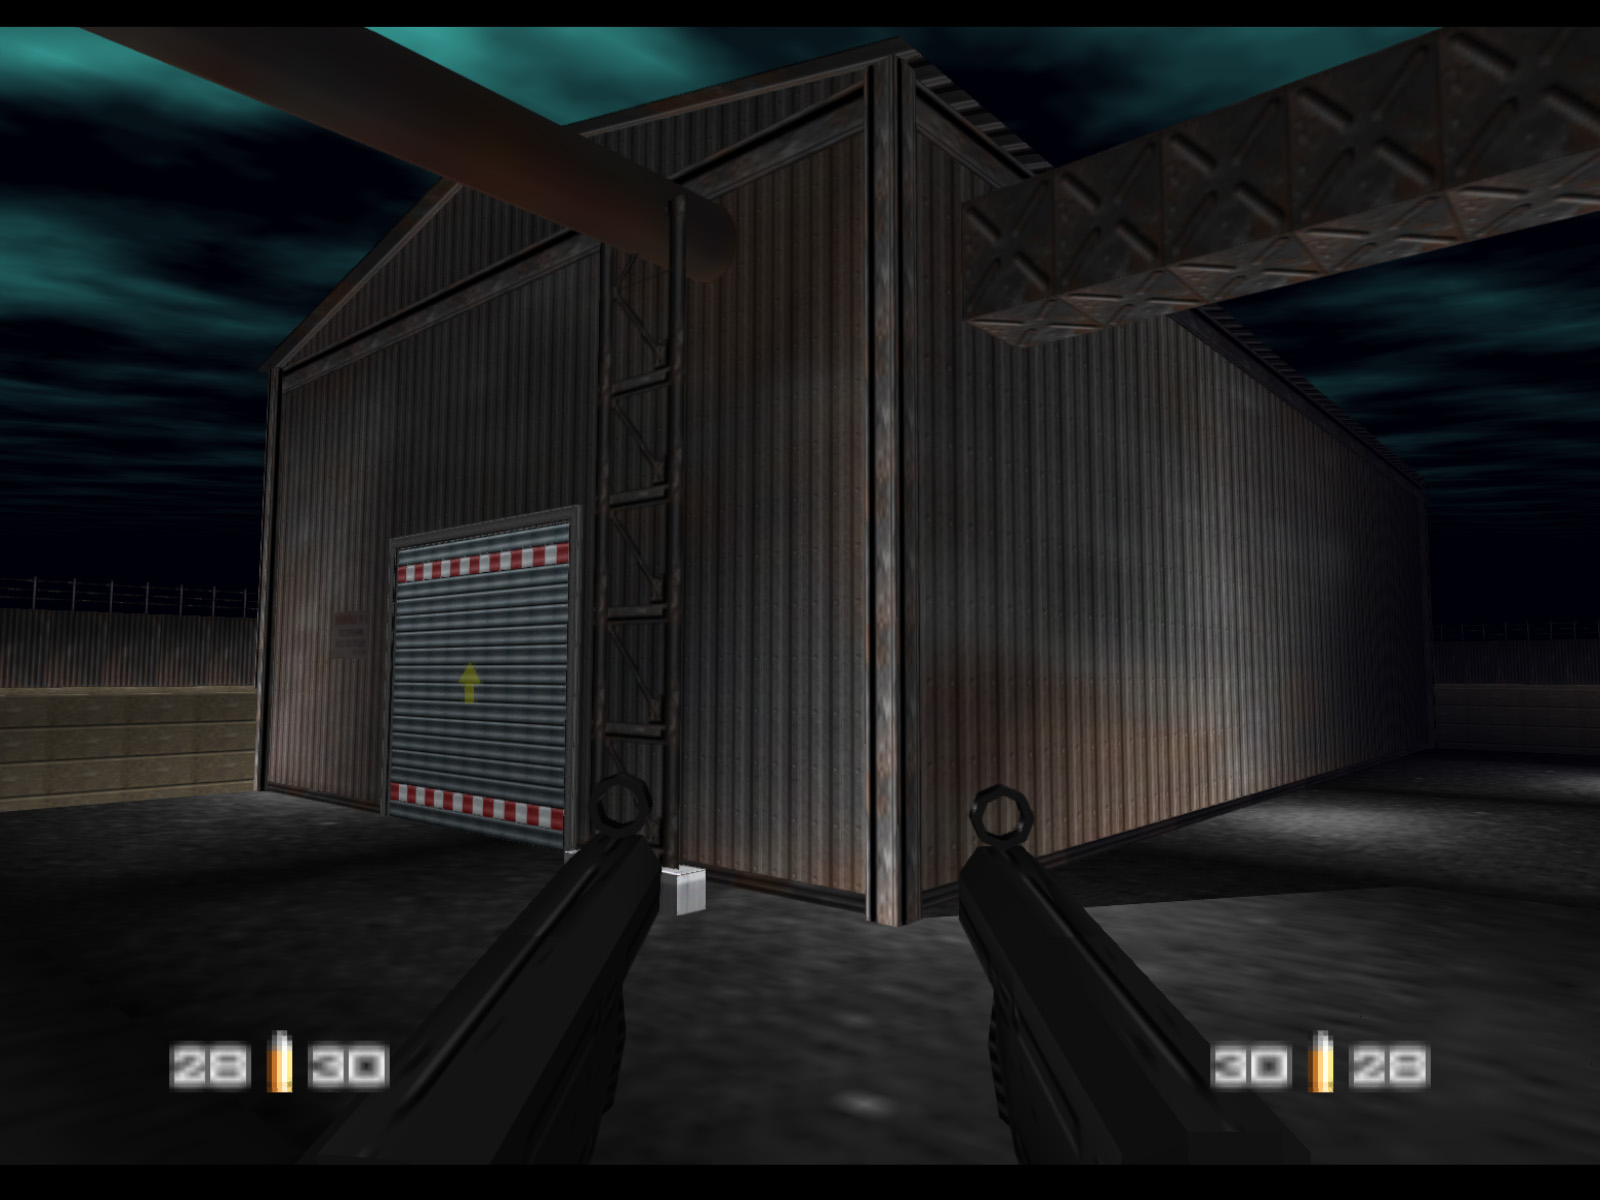
Trevelyan's Janus Marines protect the depot. There is one standing in front of the green warehouse next to the orange shipping container. On a blind playthrough you have to check many warehouses before you find the ones with the objectives.
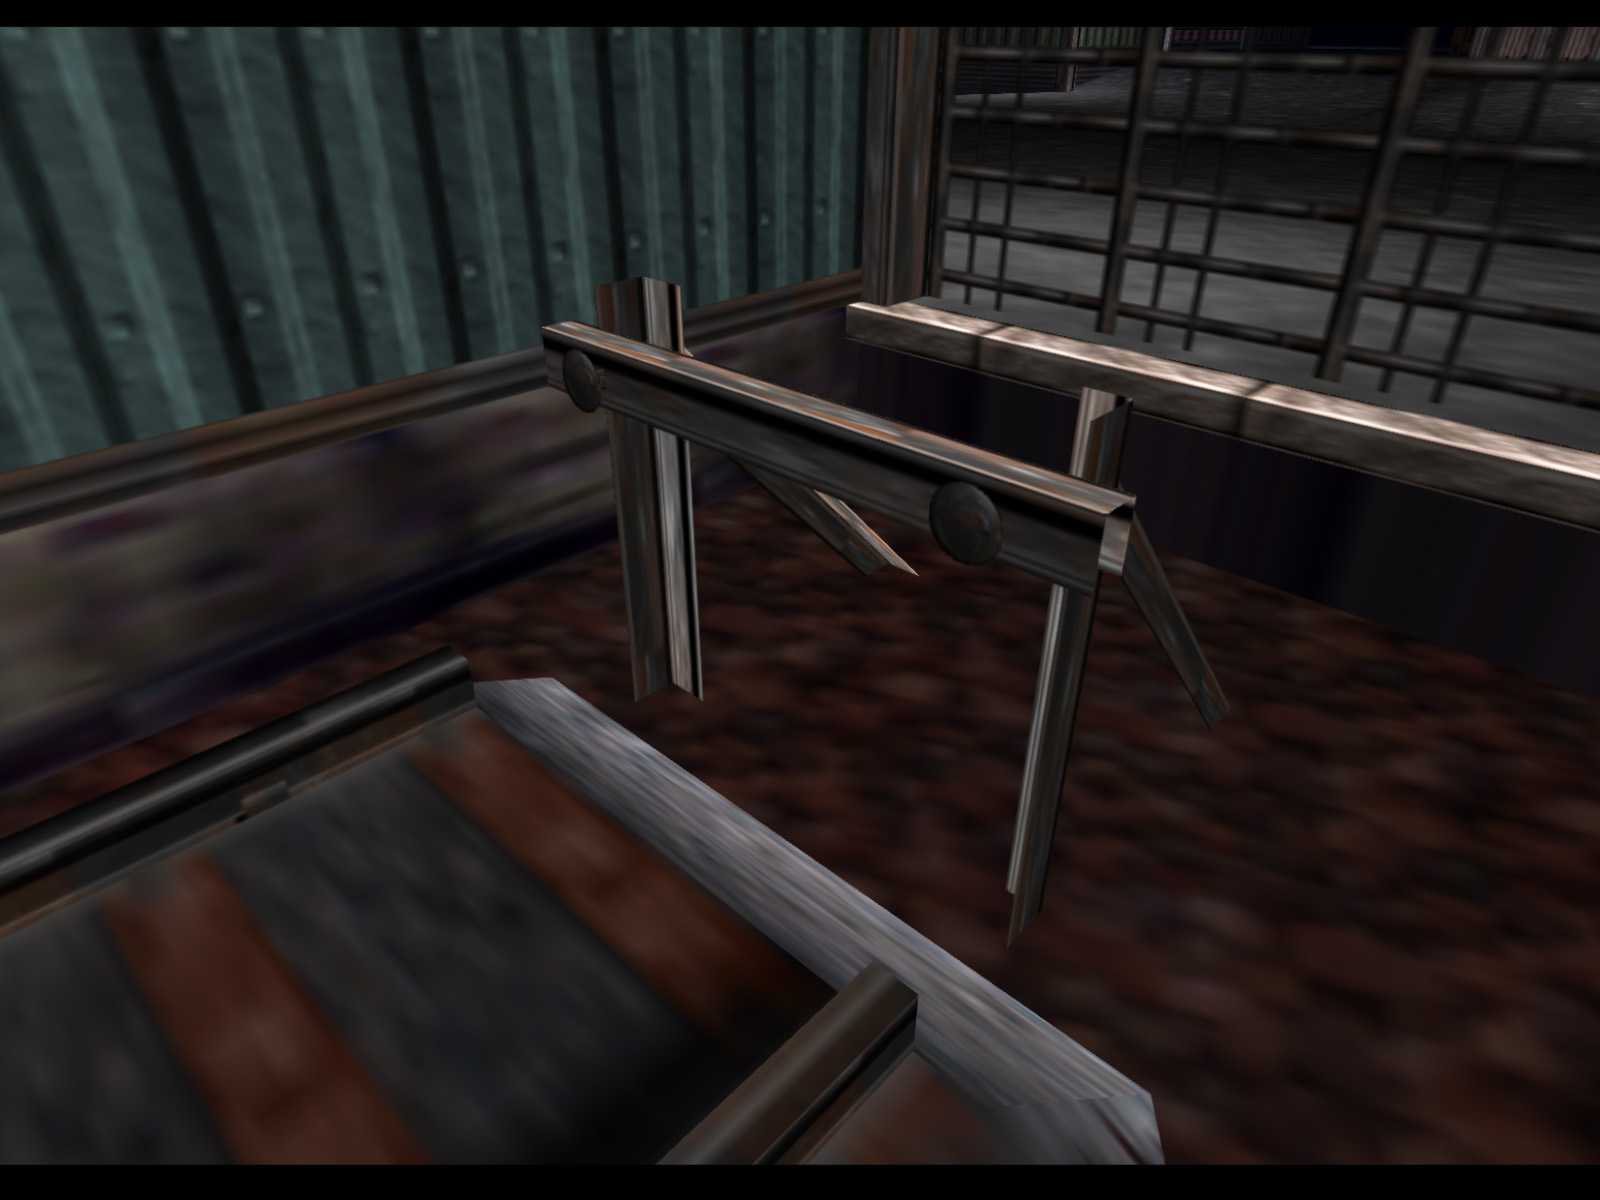
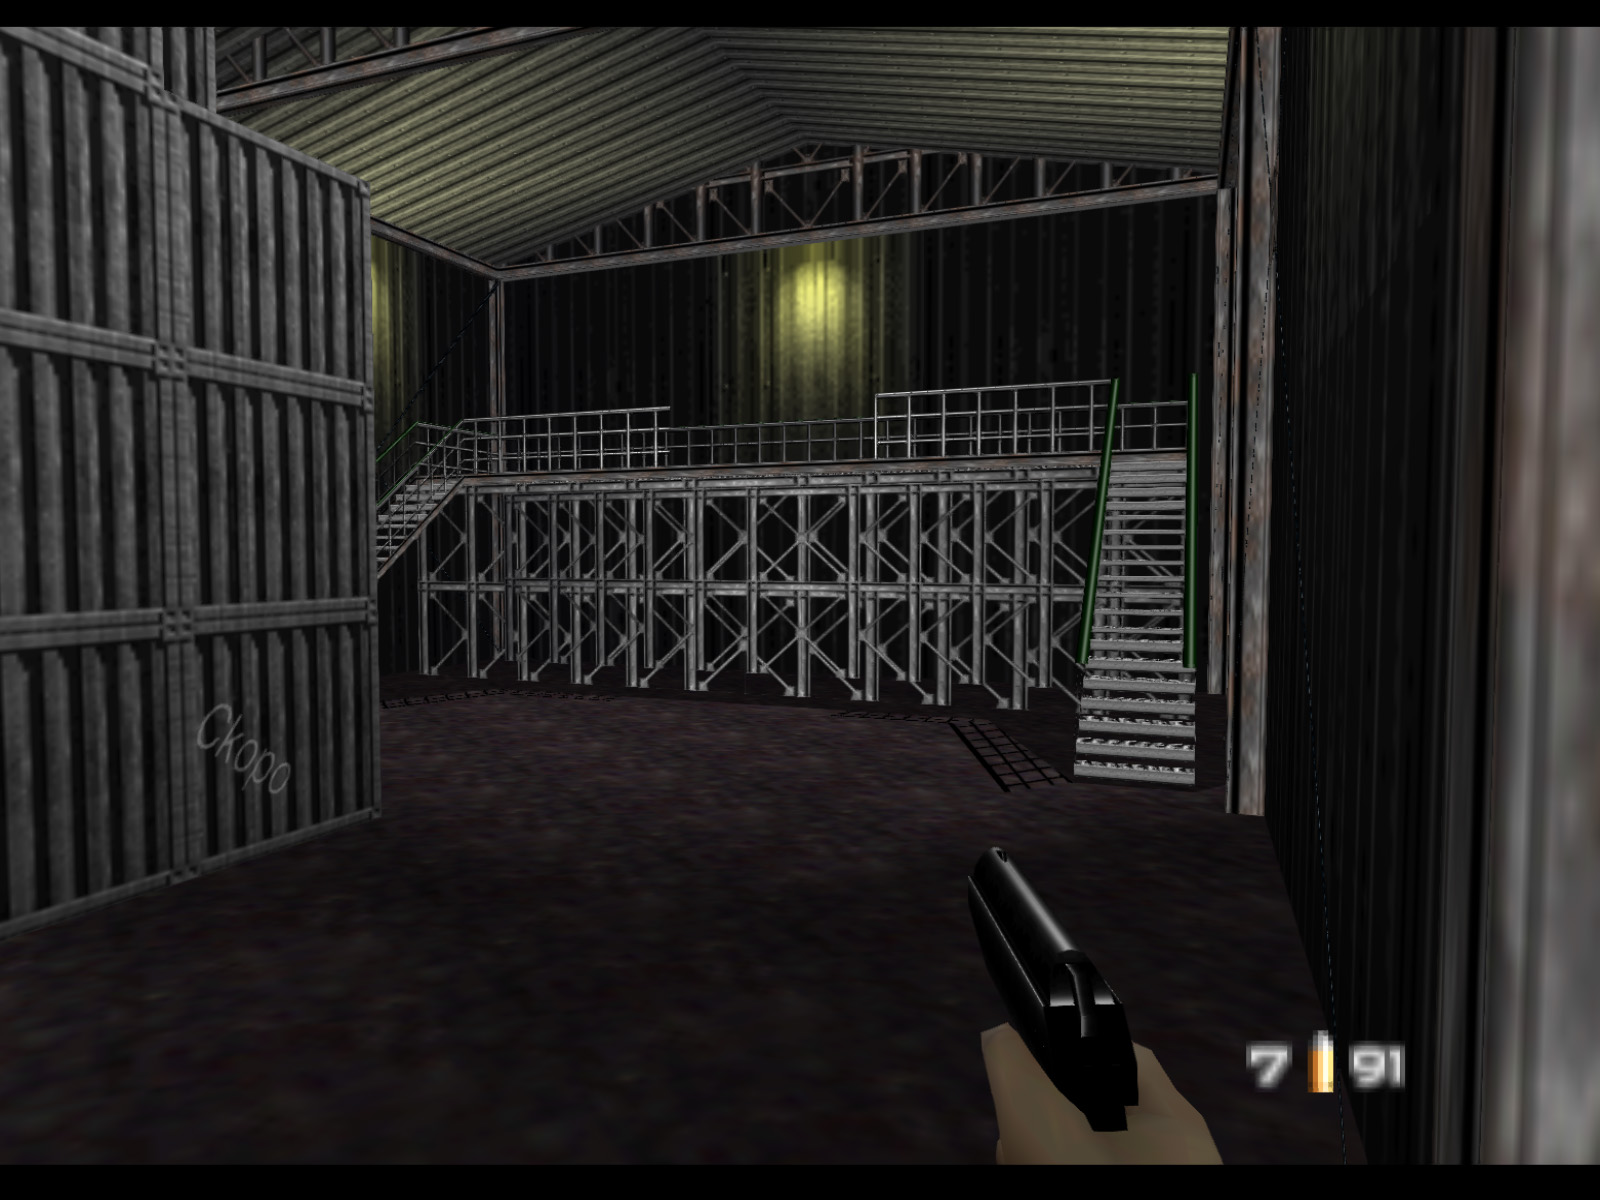
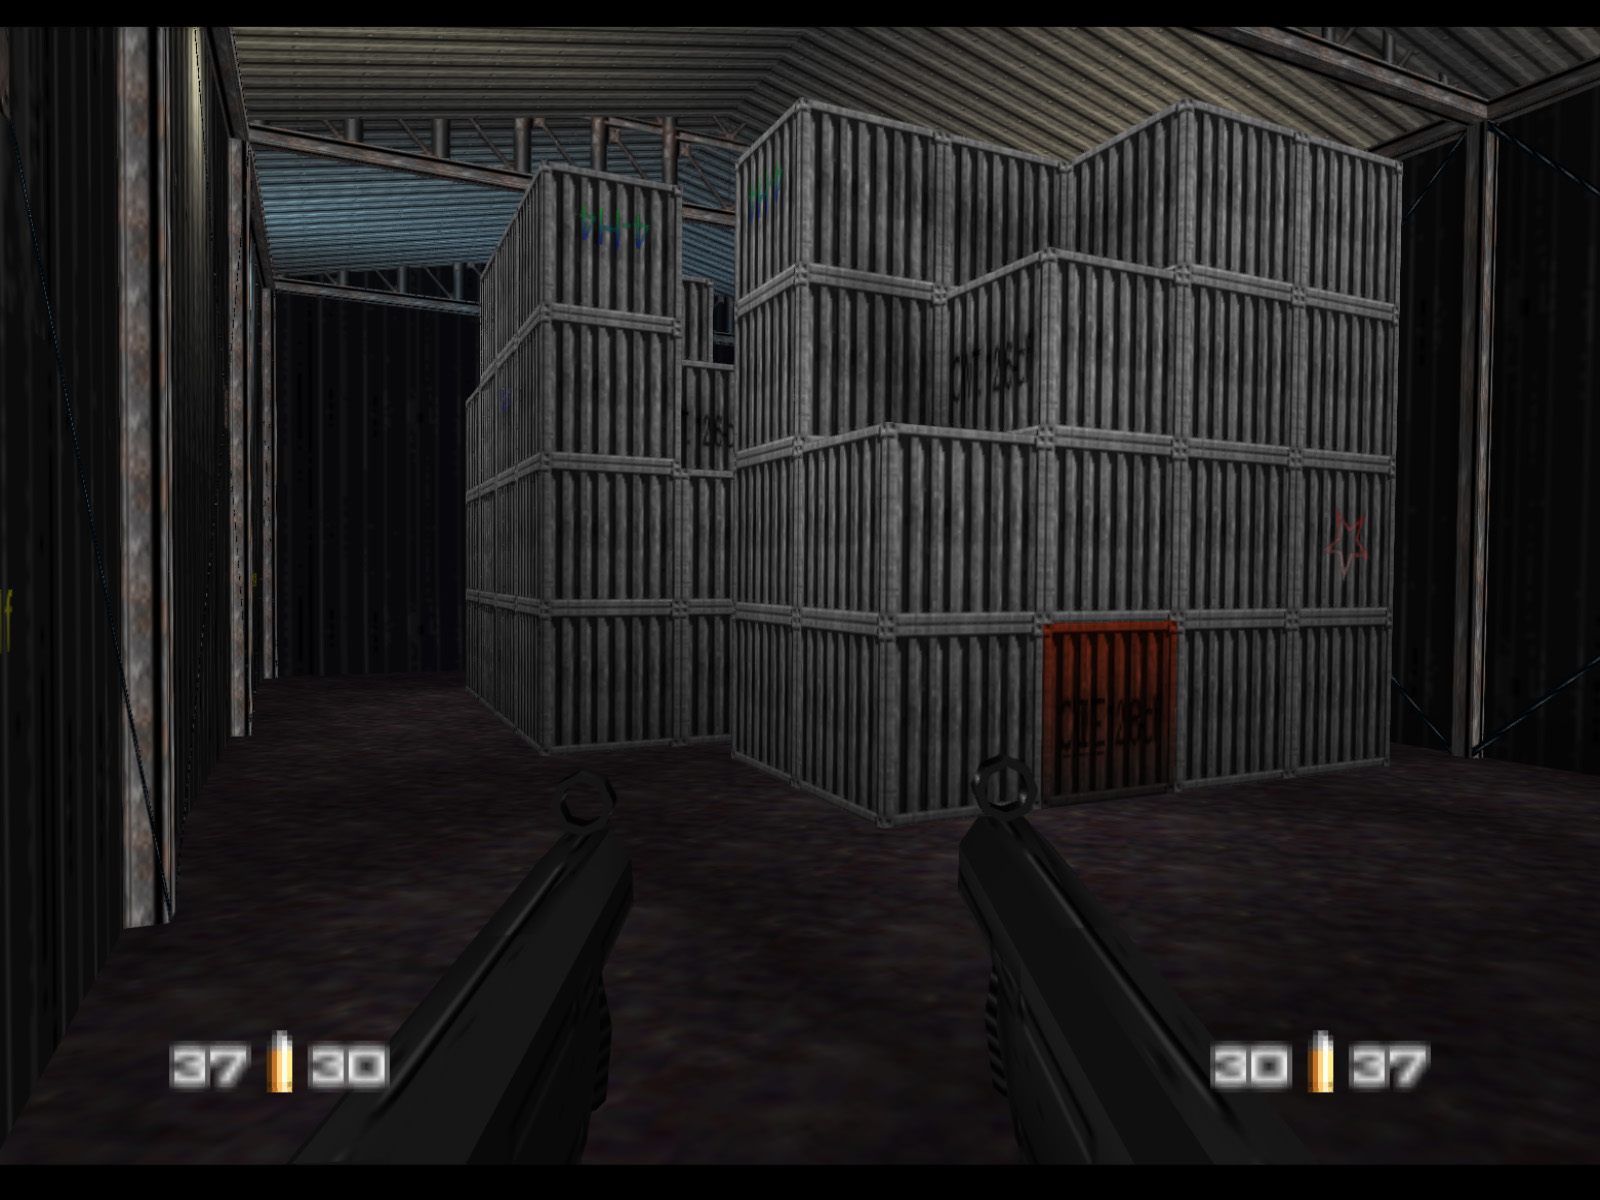
This is inside the green warehouse. It has this platform at the back but otherwise nothing of interest. That's one warehouse down and eleven to go.
Two Janus Marines are on the other side of the green warehouse.
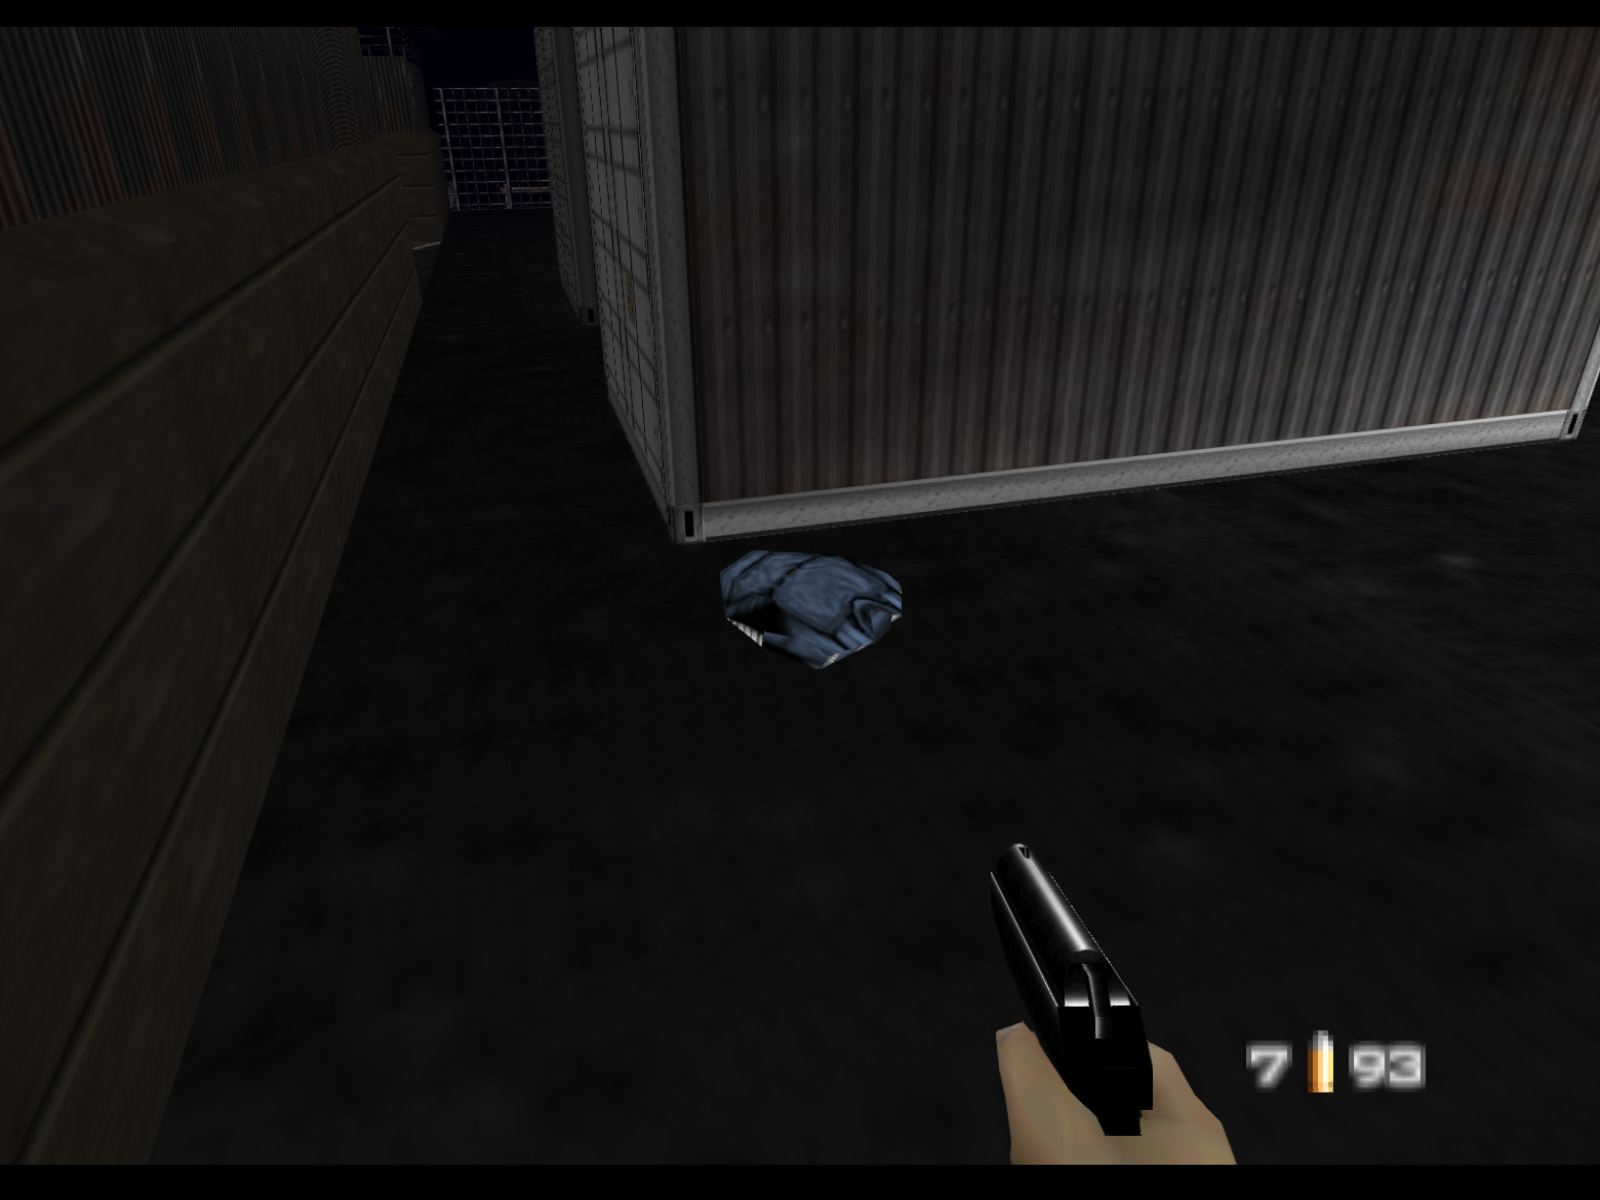
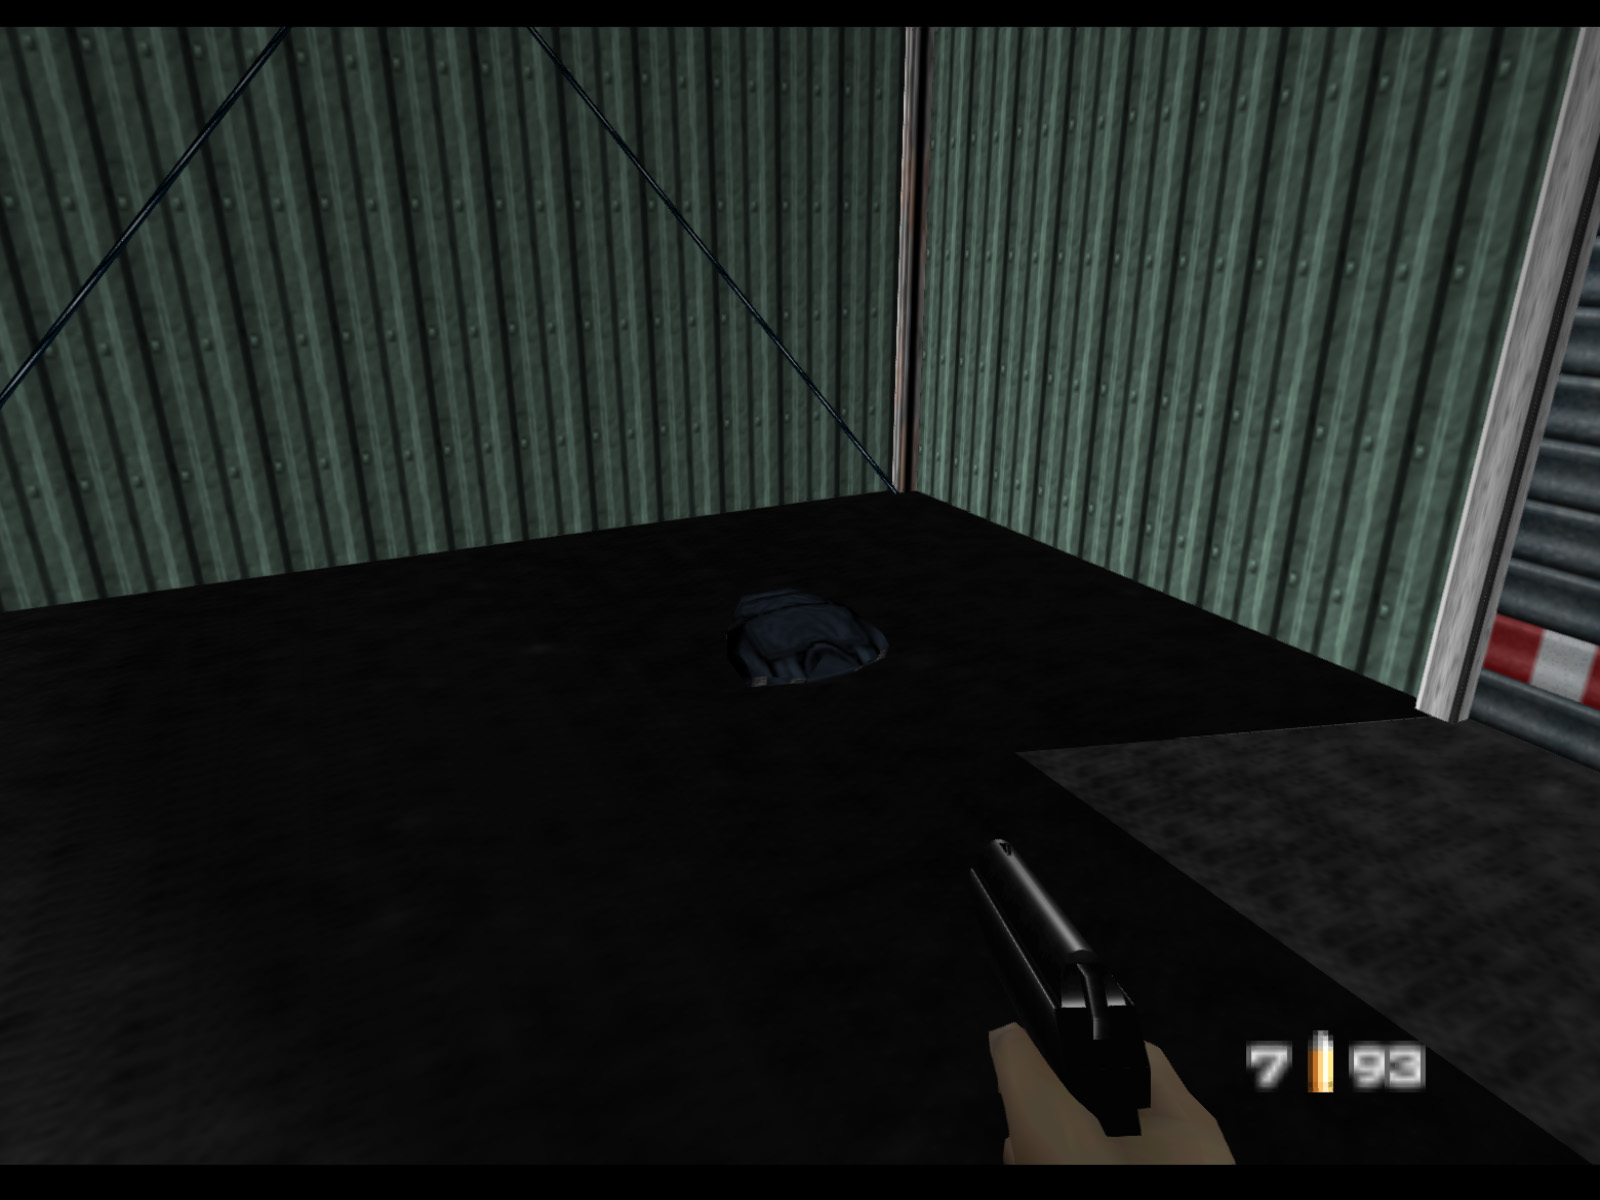
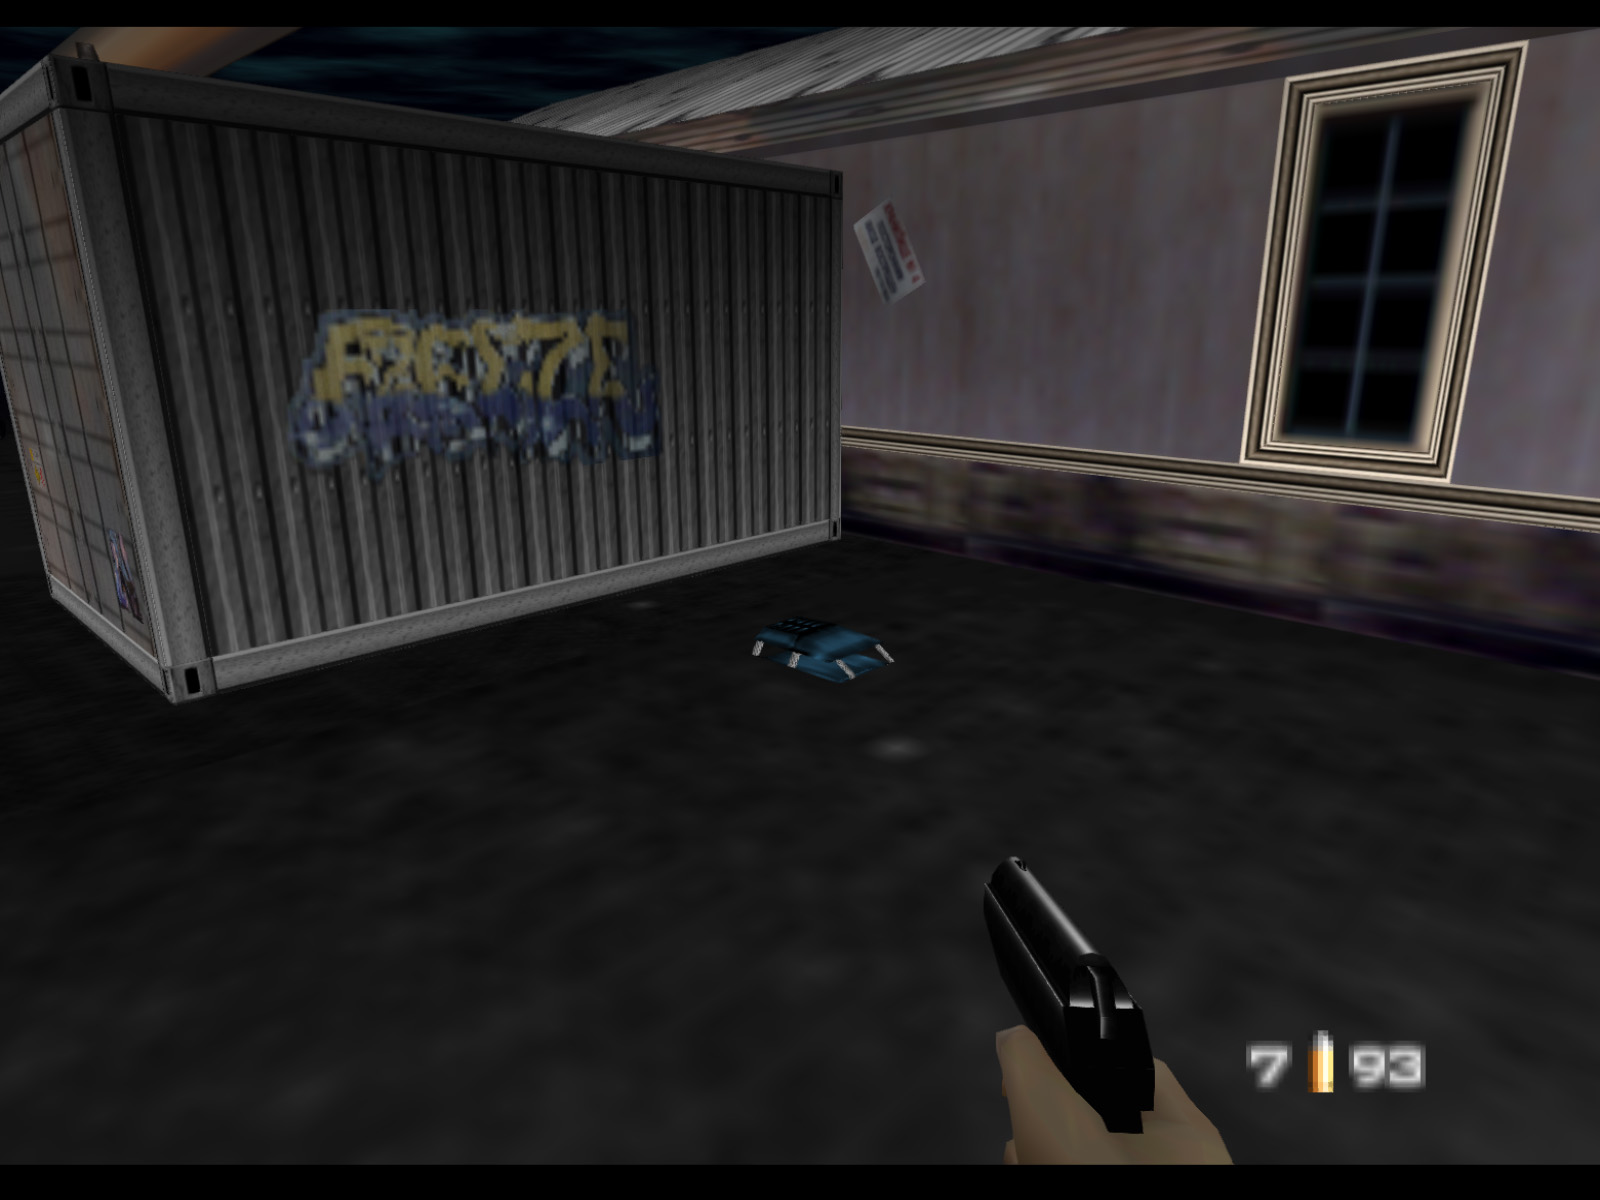
If you go back into the containers you will find cool graffiti but nothing else except for an armor vest on Agent difficulty.

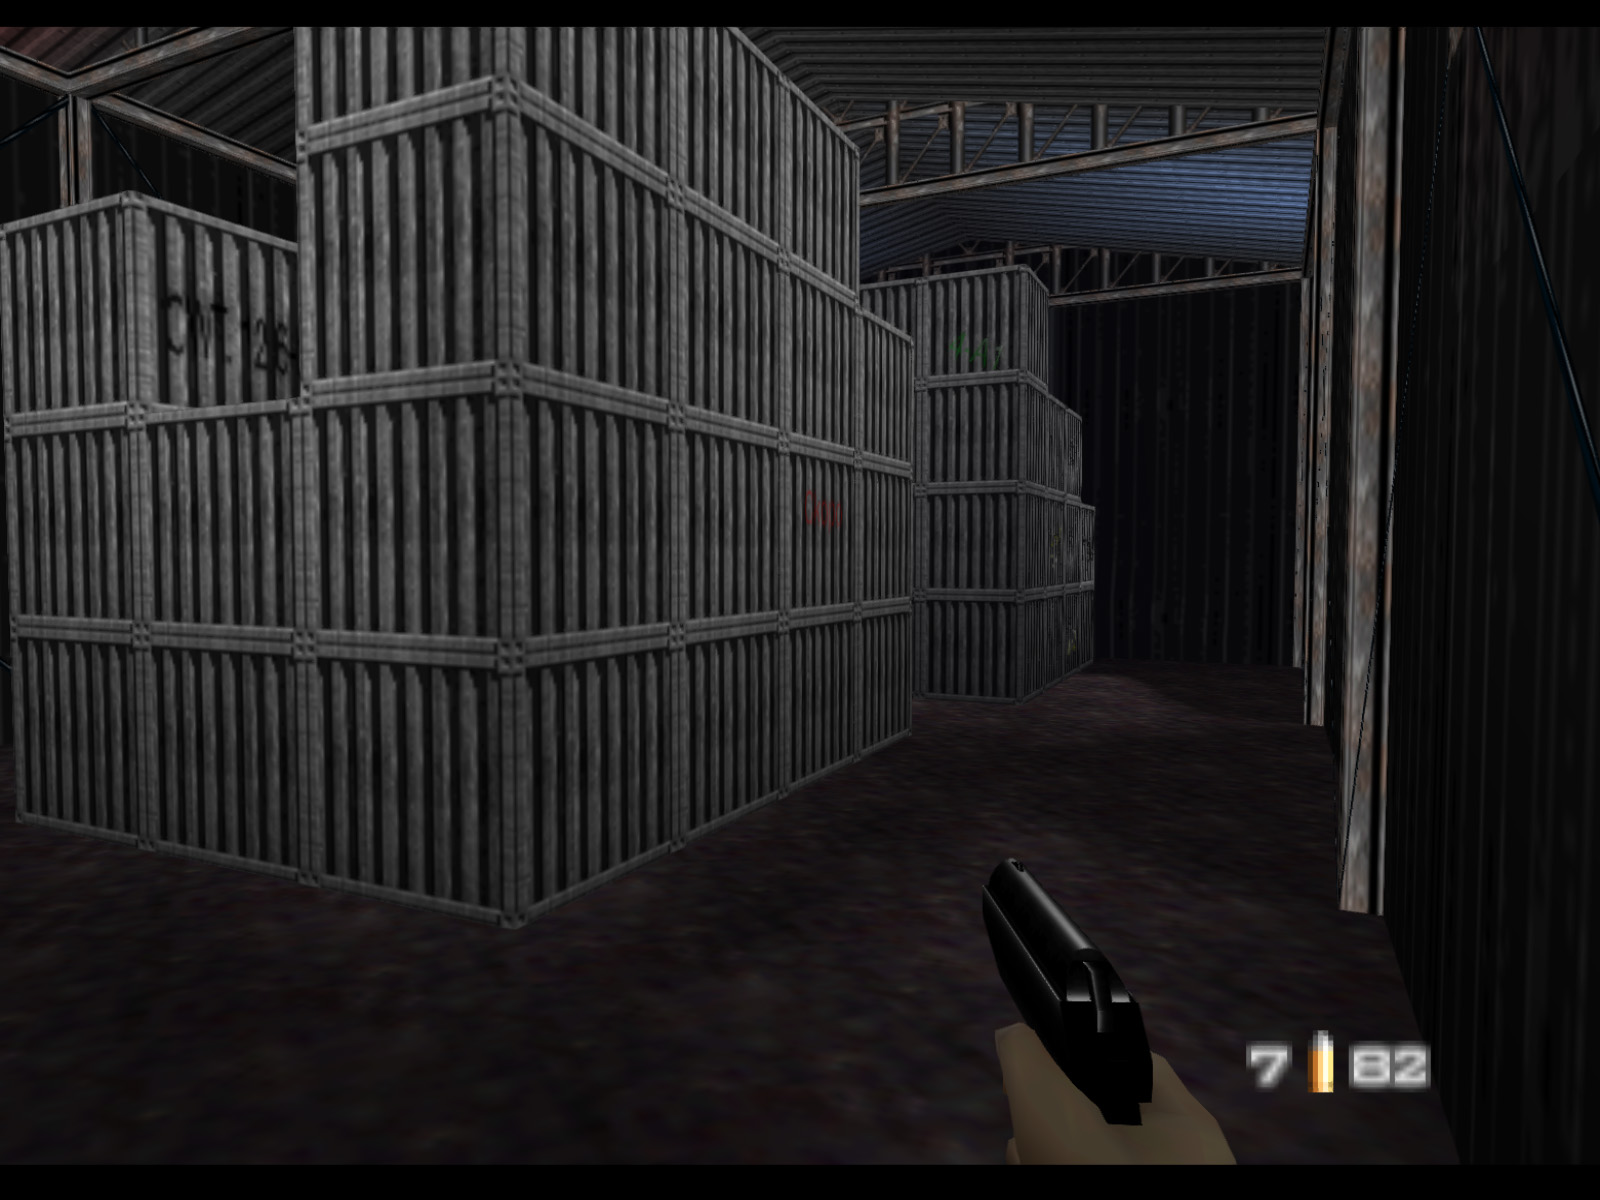
This teal warehouse is adjacent to the containers.
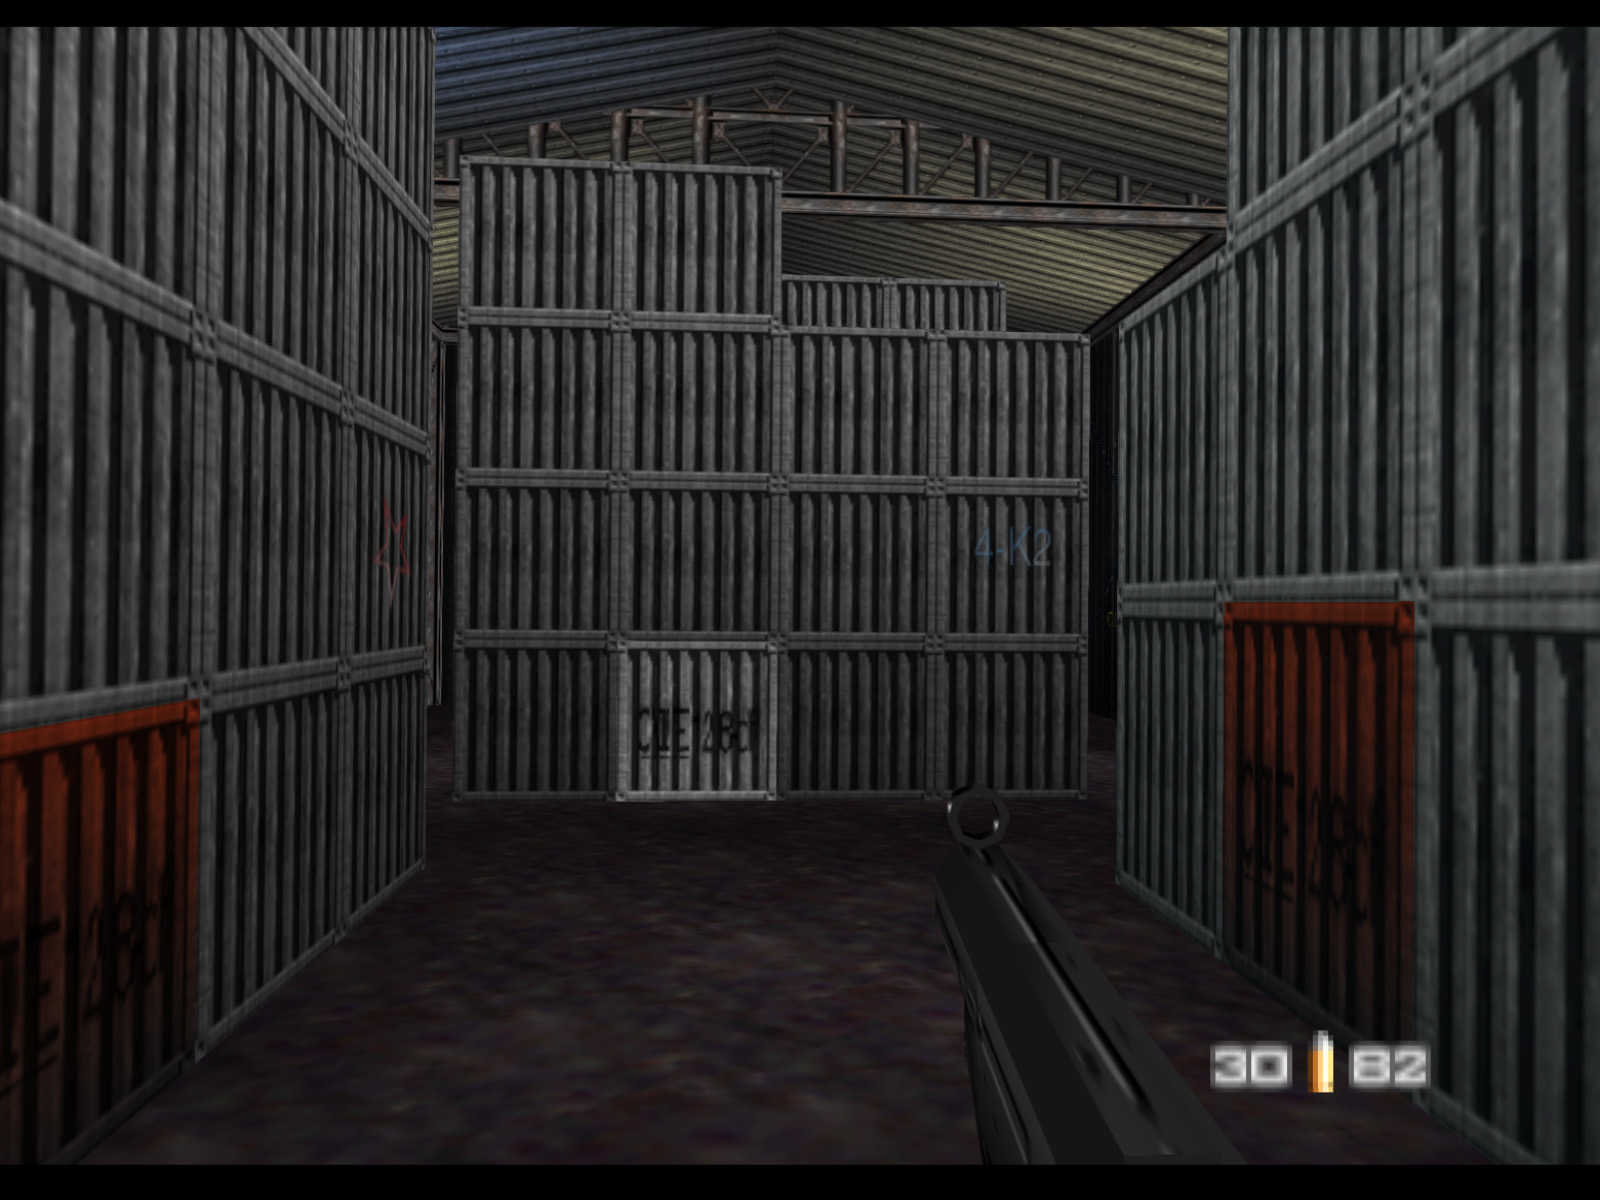
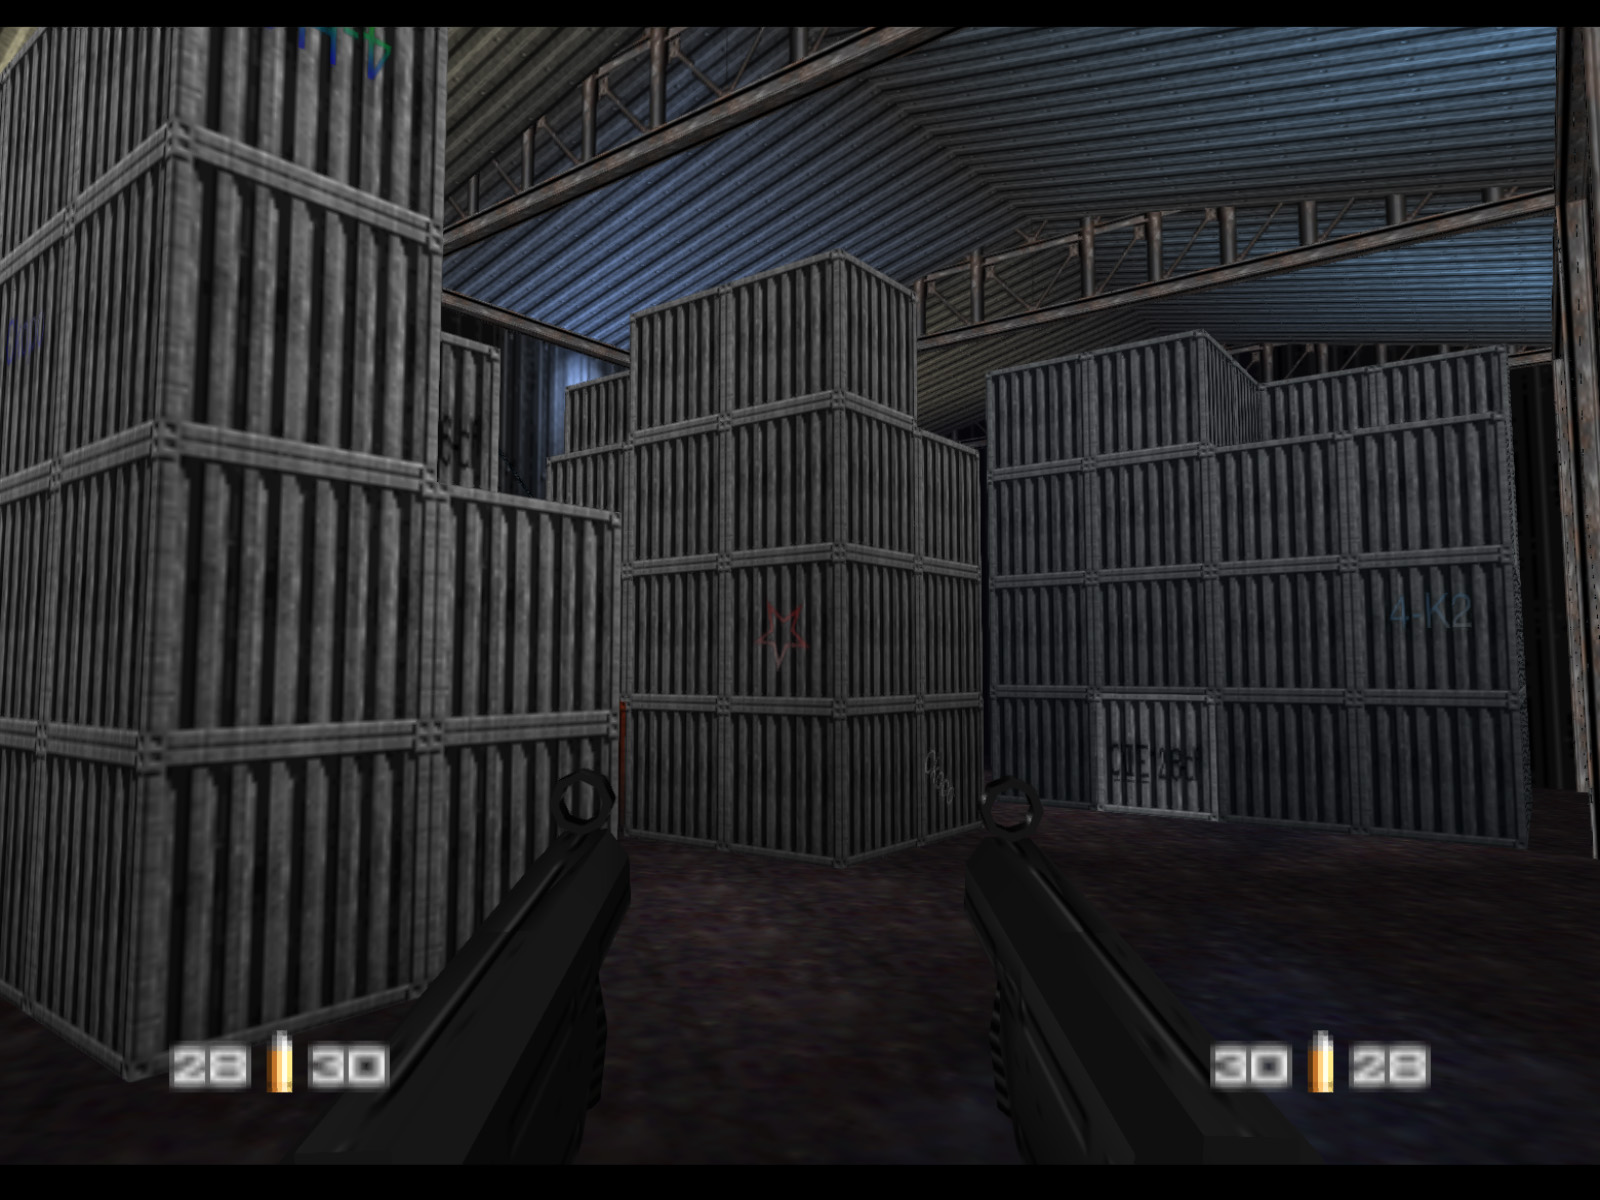
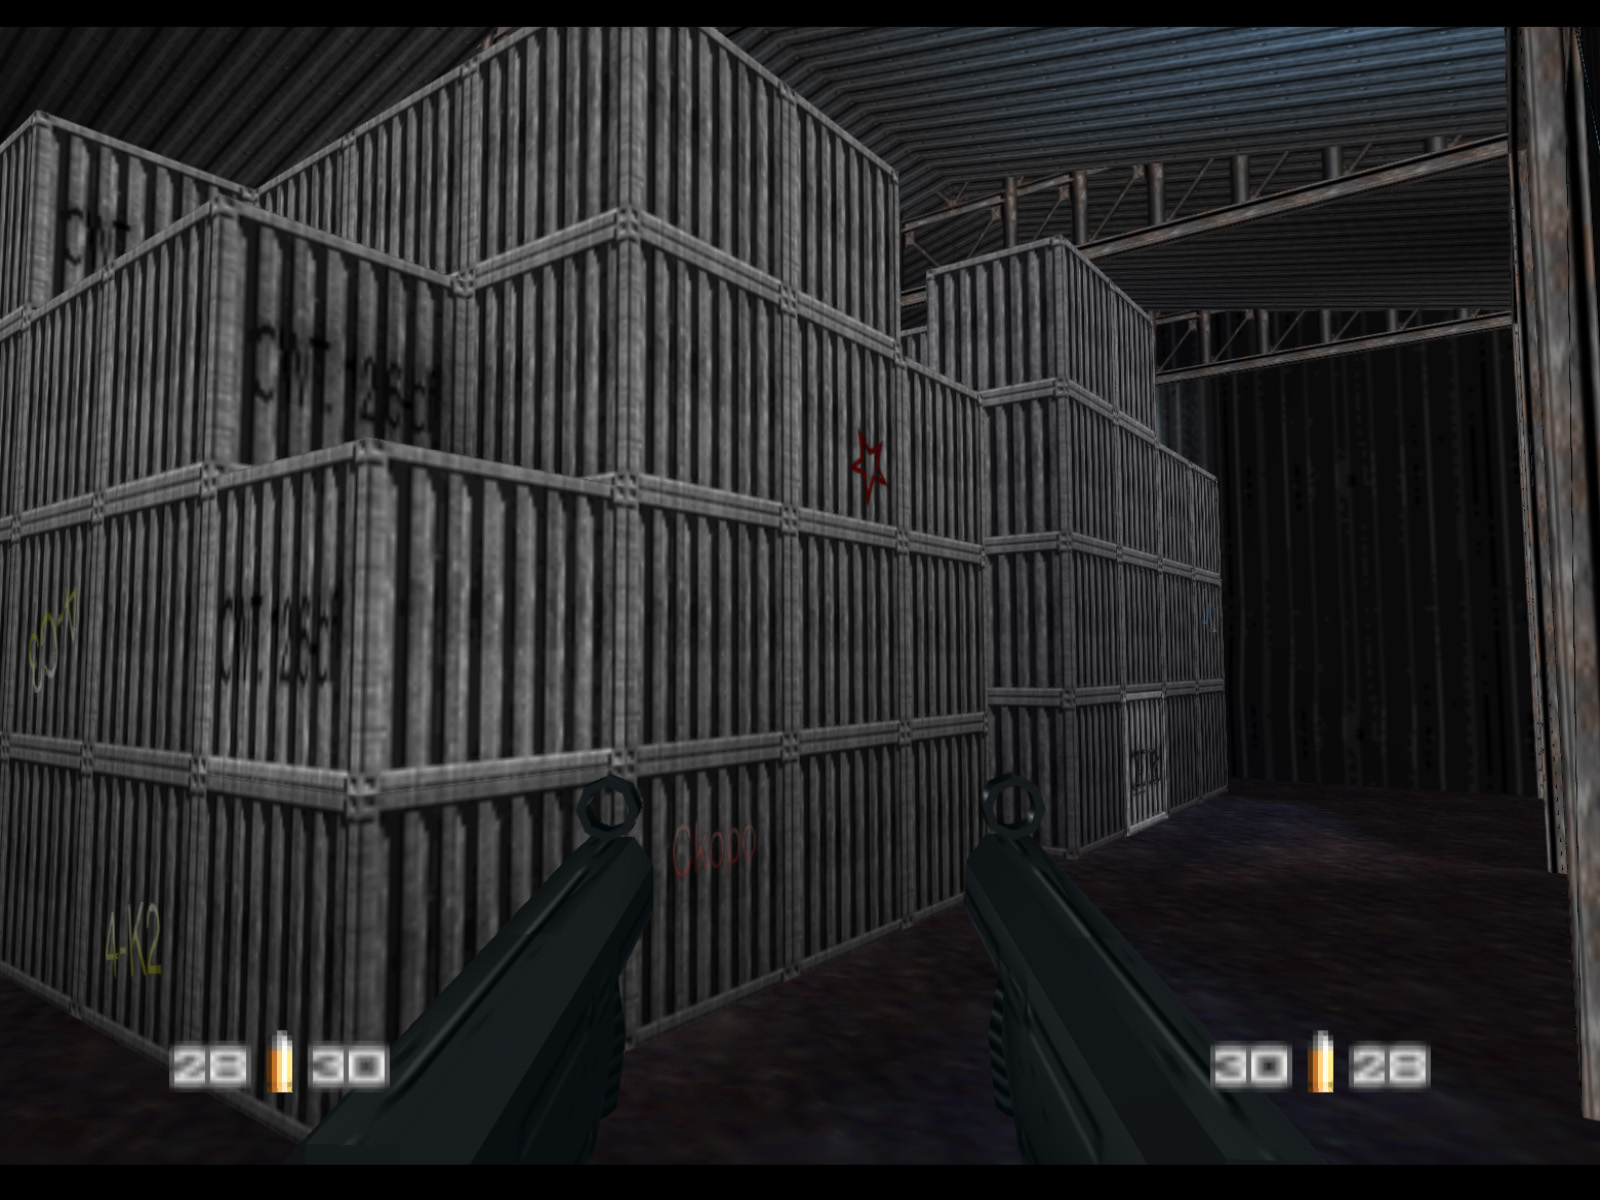
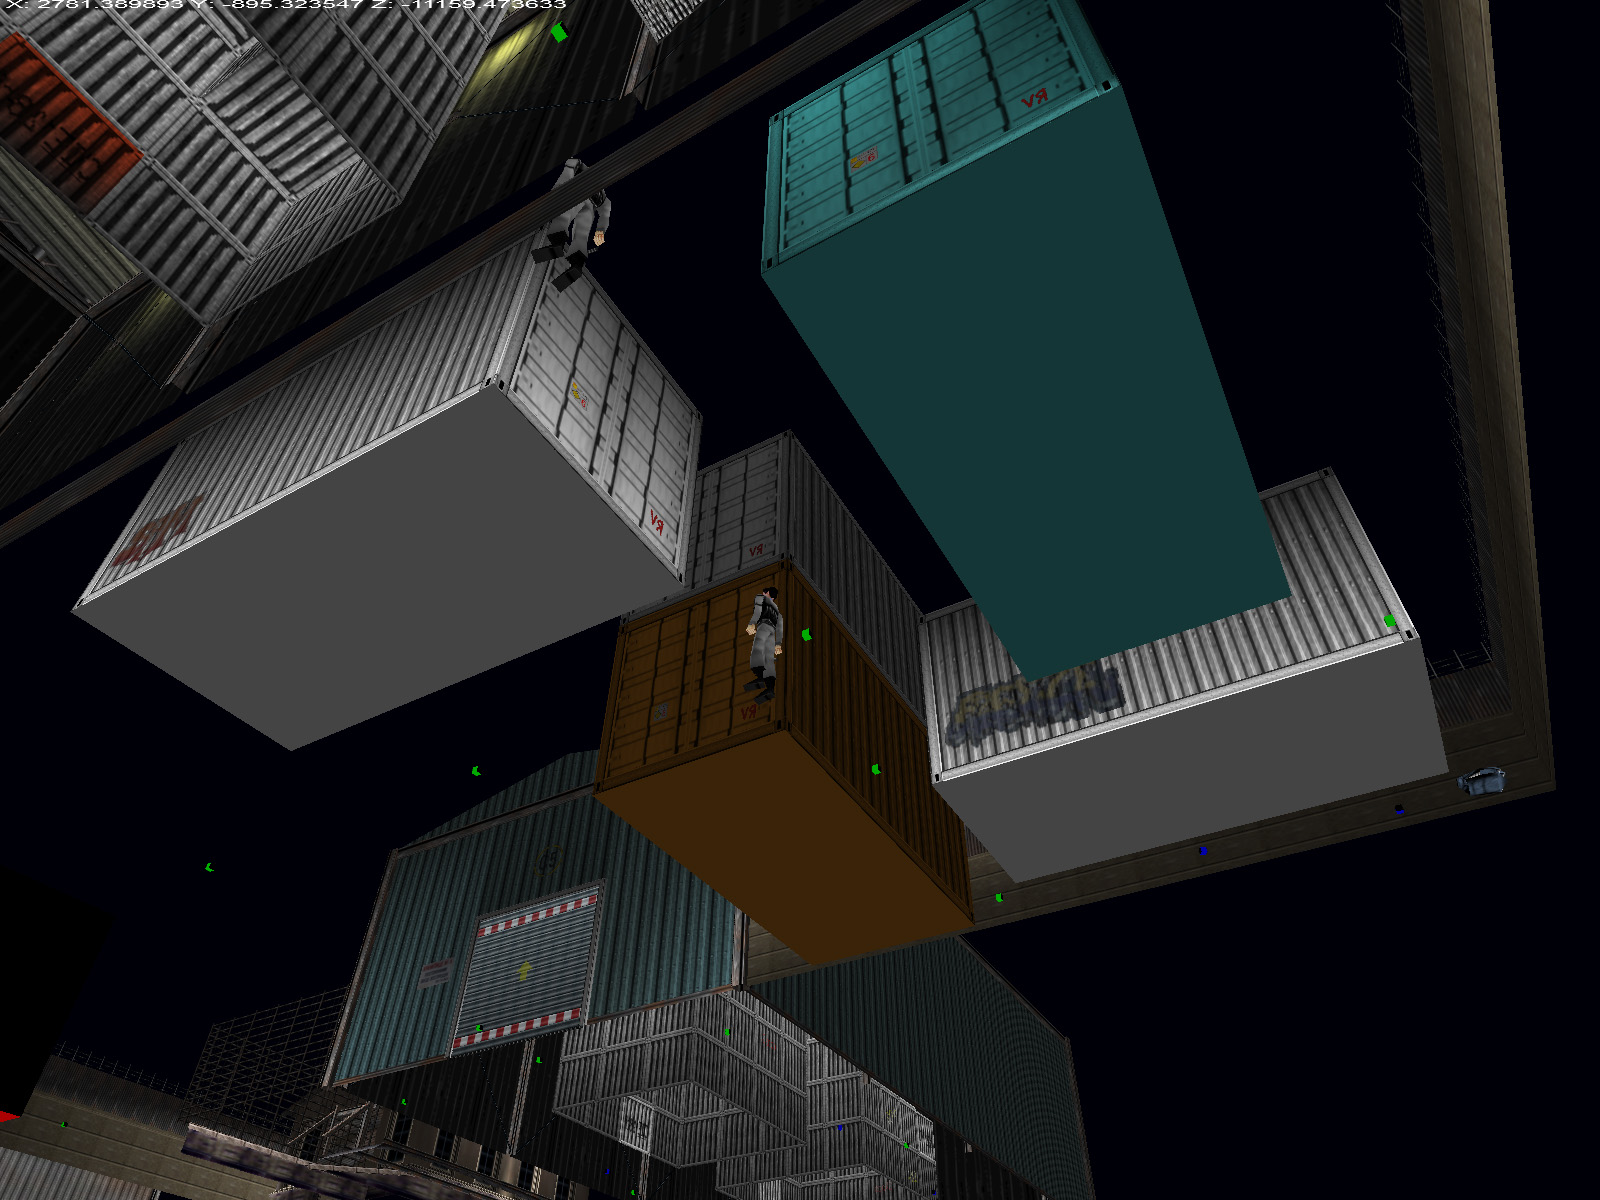
The teal warehouse has these stacks of containers. It is also a spawn point for infinitely respawning Janus Marines. The Janus Marines start spawning about 40 seconds into the level.
This abandoned station is next to the teal warehouse.
This gray warehouse is across from the station.
The gray warehouse has more stacks of crates. The infinitely respawning guards will generally wait at the roll up doors rather than chase you inside these warehouses.
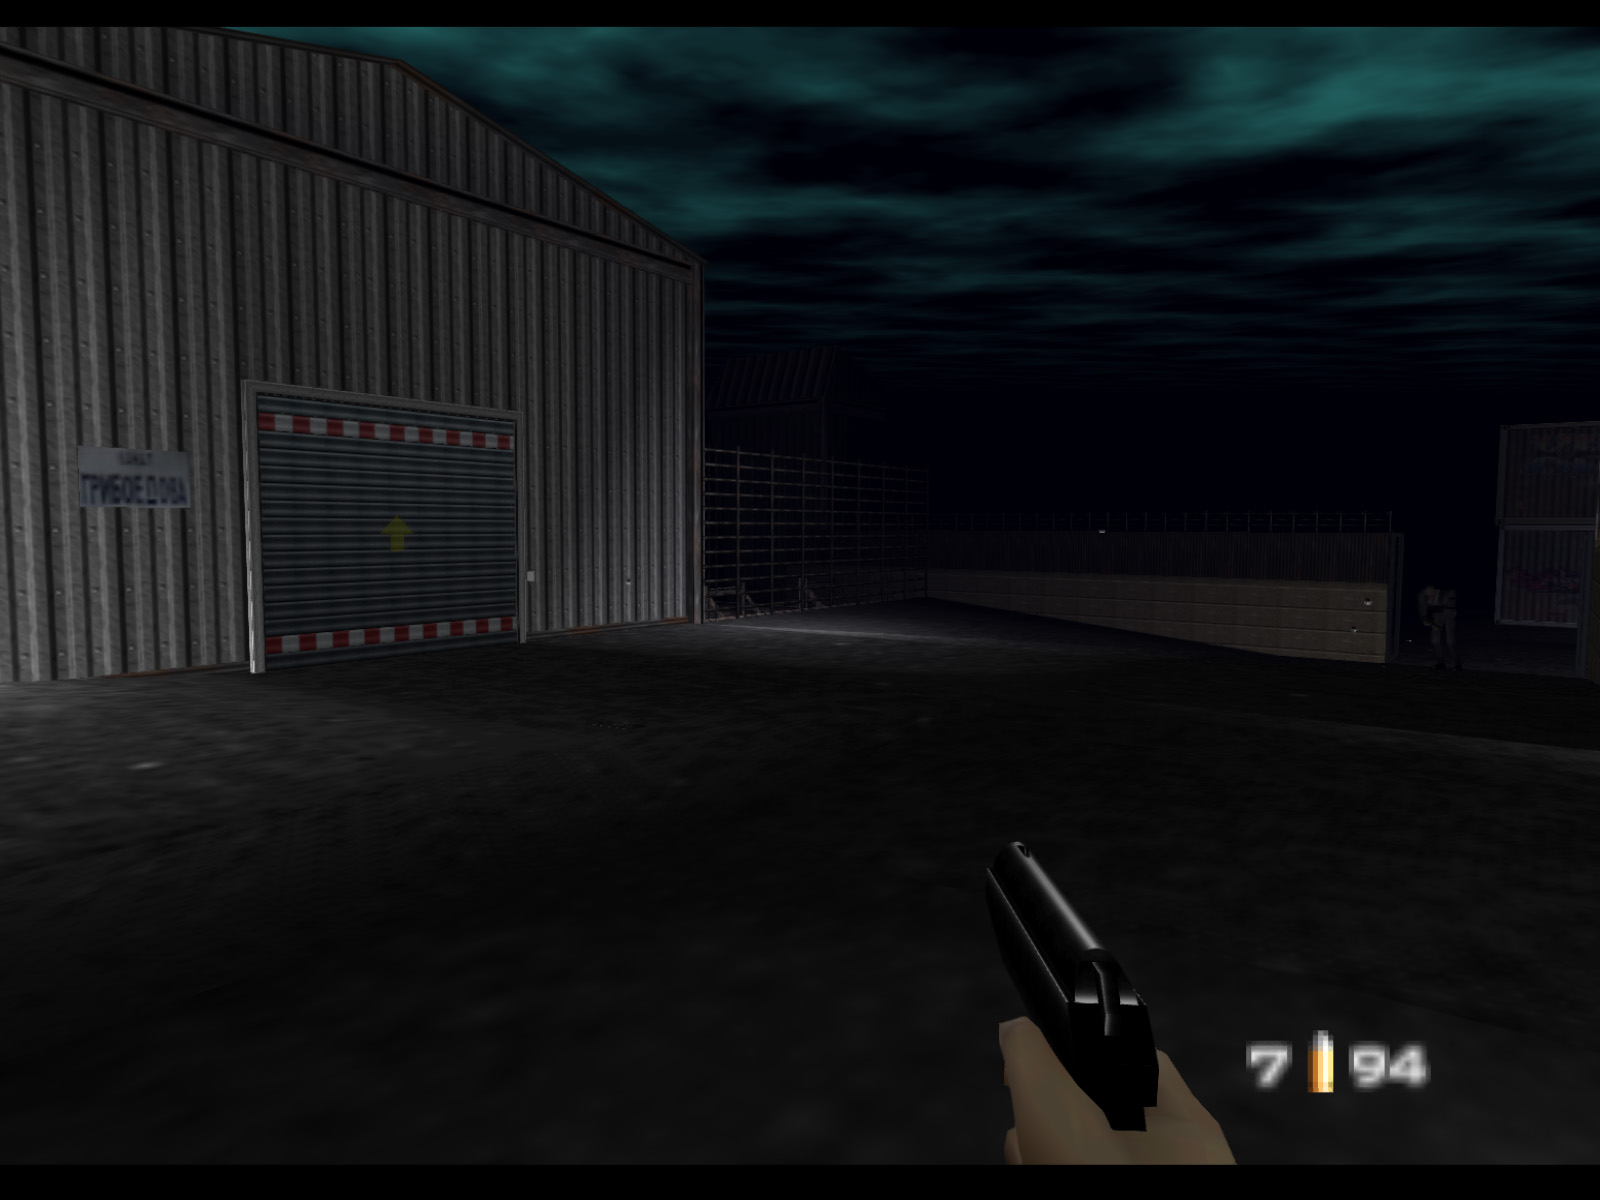
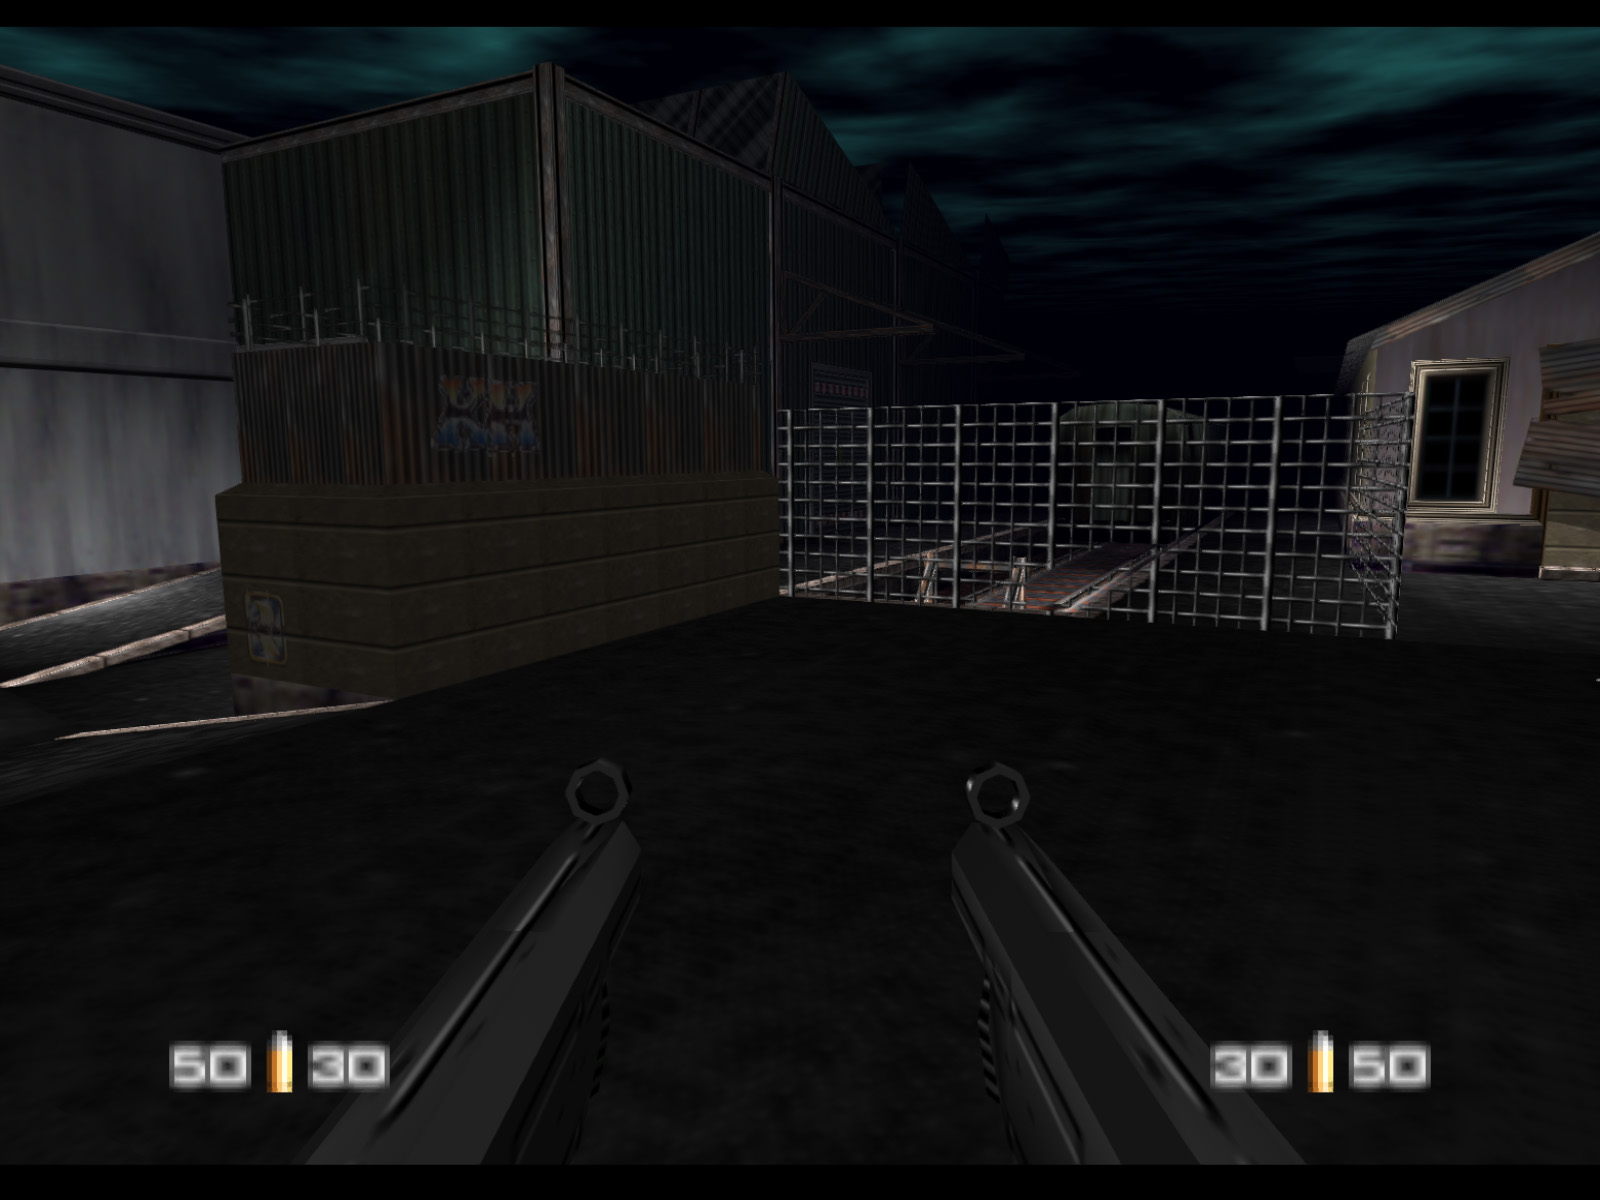
A chain link gate leads to this next area. One of two extra large warehouses in Depot is on the left.
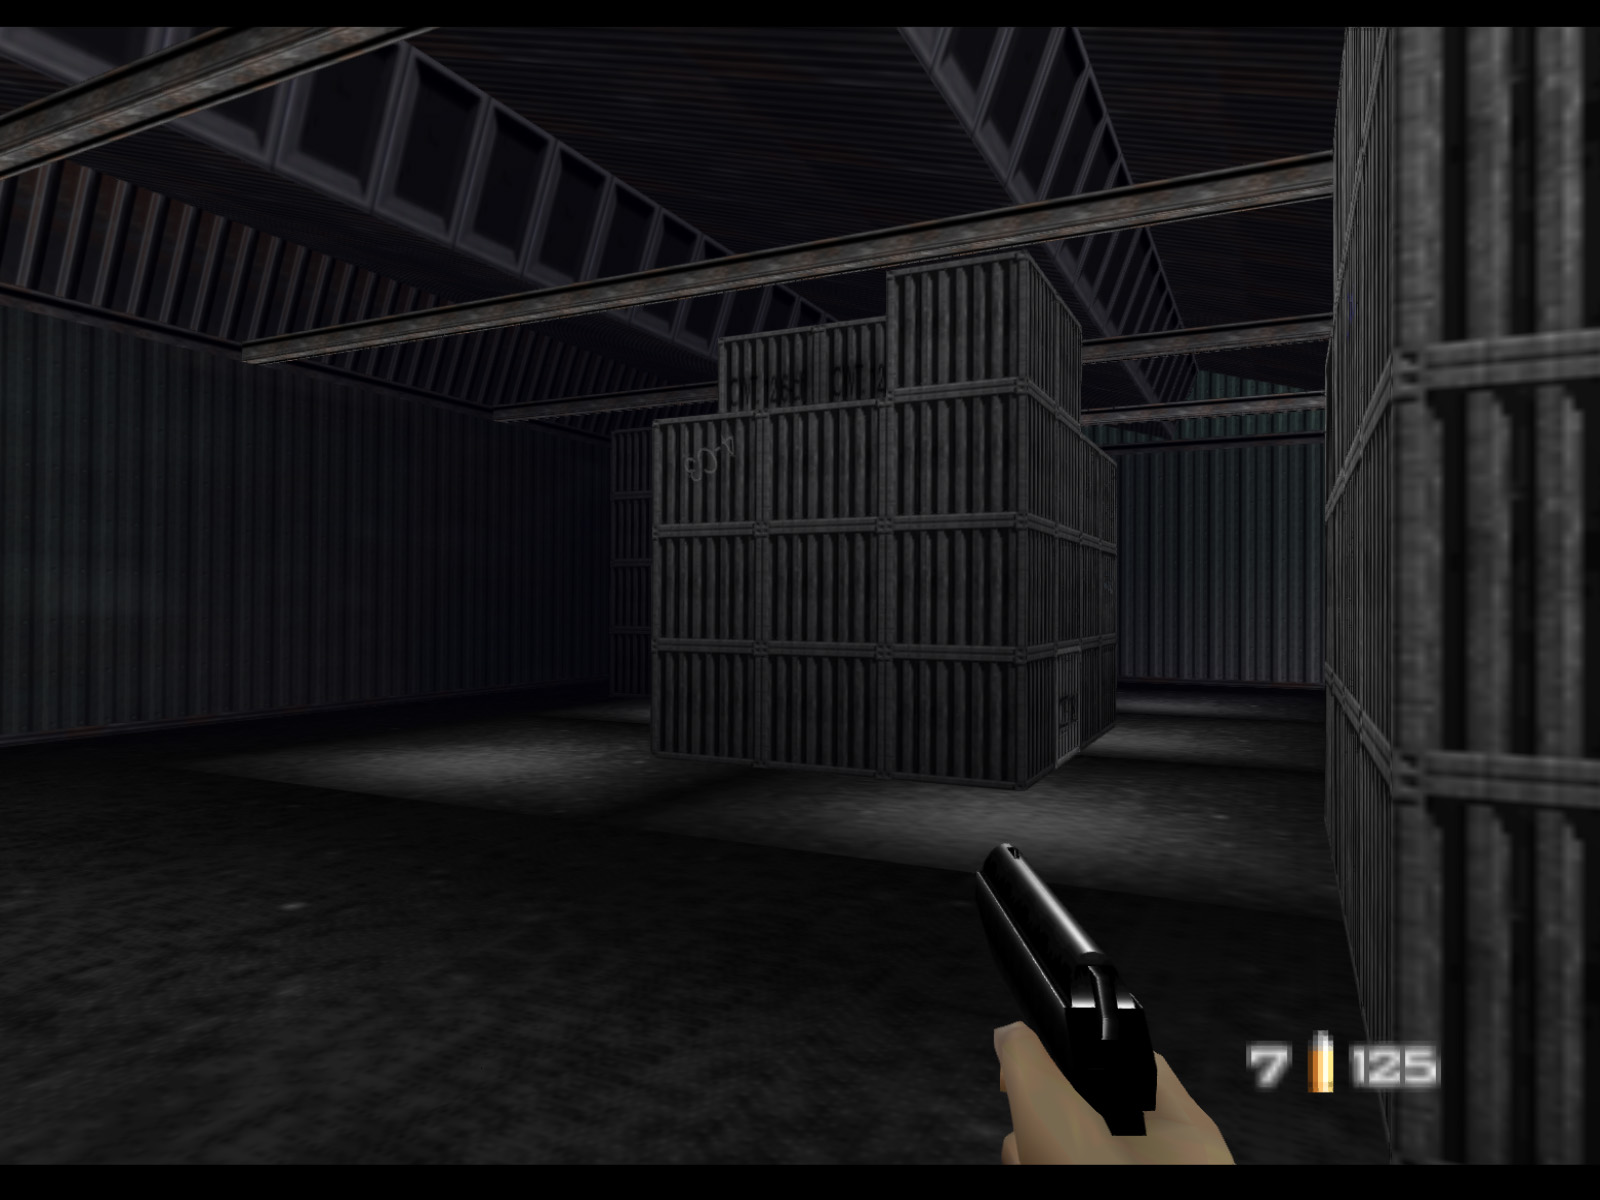
The only residents in the big warehouse are yet more stacks of crates. Where is Trevelyan hiding the goods?
This T-junction comes after the large warehouse. We'll make a left here.


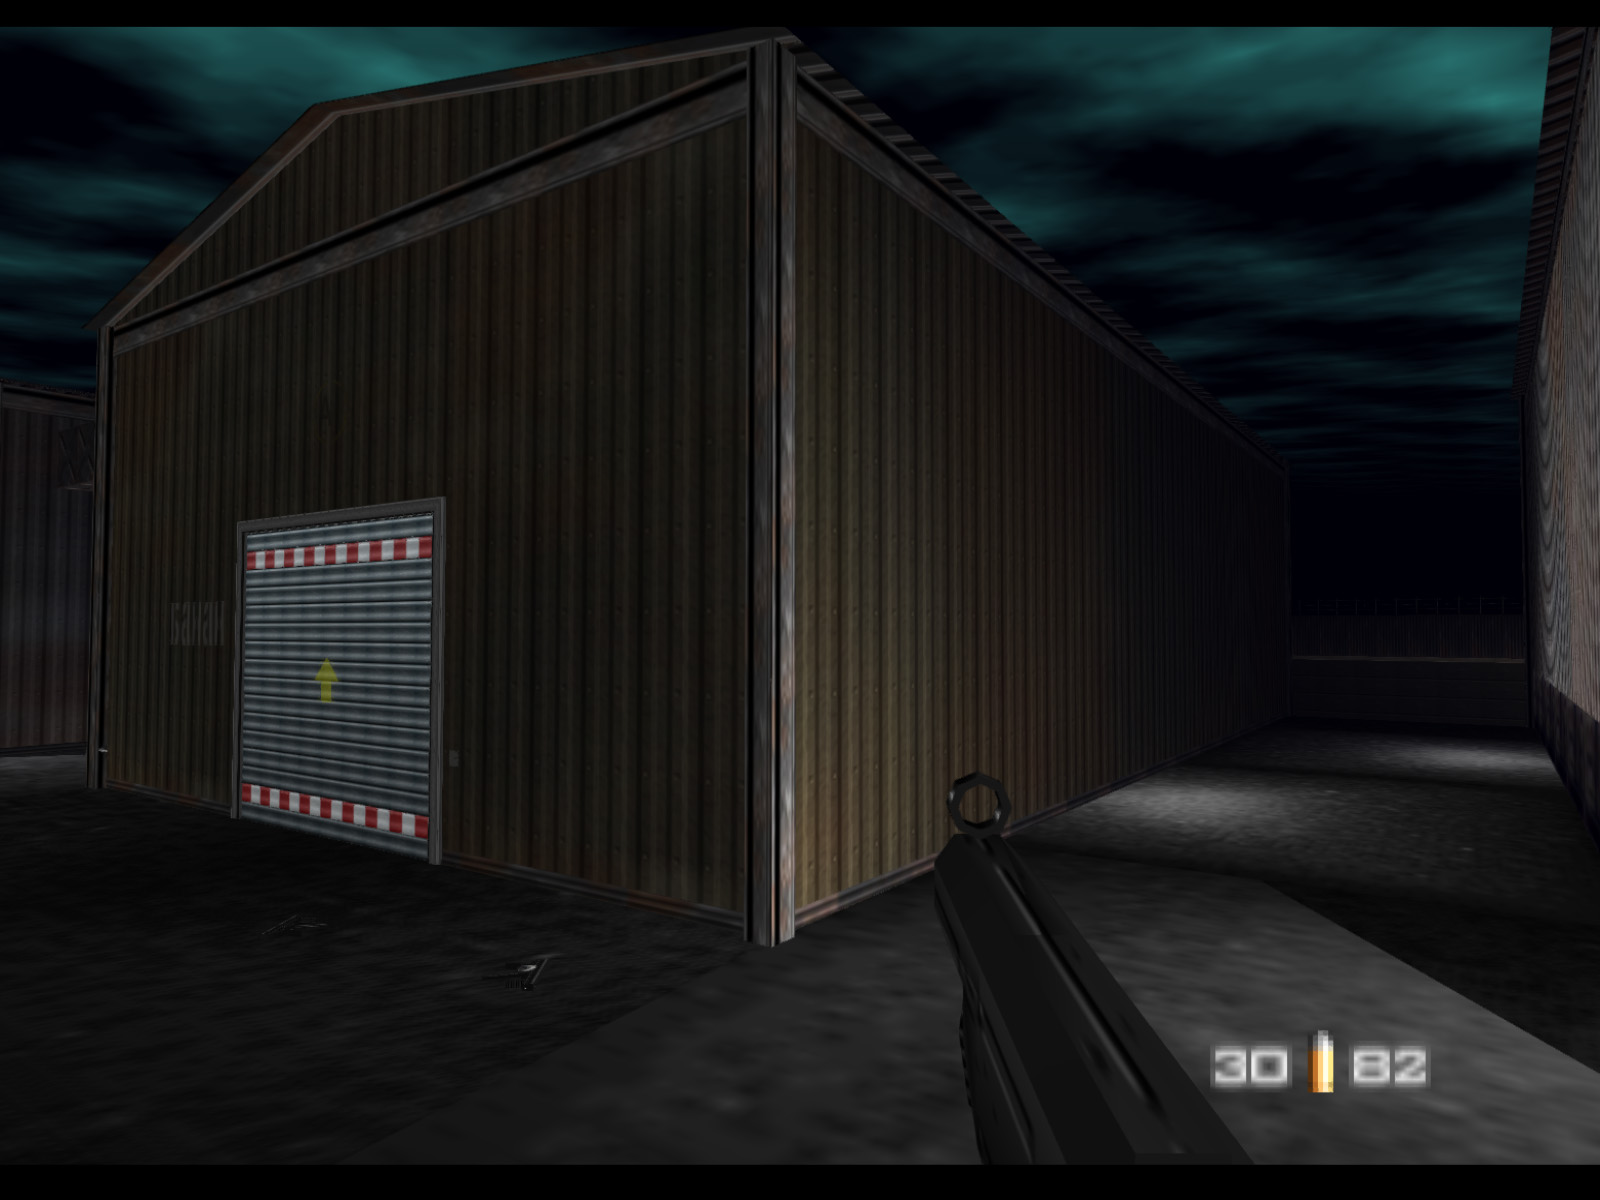
That leads us to this rusty warehouse at the end of the pavement.
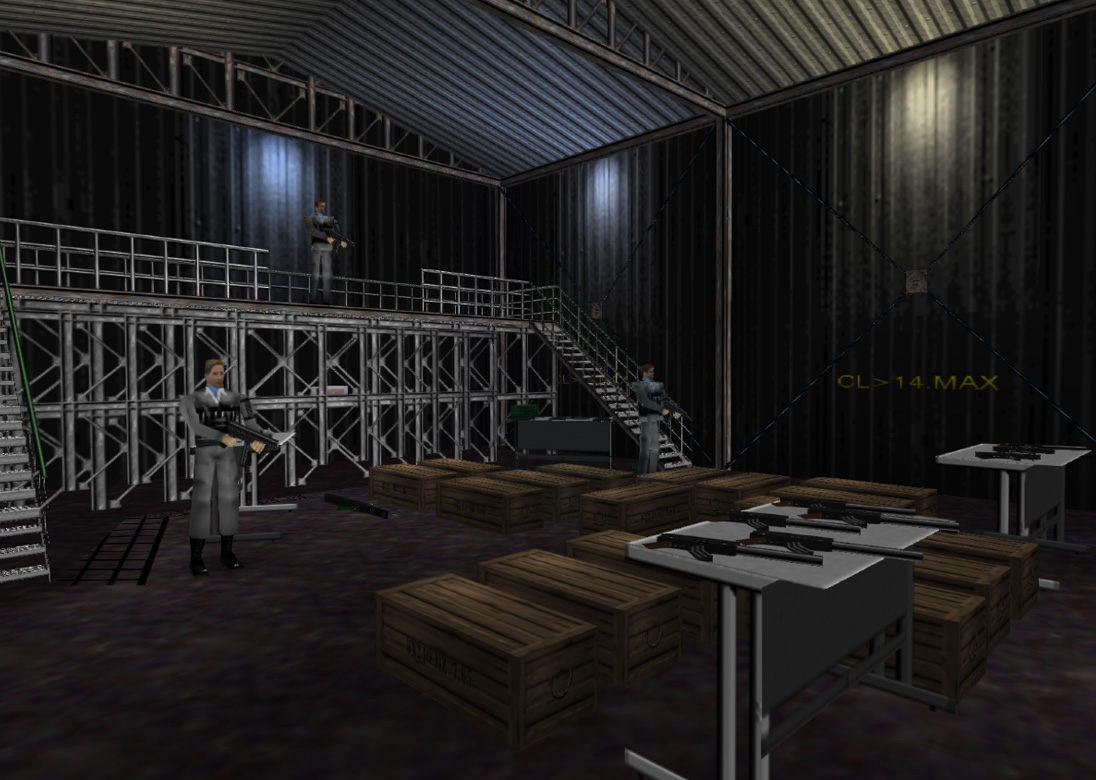
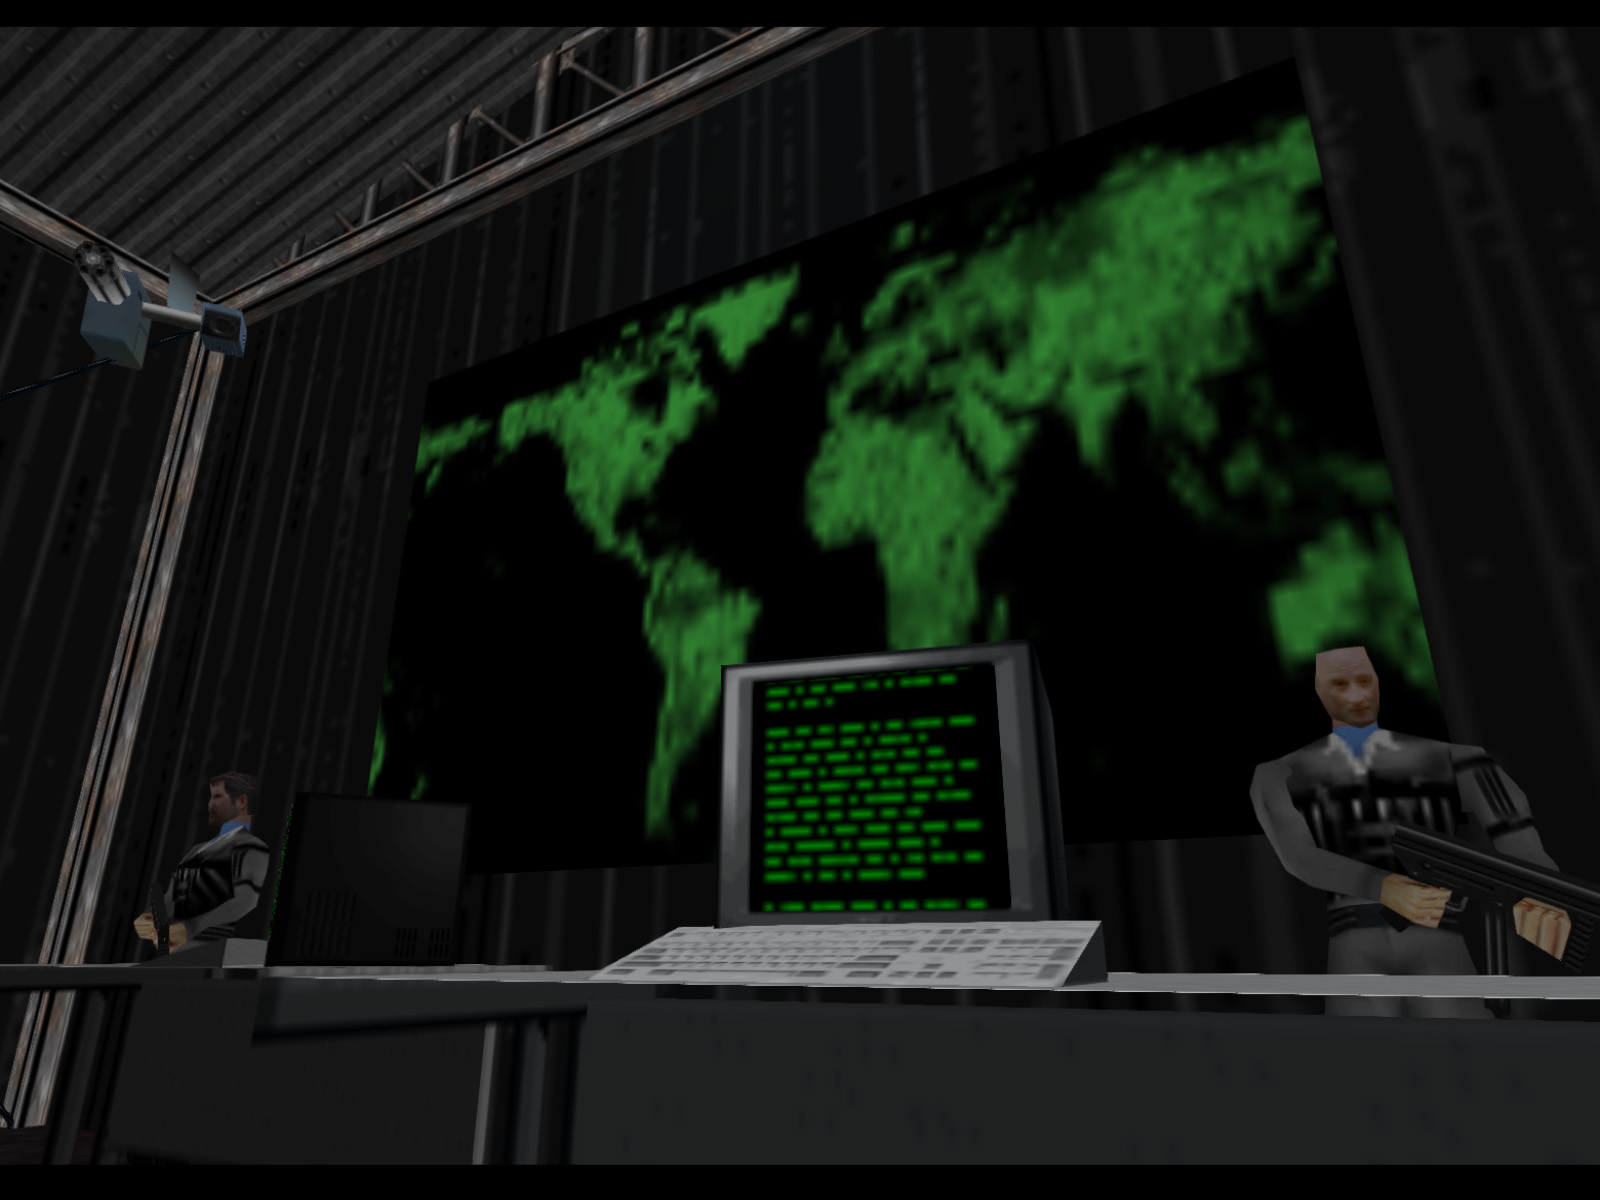
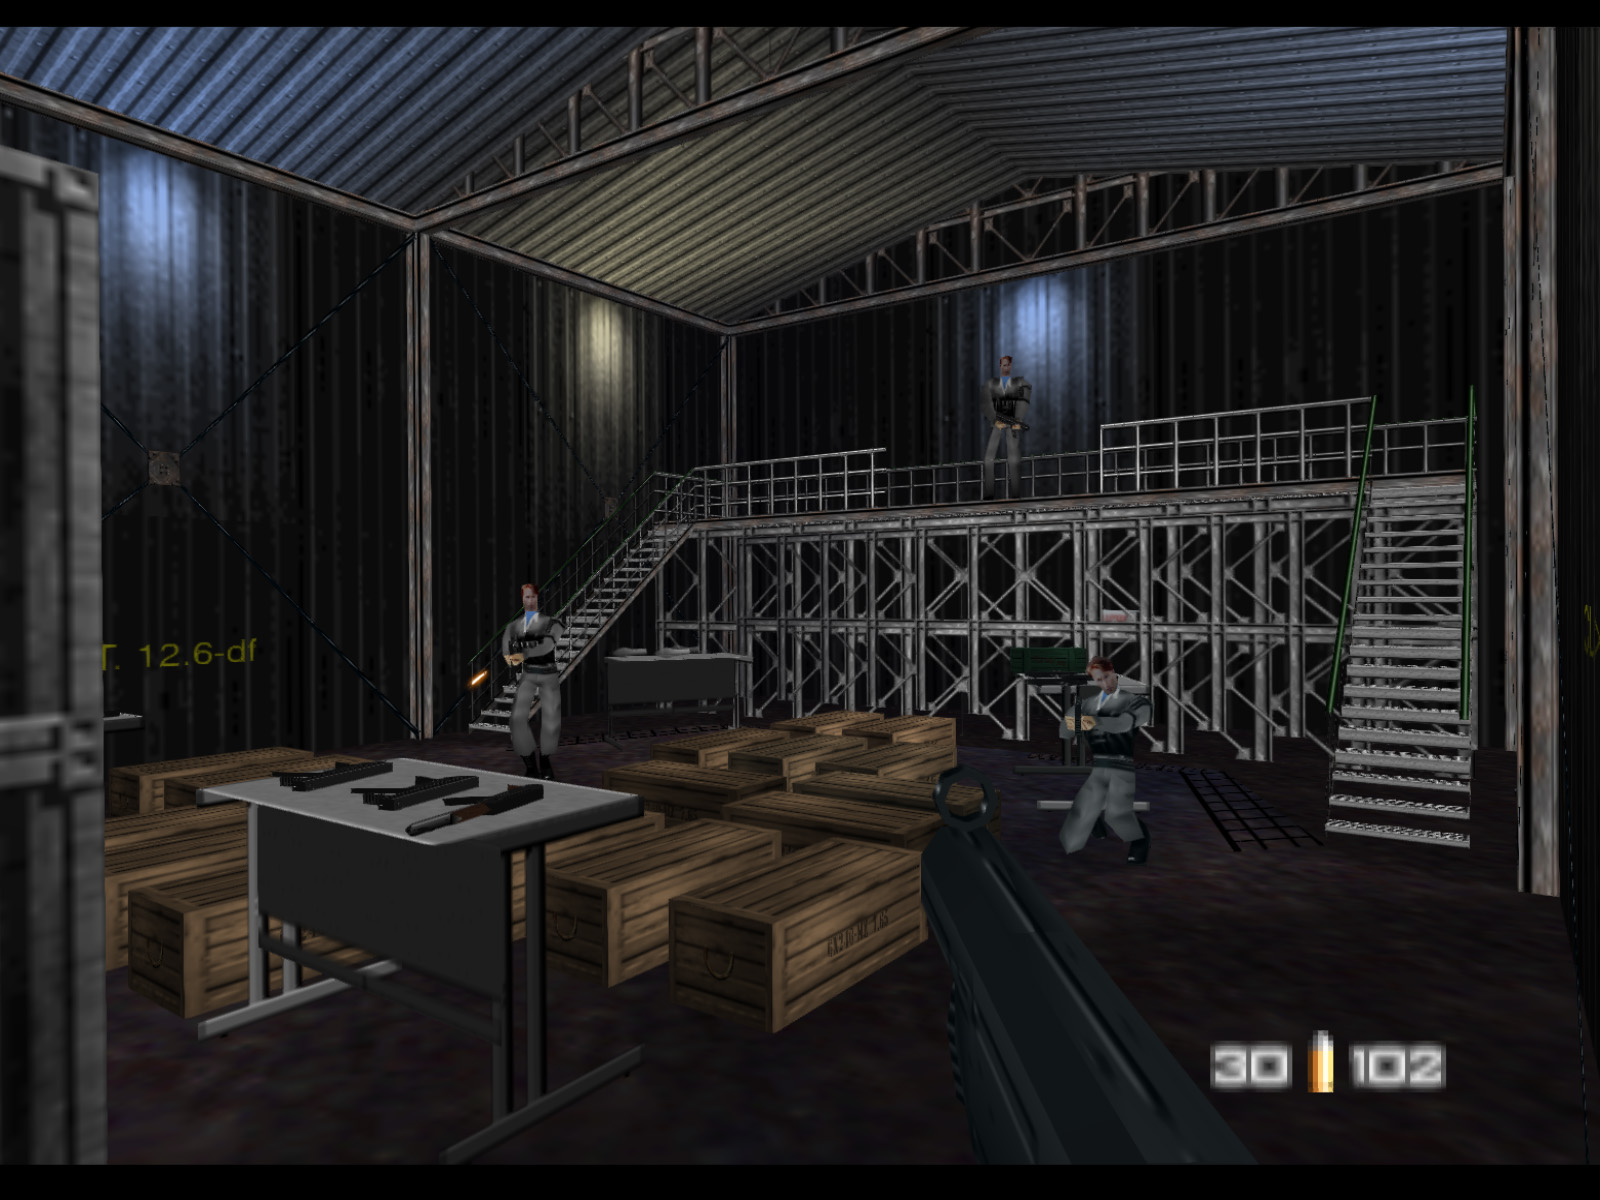
Finally, we've found the Janus Syndicate's nerve center in St. Petersburg! This warehouse is loaded with Janus Marines, computers, mainframes, and even a drone gun. There are a total of six guards inside here.
The drone gun is the hardest enemy to deal with. You can do quick peeks from behind the crates to take it out, or you can come back later and blow it up with the Rocket Launcher we'll acquire in another warehouse.
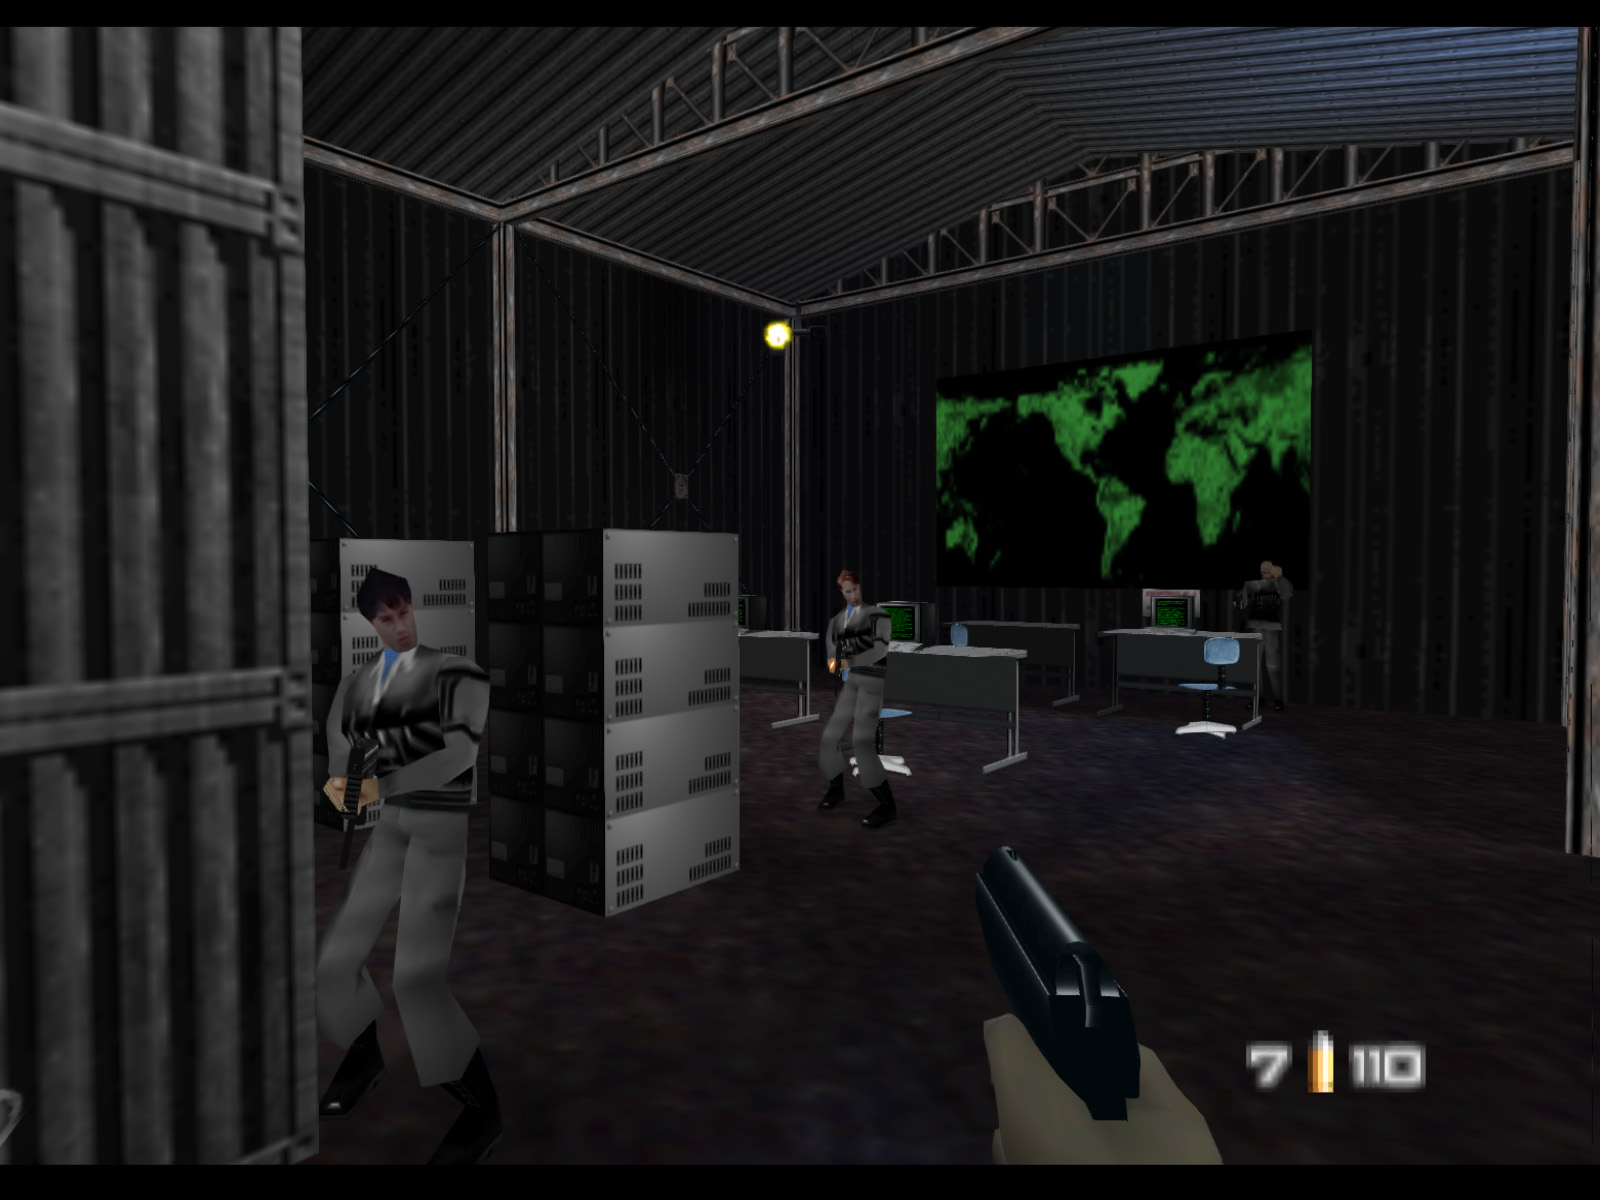
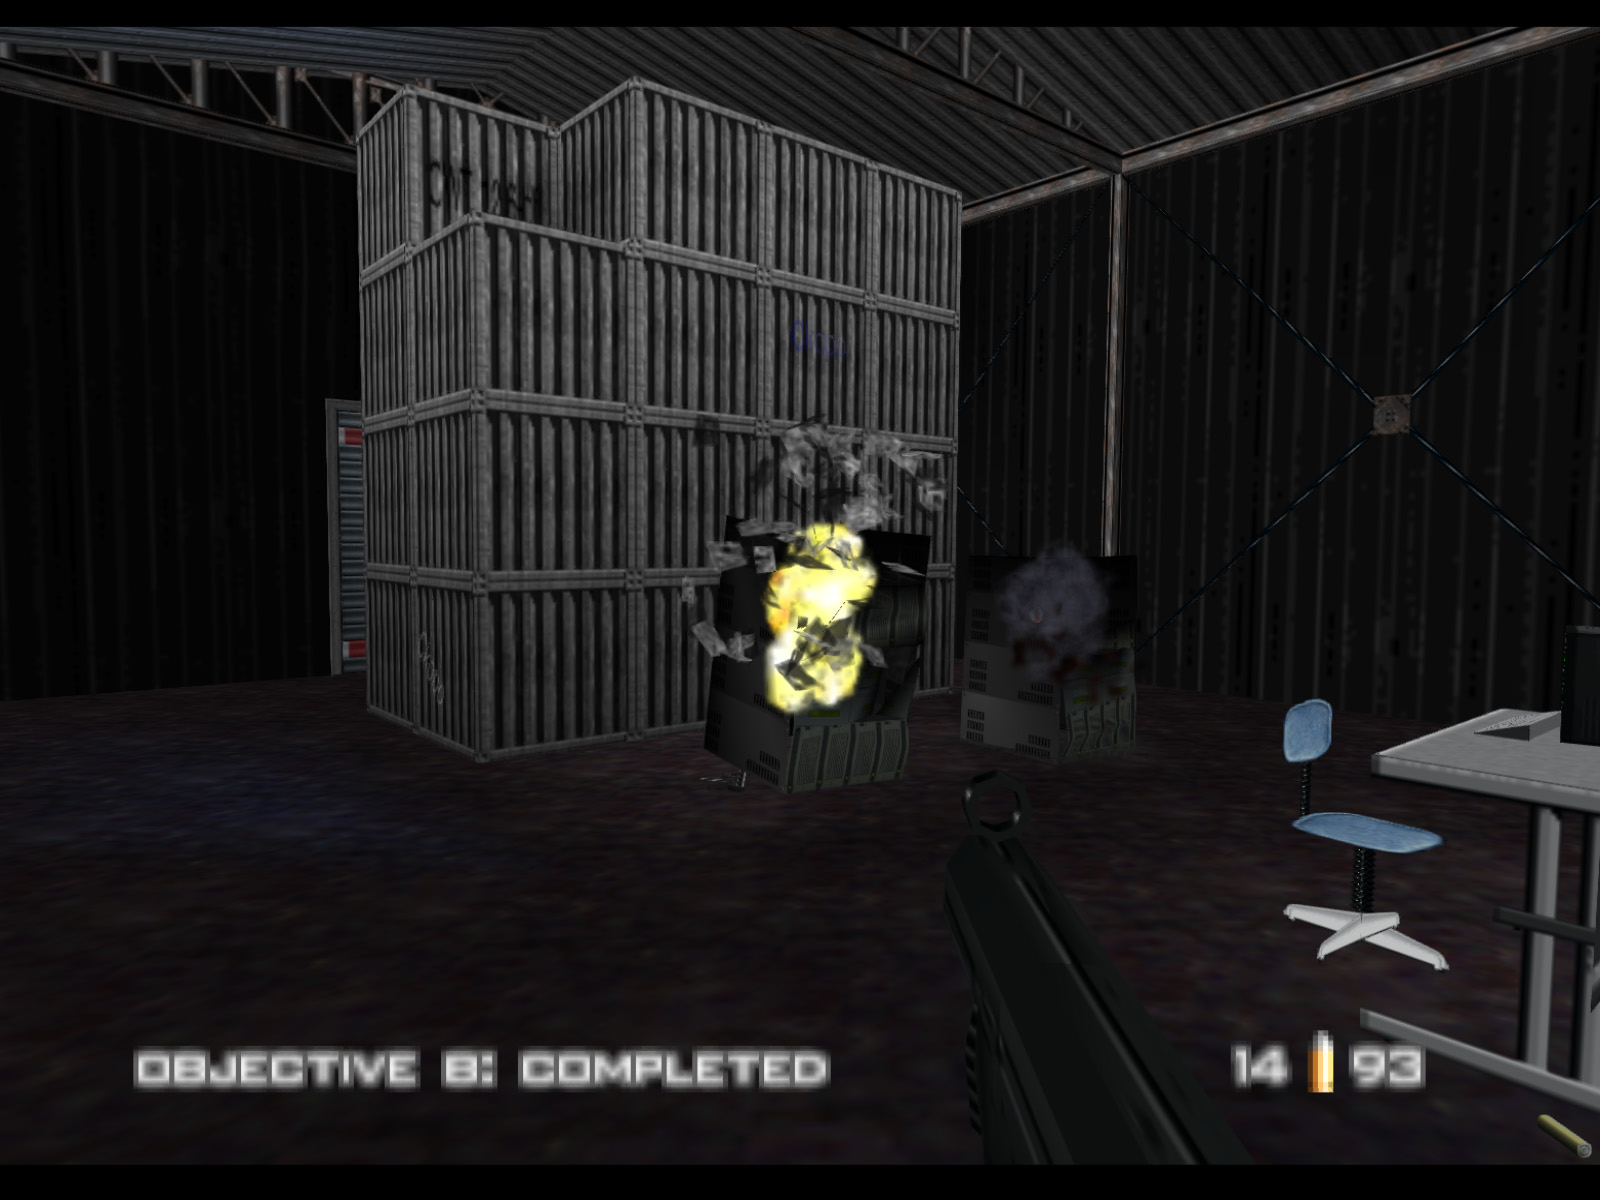
Destroy the Video Screen and both Mainframes to complete Objective B.
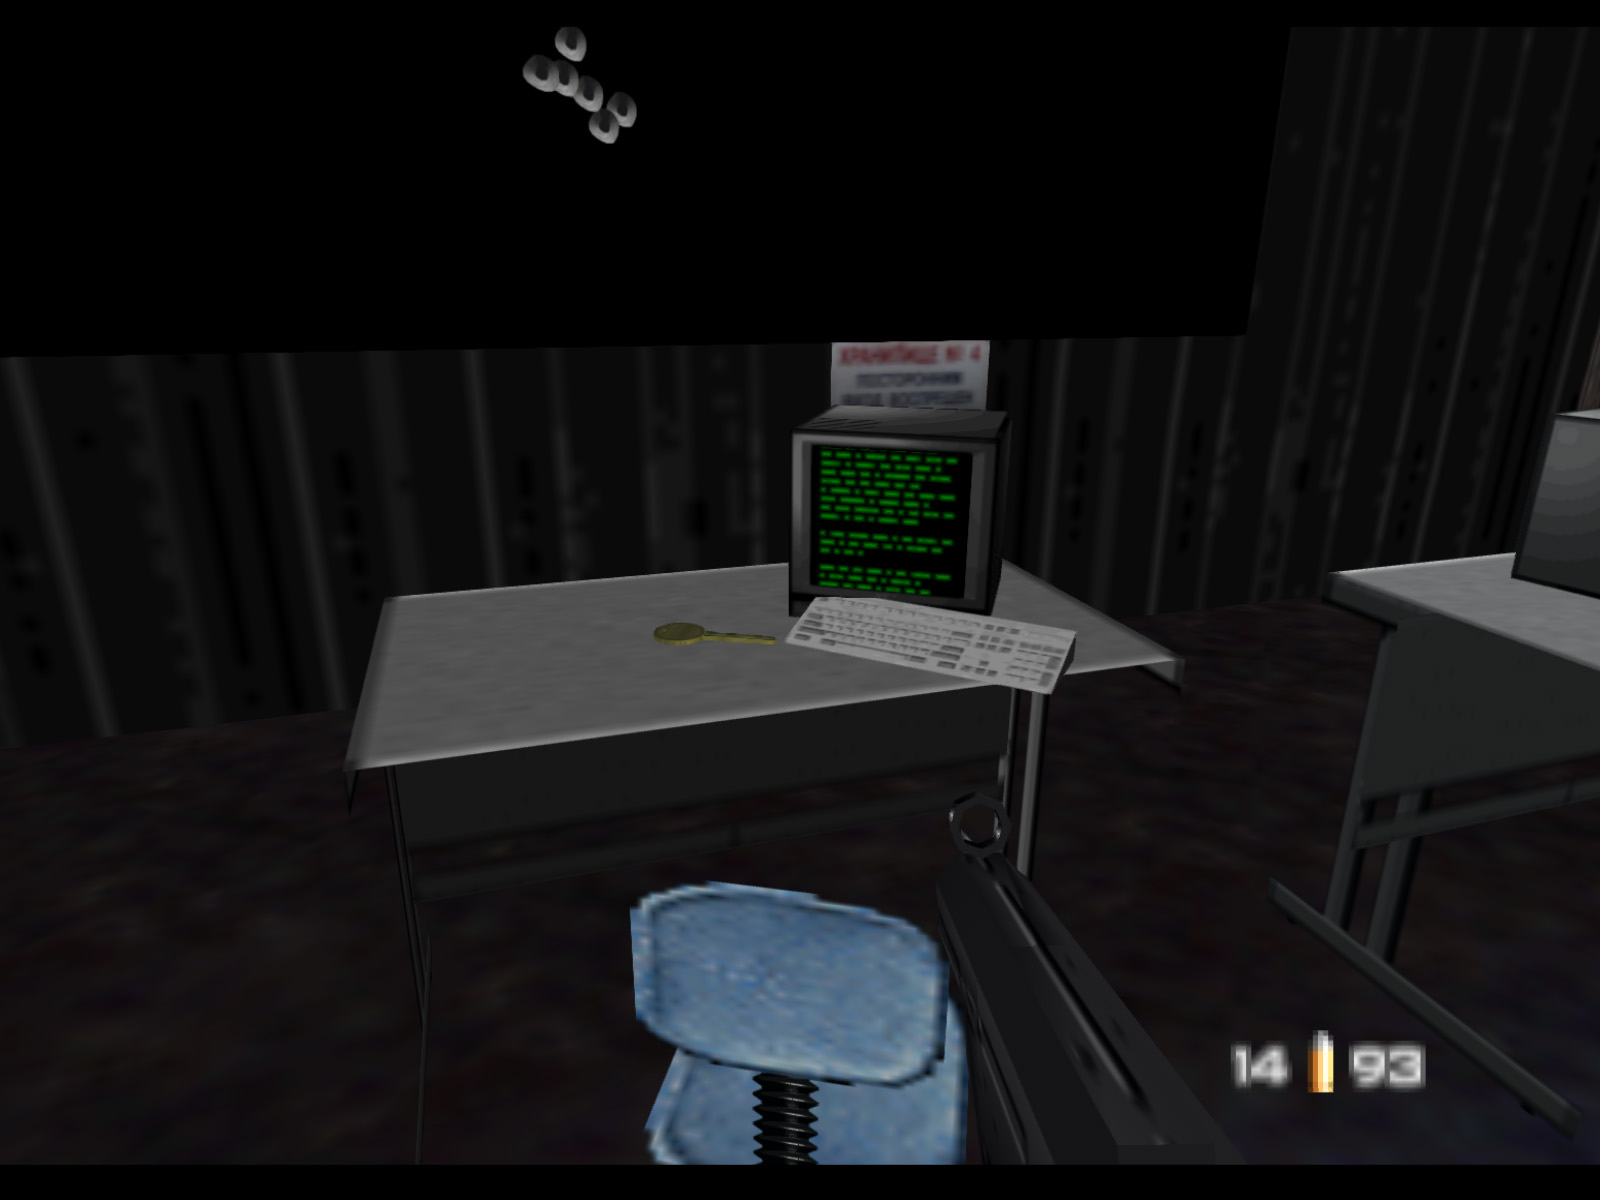
Don't forget to grab the Safe Key off the desk. That will complete Objective C. Watch out when you leave this warehouse because Janus Marines will be waiting for you.
The next warehouse is this rusty gray one.
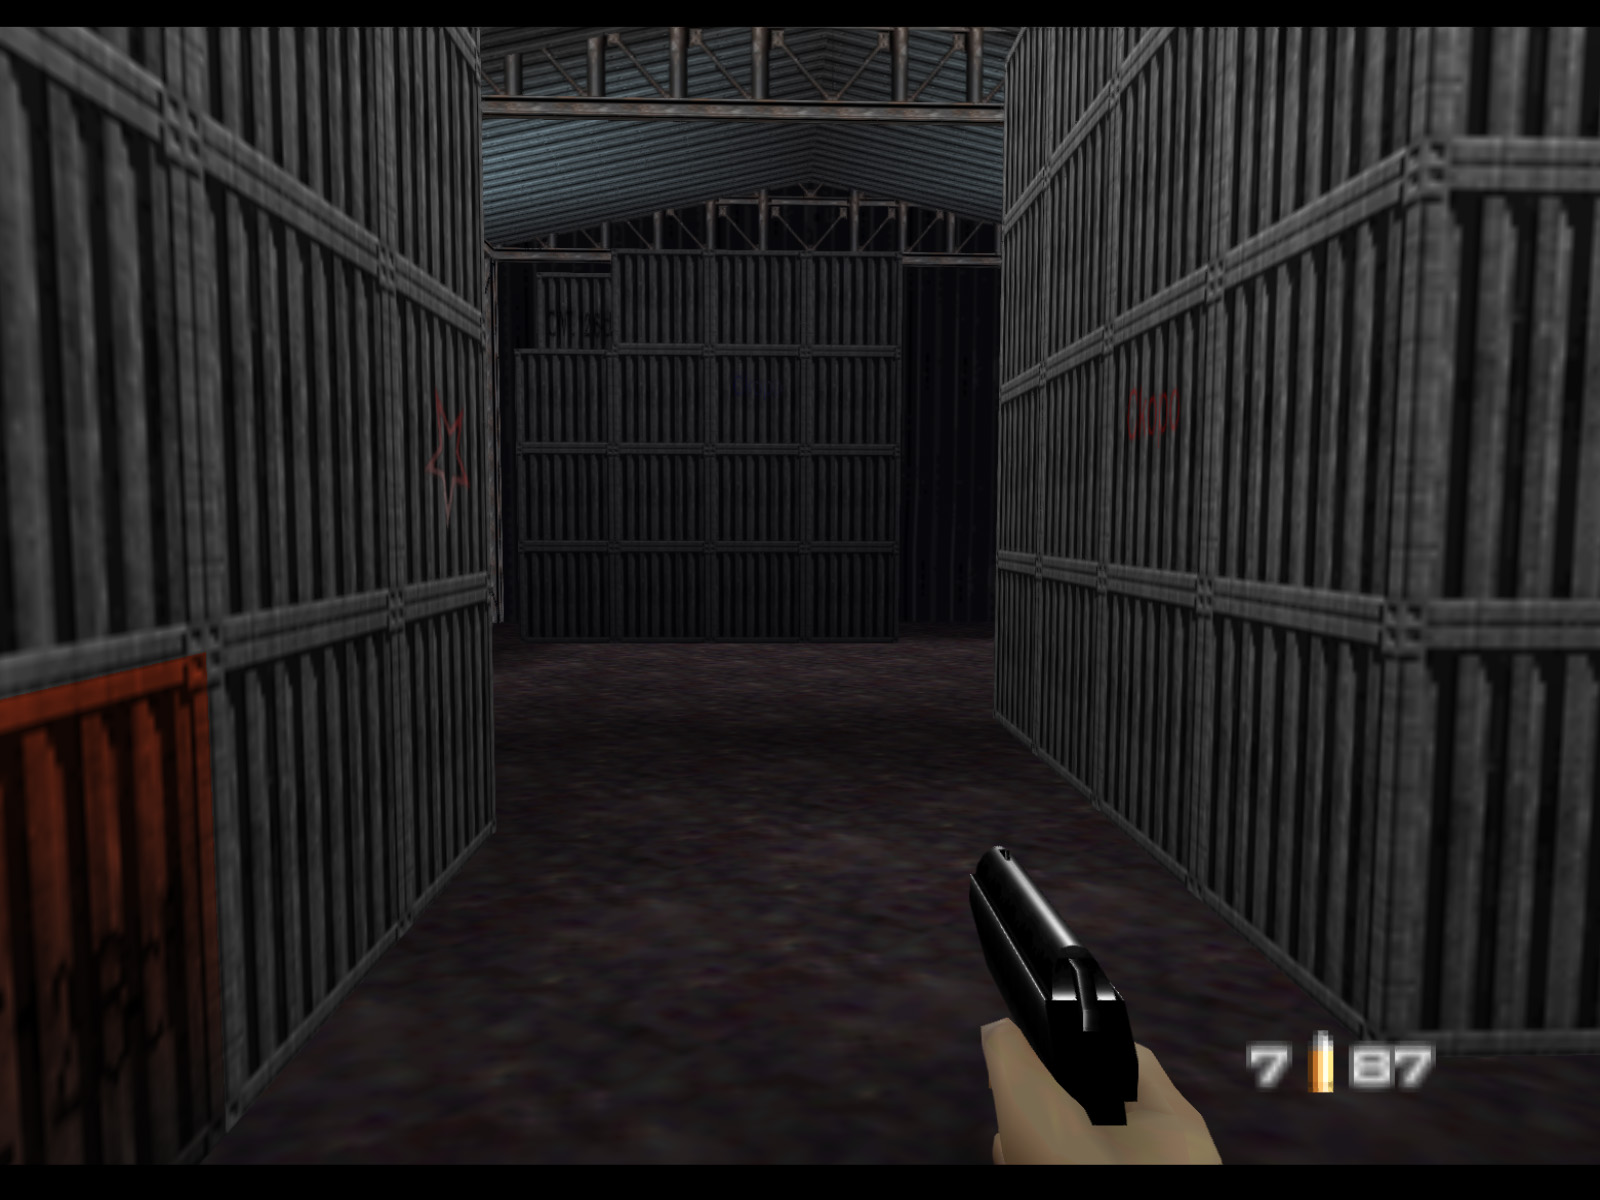
This warehouse, too, is devoid of anything other than those ubiquitous metal crates.
The search continues in this yellow warehouse.
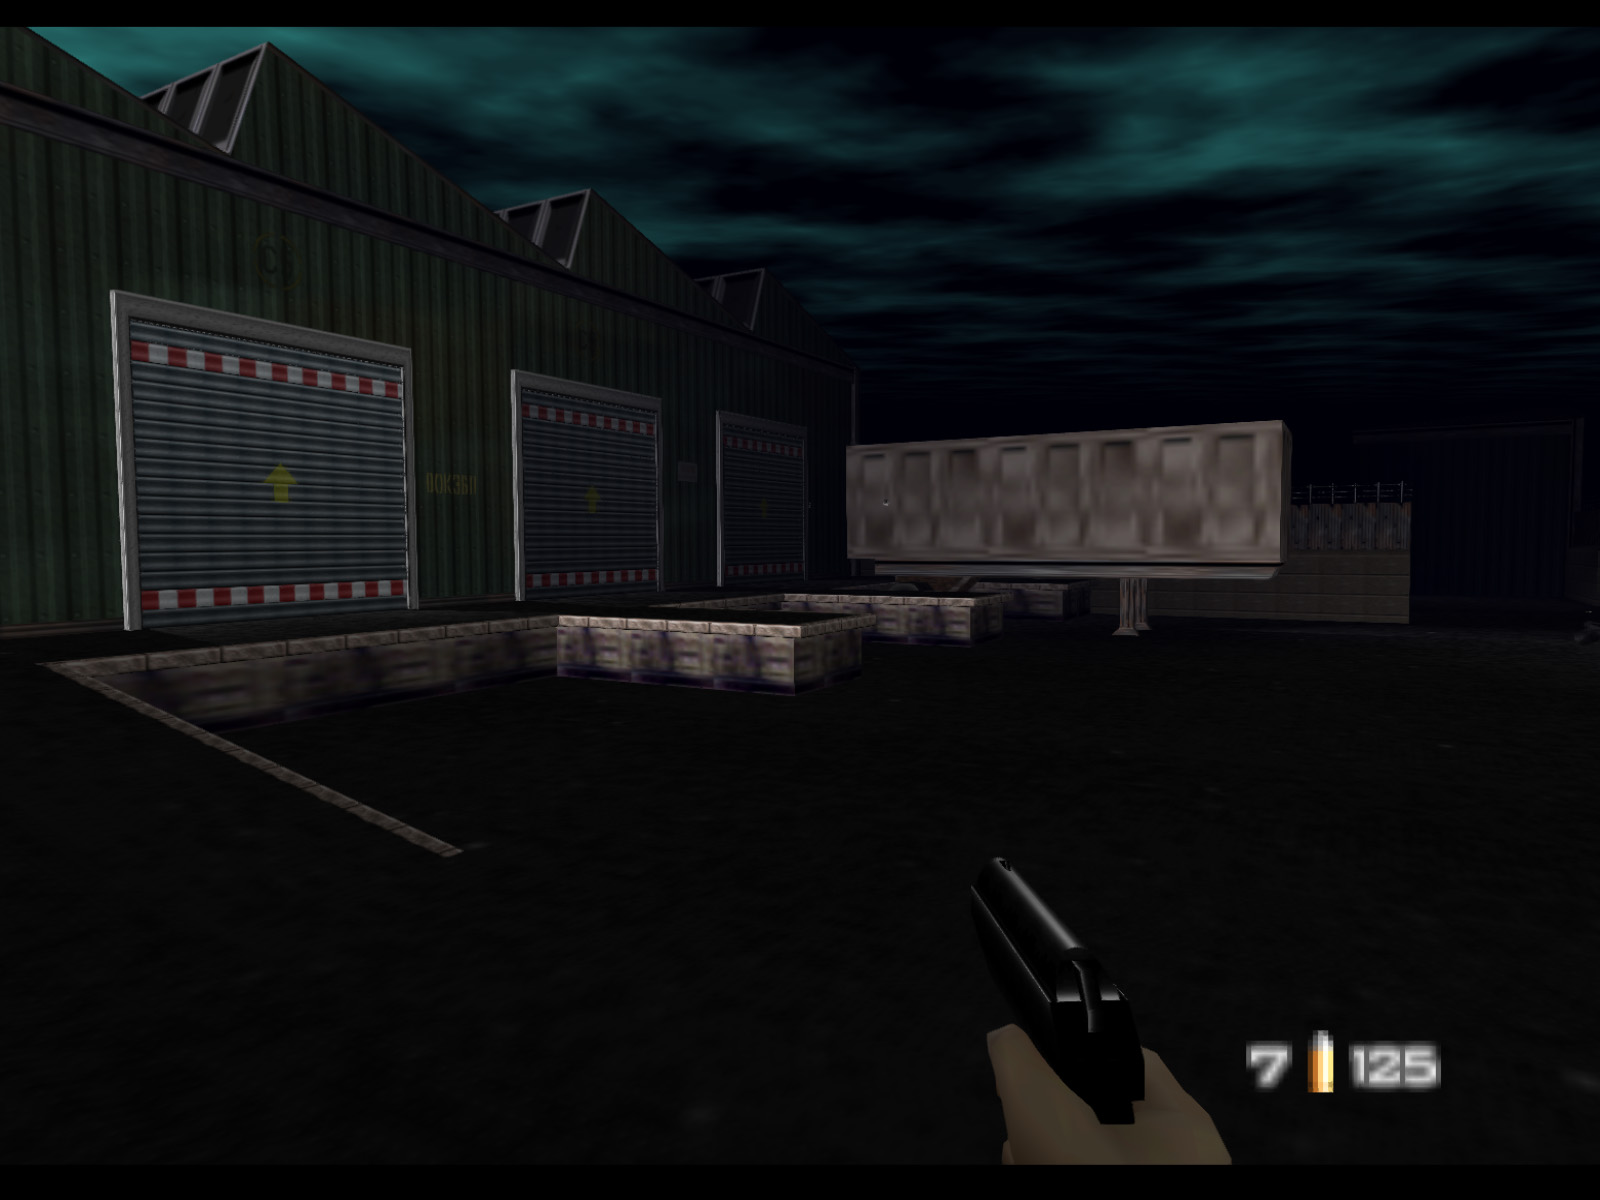
This warehouse is a weapons gold mine! One desk has Proximity Mines and another has a Rocket Launcher. There is also an array of D5Ks and KF7s spread out, but these come with no ammo.
You need to blow up every brown crate to complete Objective A. The Rocket Launcher can be helpful with this, or you can just shoot them. Sometimes destroying a crate will set off a chain reaction that destroys many others.
We've now completed the objectives inside Janus' warehouses, but for the sake of thoroughness we'll explore the others. There is a good chance that at some point you will come across a Janus Marine with dual D5Ks and you can grab your own off him.
More crates. Do you ever wonder what's in these?
The warehouse opposite the last has, you guessed it, more crates.
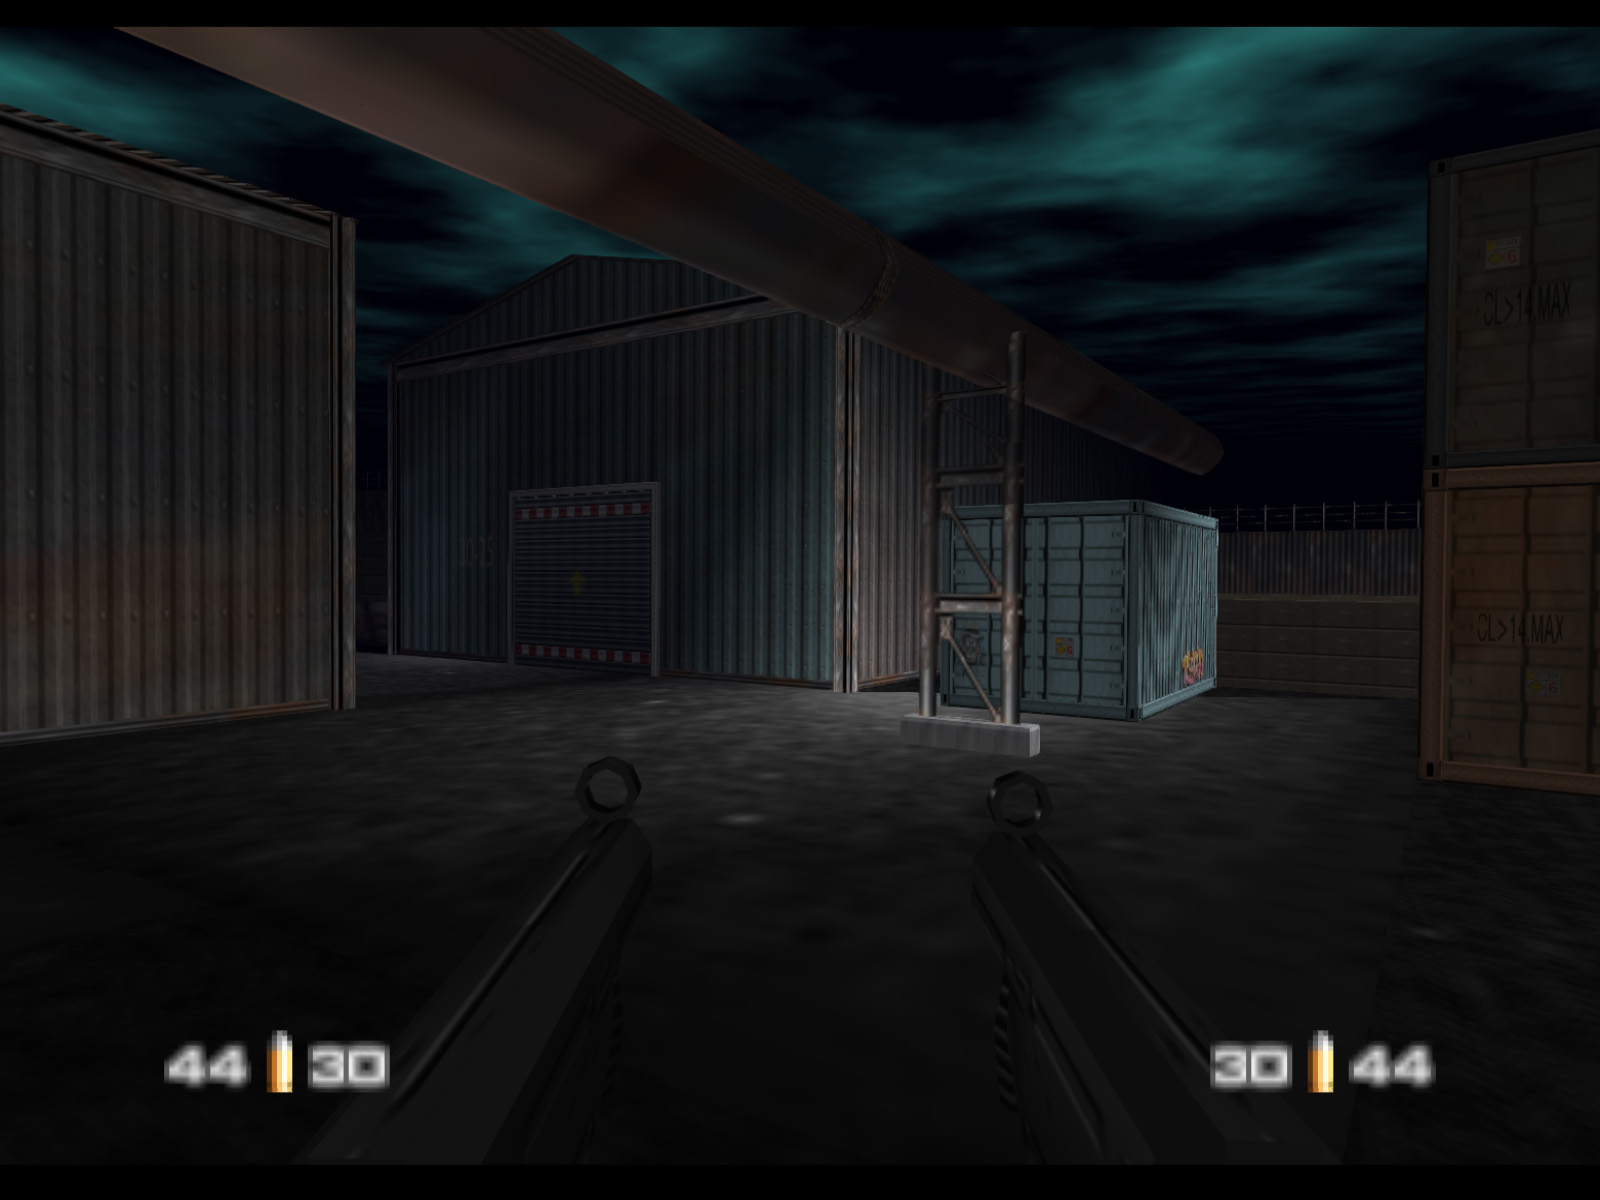
The next area has another warehouse, containers, a station, and an overhead pipeline. Let's pop into the warehouse.
Ah, yes, more crates.
This is the penultimate warehouse.
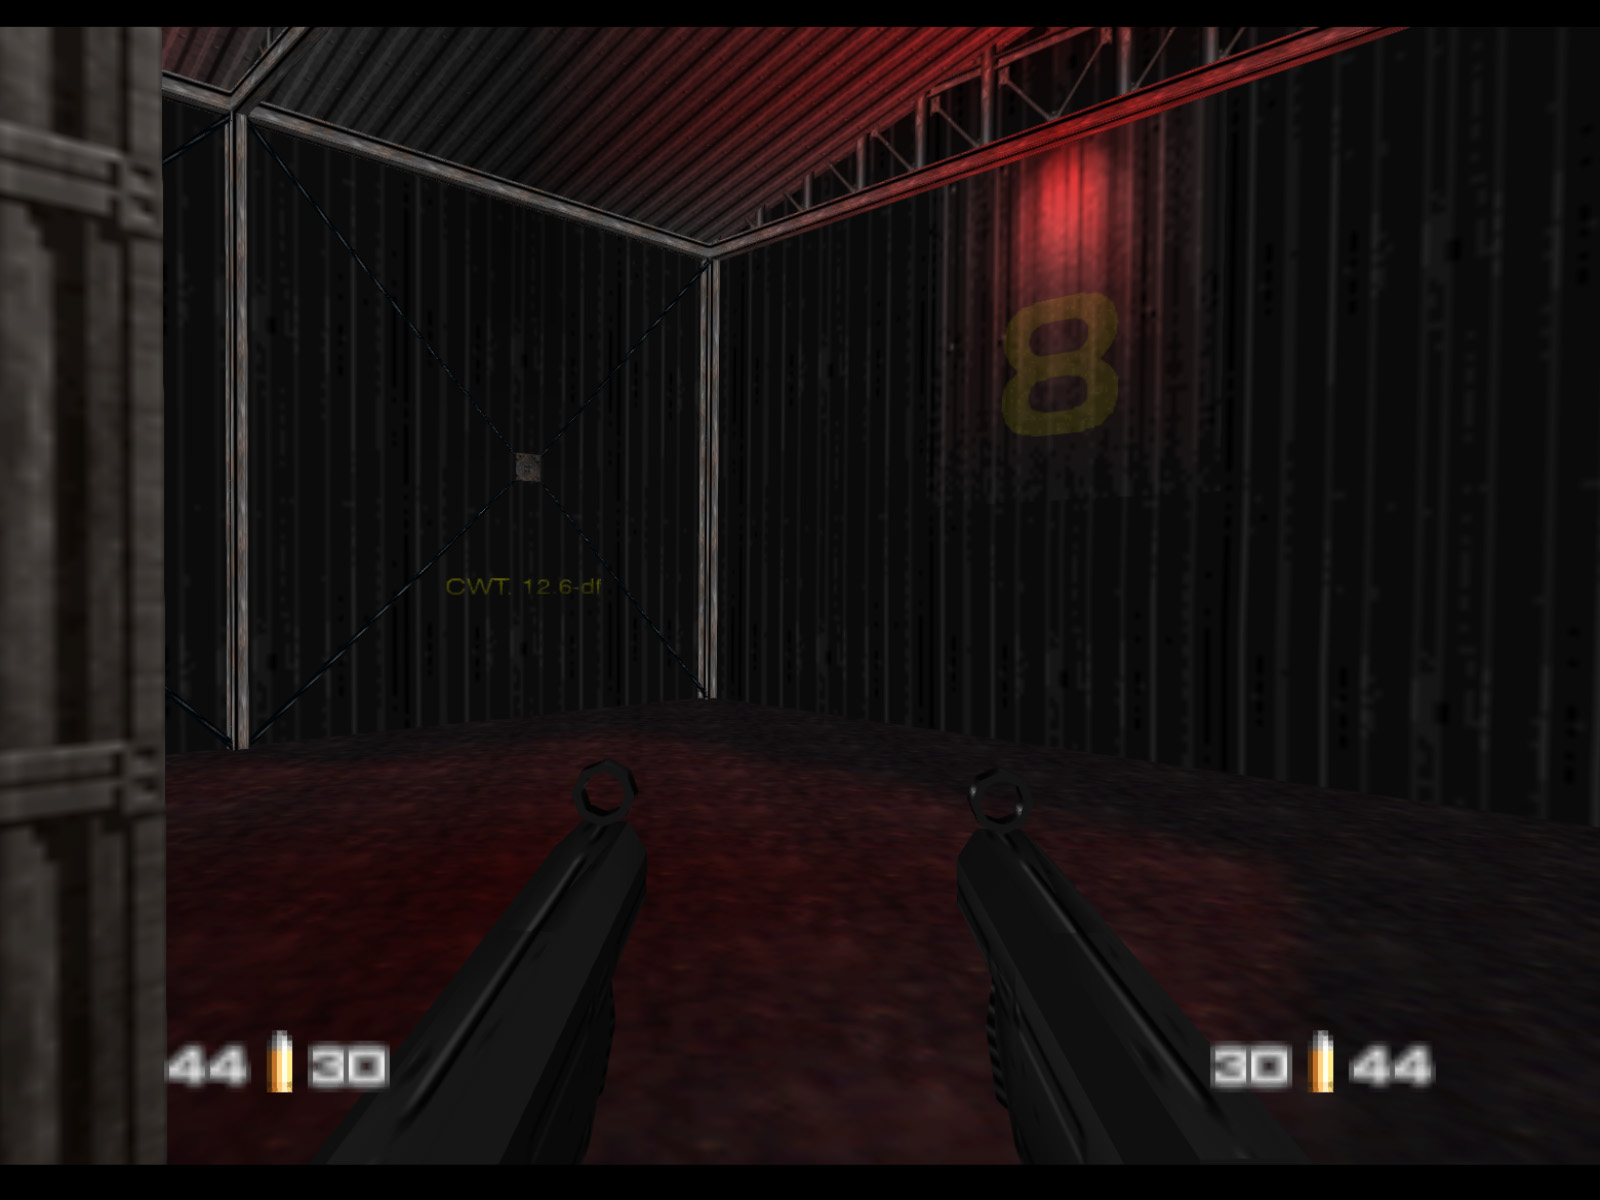
This warehouse has a cool red light. Maybe it could be converted to a club after the Janus Syndicate is eradicated.
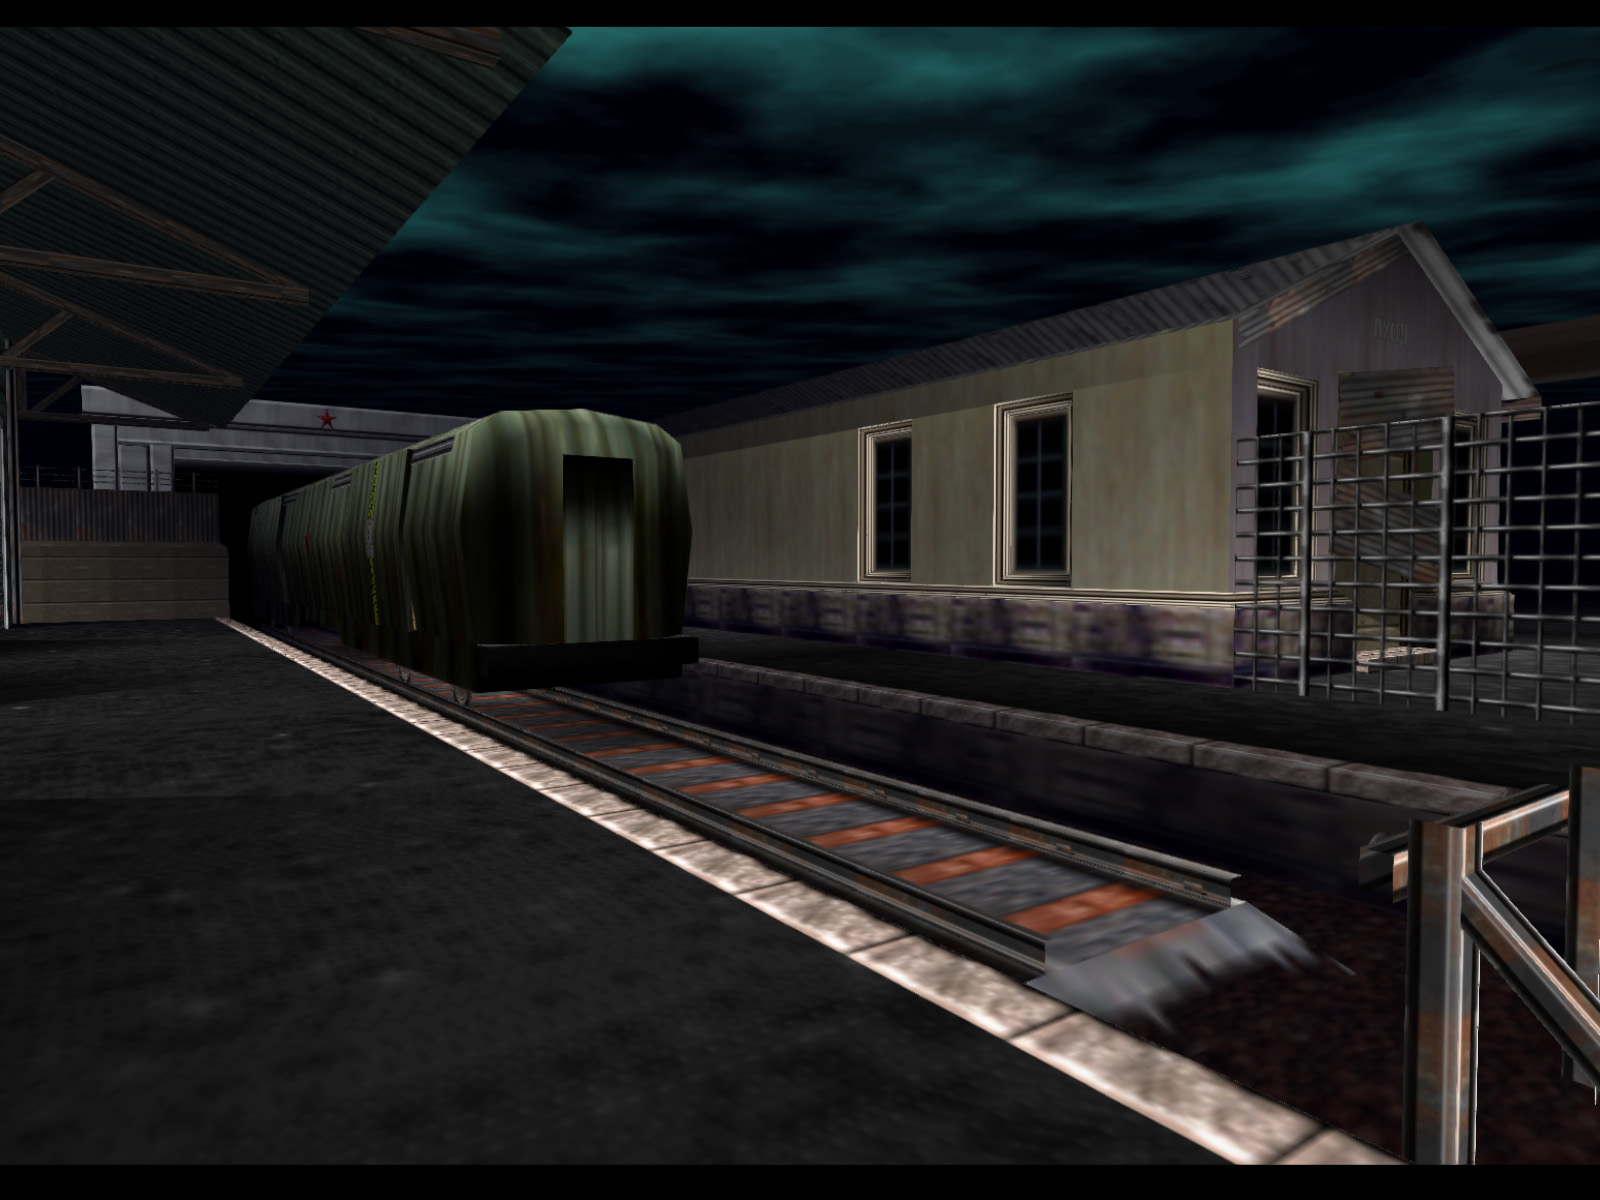
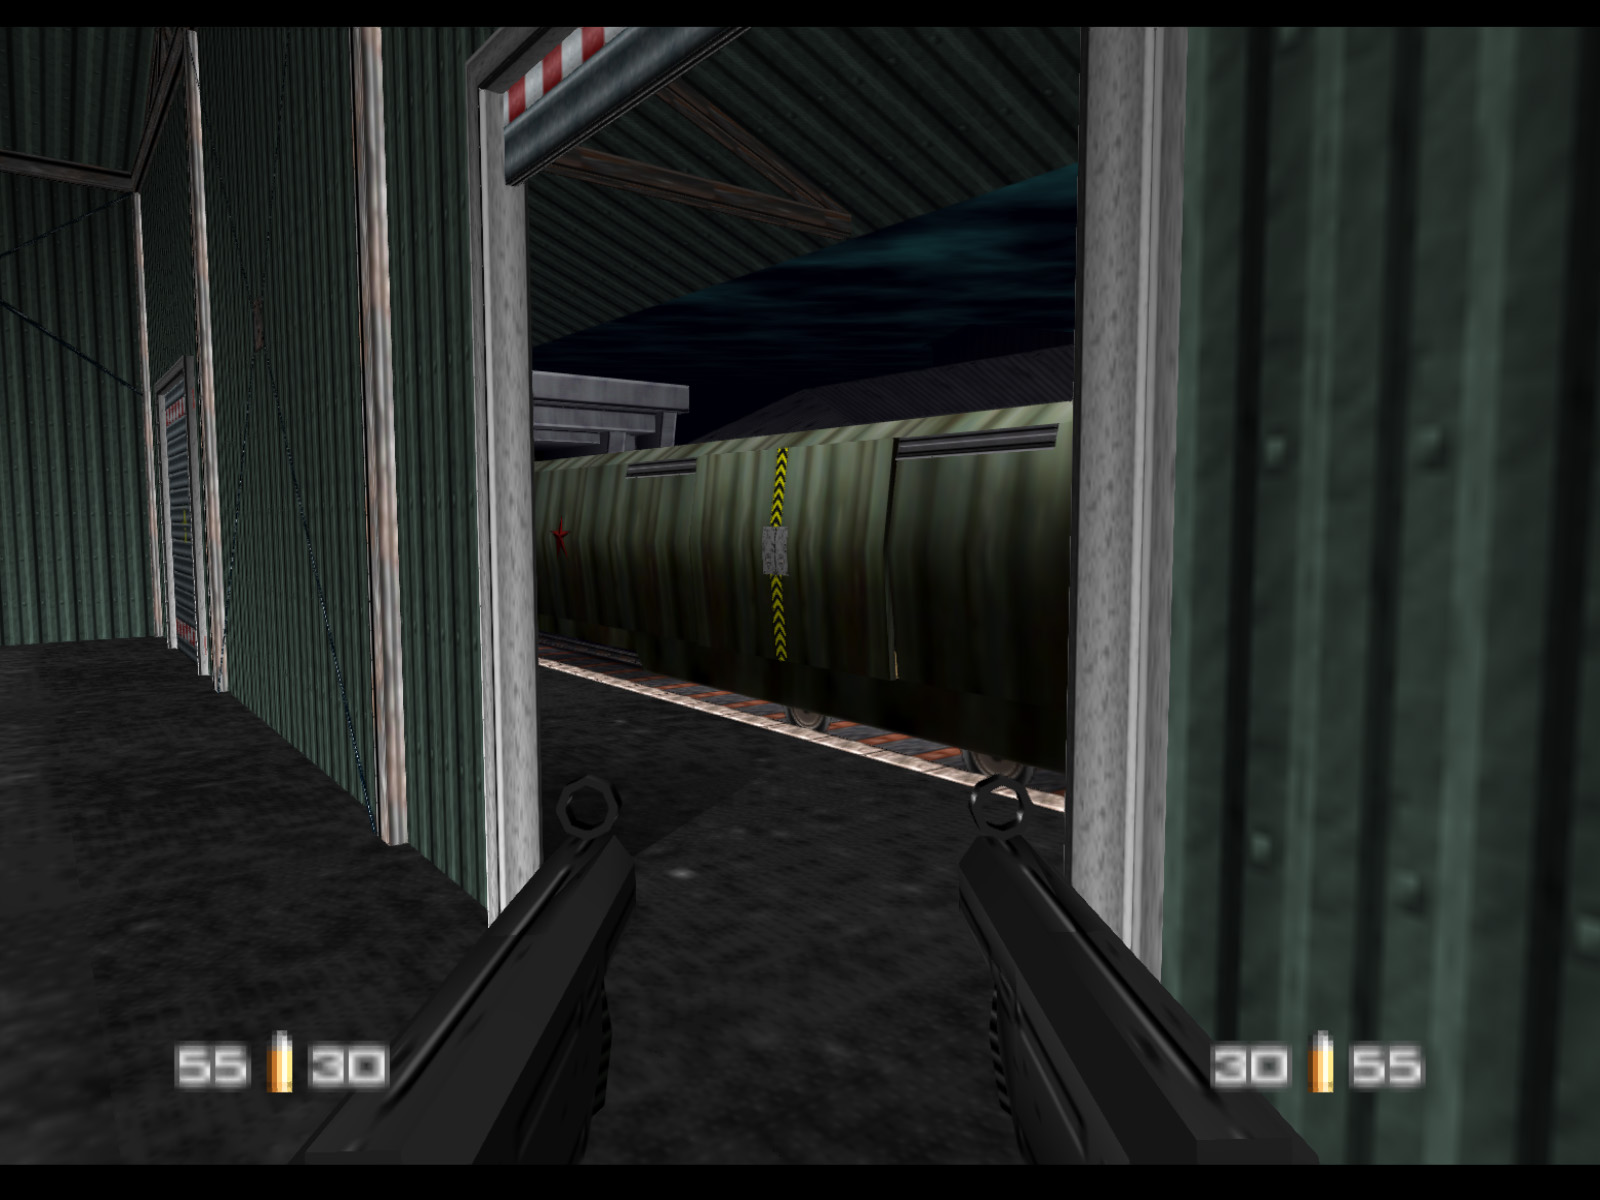
Trevelyan's train is visible here, but the fence blocks our way to it.
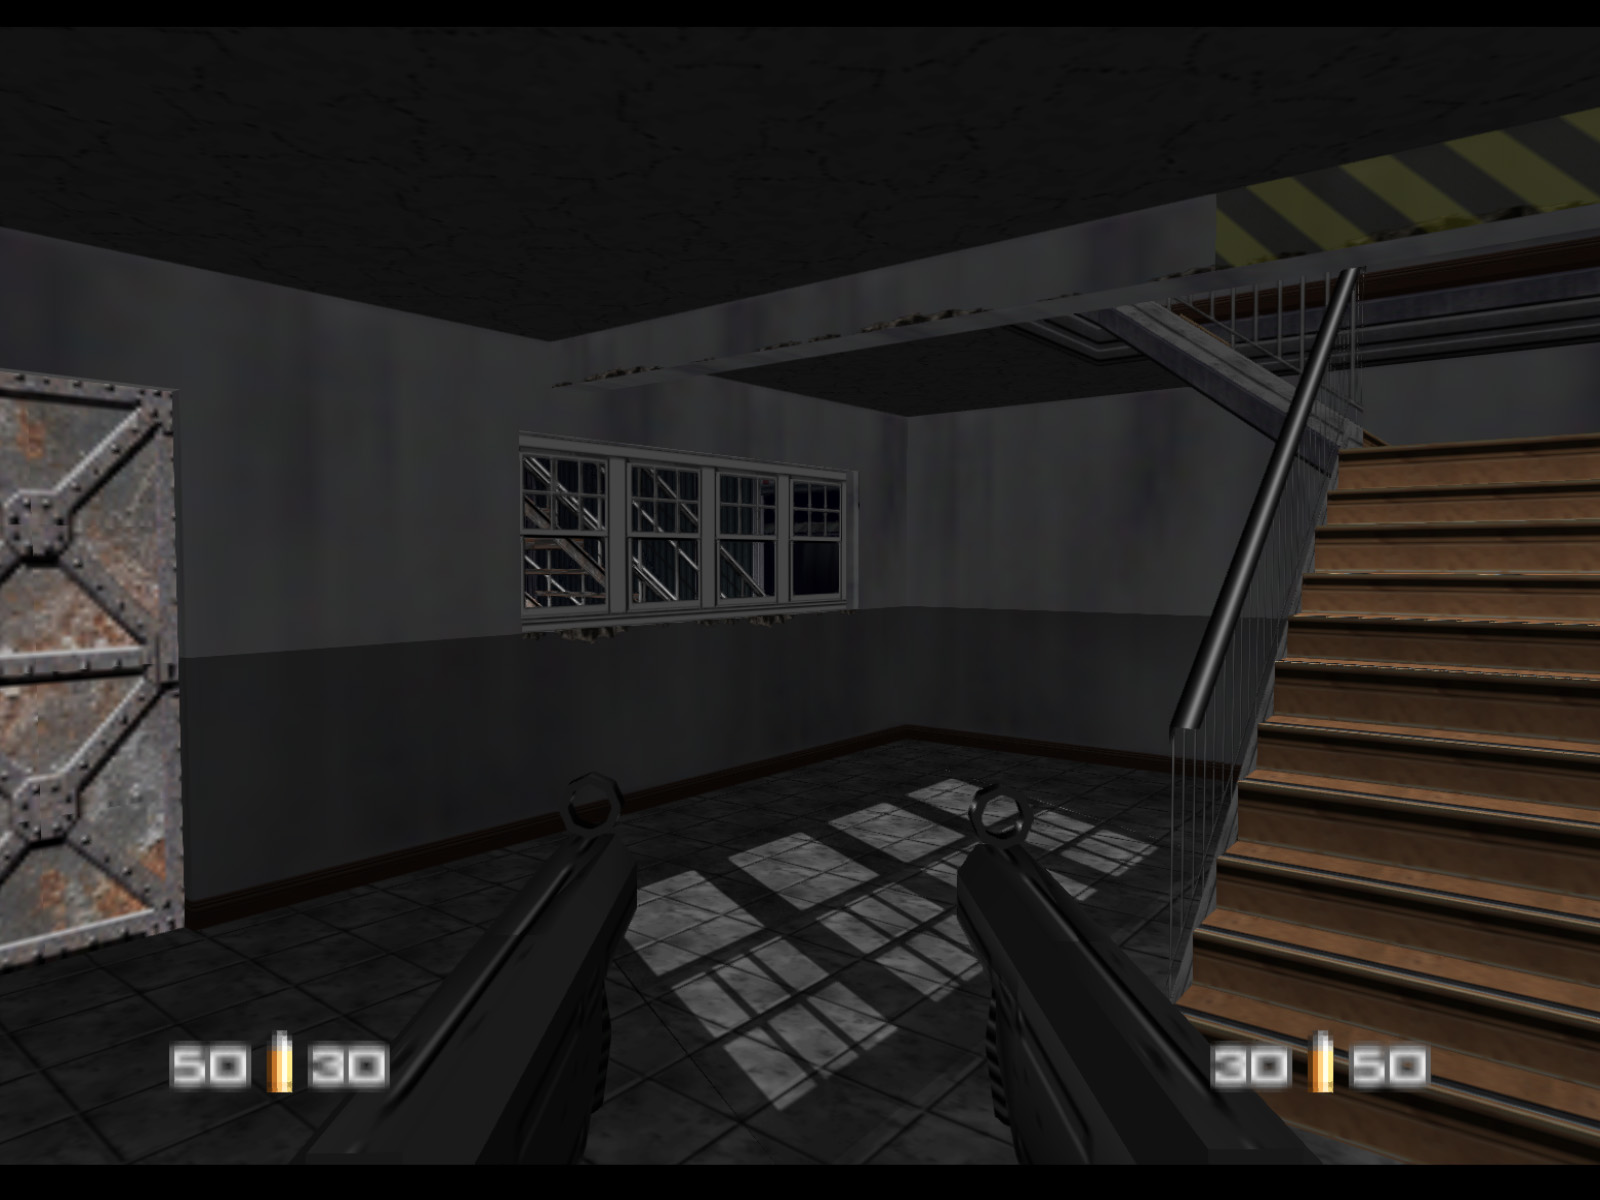
The roll up door to the warehouse is locked, so we have no choice but to go through the rusty door into the gray building.
The first floor of this building has a door to the large warehouse, but it is locked. The player is forced to go up the stairs.
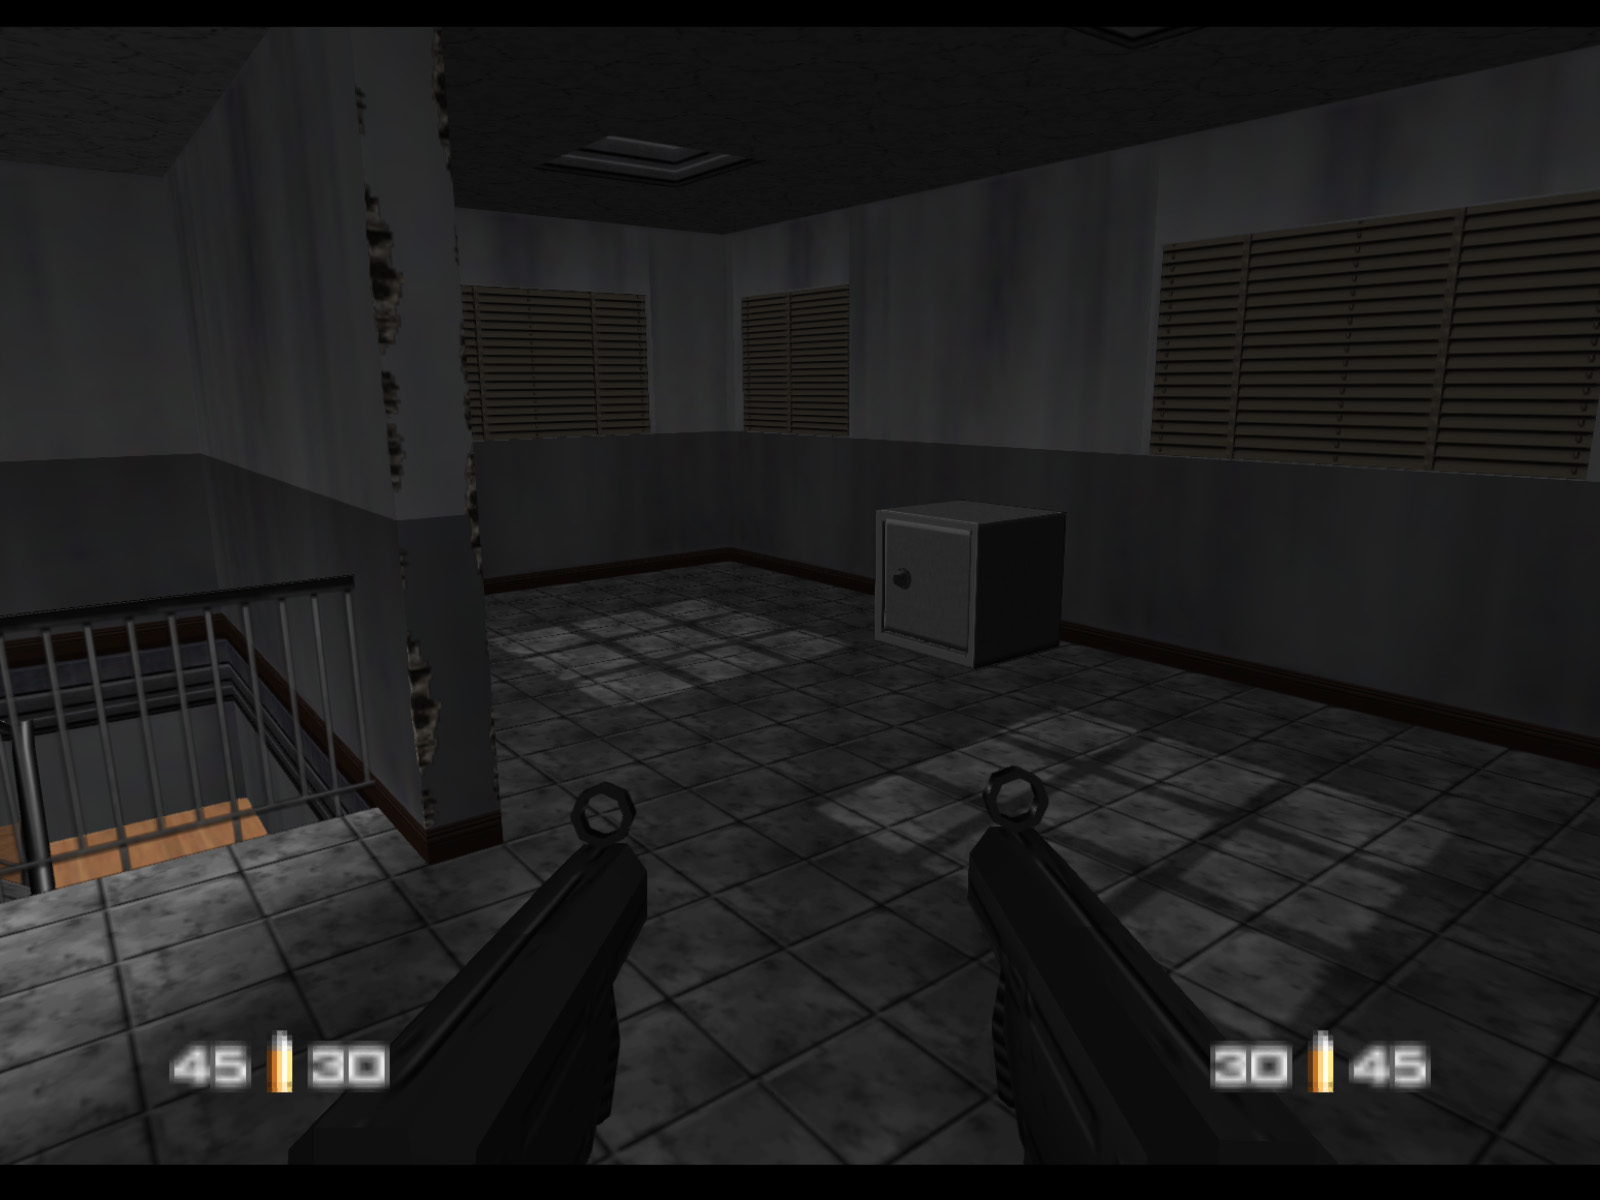
The safe with the Helicopter Blueprints is on the second floor. Collect them to complete Objective D.
We can head out the door on the second floor and into the warehouse. This one is oddly empty compared to all the others. I already miss those stacks of crates.

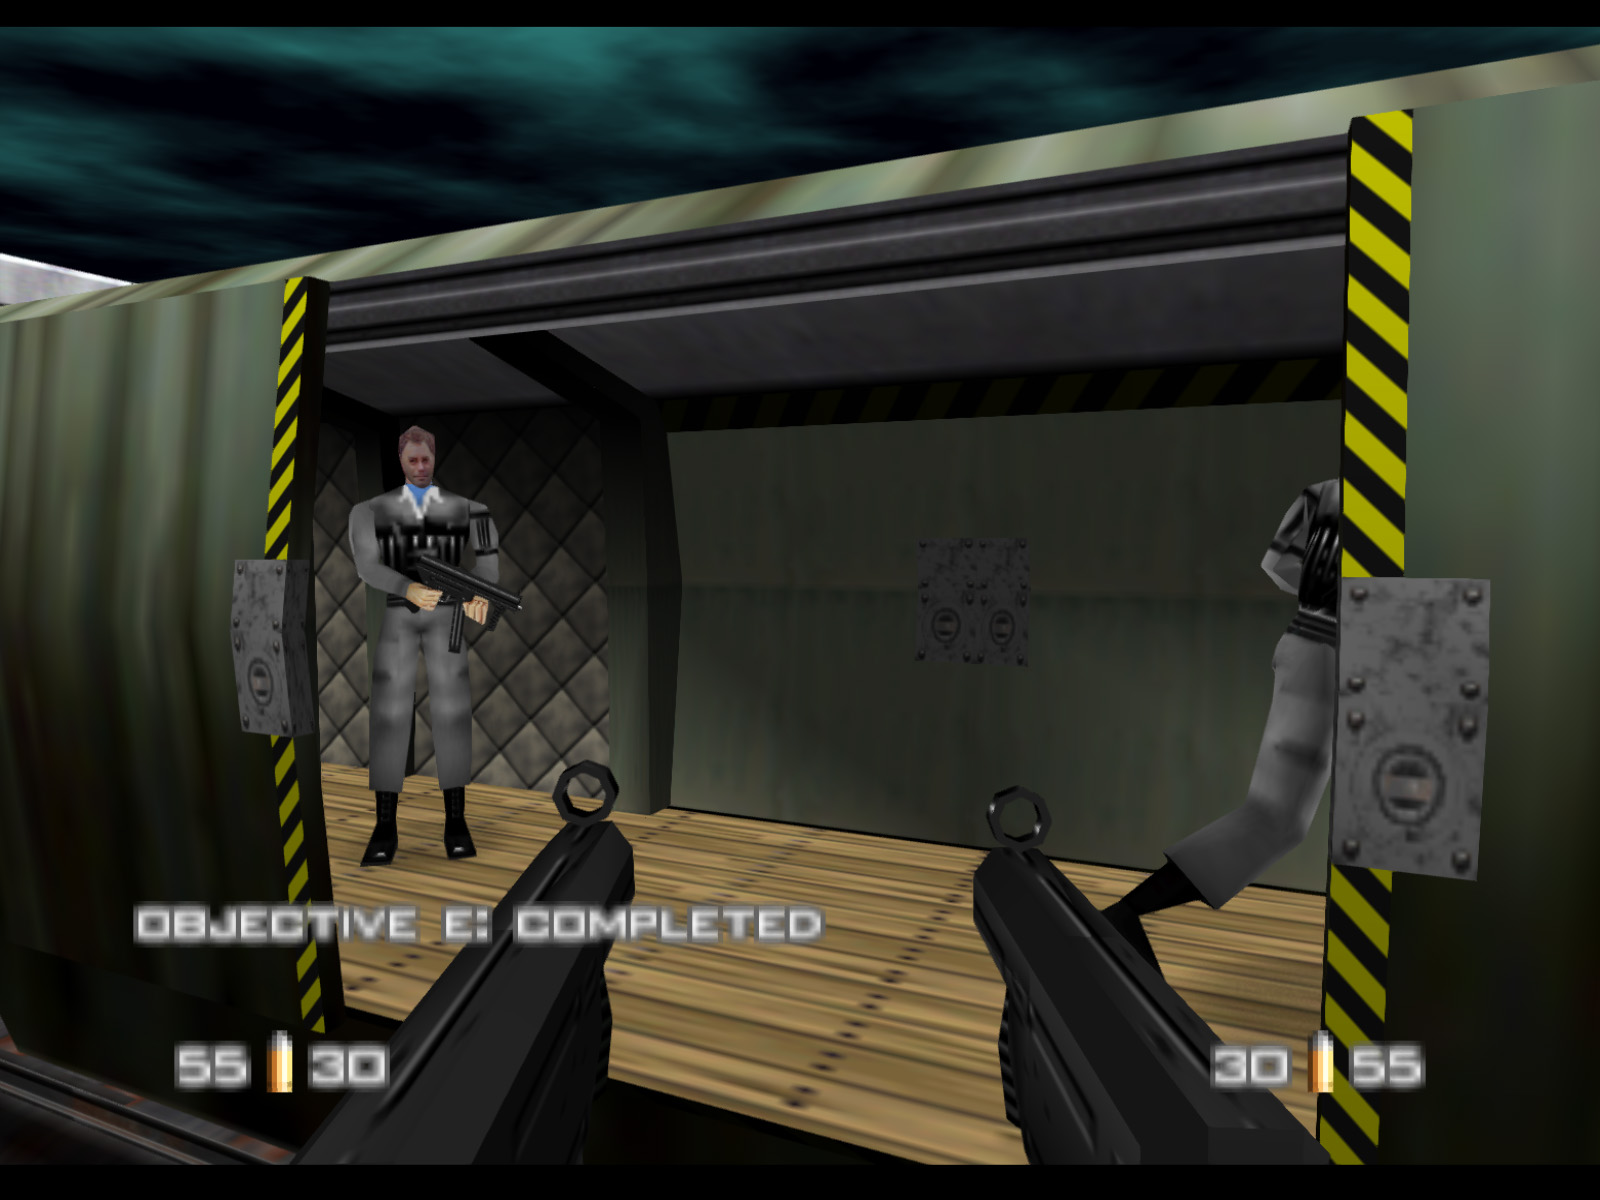
At last we're ready to board Trevelyan's train.
Two Janus Marines are already on board the train. You can run in without killing either to end the level. You can also choose to kill just one or kill both. Your choice will result in a different outro scene for each scenario. It is really quite sophisticated and a great detail.
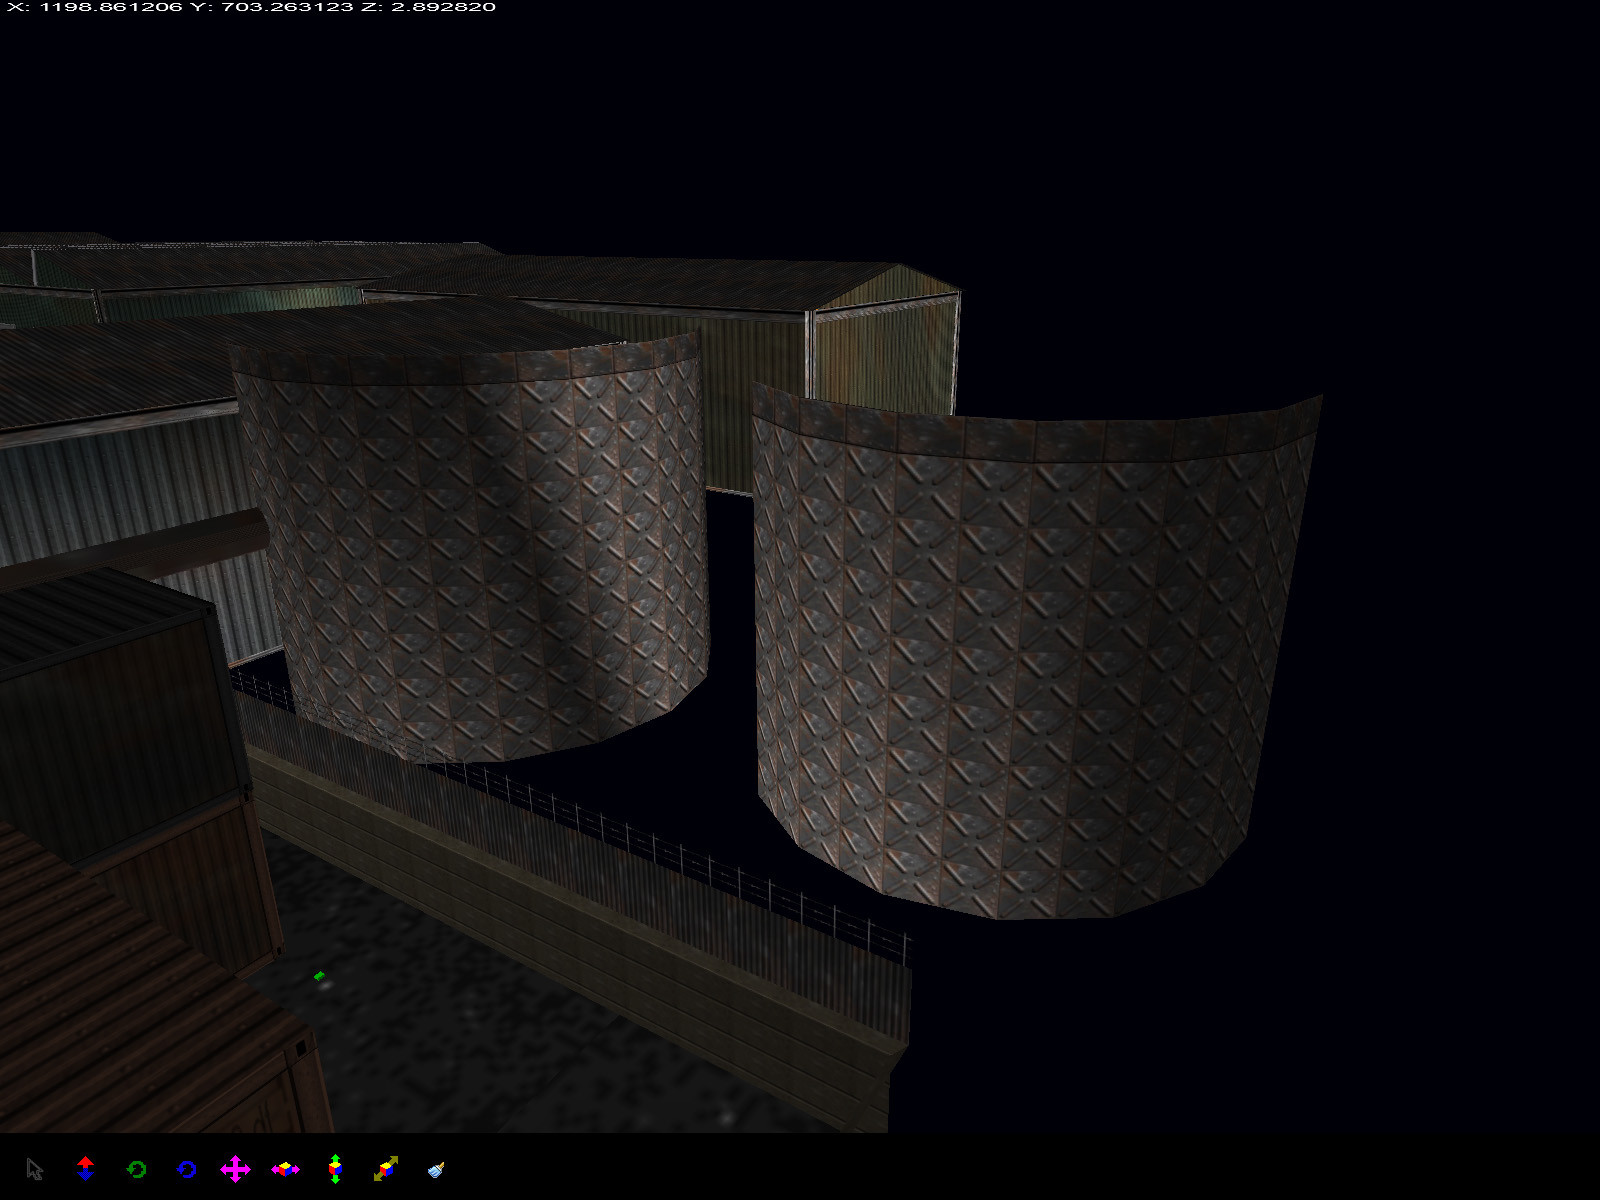
There are five large oil tanks which are loaded into the level but never rendered. It is possible this was intentional to help the level's frame rate, but we don't know for sure.

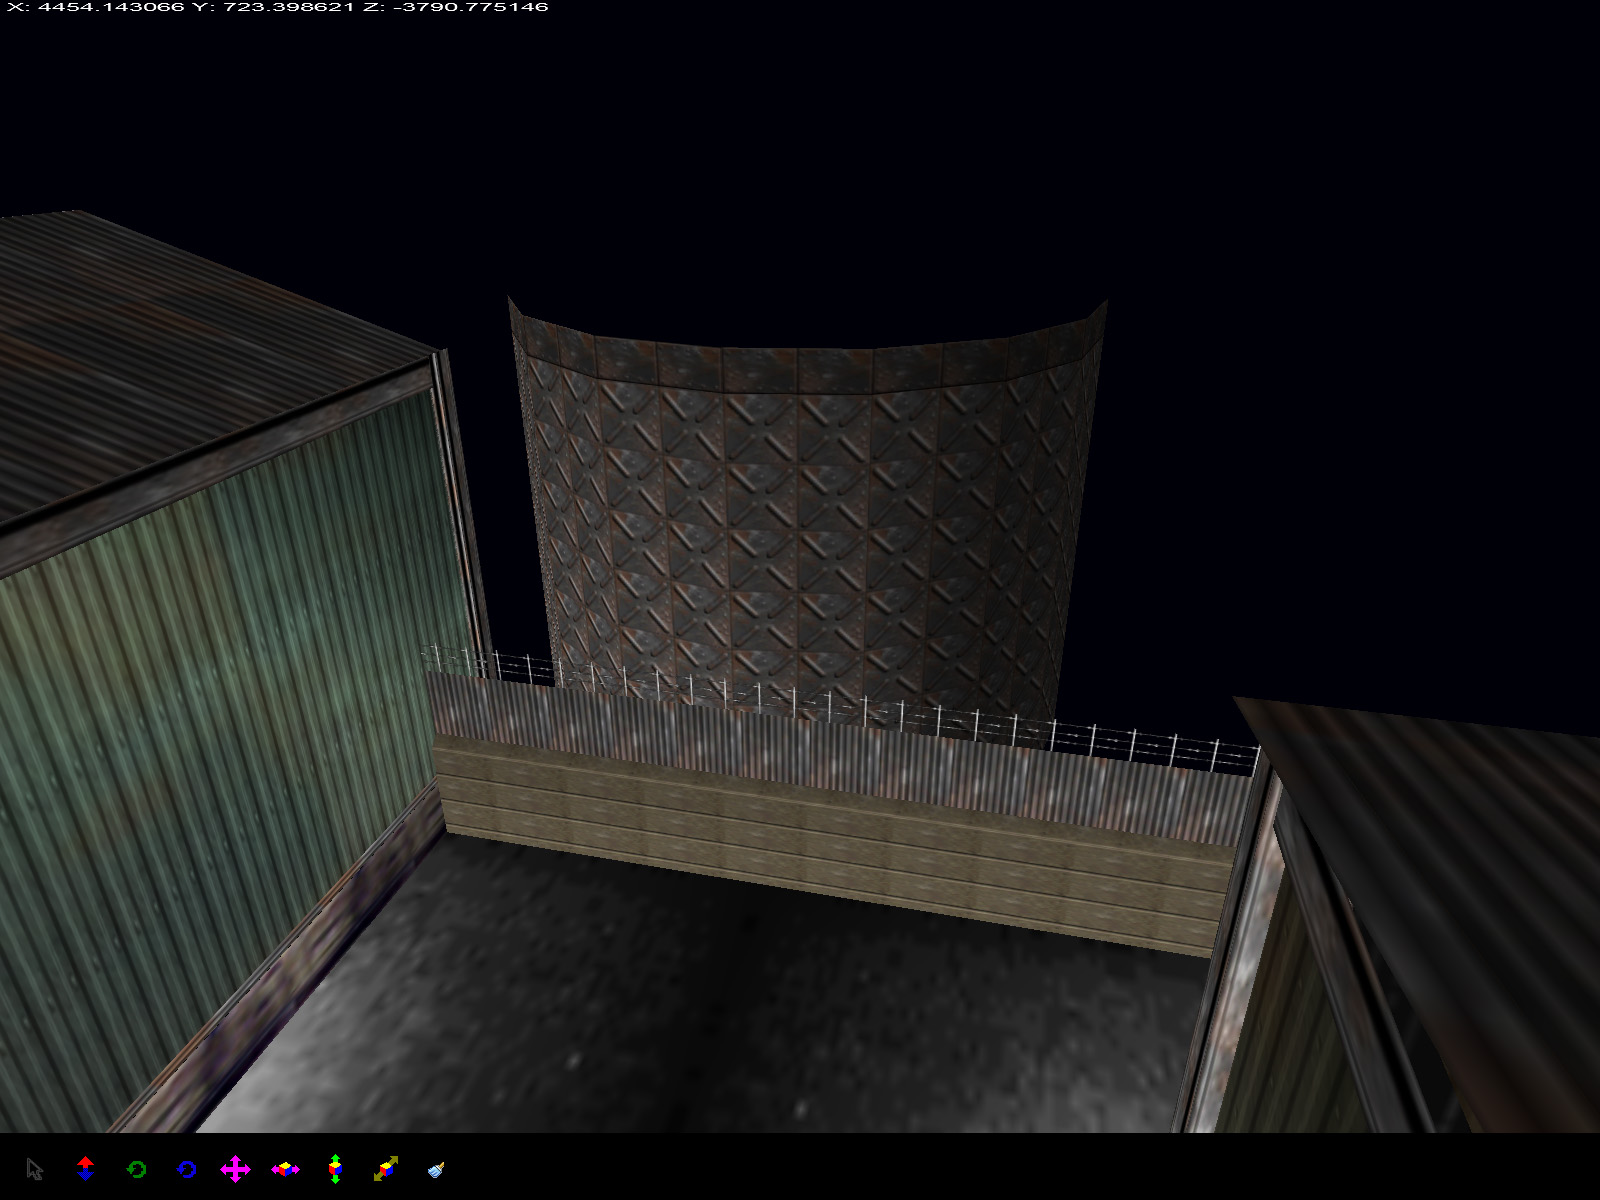
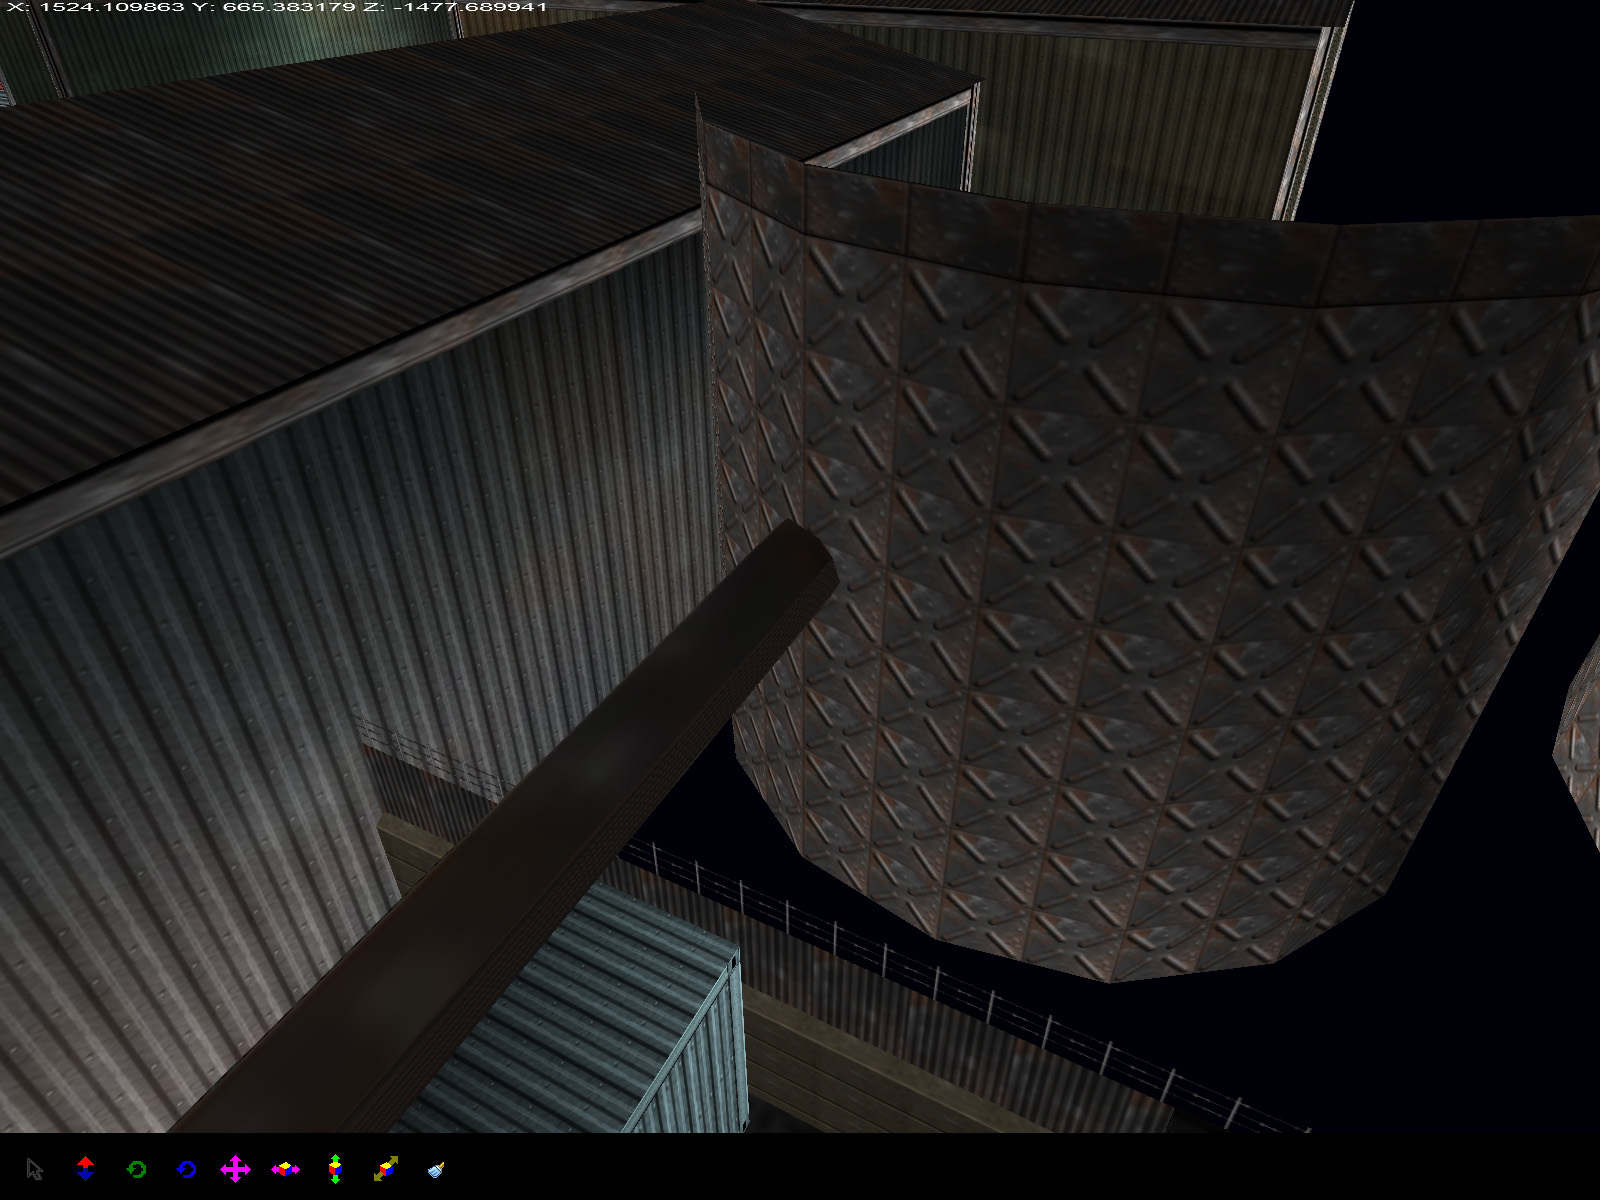
The overhead pipeline connects to one of the tanks. This makes a lot more sense compared to what you see in-game where the pipeline just ends mid-air.
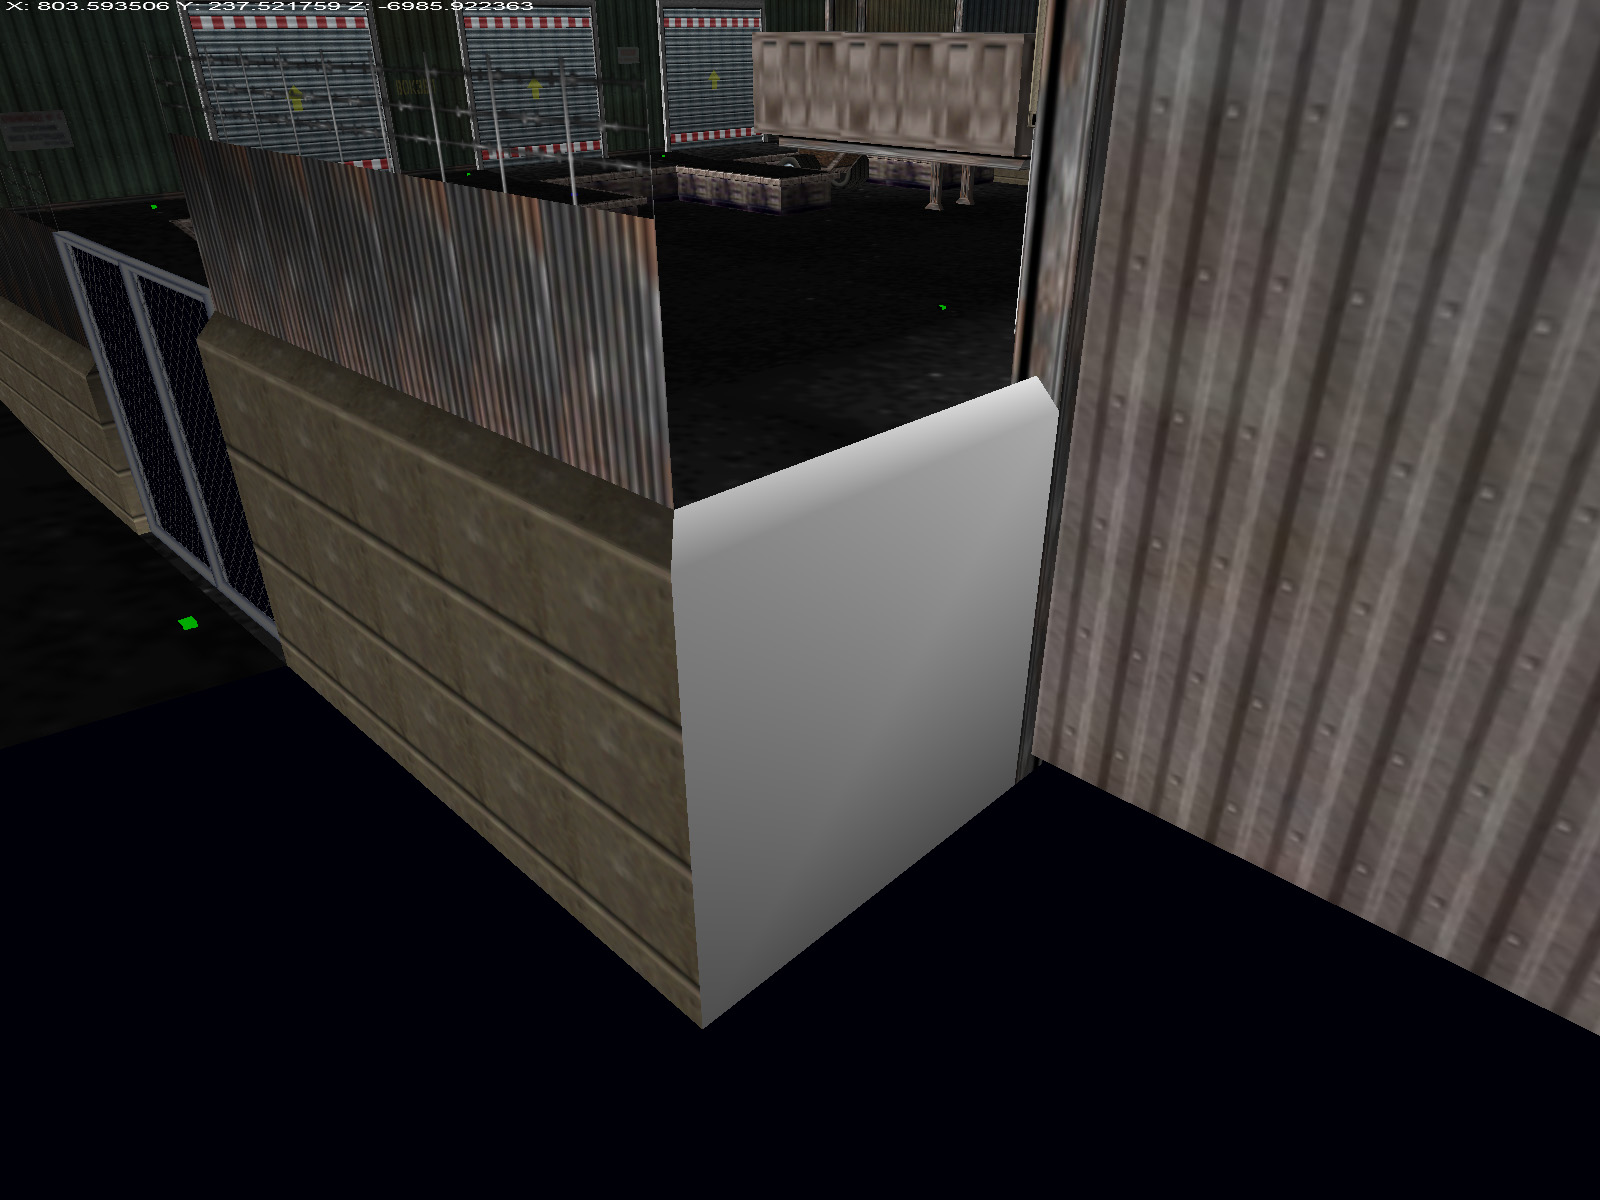
Depot has an unusually large number of untextured faces for GoldenEye. Sometimes GoldenEye uses untextured faces intentionally such as when the vertex colors are pure black and a texture would not be visible, but in the case of Depot they often seem more accidental.
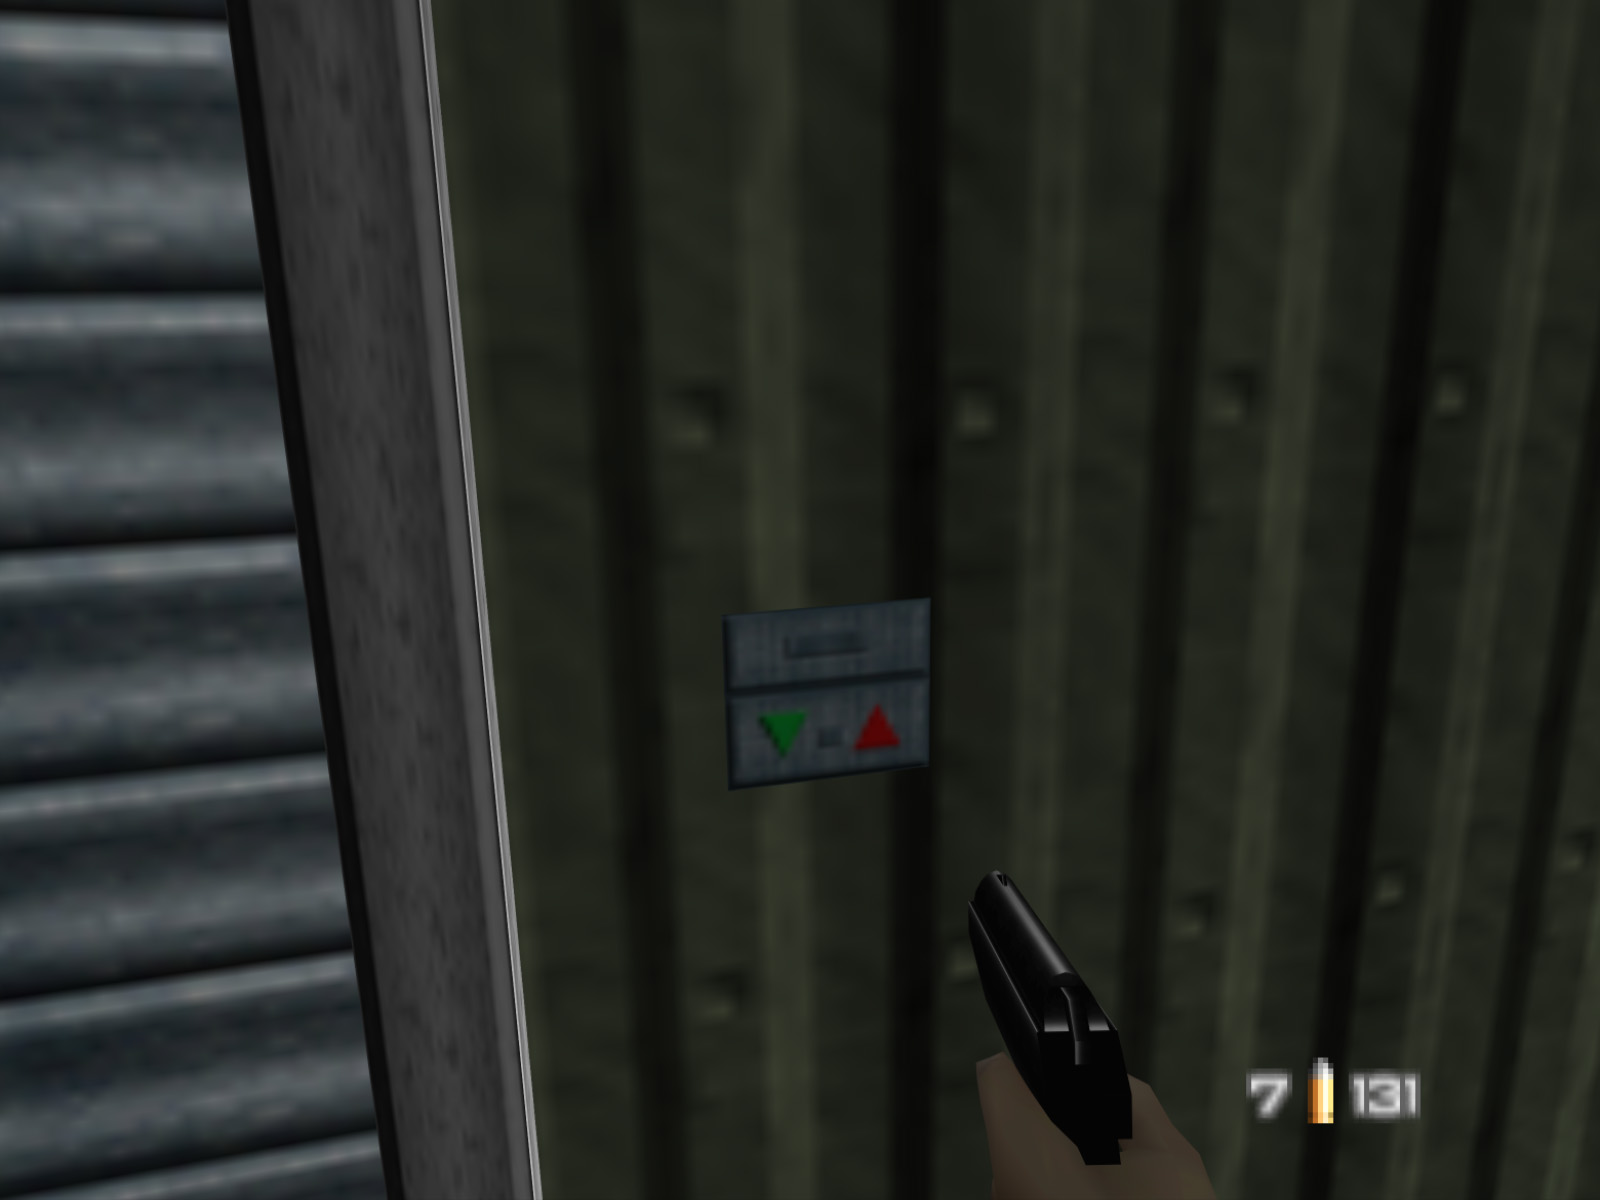
This is sort of a subset of the last curiosity. On the first warehouse there are buttons by the roll-up door. They don't operate the door, but are just visual detail. On at least three other warehouses there are quads where you would expect the buttons to be, but they are untextured. It seems the level designer must have missed these.

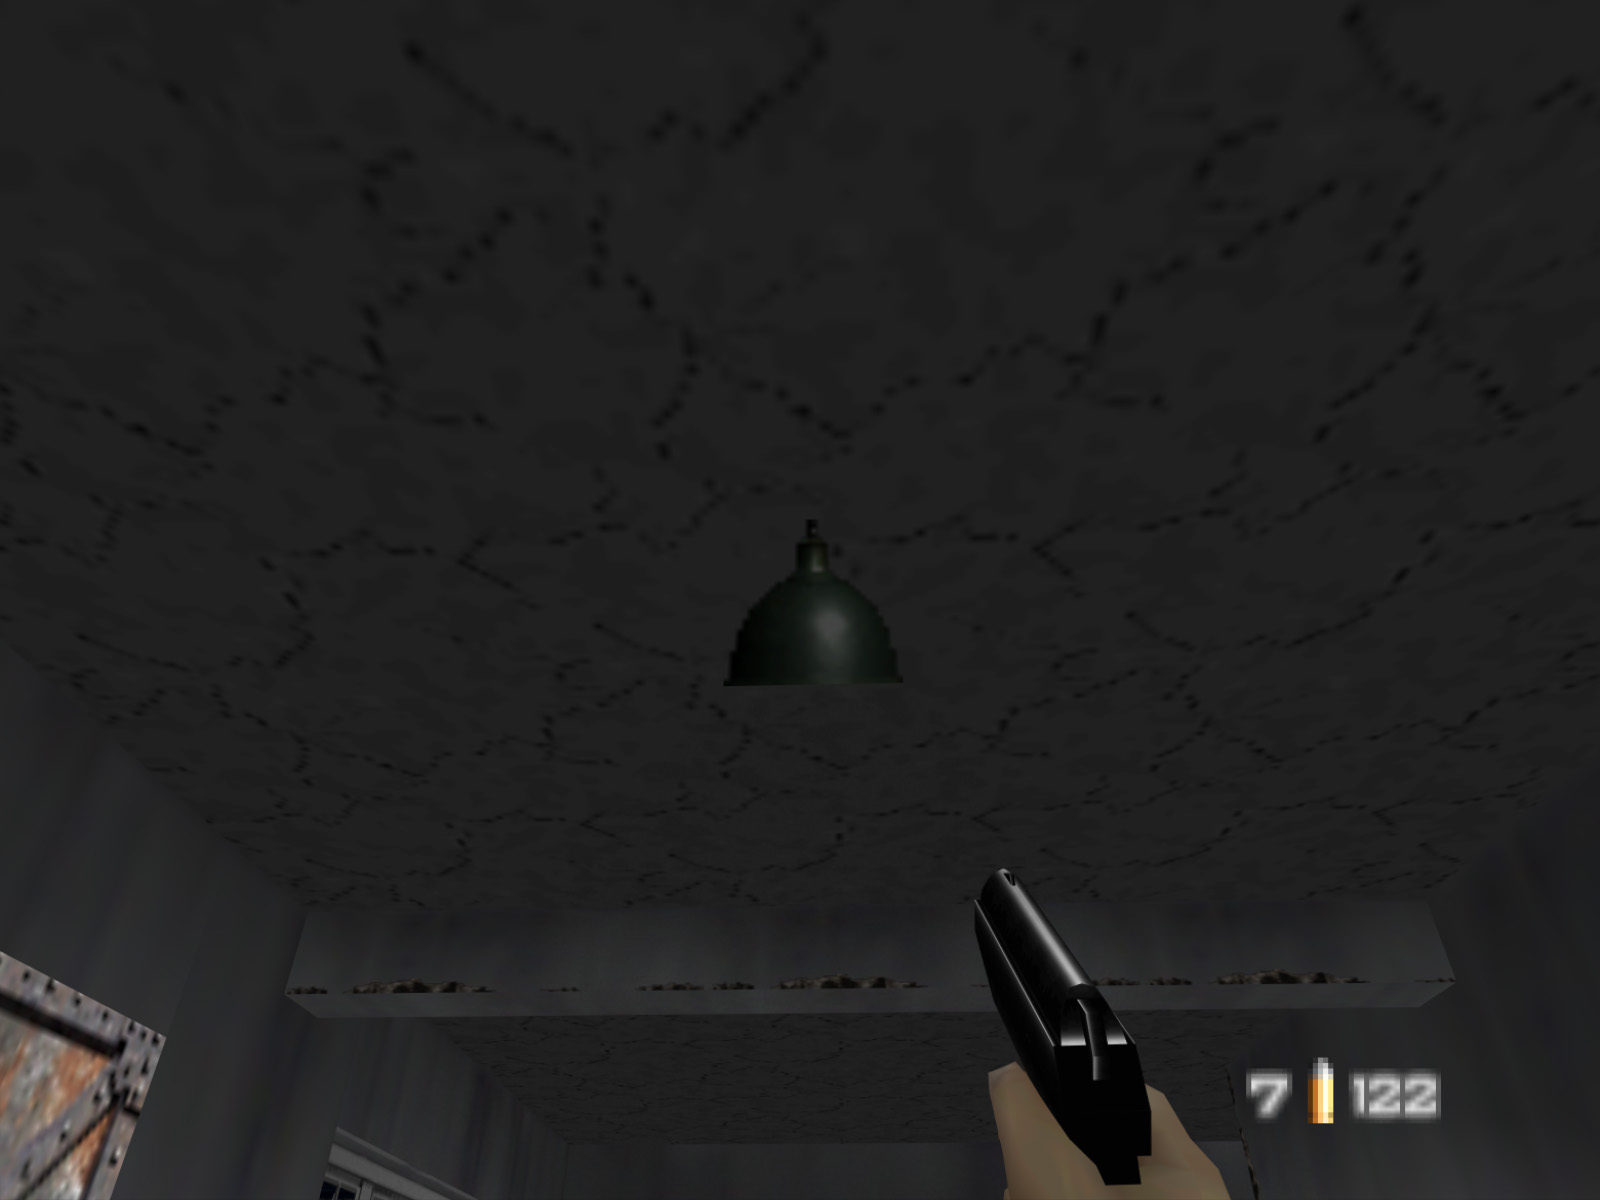
On the first floor of the gray building with the safe there is a sole green industrial ceiling lamp. It's a texture mapped to a flat plane so if you look at it from the side you don't even see anything.
This type of flat light was once quite common in GoldenEye but almost all were removed in the final game. This light is the inspiration for The GoldenEye Depot's icon.

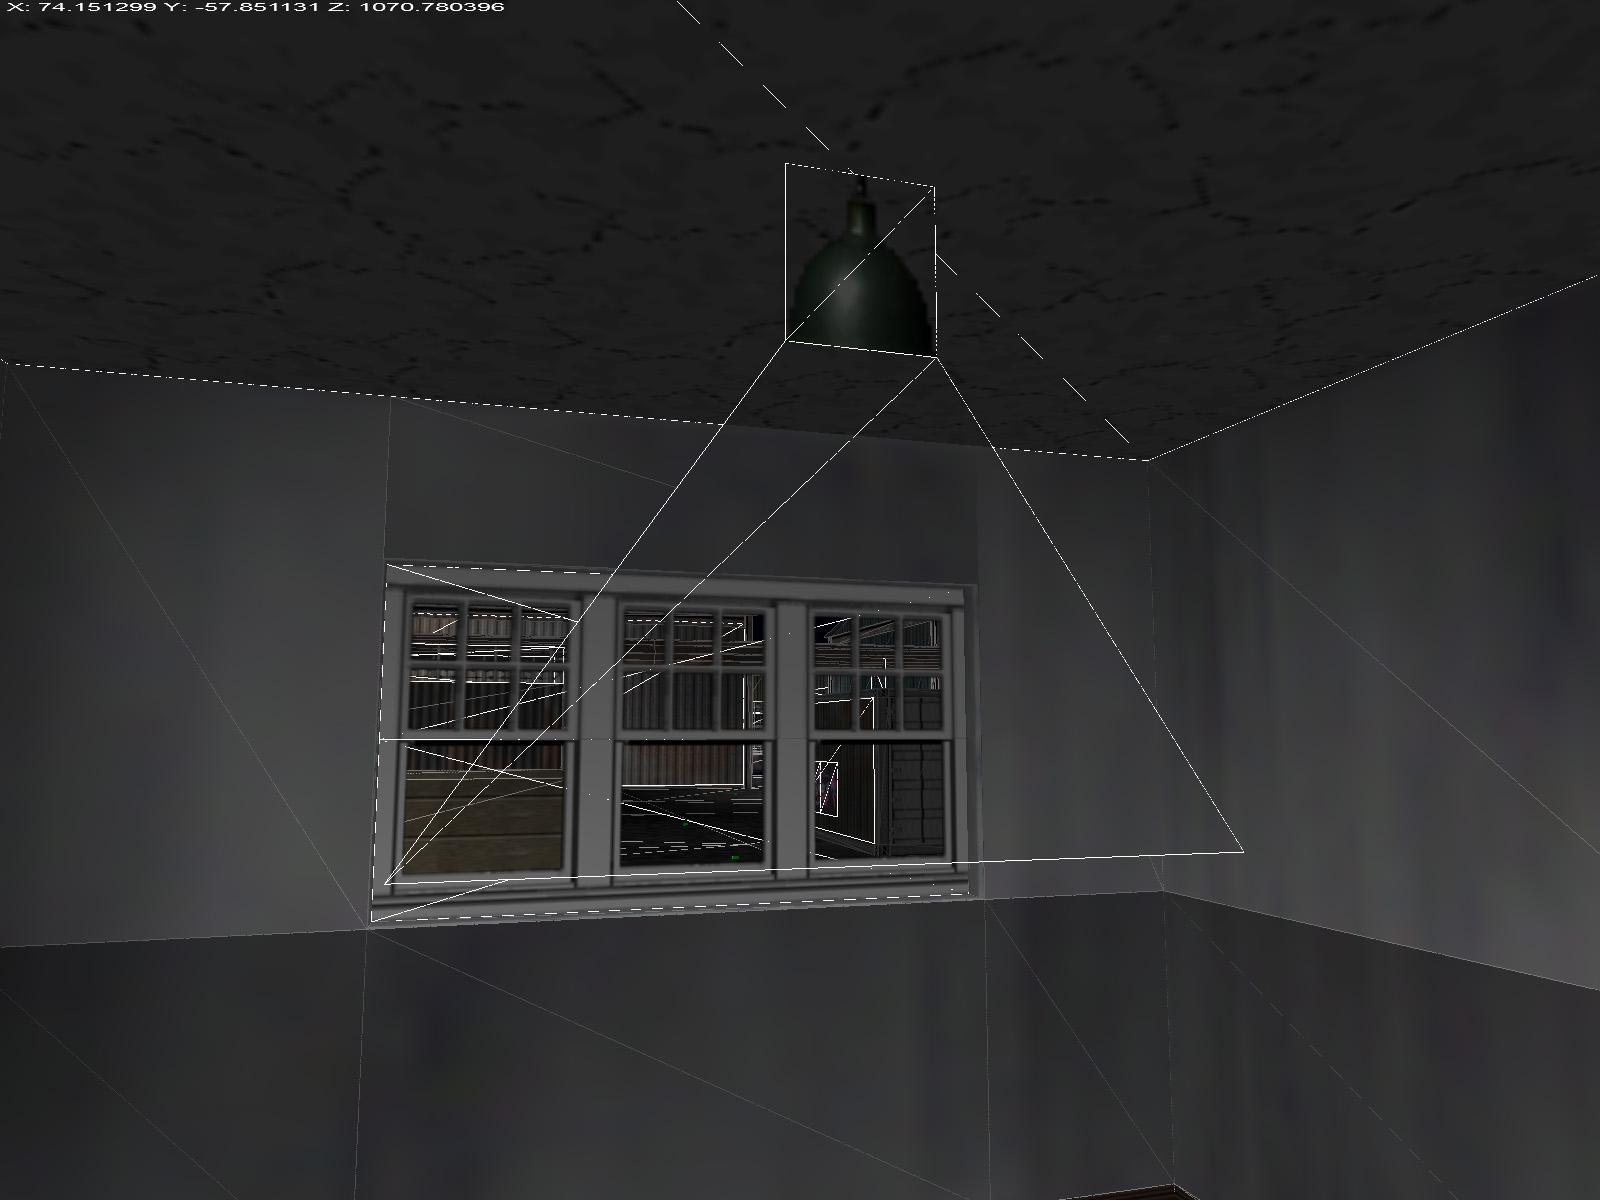
Inspecting the lamp in the GoldenEye Setup Editor's wireframe mode shows there's more to the story. This light has a trapezoid right beneath it as if light were pouring out. It even has a light to dark gradient texture assigned to it, but due to the texture settings it is invisible in game. It is not entirely known why lights such as this were removed, but my speculation is it's because they don't hold up that well when the player has free movement and control of the camera.

The ceiling of the final warehouses uses the primitive non-interactive glass we call "beta" glass. Unlike breakable glass, shots simply go through these windows without any interaction. The game's code allocates less memory than normal for breakable glass on Depot, so perhaps this explains why these windows were left in the "beta" style.