Mission 1: Arkangelsk
Part ii: Facility
Mission 1: Arkangelsk
Part ii: Facility
Inside the chemical weapons facility you should quickly and efficiently proceed to the bottling area and place demolition charges on the main gas tanks. Political considerations demand that collateral damage is minimized on this mission. Non-military personnel should be disregarded.
You'll be working with 006 on this assignment, the bottling room is the rendezvous point. Don't forget to contact our double agent scientist before you leave, and warn him to get out. He will provide you with a decoder for the final security door. There are no women or casinos for a thousand miles, 007, so even you will be able to concentrate on this mission.
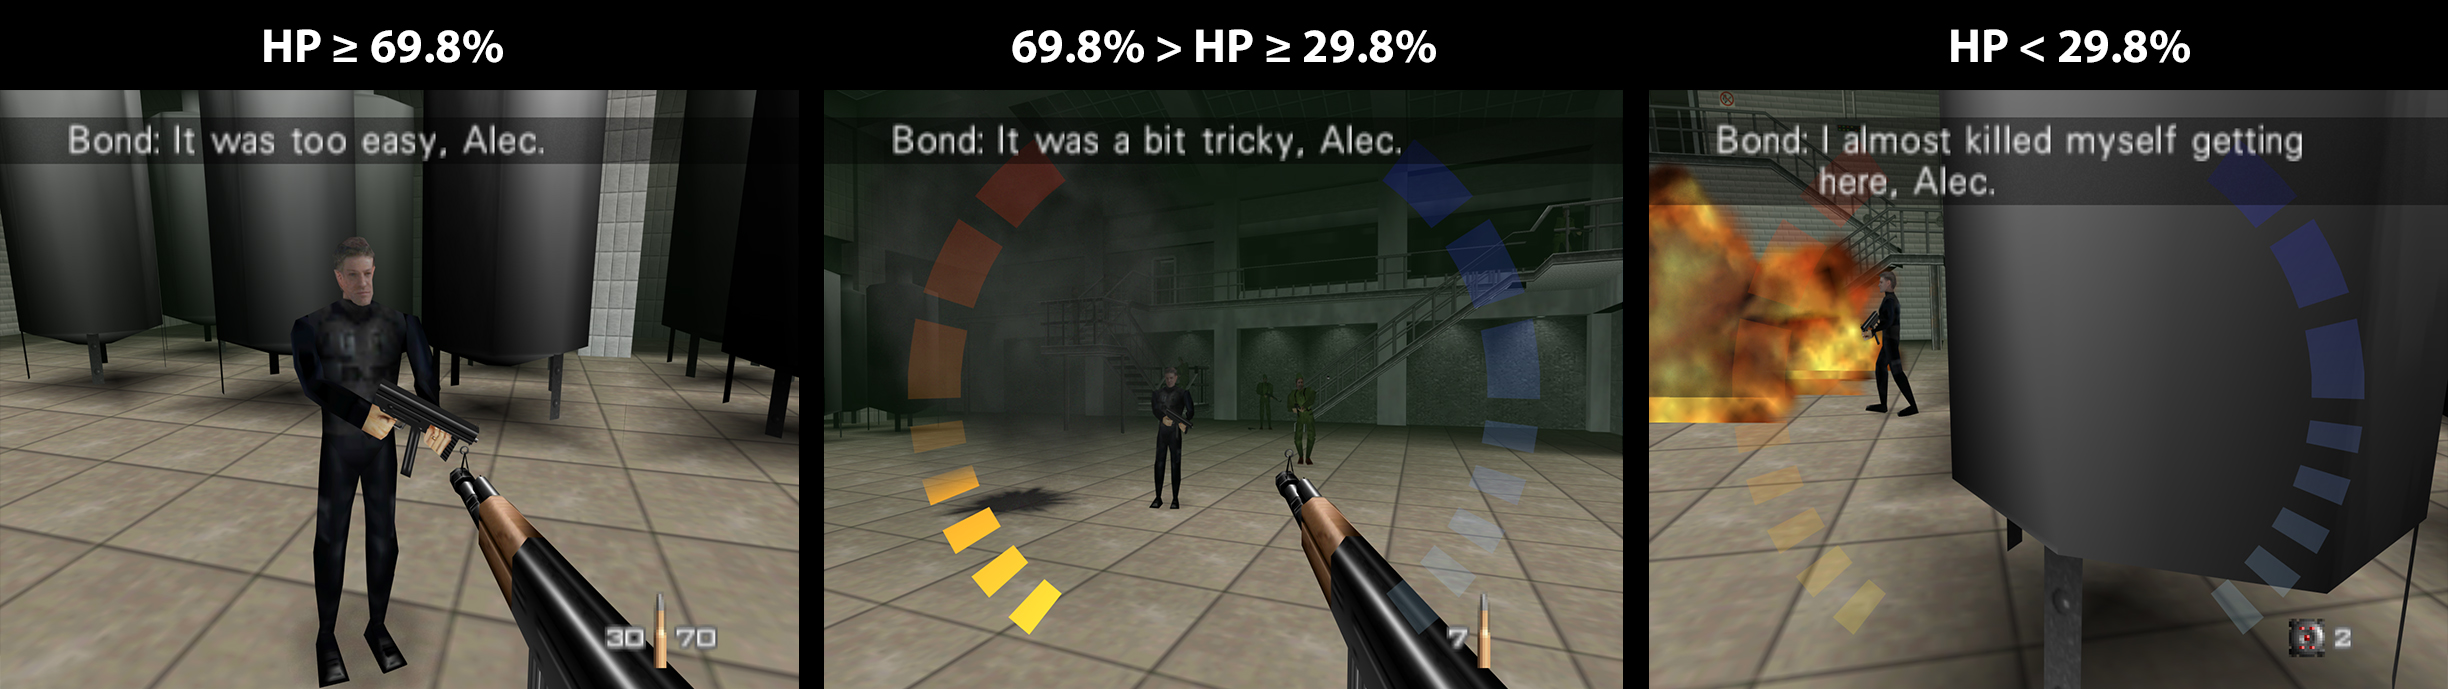
Now listen carefully, Bond. Those bombs will be armed as soon as the last one is set. Don't be too close when you set them off or you'll go up in flames as well, and while you're at it, please try and bring back that door-opener undamaged for once. Too much rough handling like the last mission and it might go wrong at a bad time. Honestly 007, sometimes I think you damage your equipment on purpose.
These chemicals could prove to be a match even for your pheromones, James. Don't take too many risks.
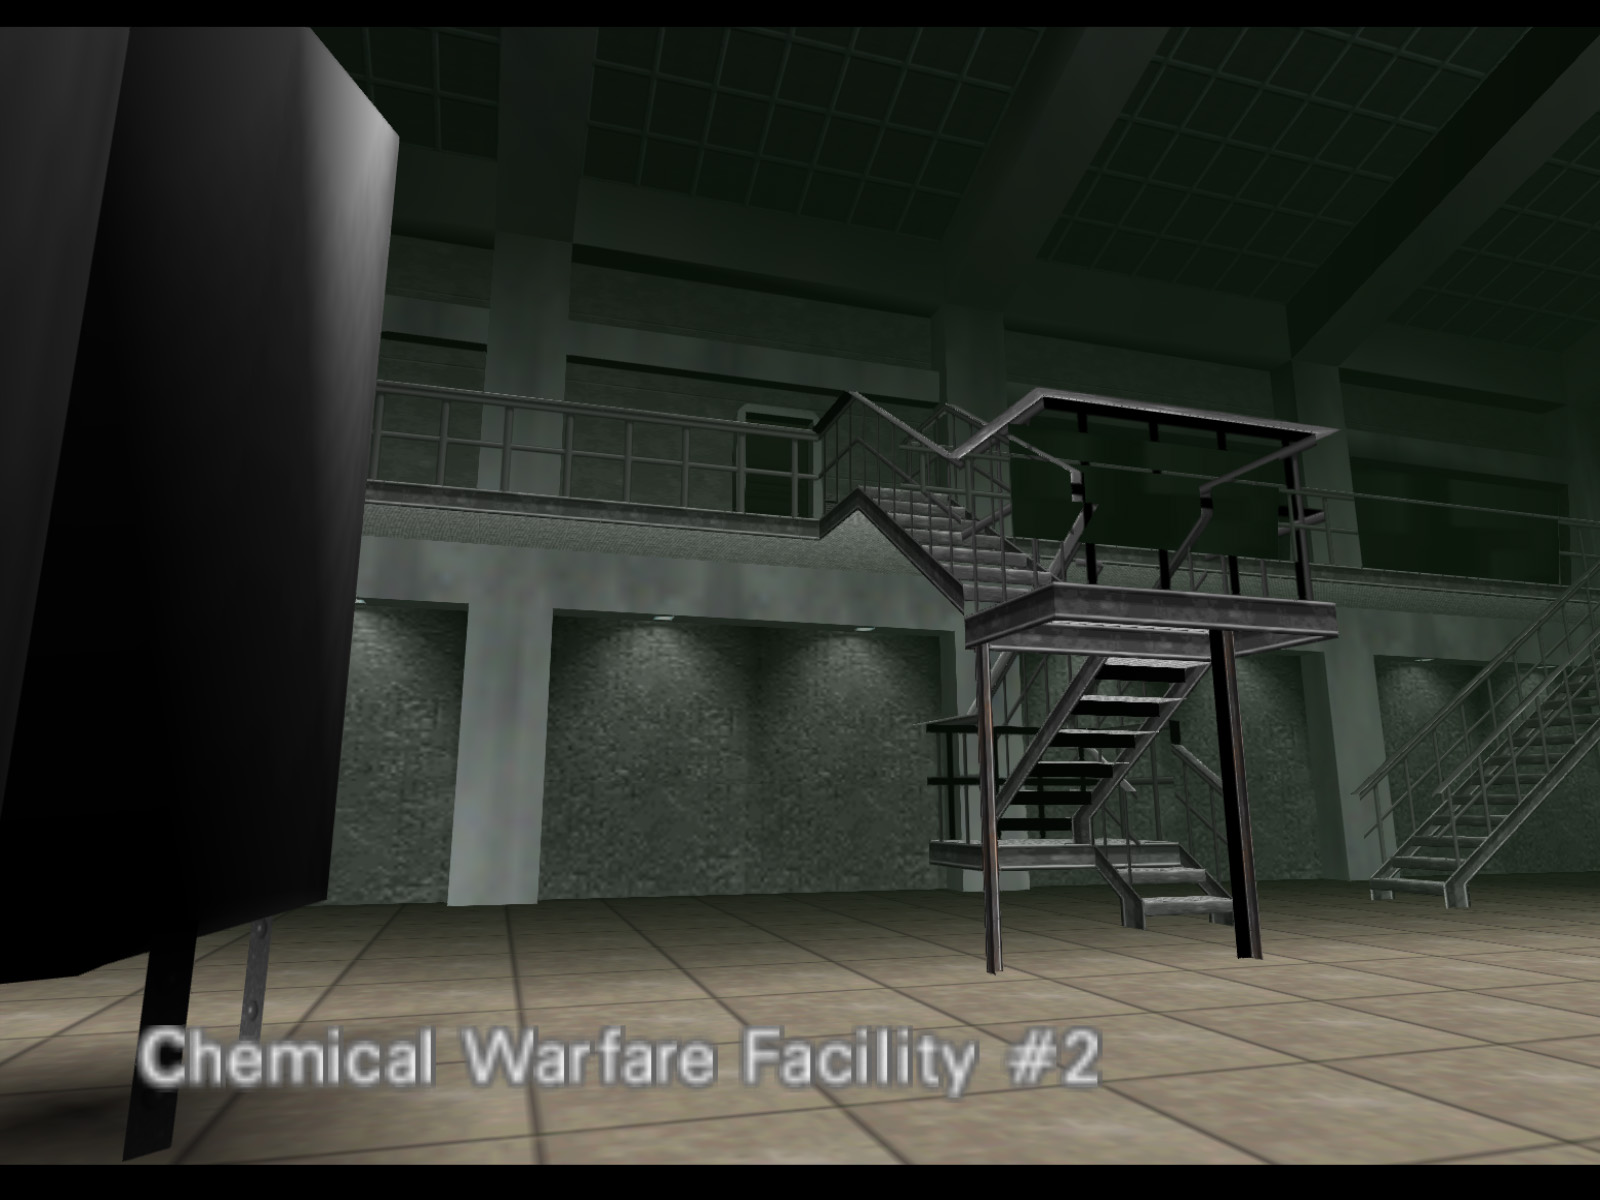
Chemical Warfare Facility #2, or just Facility for short, is the game's second level. MI6 is concerned that the nerve gas produced here is being sold to hostile governments and terrorists. Bond's mission is to destroy the gas tanks and render the facility inoperative. Soviet forces guard the gas plant very tightly, but MI6 has also sent Agent 006, Alec Trevelyan, to assist Bond. In addition the undercover scientist Dr. Doak is ready to provide Bond with a Door Decorder.
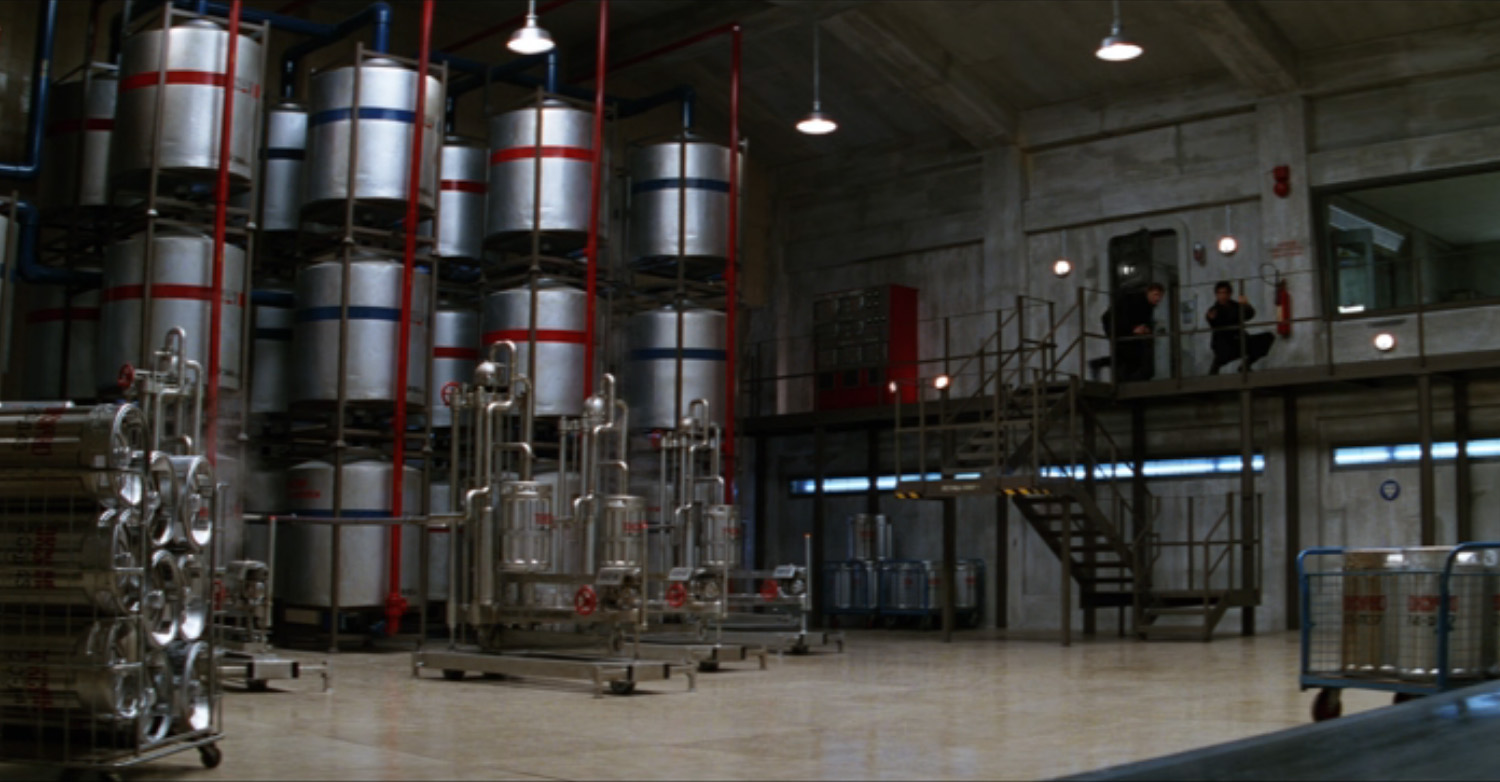
Facility is a very long level with all the components a real nerve gas plant would need — processing tanks, pipelines, gas storage, a bottling room, laboratories, and even a bathroom.
The player has to fight through most of the level on their own. It is only at the bottling room at the very end of the level where the player encounters 006.
Facility, along with Statue, is one of two levels where the location of a mission critical object is randomized. This is the Door Decorder held by Dr. Doak. Exactly how this works is explained further down the page.

This armor is located in the second security station.

This is top of a crate near the bottom of the stairs to the bathroom.
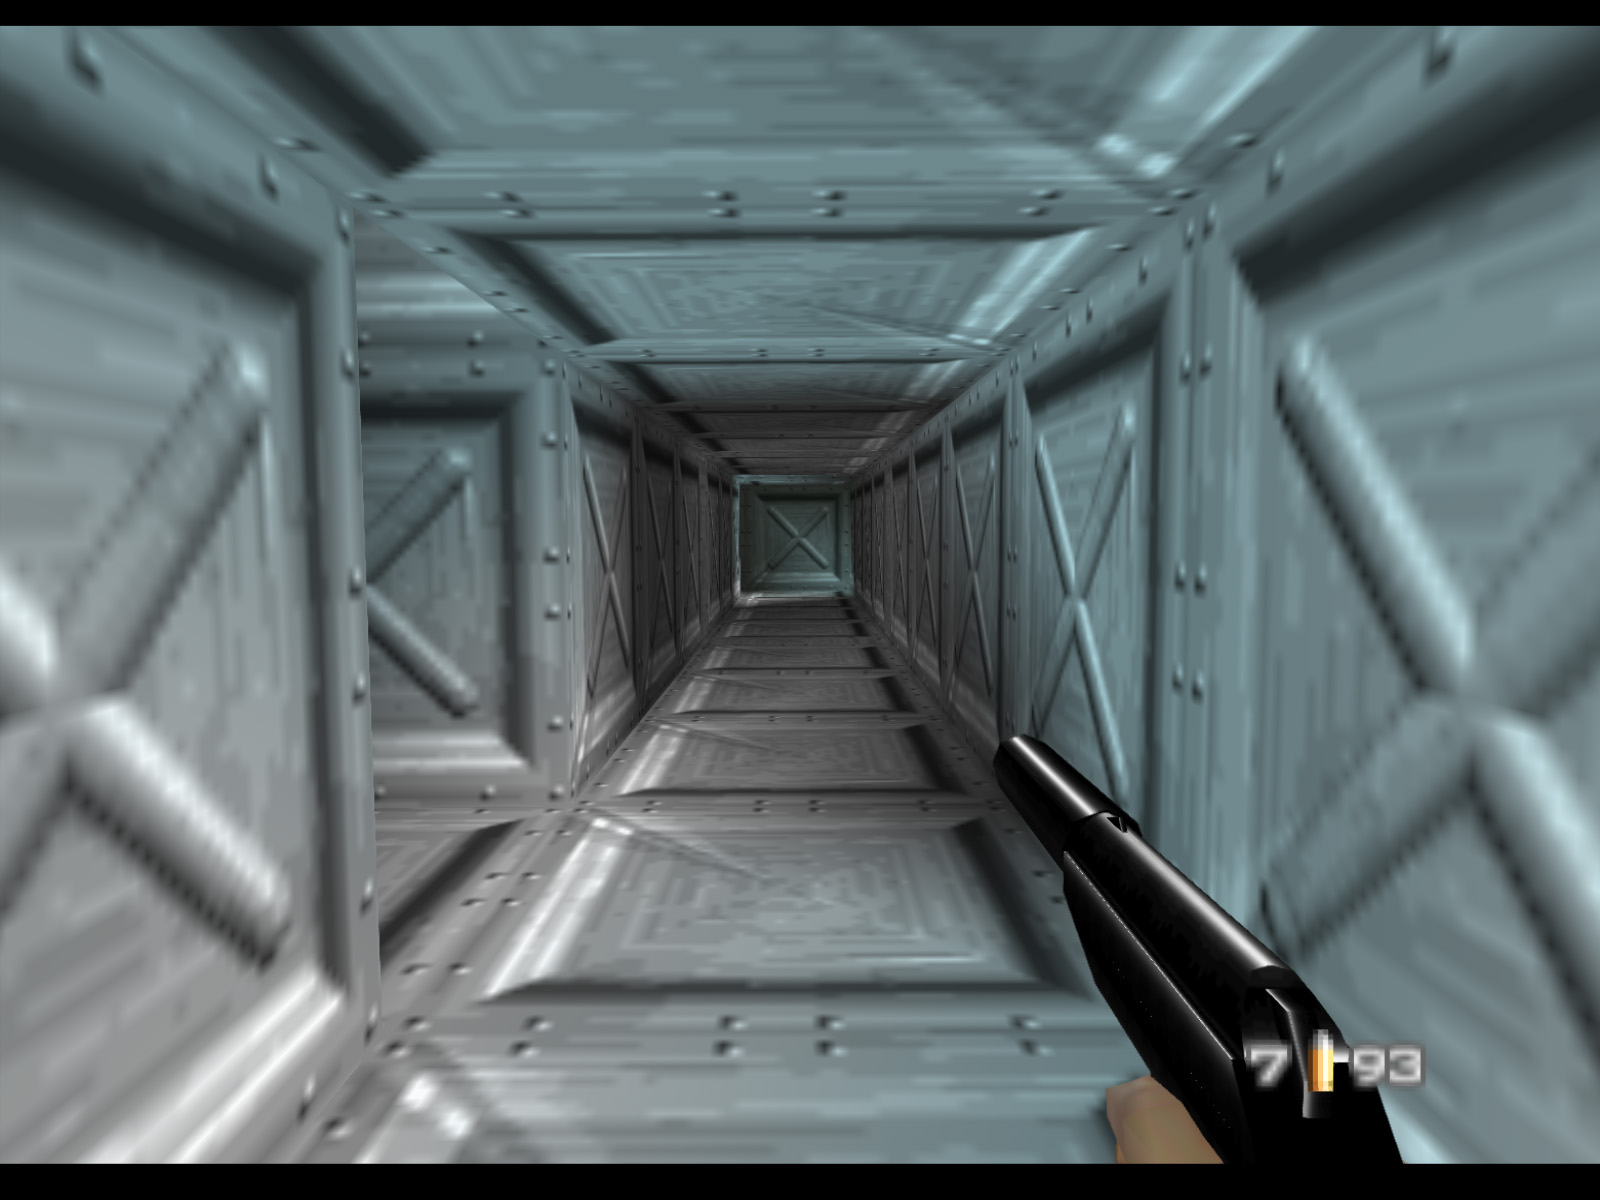
Facility begins with a series of ventilation ducts Bond enters after the bungee jump from the top of the dam. They are interesting to explore with several vents leading off in different directions. Ultimately the only way out is through an open hatch.
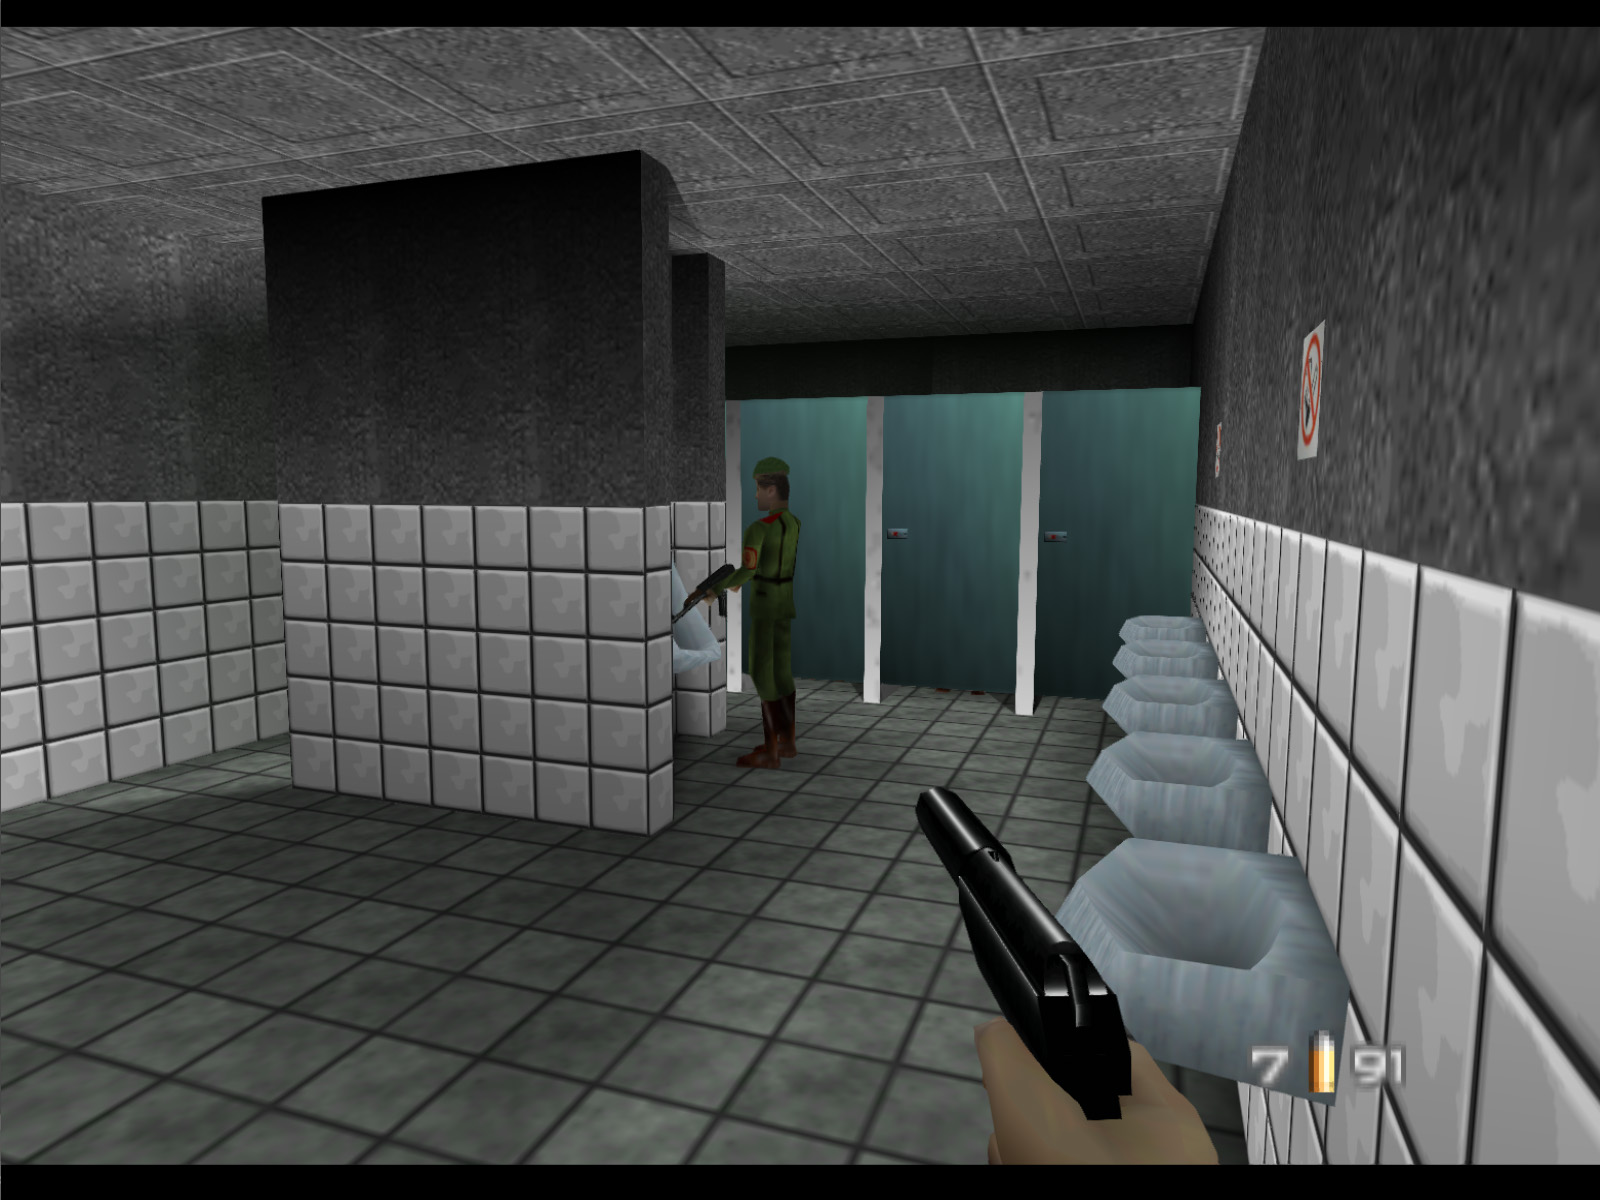
Iconic GoldenEye moment: peering into the bathroom stalls below to snoop on a guard. With the right positioning you can shoot off his hat then get a clean headshot.
The bathroom has another guard at the urinals and two more in the stalls behind him.
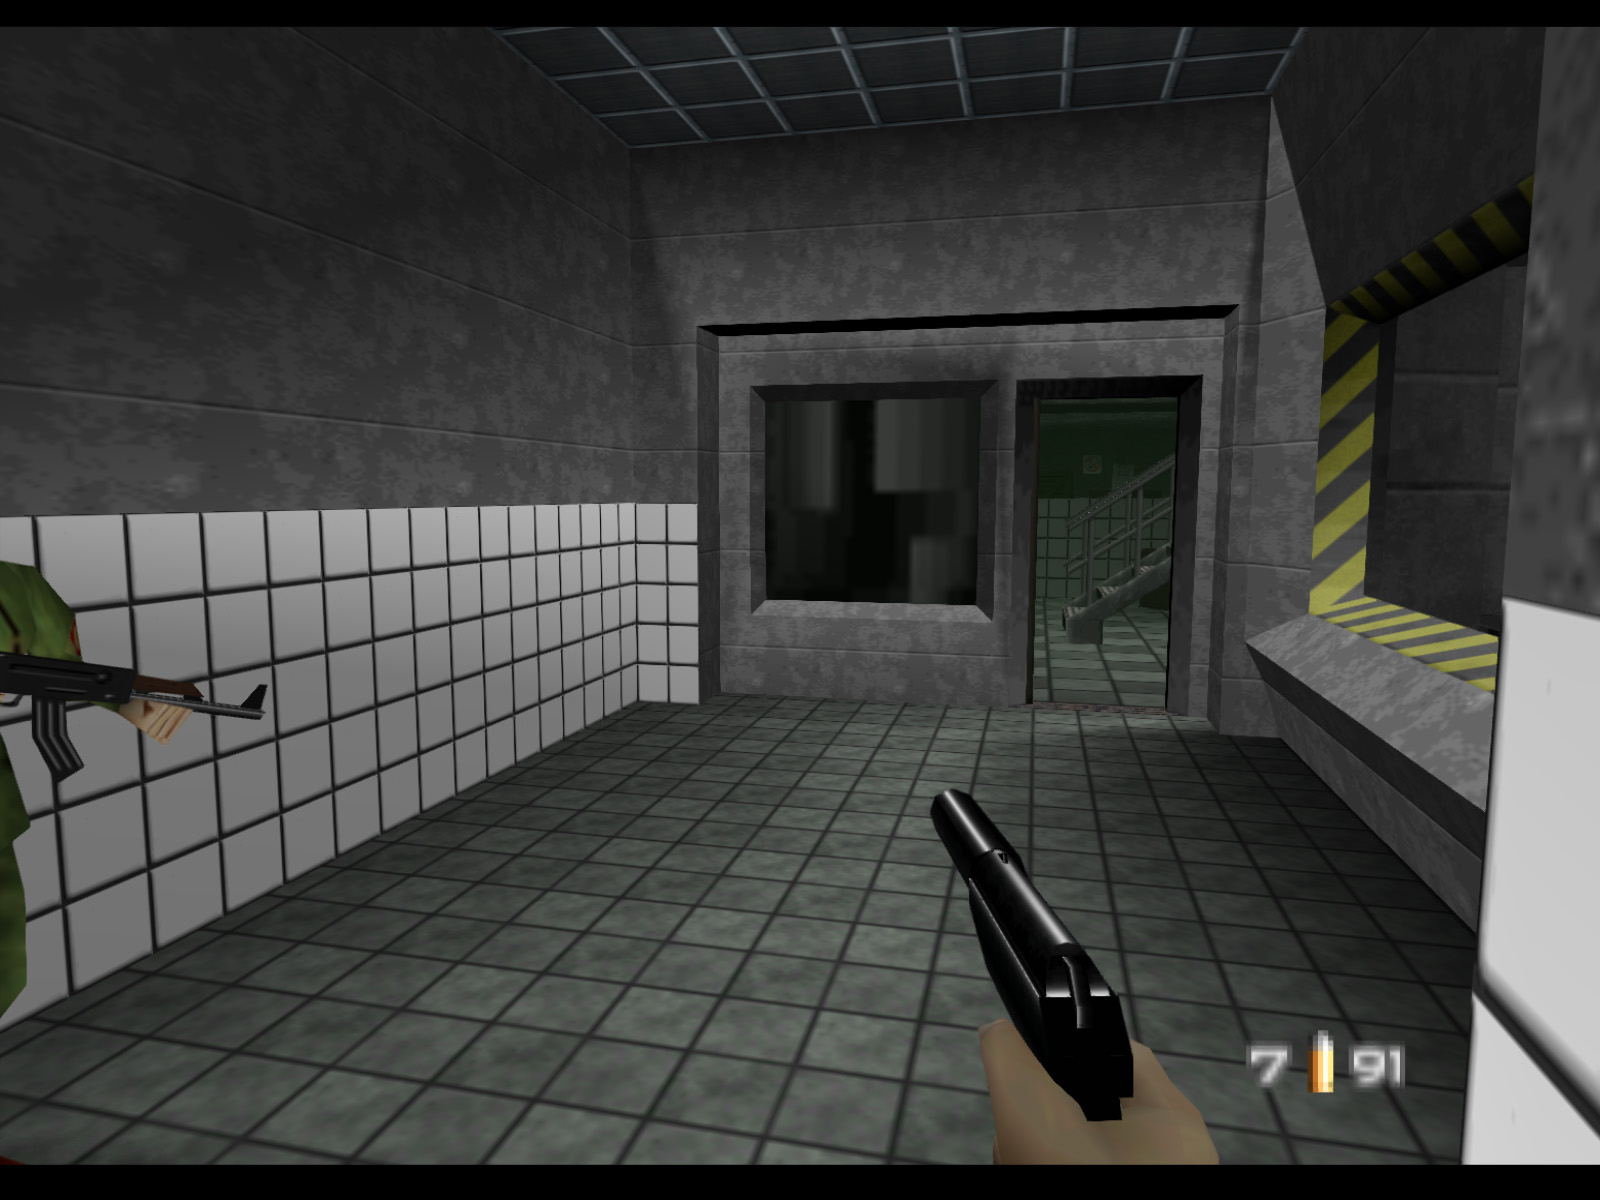
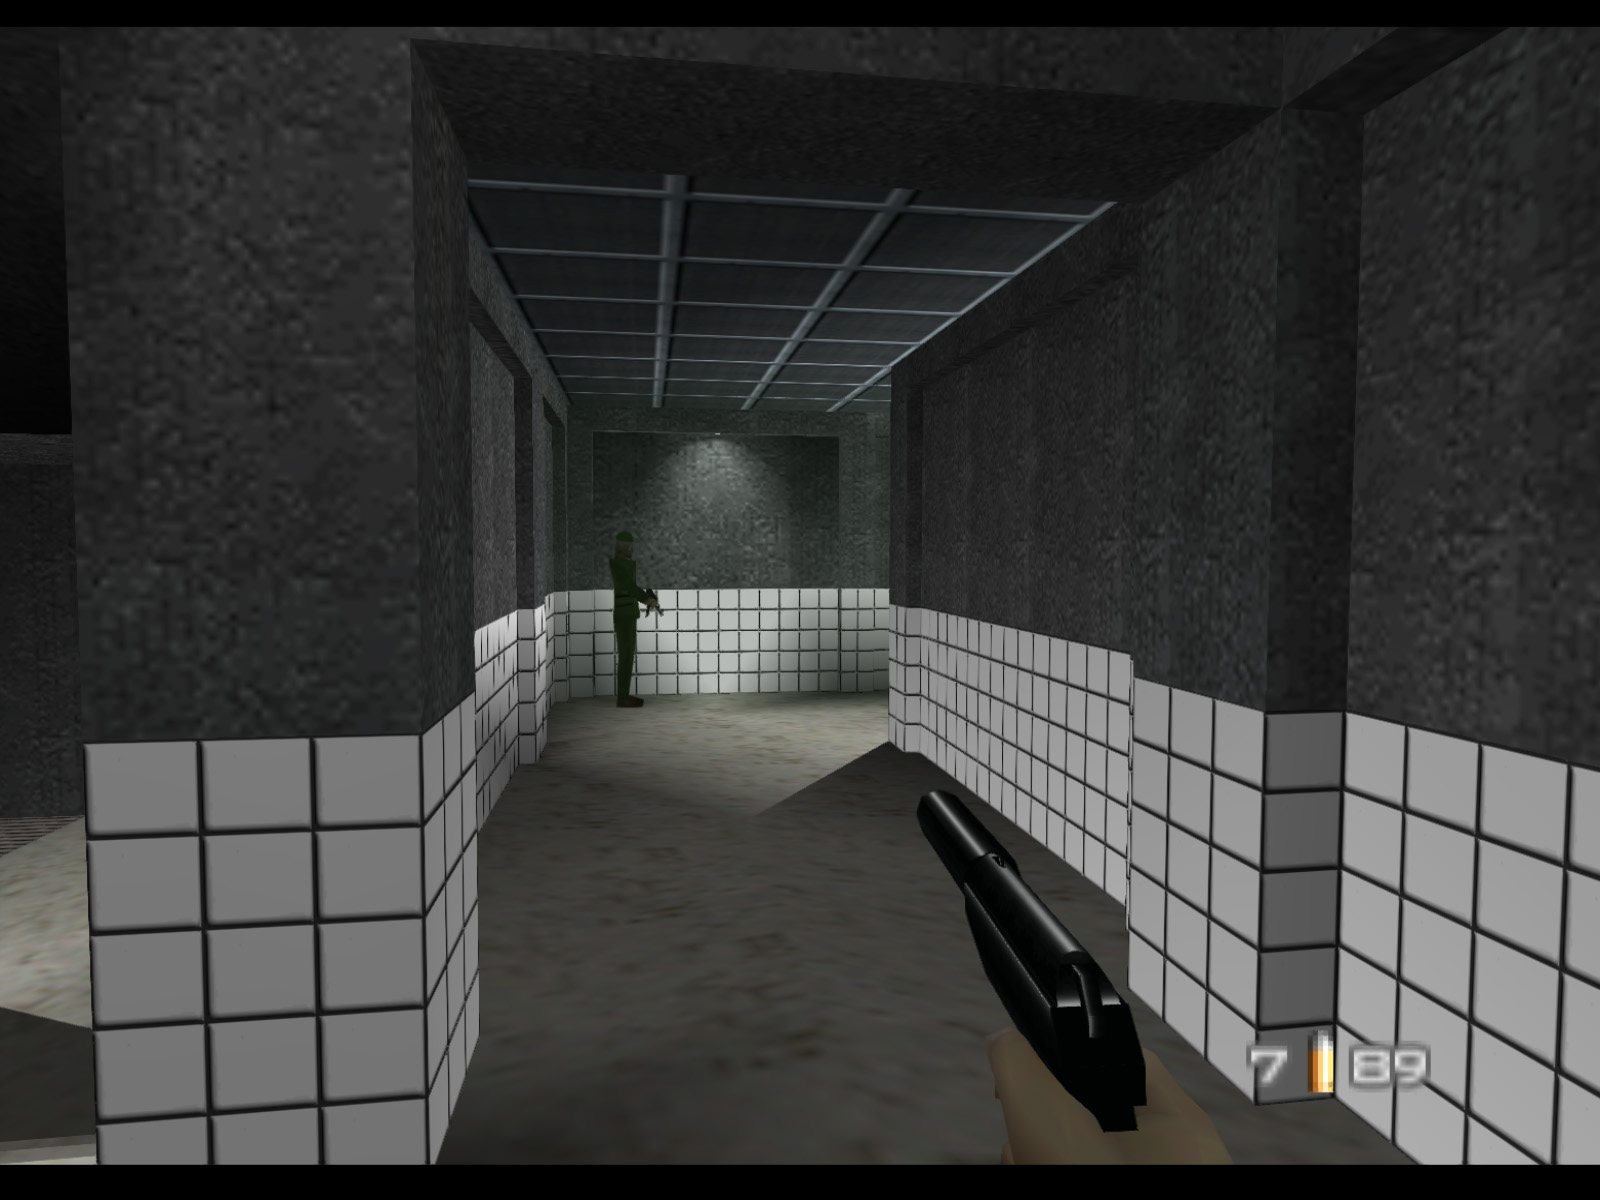
The level opens up a bit after the bathroom. This section, which I call the frontzone, contains hallways, a security station, and two laboratories.
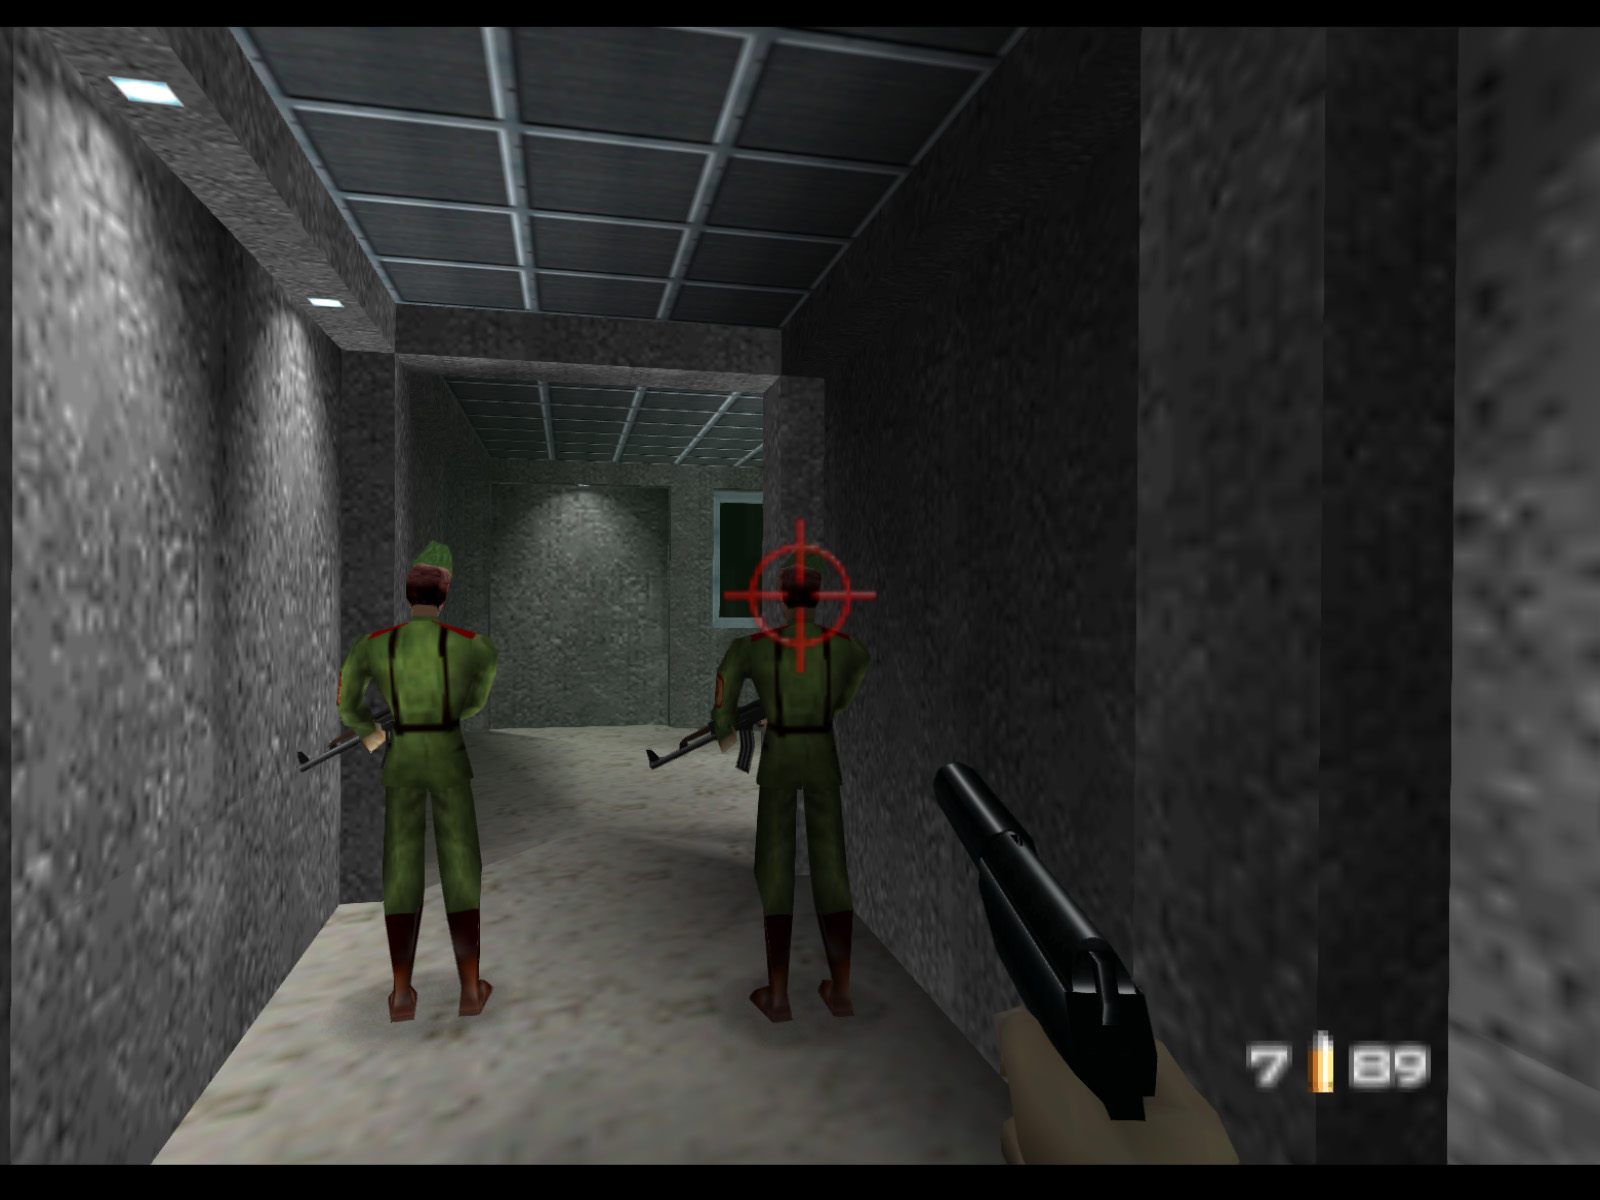
The frontzone, including the bathroom, has 15 guards. Most of them will react if they hear loud gunfire so I recommend using the Silenced PP7 in this area.
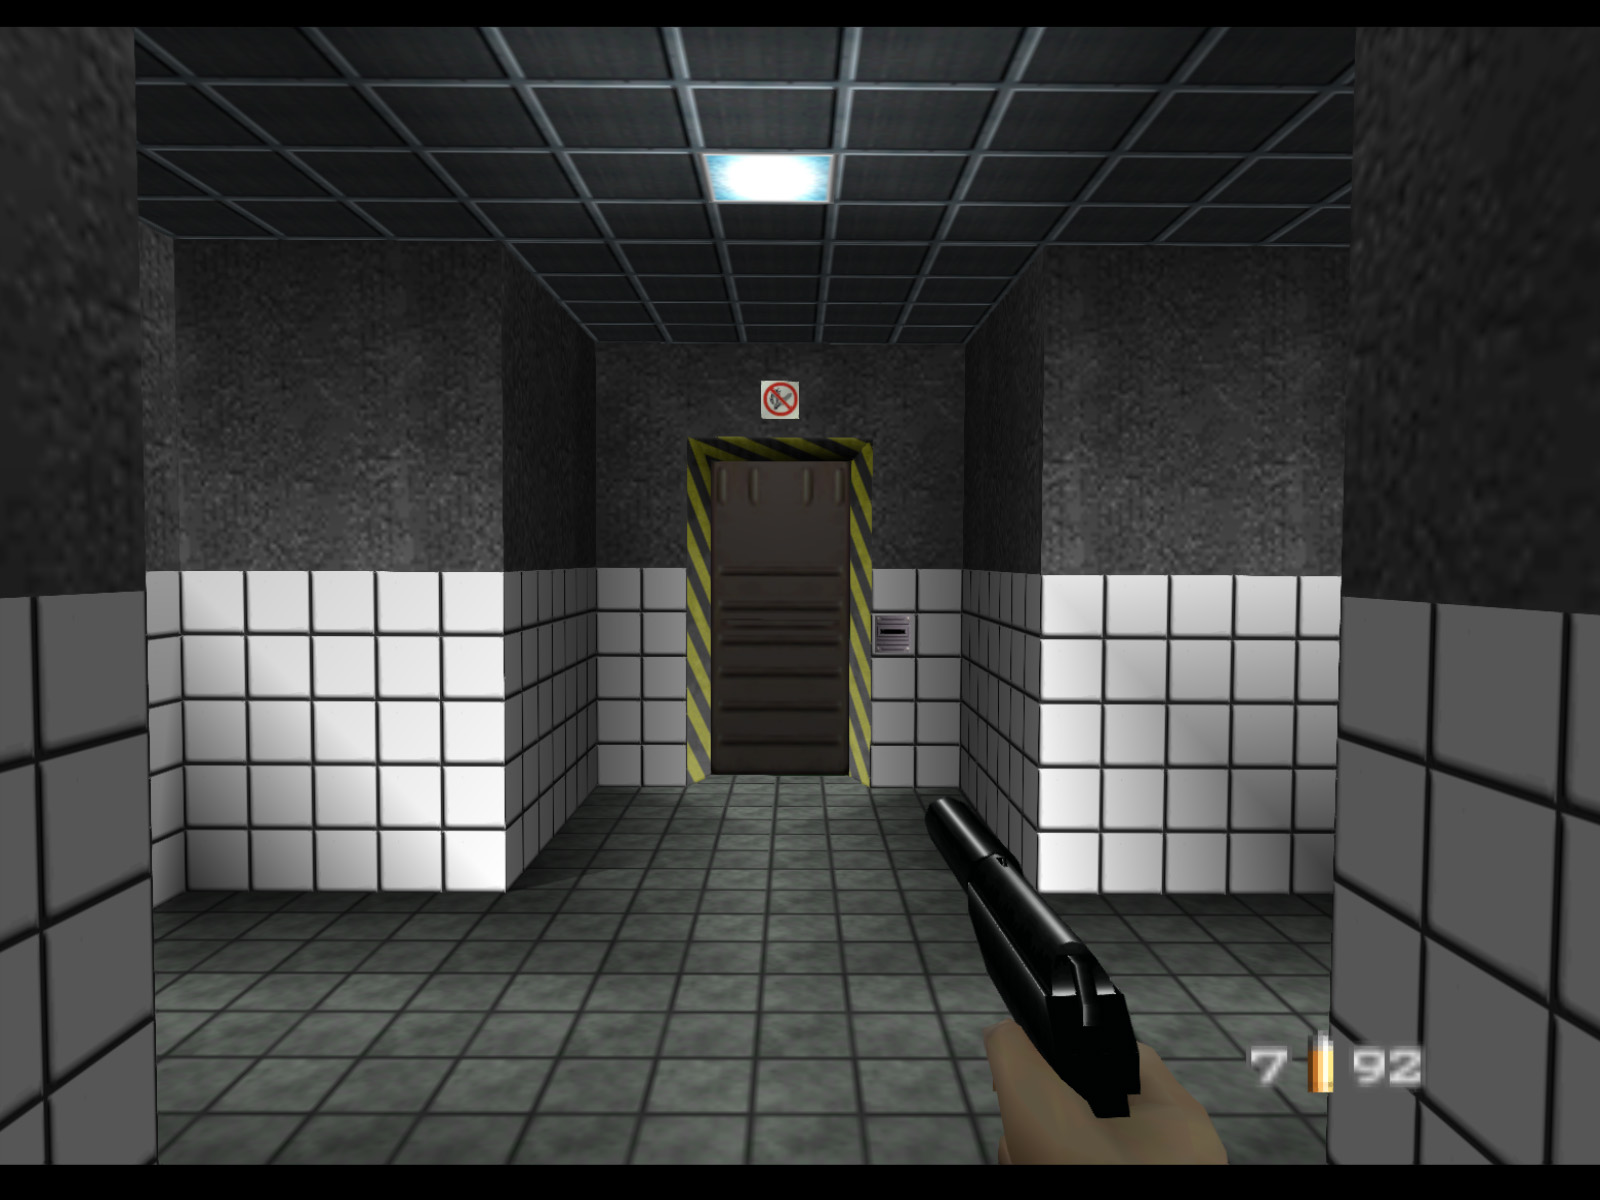
The brown door on the left goes to the security station.
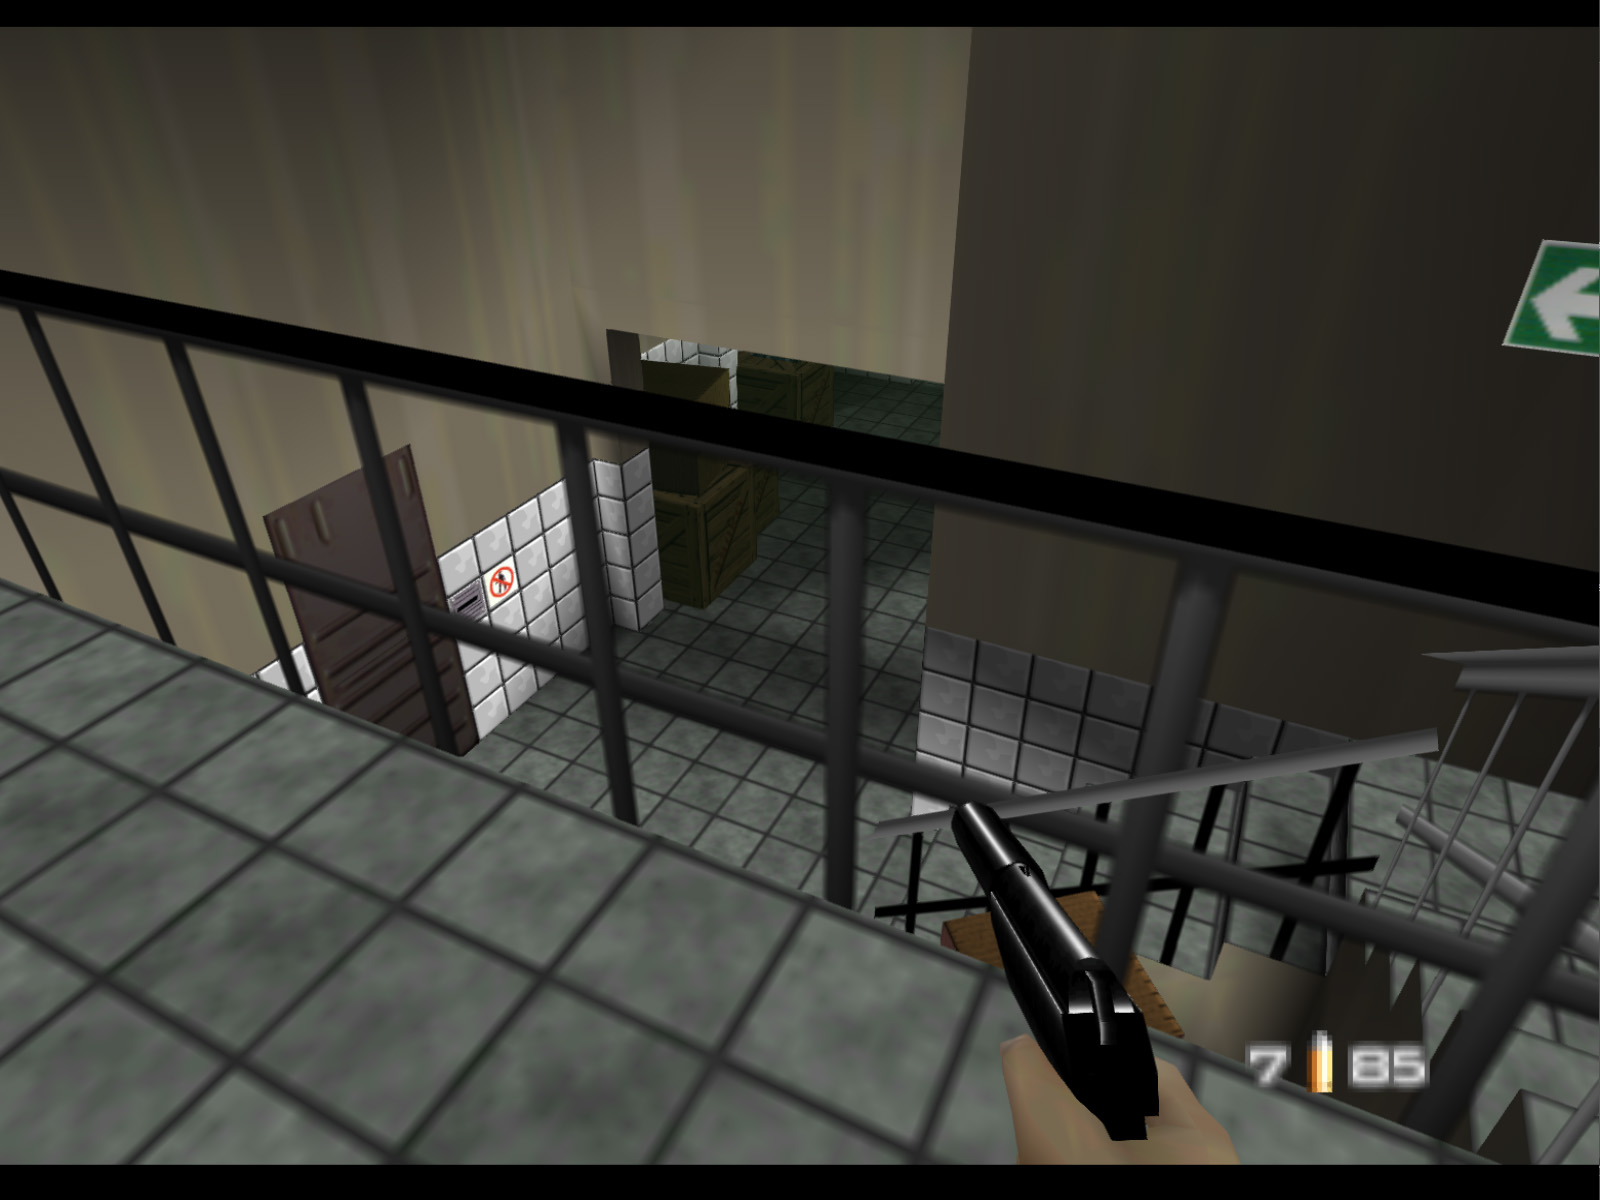
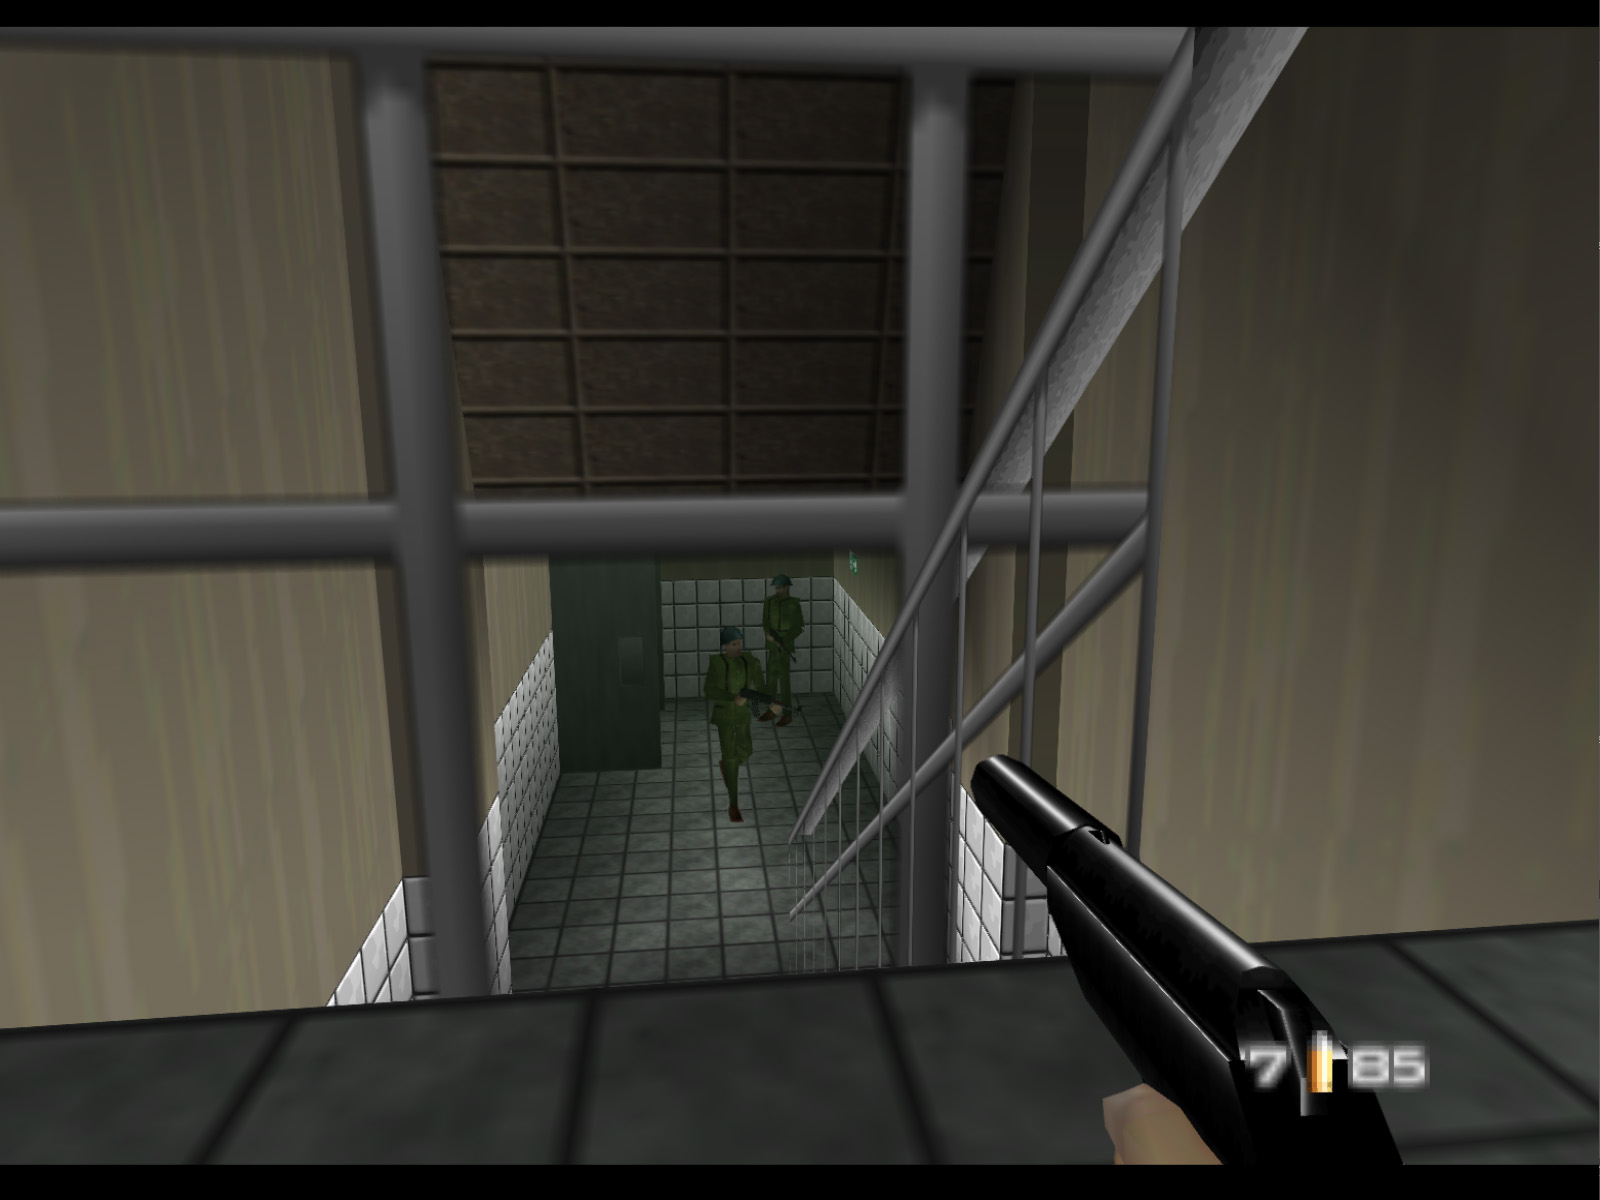
To the left of the previous screenshot are double doors that take you to this stairwell. A precise headshot from behind this railing is the best way to take out the far guard. Watch out for the patrolling guard who comes back here. There are a total of four patrolling guards in the frontzone.
After passing through the doors seen in the last screenshot you come to a T-junction.
▶ TIP: The standing guard here has the Clearance B Keycard which allows you to unlock the brown door to the security station.
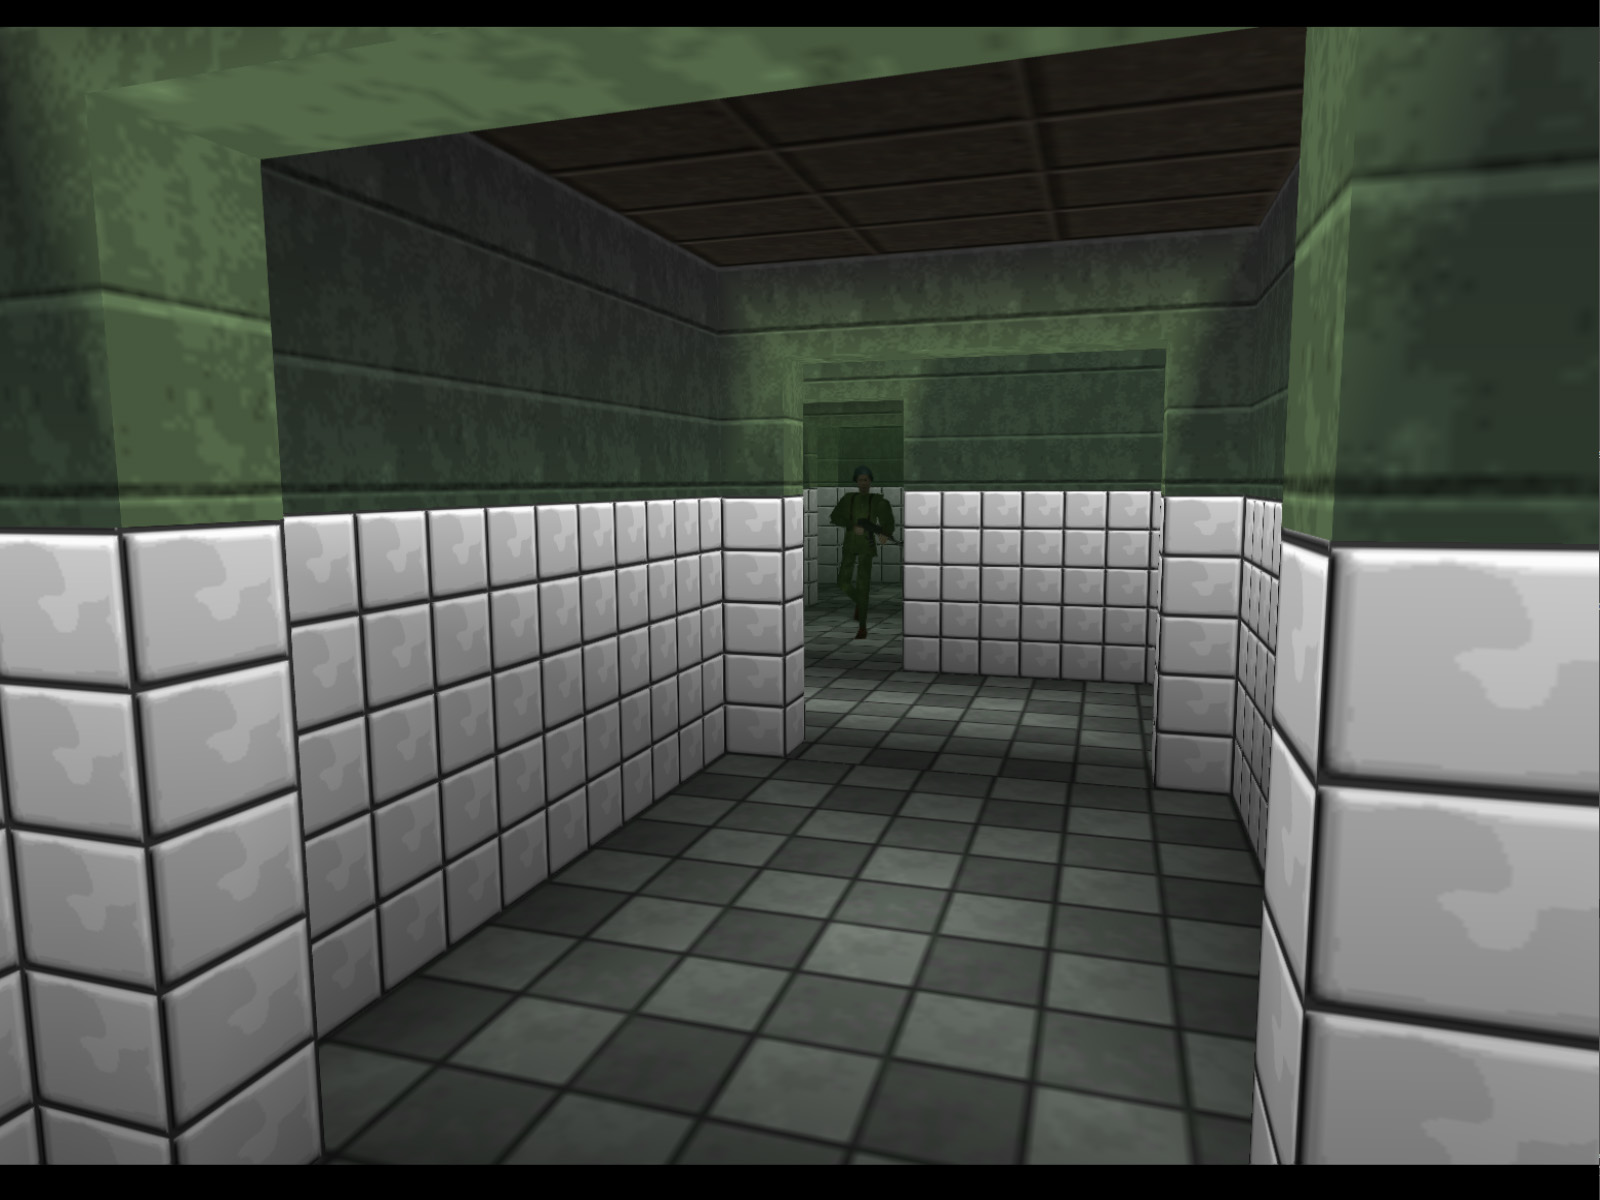
To the right of the previous screenshot is a long green hallway. There isn't much of interest here other than something we'll cover in the Curiosities section.
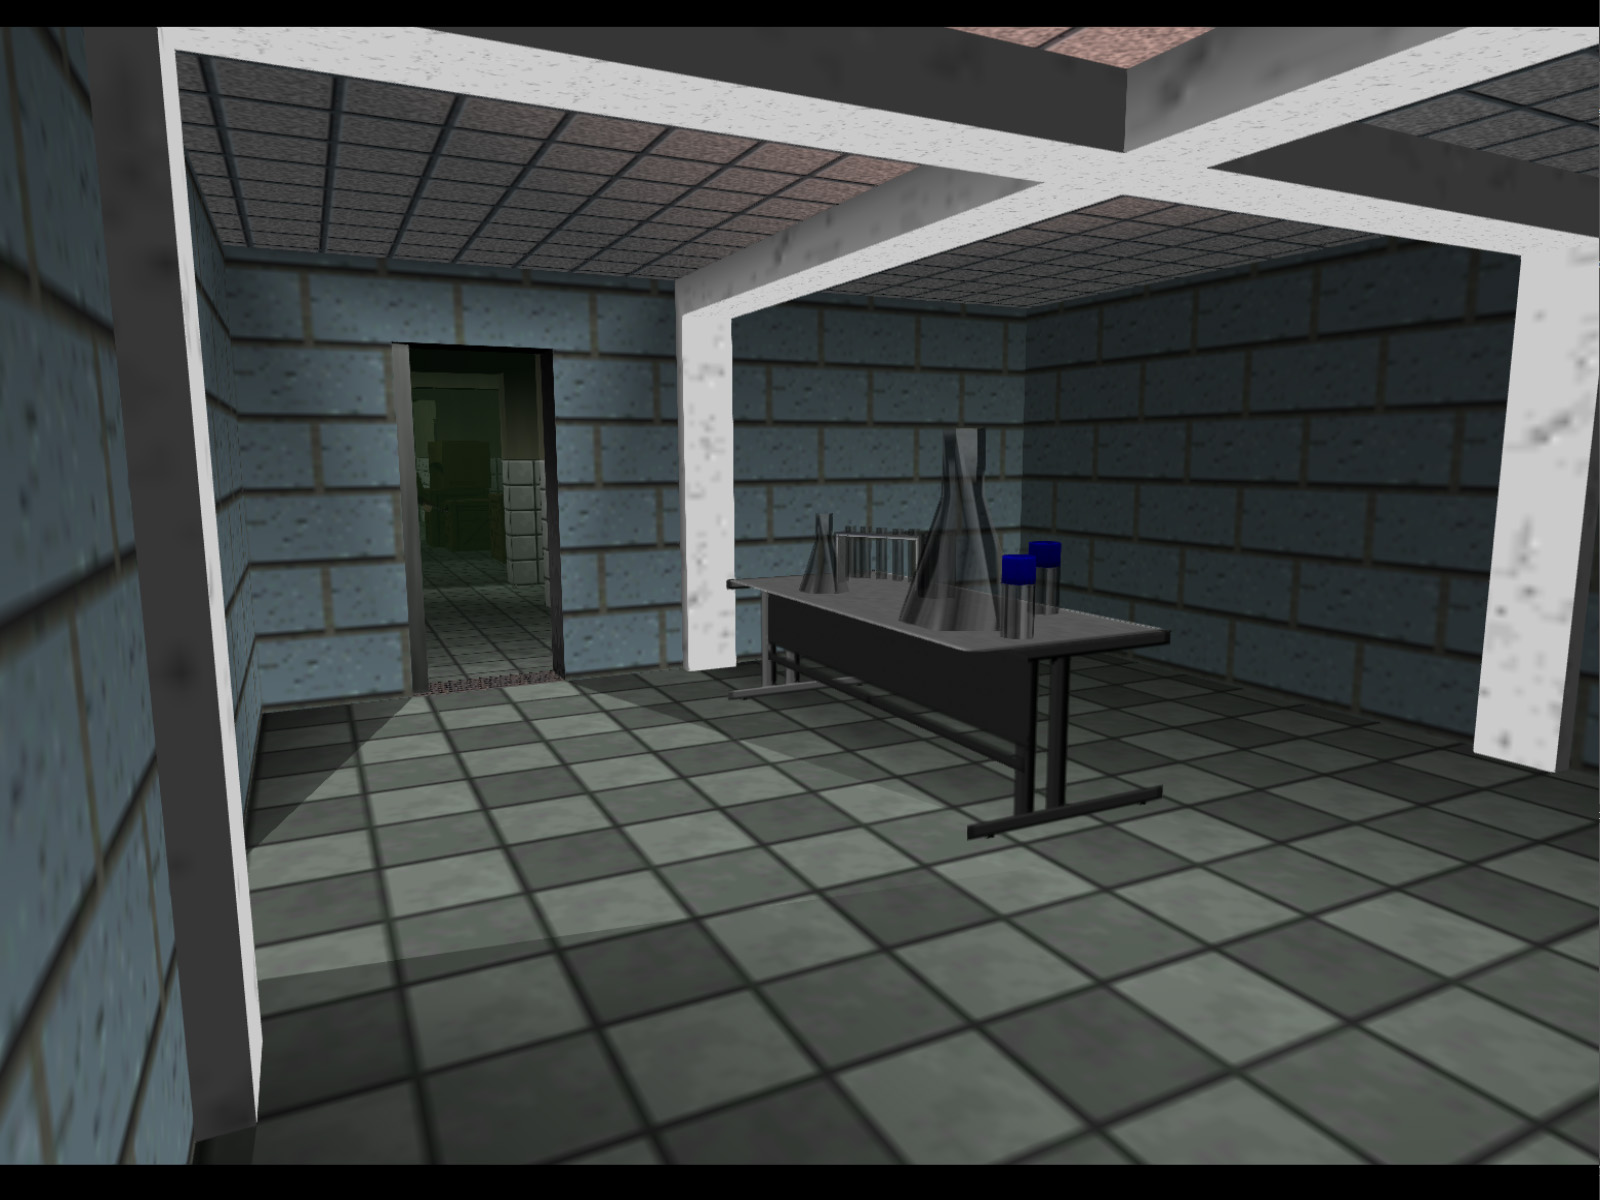
The green hall leads to a laboratory with blue brick walls and an extremely large Erlenmeyer flask.
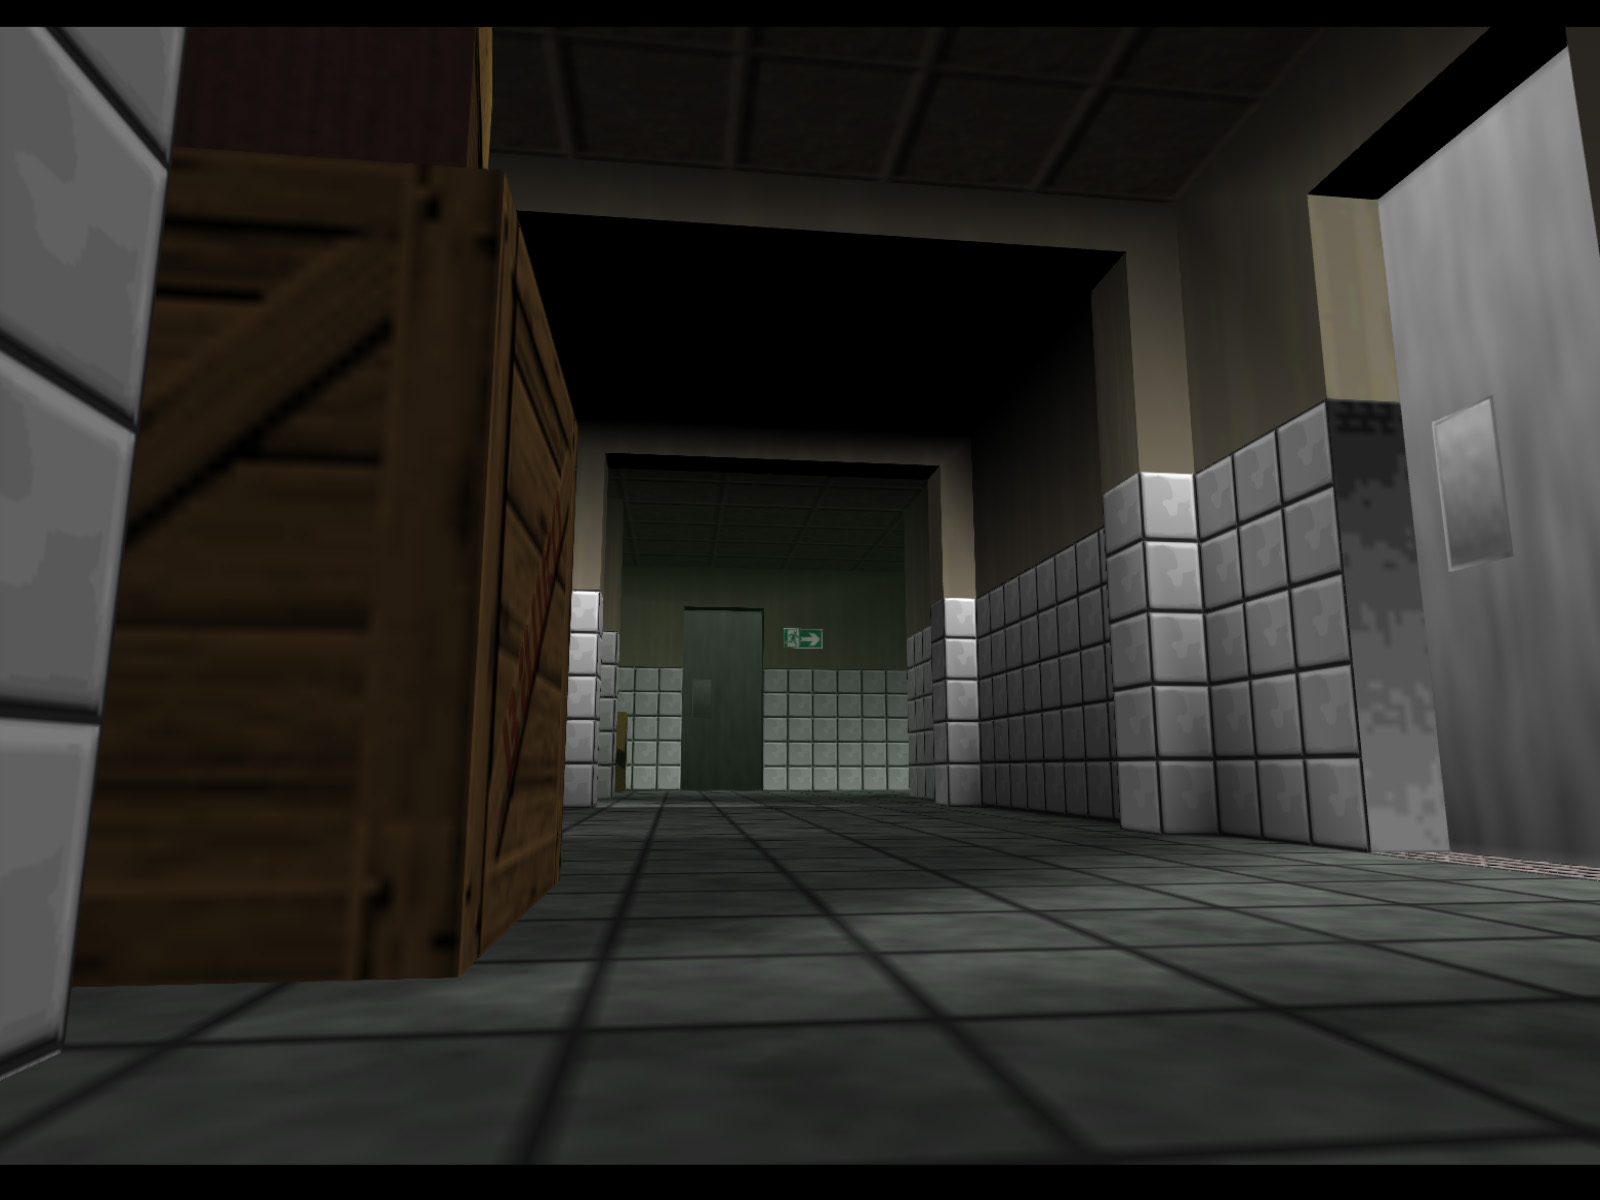
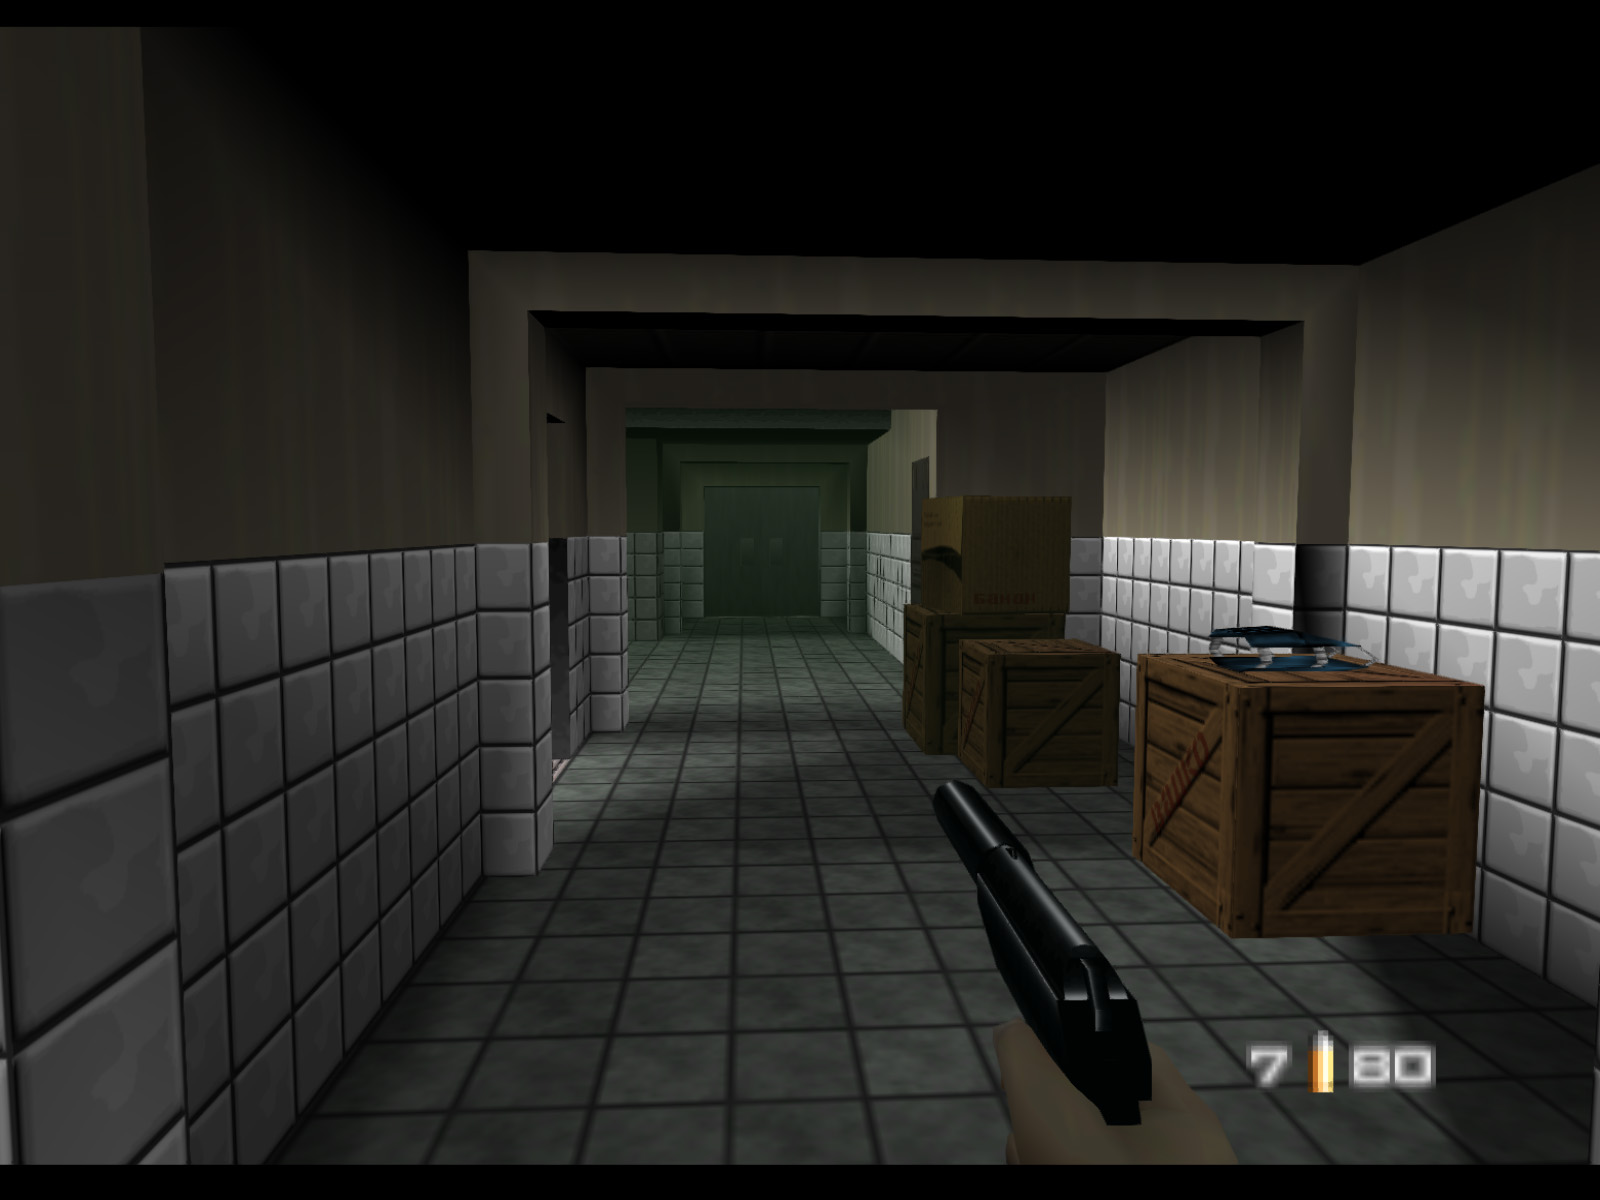
Continuing from the lab there is an area with boxes and two guards on short patrol paths. The Clearance B Keycard opens the brown door, but you cannot open the door beyond it with your keycard.
▶ TIP: These boxes drop KF7 Soviets and 9mm ammo. In fact all the crates and boxes in the frontzone drop ammo. The 9mm ammo is especially valuable since all the guards in the level carry the KF7 Soviet.
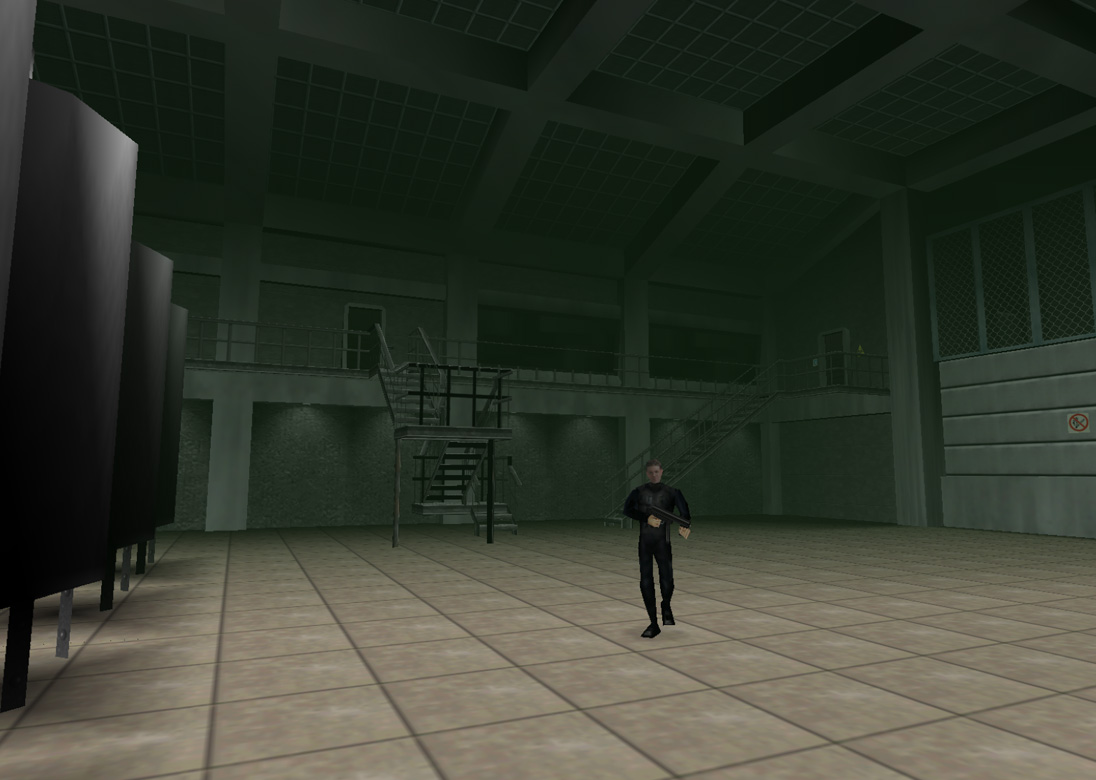
A view of the main hall in the frontzone.
Through a door on the left of the last image is the second laboratory of the frontzone. This room can be bypassed if you wish. The guard on the left is deaf and will not react to noise, but the guard on the right will.
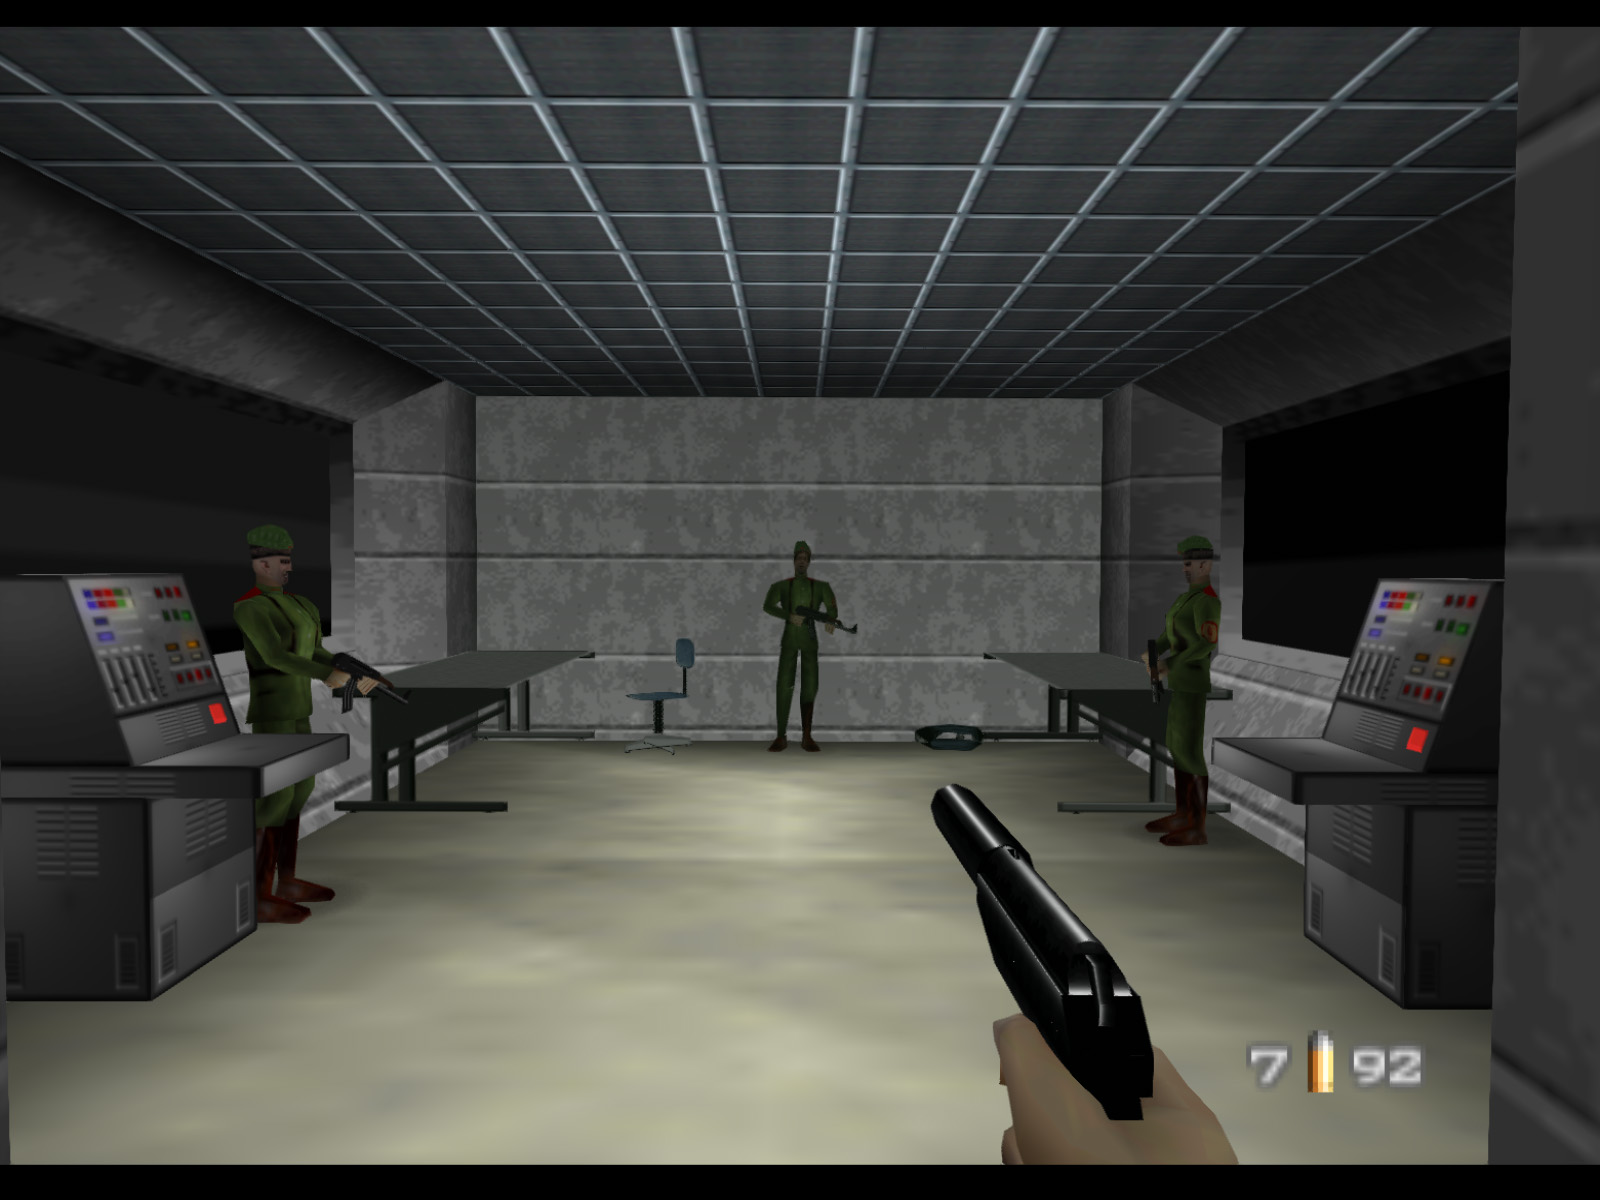
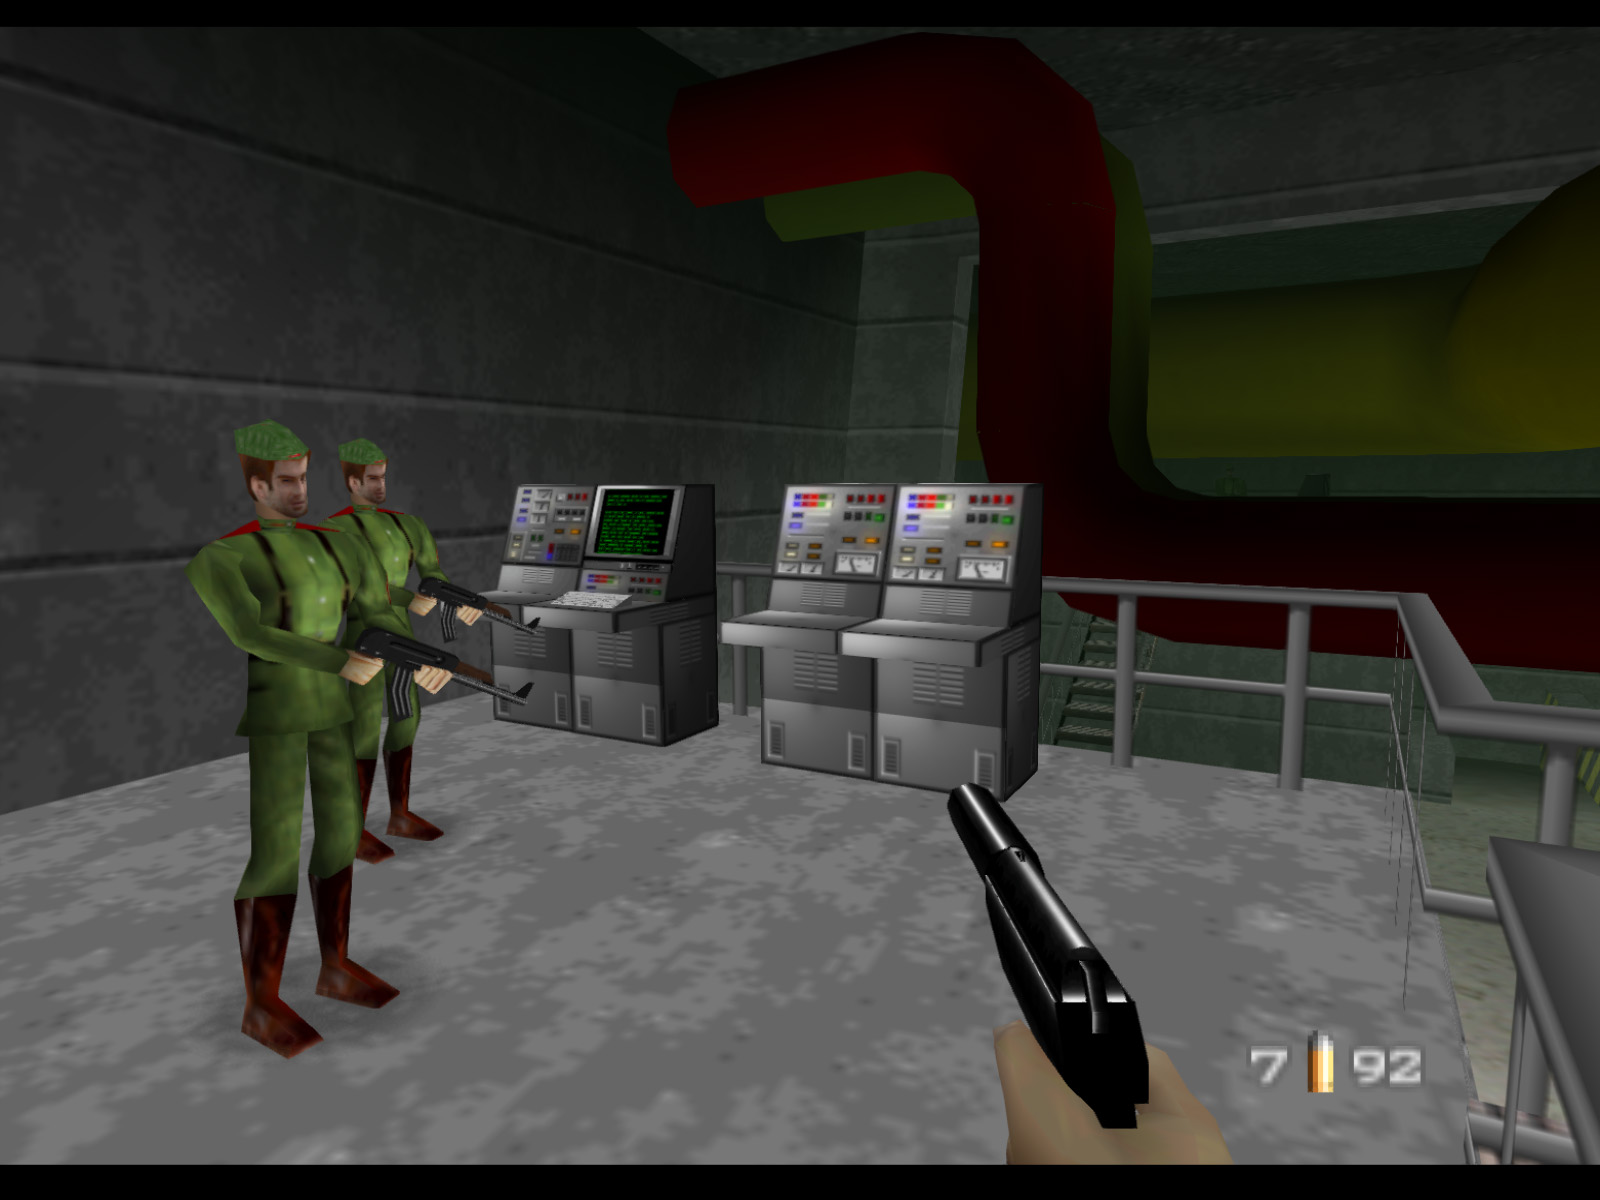
The last rooms of the frontzone are the security rooms. Three guards stand at the ready. If you enter the room on the other side of the window without first clearing this room, the guards will rush out and attack you.
This is the room on the other side of the glass. Press B on the console in the security station to open this door.
▶ TIP: Be careful with the console. If you or an enemy destroy it you will have to wait for a scientist with the all access Clearance Keycard A to come along and open it for you. He doesn't even begin moving toward the frontzone until four minutes have elapsed in the mission.
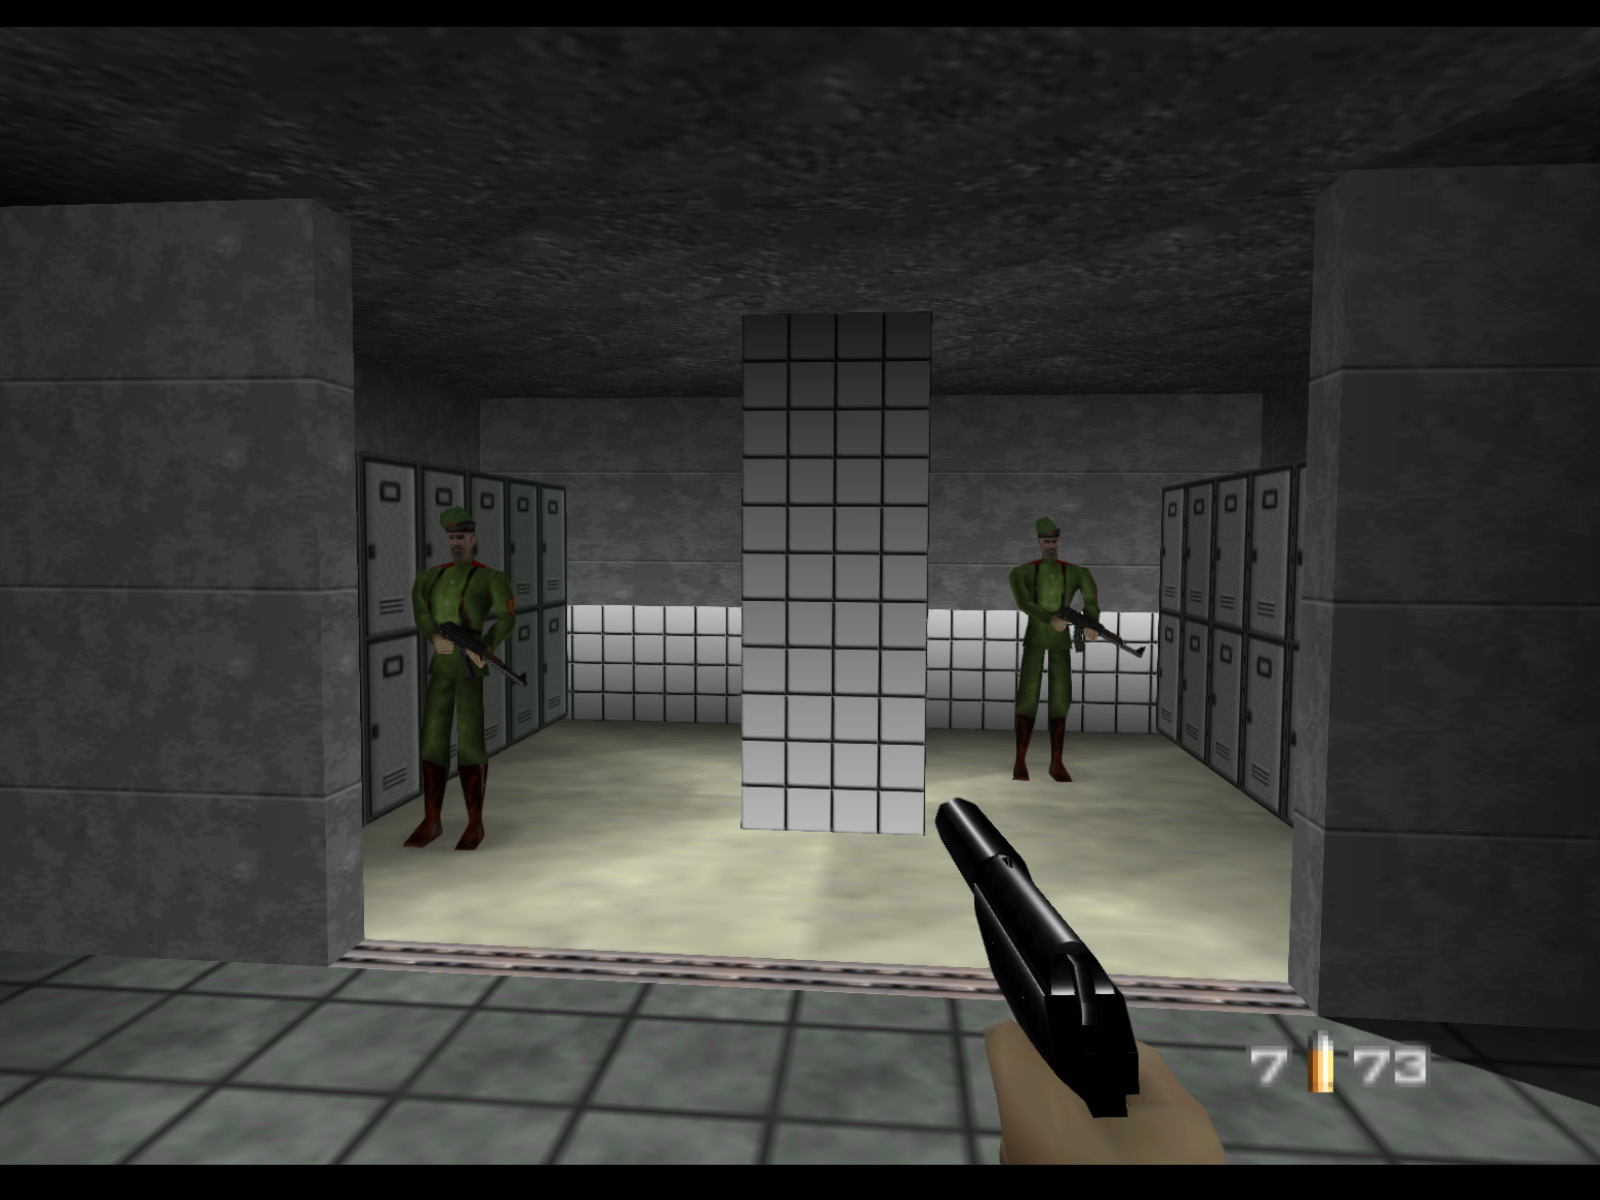
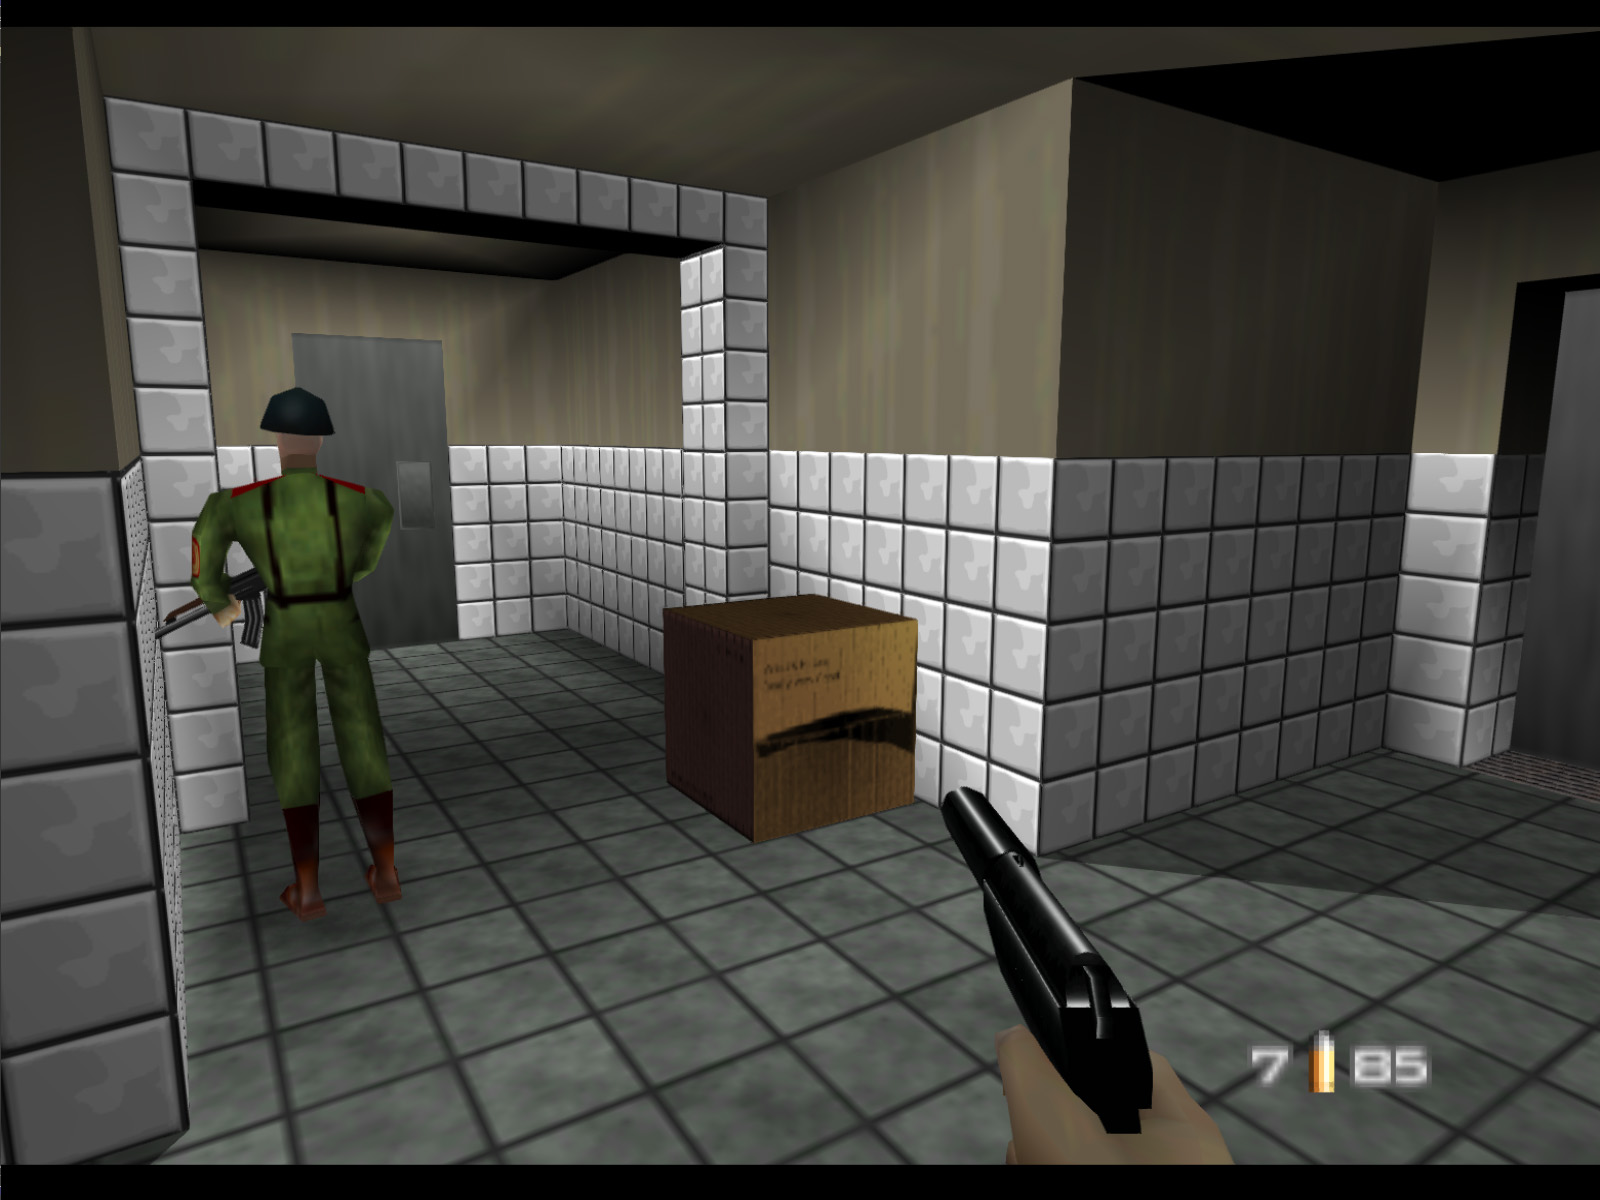
After that first set of security doors you will find this locker room with two soldiers.
▶ TIP: As soon as you enter this room four guards with steel helmets will begin to spawn behind you and move through this area. The intervals at which they spawn is somewhat randomized. It really comes down to your personal preference if you want to wait here and ambush them or if you want to forge ahead so quickly that you avoid them.
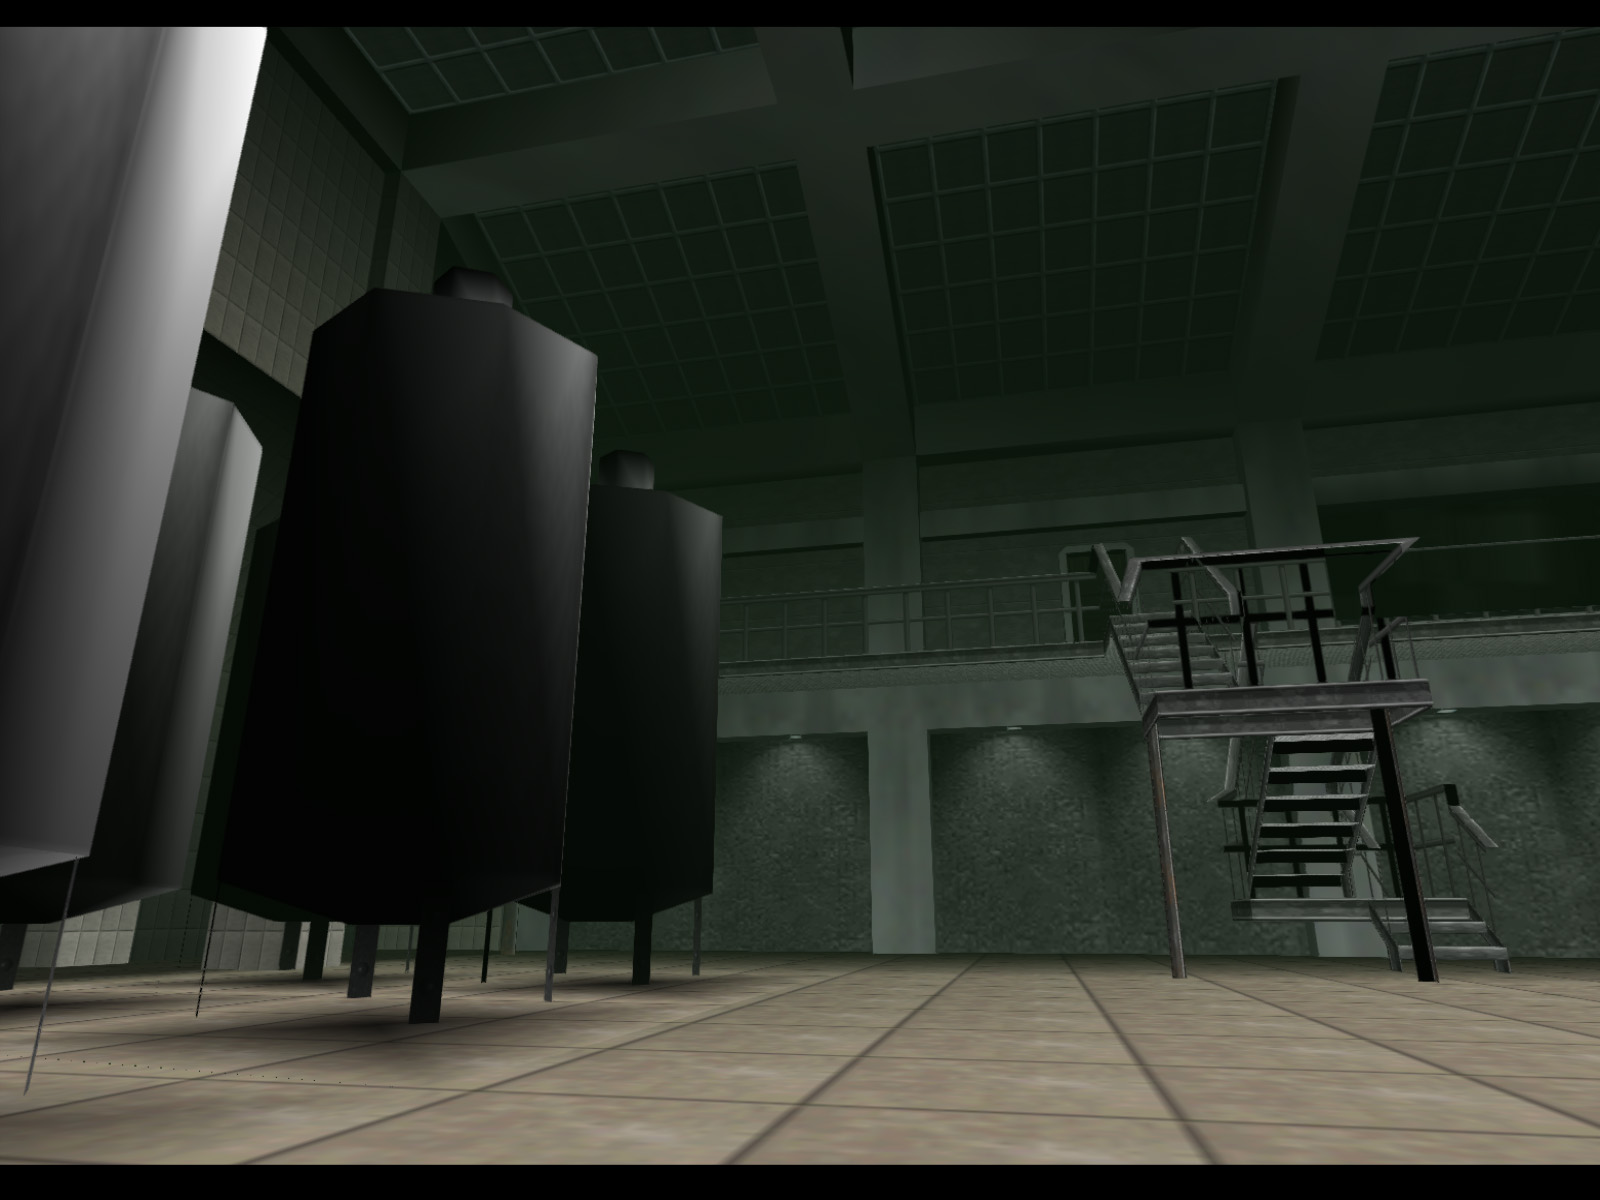
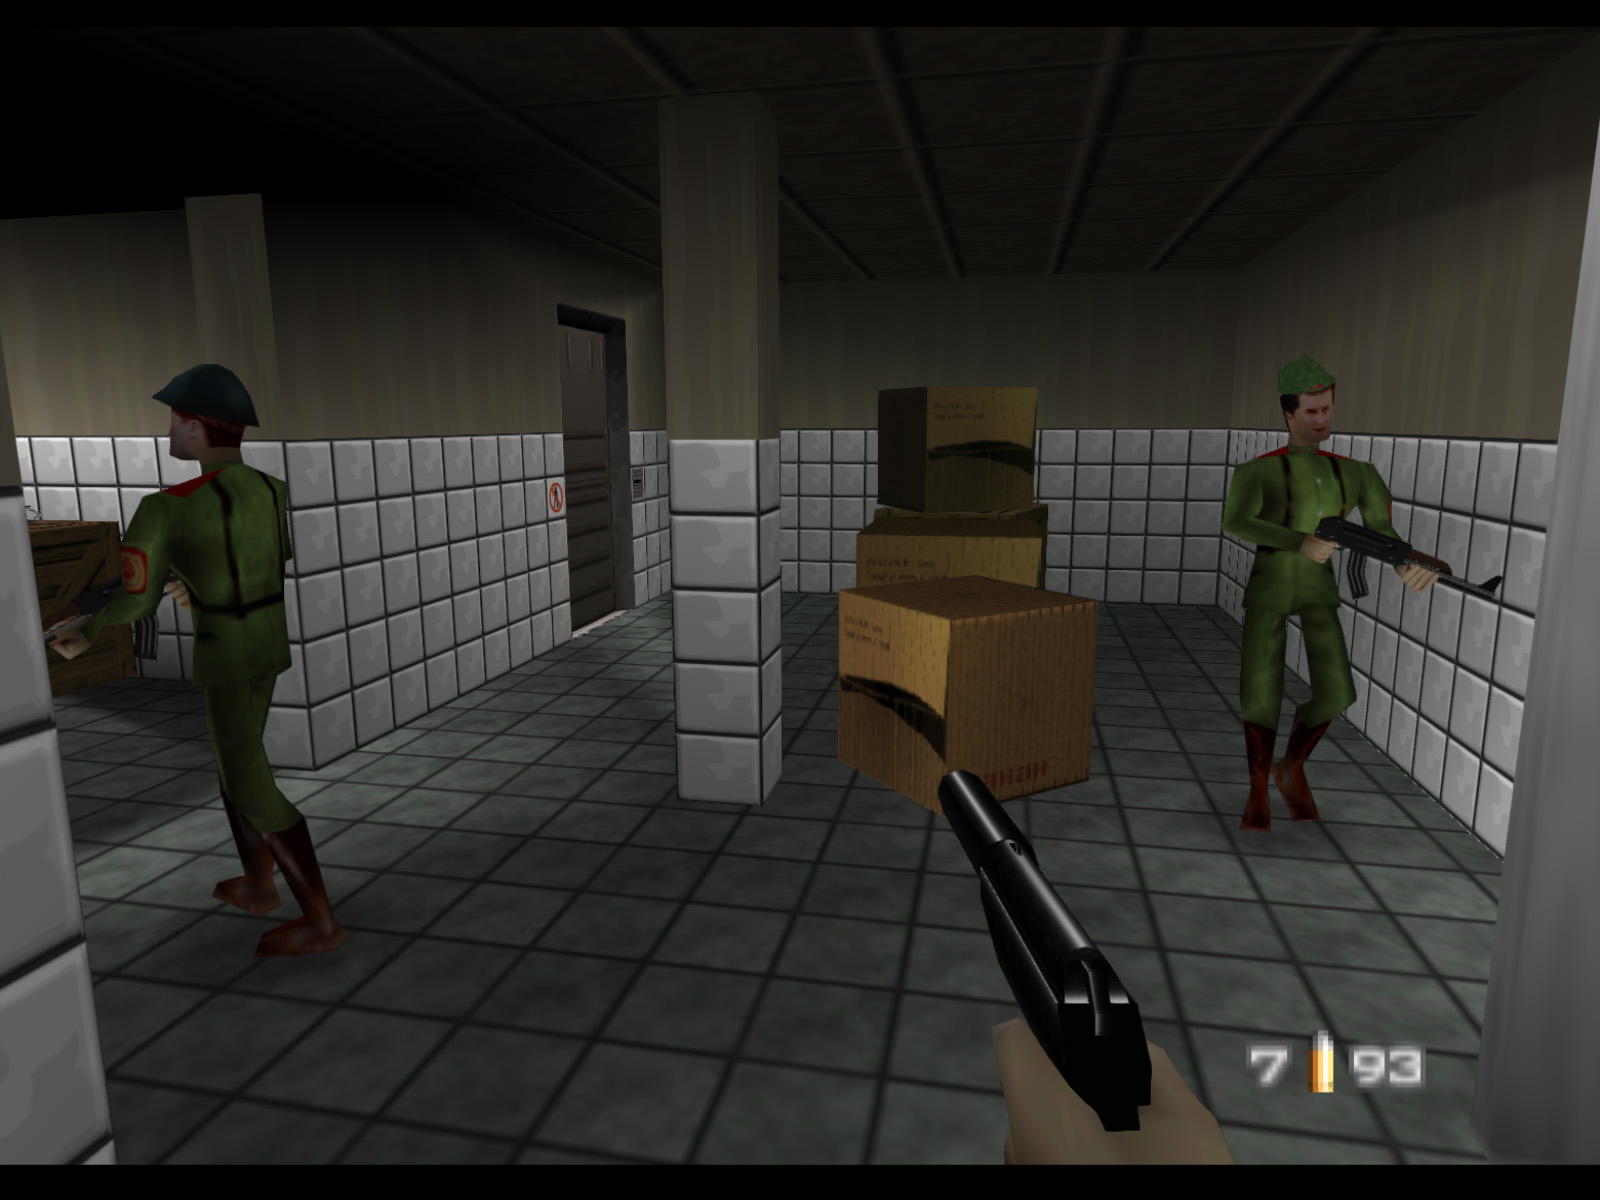
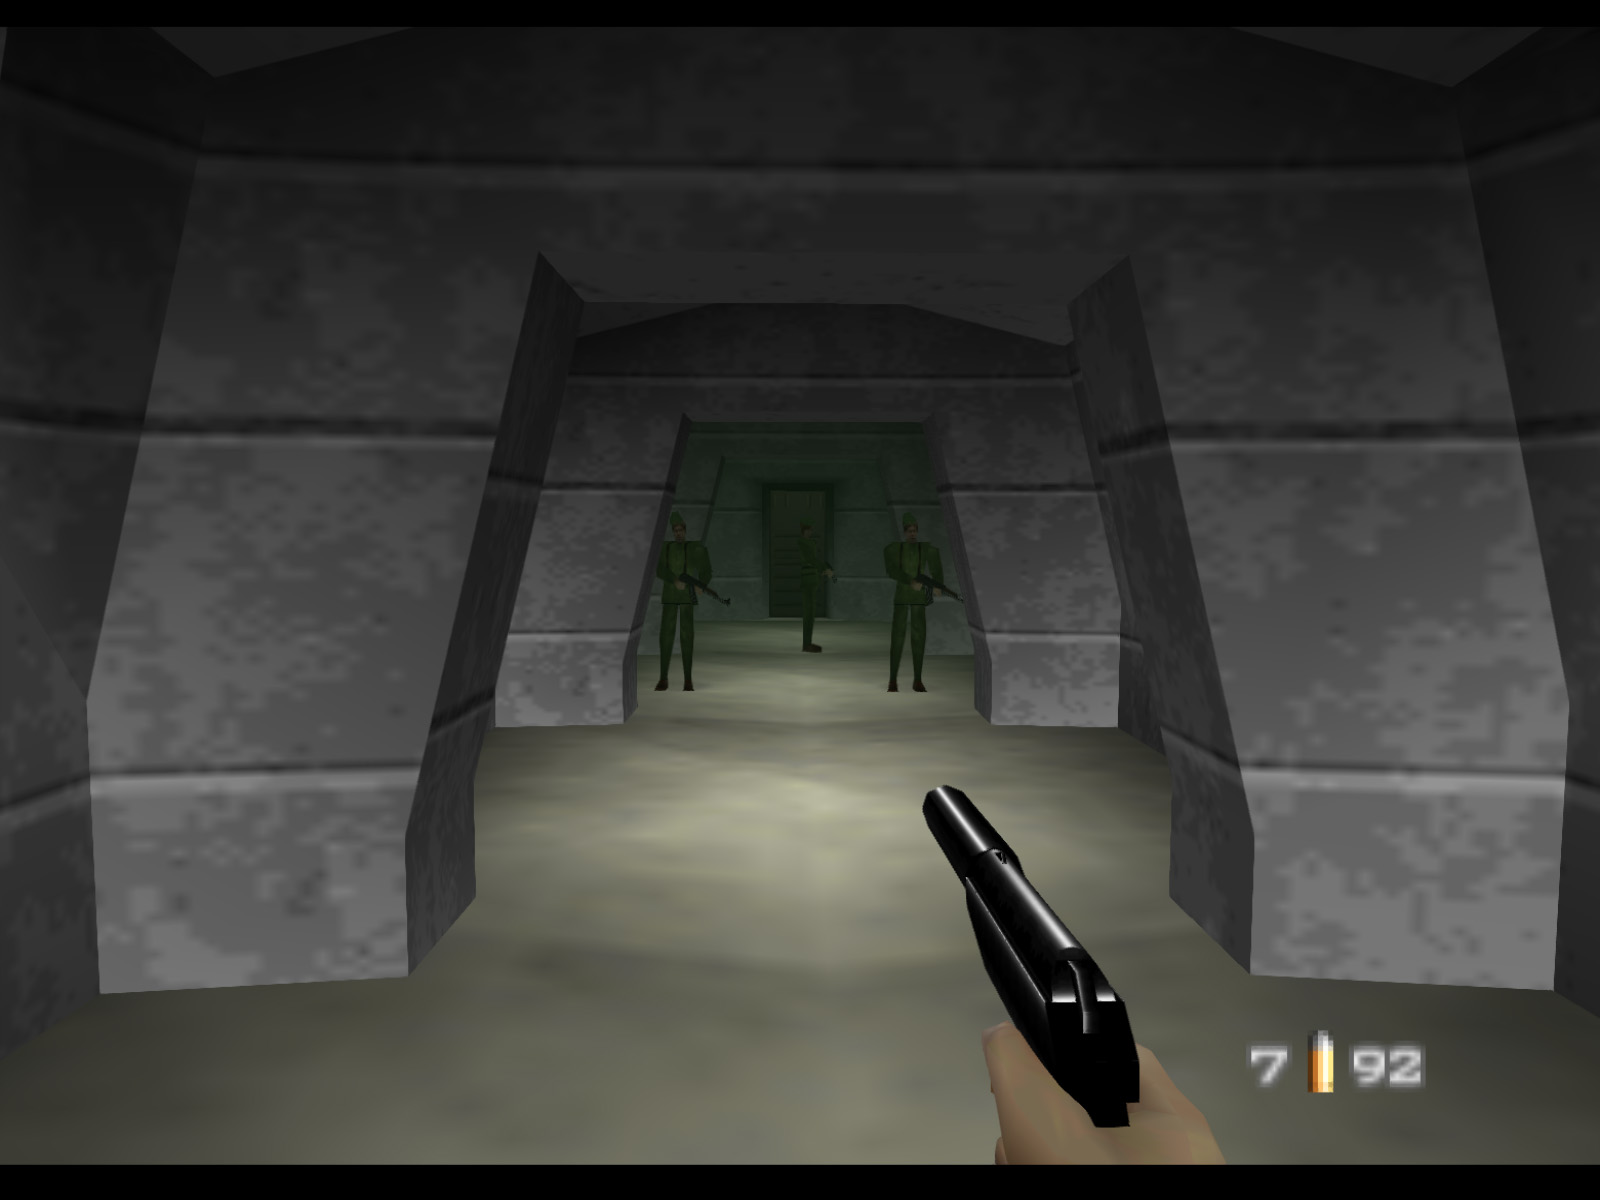
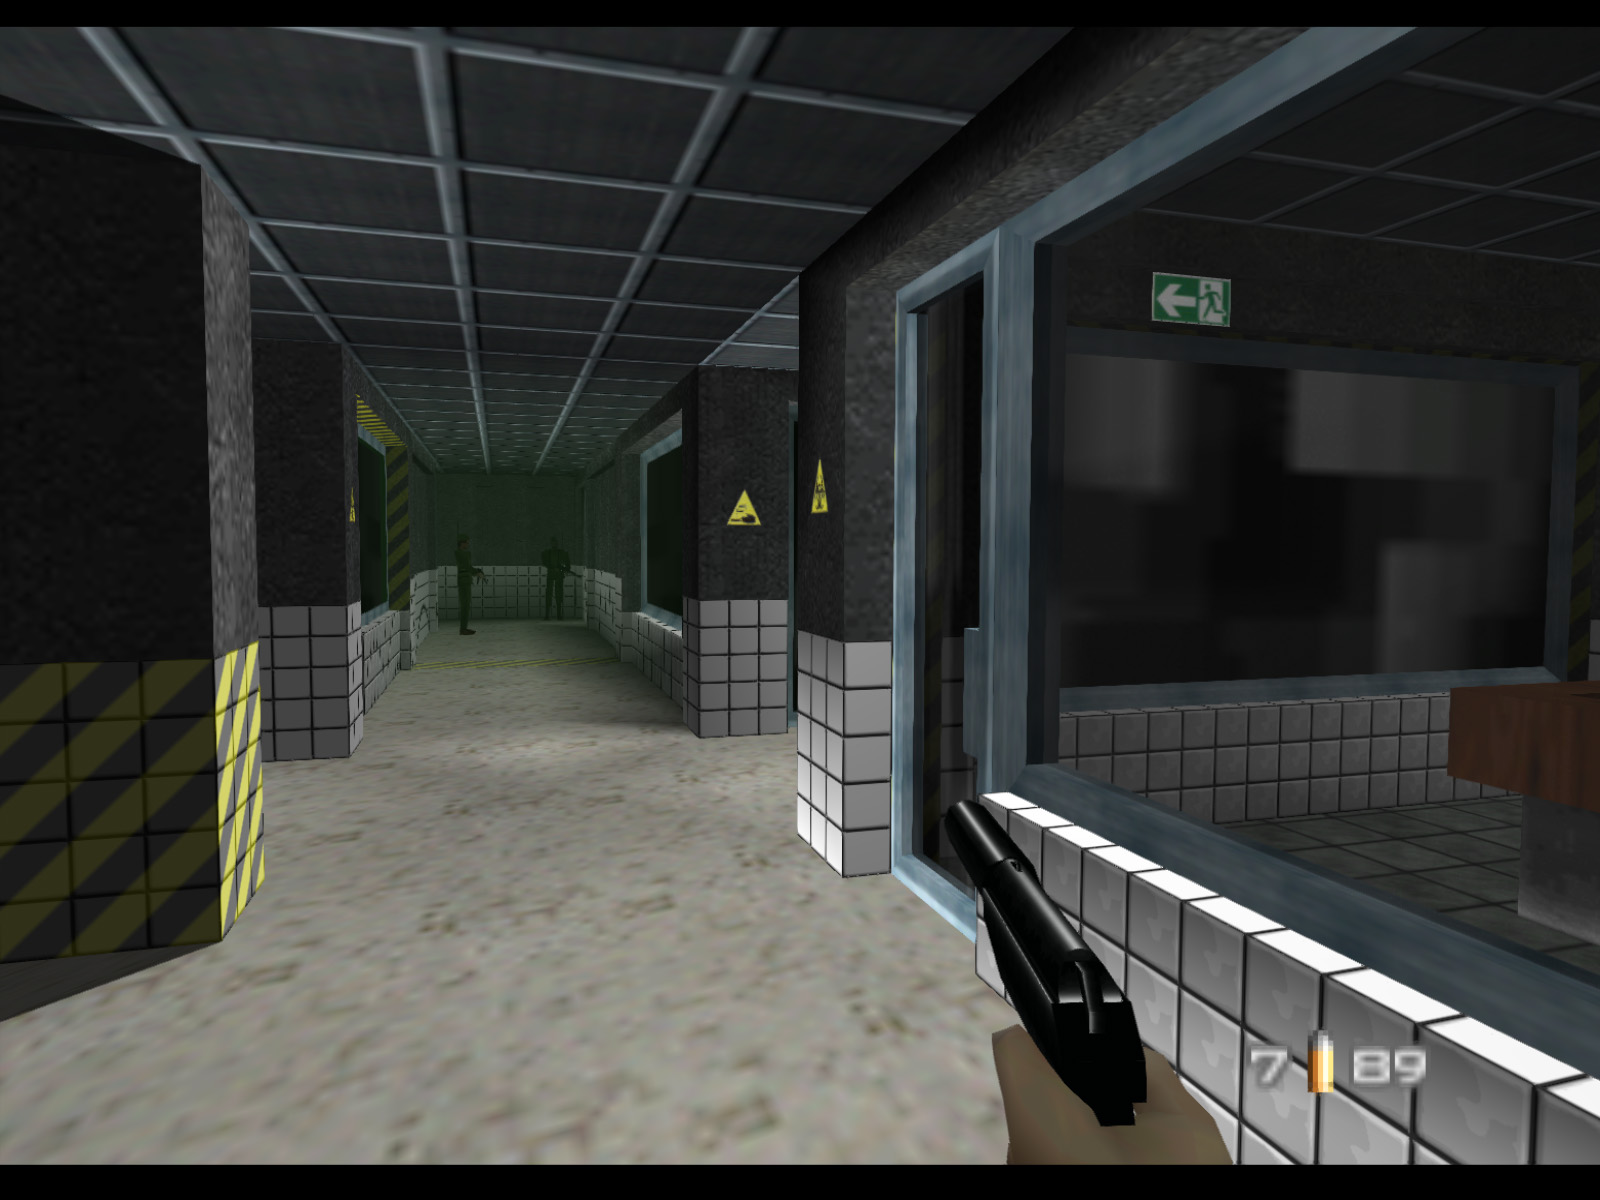
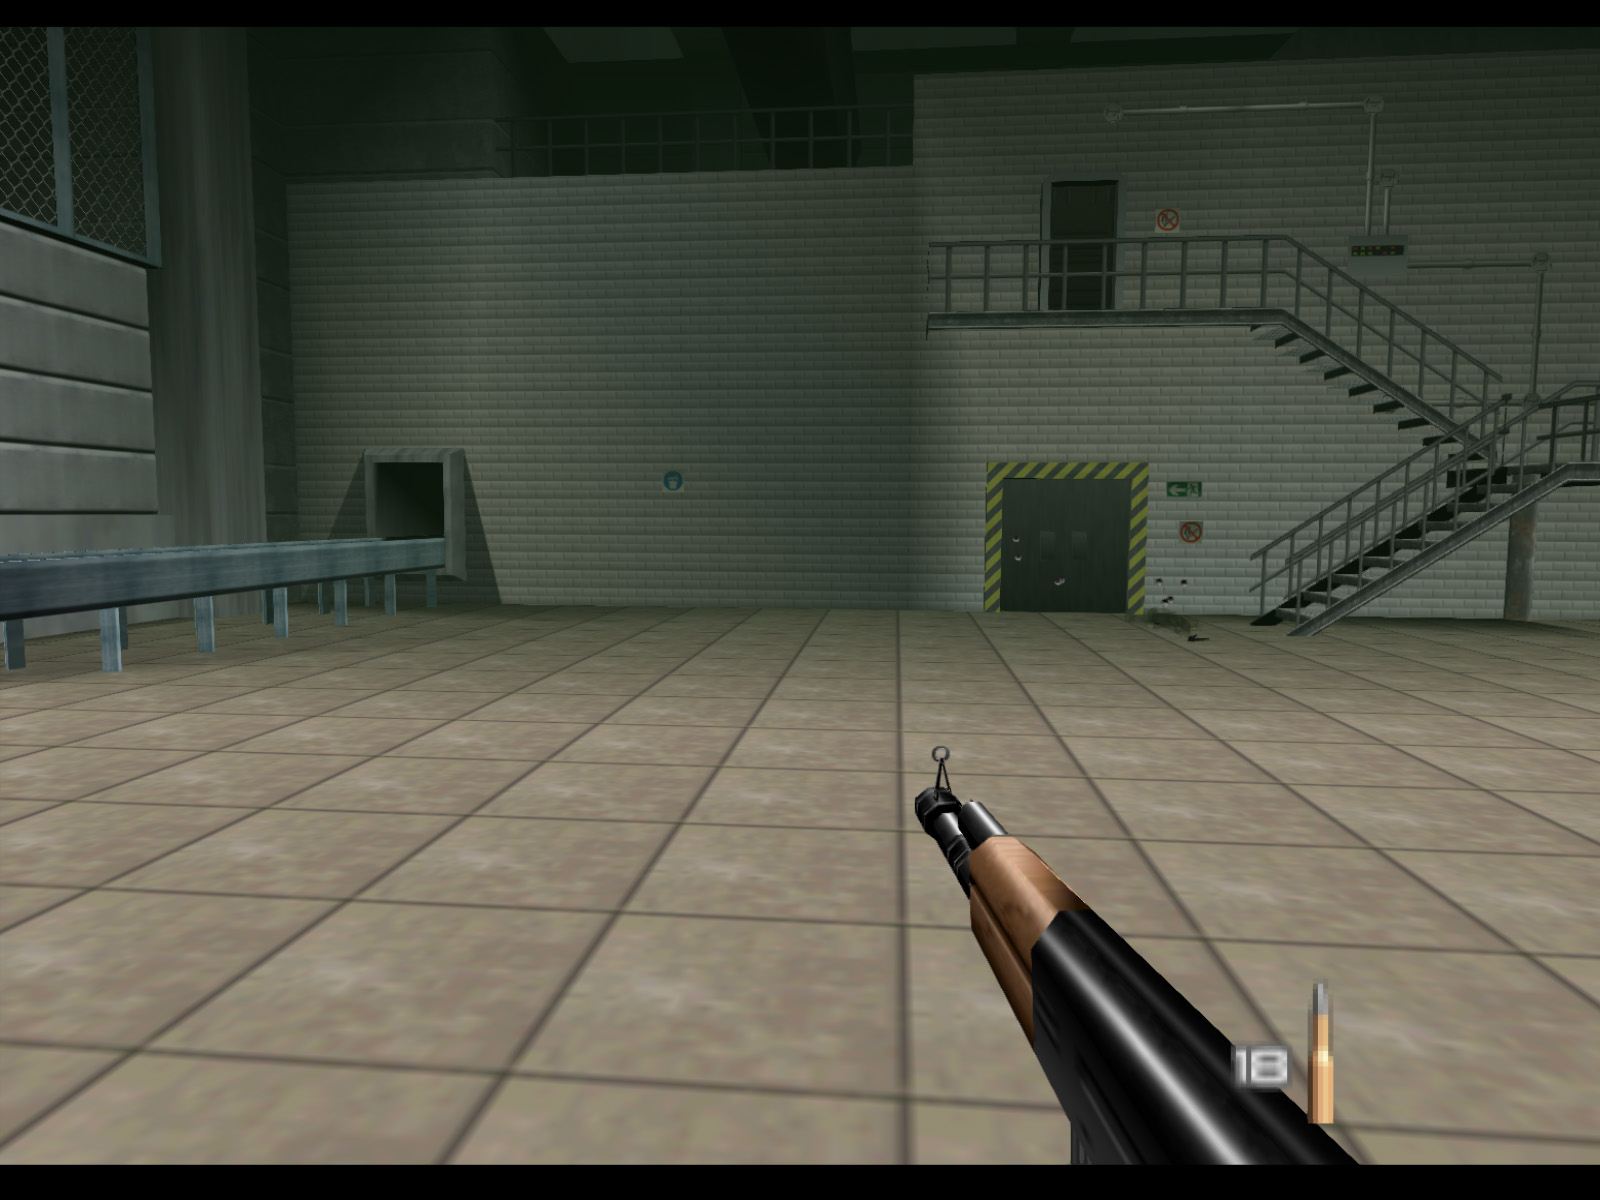
The door from the locker room to this hall is programmed to open very quickly and it exposes you to these three enemies. I call this section of the map the tank rooms for the two adjacent rooms containing large chemical tanks.
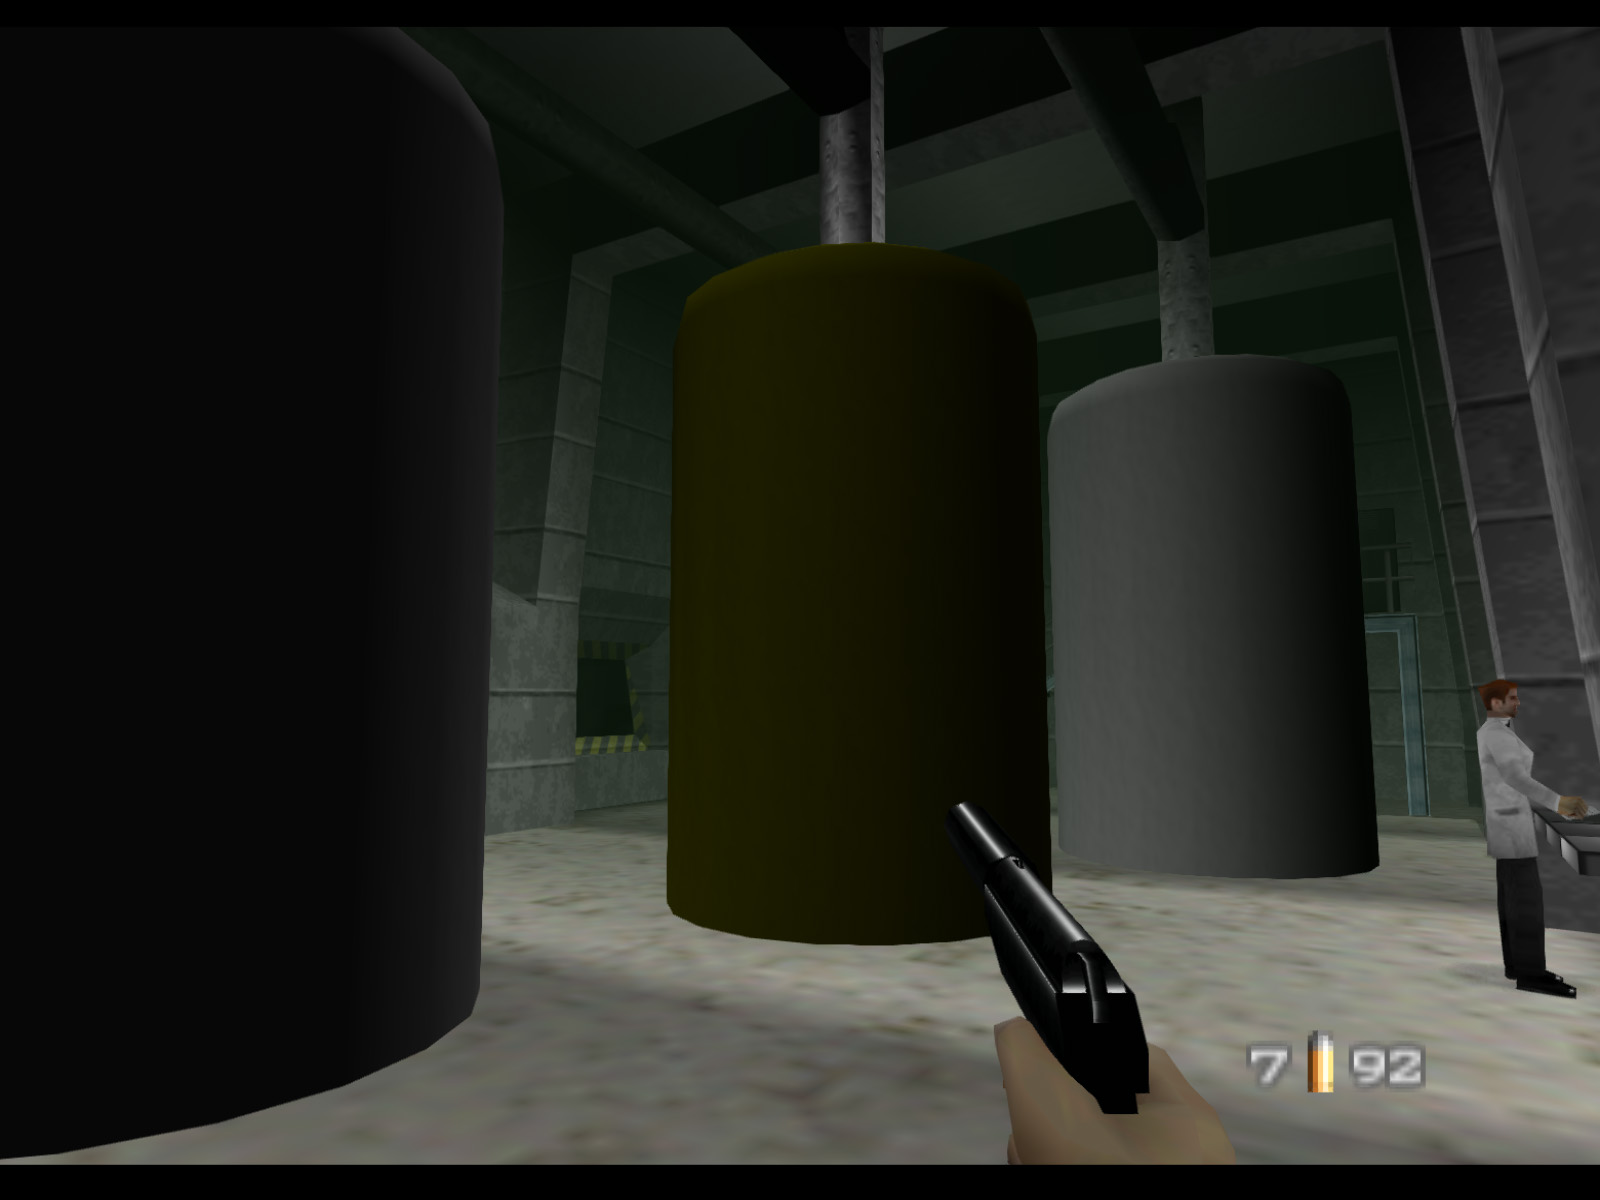
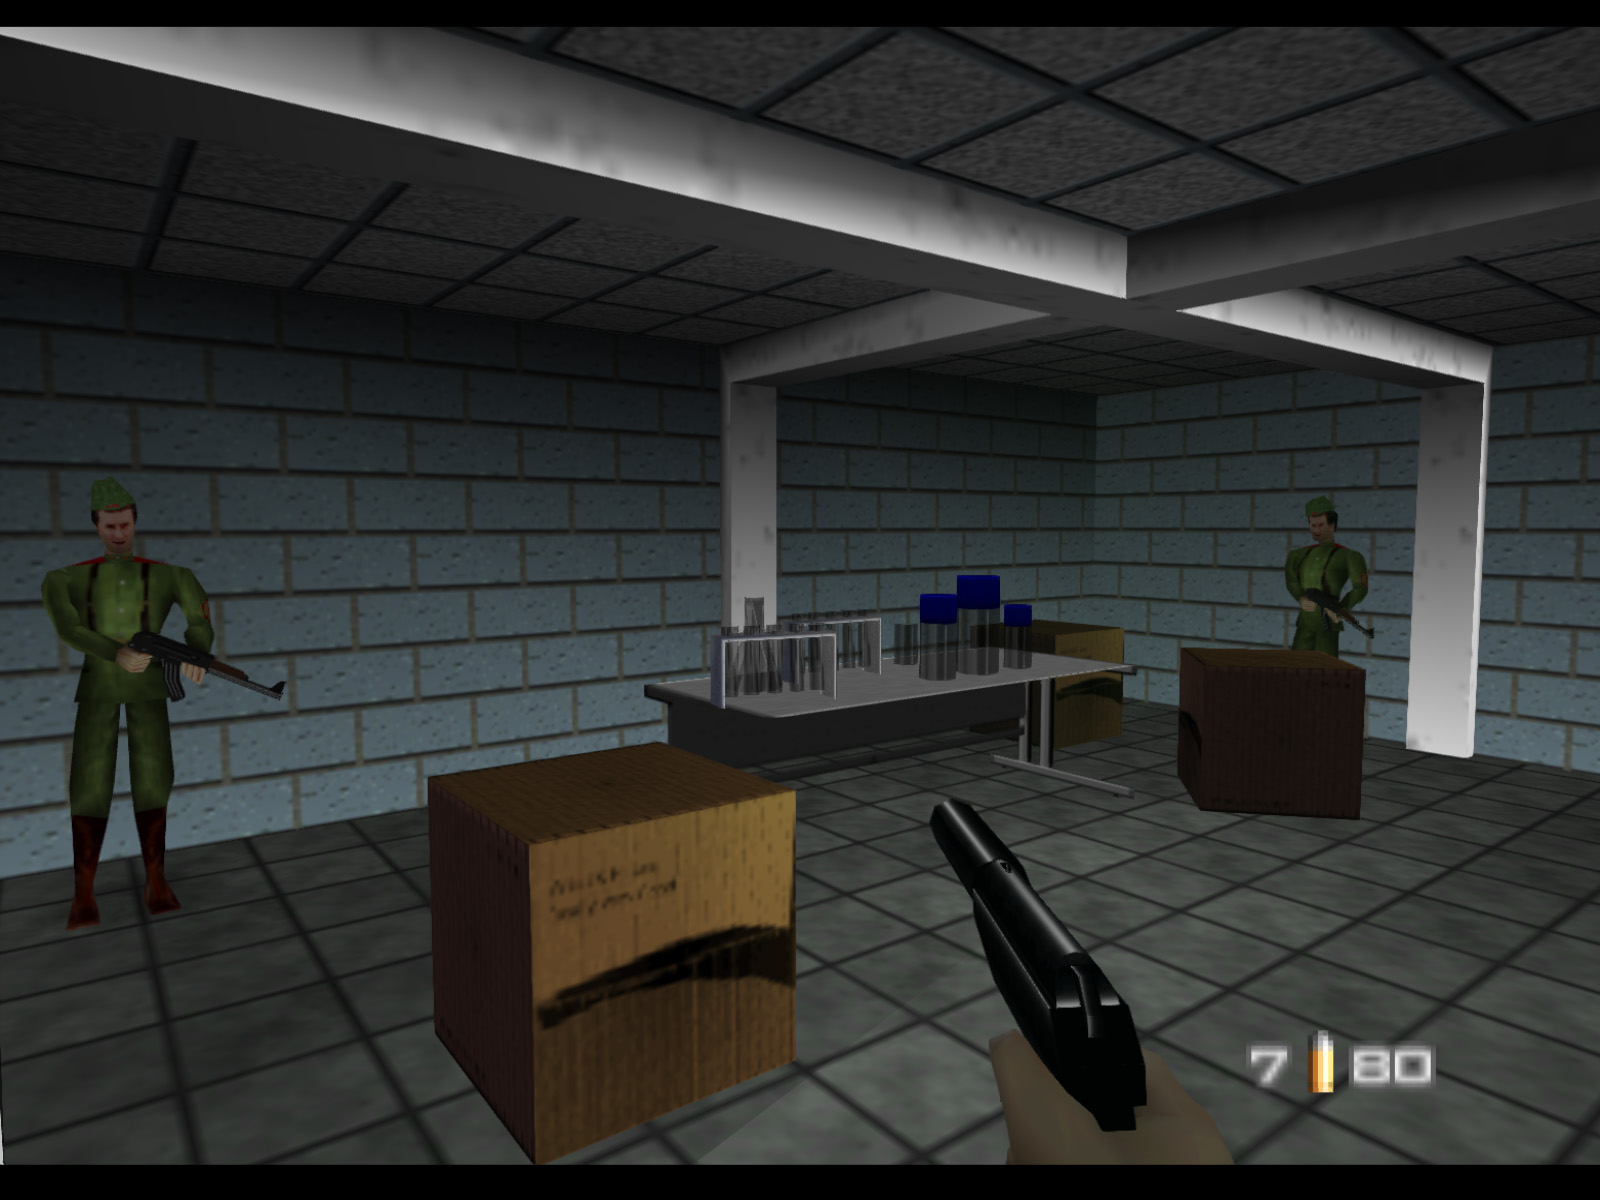
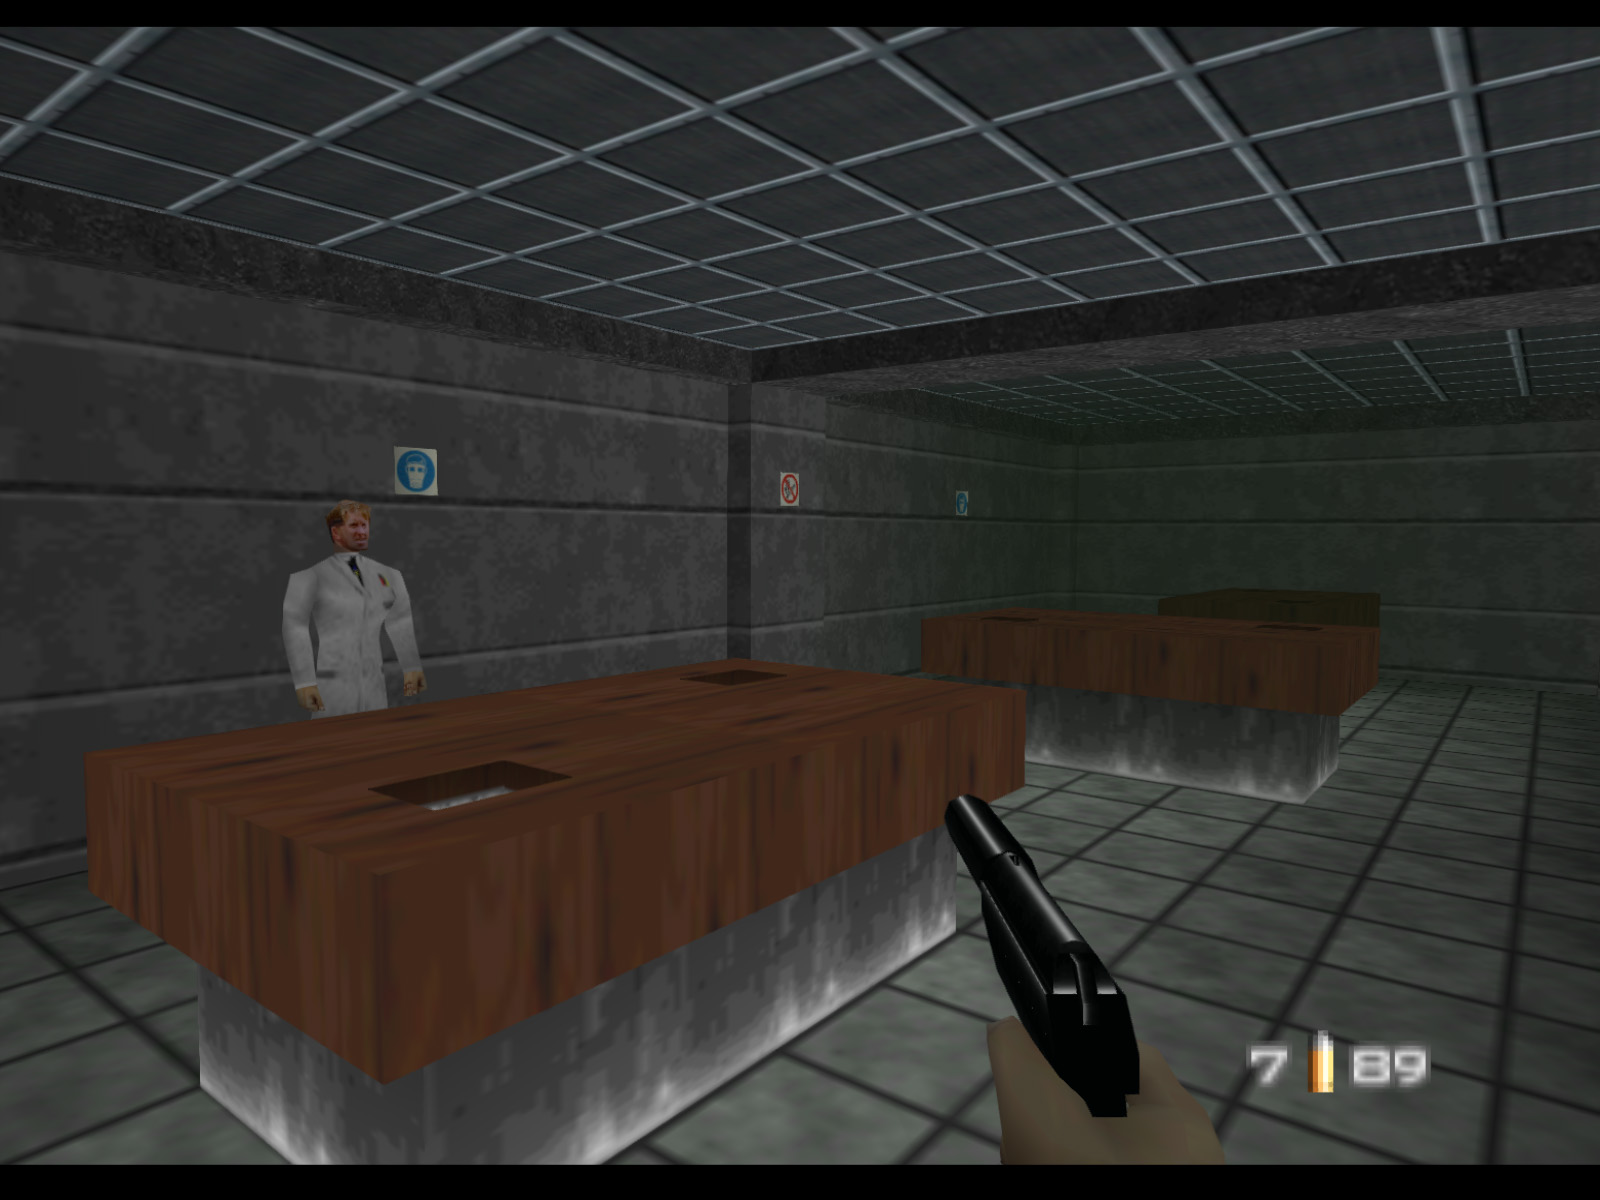
Through a door on the left of the previous screenshot is this processing room with four chemical tanks and some scientists. Dr. Doak has a chance of spawning on the raised platform in the back.
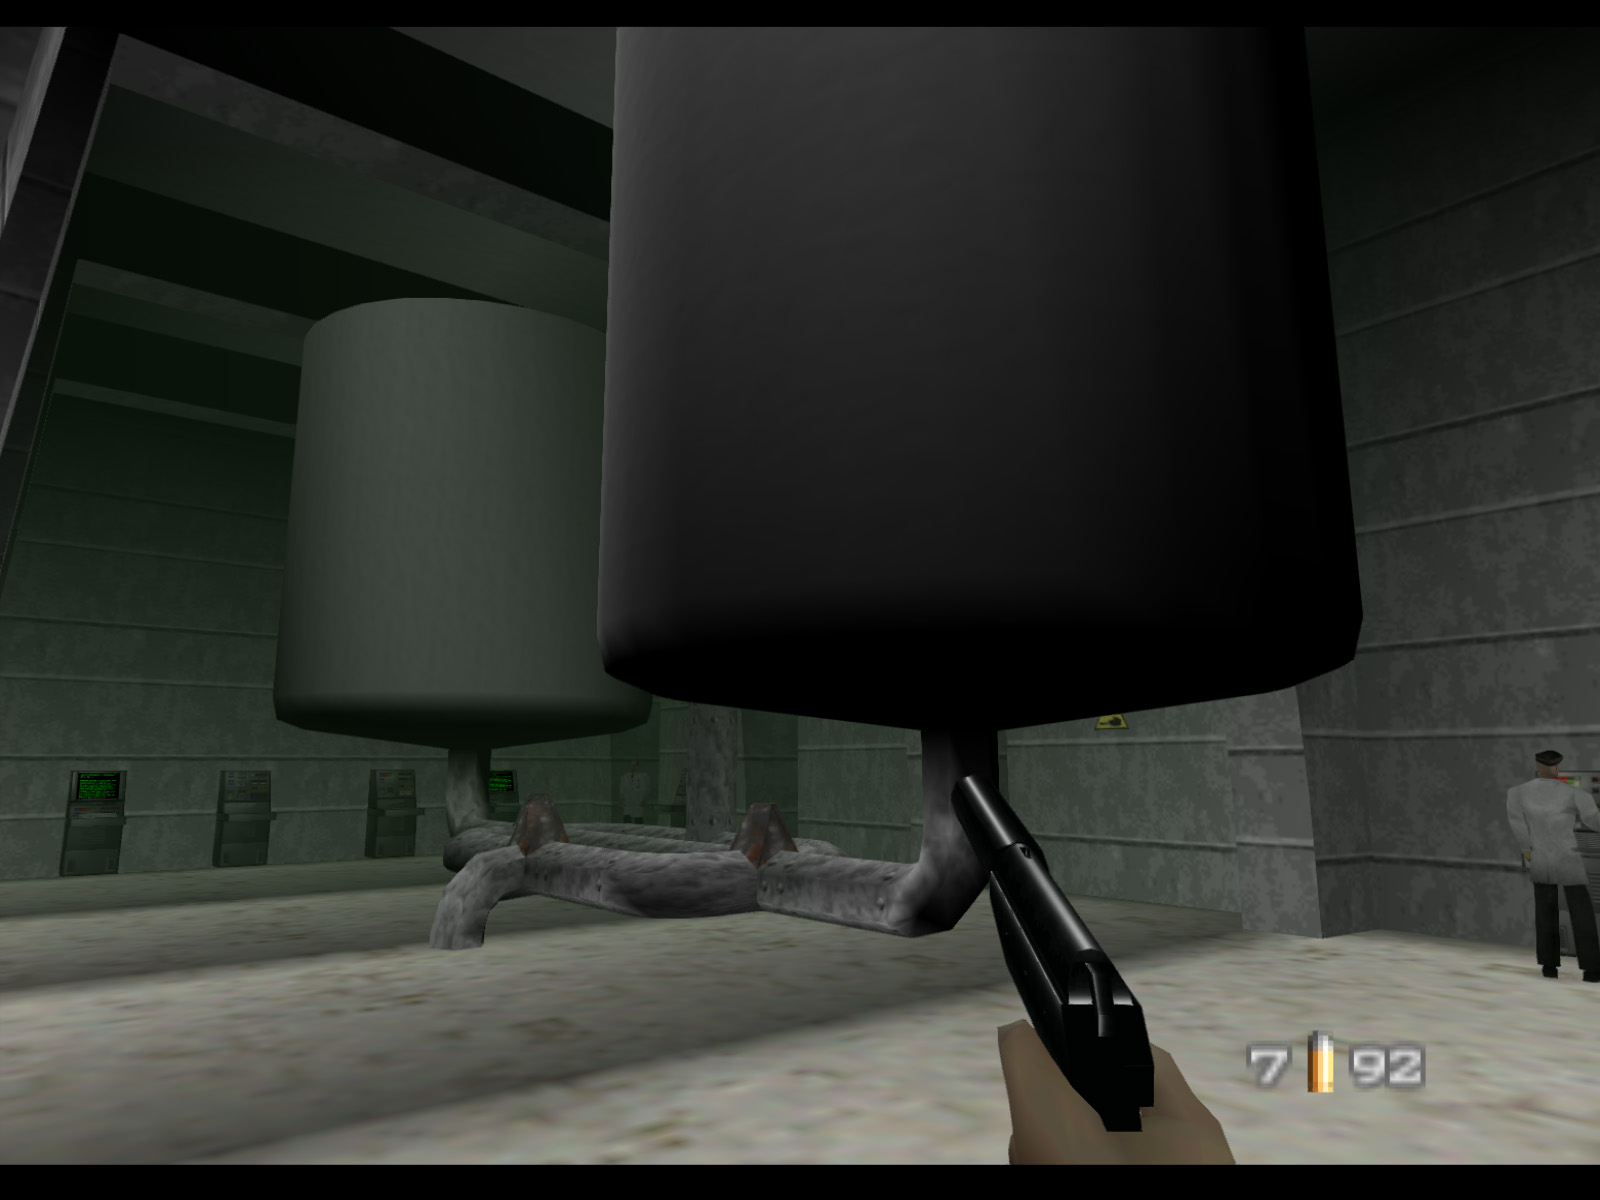
This double tank room on the other side of the hall has more scientists and many consoles. Dr. Doak can randomly spawn in here as well.
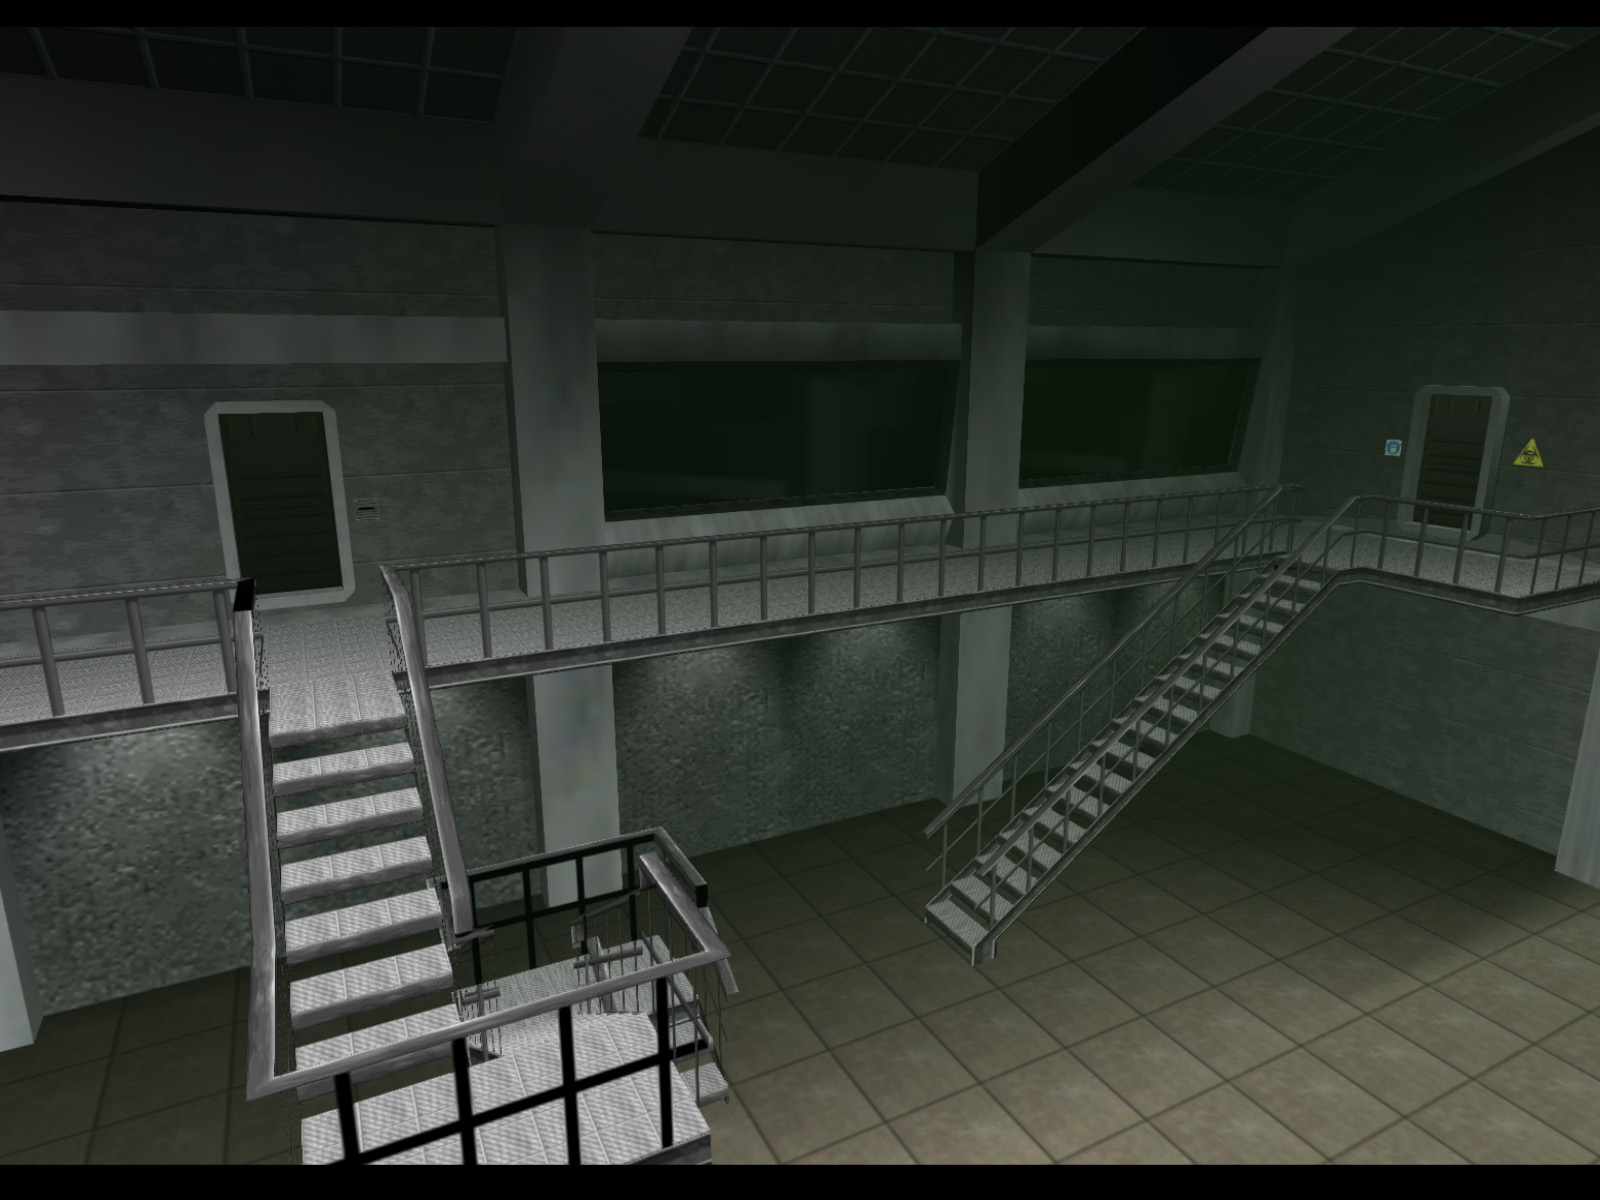
Proceeding beyond the hall from three screenshots ago takes the player to a four way junction. The brown door leads to the second security station. The left path goes to the main laboratories. The right path leads to a gas storage area.
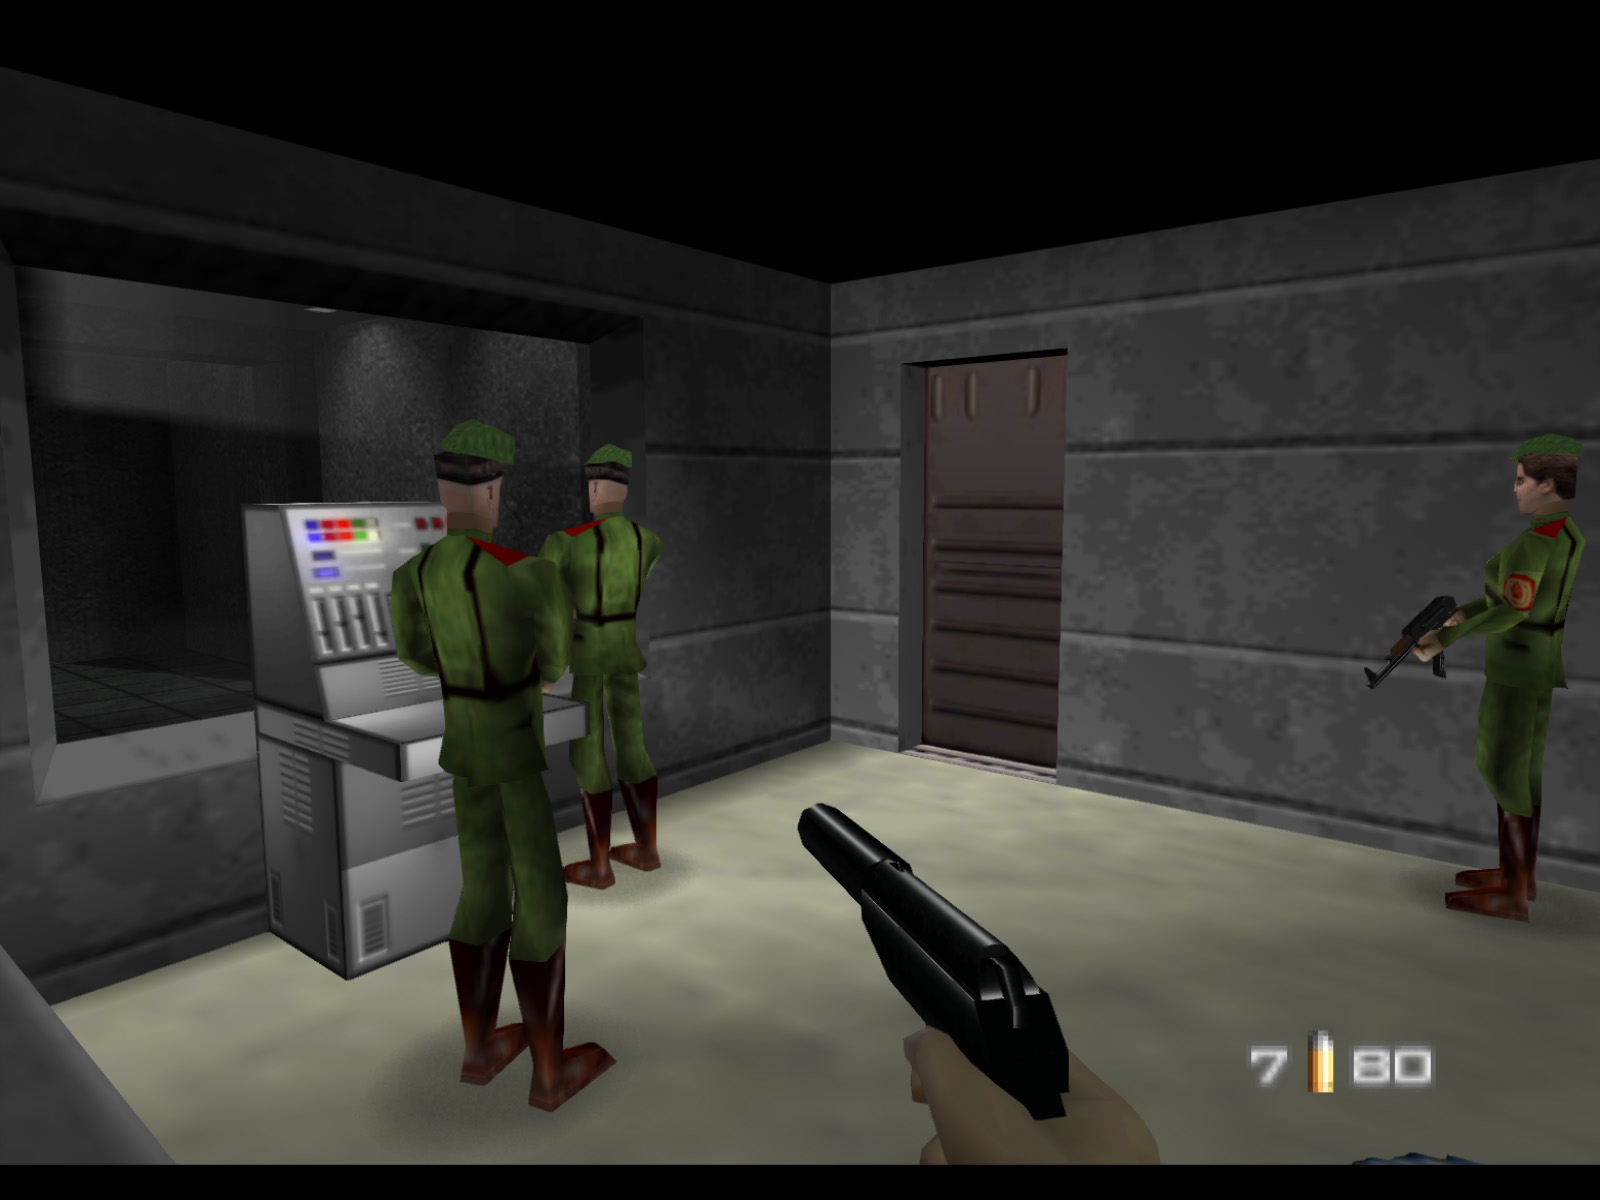
This security station has two consoles. Naturally, the console on the left opens the door on the left path. The one on the right opens the door to the right path and gas storage area.
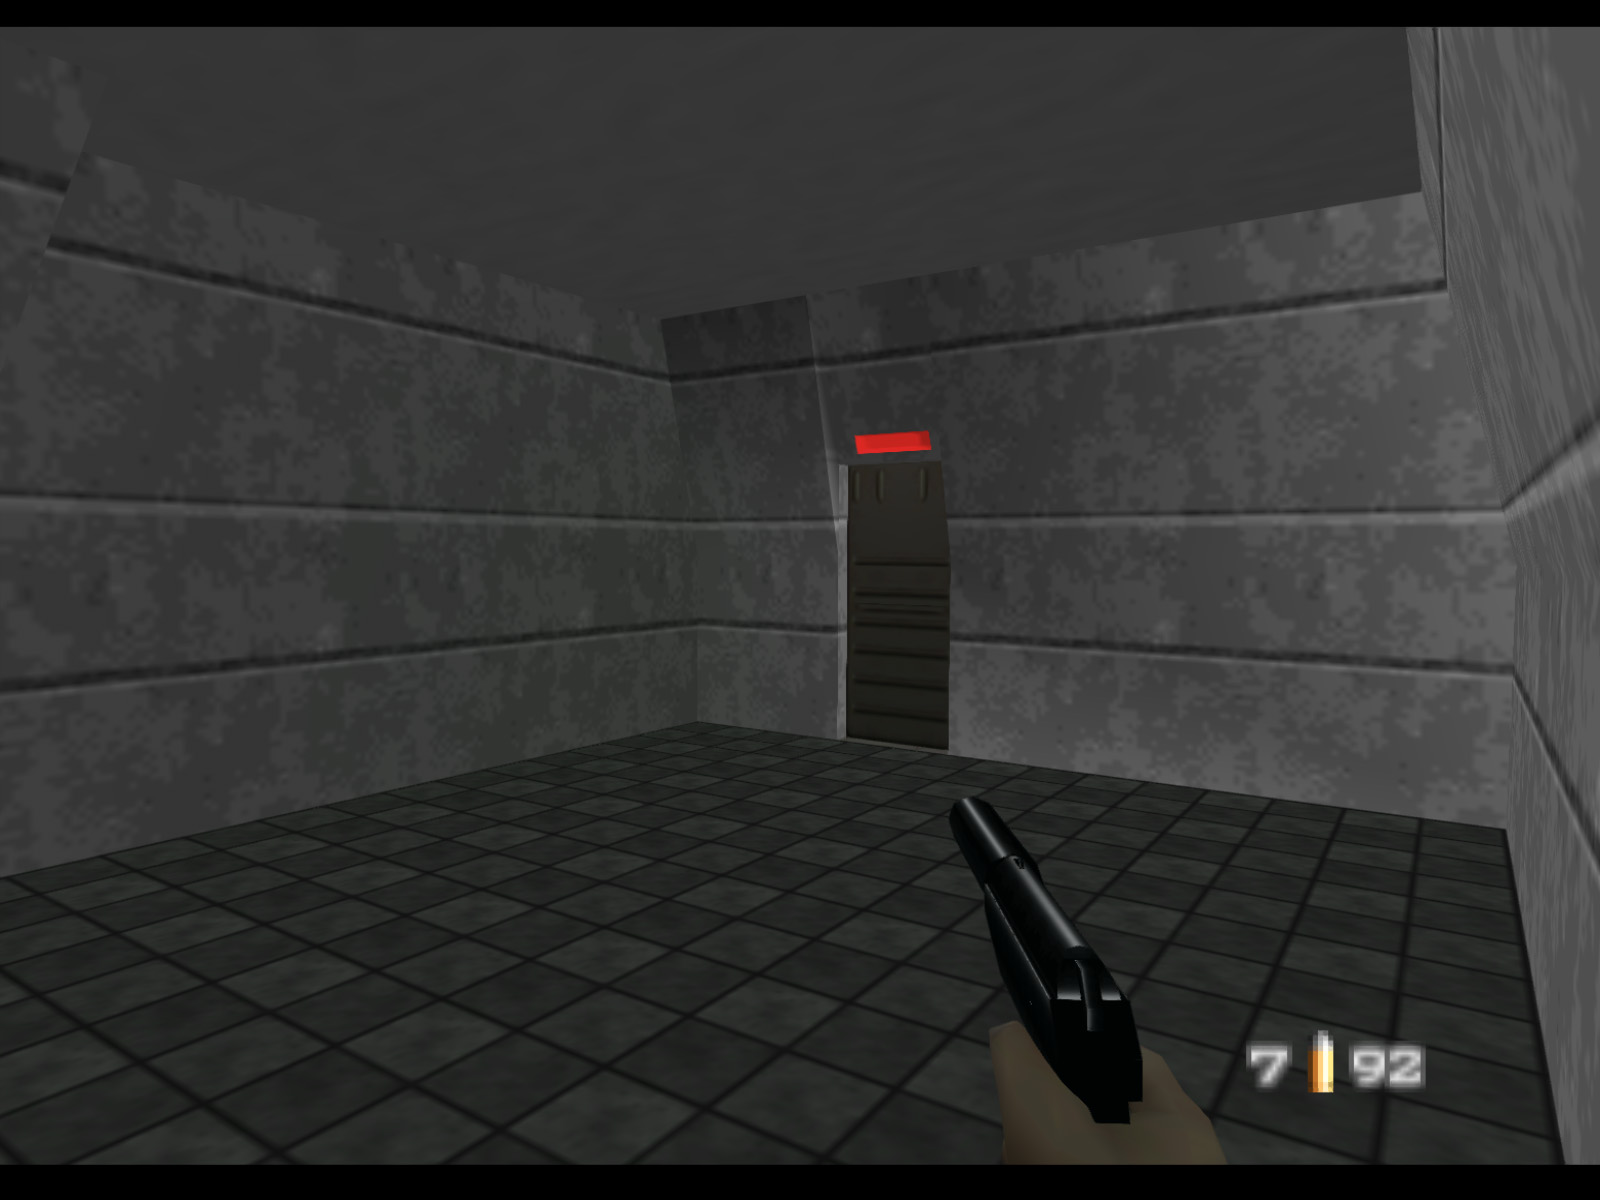
The right path takes the player to this containment chamber which is sealed in the event of gas leaks.
Beyond the containment chamber is the gas storage area which I refer to as the quad for the four platforms inside it.

Another angle of the quad.
Three of the four platforms have pairs of guards on top.
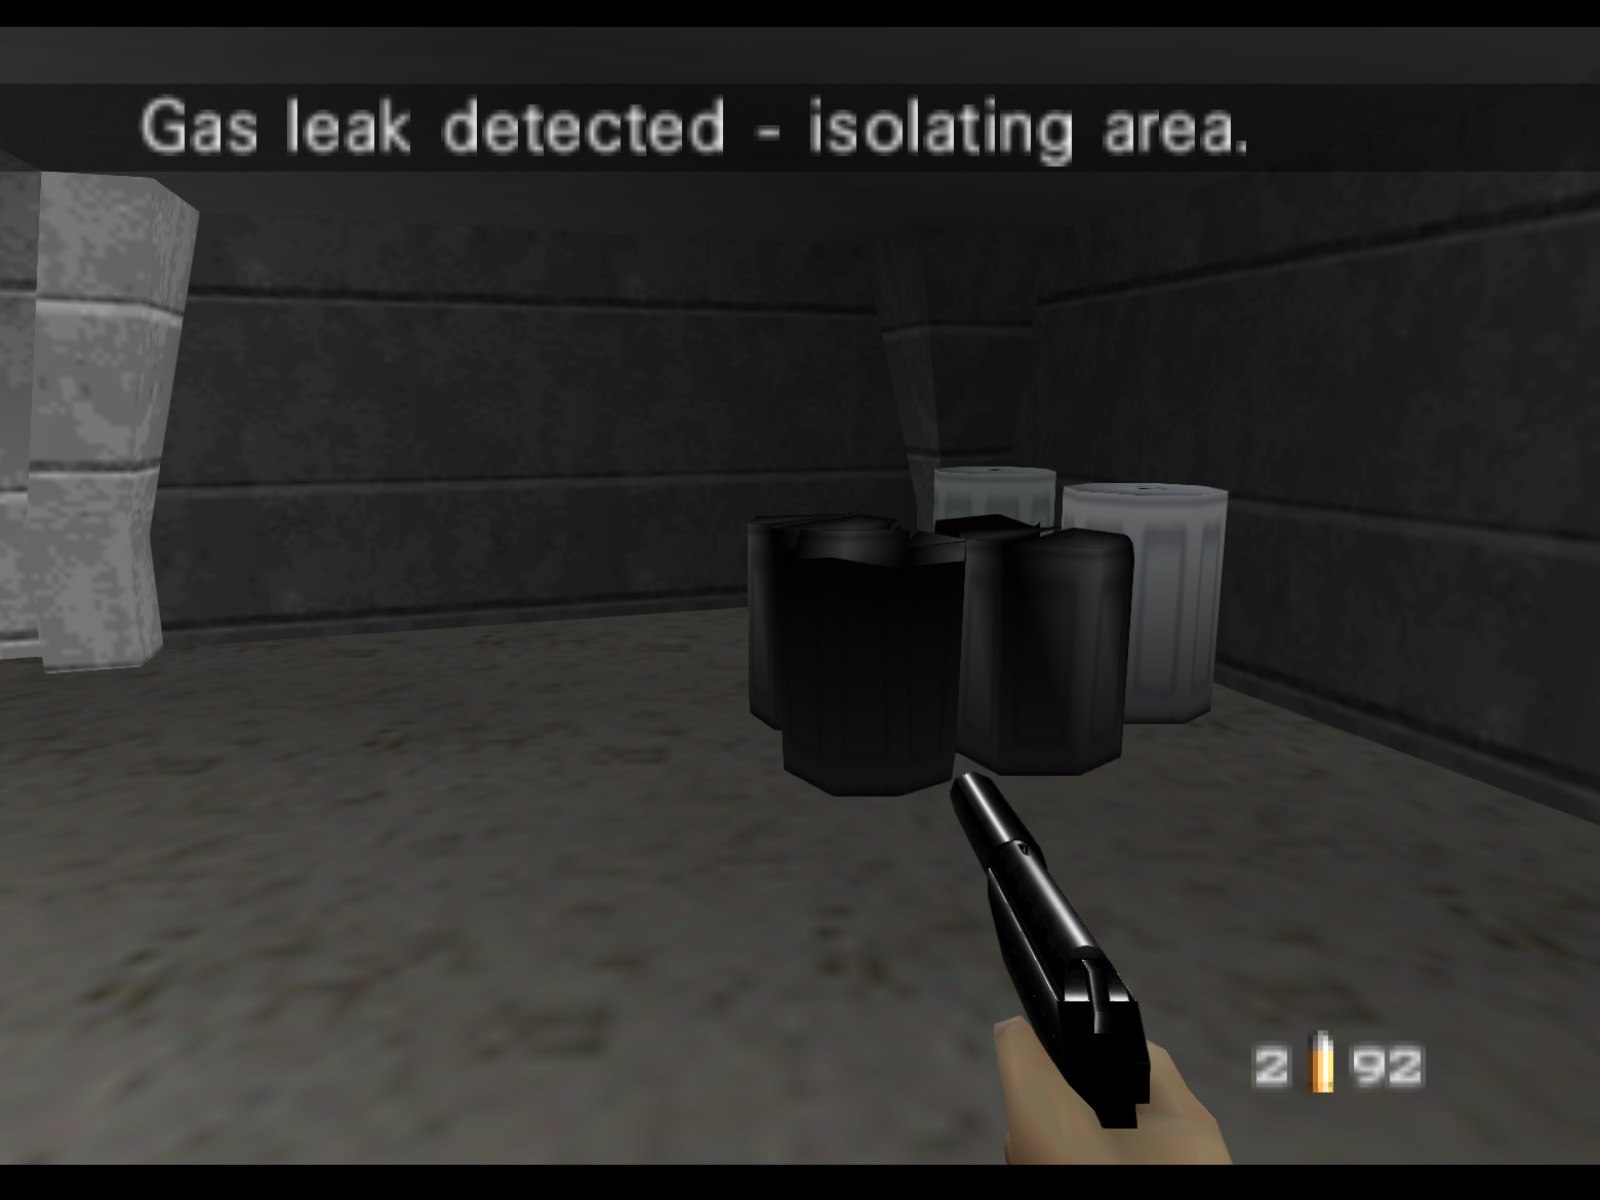
▶ TIP: Do not destroy the gas barrels in the quad. If you do you will be sealed in and eventually die from the nerve gas.
Let's backtrack from the quad and take the other path from the security station. Activating the console in the security station is the standard way of opening the door, but you can also get a guard to do it for you by making a lot of noise.
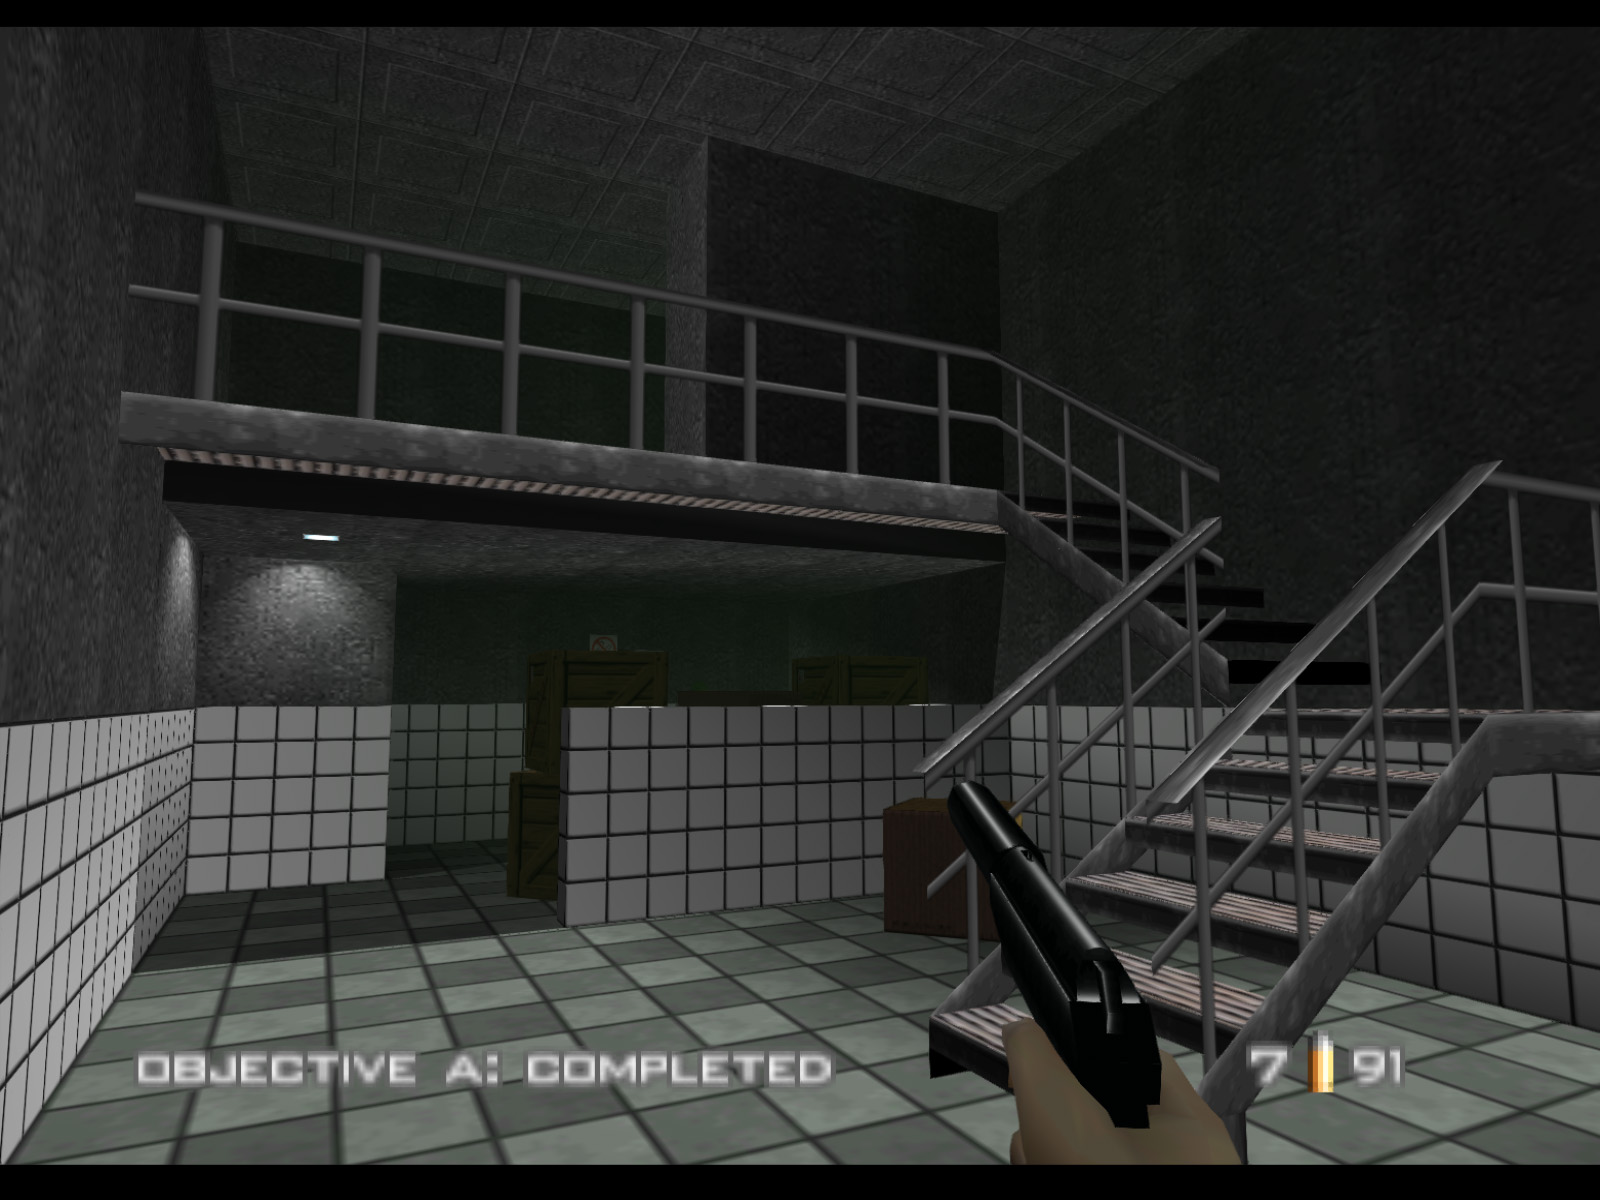
Stepping through the security door brings you into the main laboratory area and completes Objective A.
▶ TIP: The crates and boxes at the back of this room drop KF7 Soviets and 9mm ammo when destroyed.
View of the hall that leads to the laboratories.
There are four laboraties here and Dr. Doak has a good chance of being stationed in this area. There are also eight scientists standing in the laboraties so watch your fire.
A look at one of the laboratories.
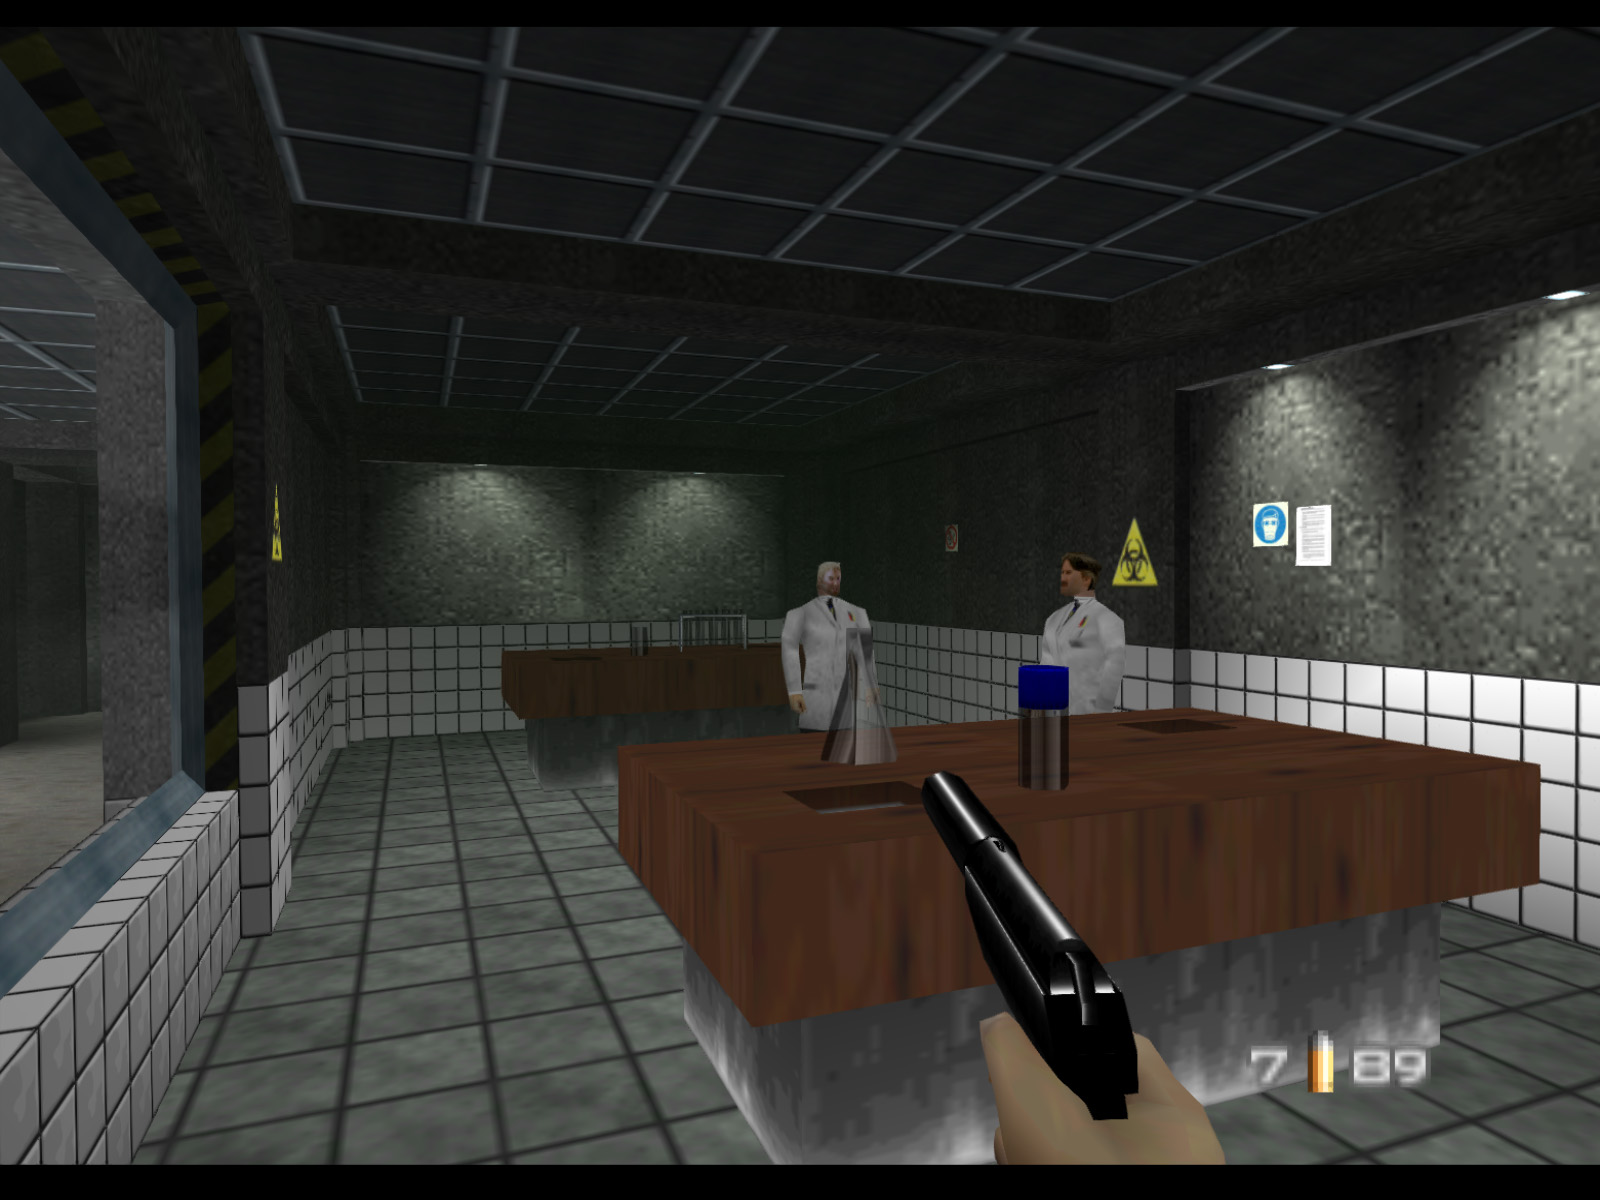
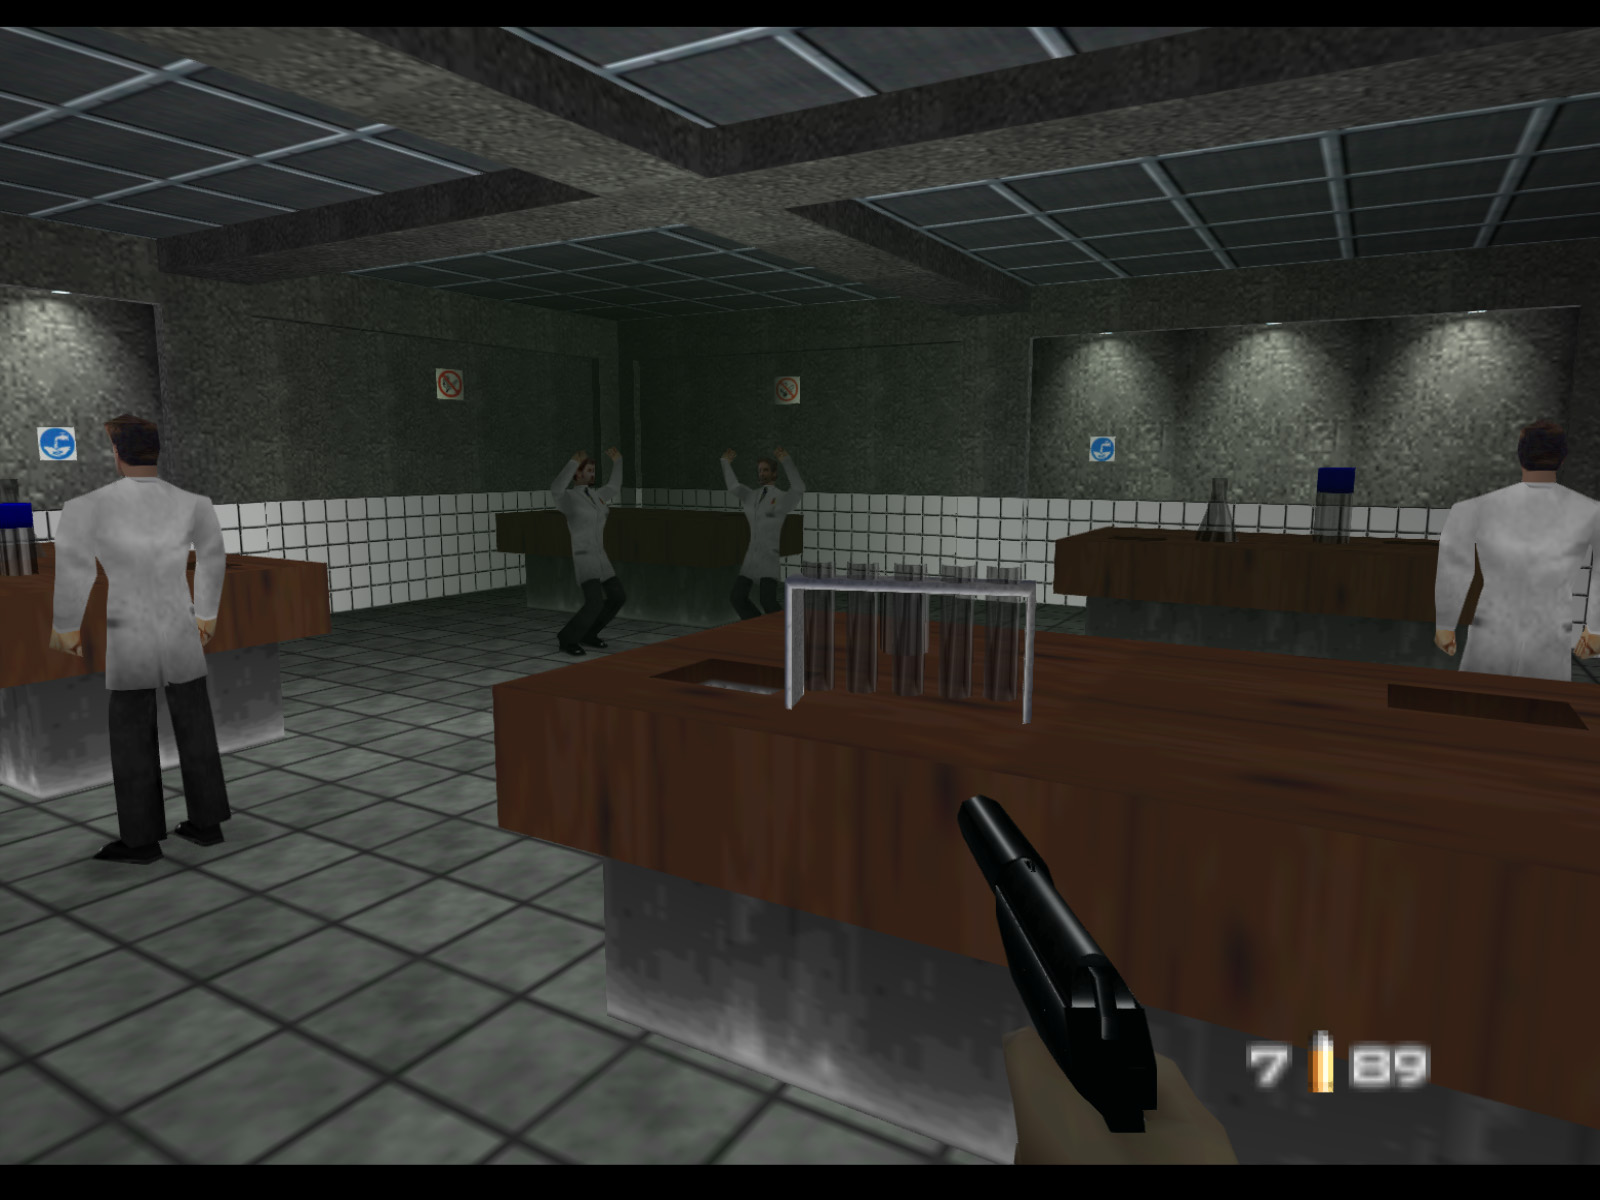
View of the largest laboratory.
Down the laboratory hall you will encounter two guards facing away from you.
▶ TIP: If you eliminate the guard on the right with a clean headshot or slap to the back, the guard on the left will not notice.

Beyond the labs is the door to the bottling room. On Agent the security door is unlocked. On higher difficulties you must use the Door Decoder to get through the door.
Before the bottling room here is a quick look at the final lab. If you are quick you can catch the scientist holding Clearance Keycard A in here.
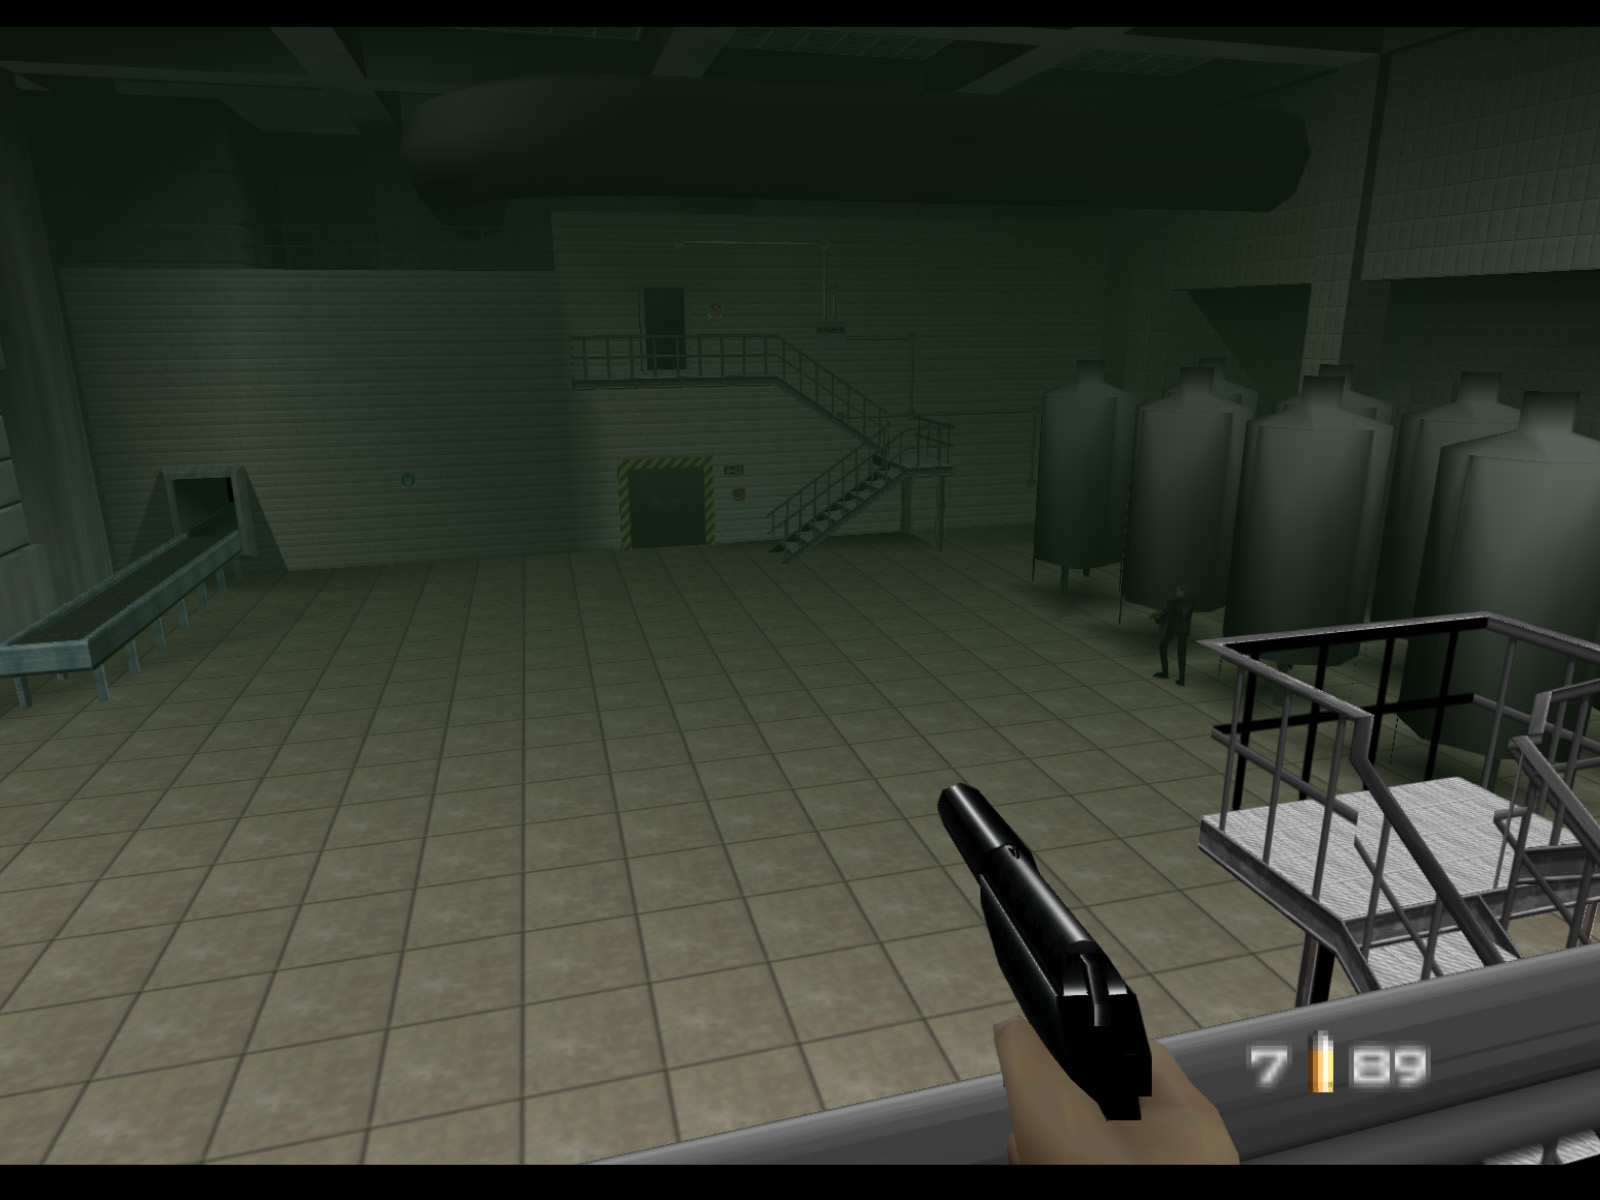
Finally, after dispatching what feels like a substatial portion of the whole Soviet army, you arrive in the bottling room.
Agent 006 patrols the area below. Approach him to initiate his dialog then wait for him to say a couple lines to complete Objective C.
The most efficient way to destroy the bottling tanks is by using your Remote Mines, but they can also be destroyed with gunfire. Once all ten tanks are destroyed you will complete Objective D, but also find yourself choking from gas if you do not exit quickly.
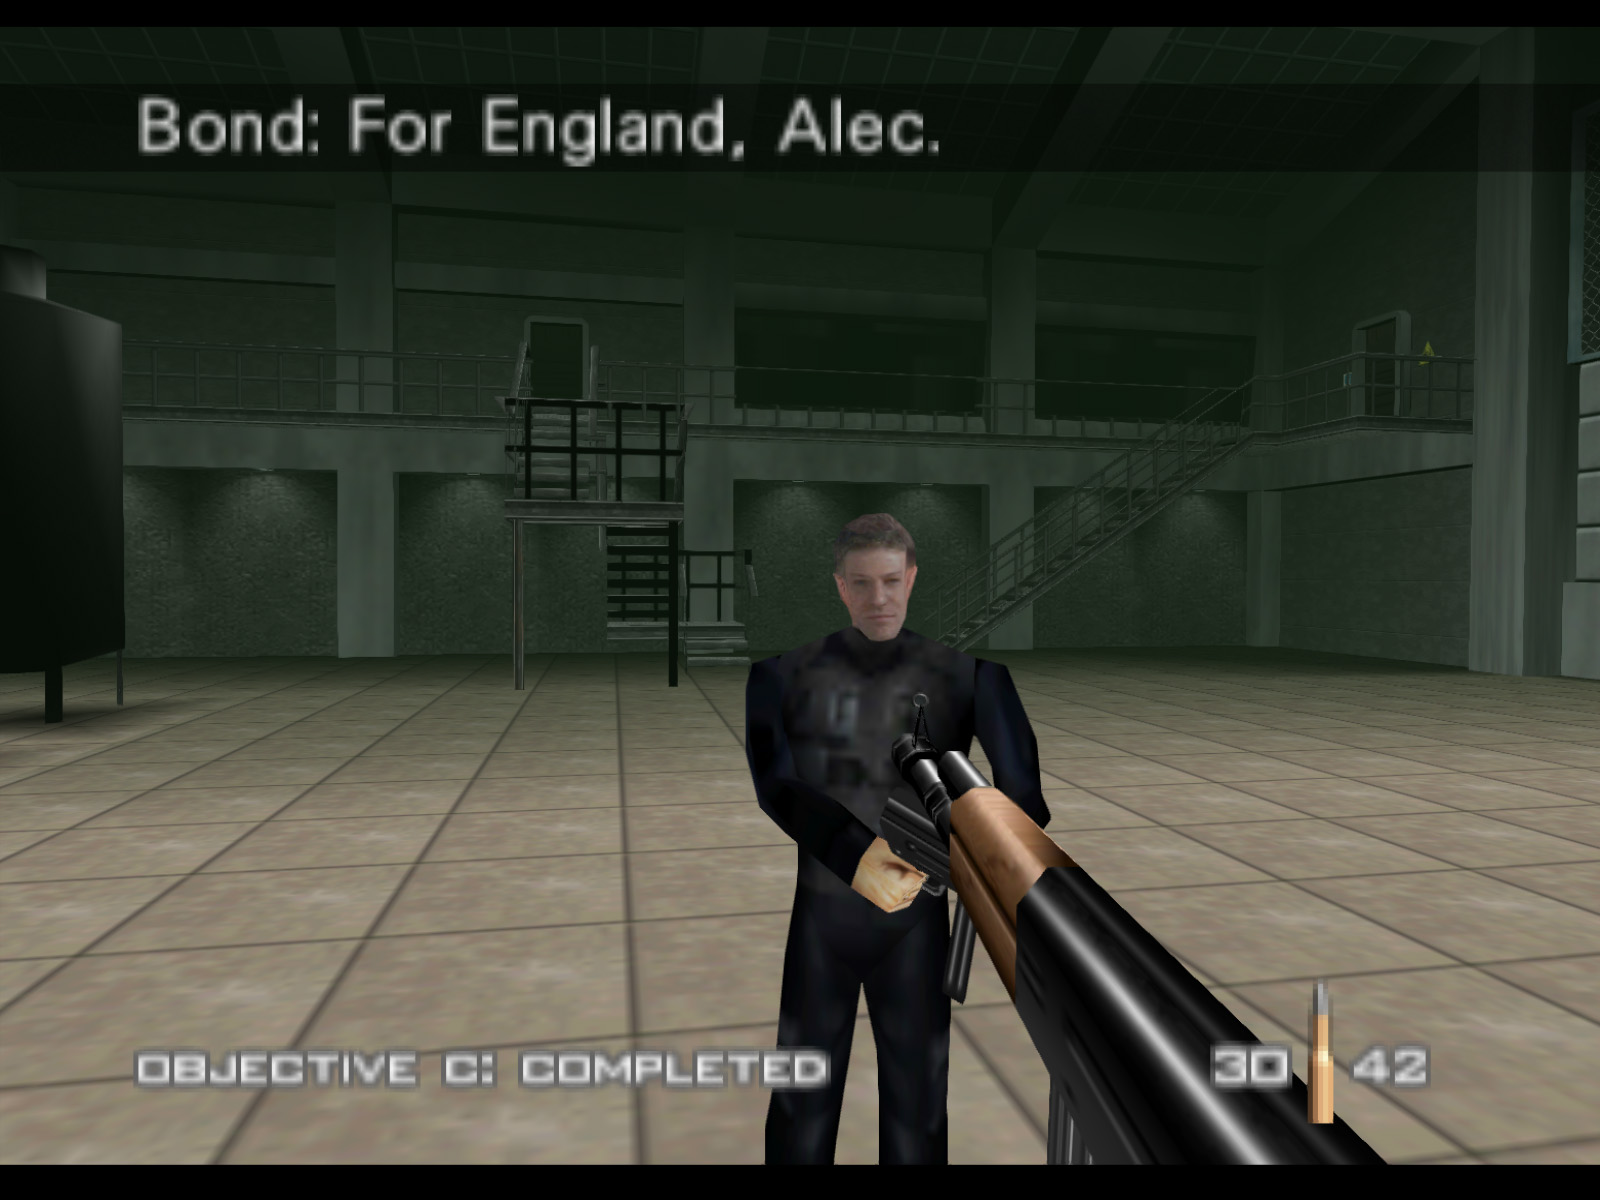
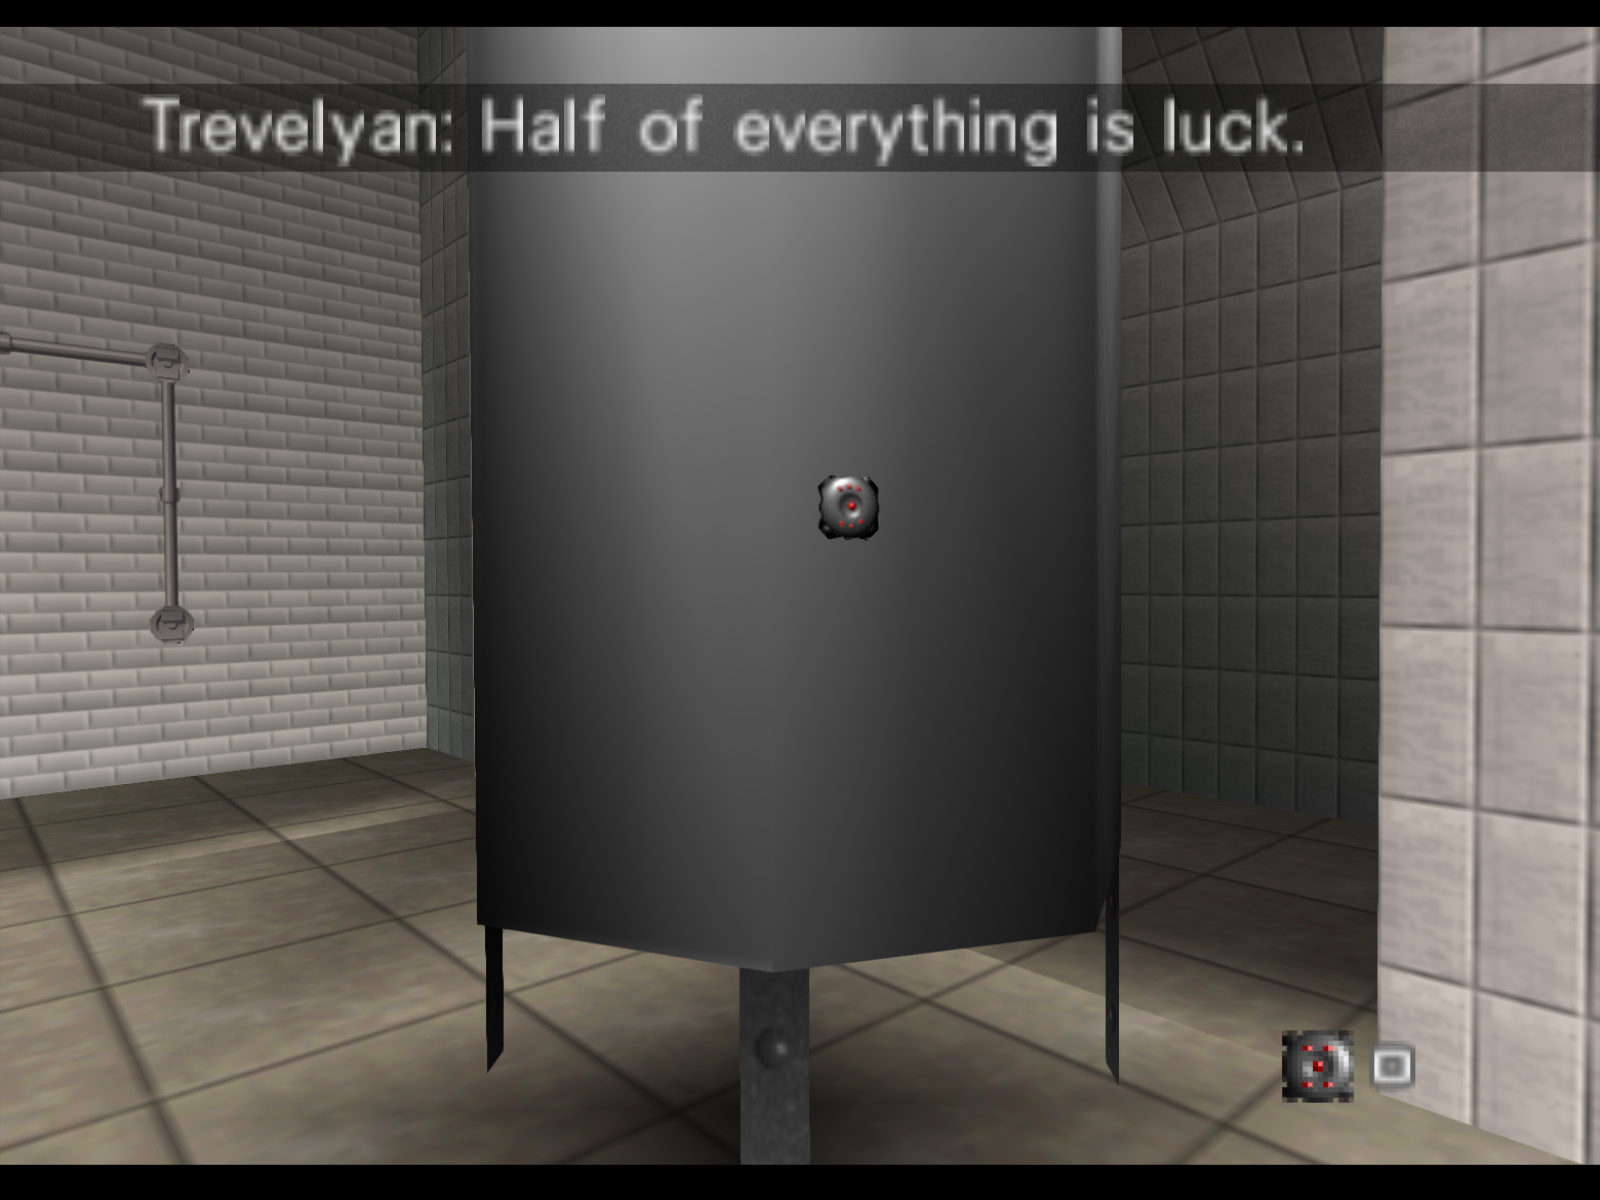
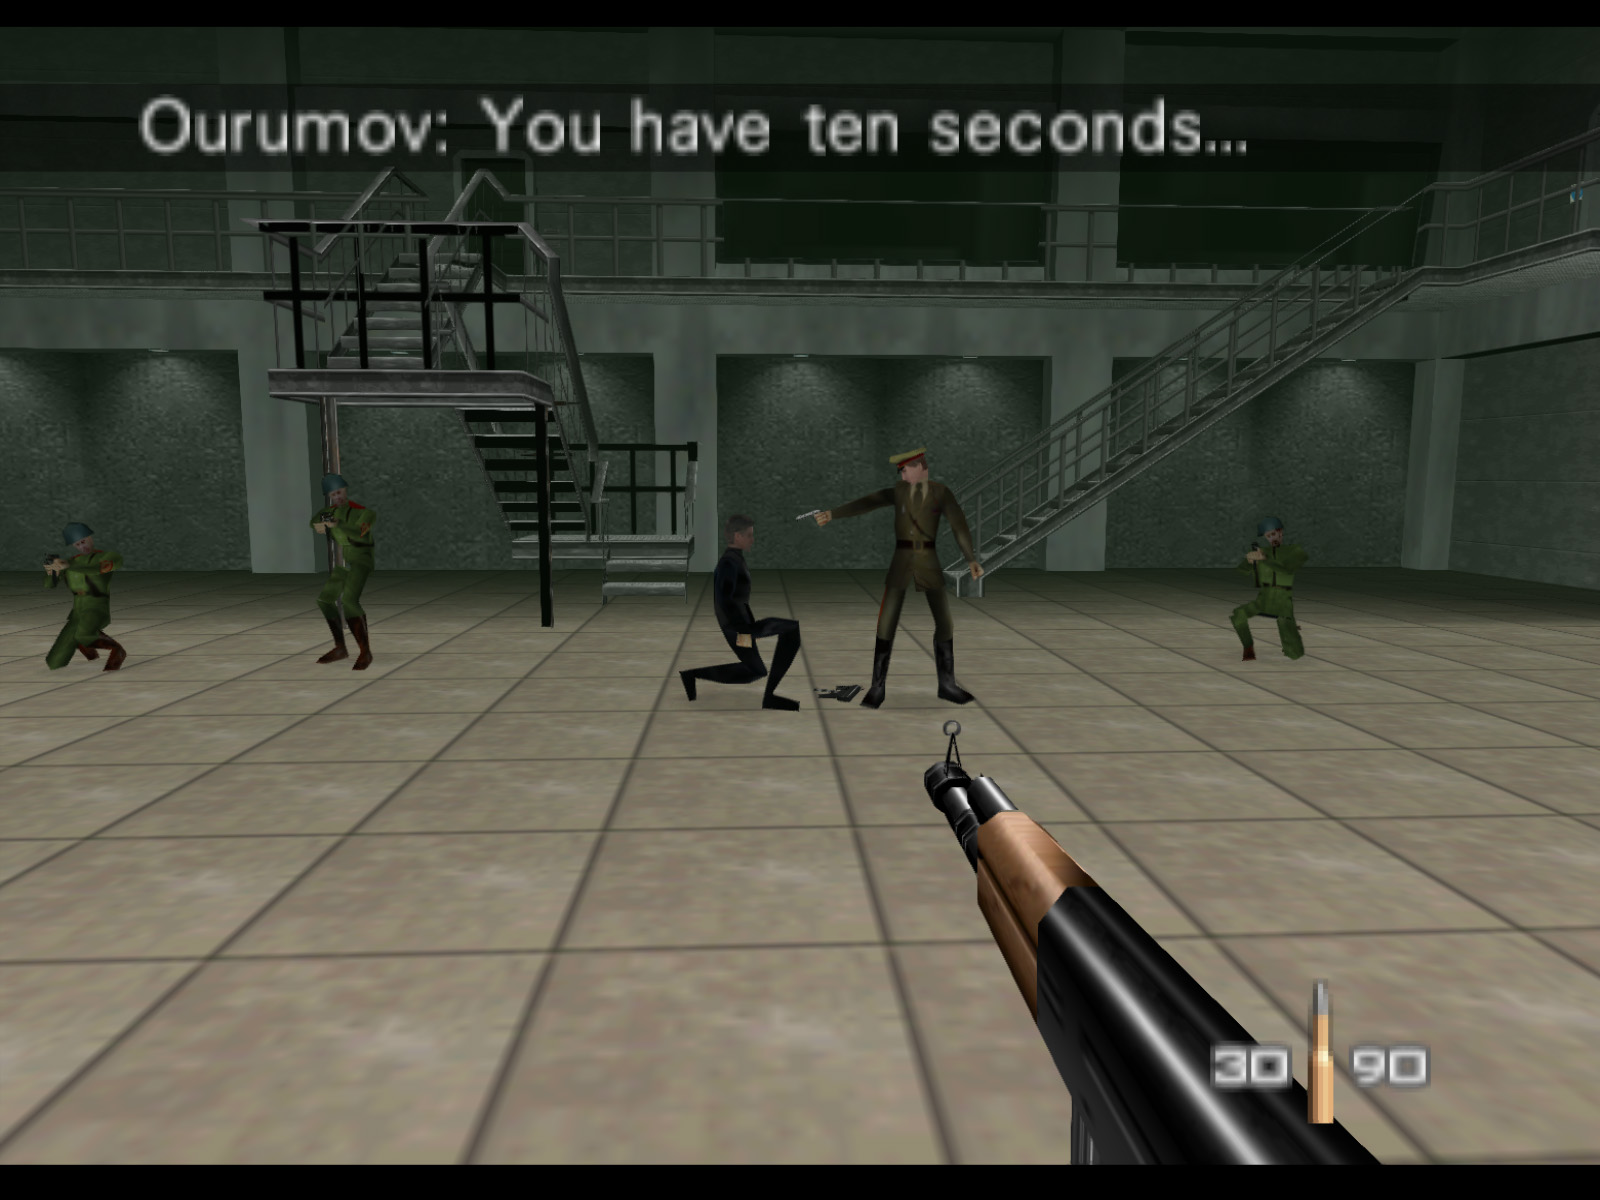
Speaking with 006 eventually sets off an alarm and also triggers the most complex scripted sequence in the game.
Soldiers and General Ourumov rush into the botting room. Trevelyan will usually take out a few soldiers on his own, but his fate is a foregone conclusion. 006 surrenders and after a countdown Ourumov seems to execute Trevelyan. Ourumov and his soldiers will then open fire on Bond if the player has not interrupted this scripted sequence. The real Dr. Doak, the developer, said this sequence was very difficult to program because it was essentially a cut scene that the player could interrupt at any time. The game had to be programmed to handle any action the player could take.
Facility is unique for having two acceptable exits. The player can exit via the conveyor belt or via the pair of silver doors. The outro cinema changes depending on which the player chooses.
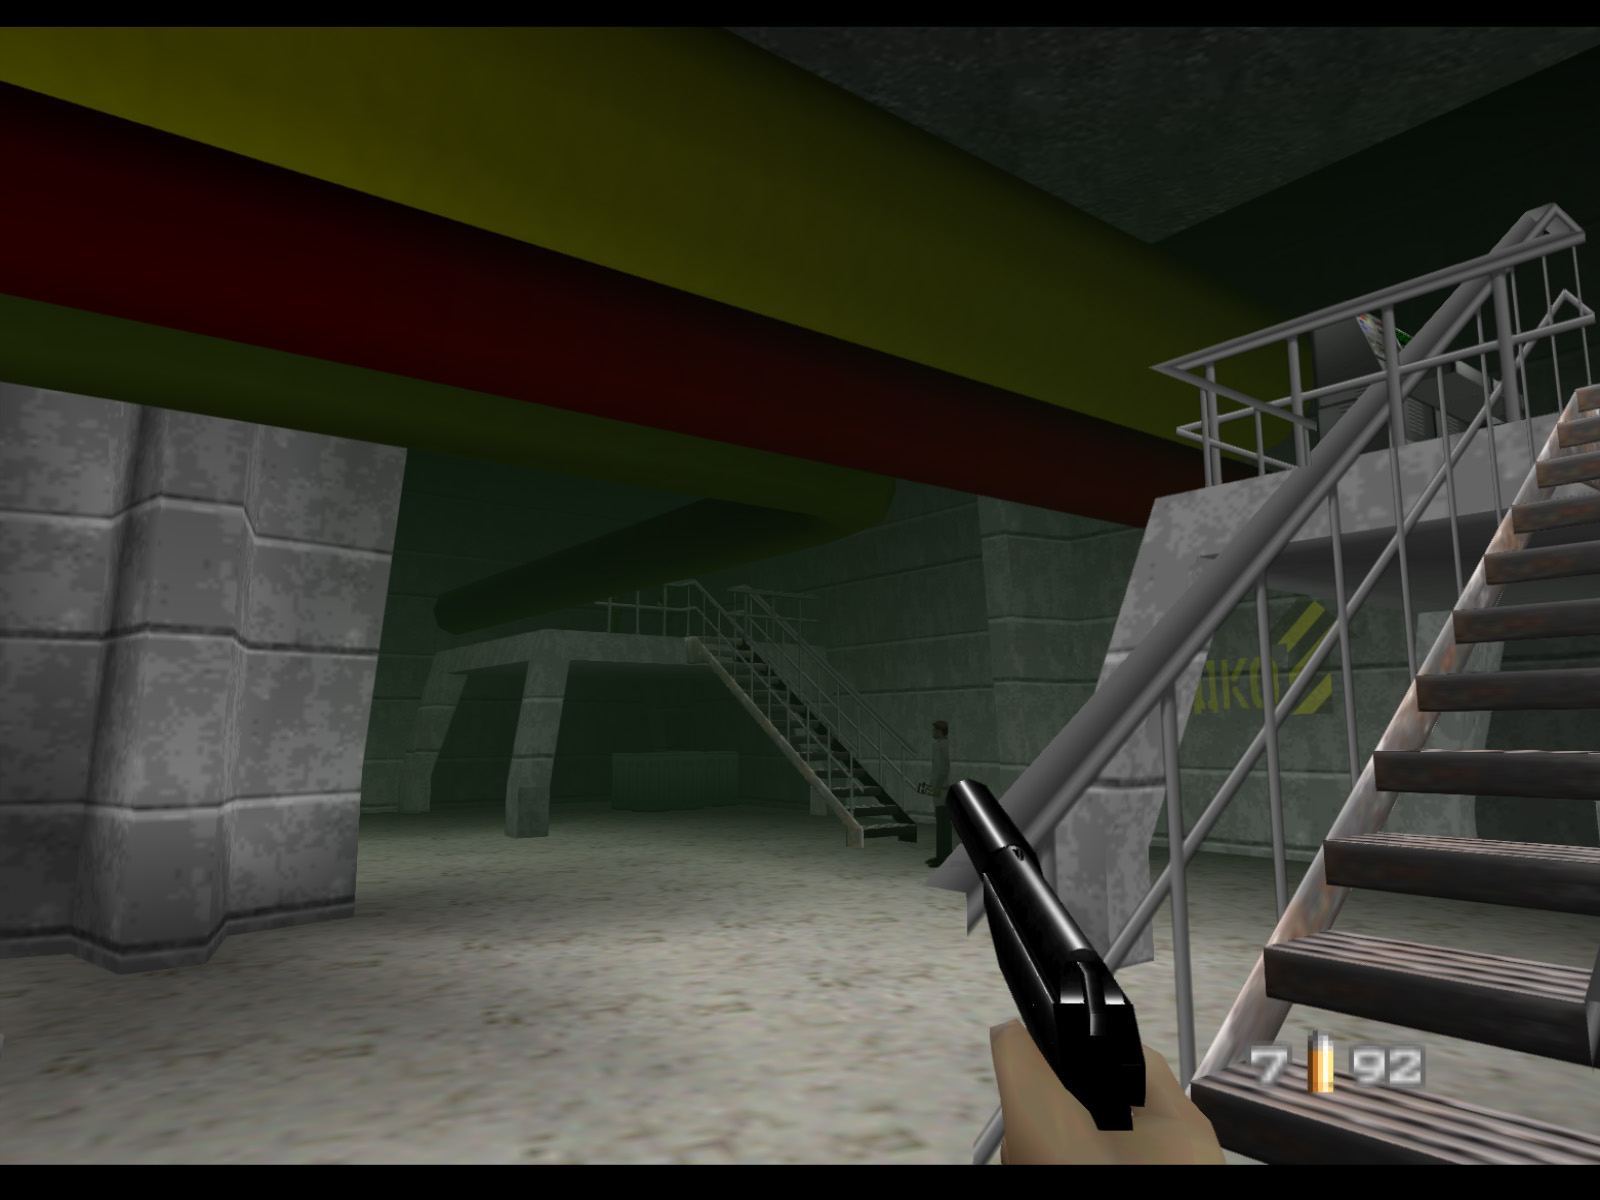
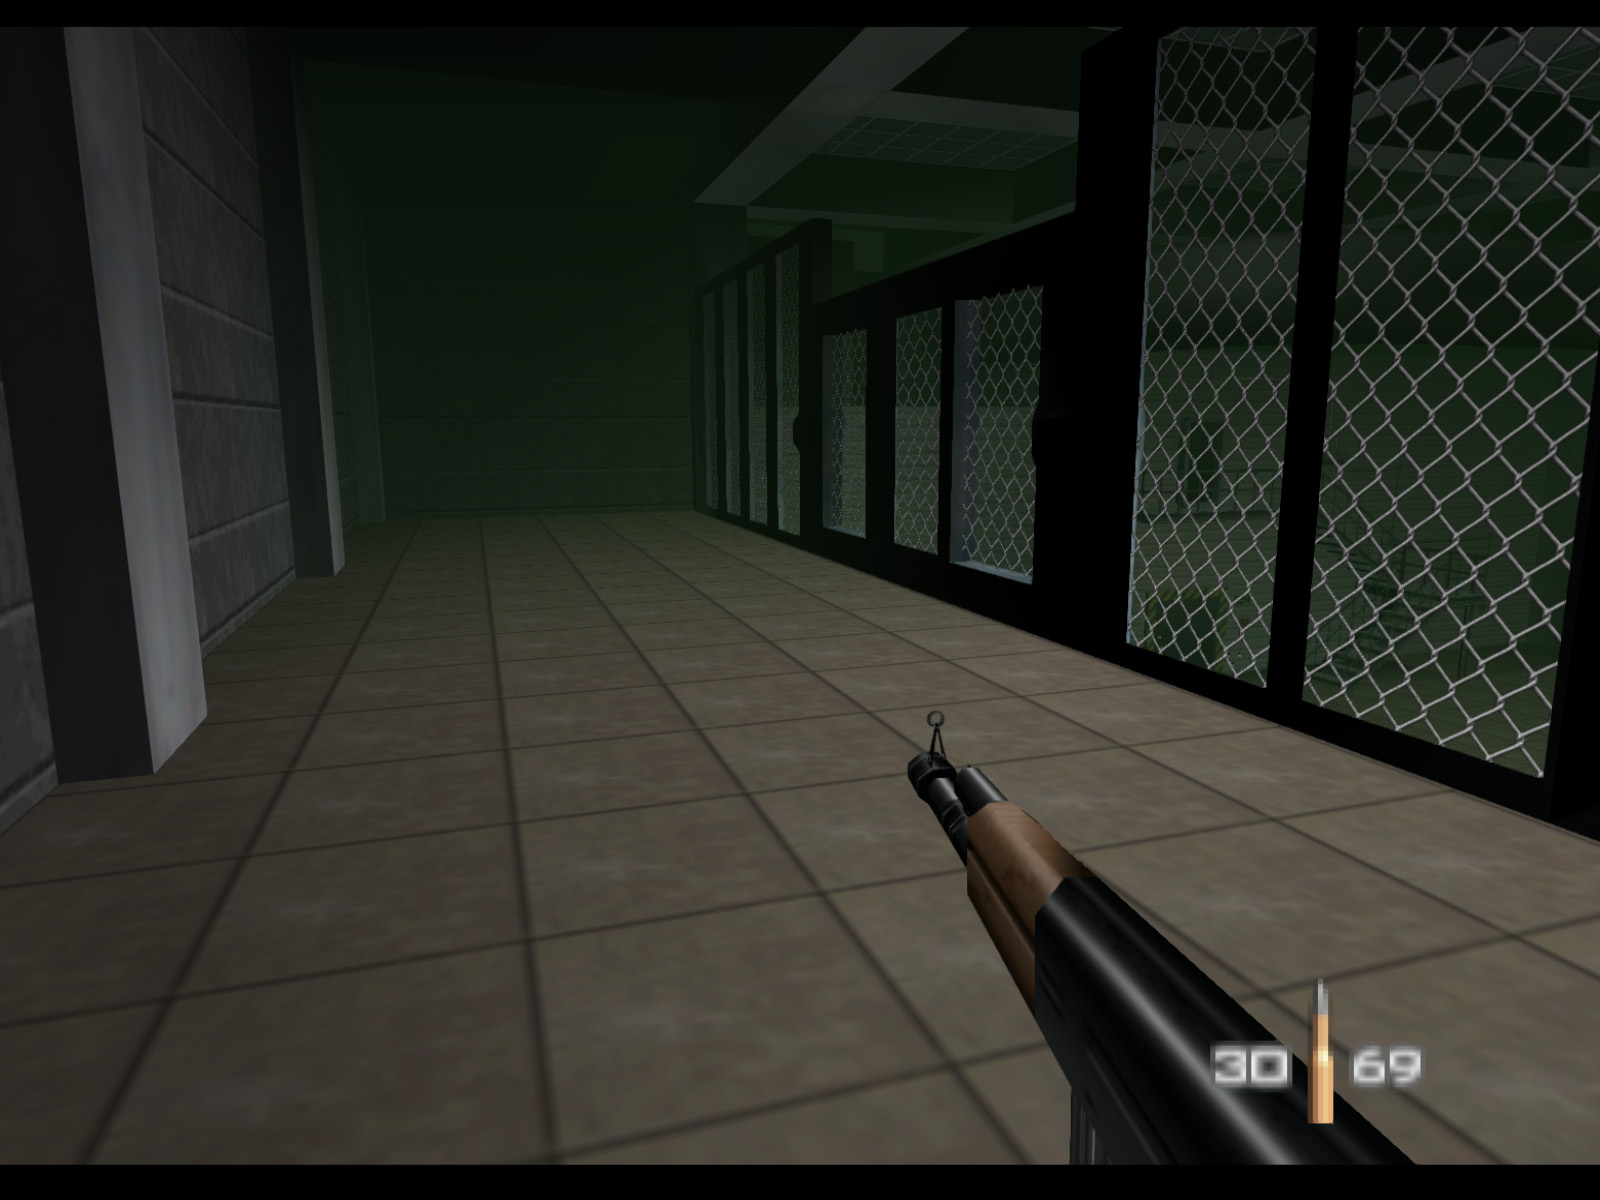
Before concluding this level tour there are a couple bottling room offshoots worth showing. One is this room with the chainlink partition. In the movie gas barrels are stored up here. The game's version is empty, probably to keep the framerate acceptable.

This other offshoot provides a nice overview of the bottling room.
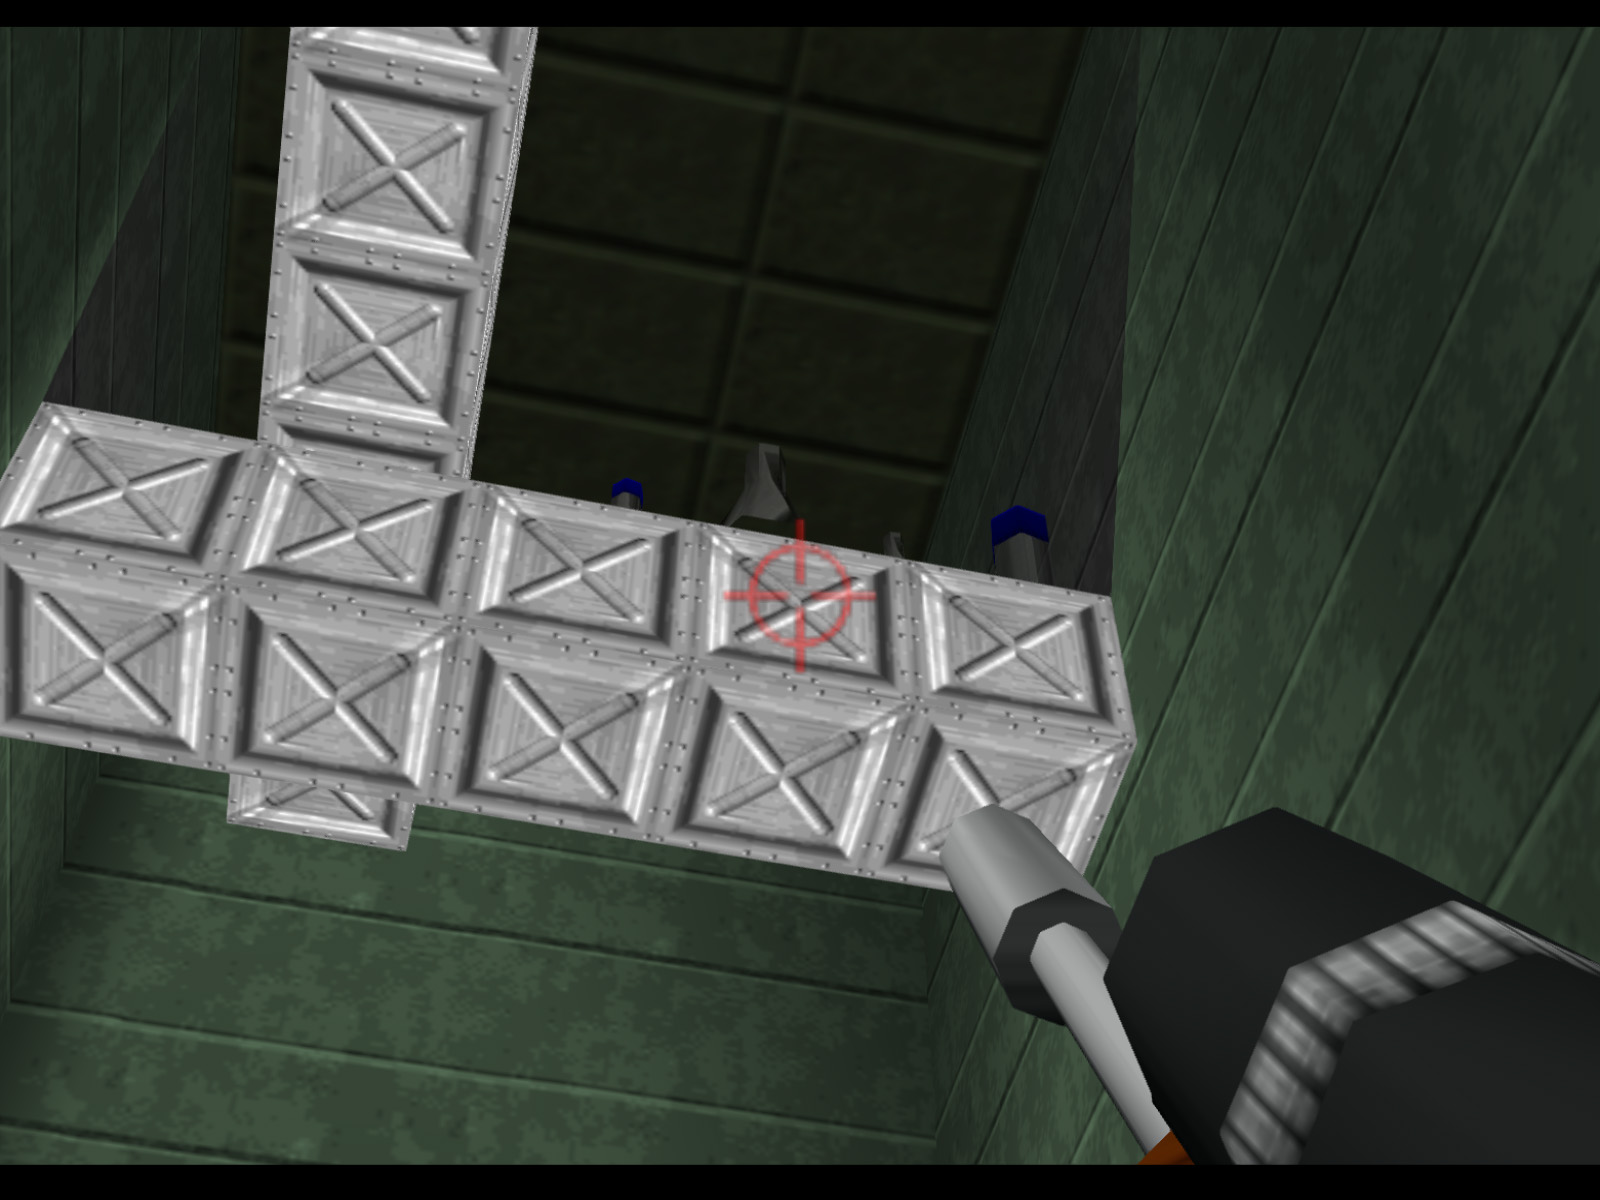
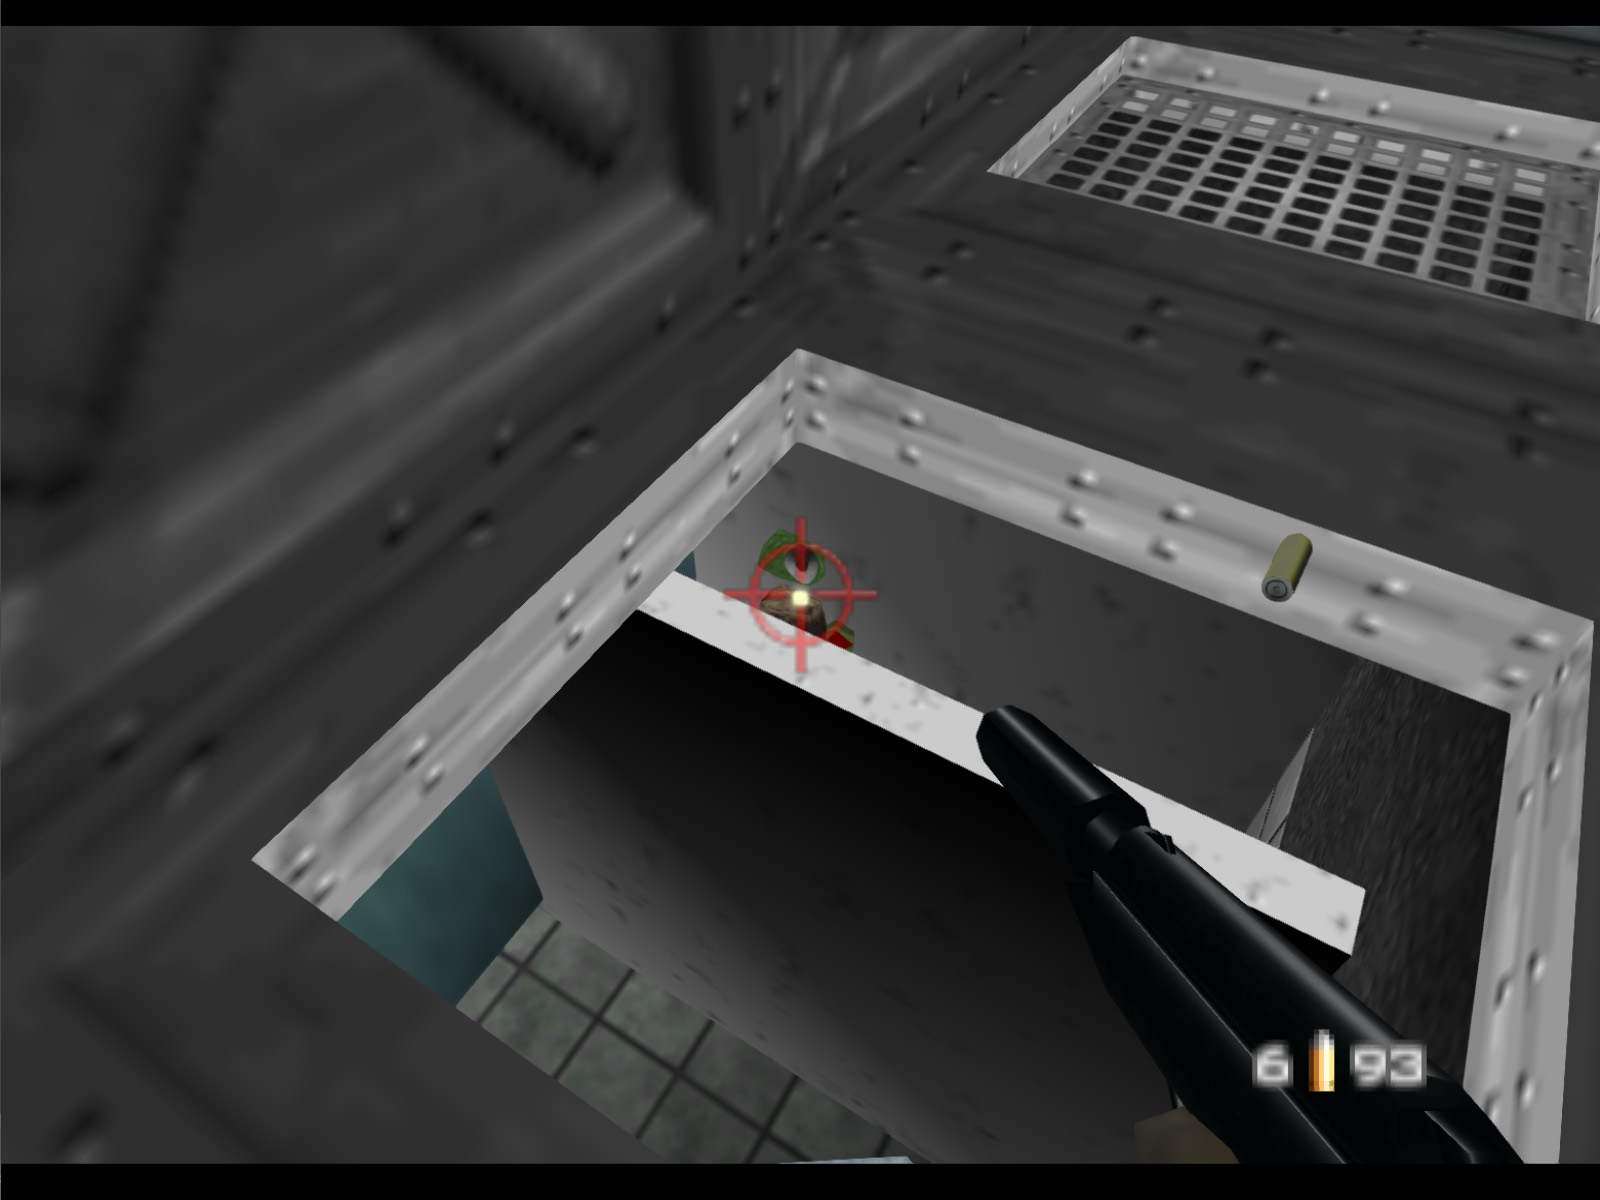
As soon as the game was released players noticed these glass flasks and vials strangely sitting on top of a vent in the green hallway. Ever since then players have questioned why they are here.
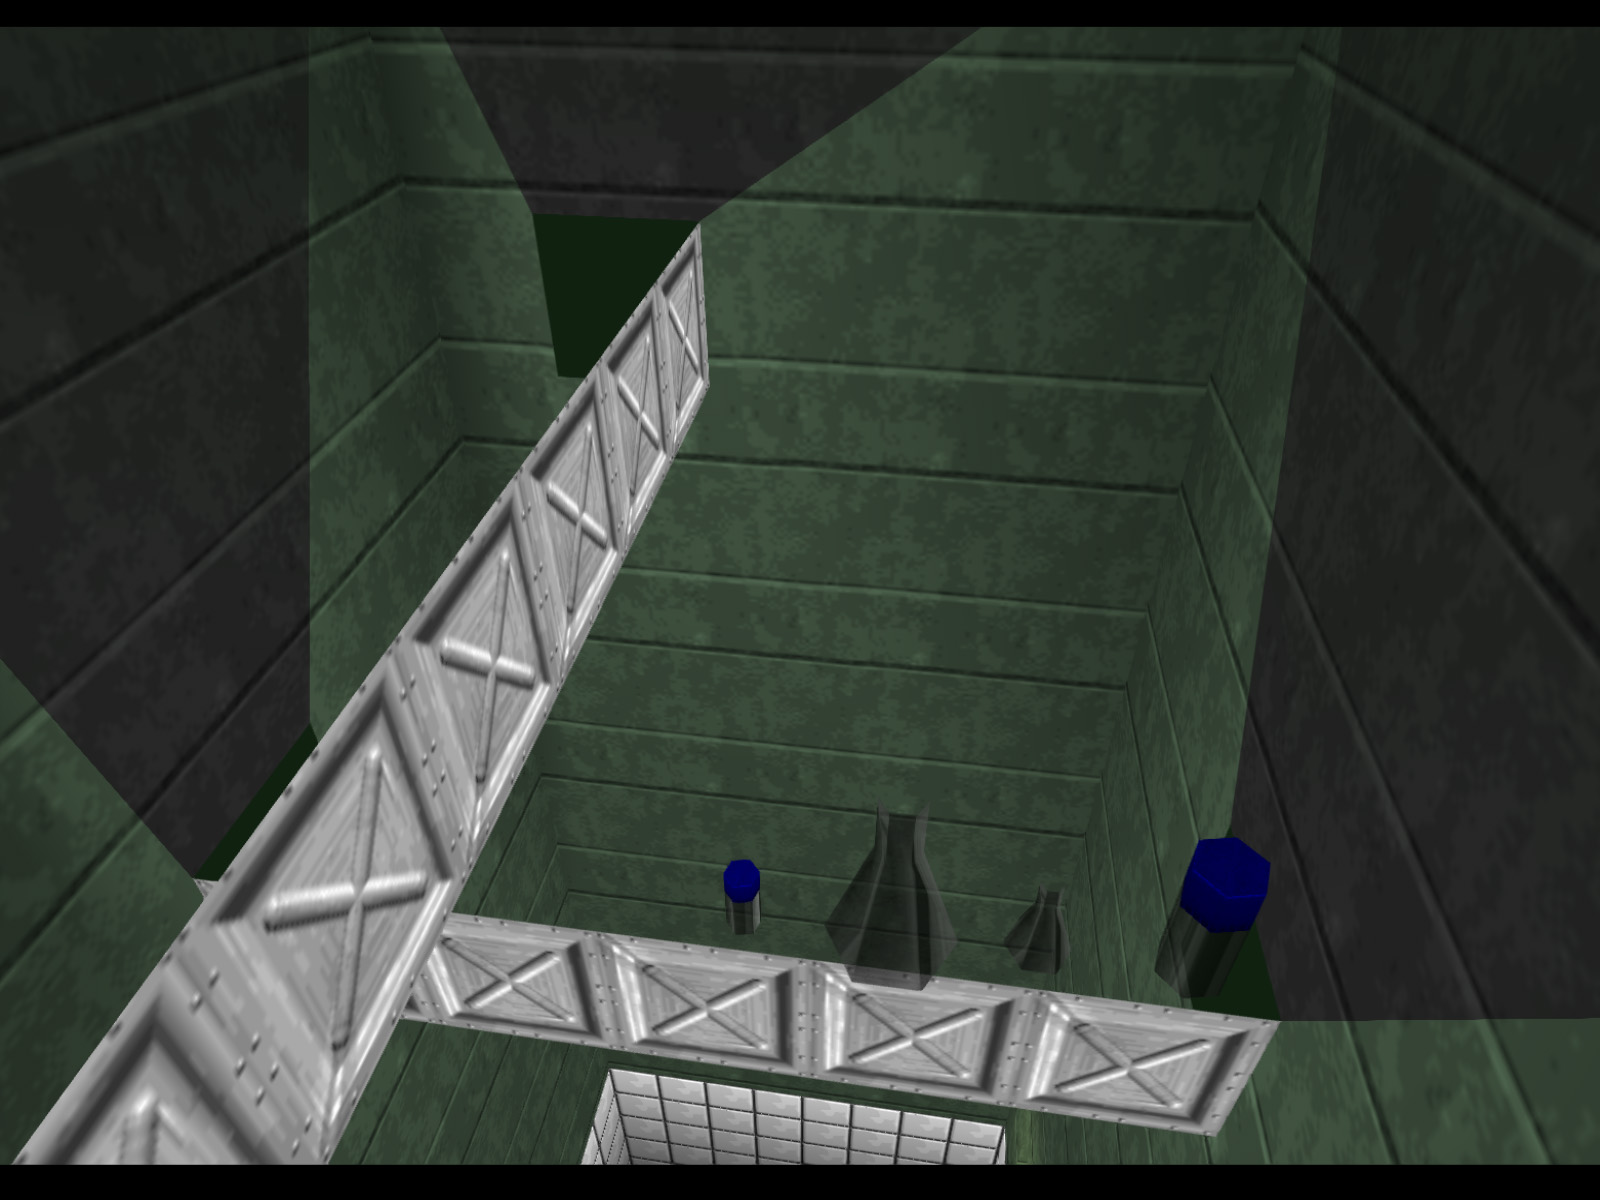
Here is a look from above, captured by using the Facility "Moonjump" GameShark code.
The real Dr. Doak was the developer responsible for placing the equipment here. He told me that he appreciated the high ceiling and vents the level designer took the time to put here, and he felt they deserved to be noticed.
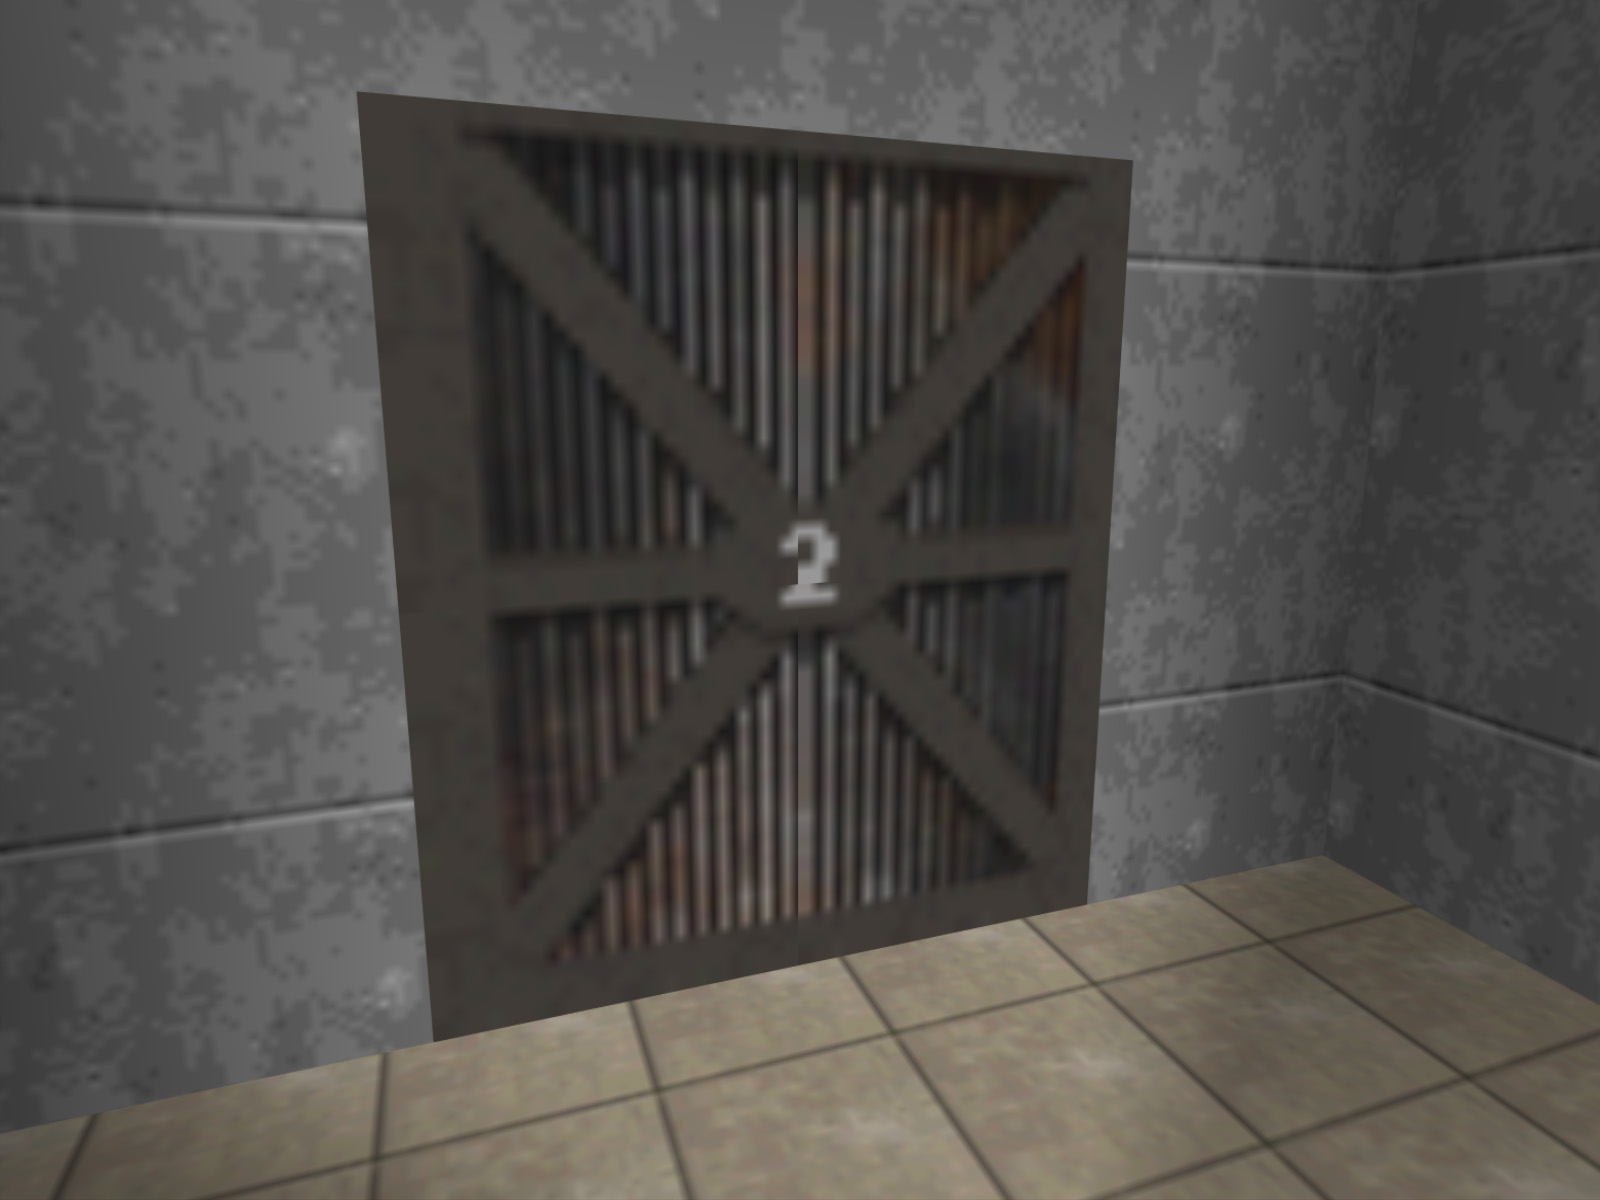
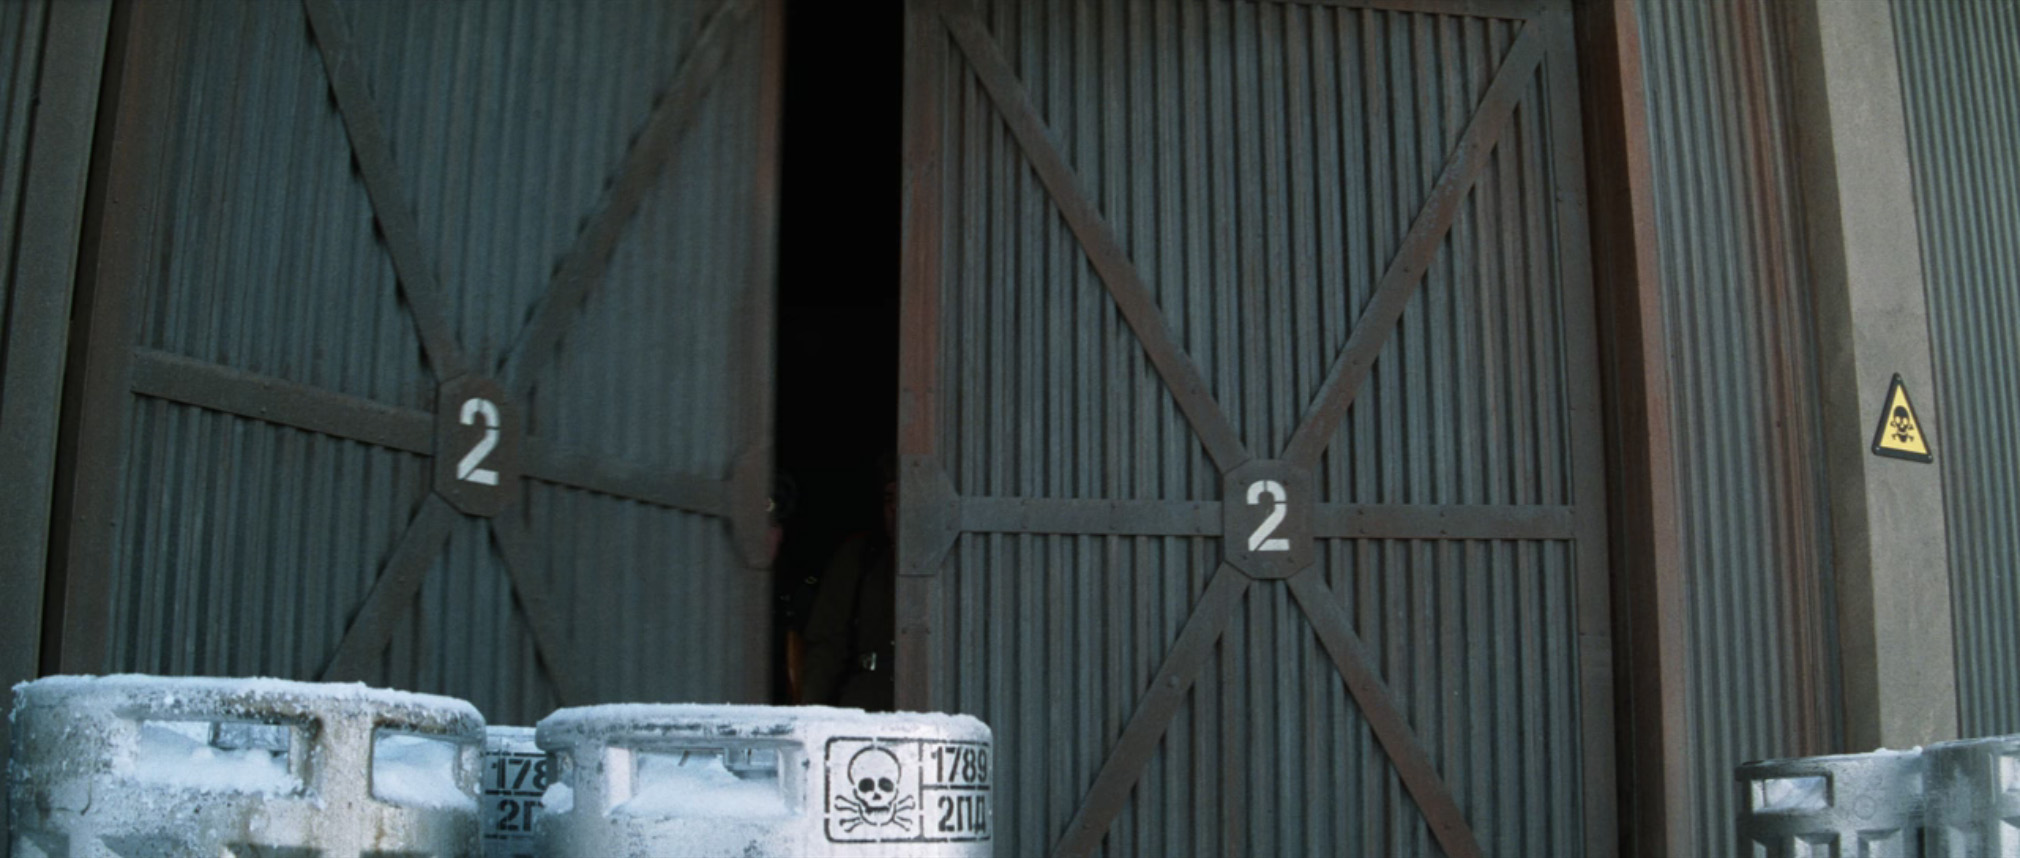
One of the two Facility exits is a small room through the double swinging doors. Stepping in here fades the level to black, but as it fades you may briefly notice a door in that room. This rusty door with the number two written in the middle is odd because it appears nowhere else in the game. It seems strange that the developers would take the time to make this texture only to use it once and in a place the player can barely see. Was this door once used in more places? Maybe on Runway? It does look pretty similar to these doors seen in the movie's runway scene.
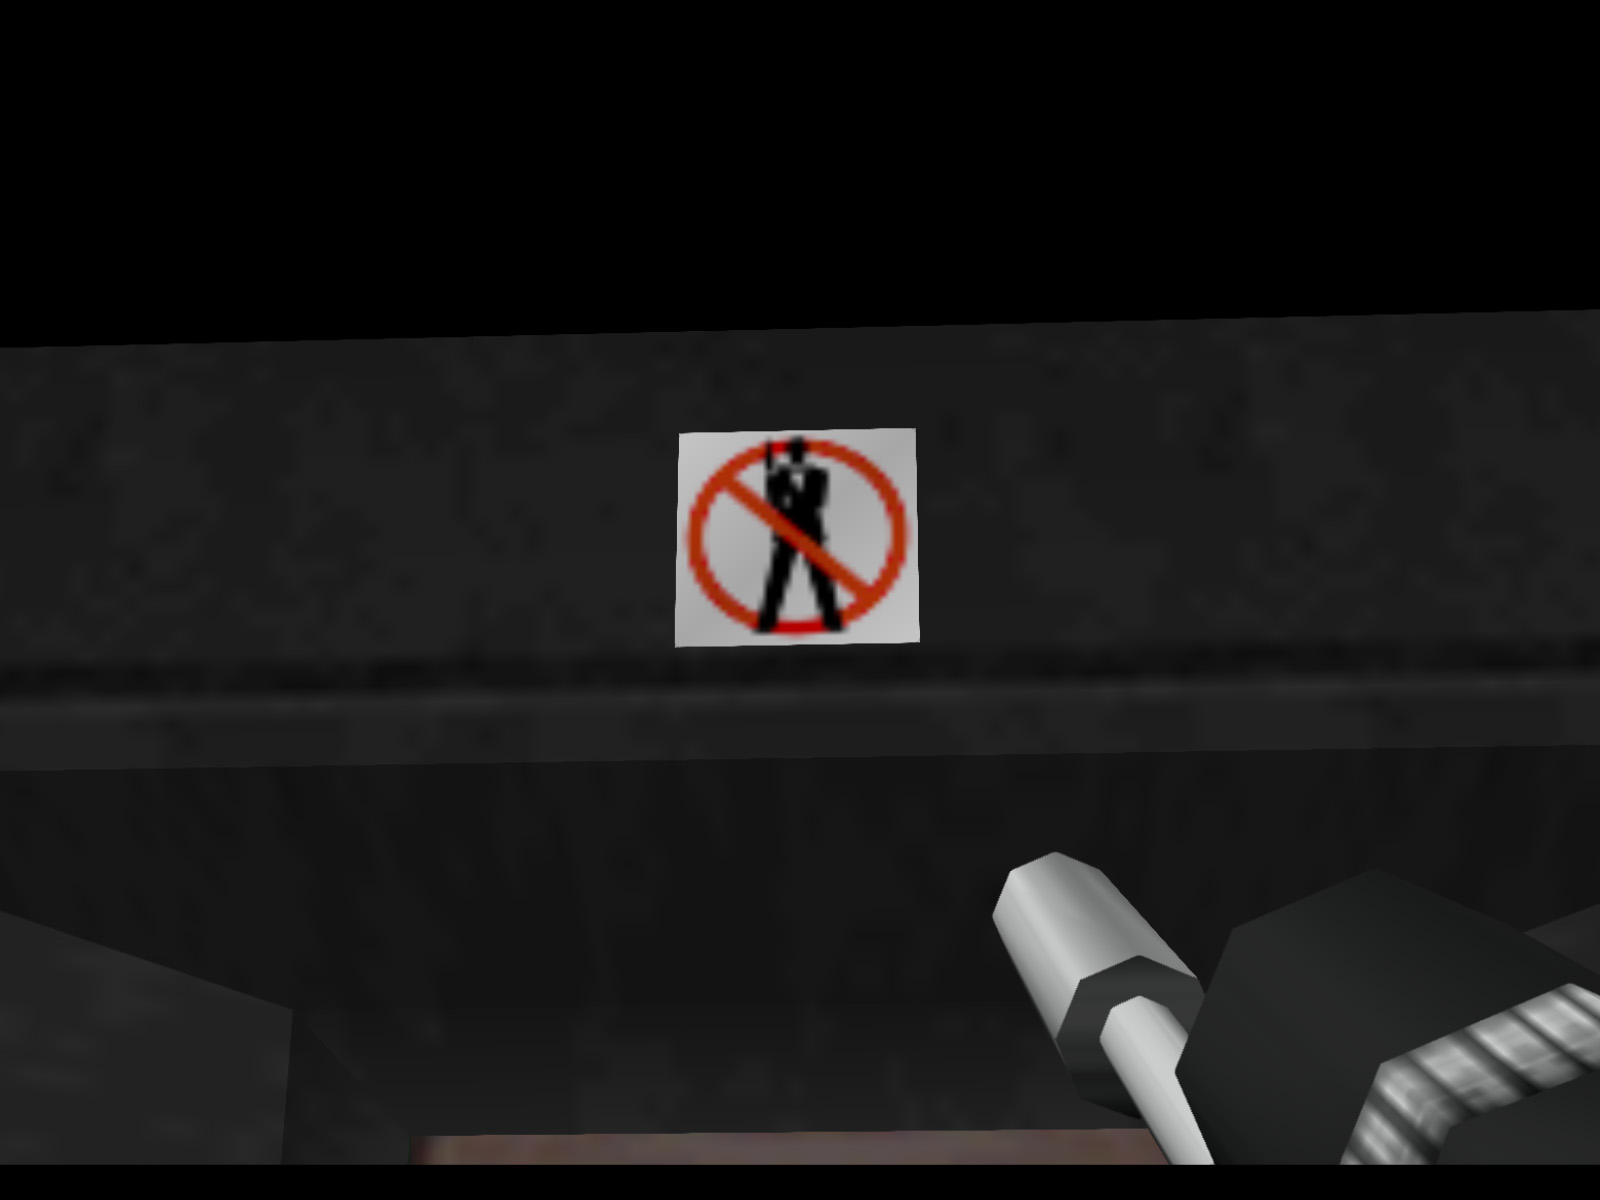
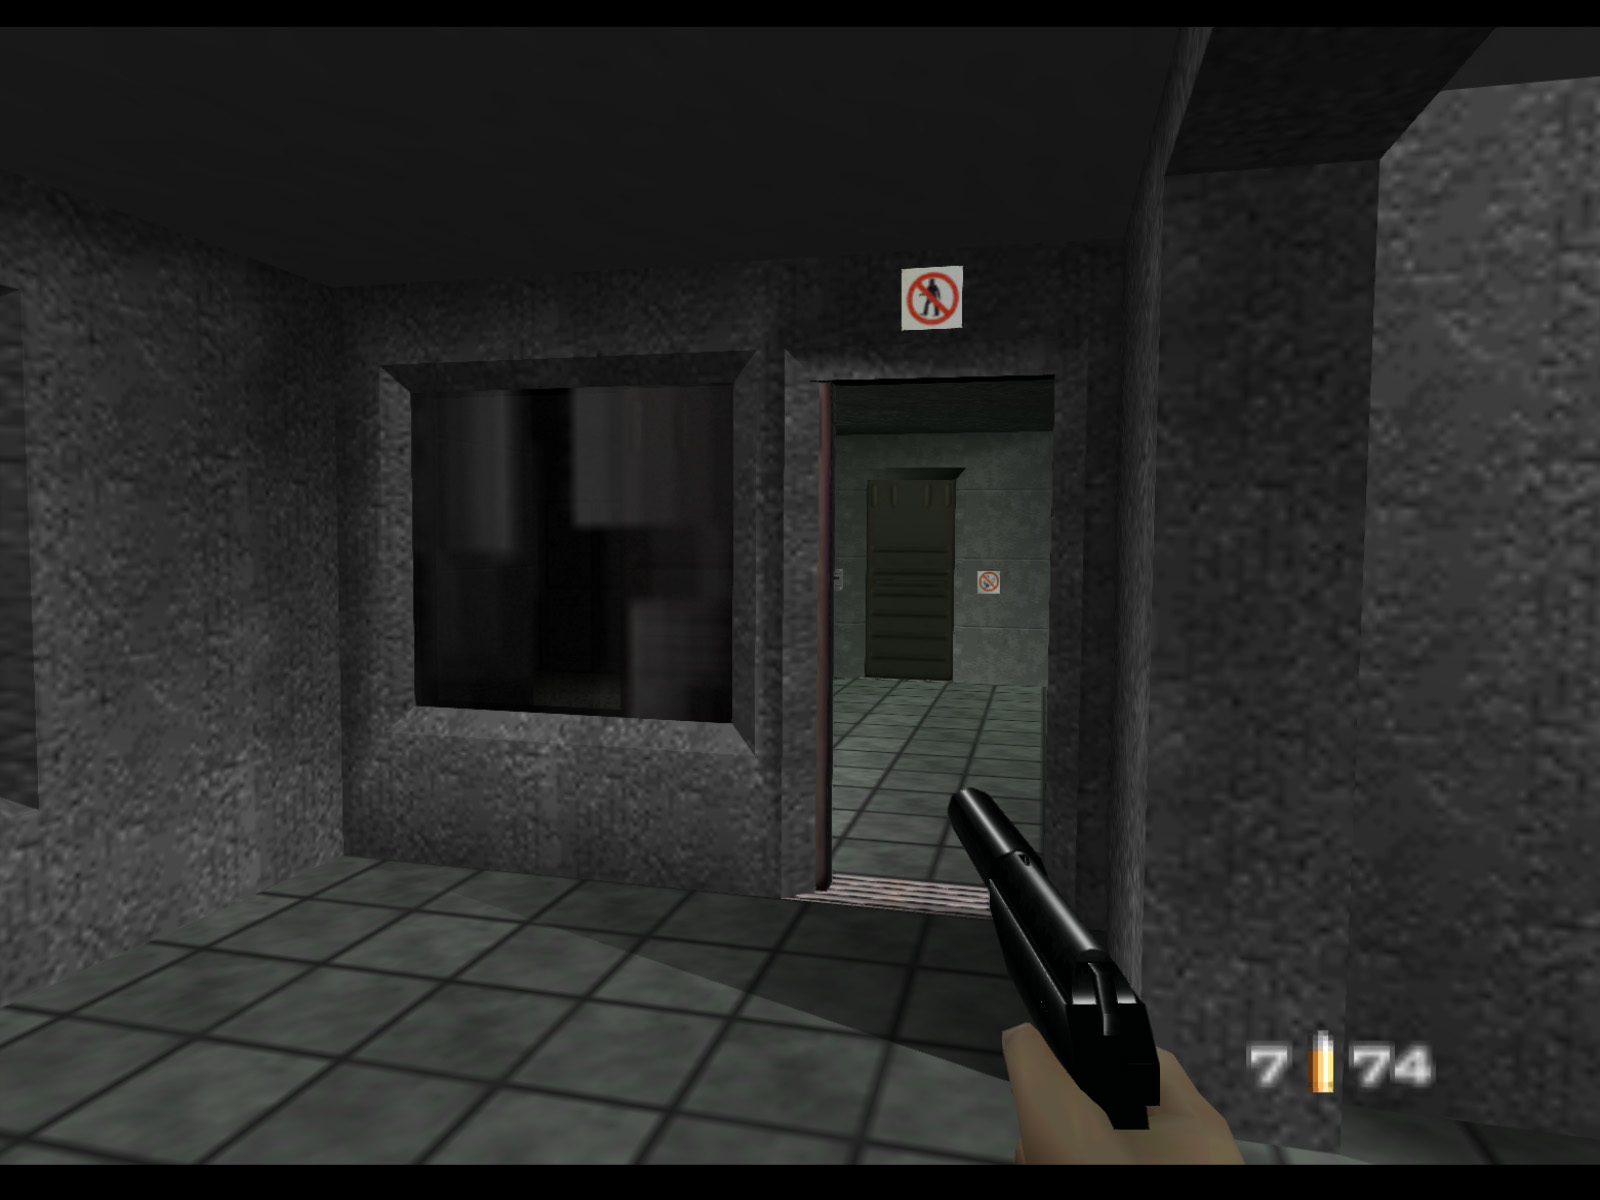
In the small room just after the tank rooms there is a sign above the door with the Bond silhouette in a prohibition sign. This is a great example of the GoldenEye team's subtle humor.
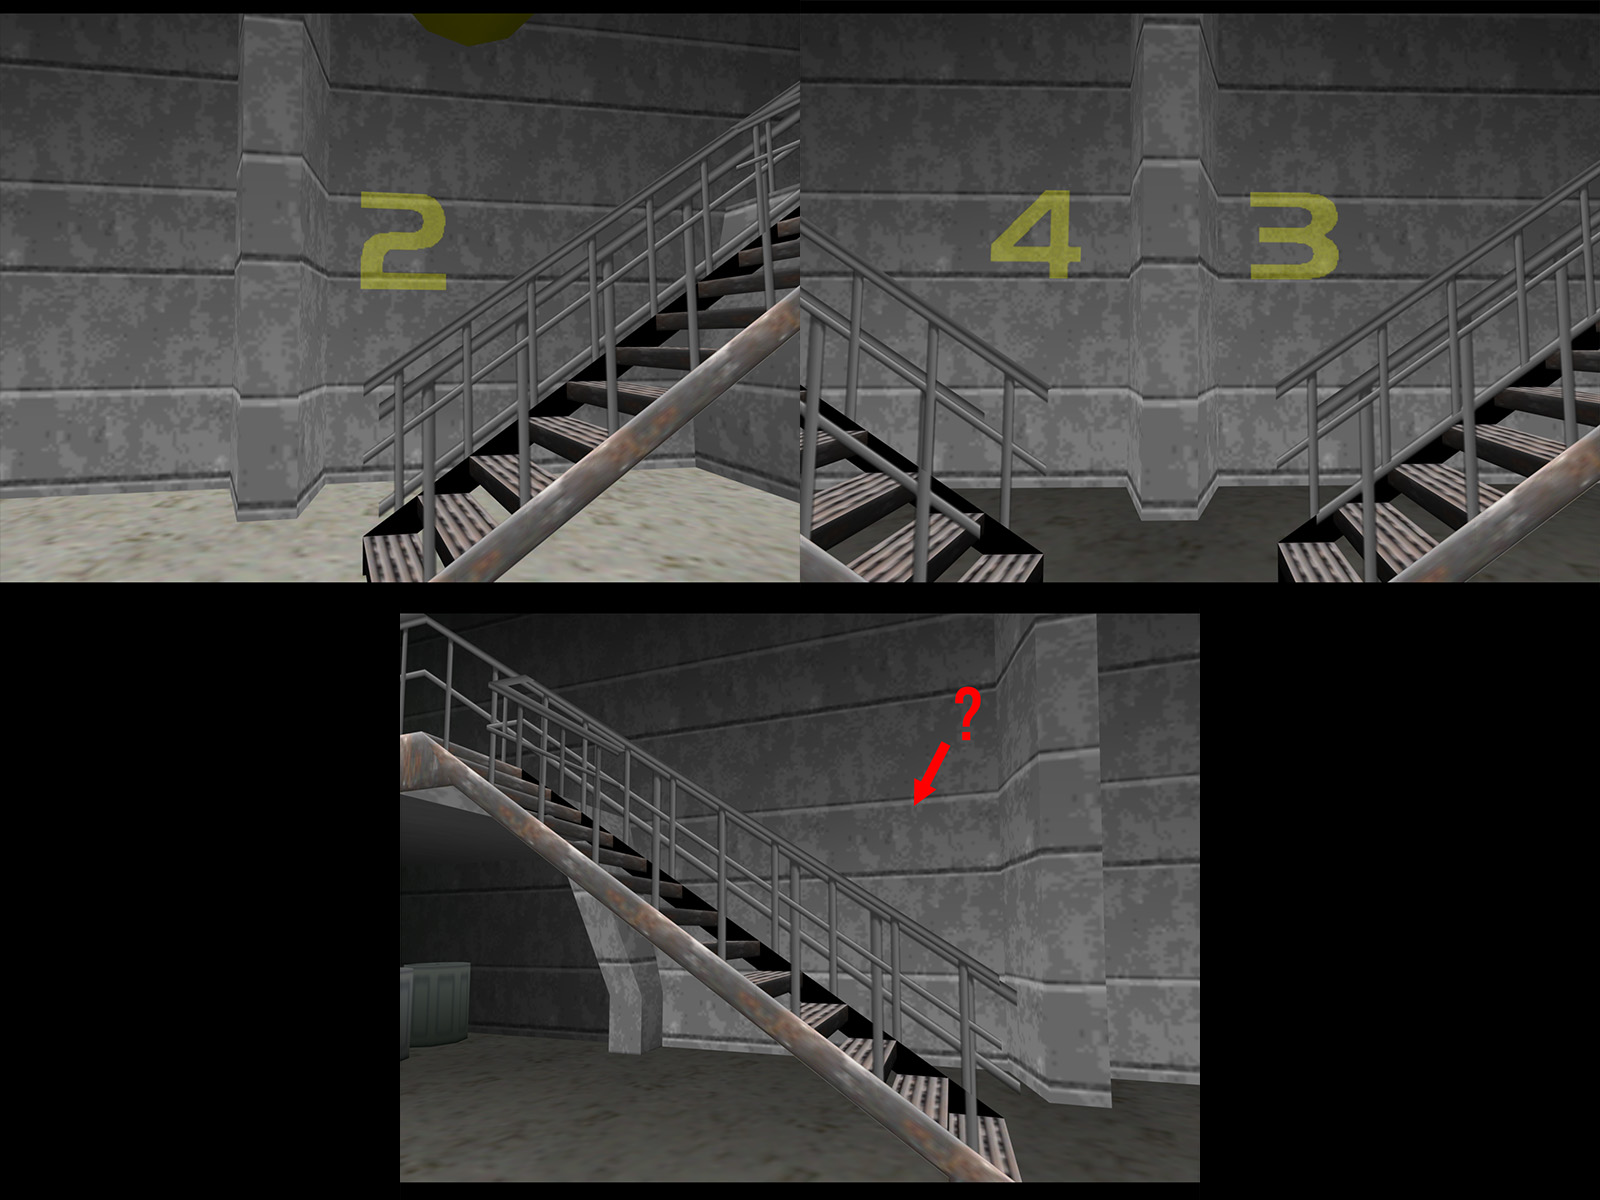
The quad area has four platforms (hence the name) and three of them are labeled. We see signs for platforms two, three, and four. What about one? Why is there no "1" sign? This is quite reminiscent of how Dam has guard towers labeled, 2, 3, and 4, but there is no tower 1.
Dr. Doak spawns in random locations. TODO: expand this section
