Mission 4: Monte Carlo
Part i: Frigate
Mission 4: Monte Carlo
Part i: Frigate
A demonstration of the Pirate stealth helicopter by the French military has been unexpectedly postponed. Official channels insist that nothing is wrong but unofficially MI6 has been asked to help salvage a very tricky hostage situation on board the frigate La Fayette. It seems that the Janus crime syndicate will stop at nothing in its attempt to hijack the helicopter.
This is the best chance we've had in years to get a lead on Janus. The French are prepared to play along with an entrapment scenario. We need you to place a tracker on the Pirate so that we can trace its movements after Janus steals it. This must go smoothly, 007. If the press get a sniff of this, we'll all have egg on our faces.
The French have kindly given us technical details of the Pirate so I've managed to convert this tracker bug into quite a clever little chap. It's undetectable and it locks out all weapon firing commands. Janus is also threatening to blow up the ship. They are most likely to have placed explosives on the bridge and in the engine room. Take care, 007, and be certain to use the bomb defuser correctly.
Xenia Onatopp, one of Janus' main operatives, may be on board the La Fayette. They say she has thighs of steel, James. Just be sure to stay out of their grasp.
Frigate is the seventh level of GoldenEye 007 and the only level of the fourth mission. This is the first level in the campaign to take place in the "present day." If we go by the movie's release date that means 1995, or we could go by the game and declare it 1997.
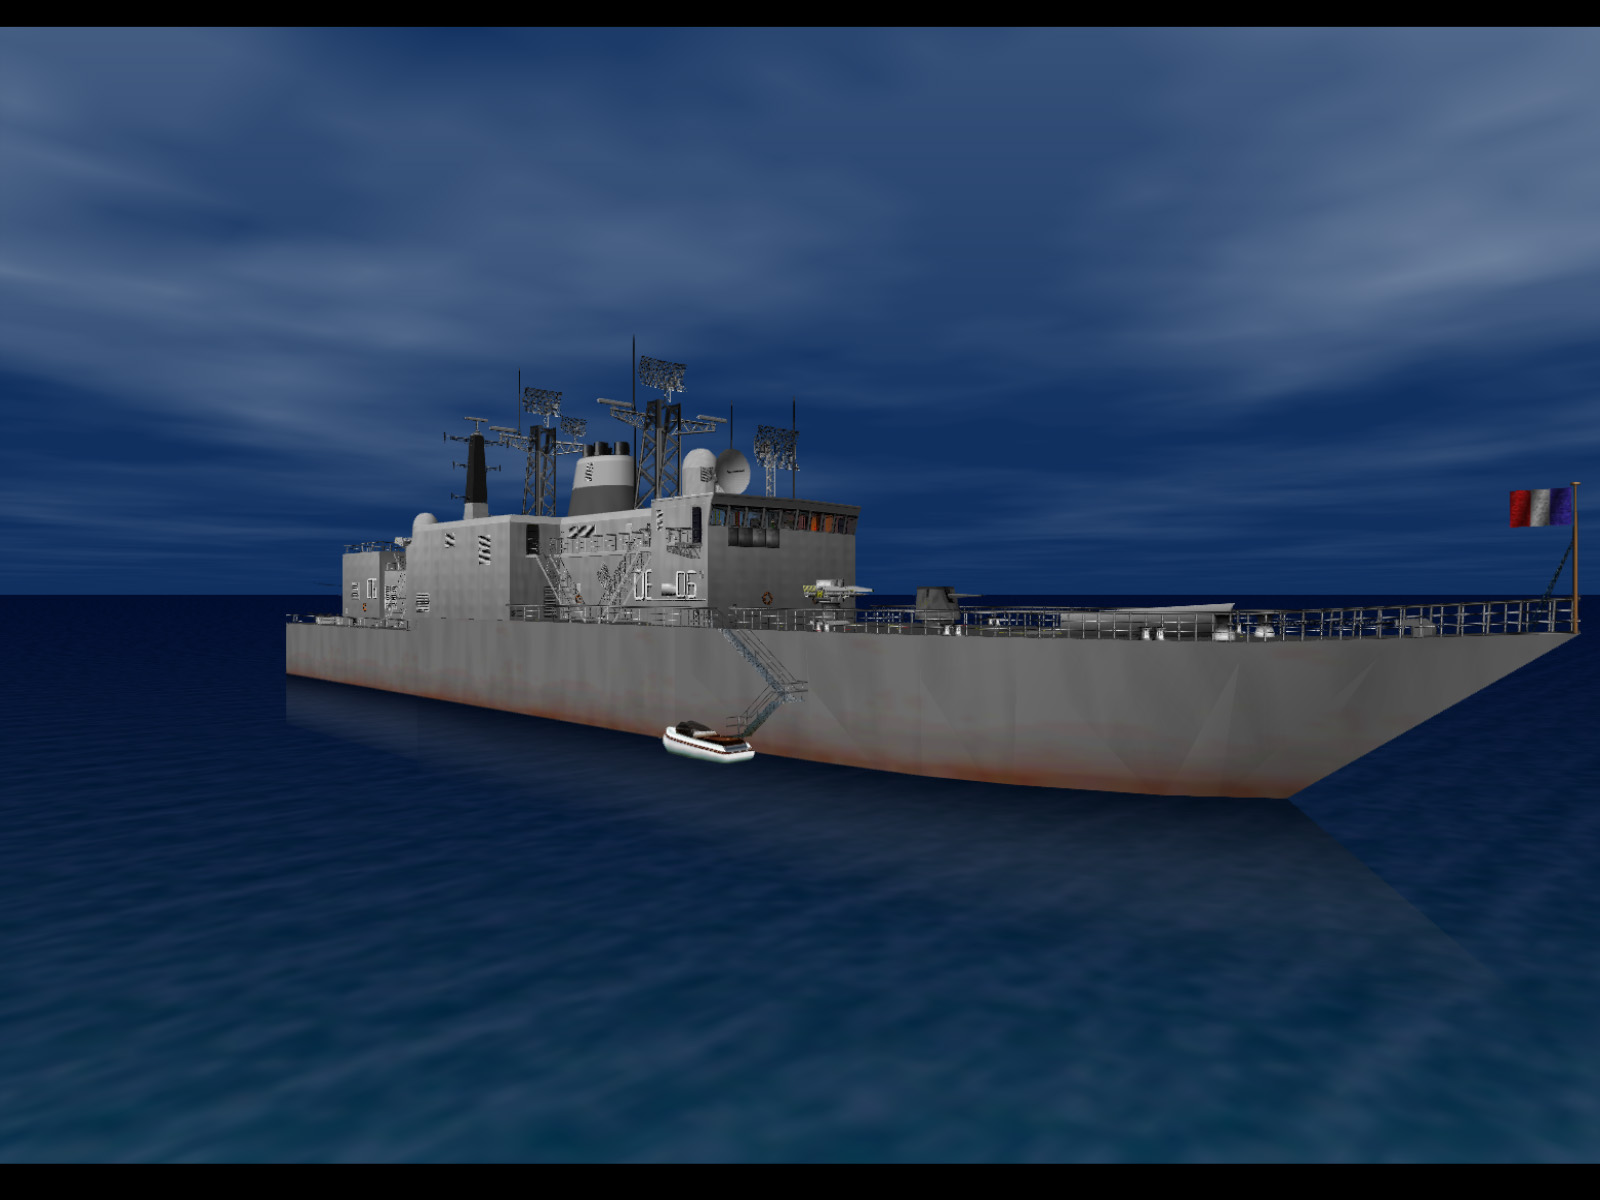
Frigate introduces the Janus crime syndicate, a gang of arms dealers based out of Russia. The premise is that they have stormed the French frigate La Fayette and taken hostages. They also plan to steal the EMP hardened Pirate helicopter. The French government asks the British government for help which may be the single most unrealistic aspect of GoldenEye's plot.
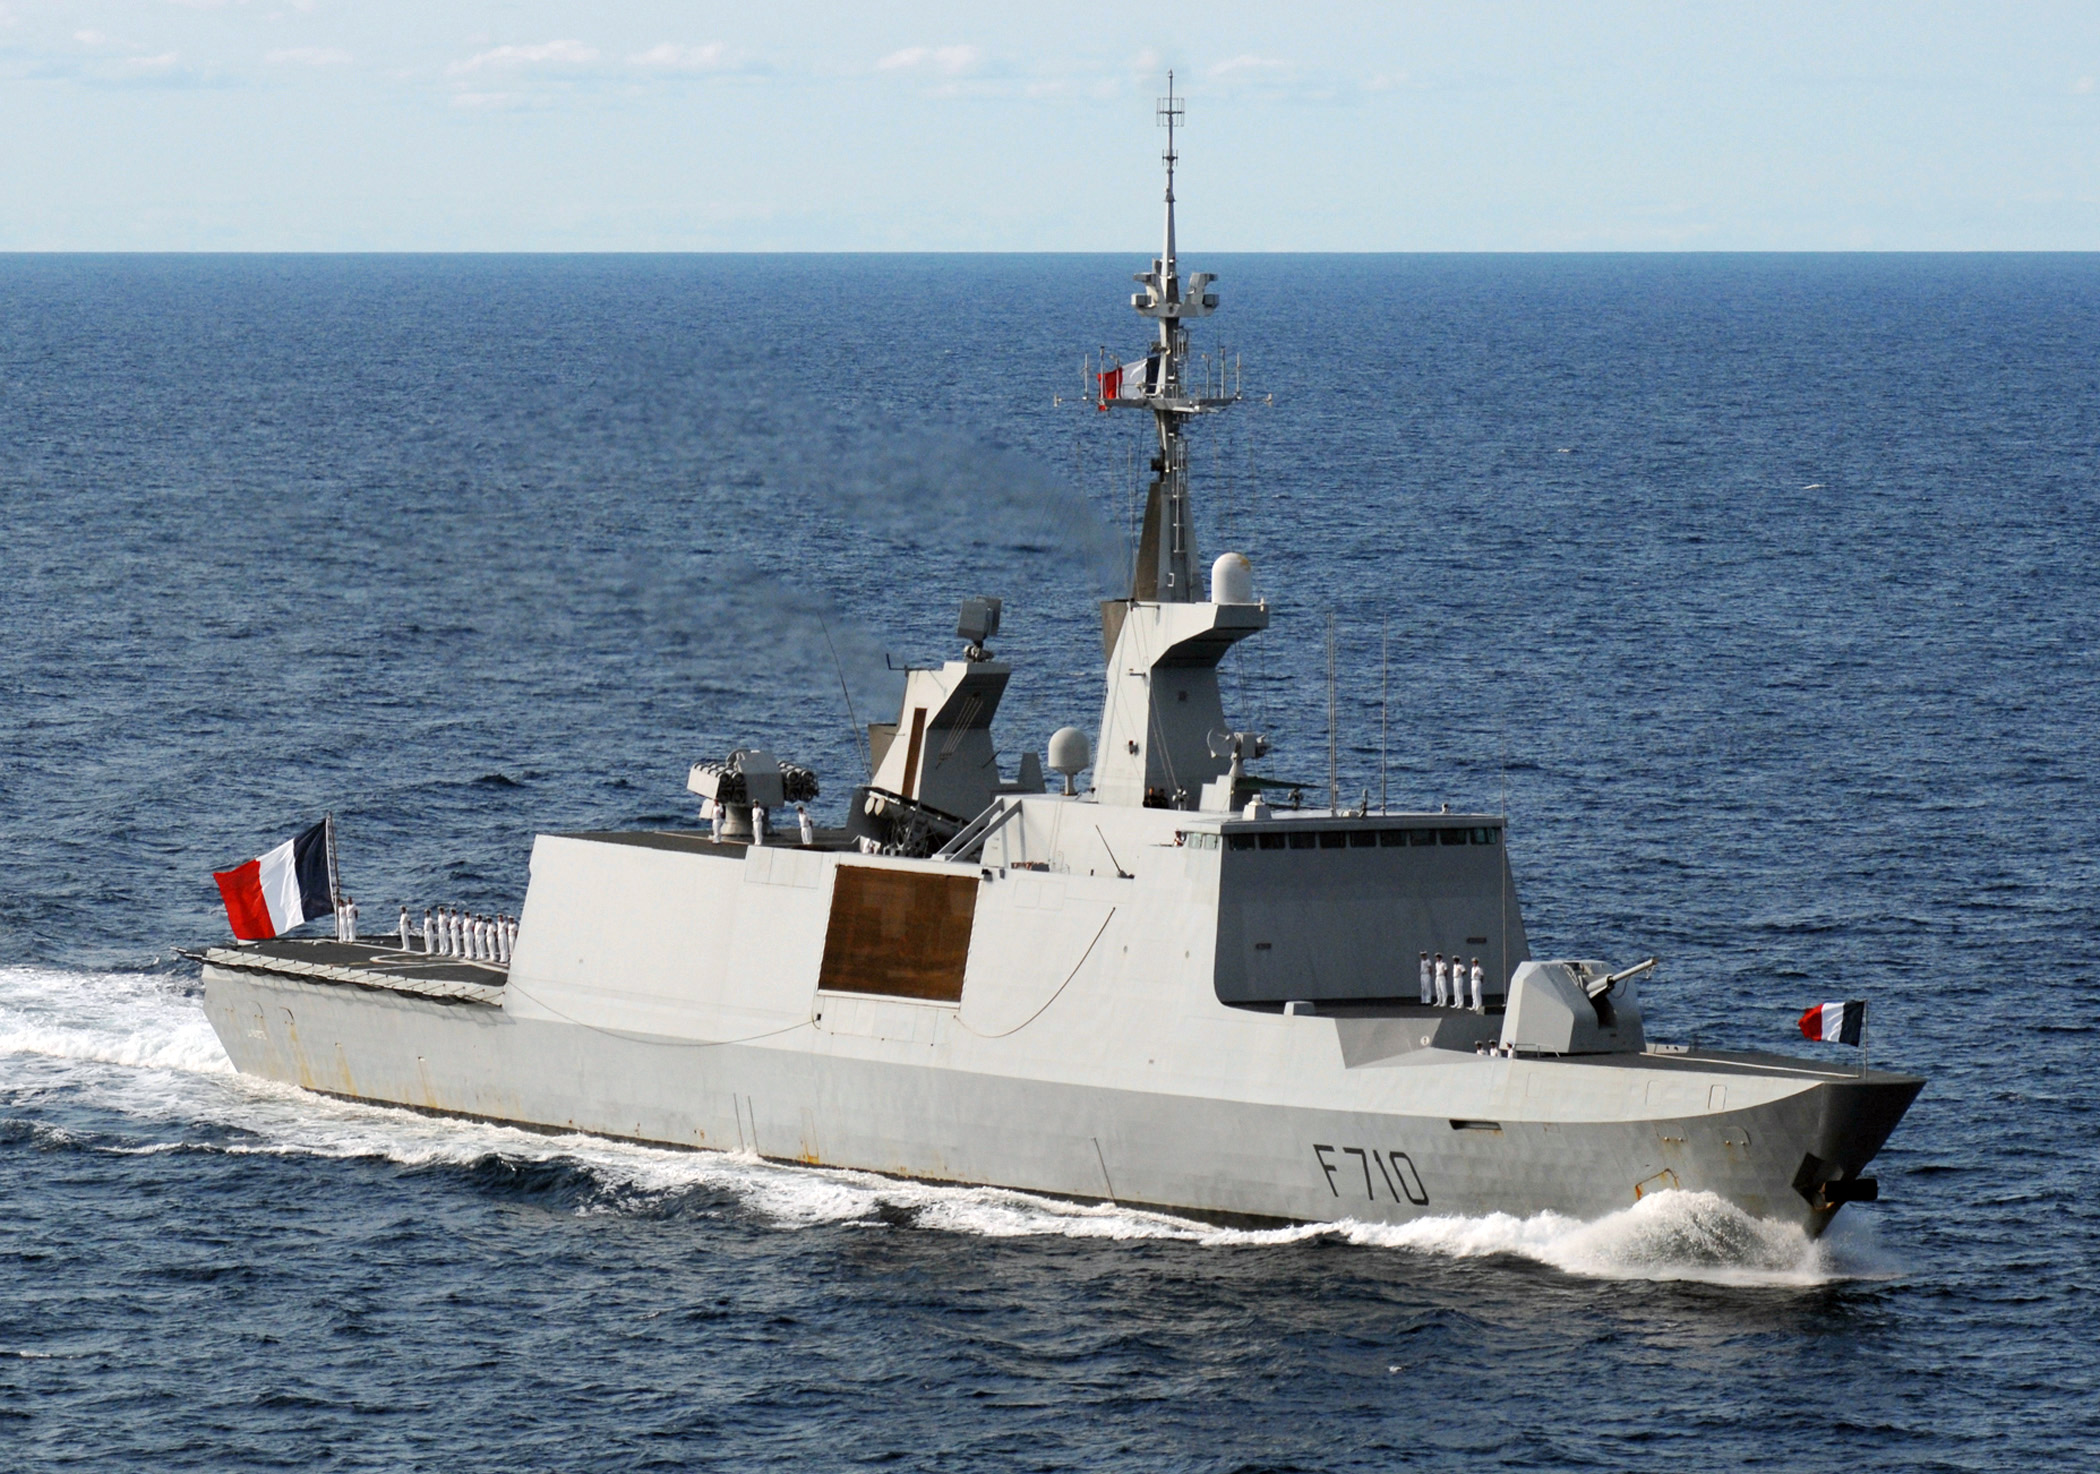
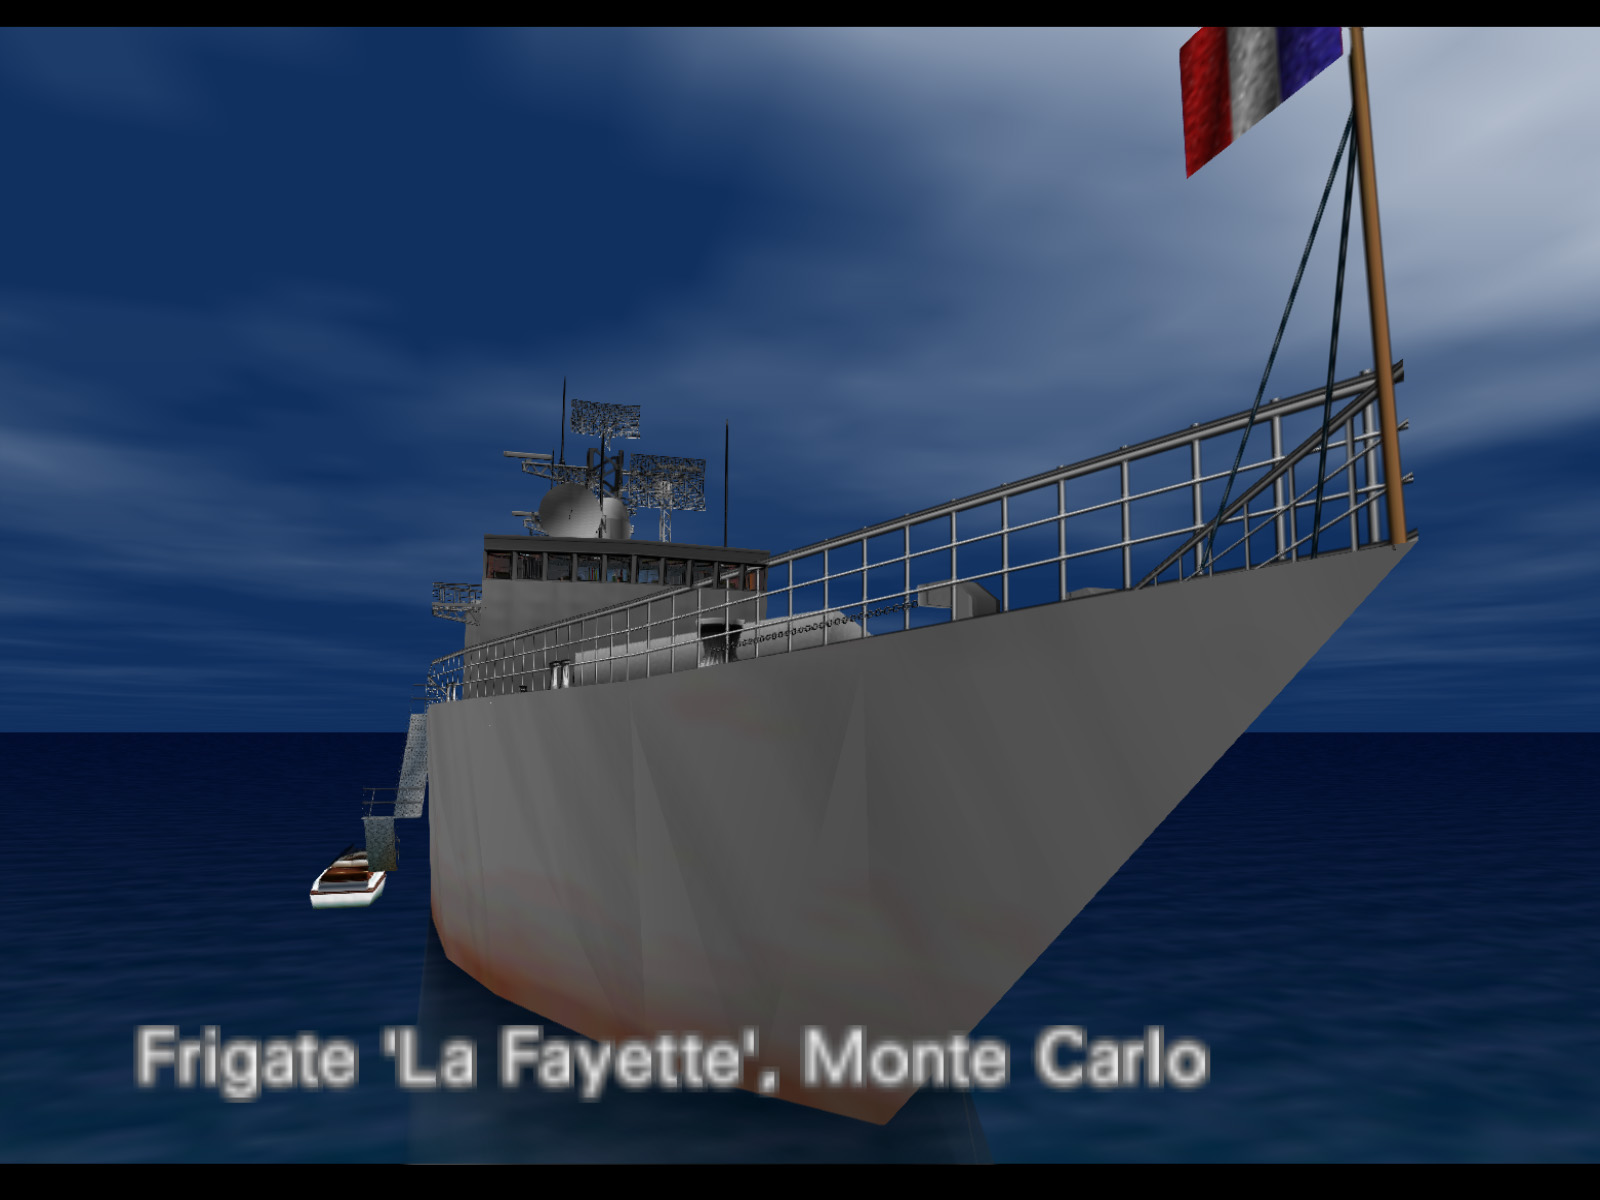
The La Fayette is a real ship which was launched in 1992 and commissioned in 1996. She was the first in the La Fayette class of frigates and 20 were made in total. She is still in service with the French navy to this day. The game's version of the ship seems to be closer in design to older military surface vessels. It lacks the angled, clean superstructure of the real La Fayette. The game's ship measures about 119 meters in length and has a beam of about 14.8 meters.
Where's the armor? Well, it's actually inside this metal crate. Simply approach the crate and you will pick up the armor even though you won't see it.
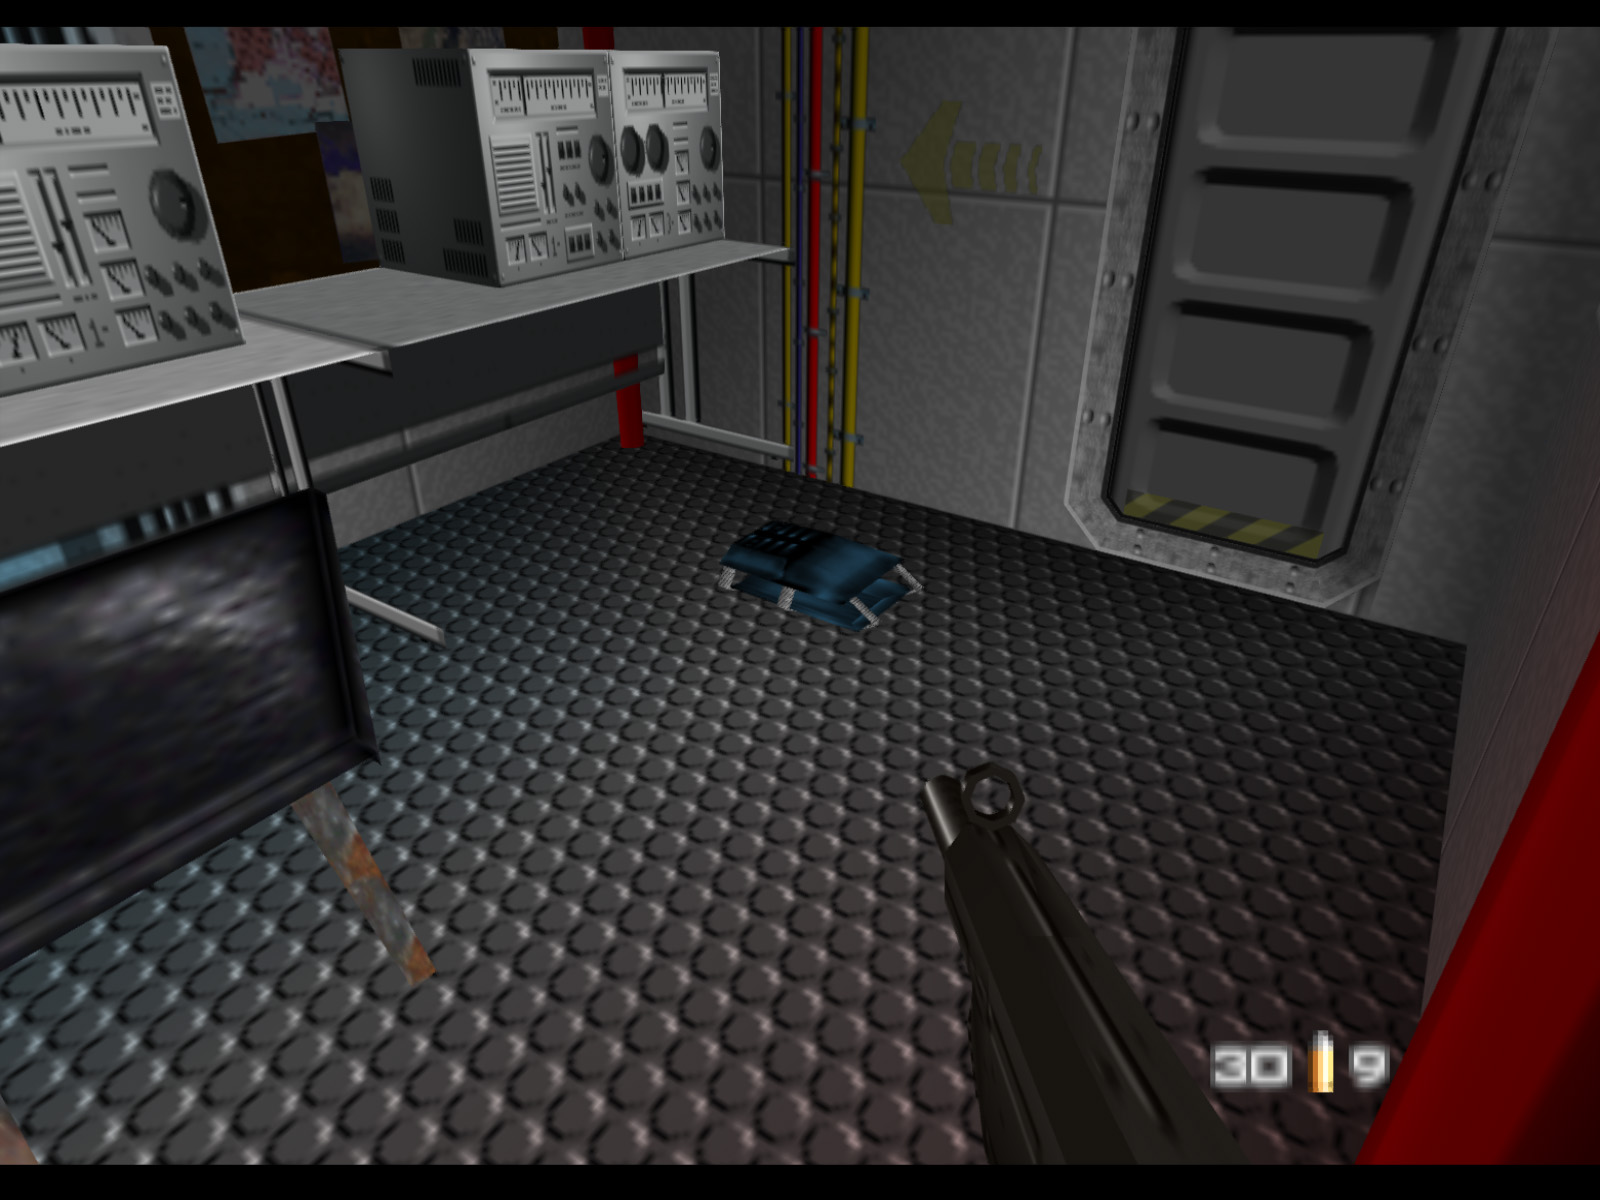
This armor is in the radio room near the bridge.
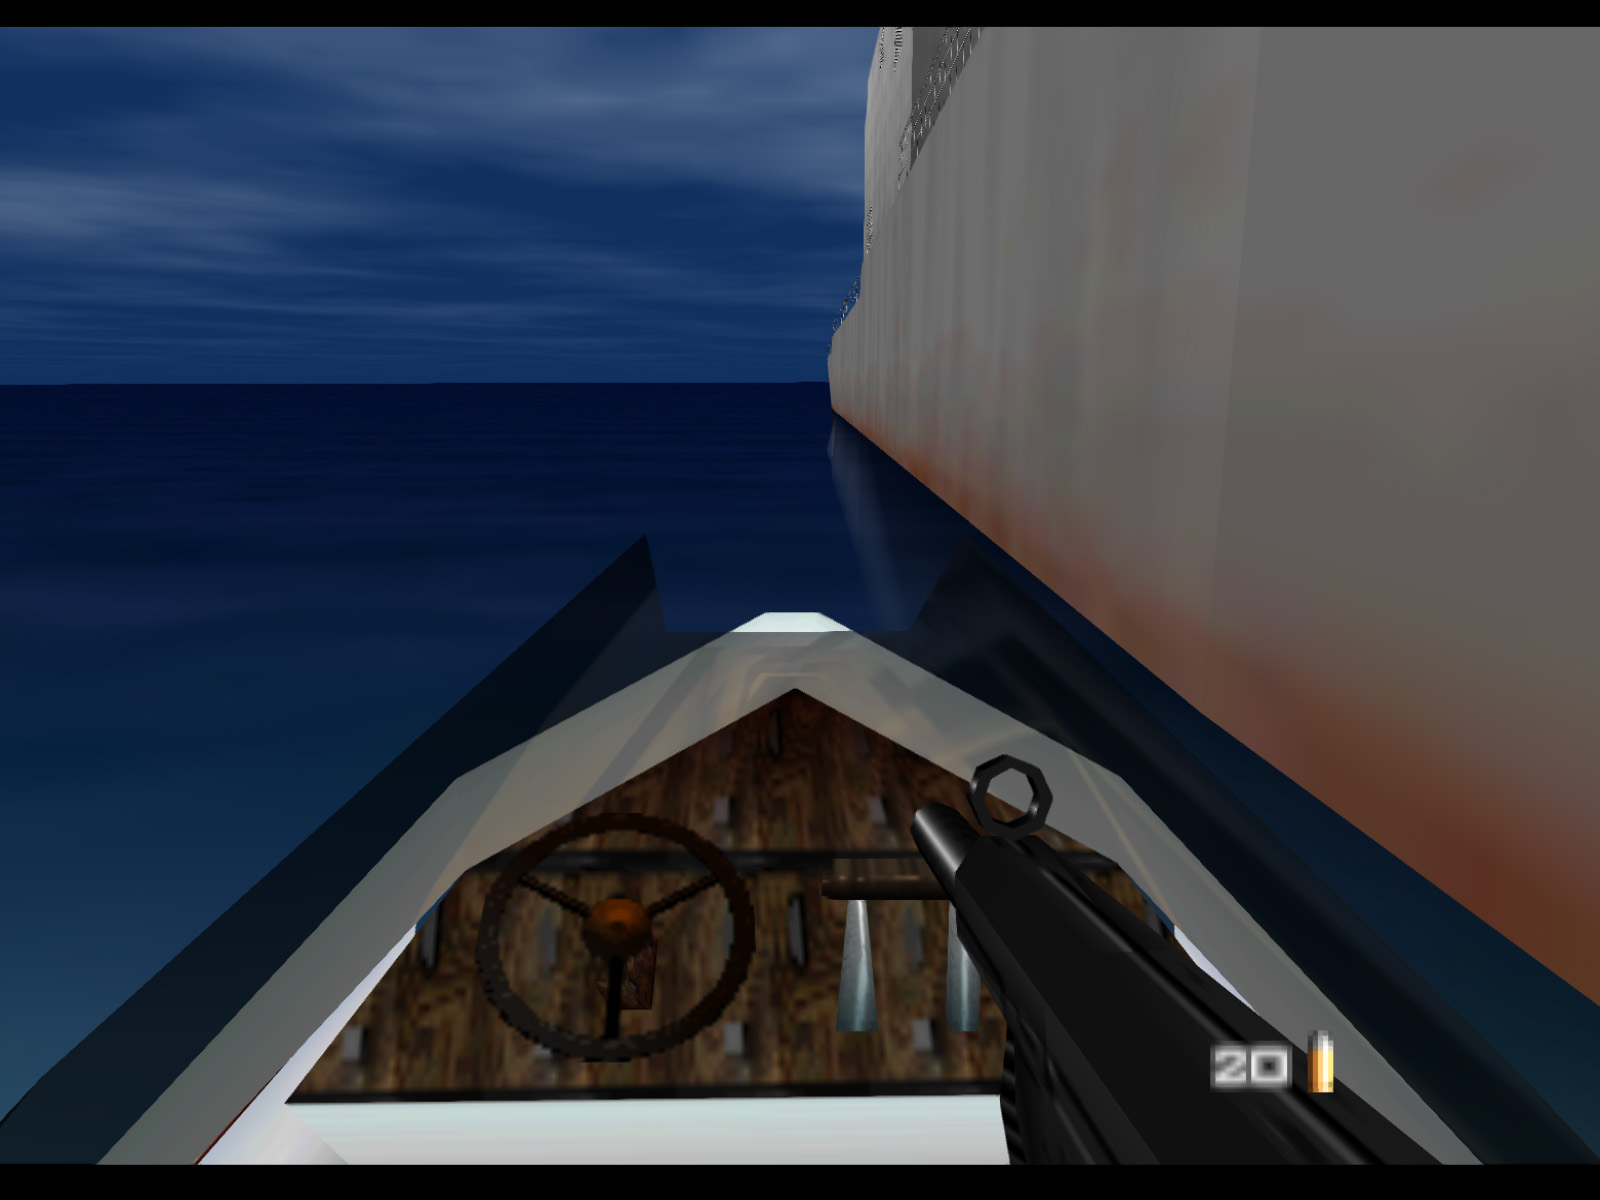
Bond starts Frigate at the helm of this speedboat pulled up alongside the La Fayette. Unfortunately you begin with only 20 rounds for your Silenced D5K. Maybe MI6 really is cutting their budget these days.
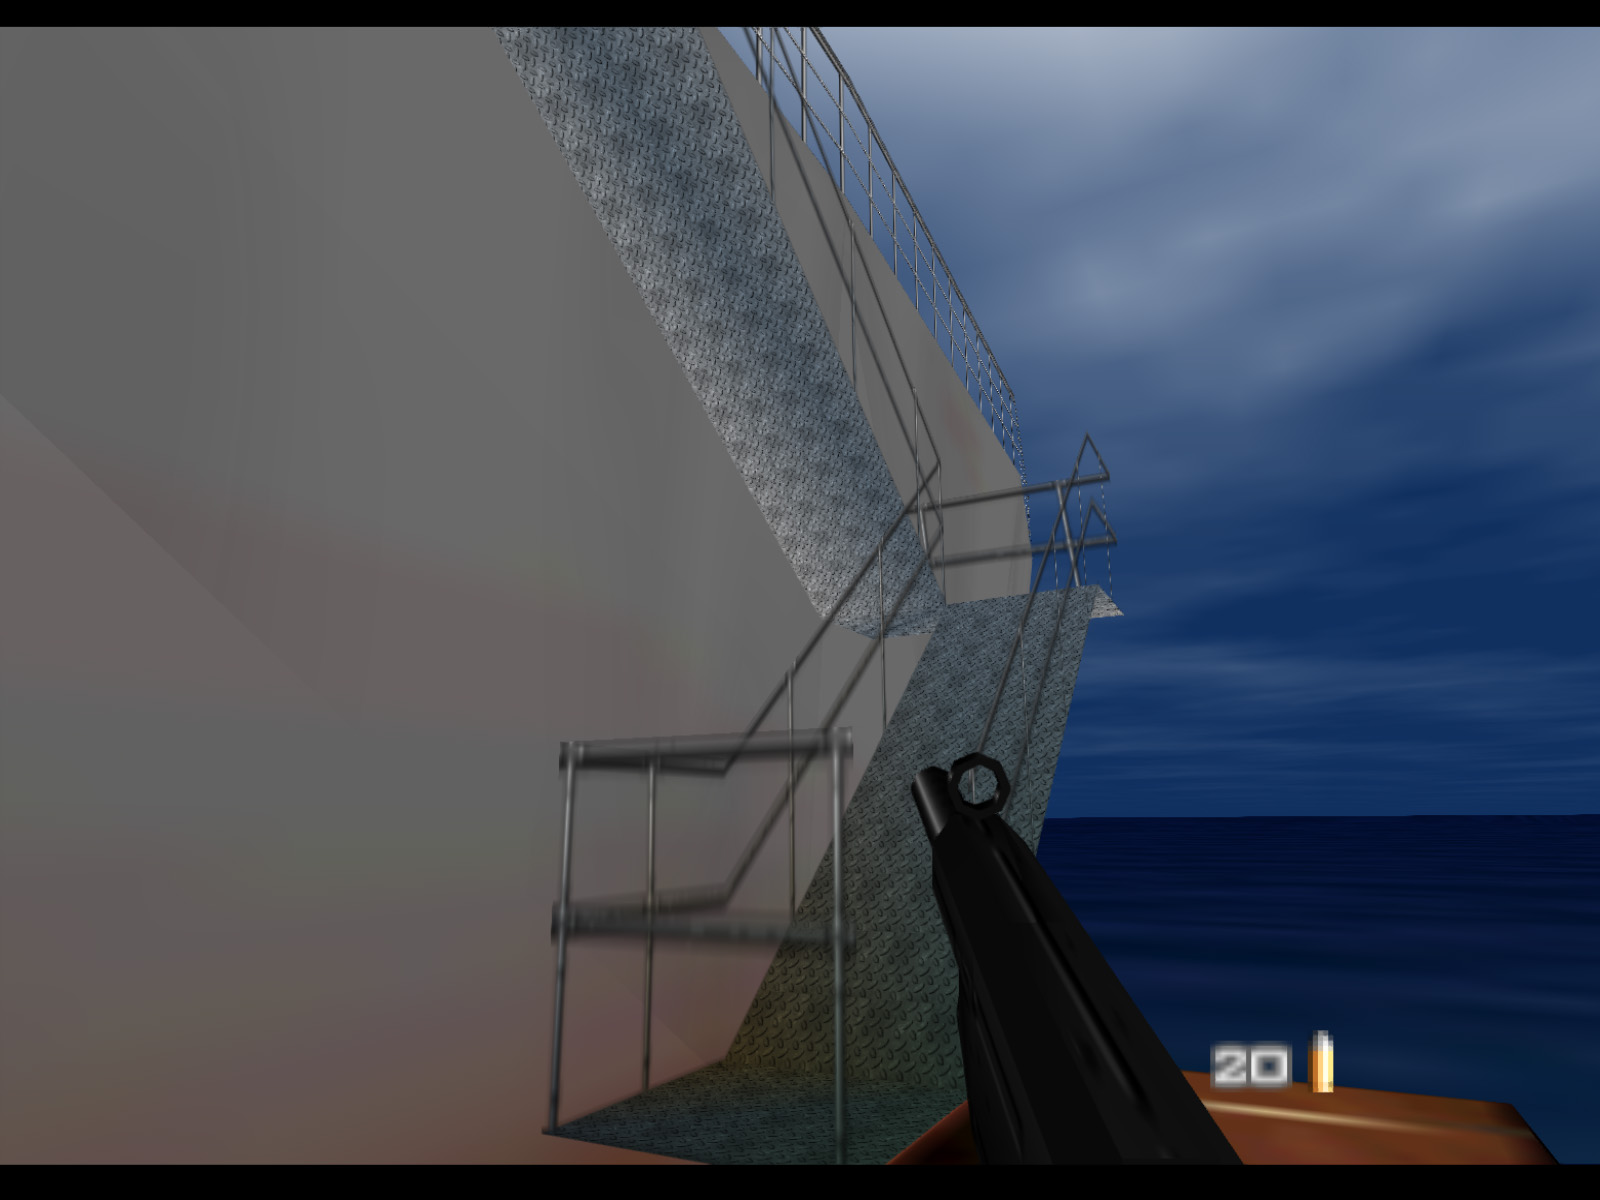
This tacked on gangway leads up to the main deck.
Standing on the bow looking towards the stern. All the characters on Frigate are inside the ship.
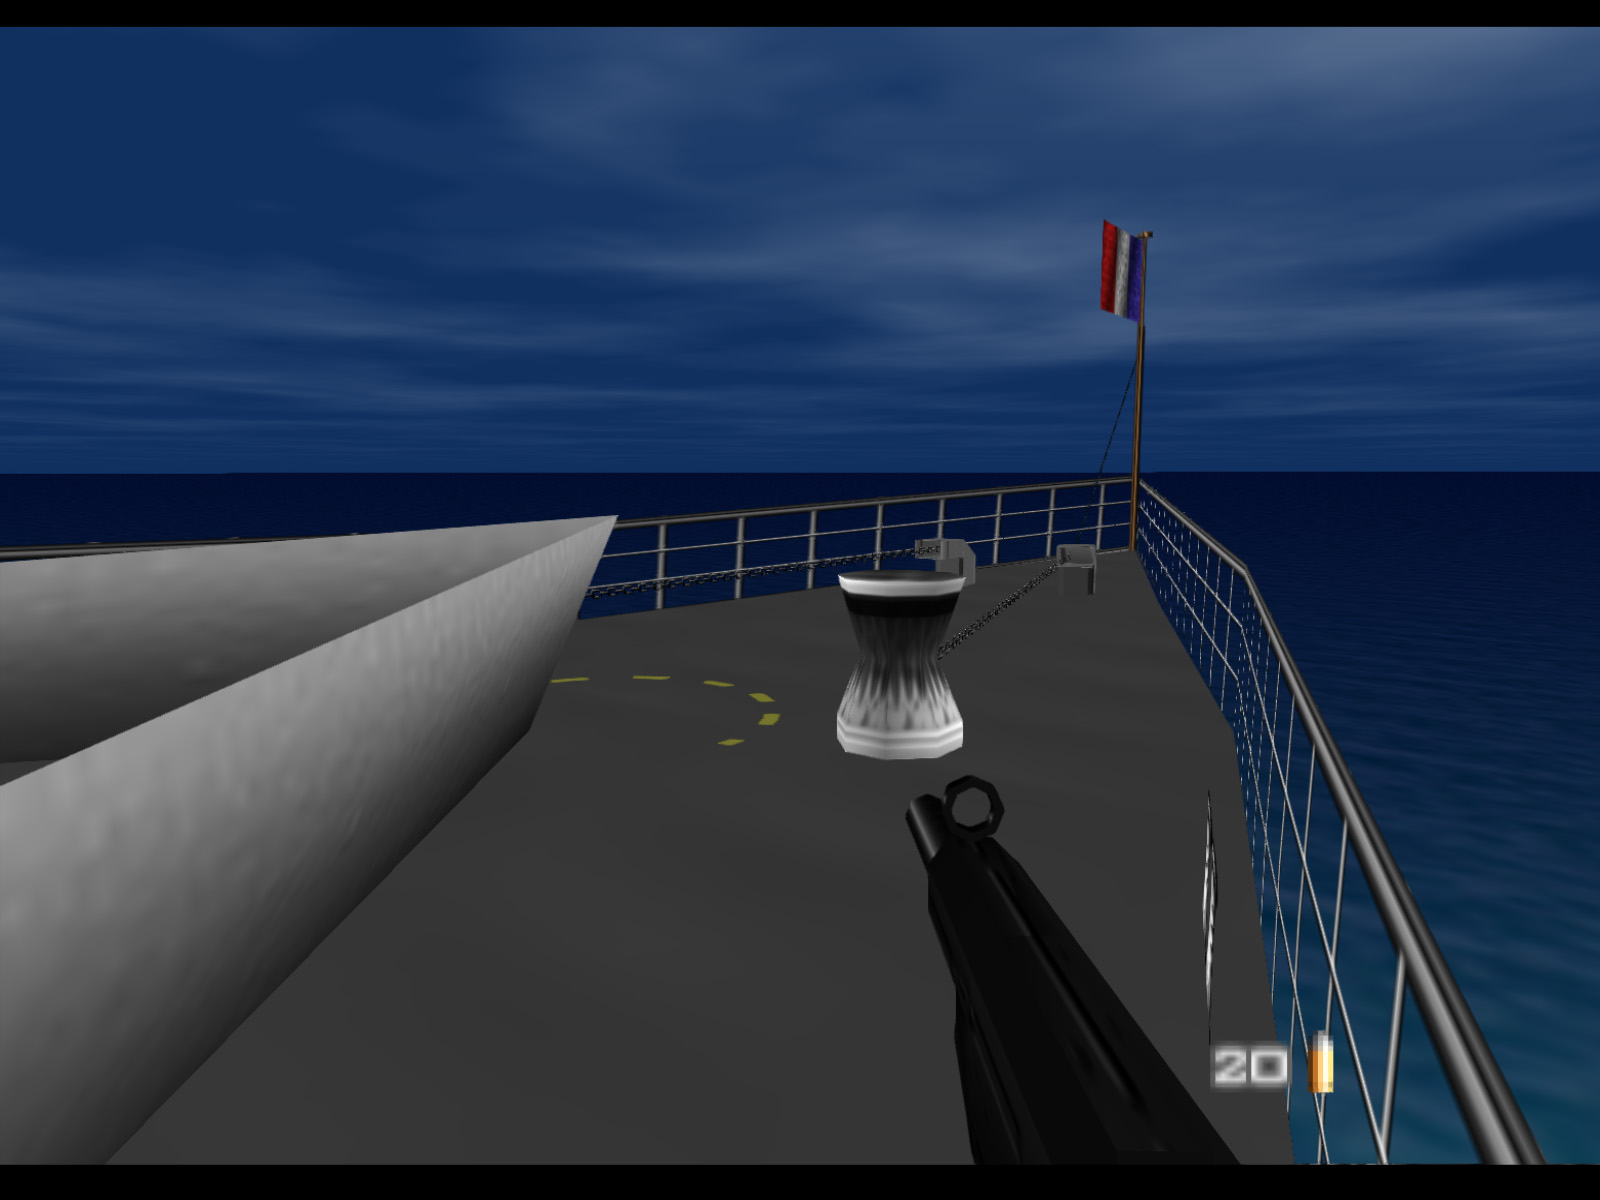
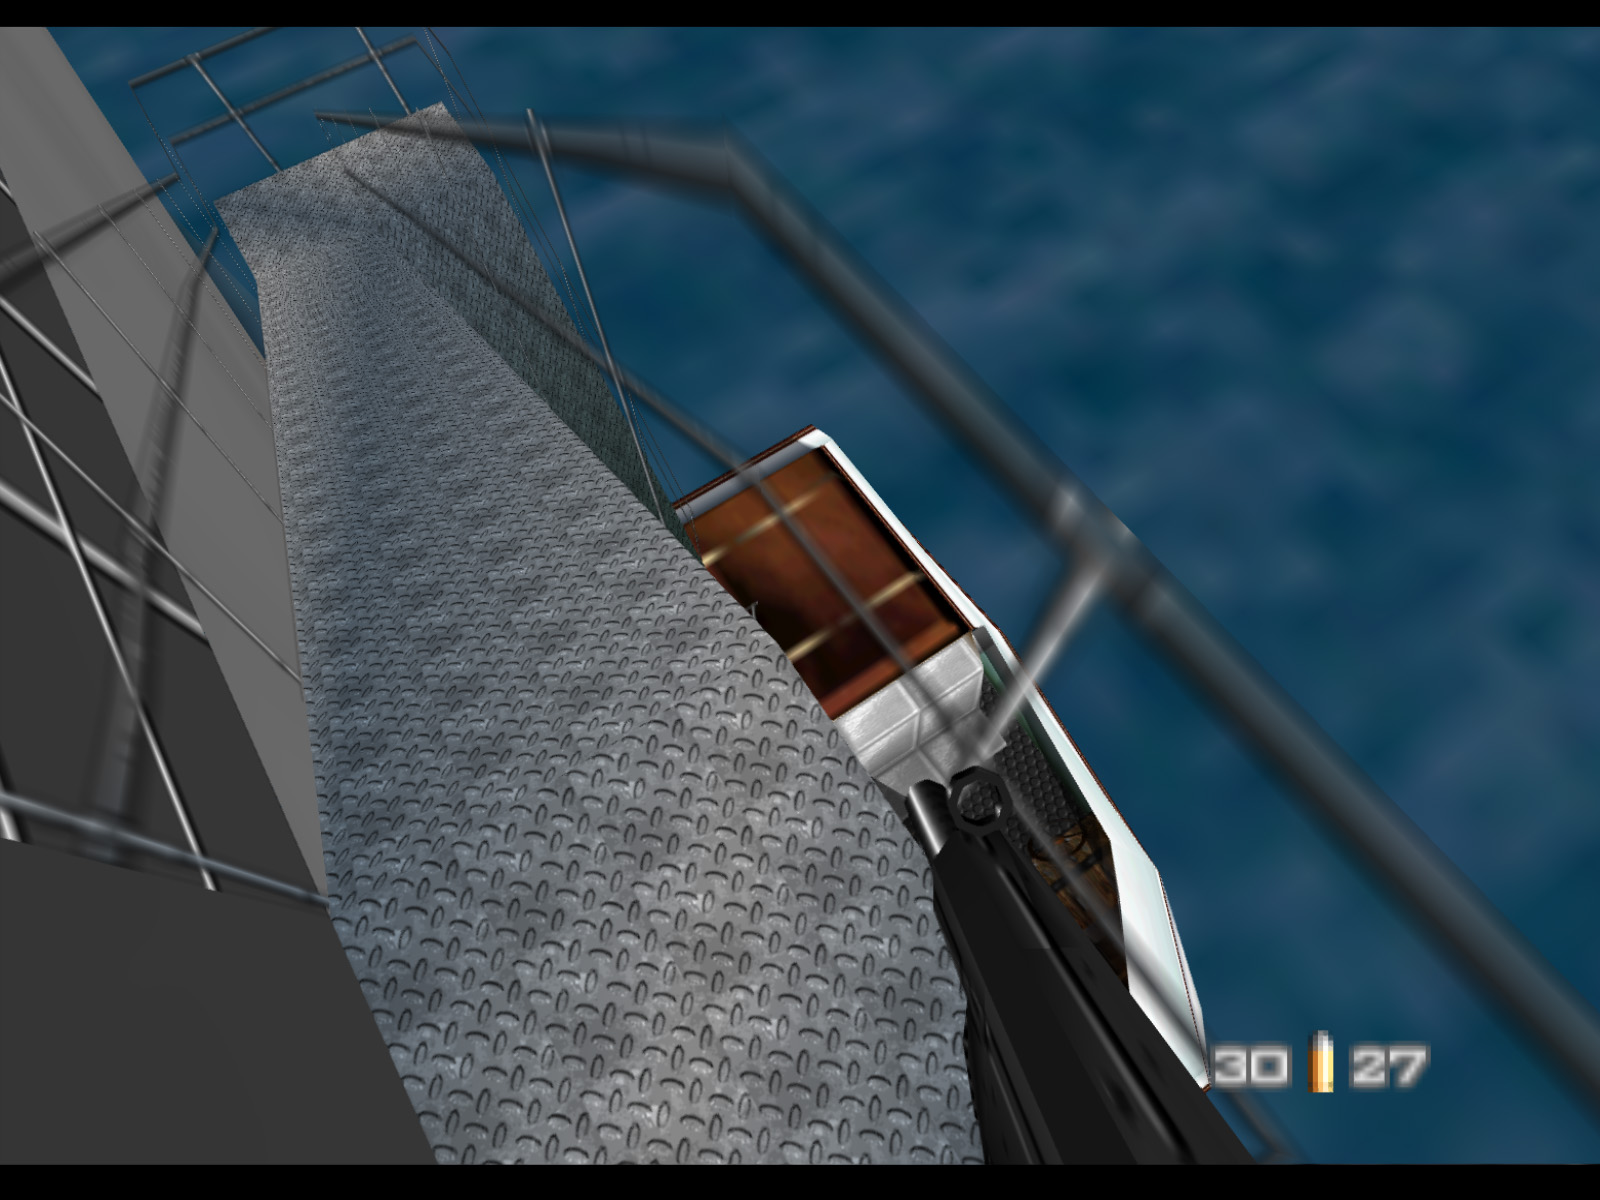
View of the bow flagstaff.
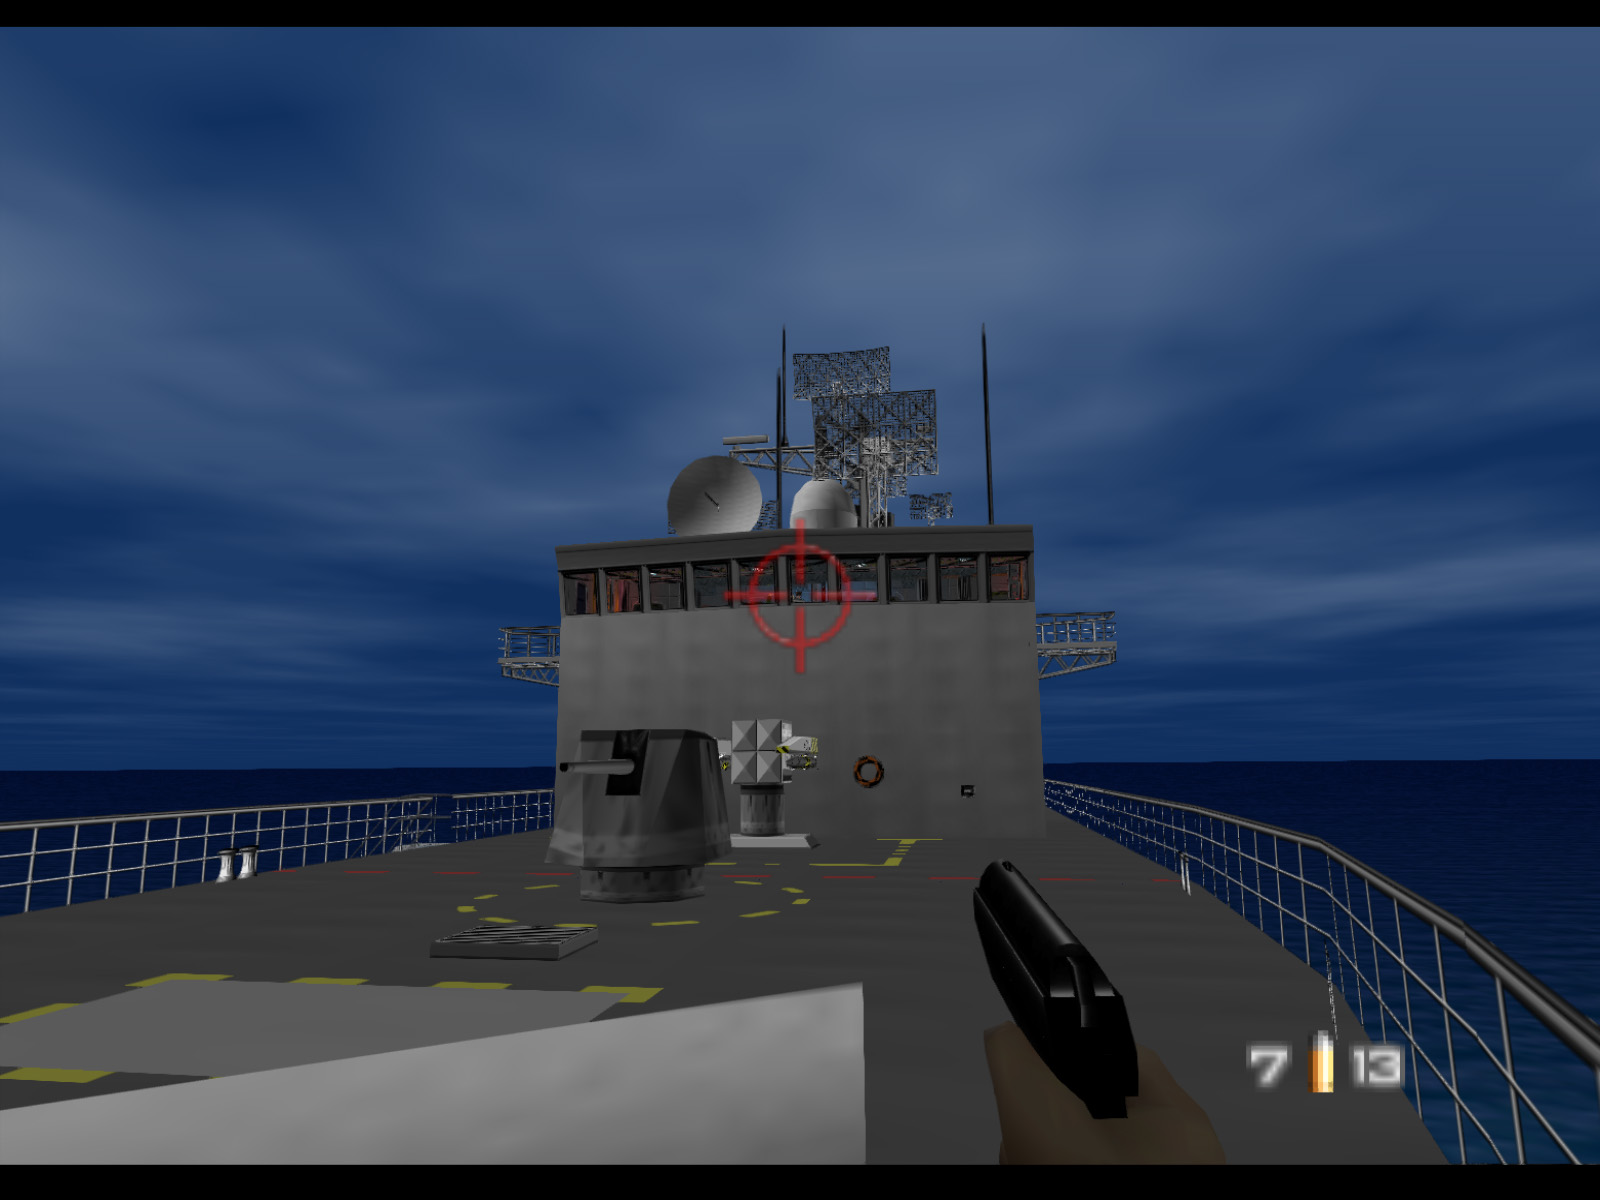
▶ TIP: It is actually possible to shoot a Janus Marine hostage taker from here. I recommend using the PP7 for this because it is more accurate than the Silenced D5K. Of course this difficult shot is easier to make on a high resolution emulator than on original console. If you do make this shot you will free a hostage, but you should also prepare for two Janus Marines to come for you.
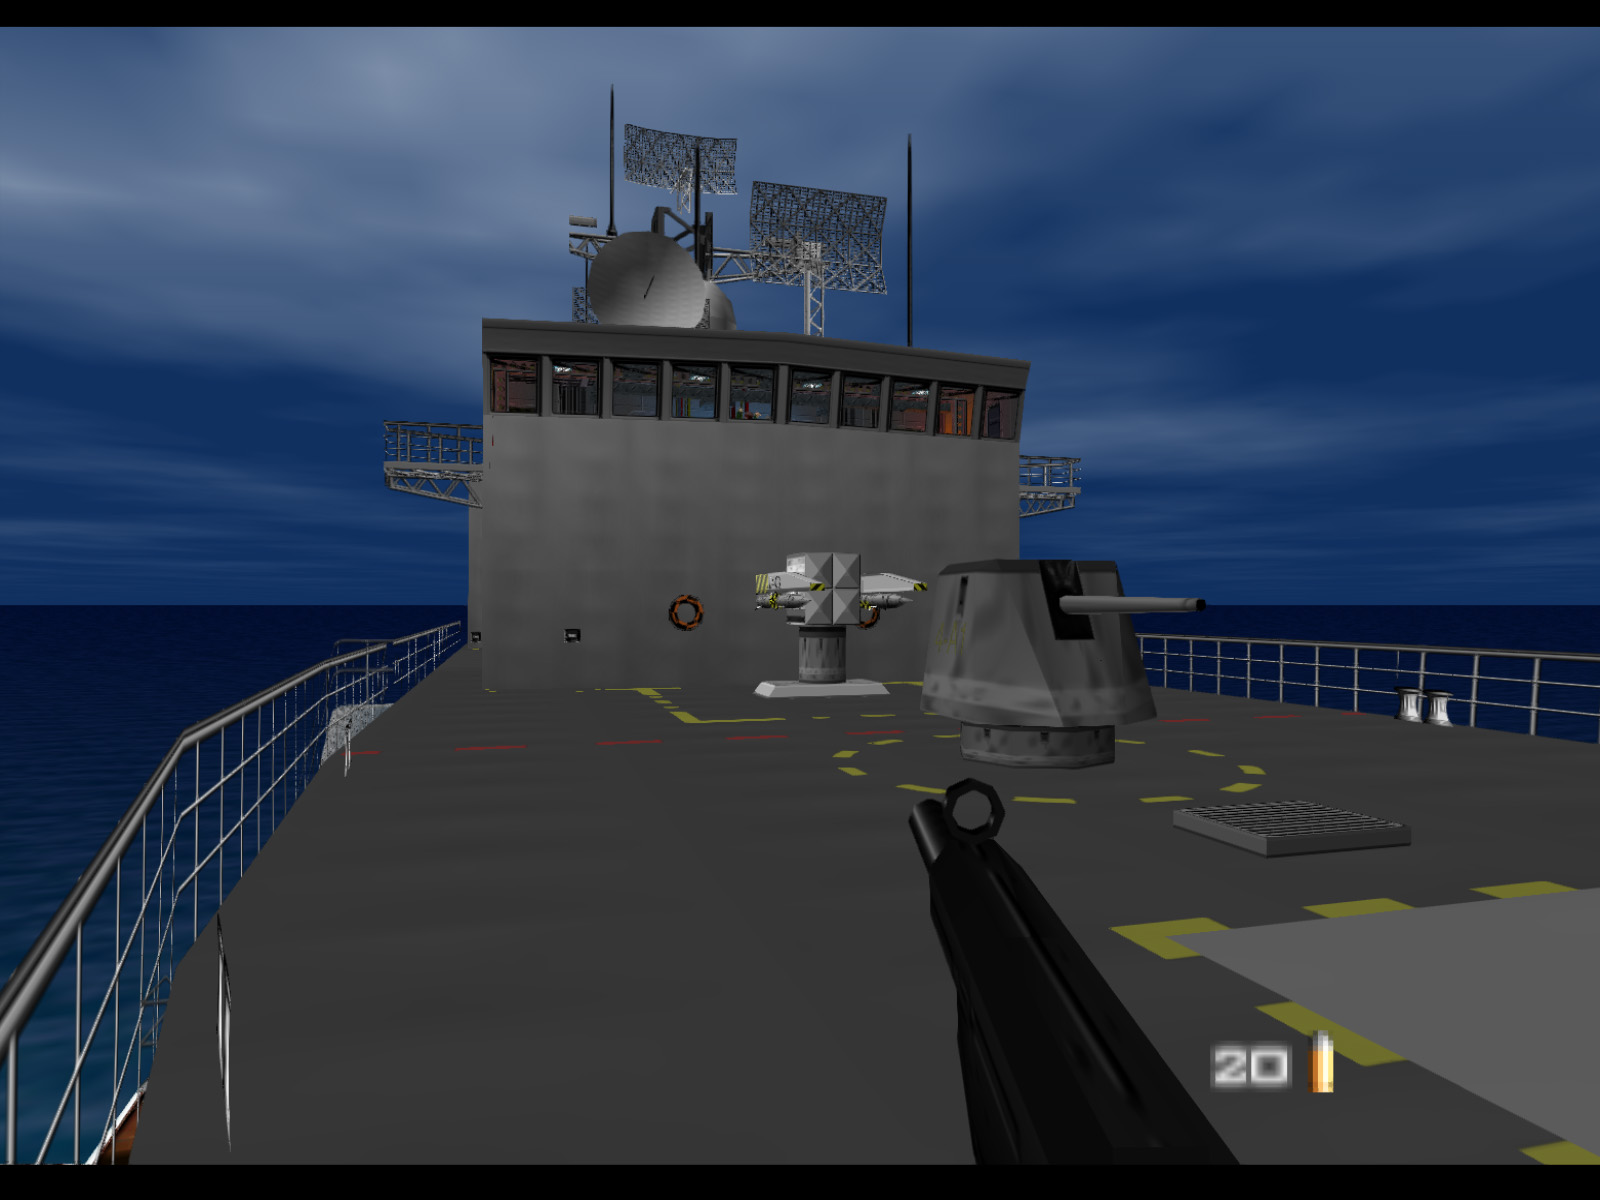
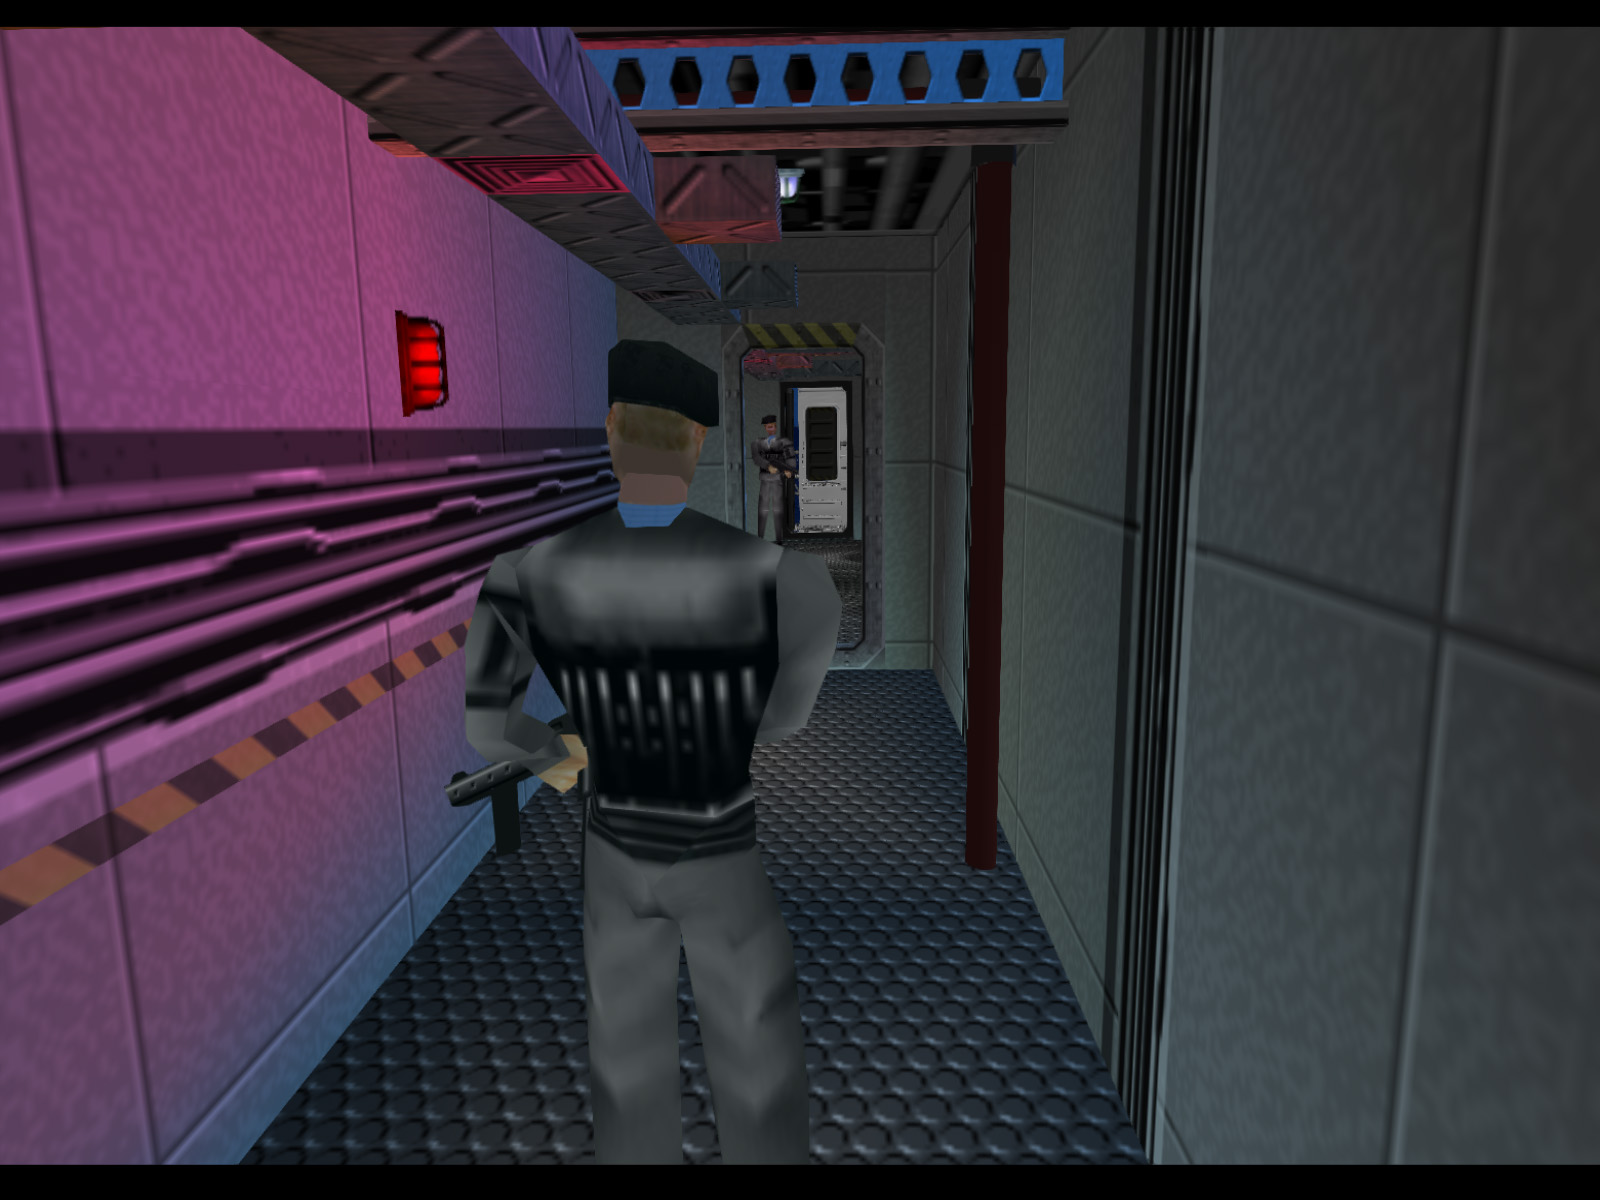
Walk alongside the right side of the ship and you will see this portion of the superstructure. One of the cool things about Frigate is that there are many different ways to approach the level. From the bow the ship can be entered through any of four doors. In this tour we'll go up the stairs on the left and enter the bridge.
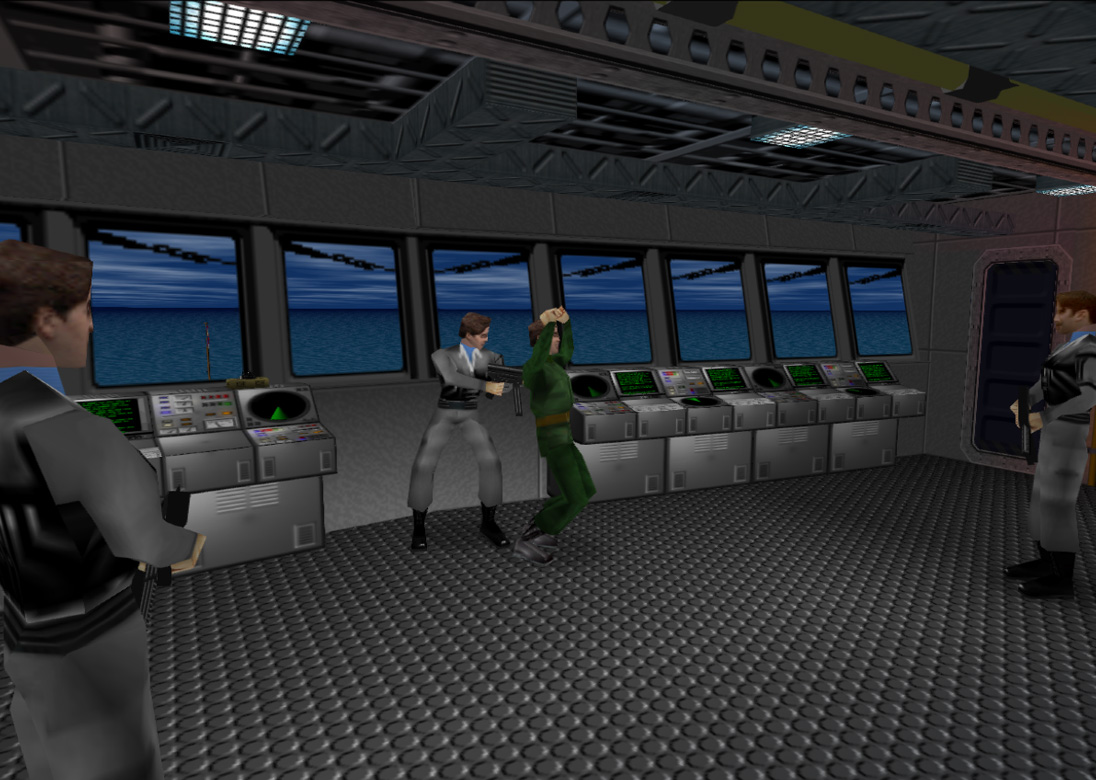
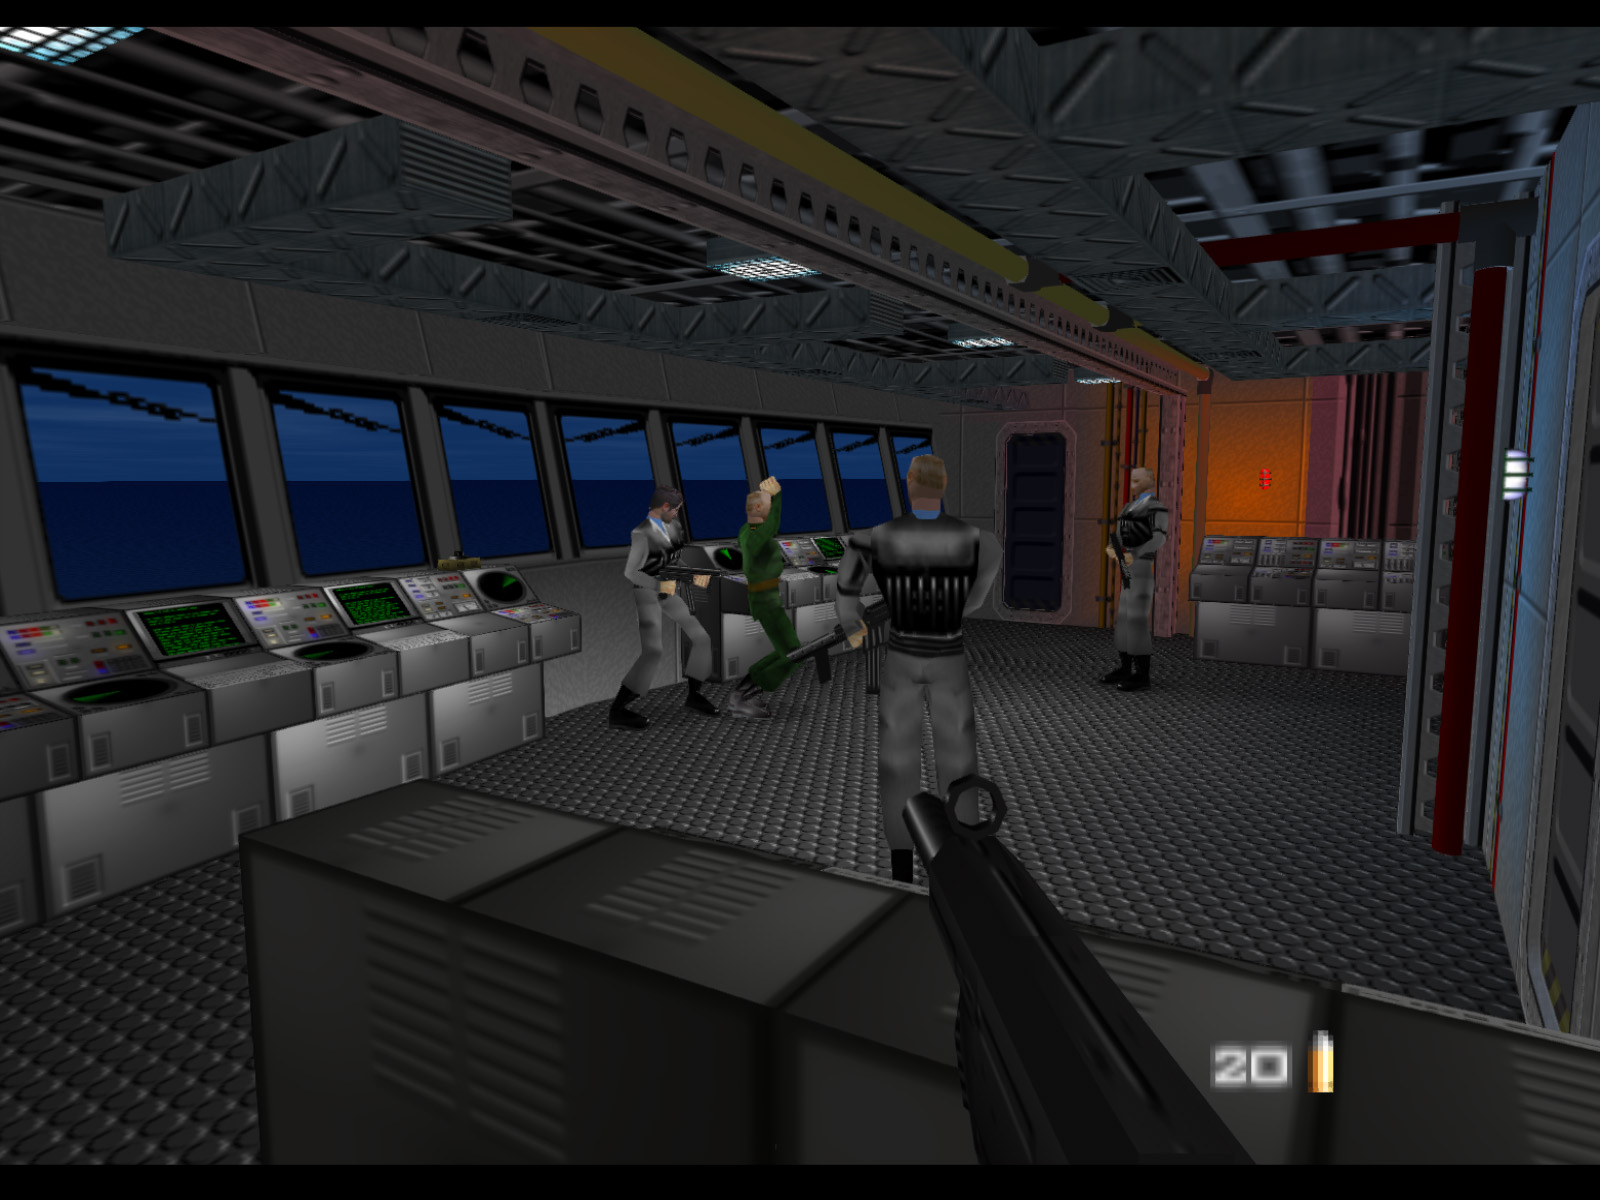
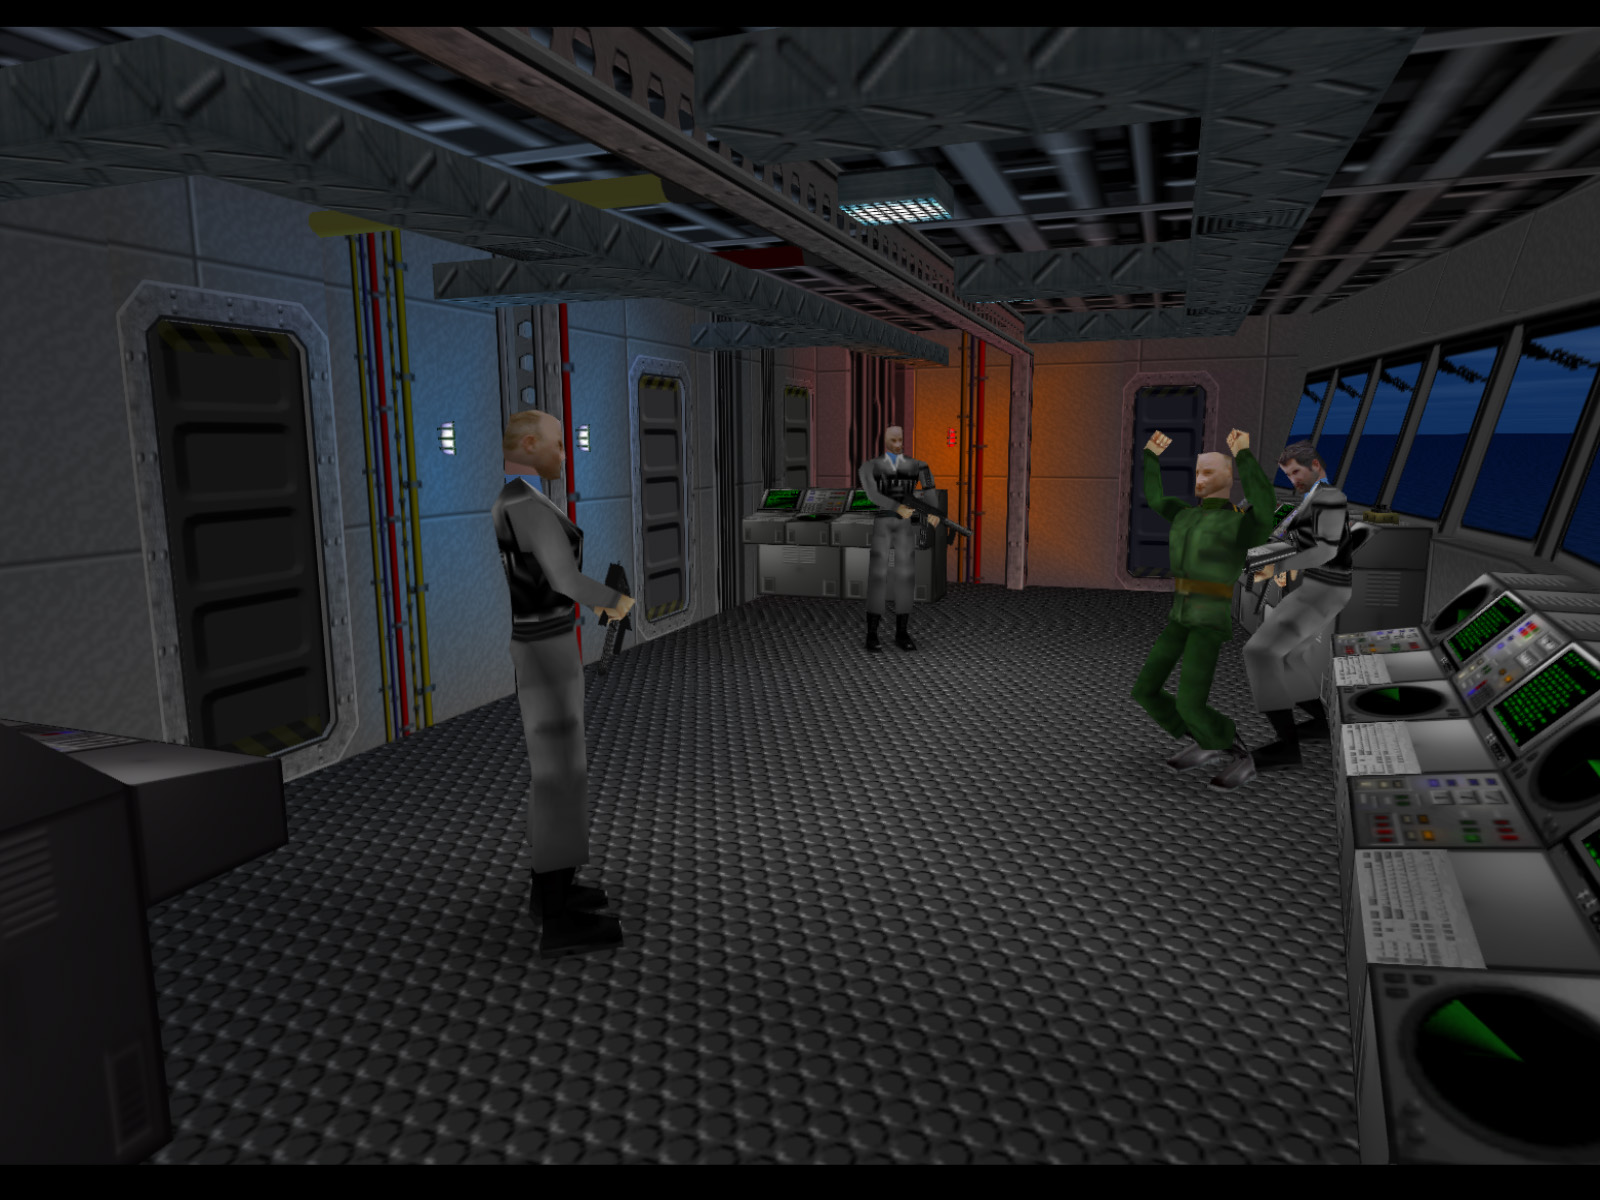
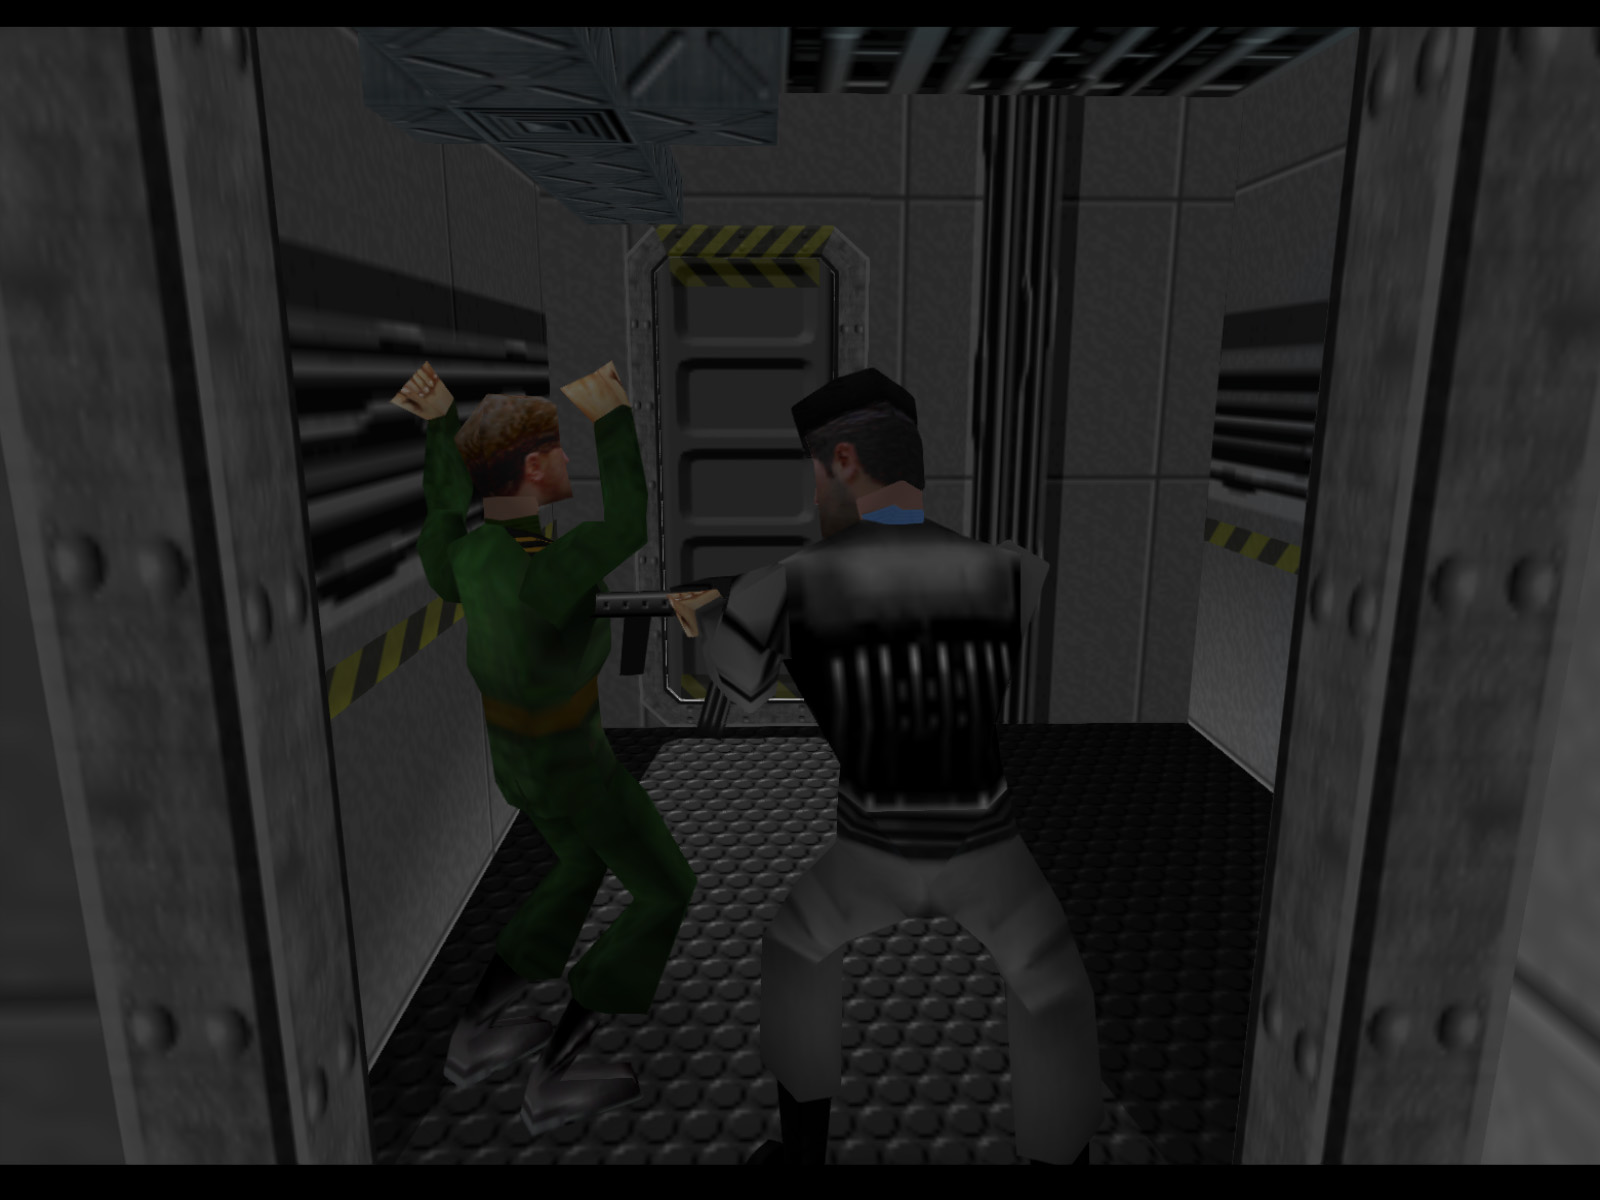
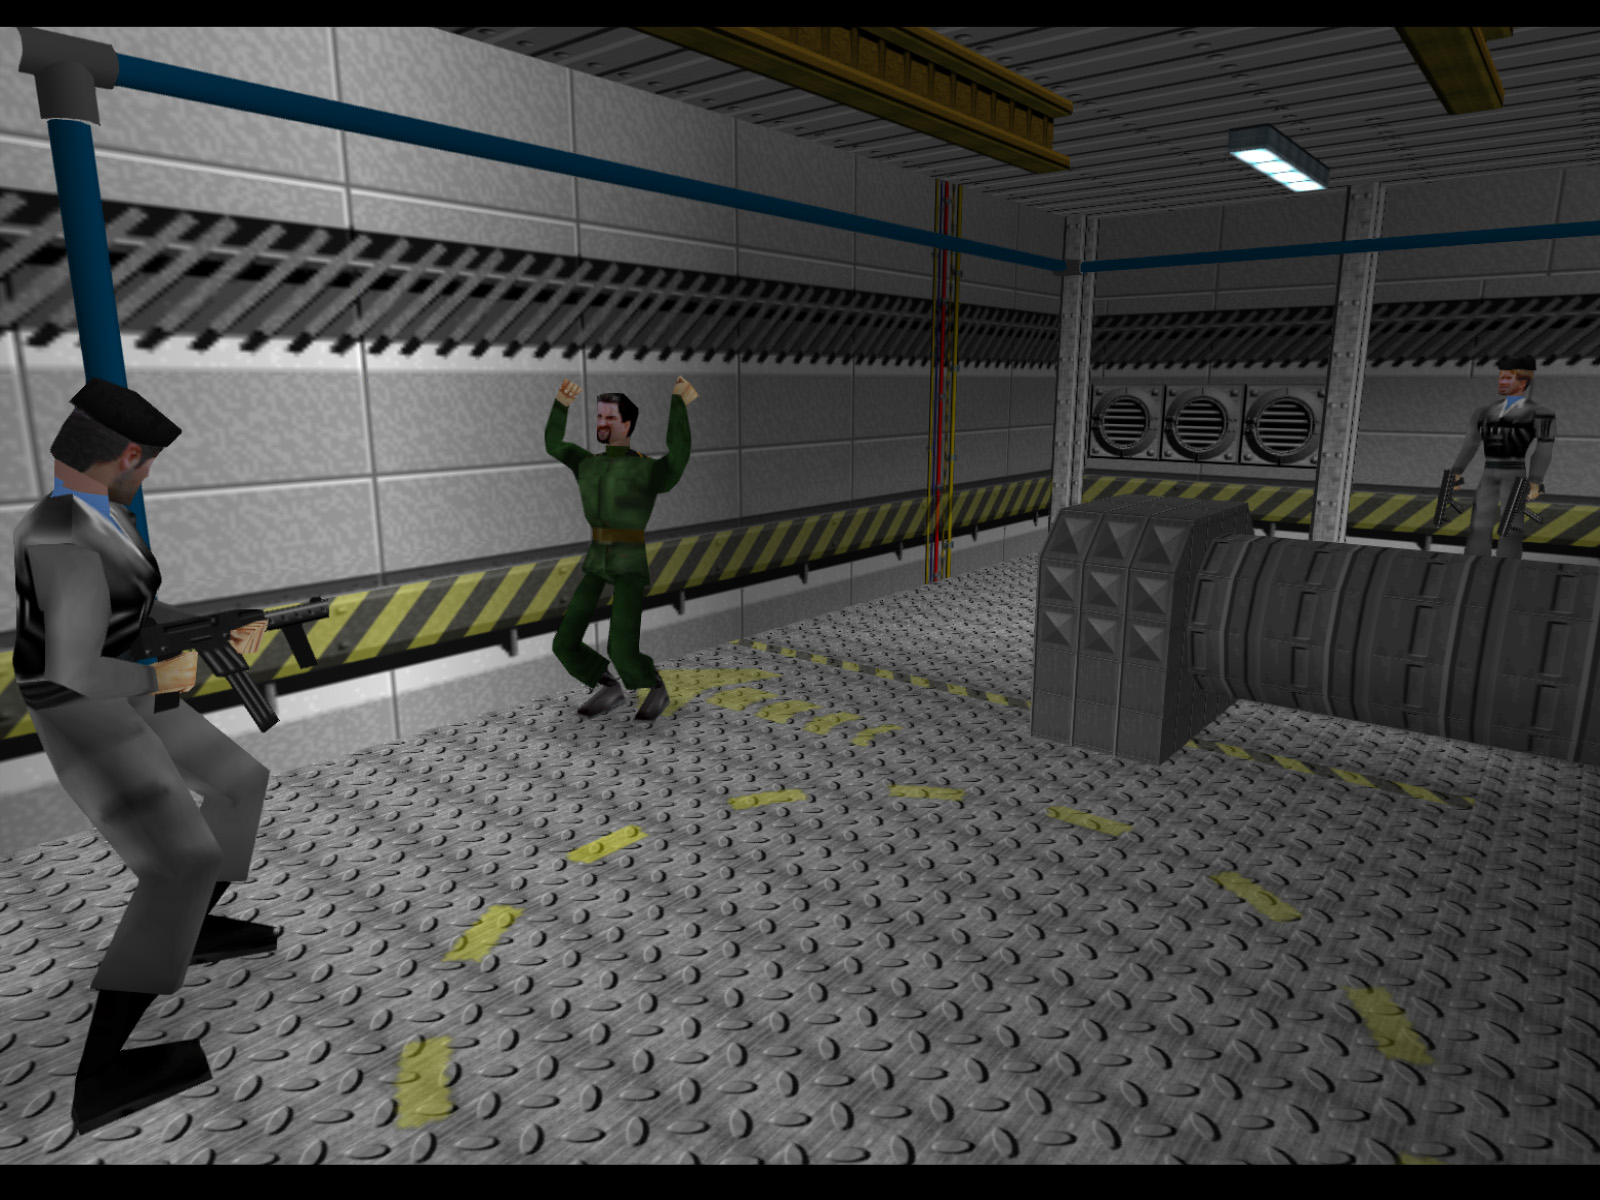
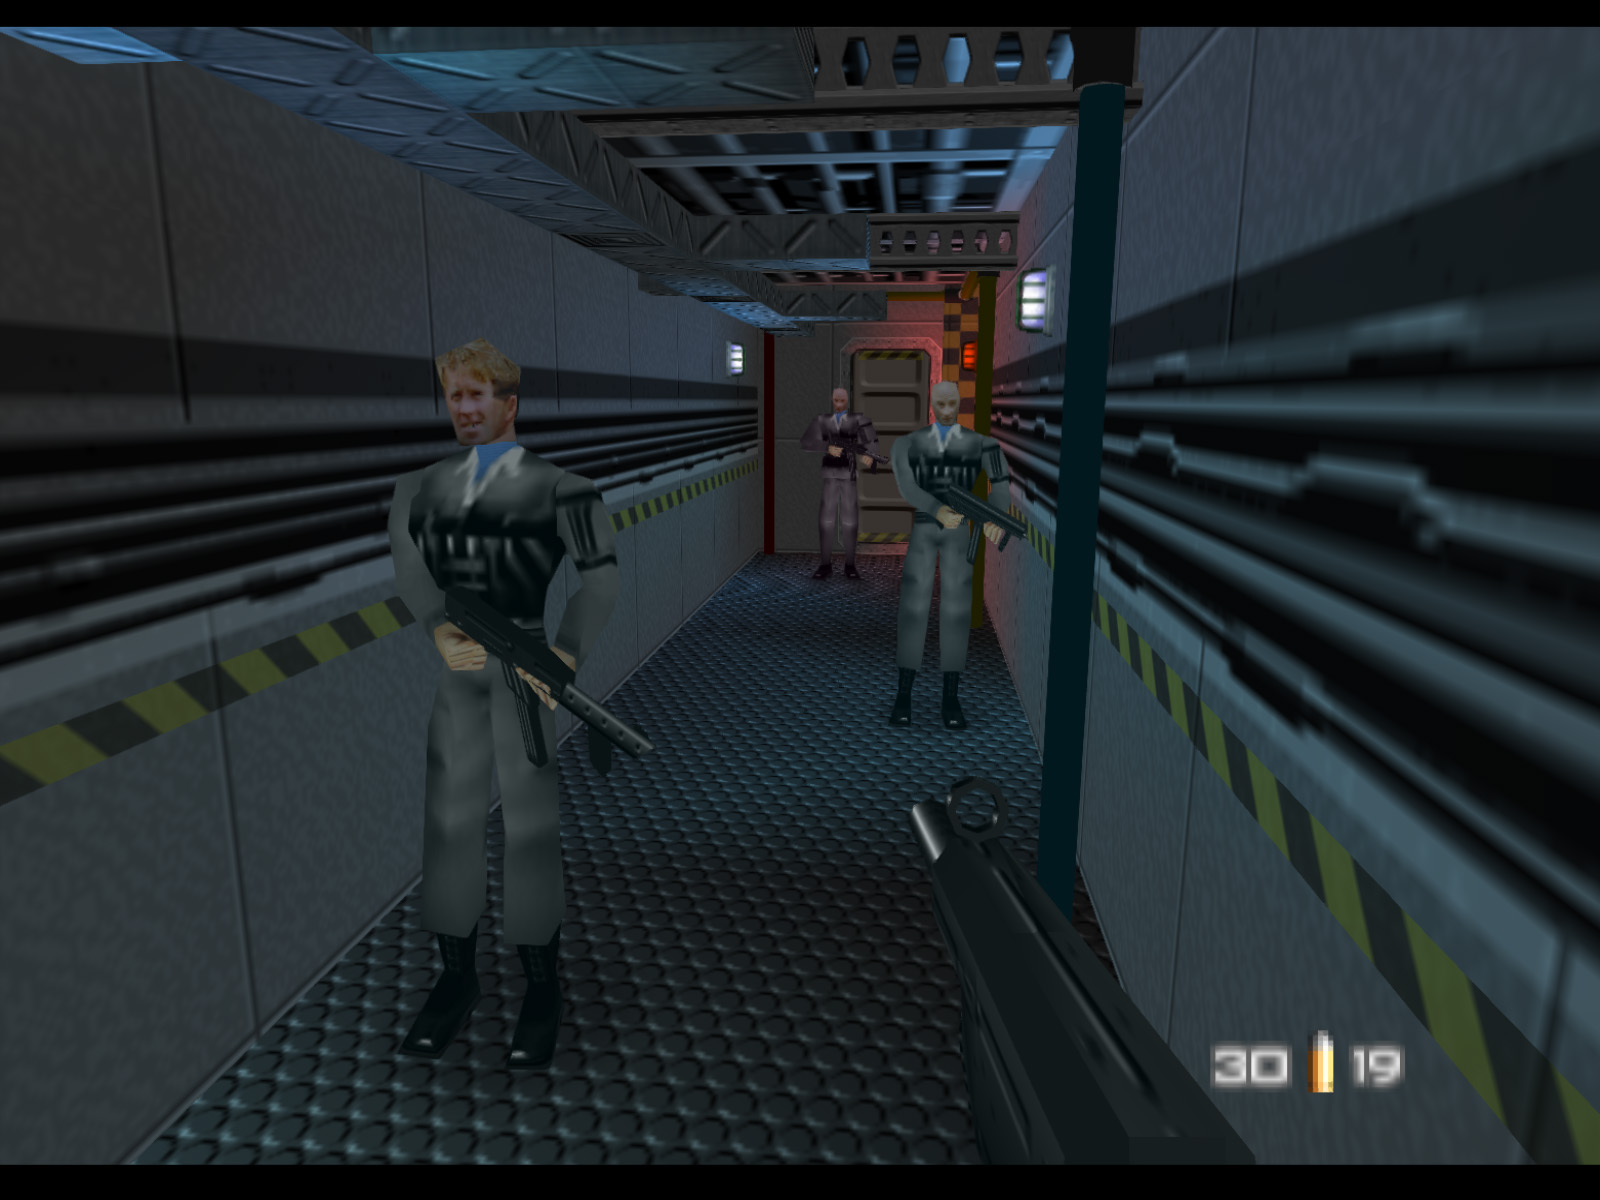
This screenshot shows the bridge as it looks by default without shooting anyone from the bow. There are three Janus Marines and one Naval Officer who is hostage.
As soon as the hostage taker sees Bond an invisible timer starts for when he will execute the hostage. On Agent this timer is 3 seconds, on Secret Agent it is 2.5 seconds, and on 00 Agent it is 2 seconds.
Frigate has six hostages. On Agent two must be saved, on Secret Agent three must be saved, and on 00 Agent five must be saved.
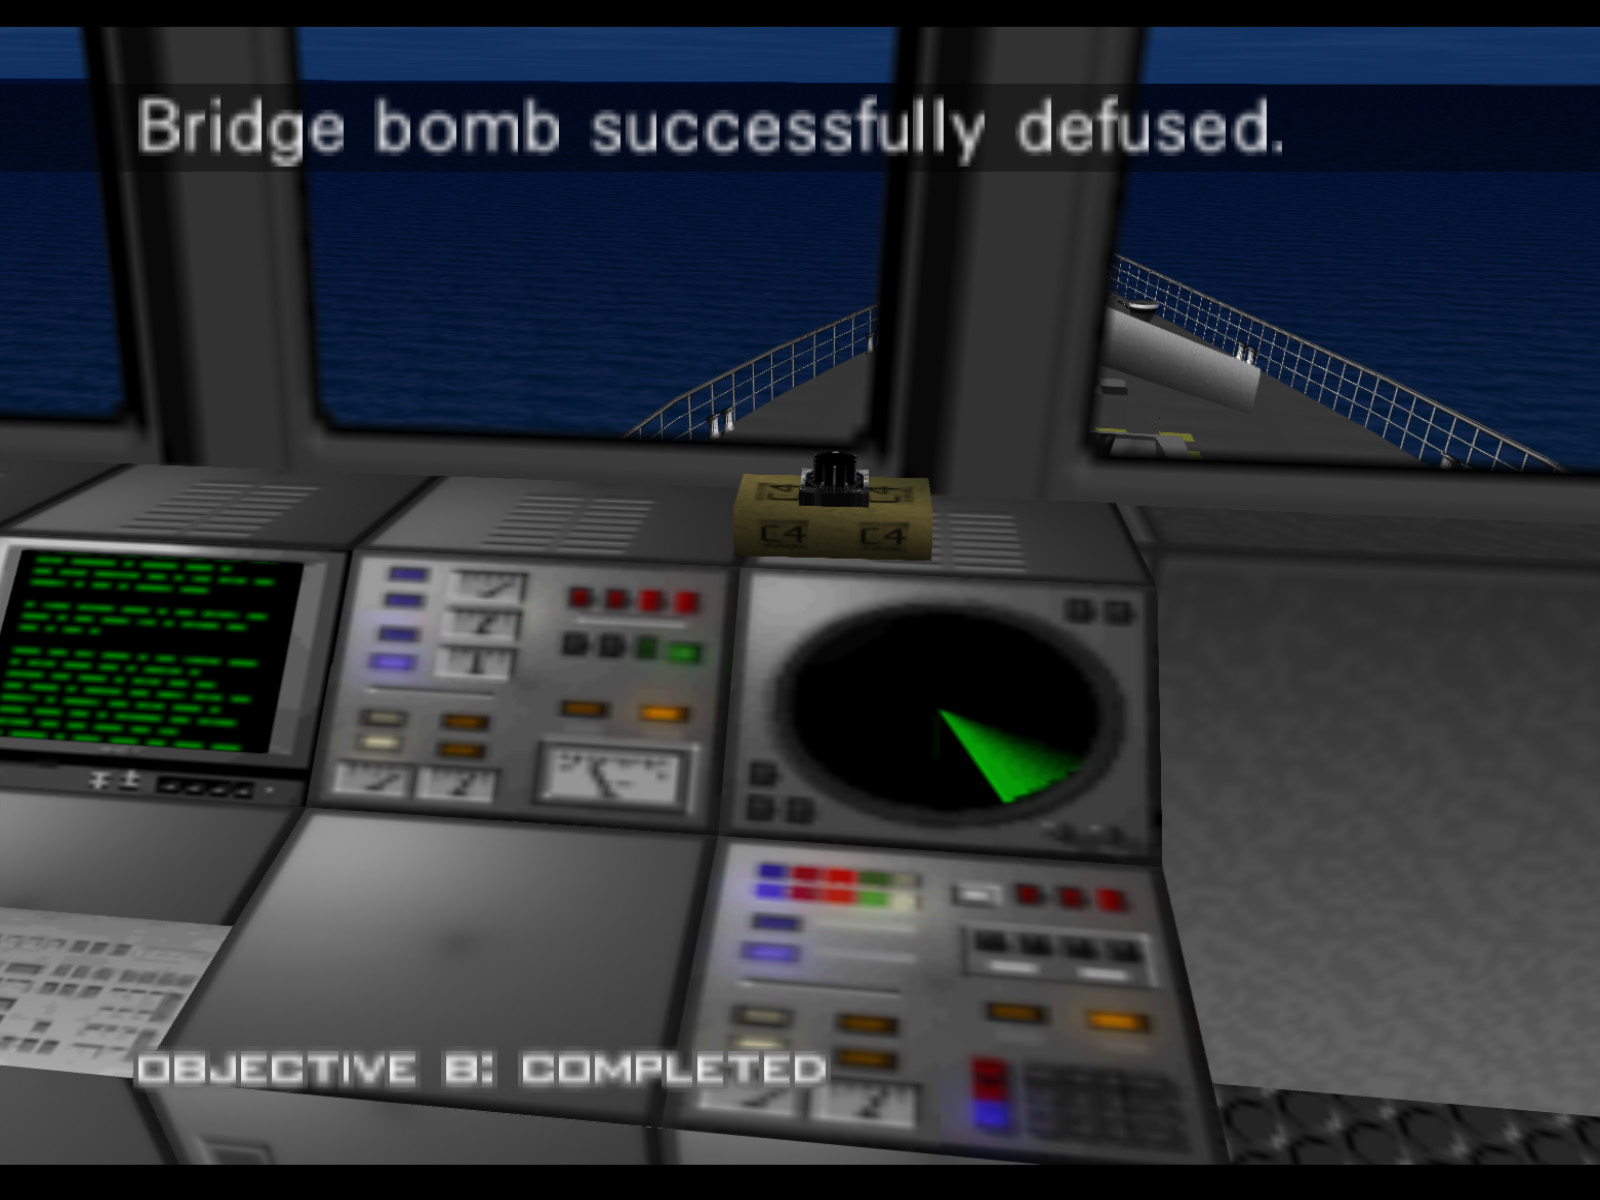
This is a close up of the Bridge Bomb. Equip your Bomb Defuser and press Z to defuse the bomb and complete Objective B.
Bridge from another angle.

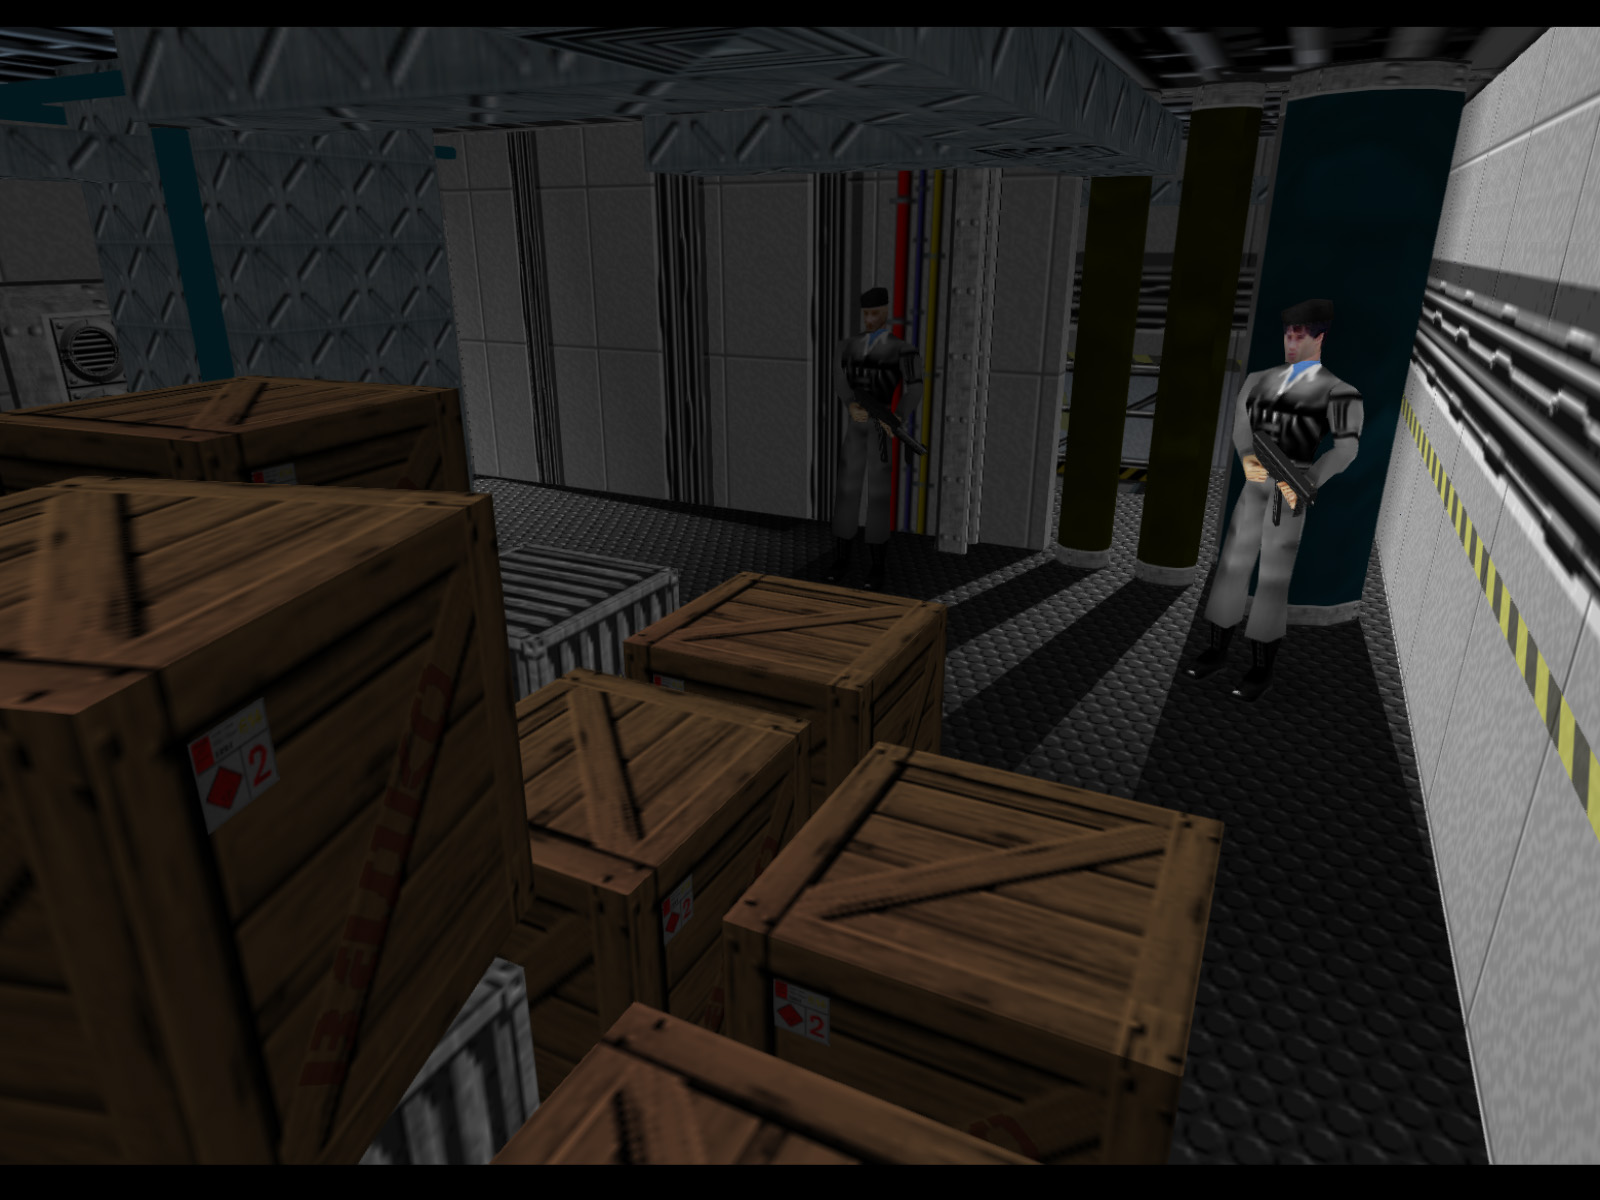
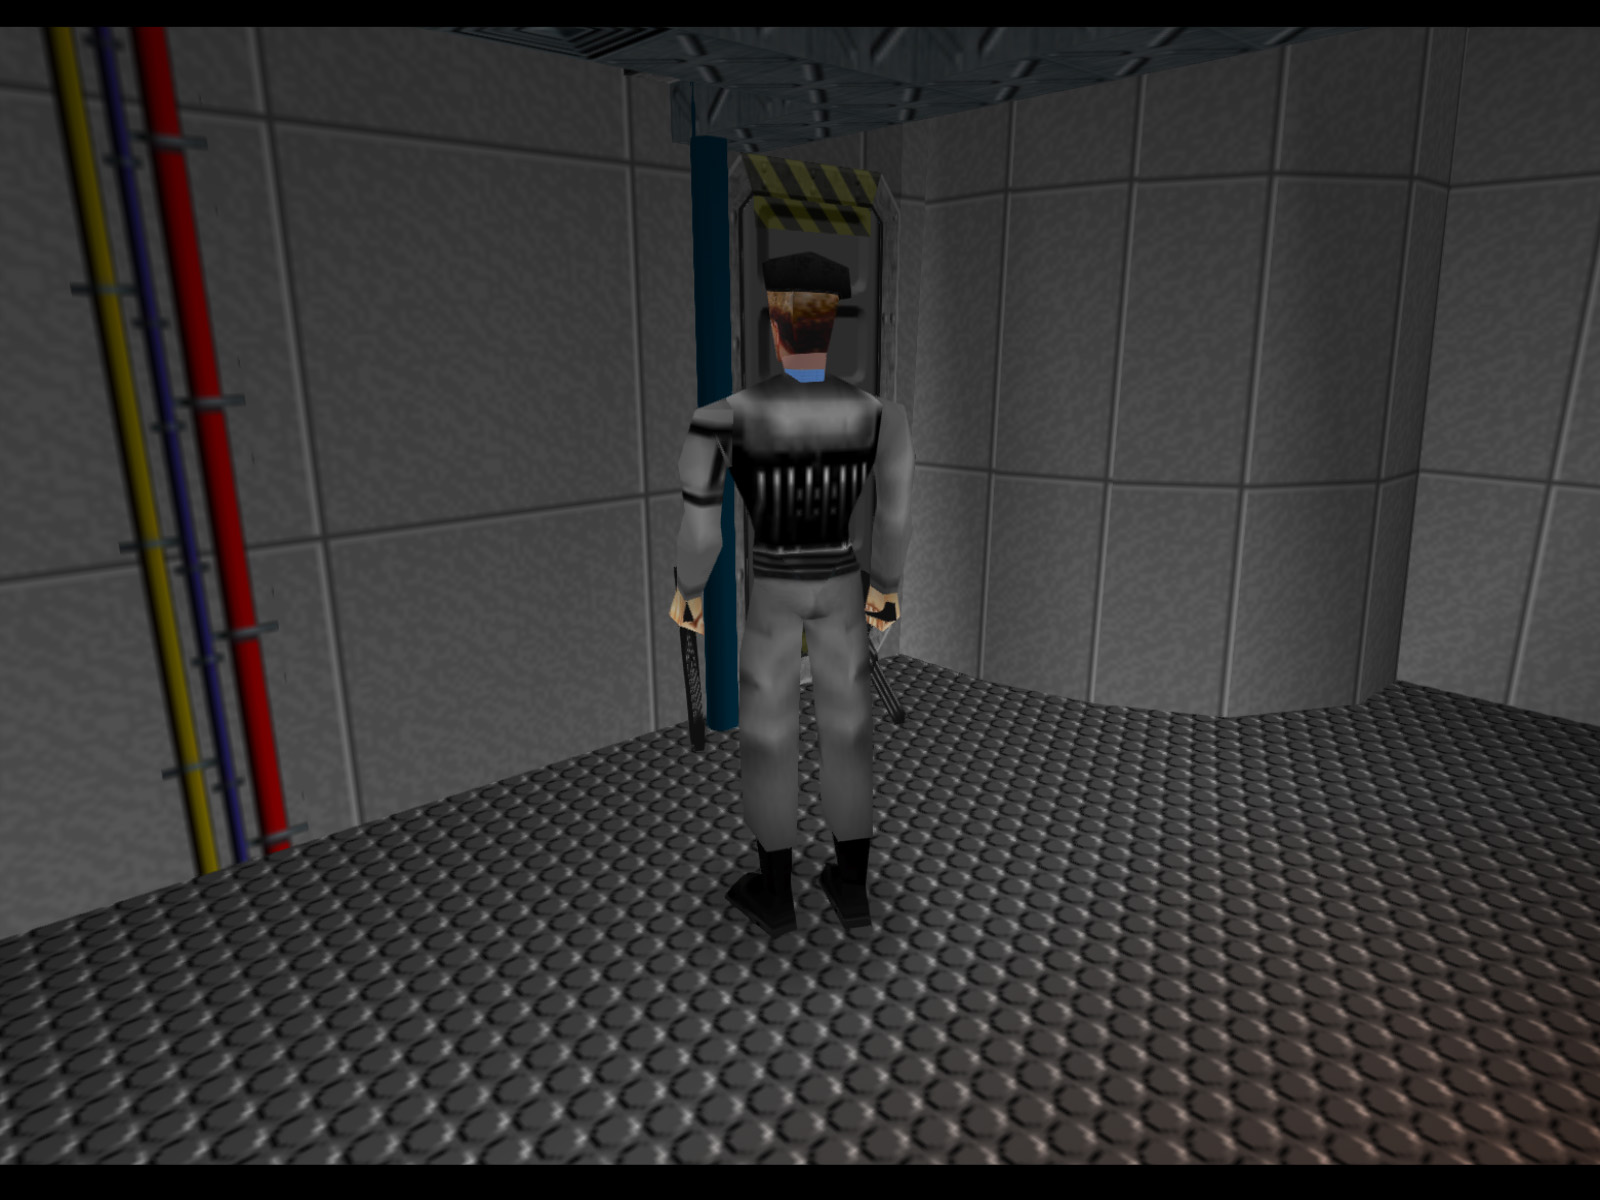
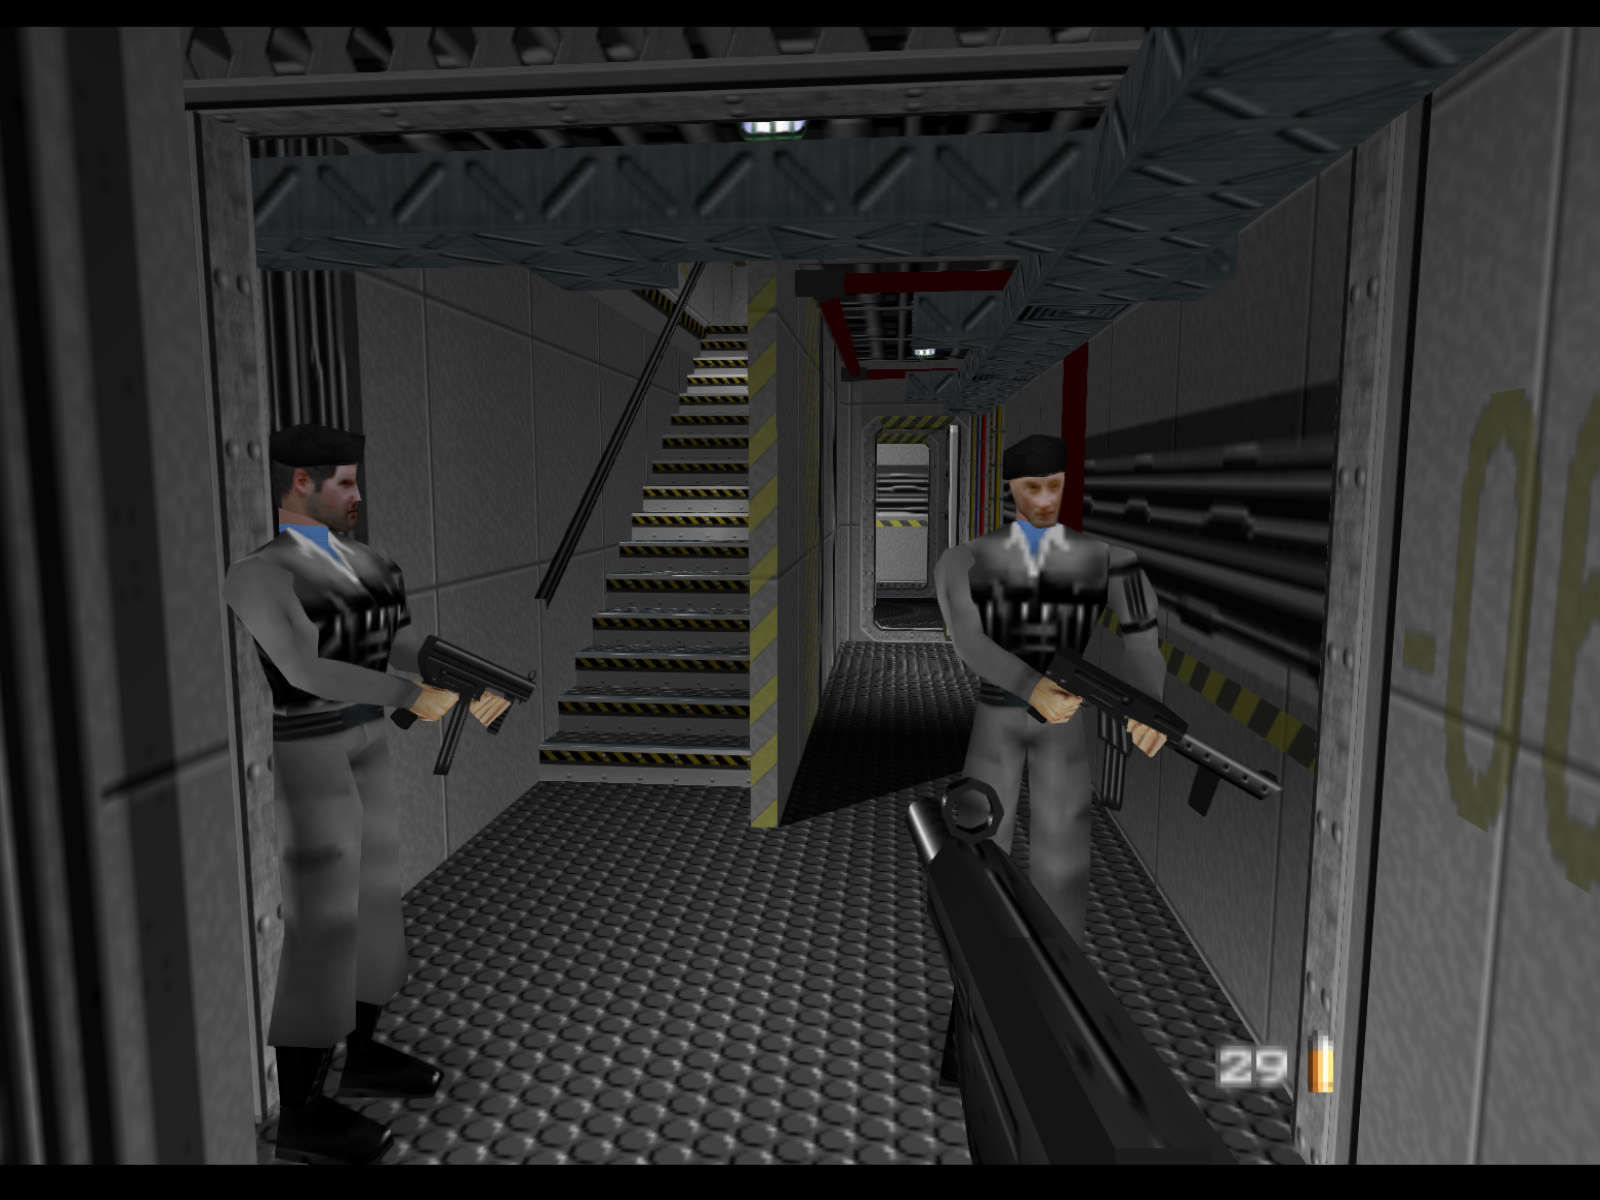
Opening the door farthest on the left in the last screenshot reveals these passageways. I opened the farther door as well to show all three guards in this area. They all face away from the bridge, so if you come quietly from this direction, you can get the jump on them.
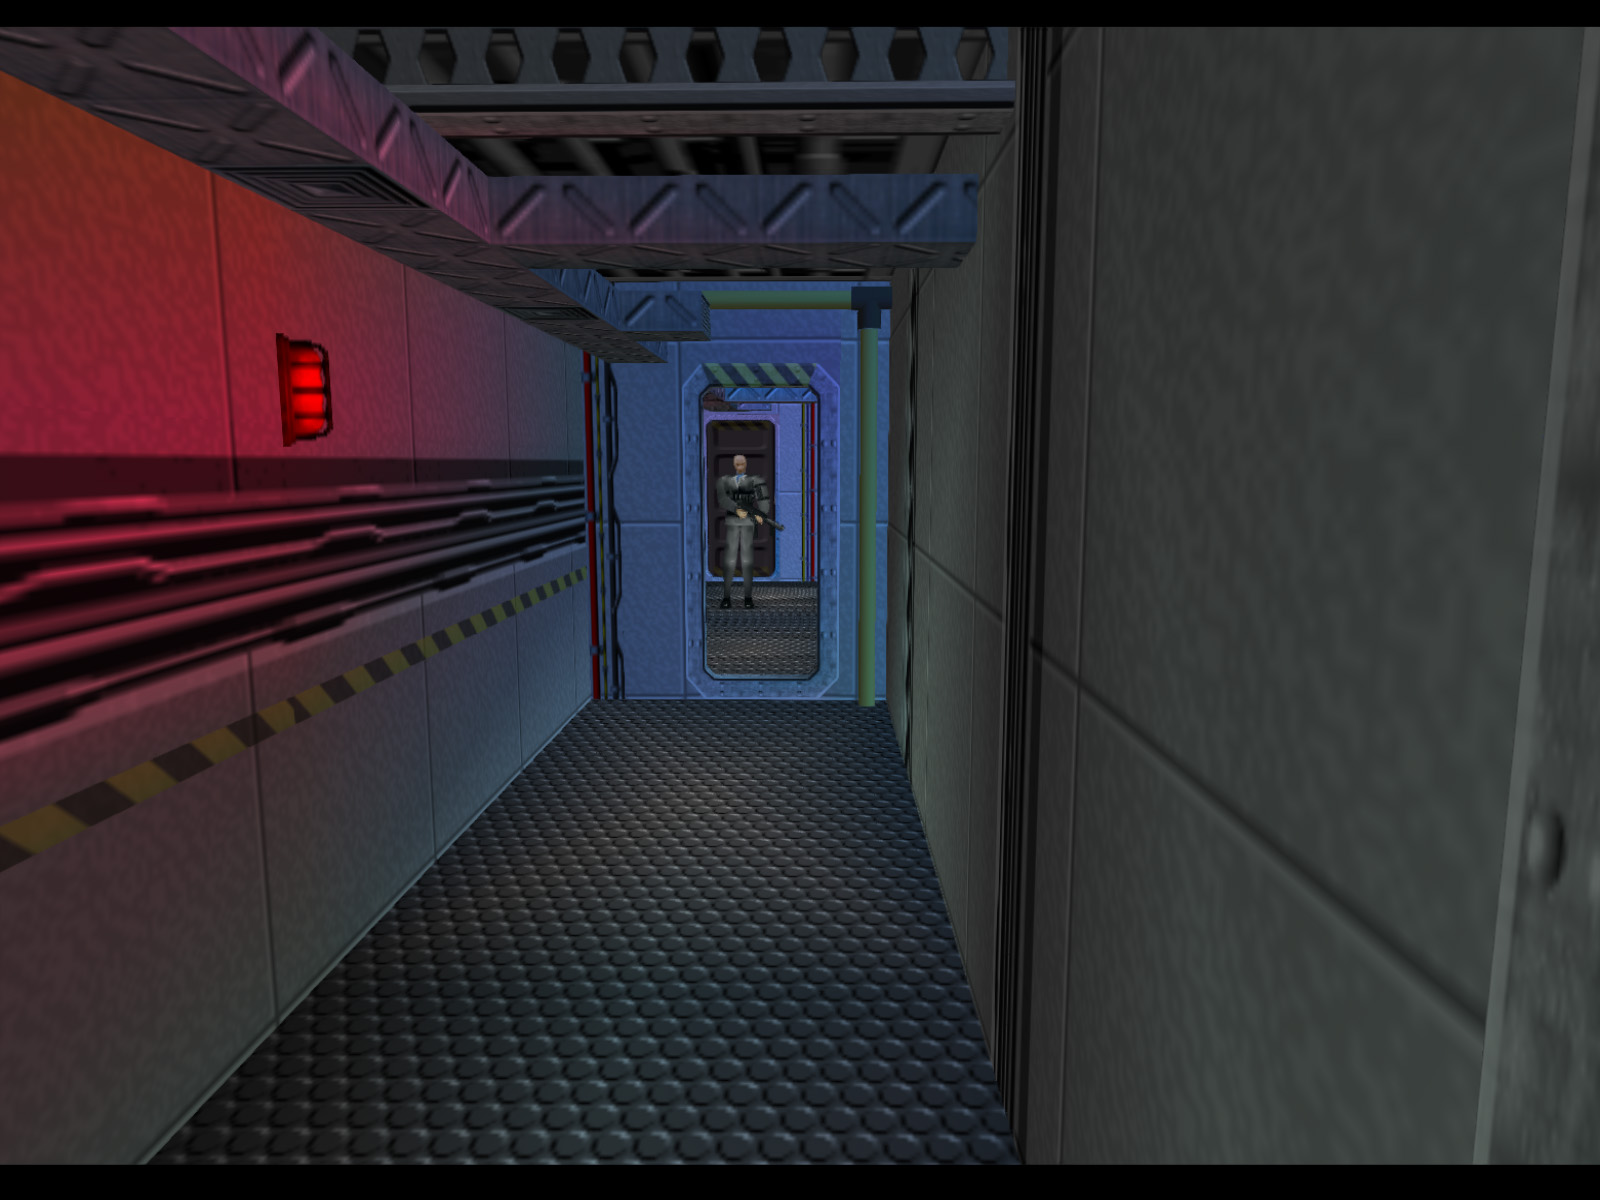
The other interior facing door of the bridge leads to this radio room.
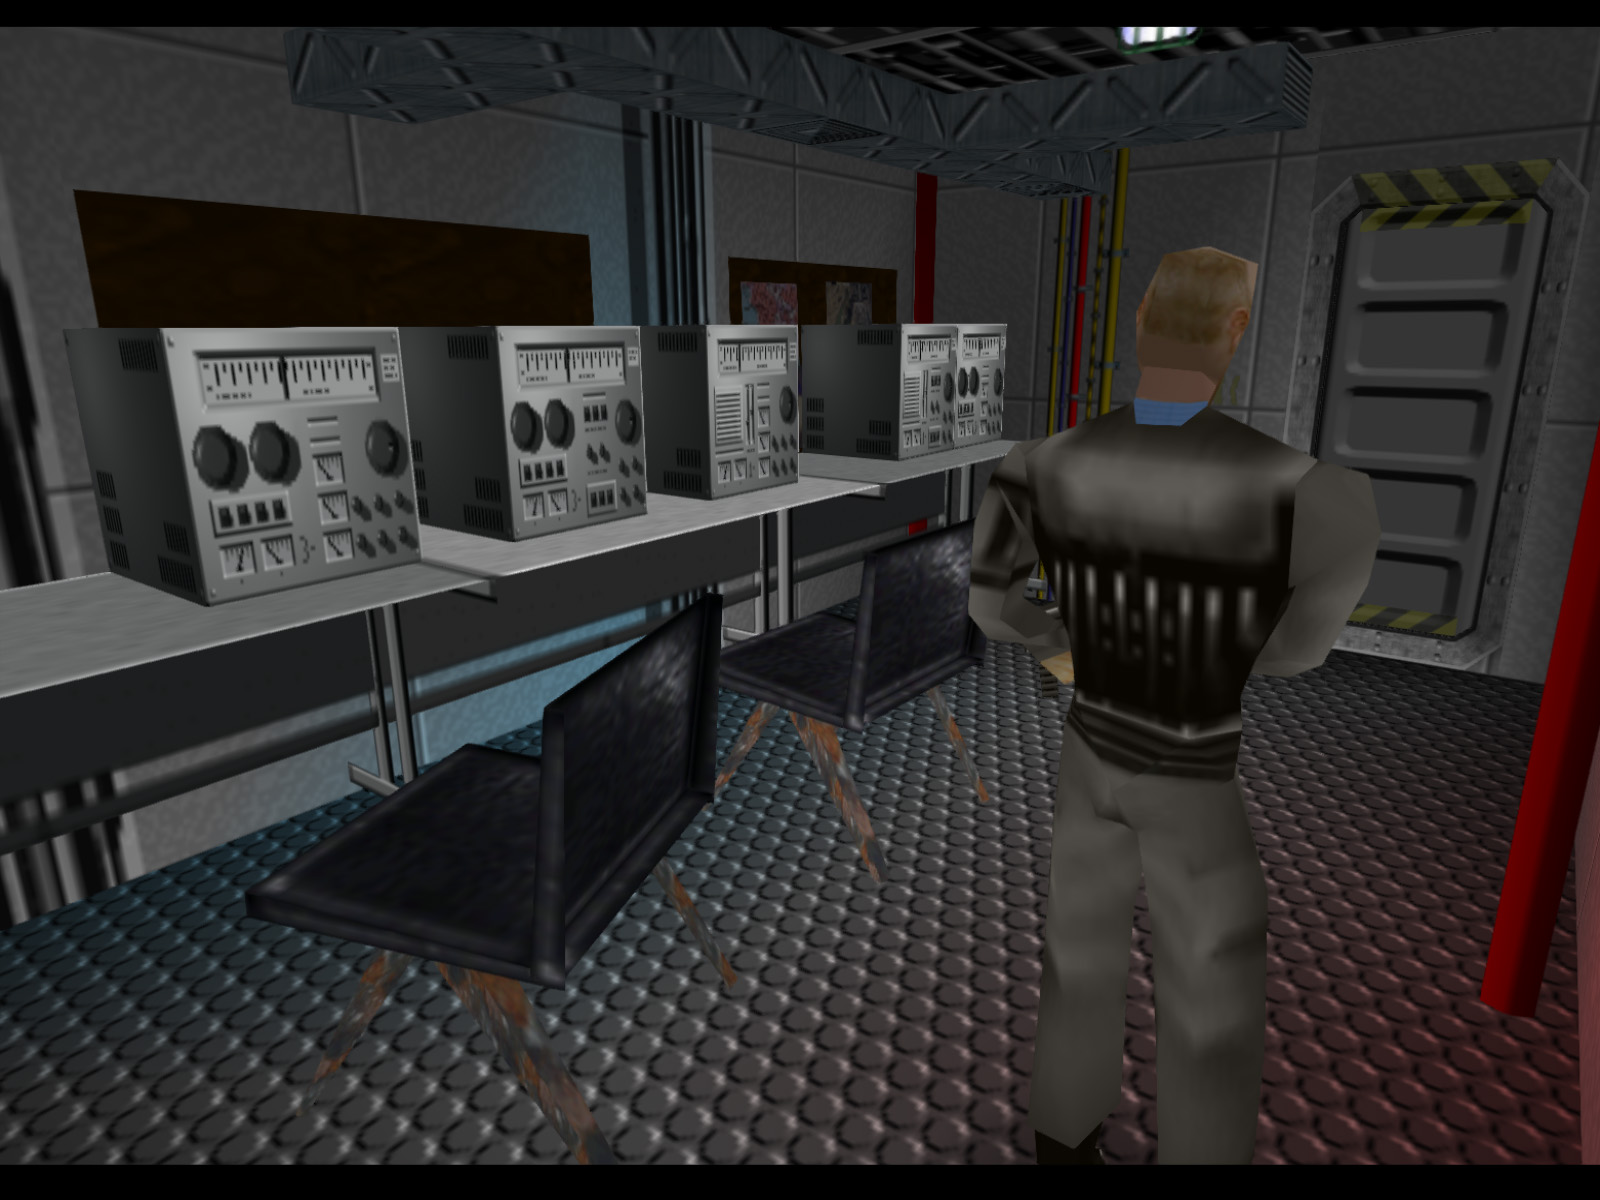
After the radio room is this room with a guard who carries double Phantoms.
This is a closer look at the passageway we saw a few screenshots ago. From here we'll go into the small room ahead then make a left.

This is the starboard passageway on 01 deck.
In the last screenshot, if you go down the corridor and to the right you will enter this room with a bunch of consoles and a hostage. The adjacent room also has a hostage so be careful not to enter the line of sight of his executioner before you are ready.
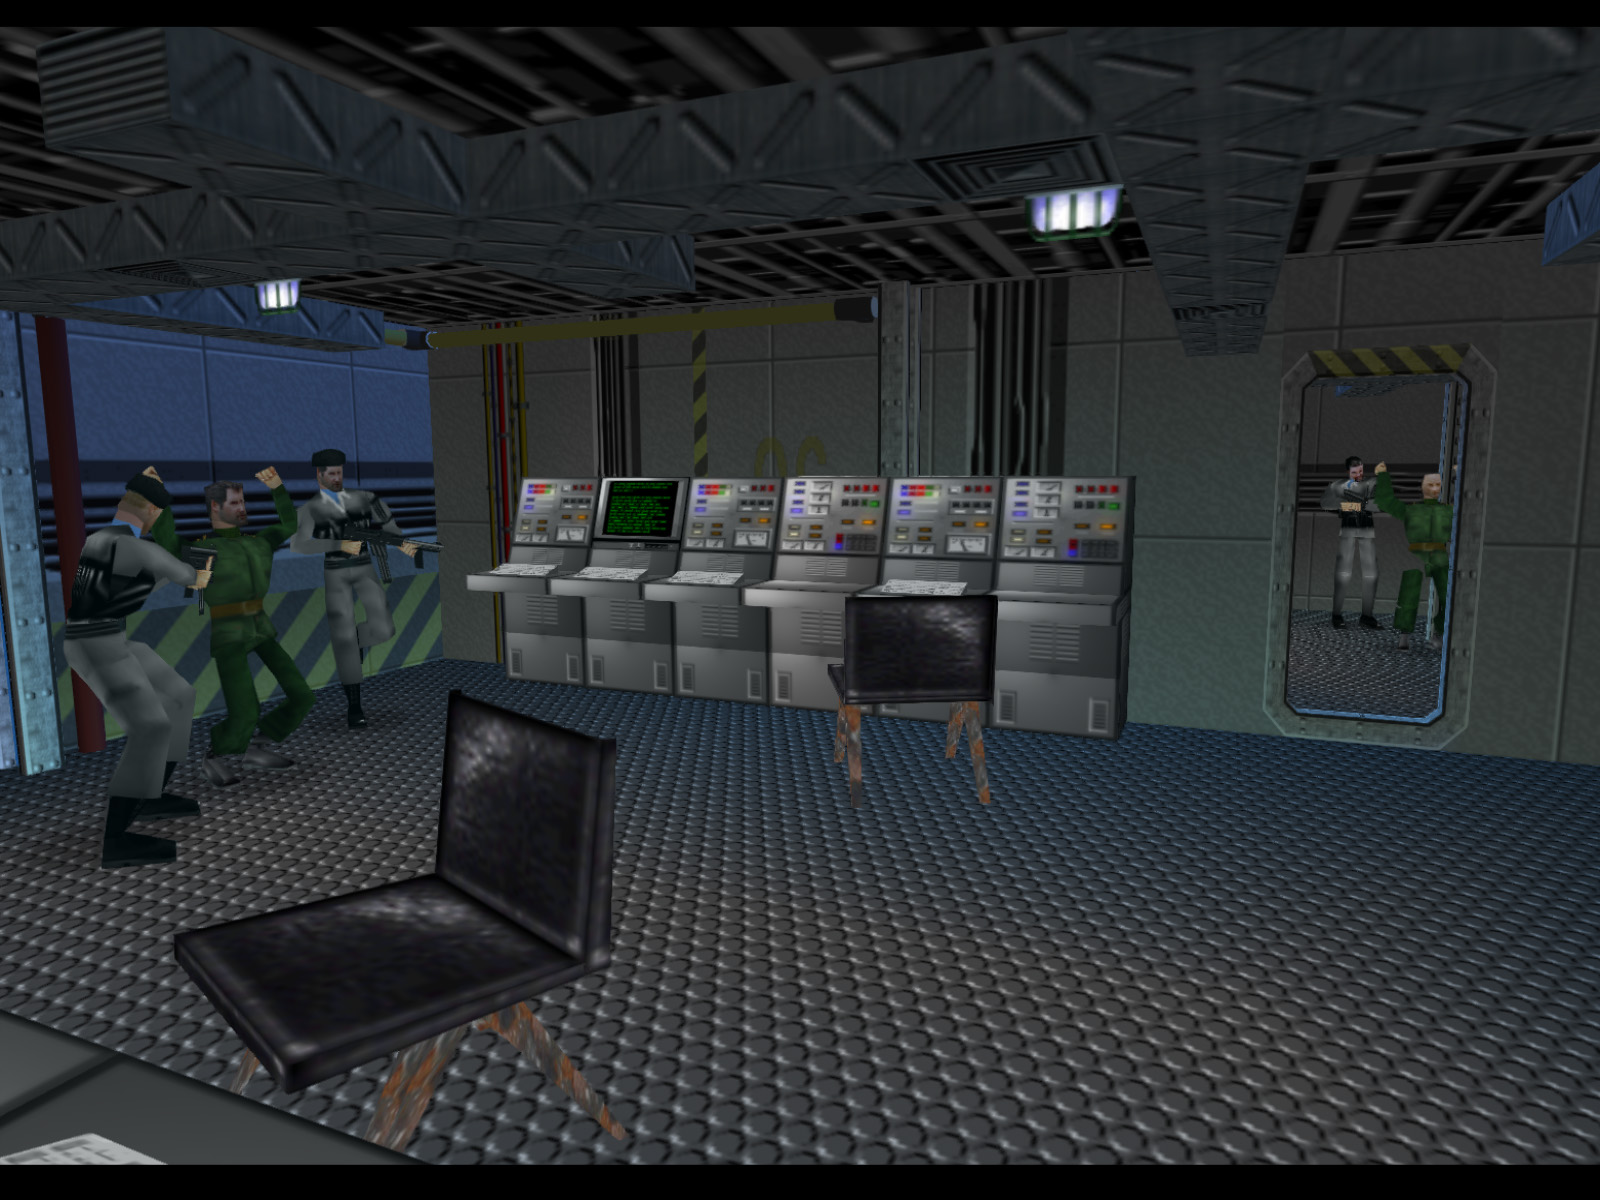
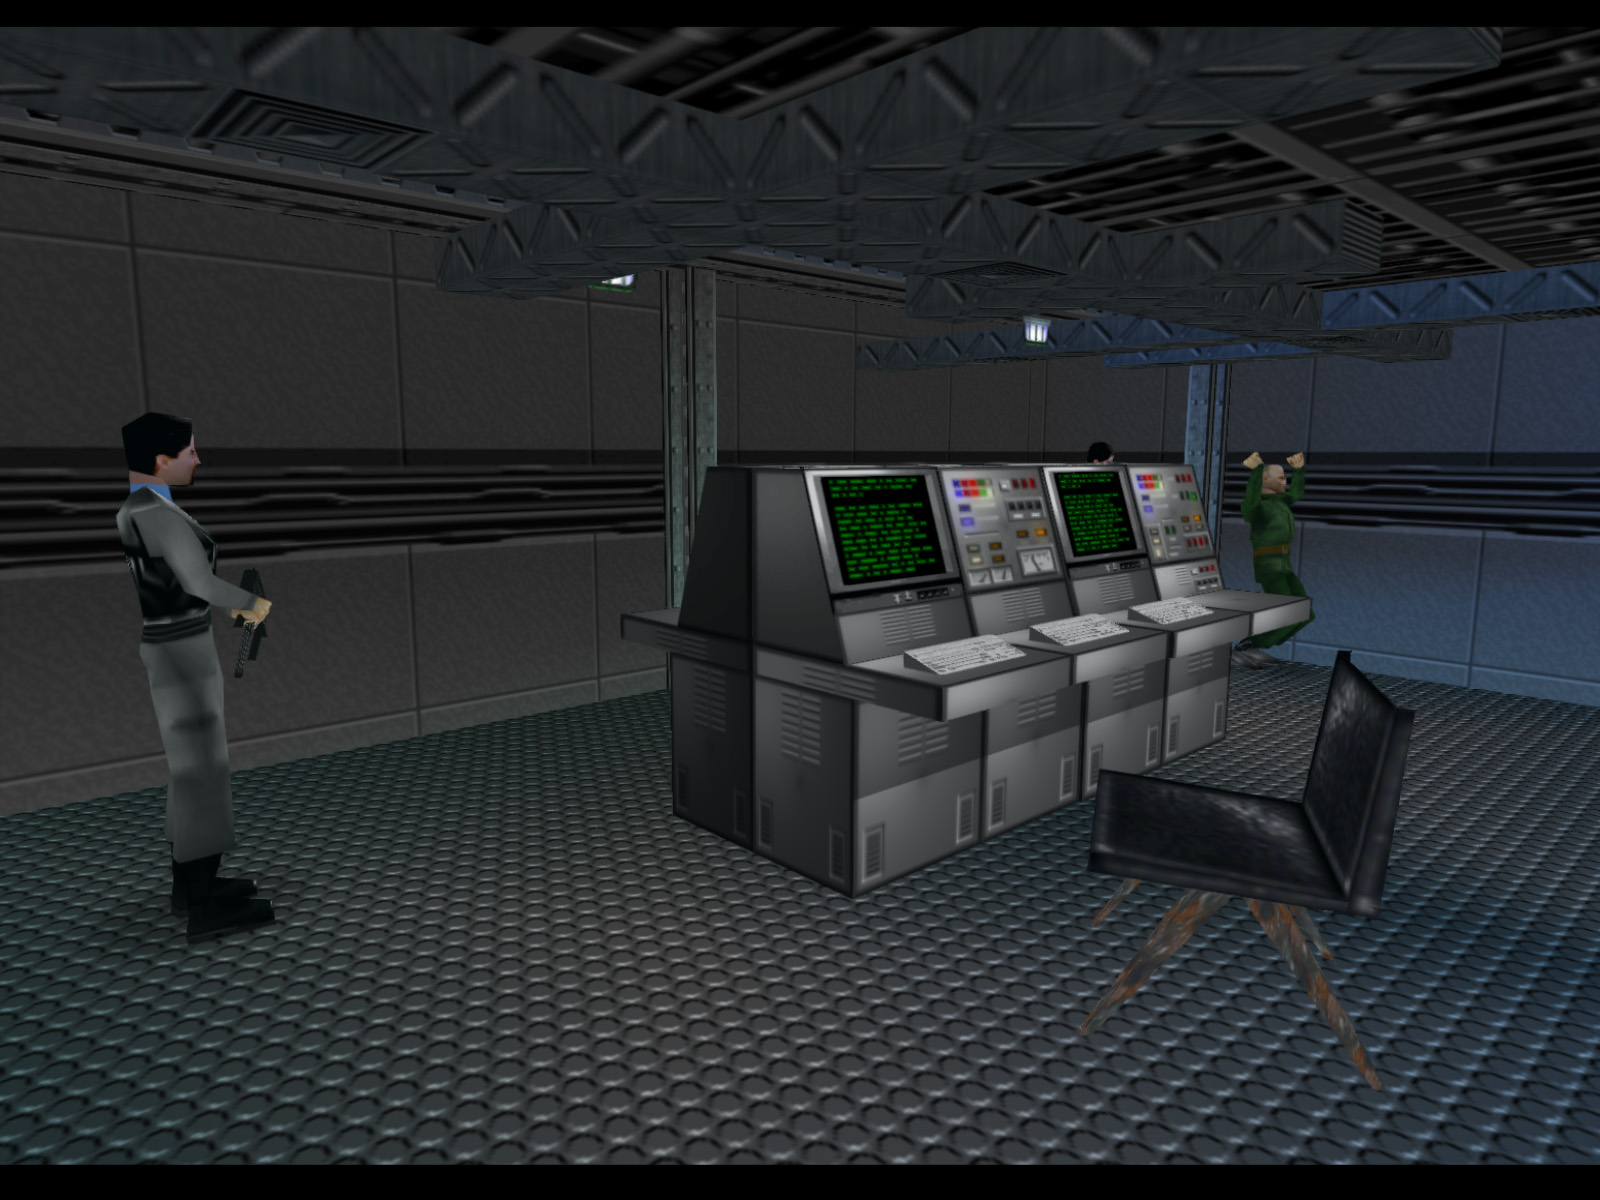
Here is a view of that adjacent room.
This is the passageway on the port side 01 deck. Going straight through the open door takes you outside and towards the bridge.
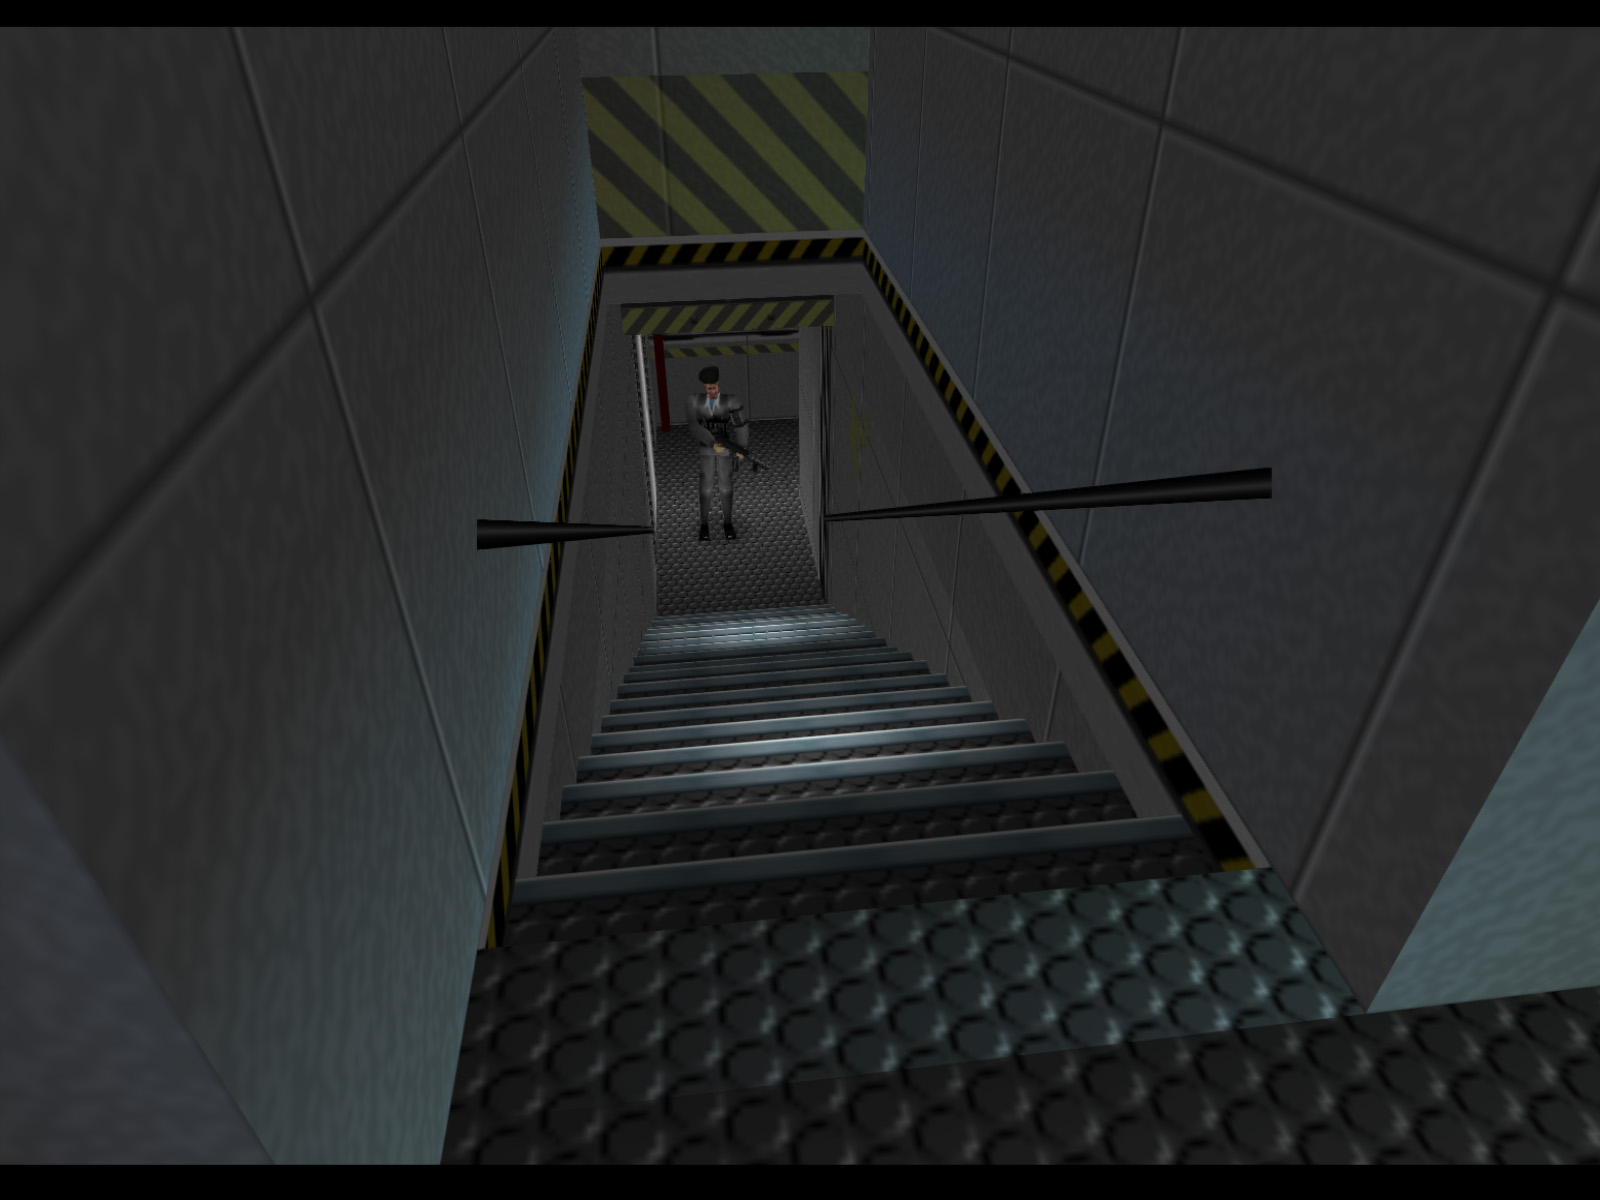
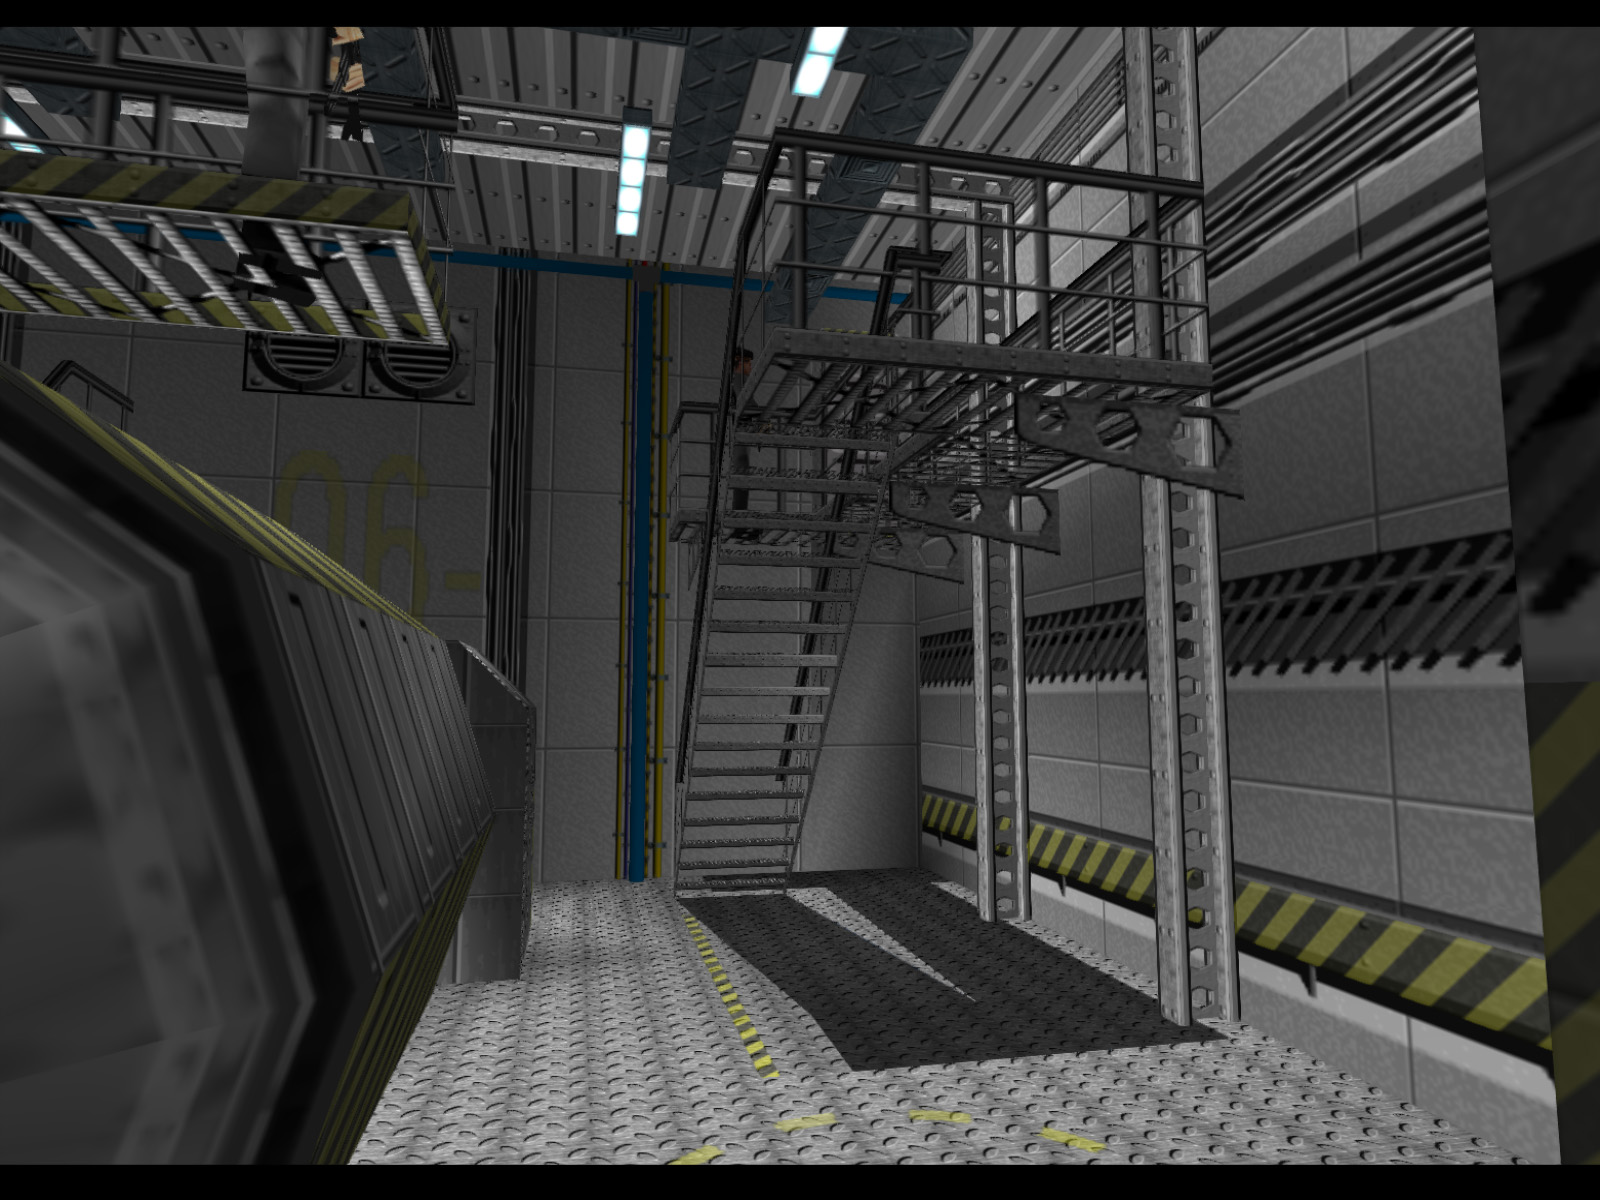
This stairwell found at the end of the passageway goes down to the main deck.
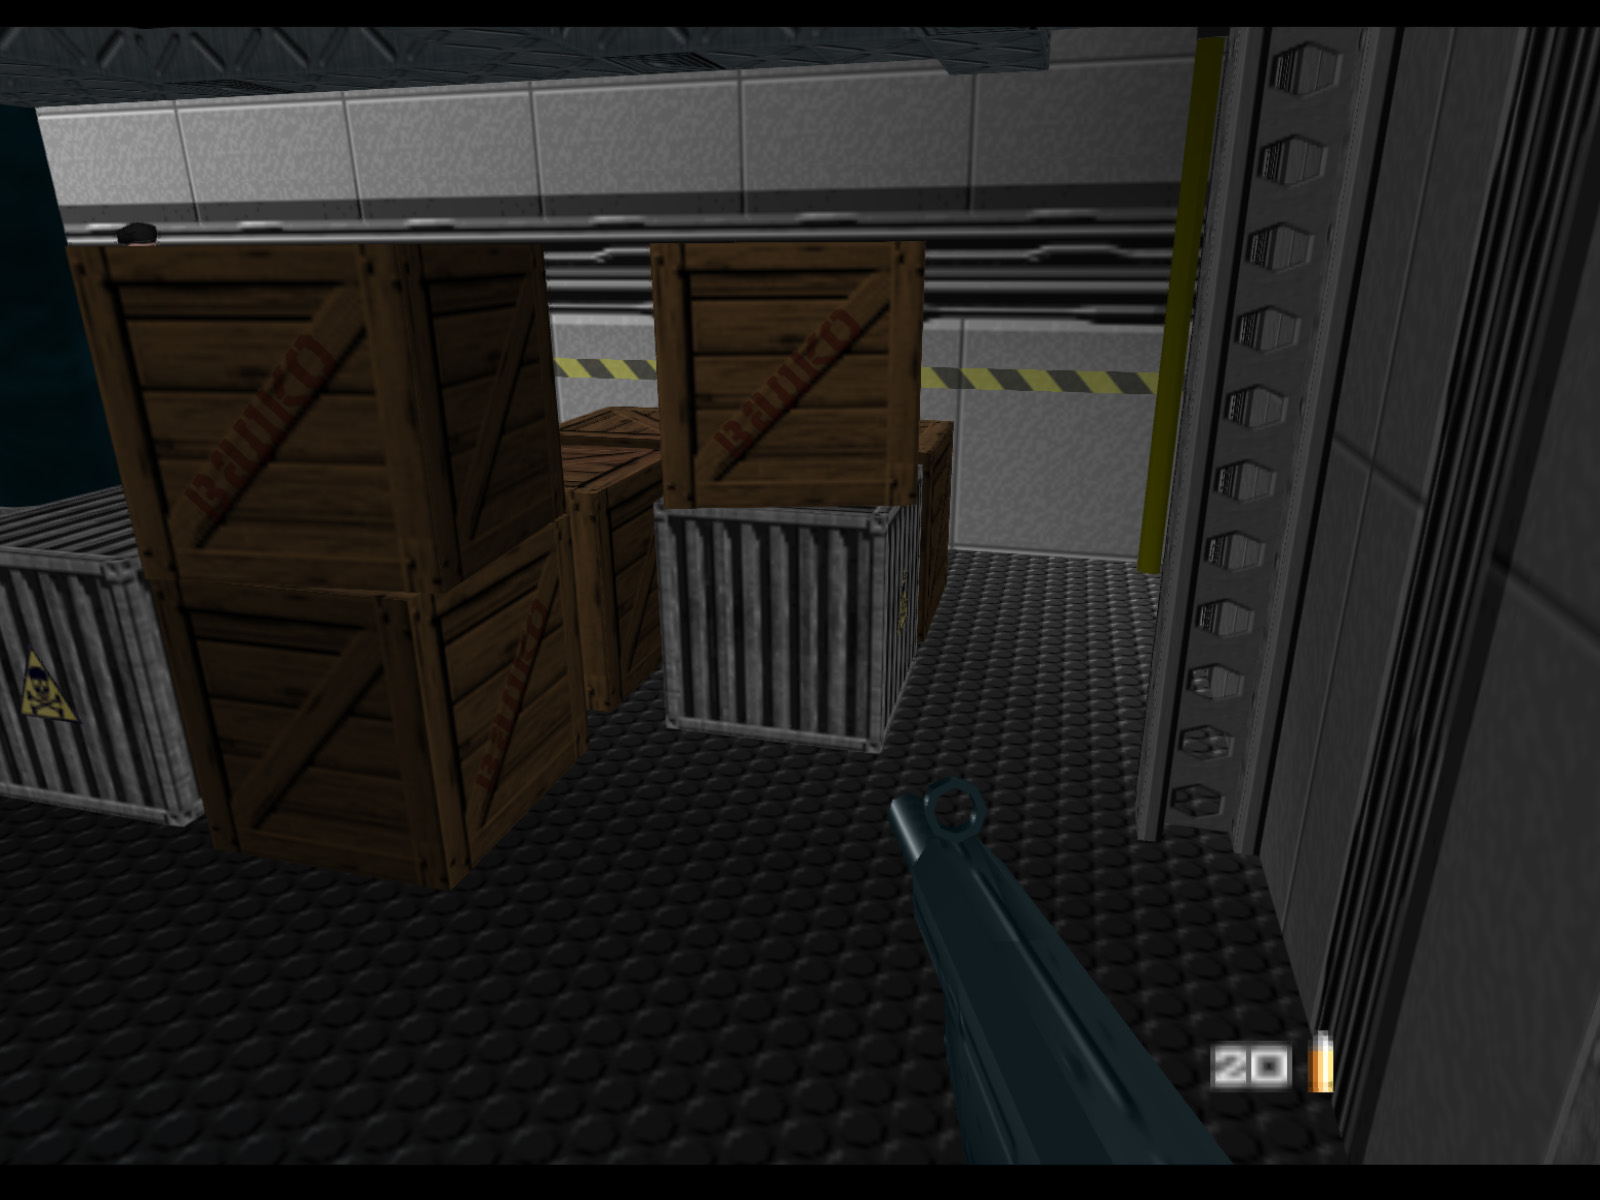
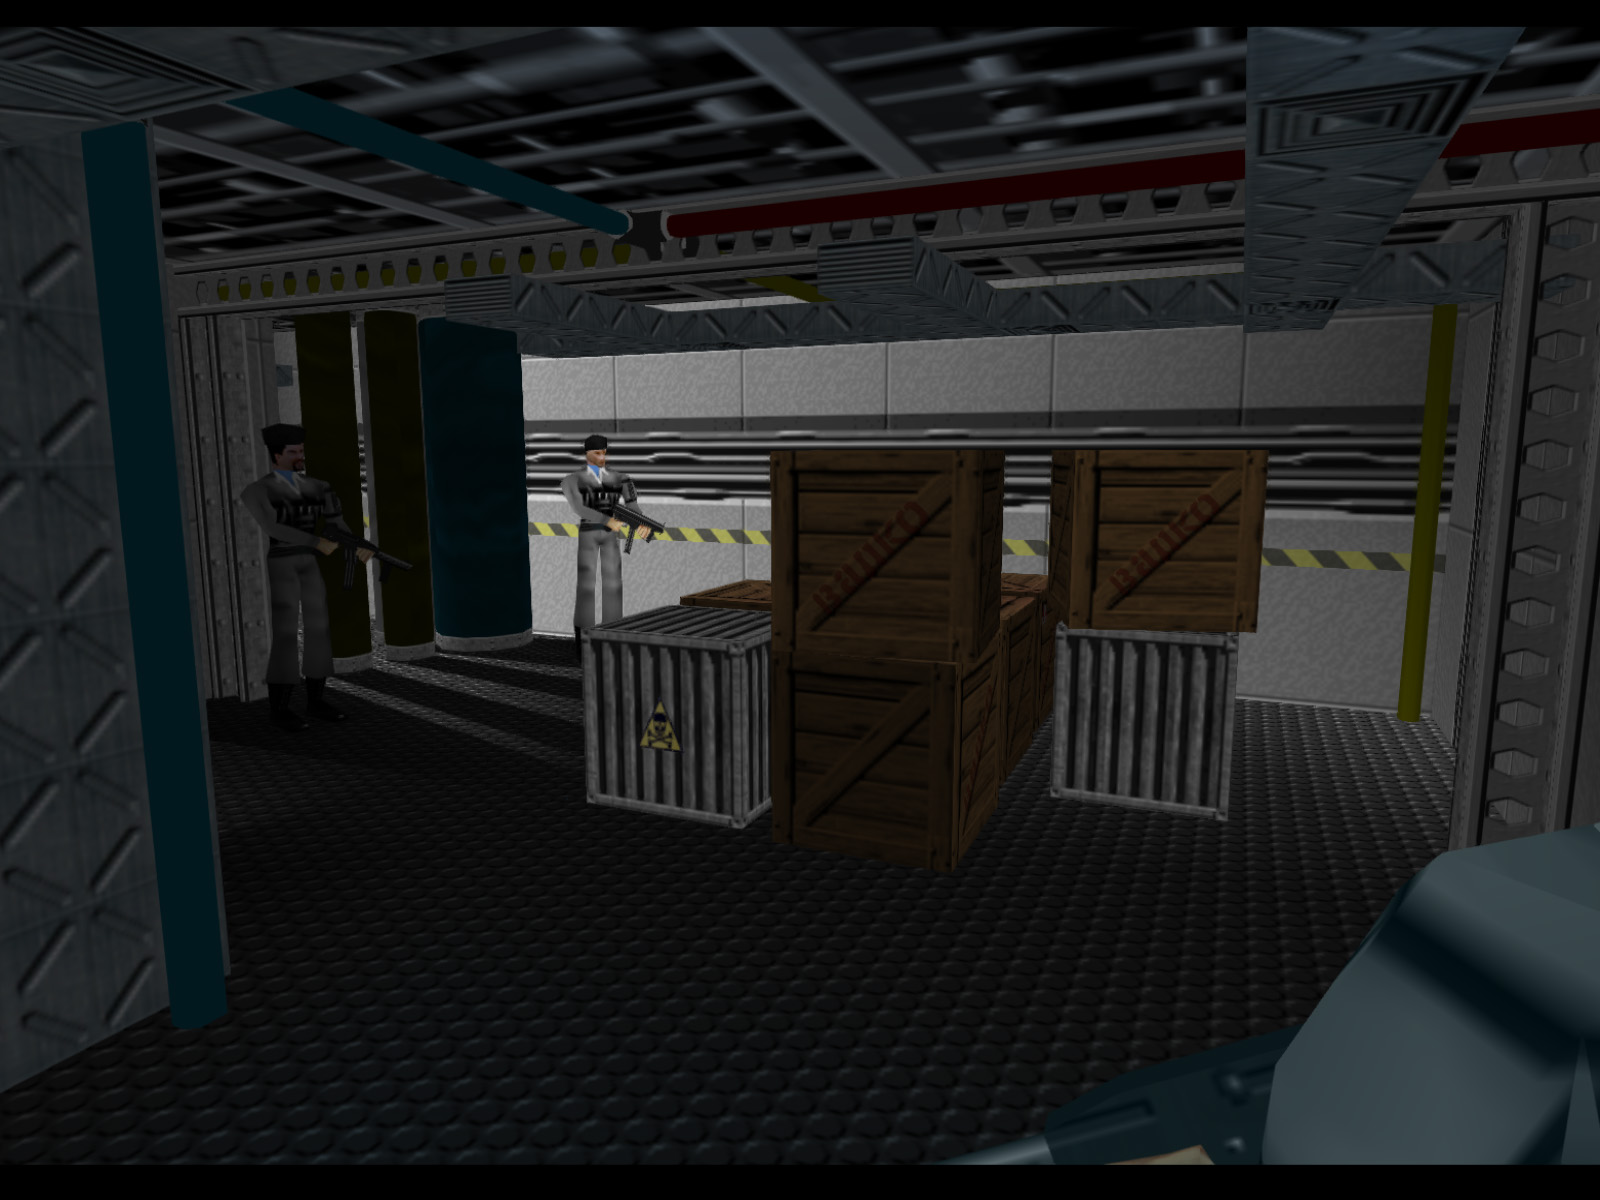
Down here there is a storage room full of pipes, vents, and crates.

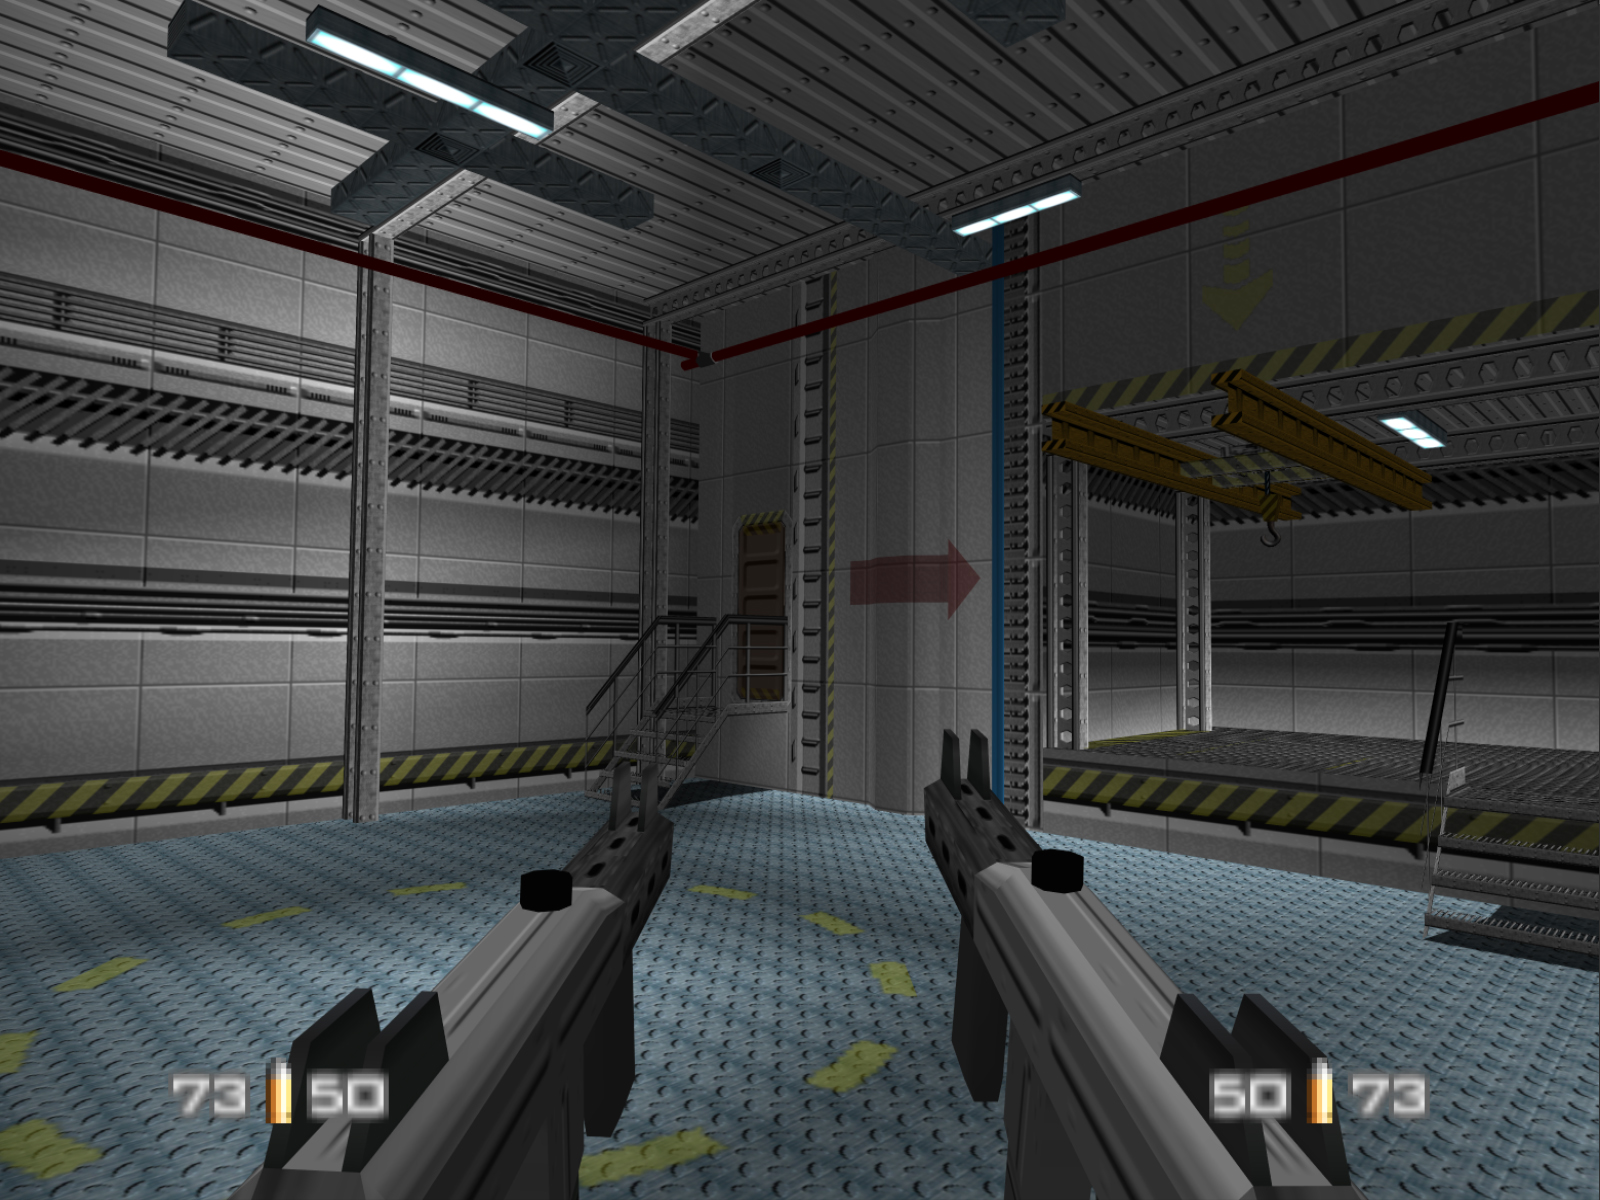
Near the storage room is another flight of stairs going down to 1st deck.
Once you descend to 1st deck you will hear the noise of the ship's engine and the engine room will be on the right. We'll make a left though and enter this small room with a hostage.

This is the somewhat liminally empty corridor after the hostage room.
Next there is this small room with another hostage.
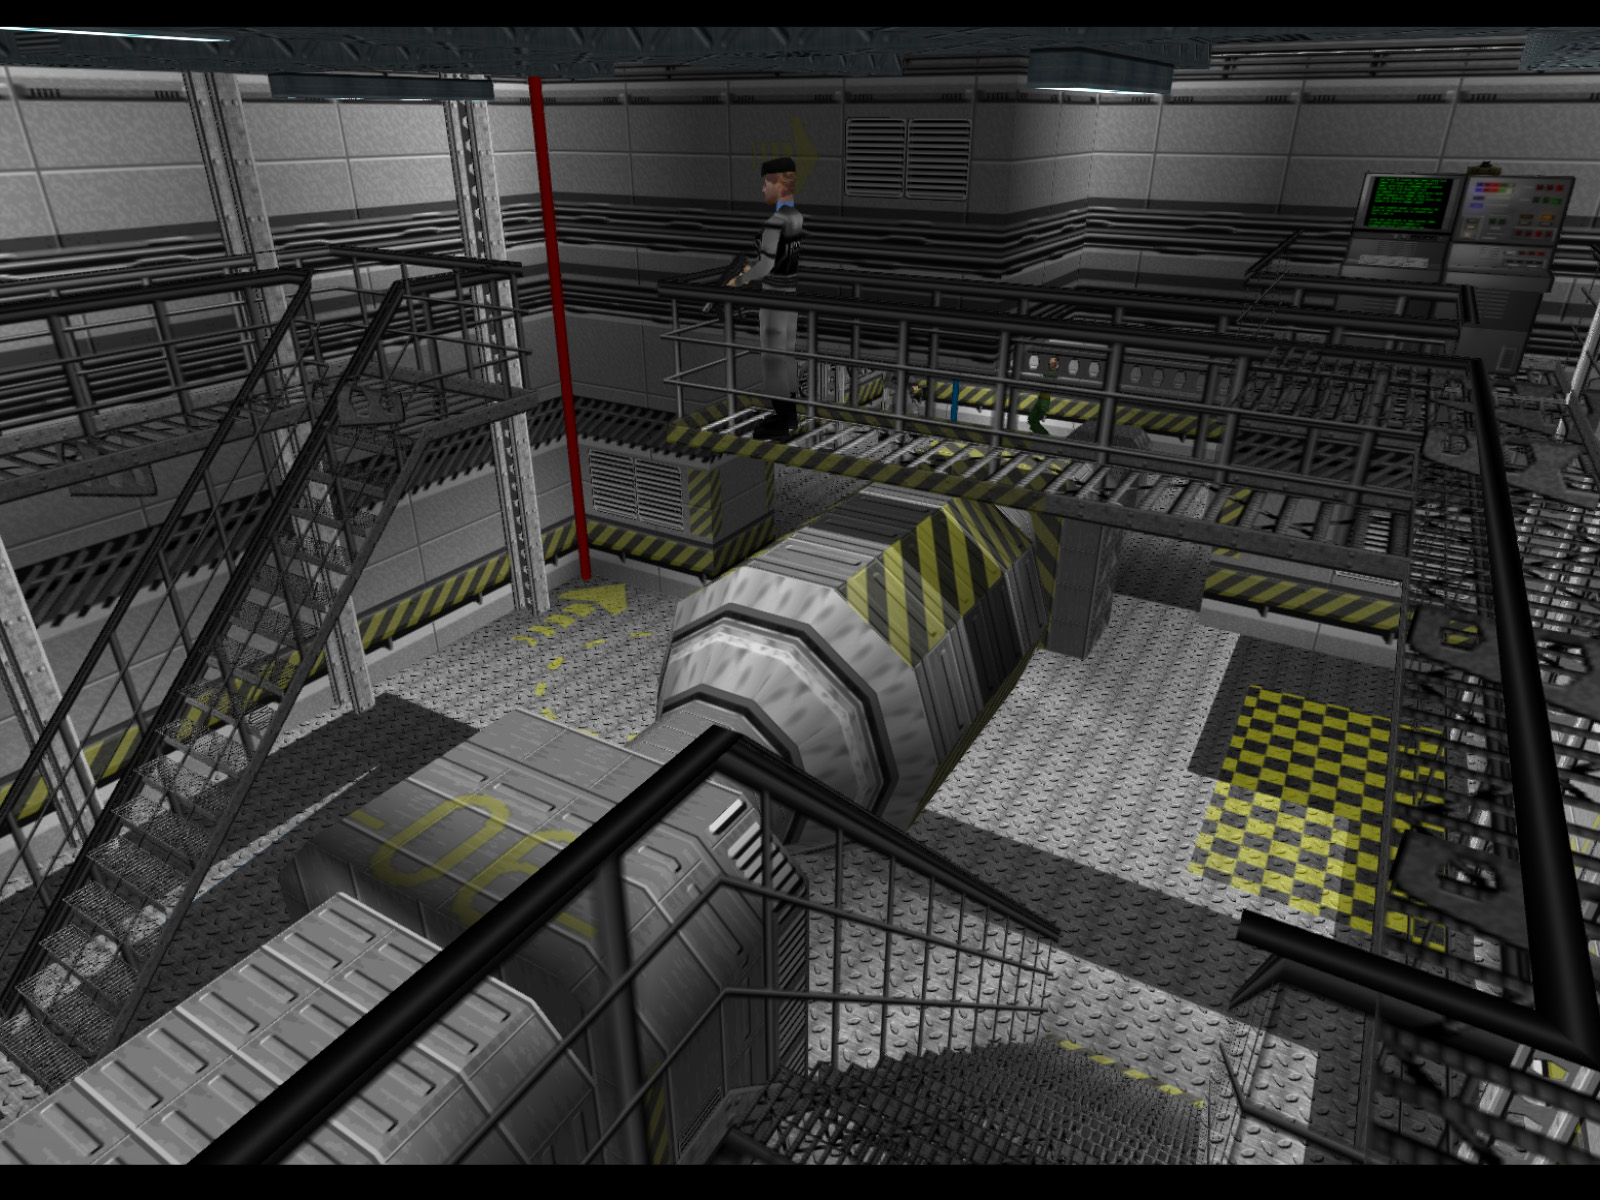
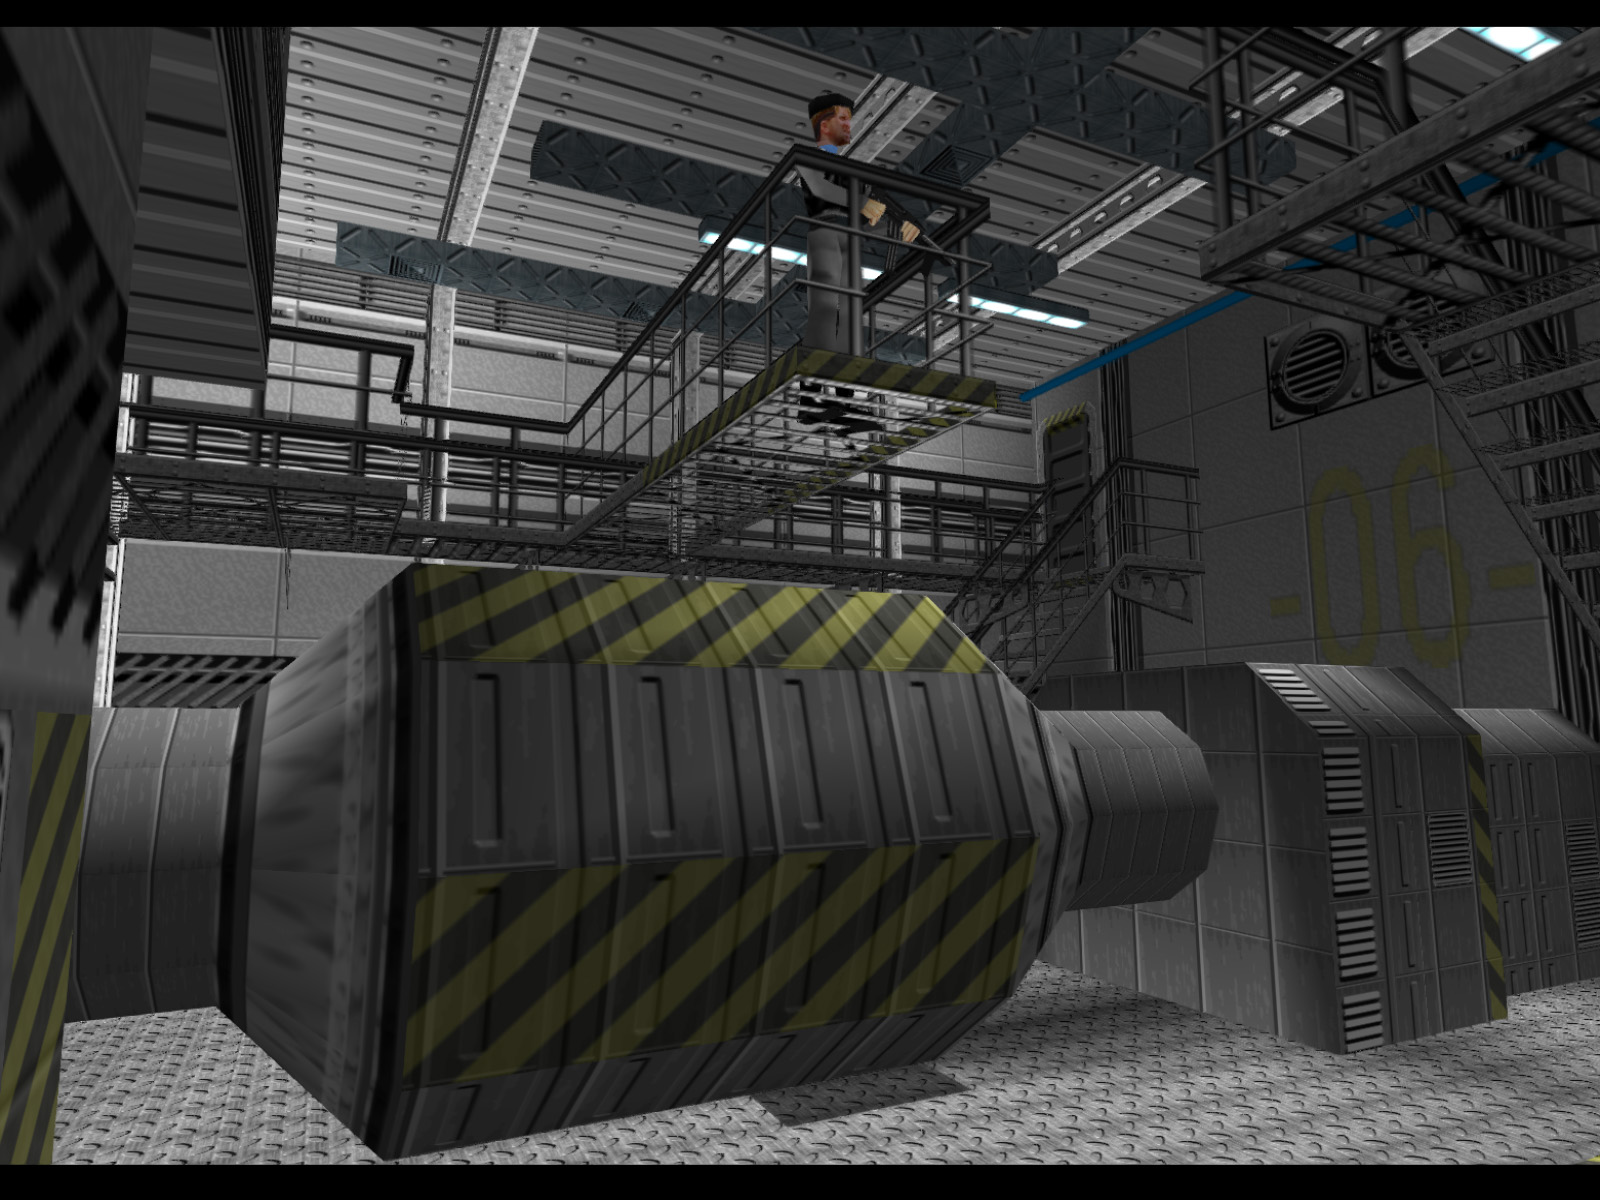
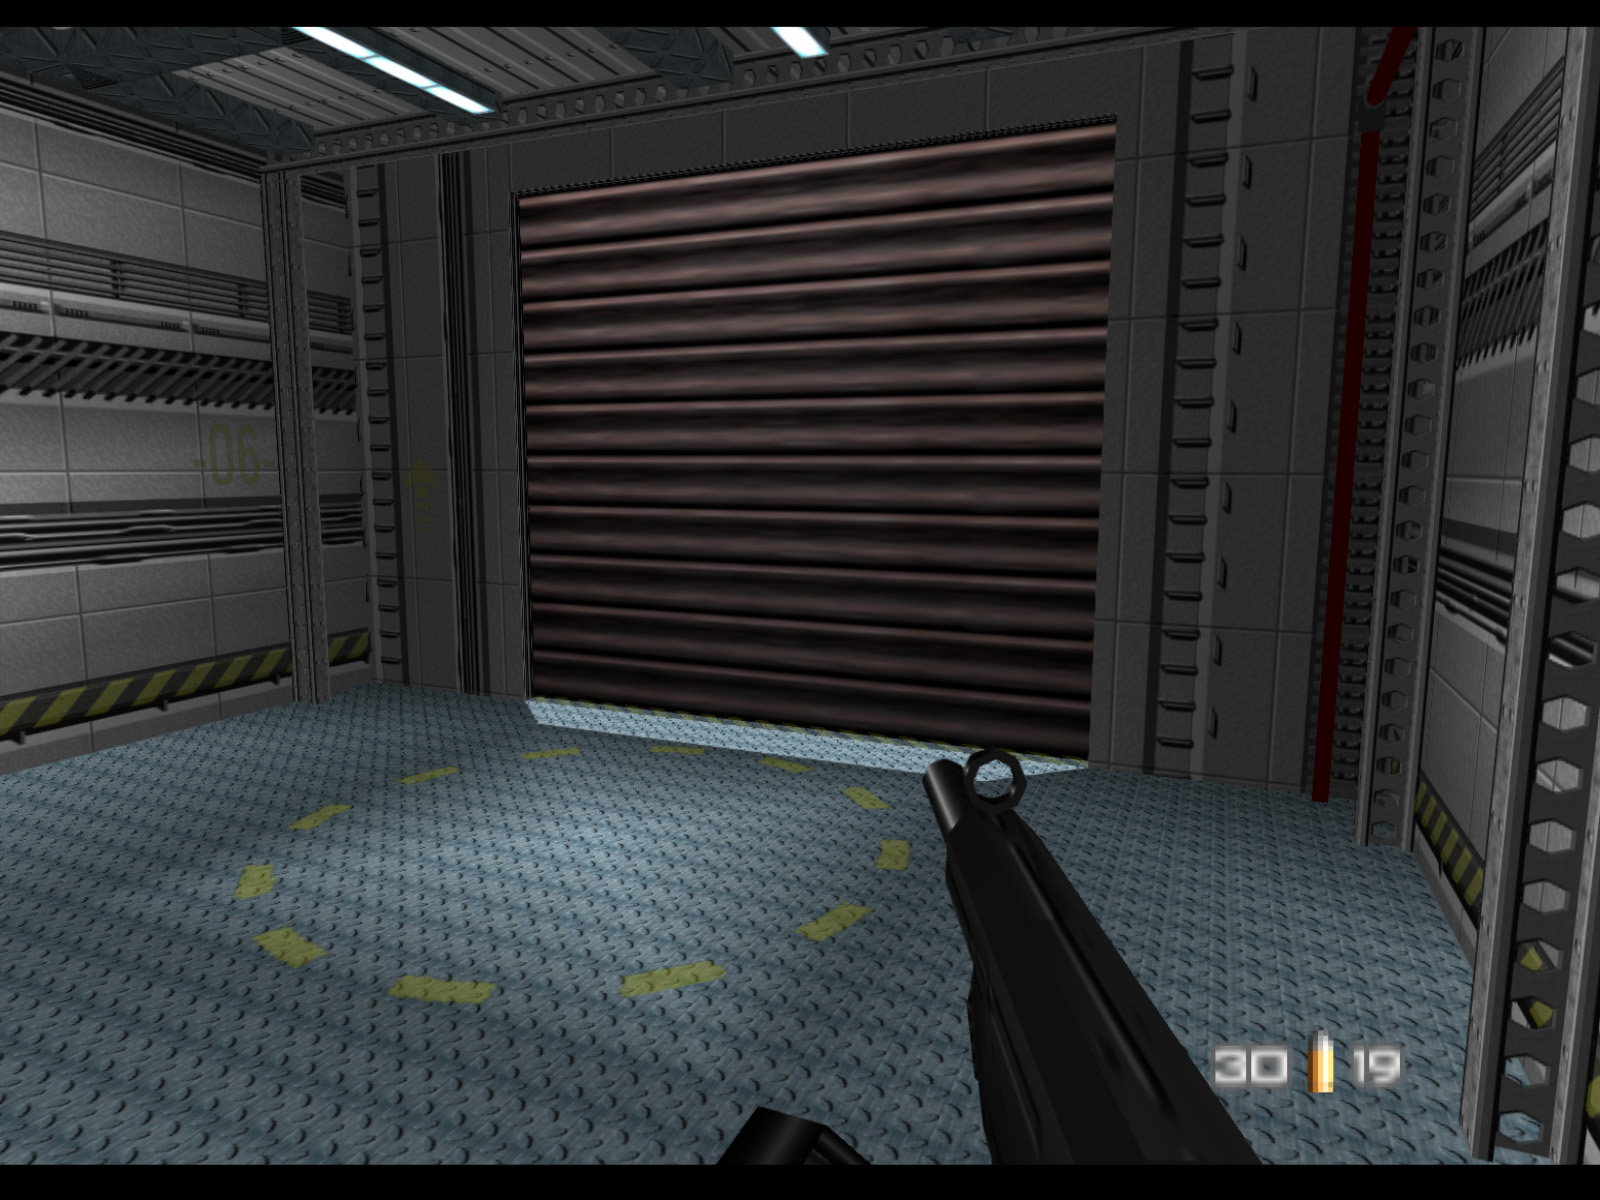
Going through the door, into the next passageway, and turning around, we see stairs back up to the main deck. Before we go back up let's do a 180 degree turn and enter the engine room.
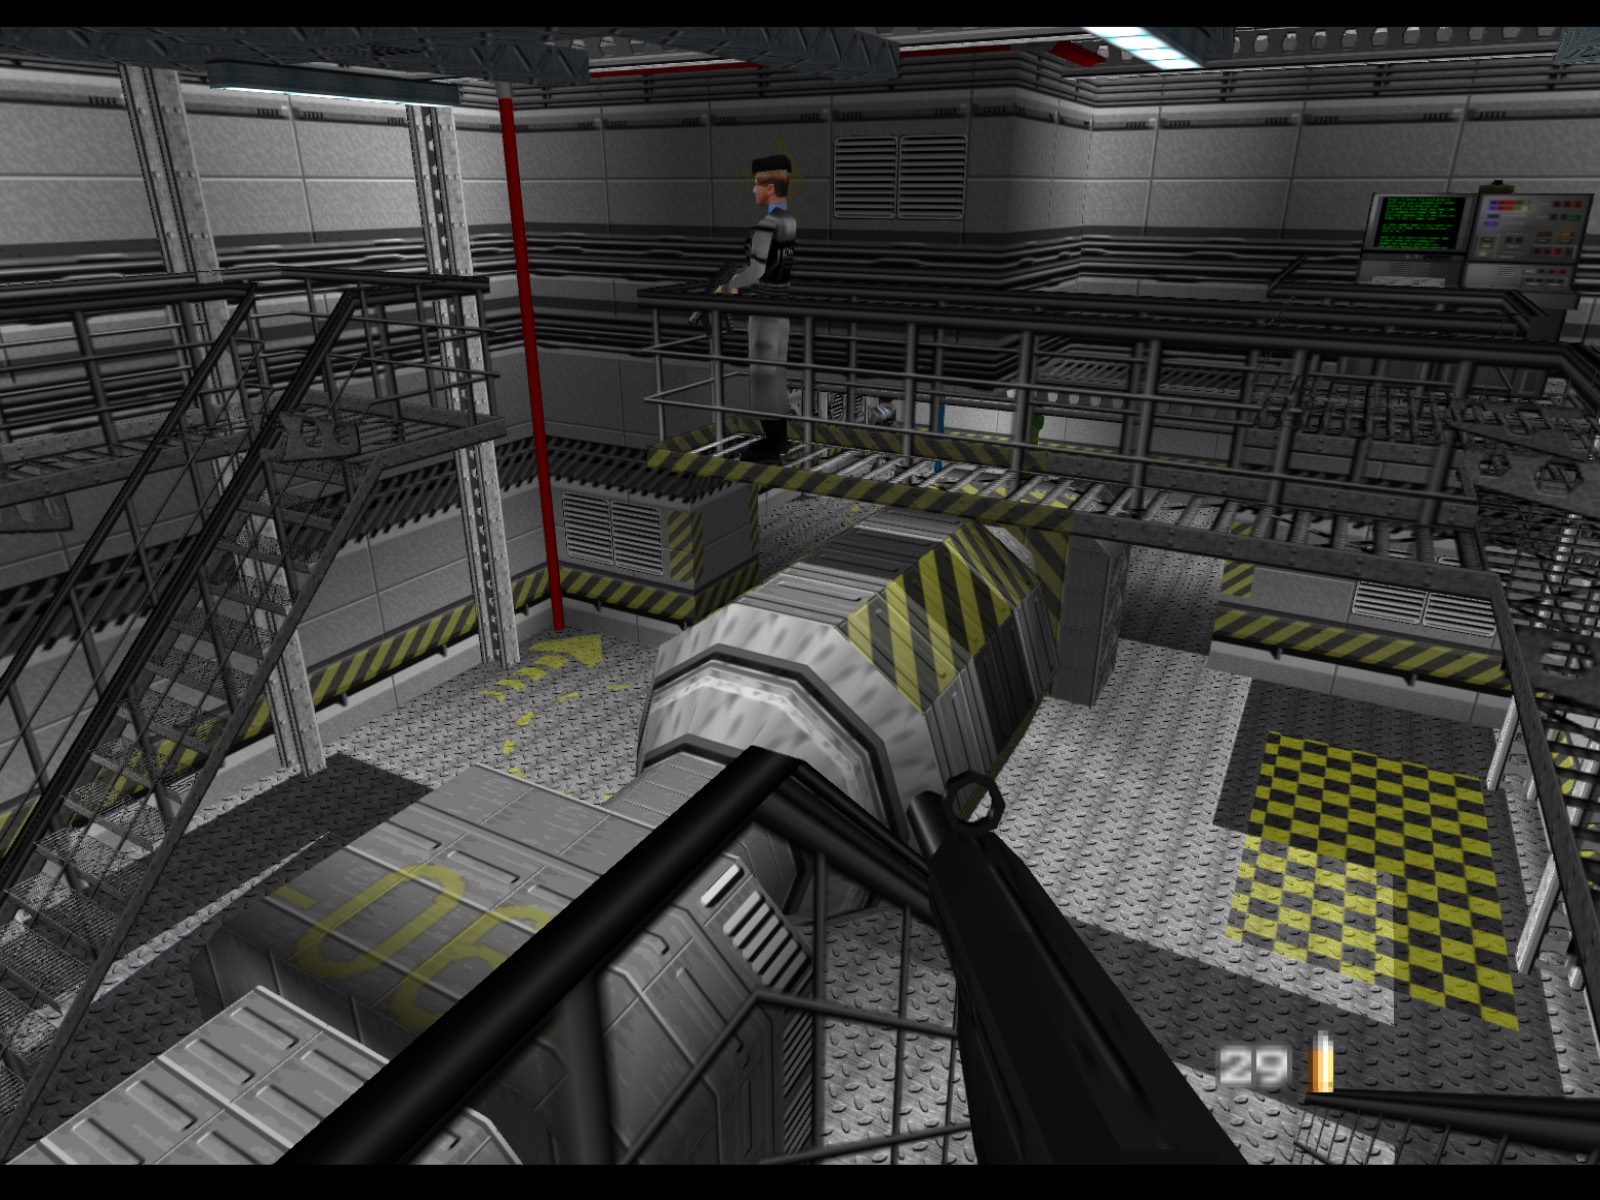
The engine room has a bomb at the end of the catwalk and the last hostage down on 2nd deck.
▶ TIP: The fact guards cannot see over railings can be abused to clear out most guards in here without fear of retaliation.
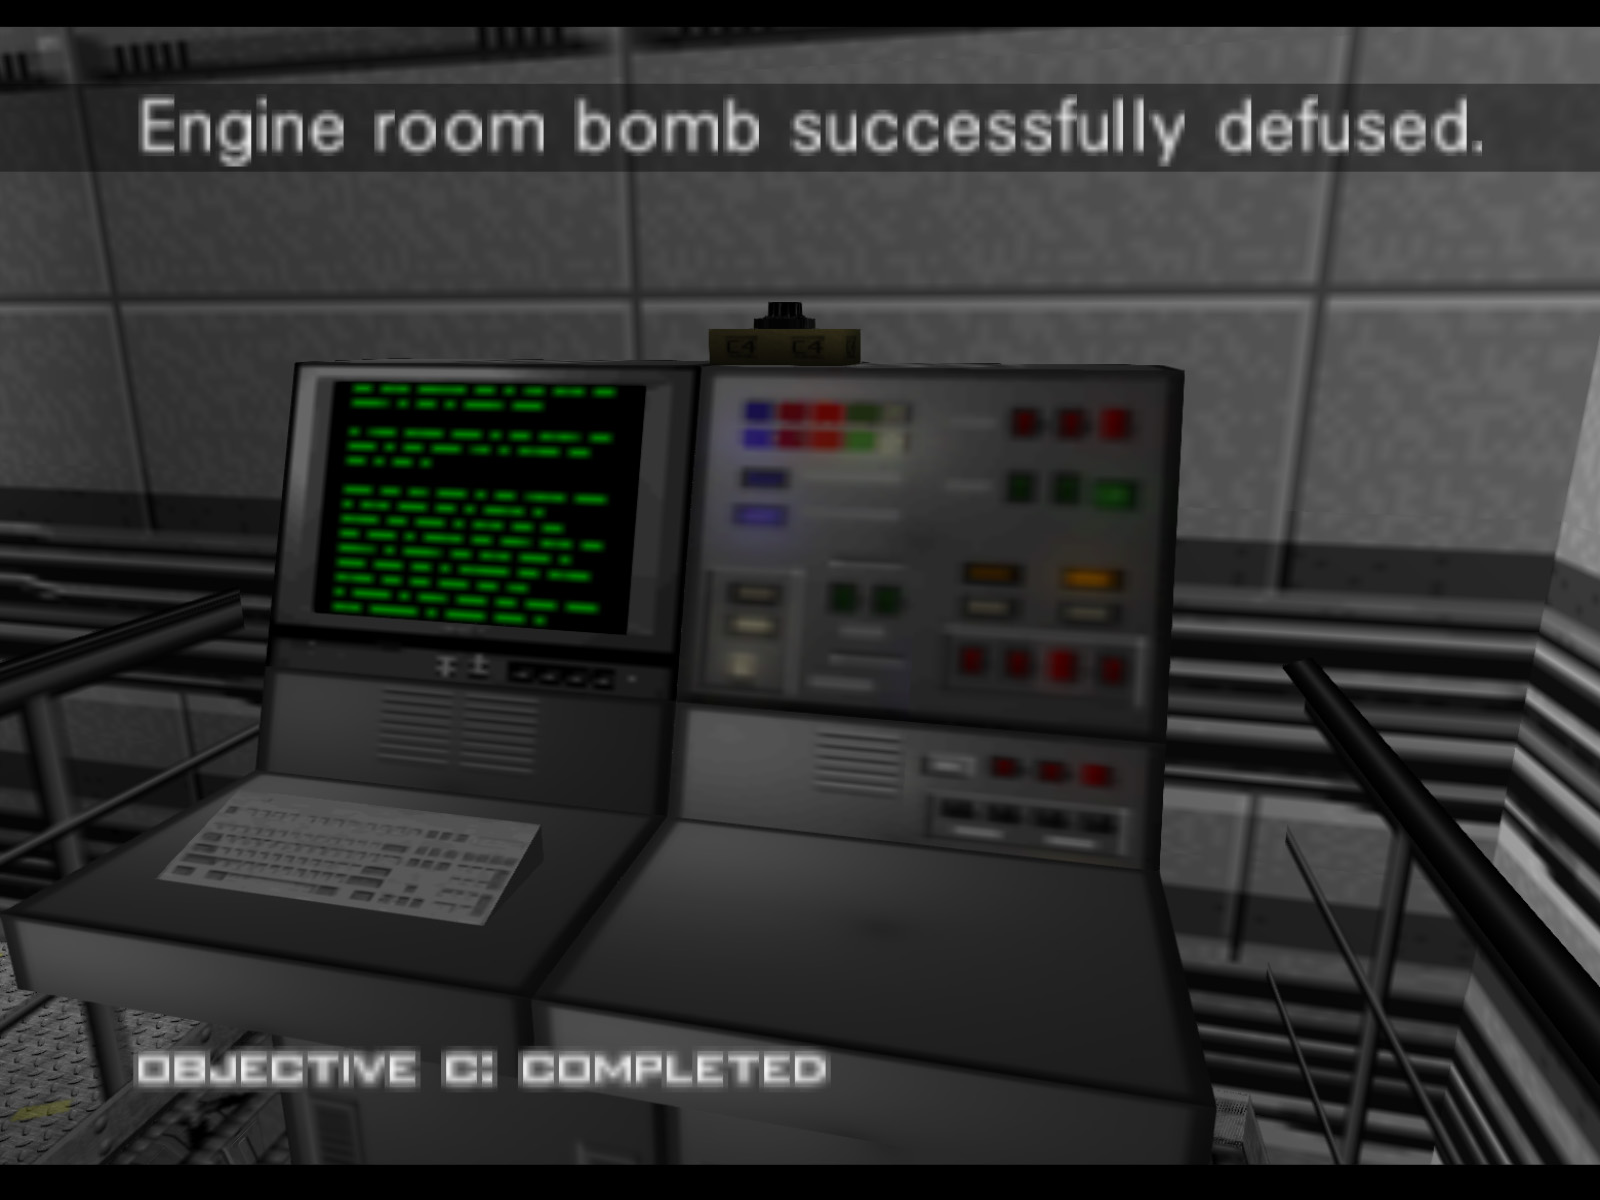
Here is a closer look at the Engine Room Bomb. Defuse it with the same procedure as the other bomb to complete Objective C.
This is the lower level of the engine room where the Naval Officer is held hostage.
Another angle of the engine room.
And one more before we backtrack up the stairs and through the door.
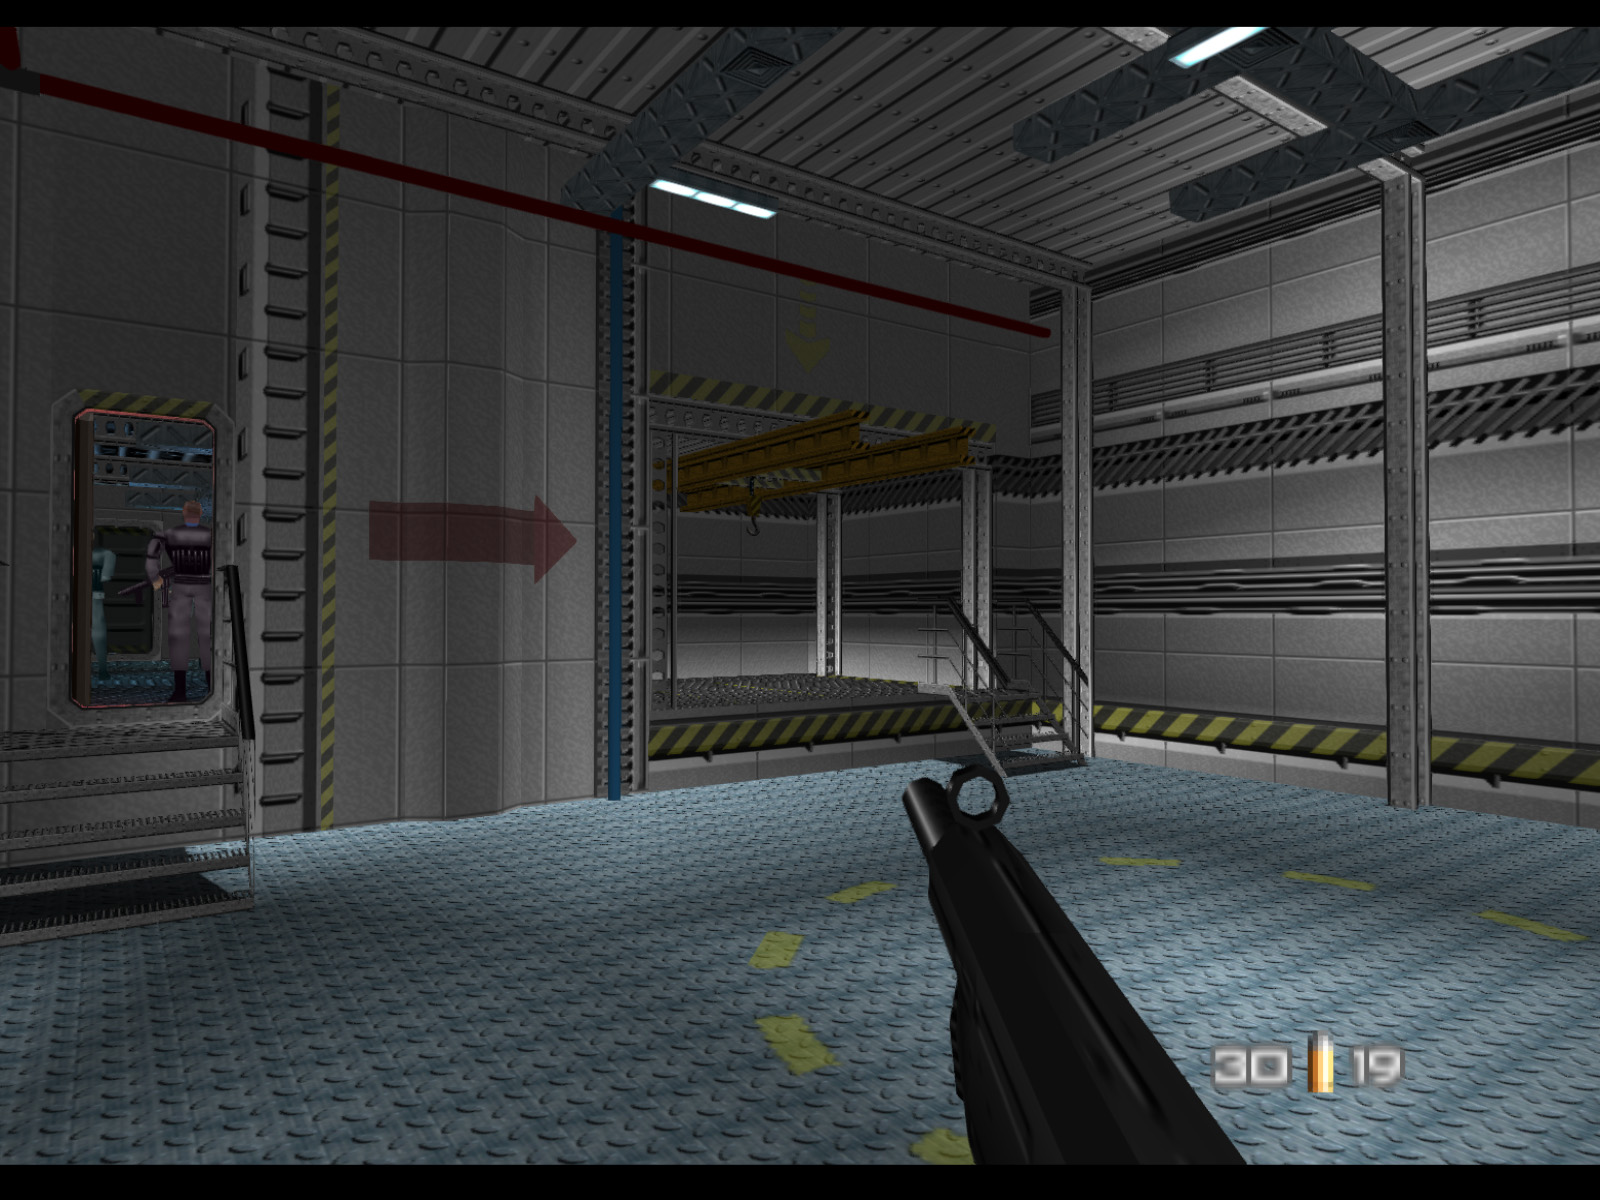
Now we're at the top of the steps we saw earlier. This passageway is connected to the storage room, but the pipes prevent you from going to the storage room unless you use a warp trick.
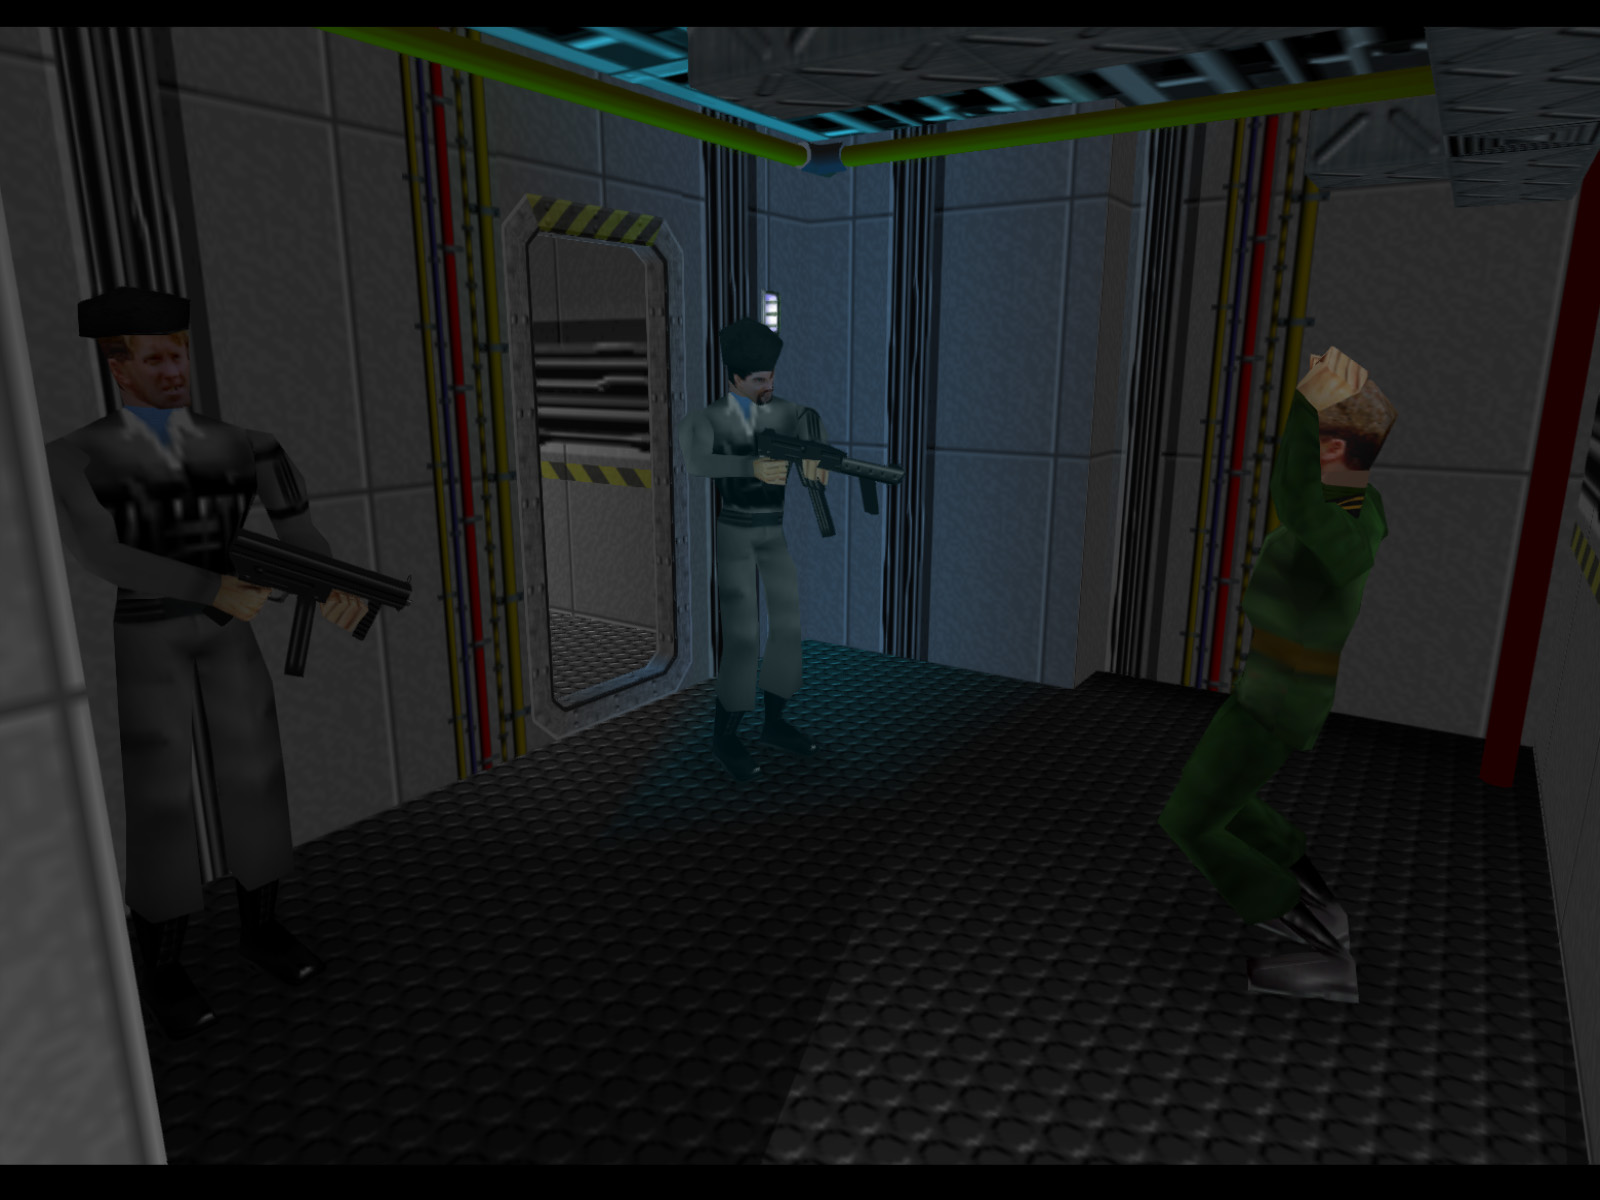
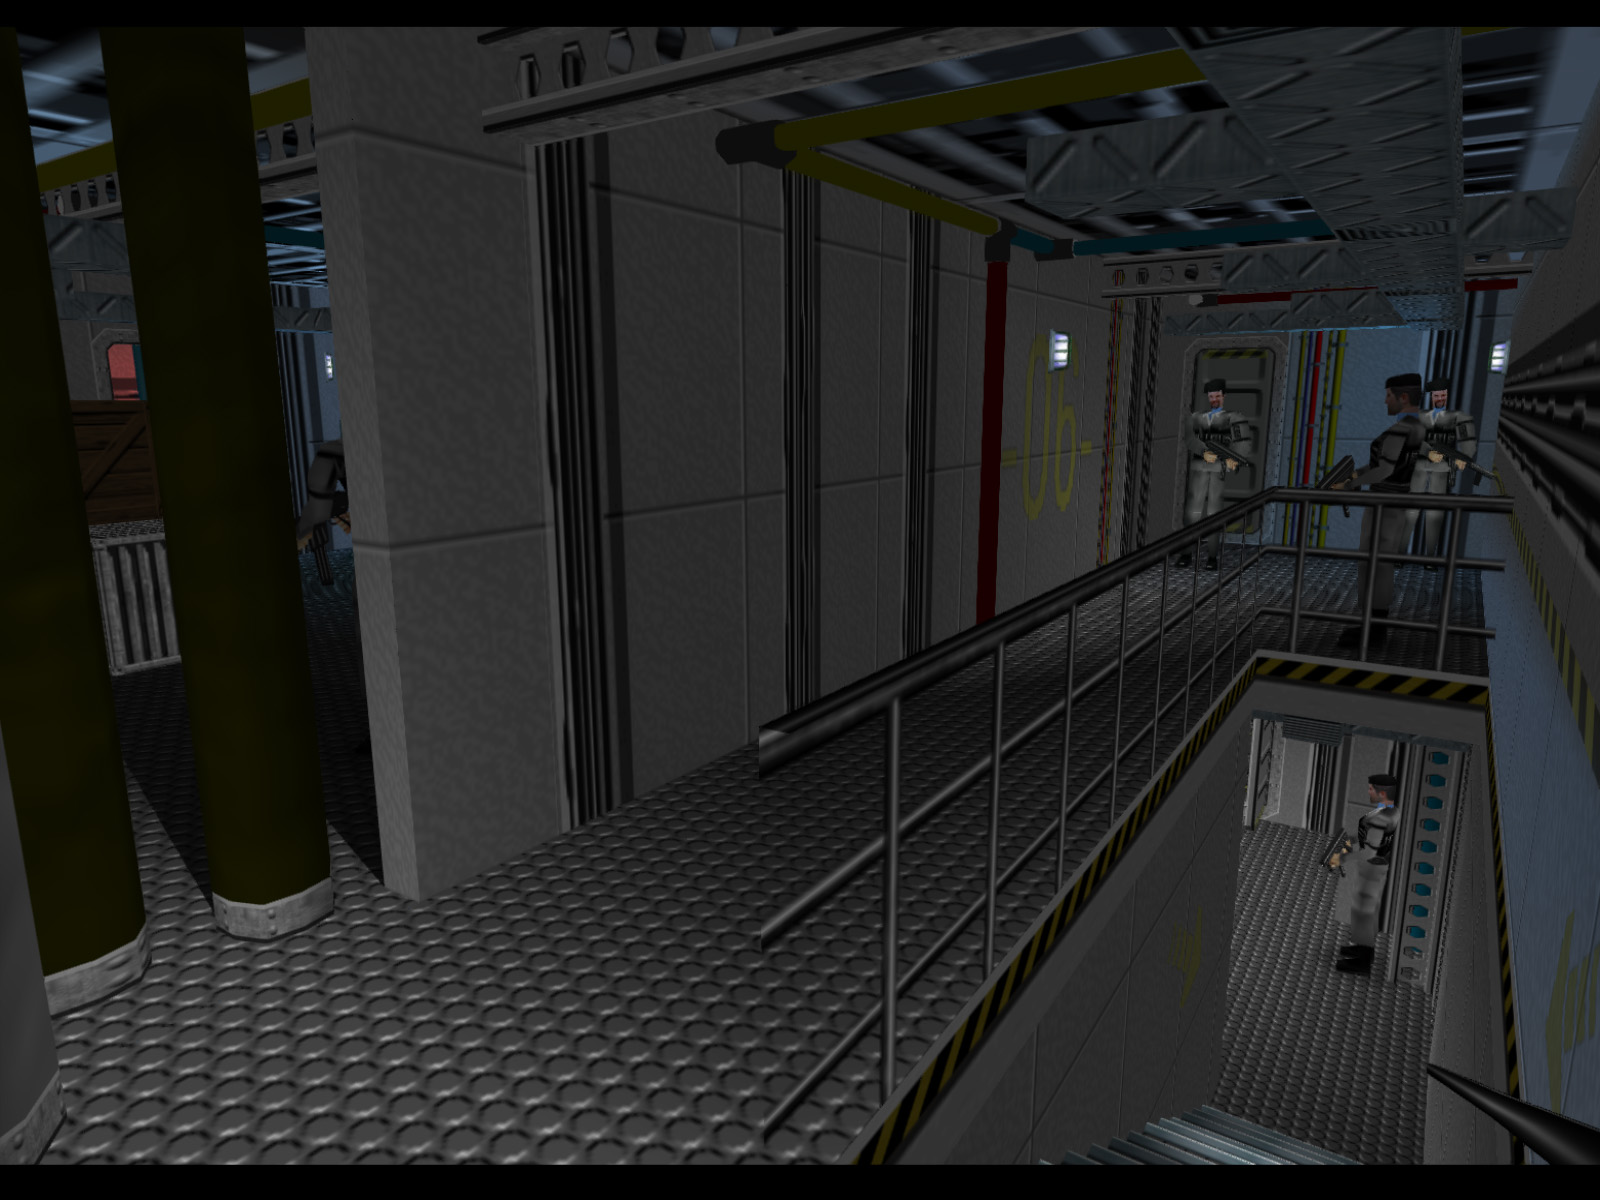
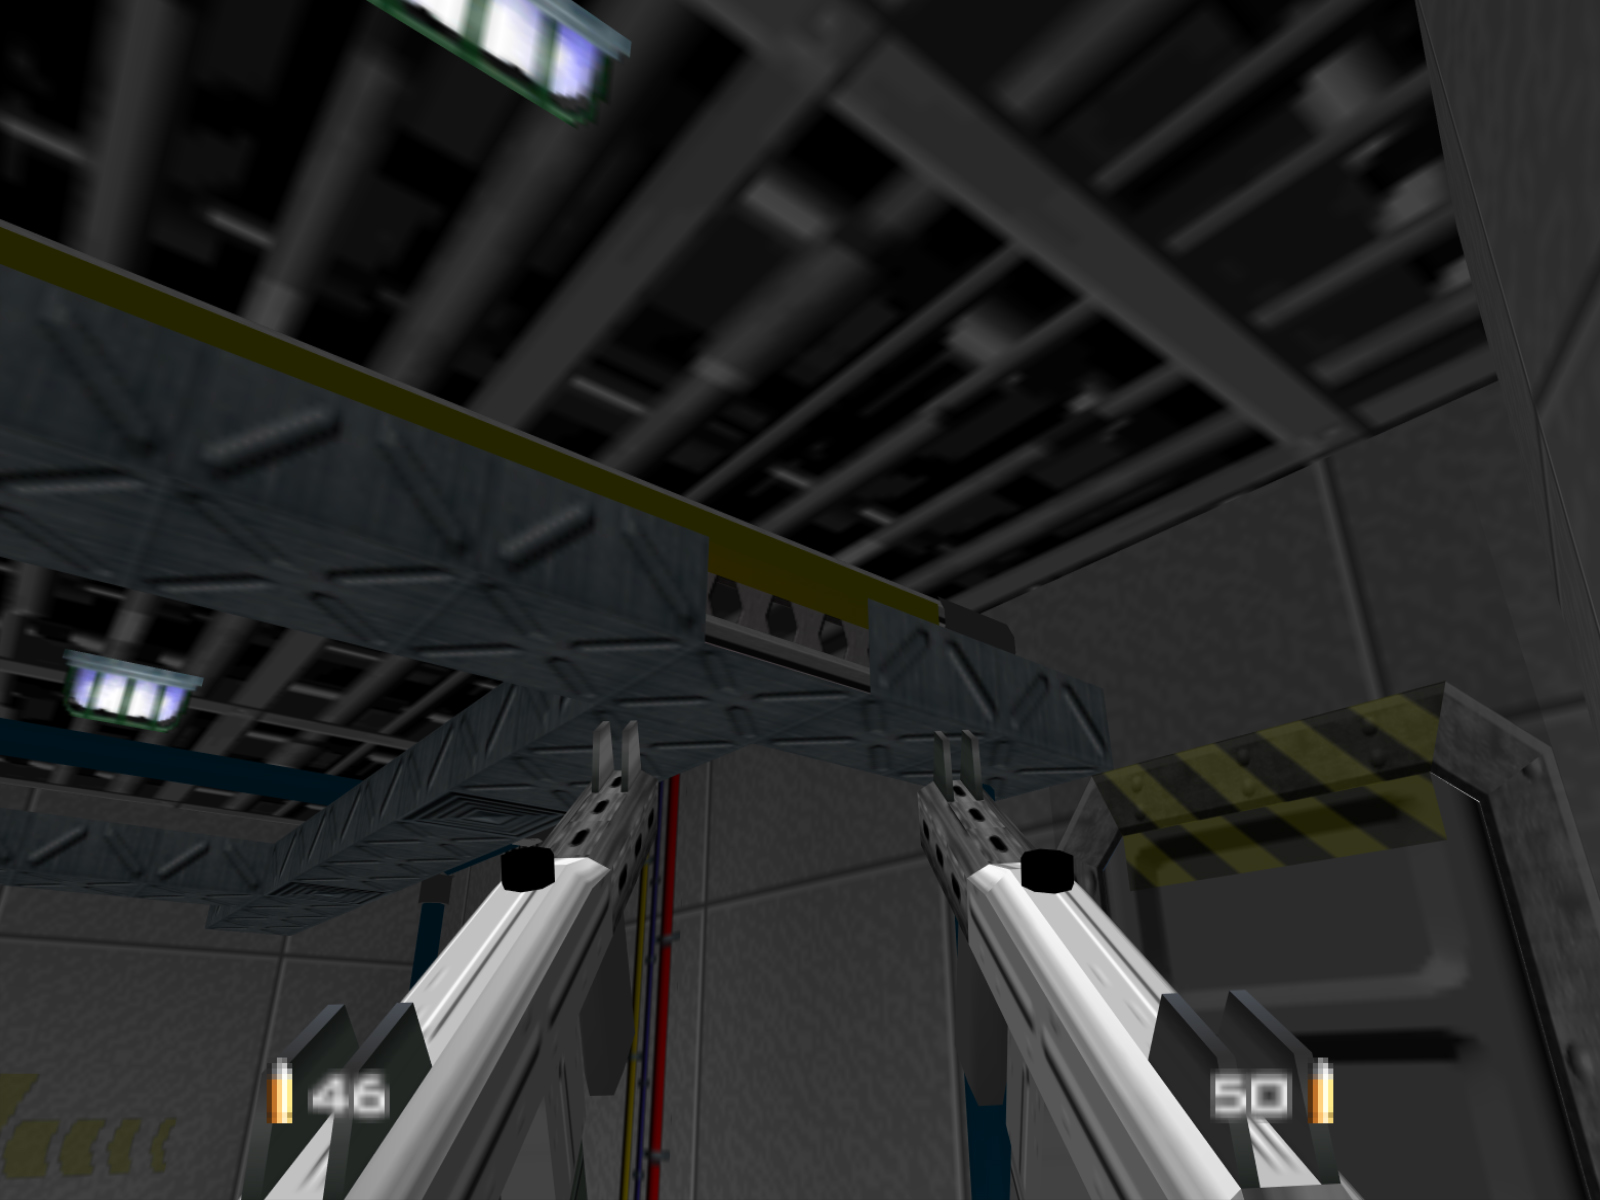
Through the far door is one more passageway with three Janus Marines.
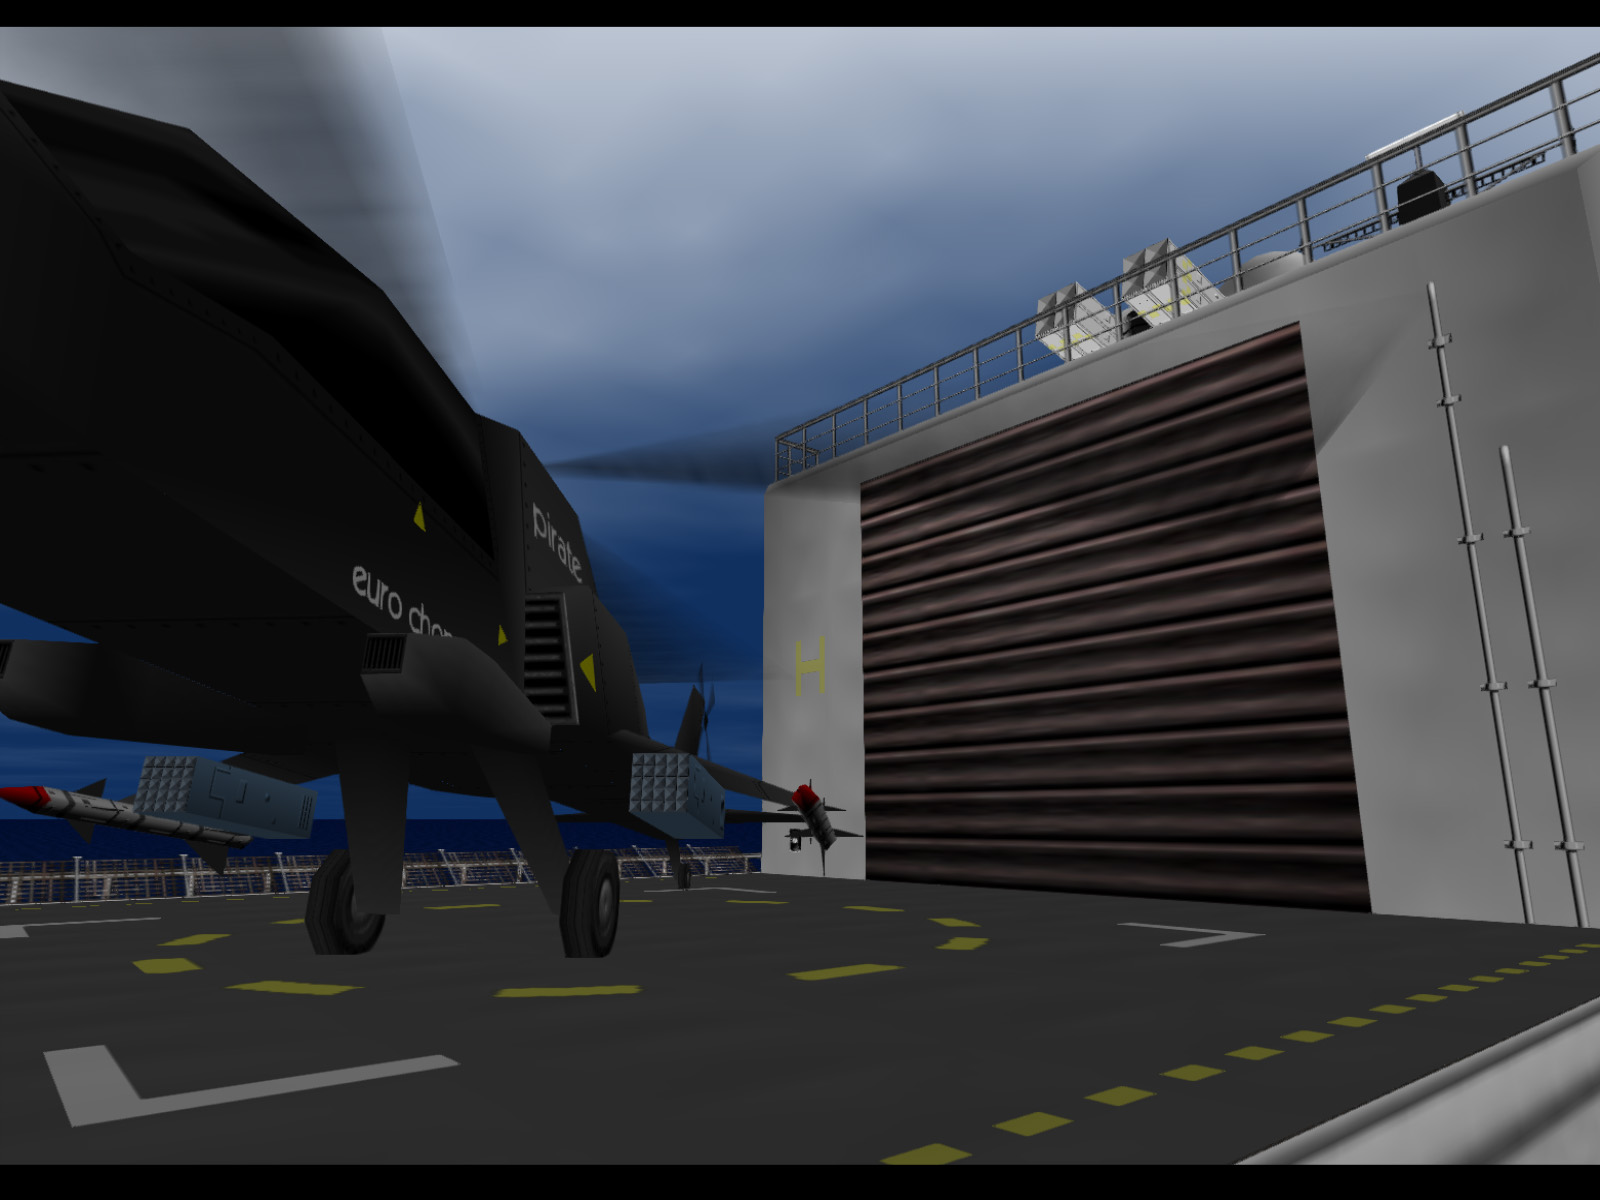
The La Fayette's final room is this helicopter hangar. It feels strangely empty with no guards or other objects.
Another angle of the hangar showing a small crane.
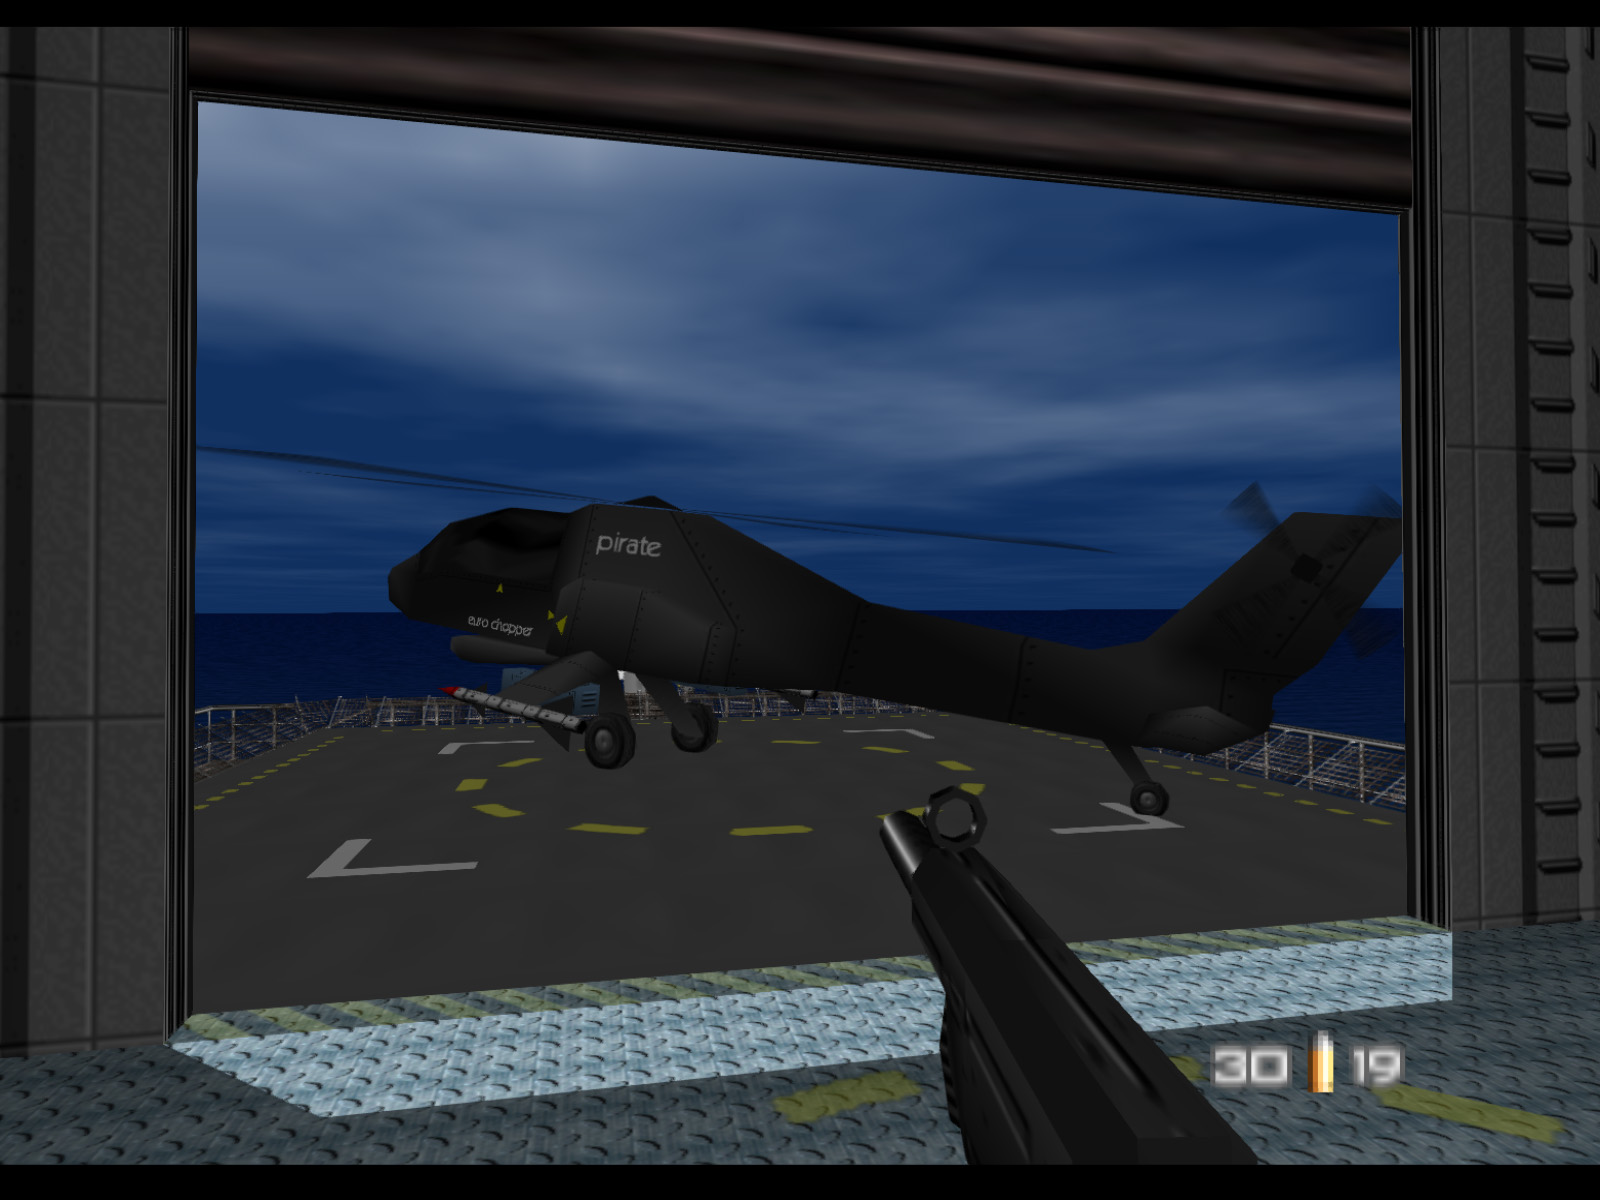
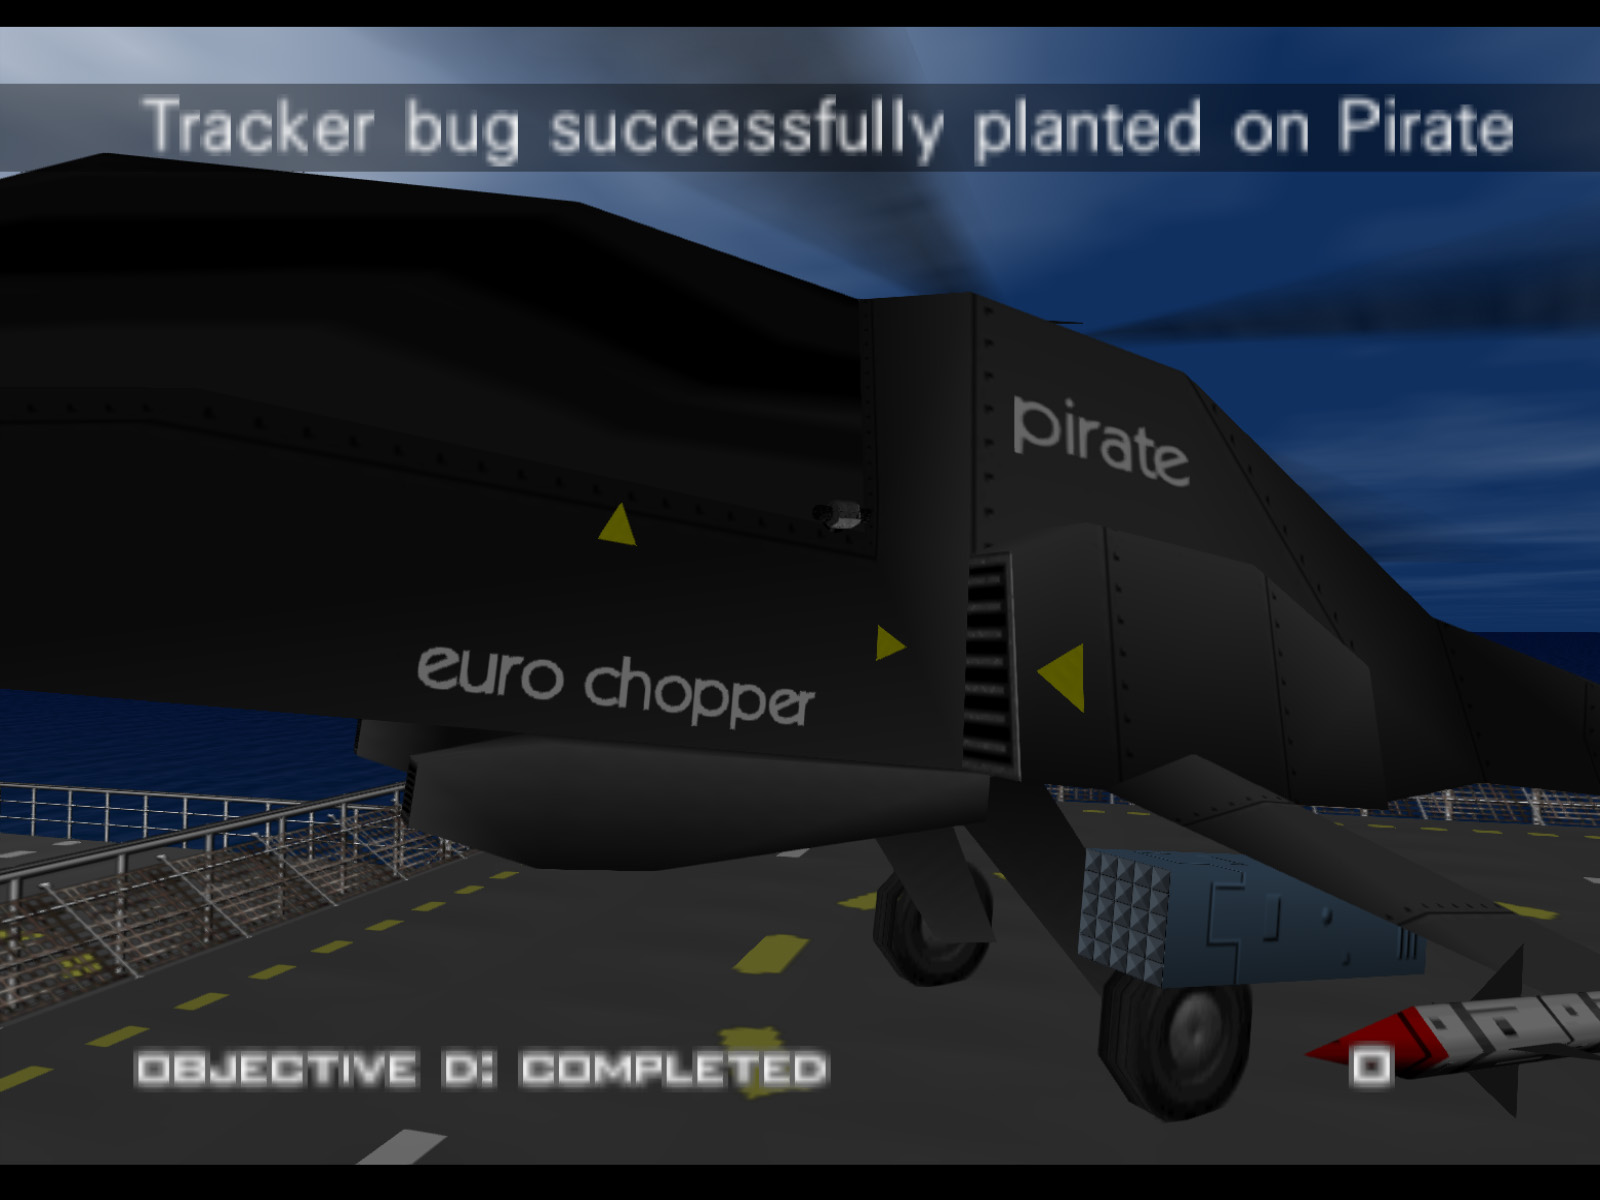
Opening the hangar door to reveal the Pirate helicopter.
Plant a Tracker Bug on the Pirate to complete Objective D.
If by this point you have freed the required number of hostages you should also see that you completed Objective A. There is a certain amount of randomness when it comes to how long it takes hostages to reach their escape point.
View from the La Fayette's stern.
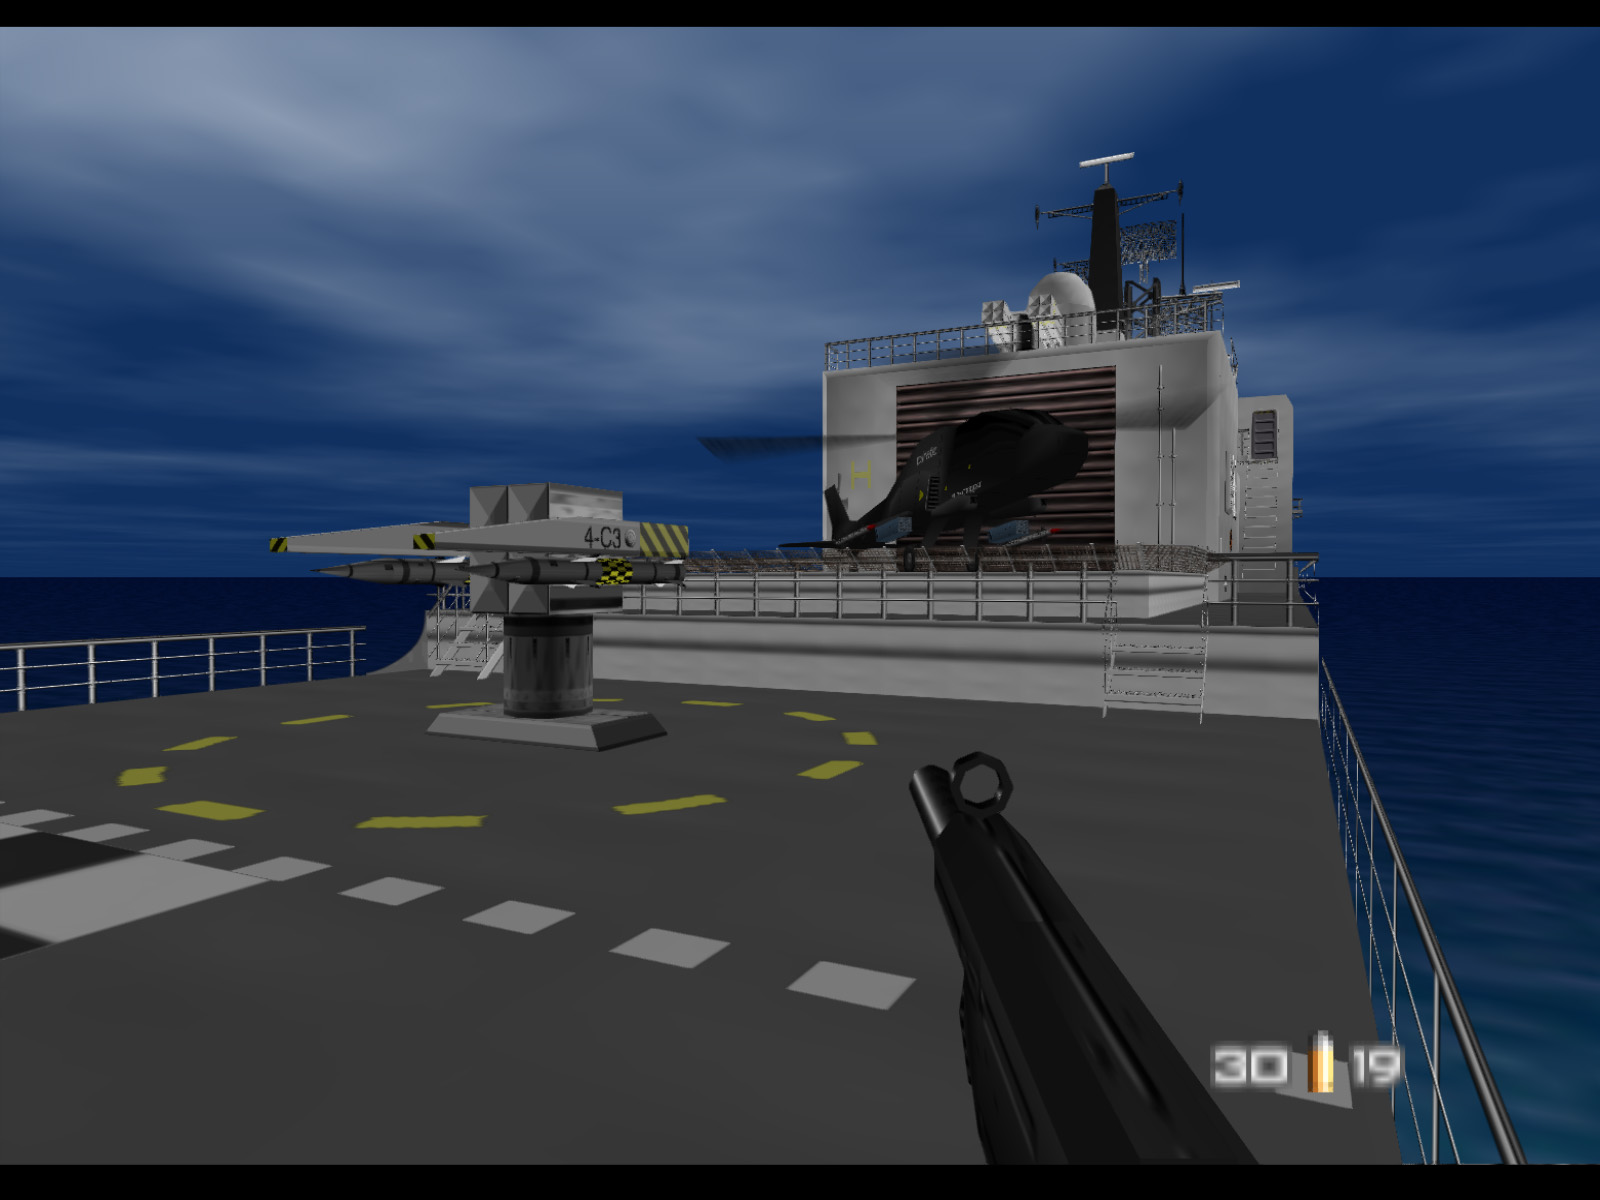
There are stairs on the right side of the last screenshot. Climbing up those stairs takes you to the top of the ship.
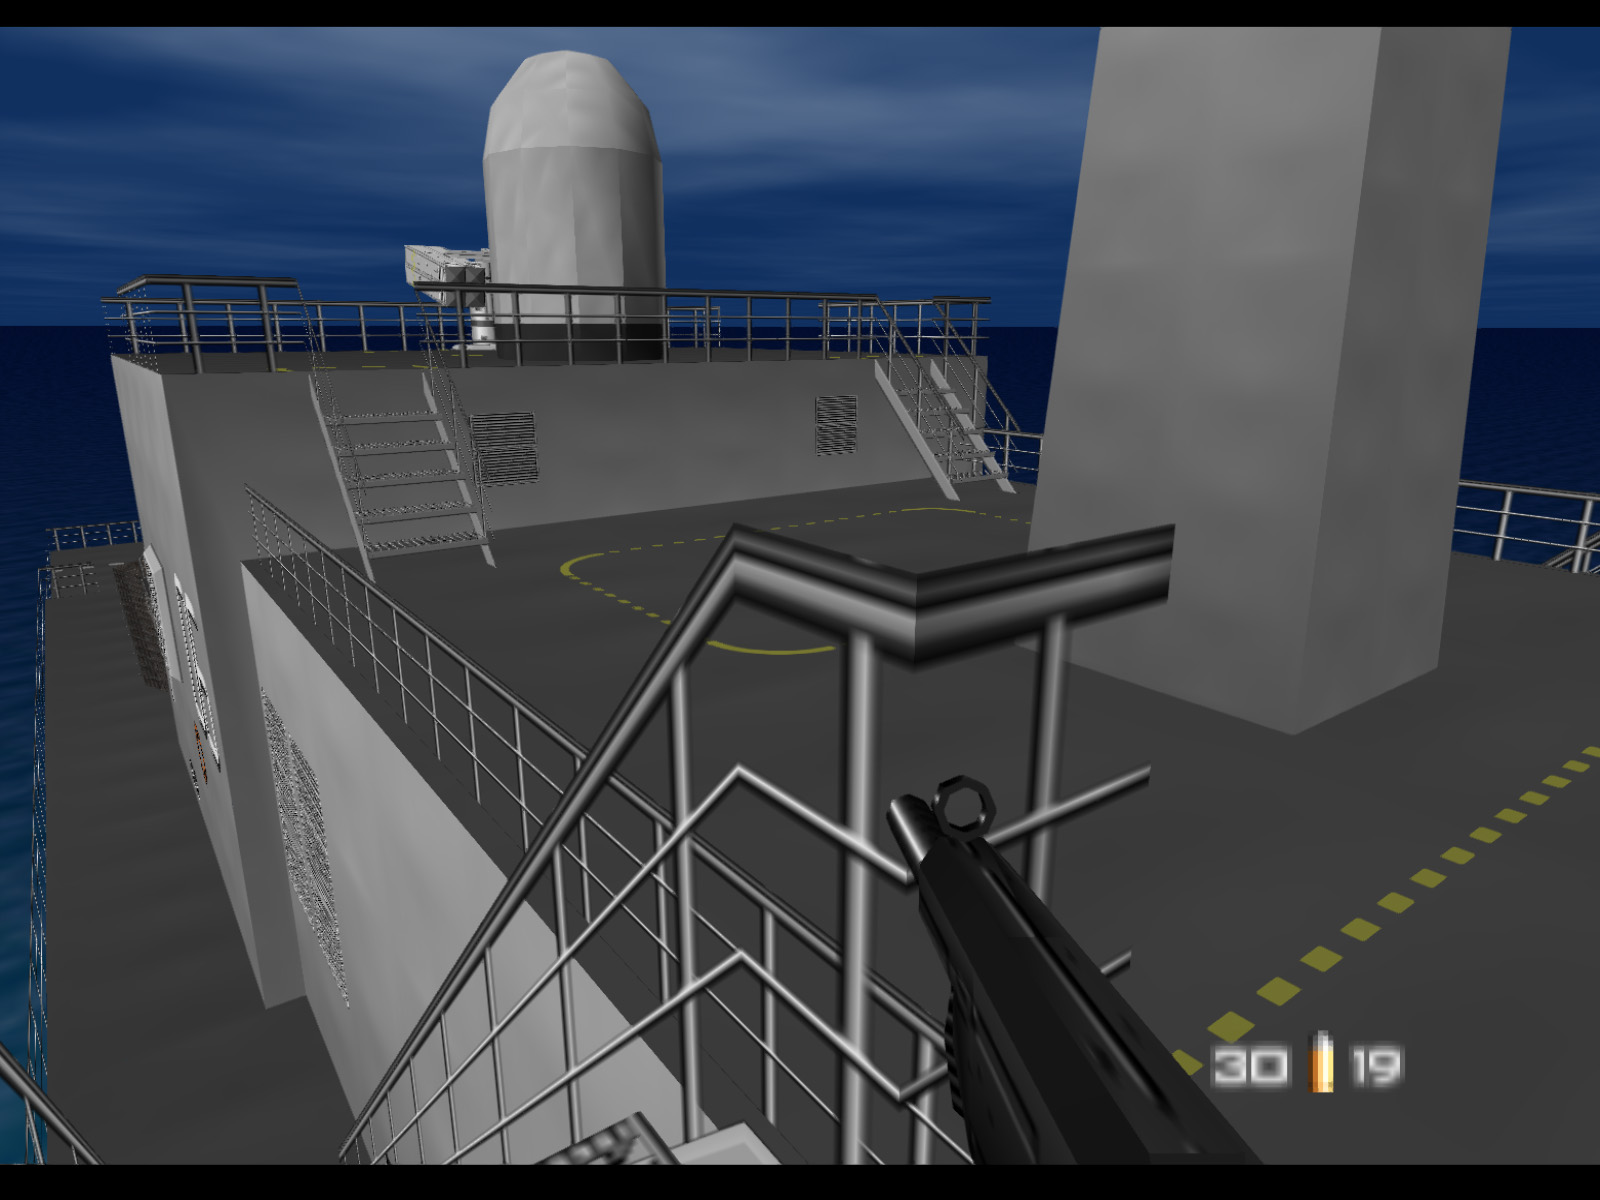
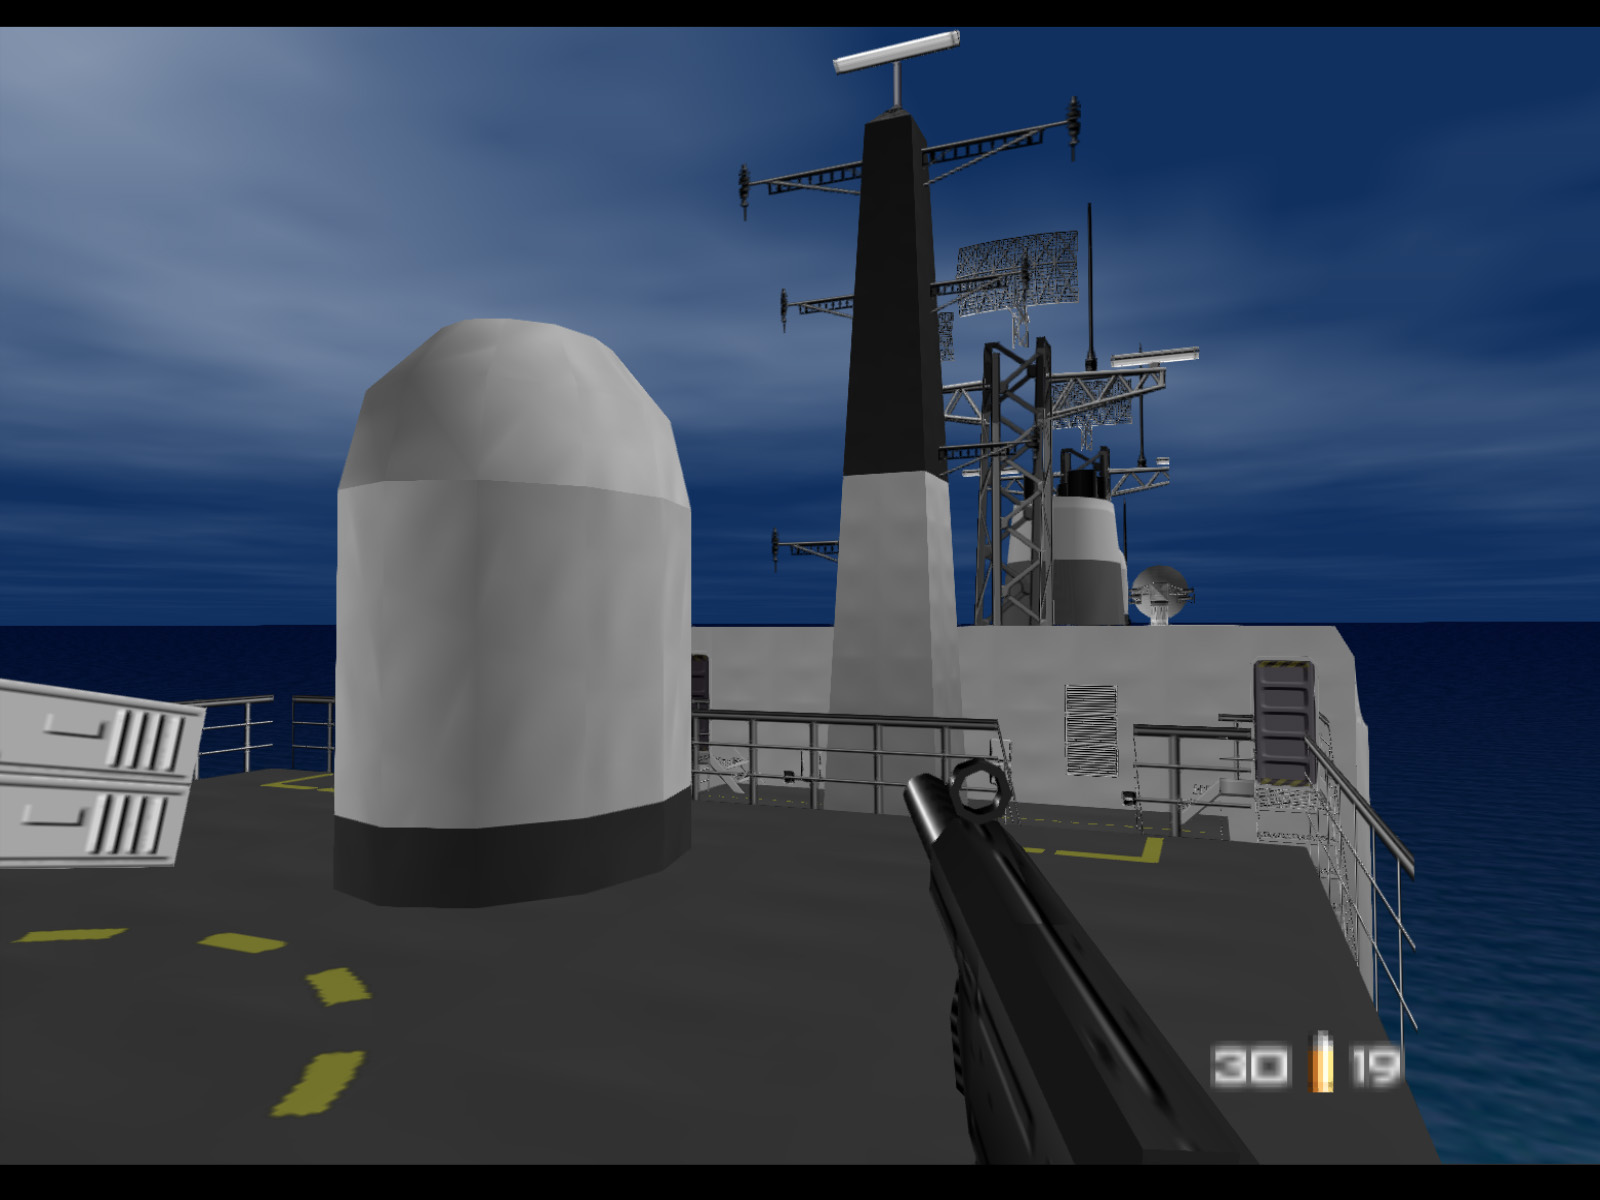
Another view from the top showing masts, antennas, and other instruments.
Once all objectives are complete you can make your way back to the bow and the gangway. Step onto the speedboat to exit the level.
In the room with the guard with double Phantoms a face of the vent duct is missing. It actually does exist in the map data, and even loads into the level, but it's assigned to the wrong room so you never see it.
Players have long noticed the helicopter hangar is oddly empty for such a large and detailed space. It is theorized the player was once planned to confront Xenia and/or the Helicopter Pilot character who goes unused in single player.
