Mission 2: Severnaya
Part i: Surface
Mission 2: Severnaya
Part i: Surface
A spy satellite has detected increased levels of activity at an old observatory complex near Severnaya (62.08n, 102.58e) in Russia. Other sources have confirmed the shipment of a large amount of computer hardware to that location, and an influx of skilled personnel.
It might be coincidence that there is a new head of the Soviet Space Weapons Division, your old friend General Ourumov, or it might not. Penetrate the base and find out what is going on. Building plans for the underground section would be ideal. They're unlikely to be just lying around so look for a safe - there's bound to be someone you can borrow a key from.
I've looked over the recon photographs and I advise you to stay clear of the main bunker entrance by the helipad. However, there seems to be a ventilation tower nearby which would make an excellent spot for a covert entry. You ought to power down the comms dish too, no point in letting them tell the whole of Russia you've dropped in.
It's cold in Siberia, James. Make sure you wrap up warm and take care to protect your extremities.
Surface is the fourth level of GoldenEye 007 and the first level of the second mission. It is often referred to as "Surface 1" to distinguish it from the later level with the same name. It takes place in the waning days of the Soviet Union. Bond is sent to investigate a possible space weapons project being developed in a bunker at the site. In order to reach that bunker, Bond must traverse the snowy ground above and accomplish a few objectives along the way.
Surface is the most spatially open level in GoldenEye — a vast expanse of tundra dotted with buildings and crisscrossed by sunken paths. The installation encompasses an enormous communications dish, an observatory, a helipad, a cooling tower for the bunker, sniping platforms, and eight cabins grouped in pairs. The primary entrance to the bunker is located by the helipad, but for this mission the player is instructed to infiltrate through the cooling tower. The level's overall dimensions are about 316 x 342 meters.
Opposition in this level is relatively light compared to the previous Arkangelsk mission. The main threats are the infinitely spawning guards, some of whom are armed with Sniper Rifles. Exactly when those guards begin to spawn depends on the difficulty level and this is examined in more detail in the Action Blocks section.
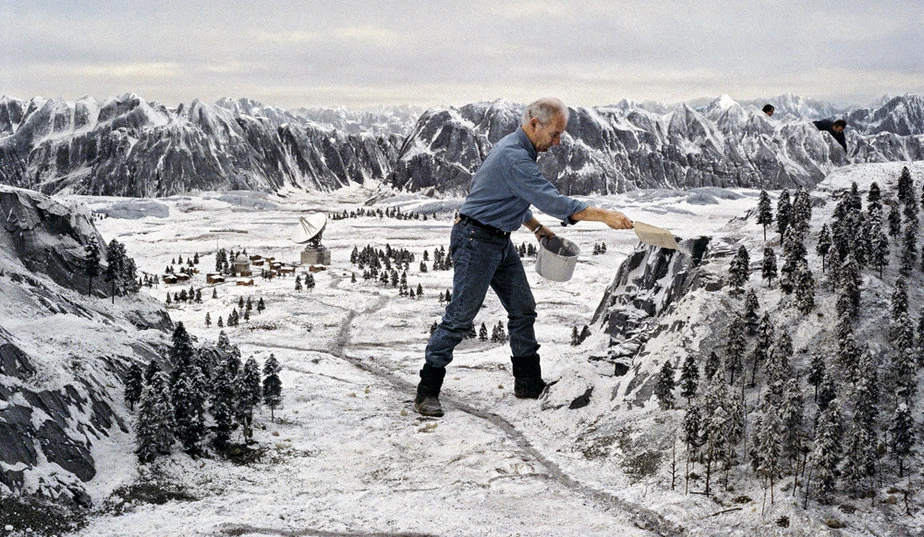
GoldenEye's developers used the impressive miniature set of Severnaya created for the GoldenEye movie as reference. In the picture below the lead artist for GoldenEye's miniatures, Derek Meddings (1931-1995), puts the final touches on the model.

There are no armors on Surface 1.
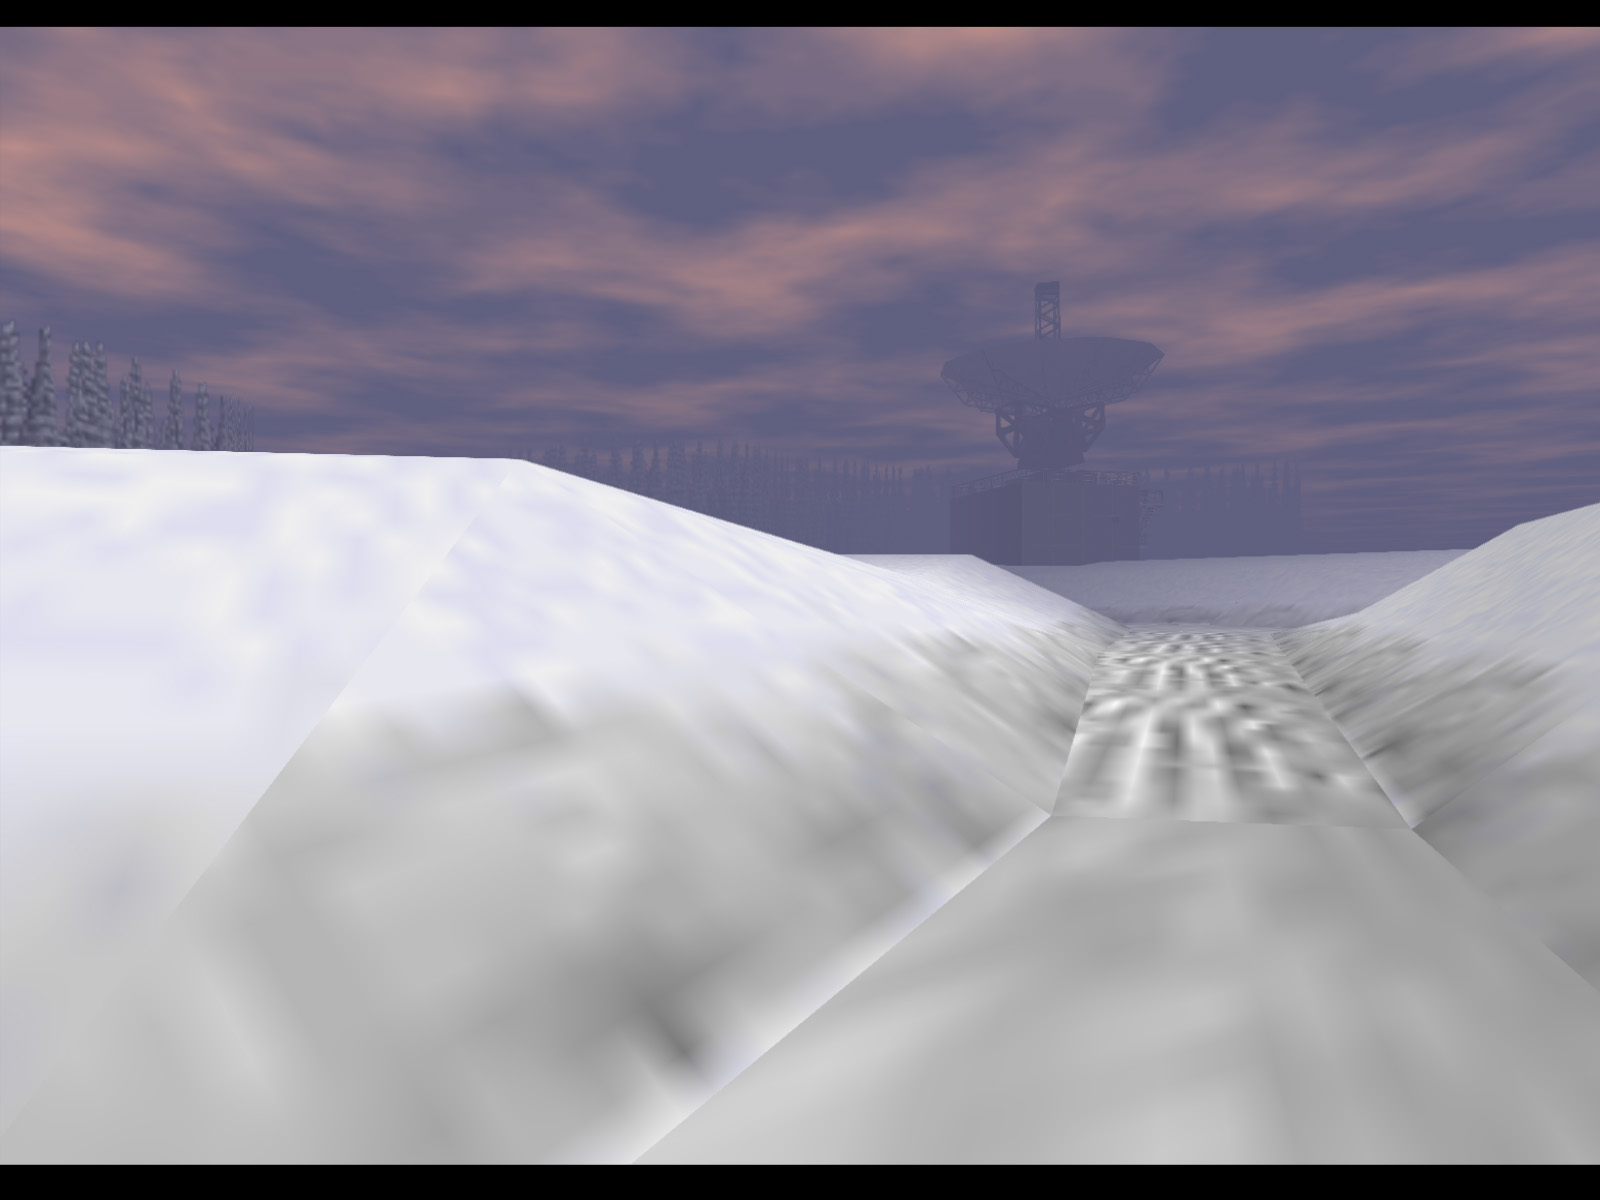
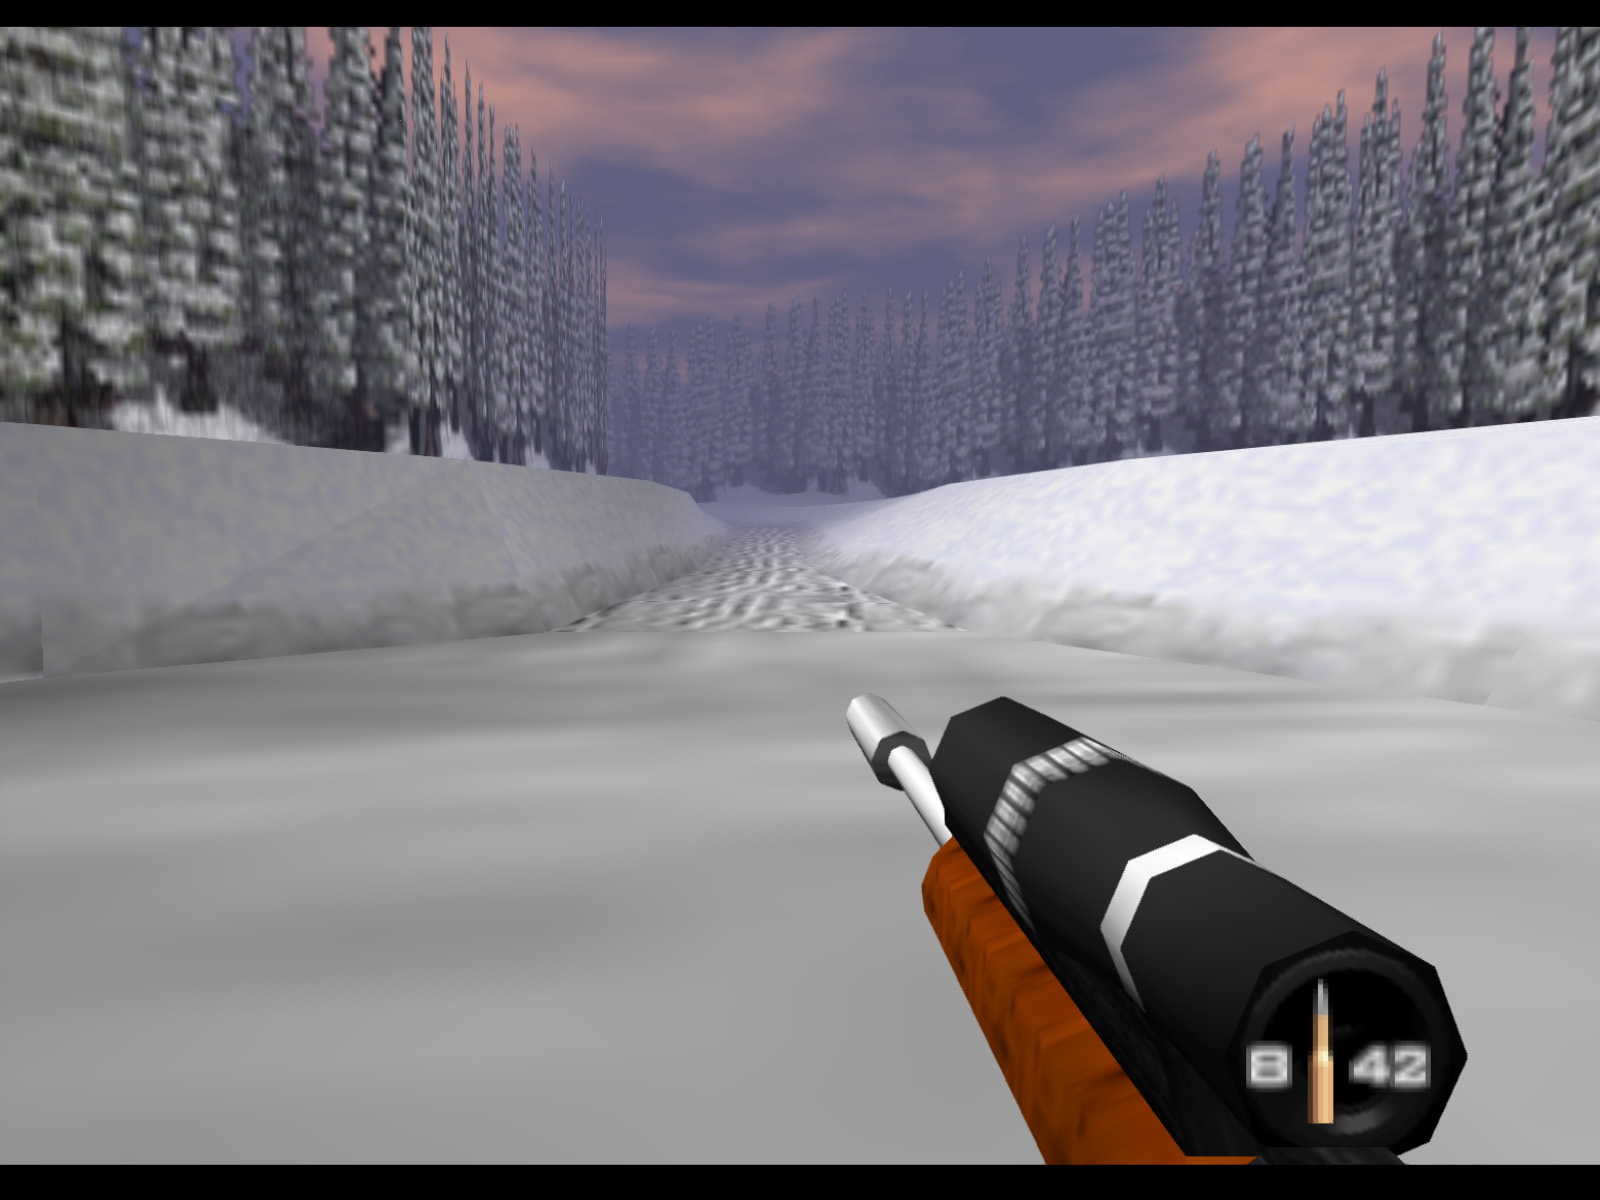
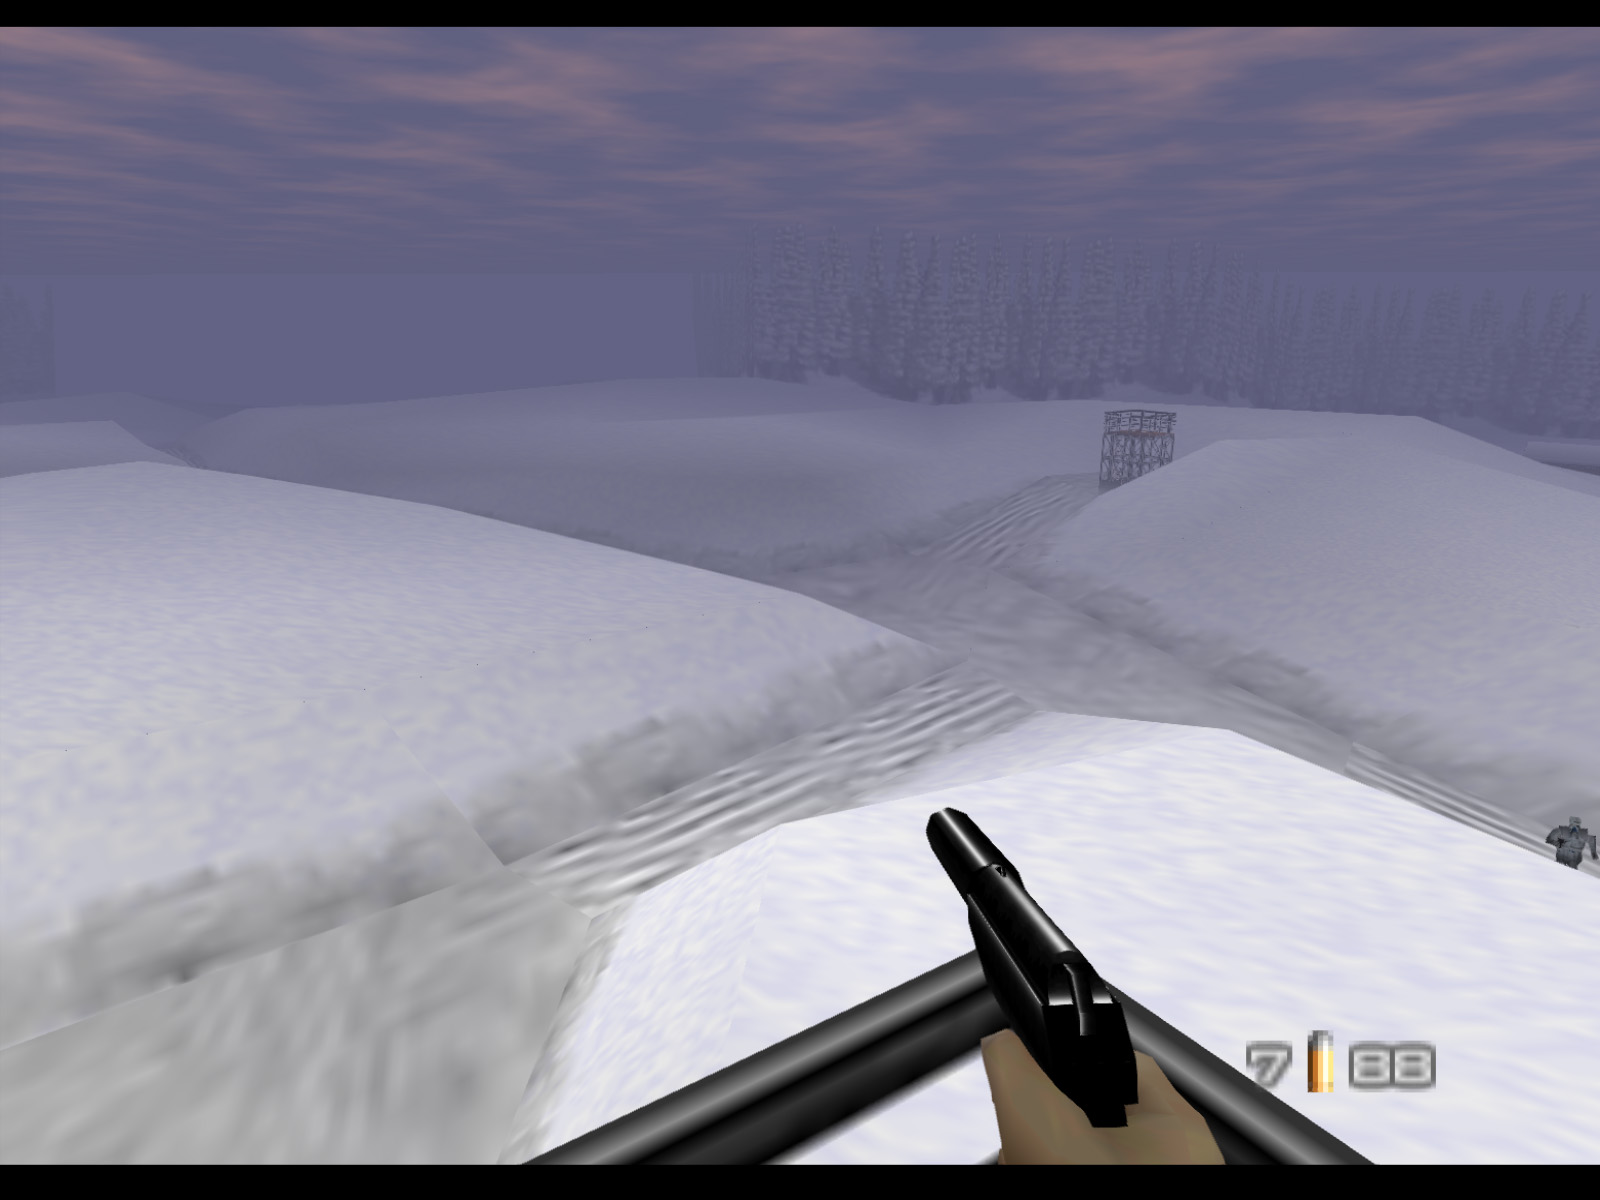
Surface begins in a large clearing and a sunken path leads the way forward. It's probably just me, but I think the pink clouds and periwinkle fog give this level a pleasant, even inviting feel.
▶ TIP: You begin this level with a Silenced PP7 equipped, but be aware that there is a Sniper Rifle in your inventory as well.
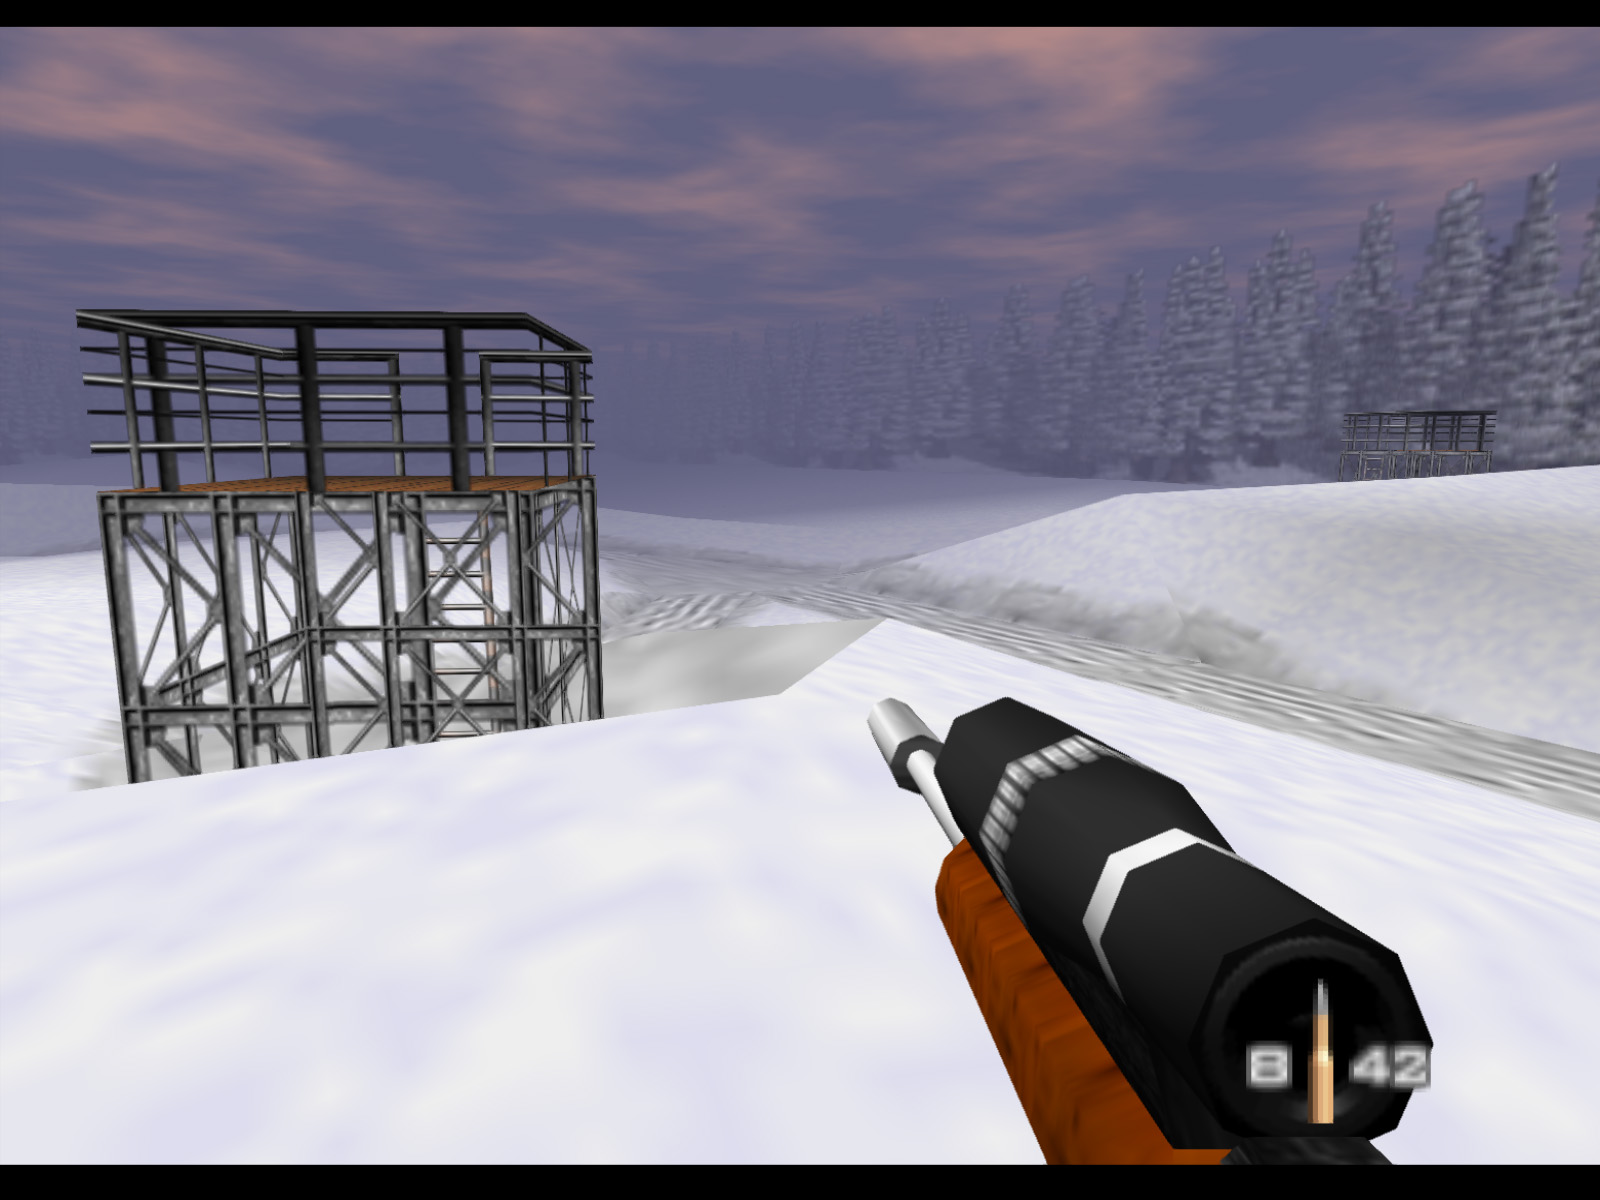
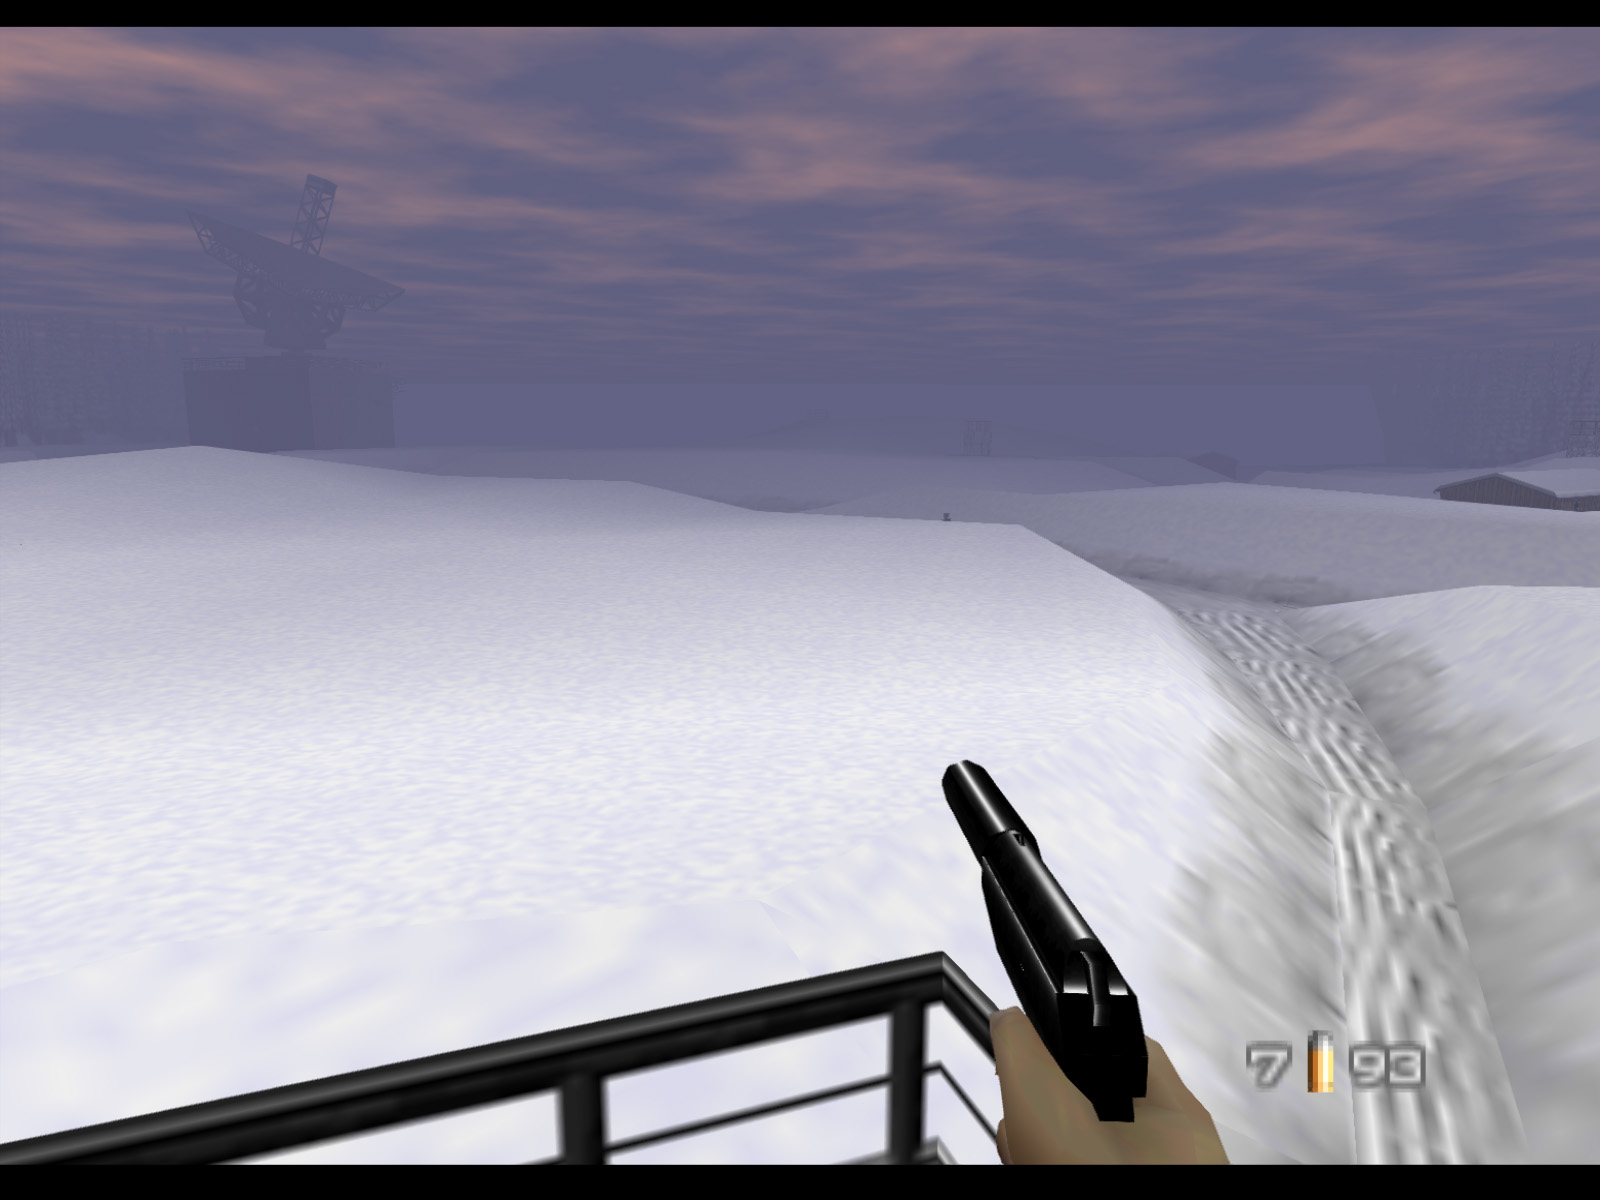
The path takes you to these two sniping platforms. You can make use of them if you wish, but they don't provide any huge advantage.
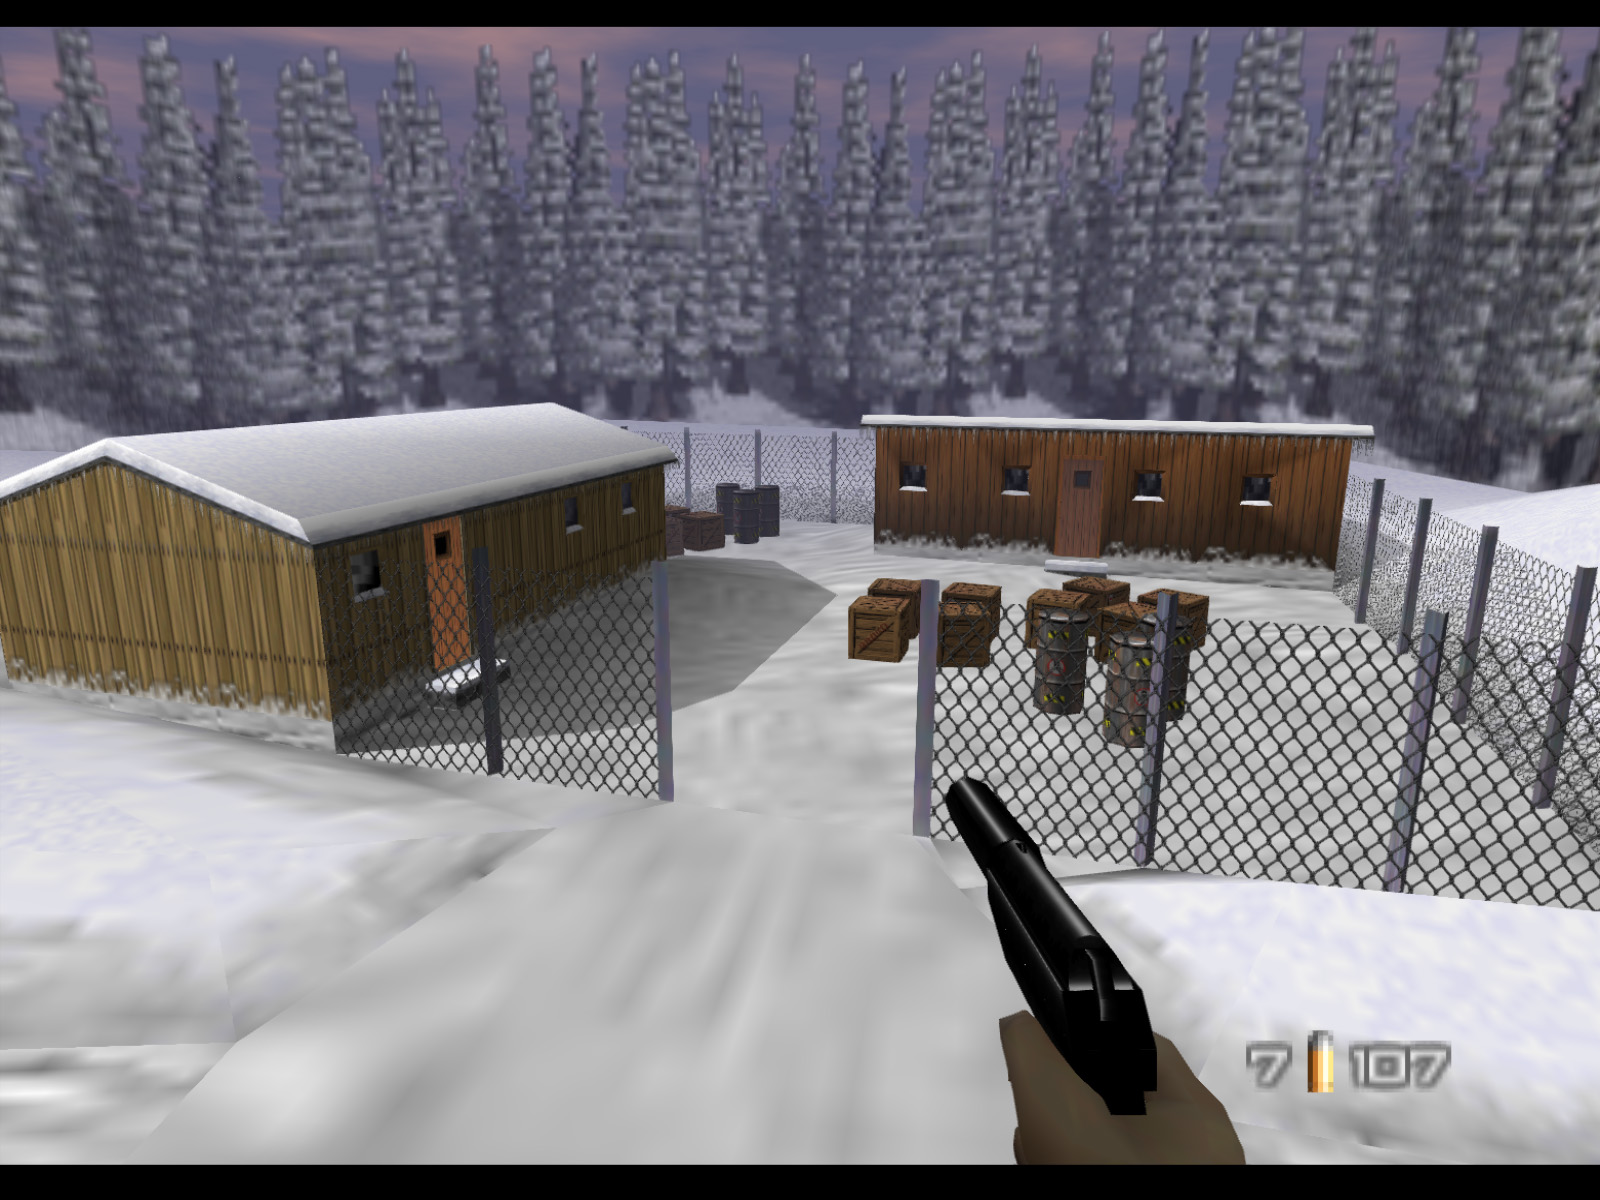
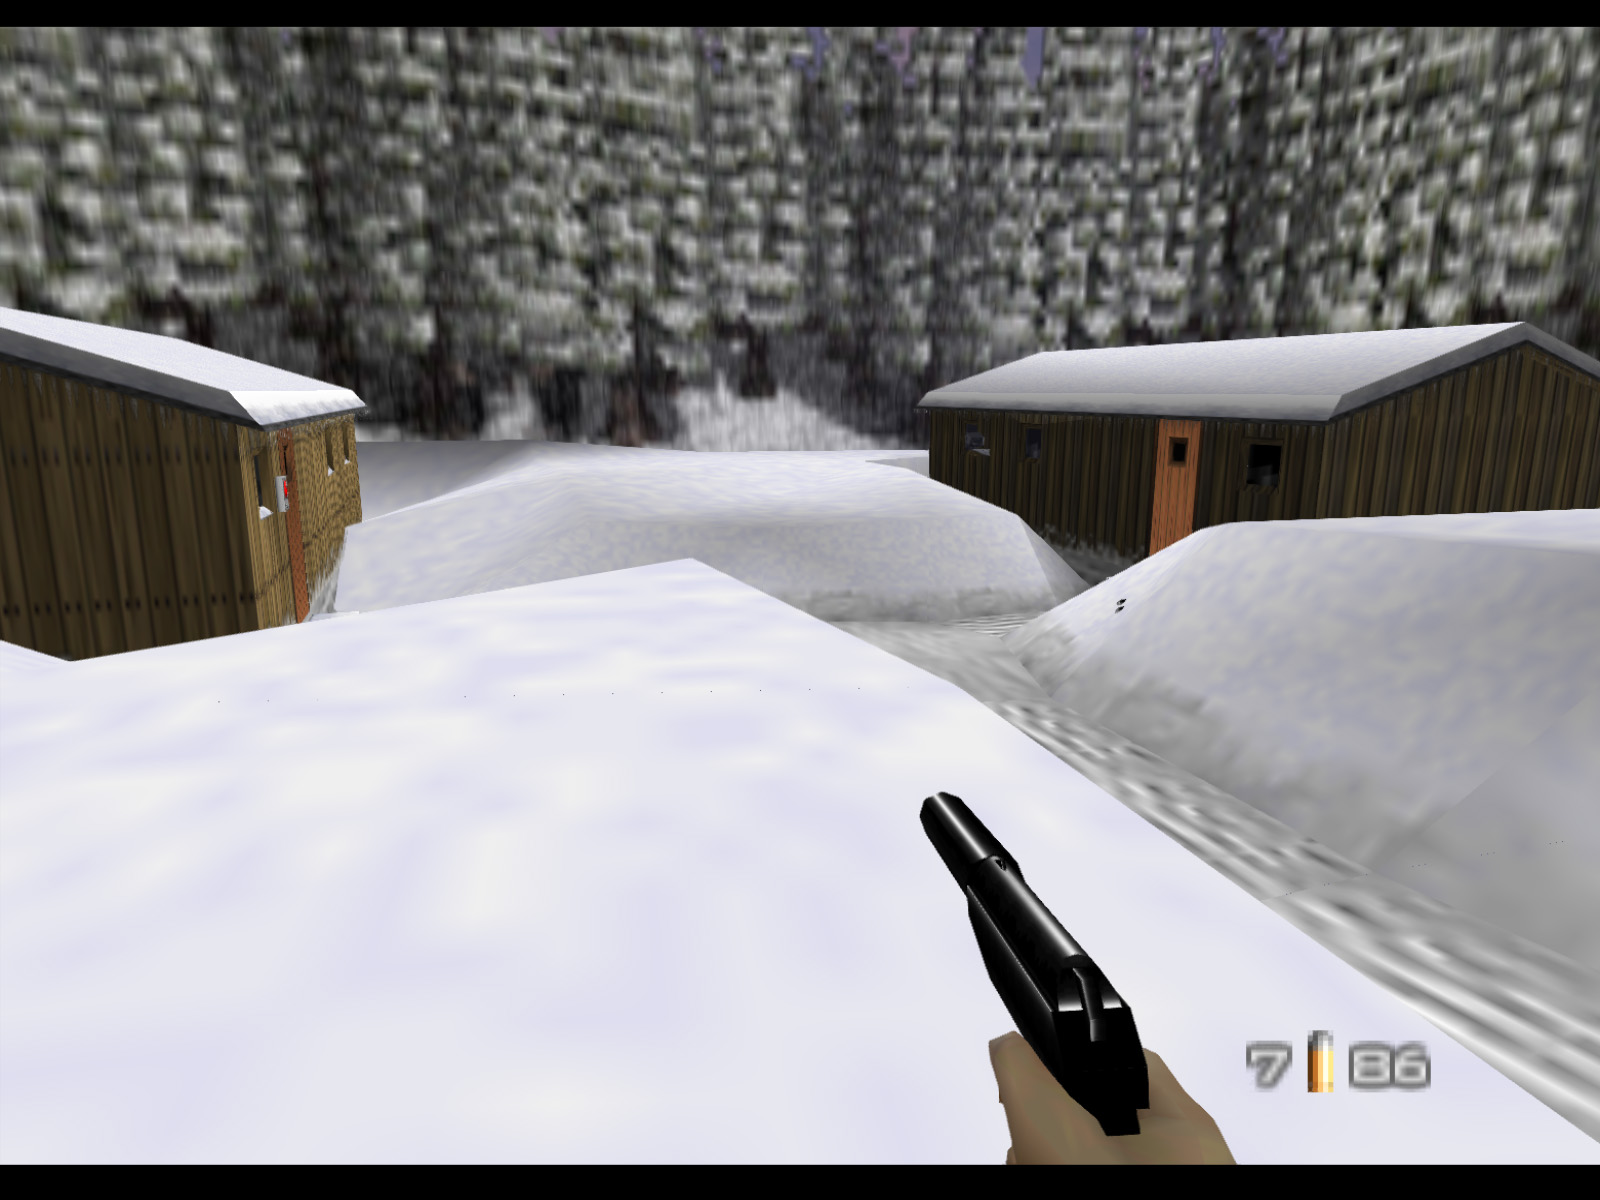
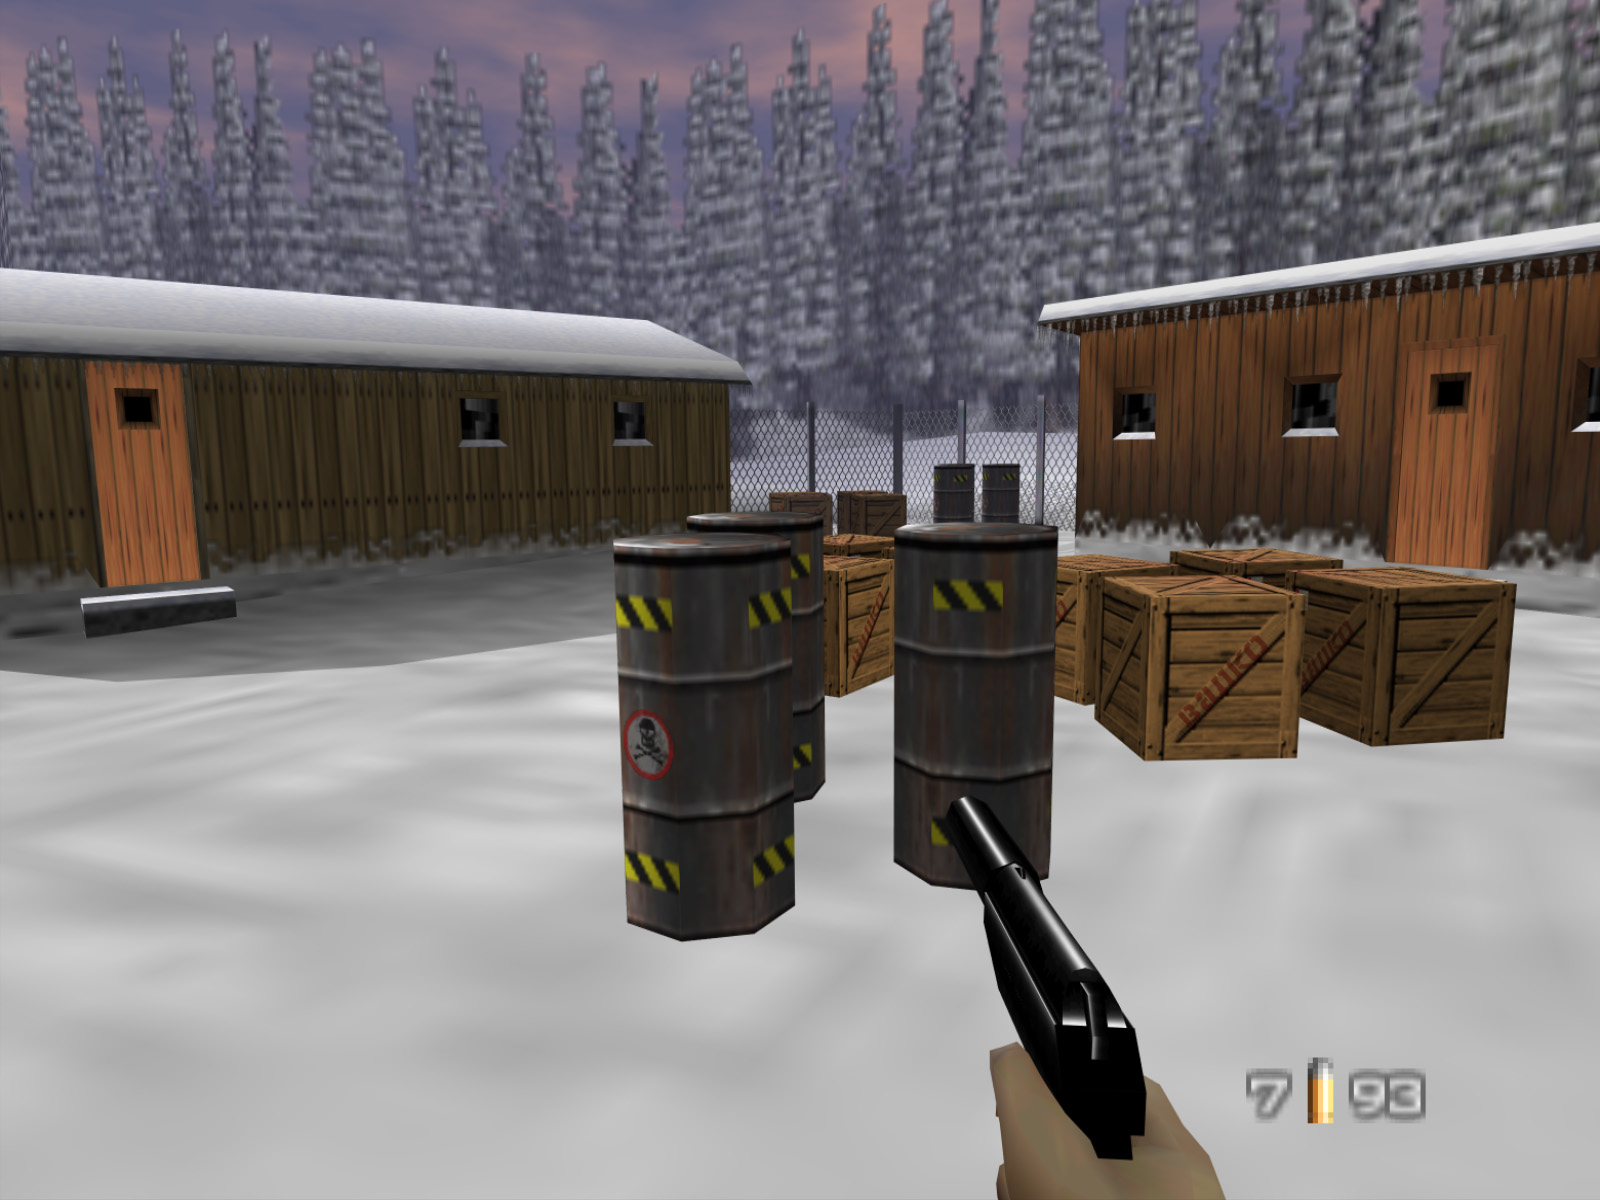
A bit beyond the previous screenshot is the first pair of cabins. The one on the left is locked. The next screenshot has a closer look at the one on the right.
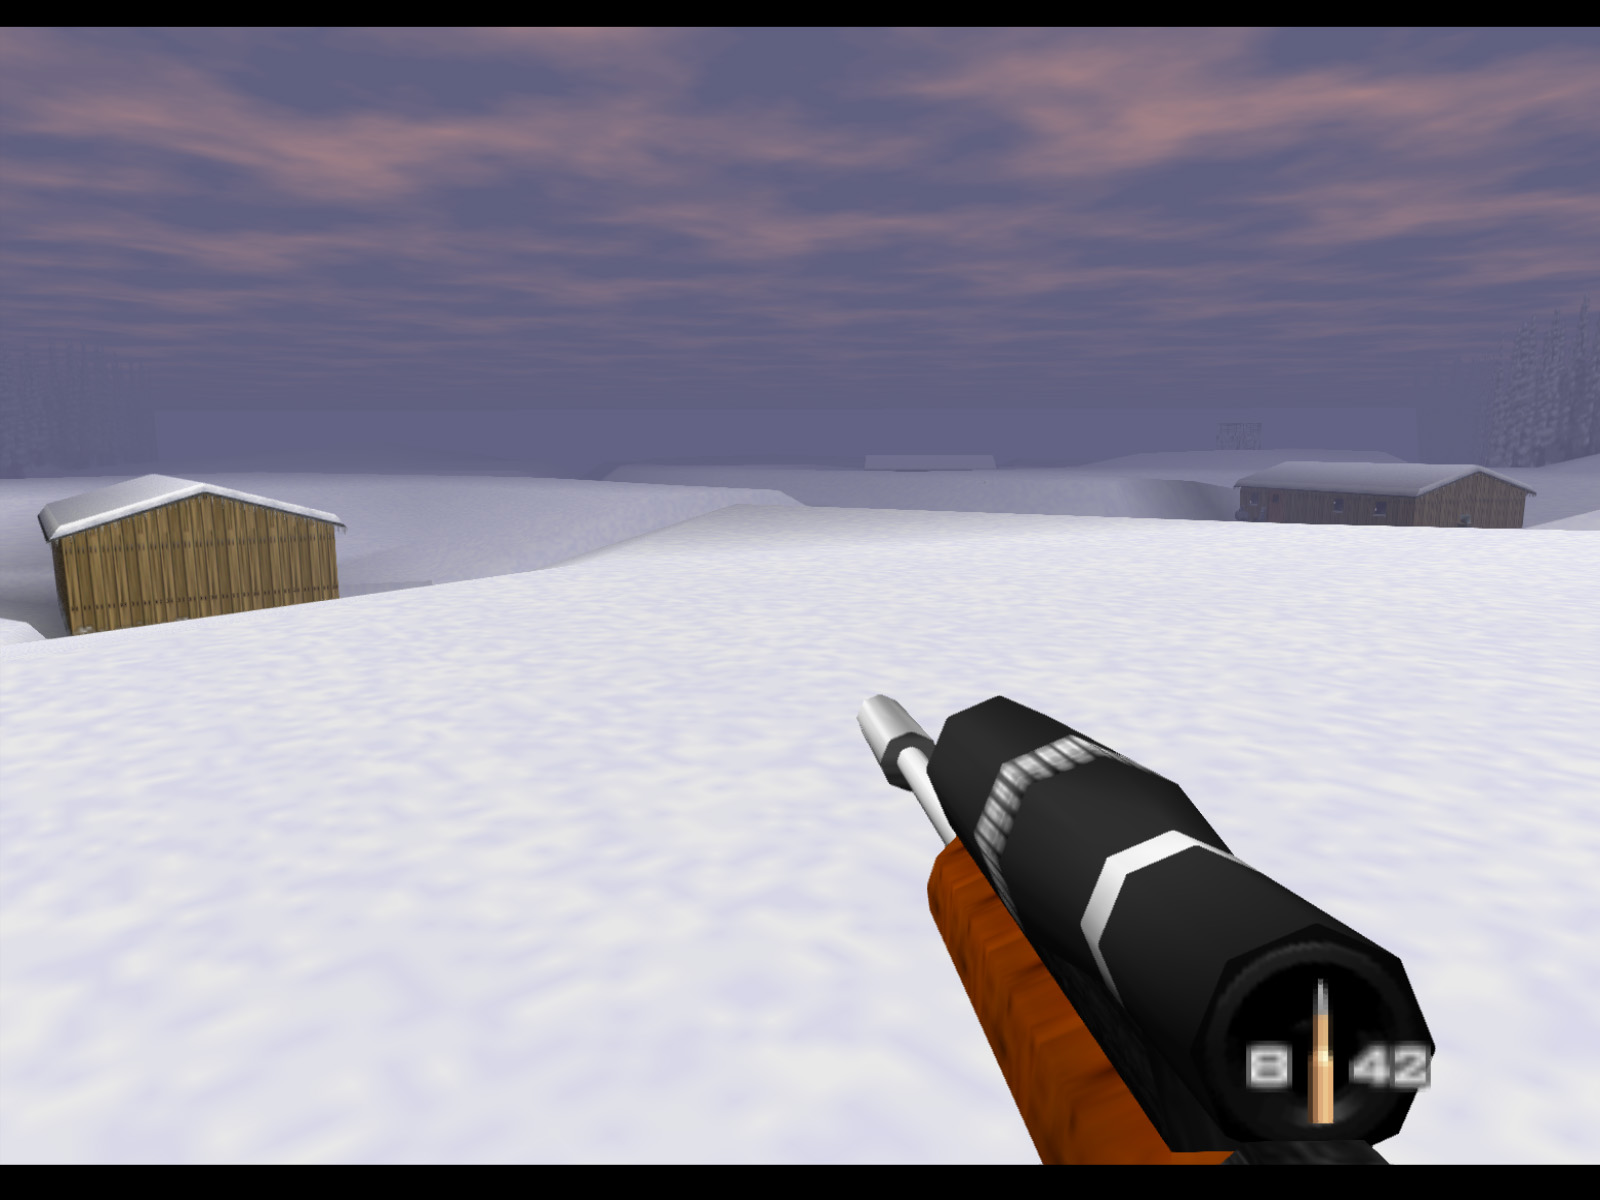
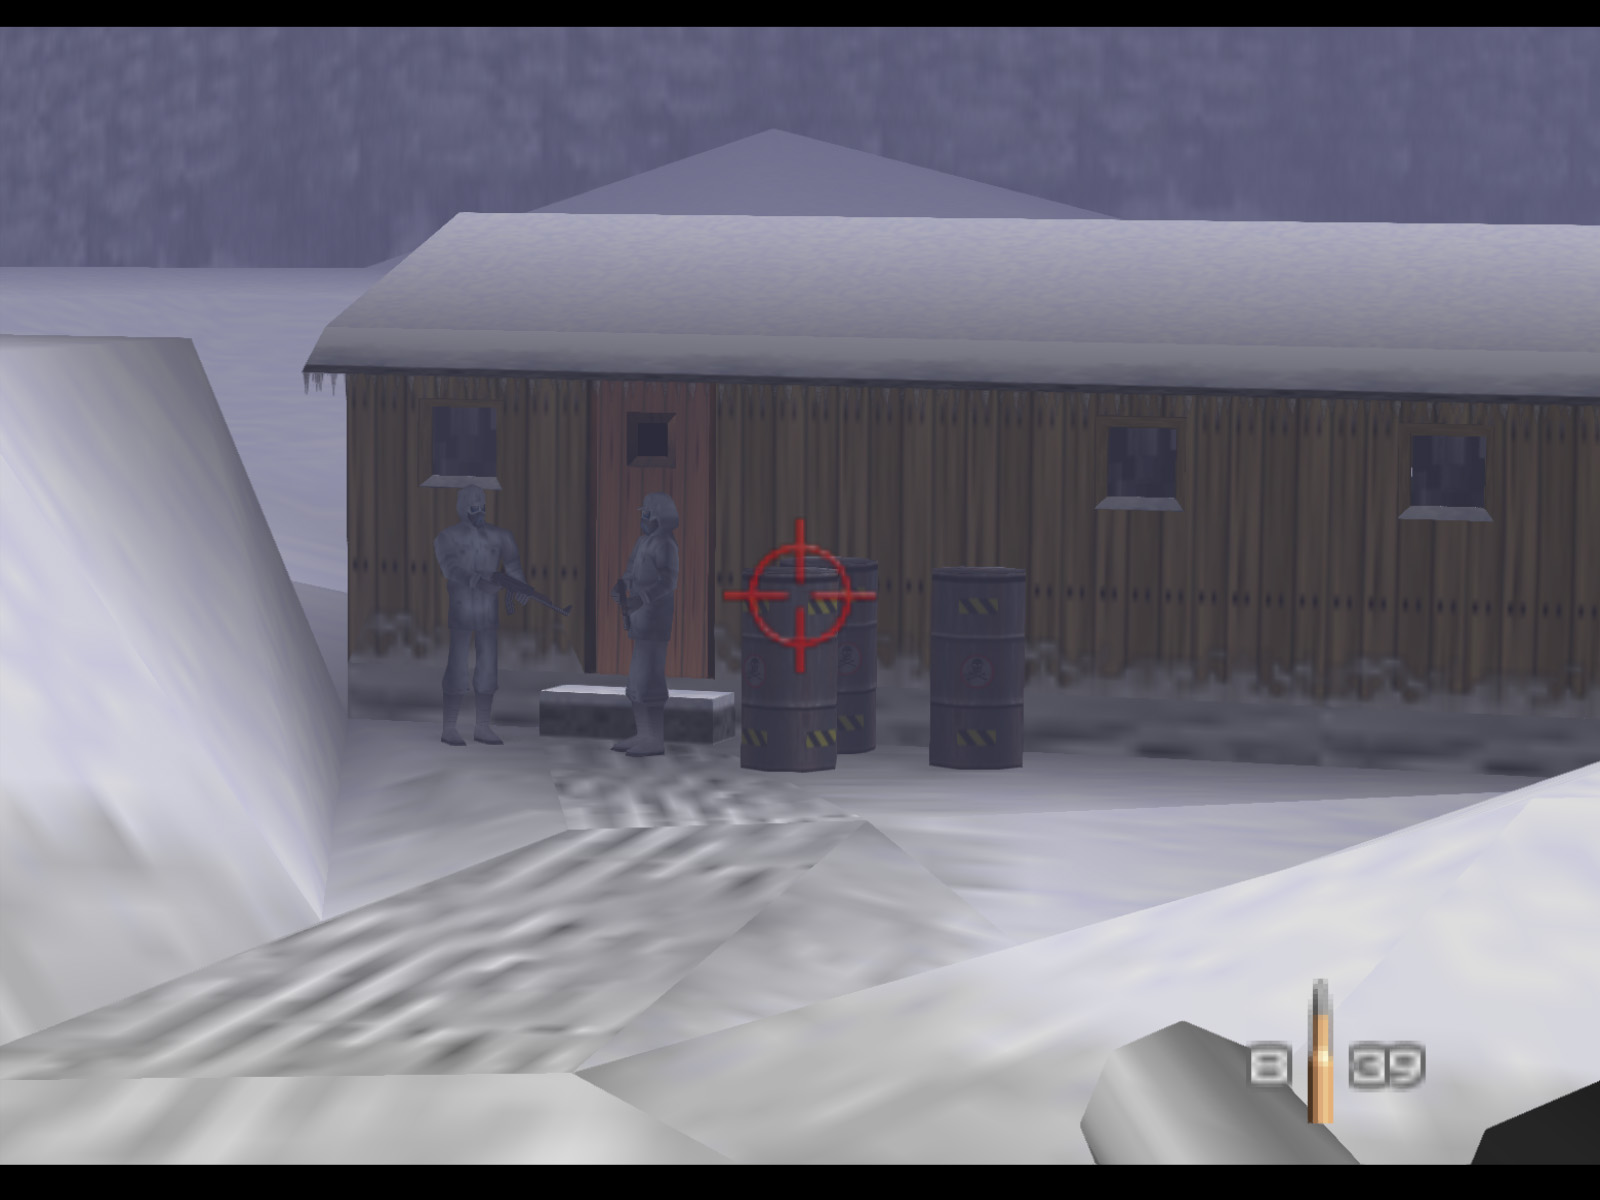
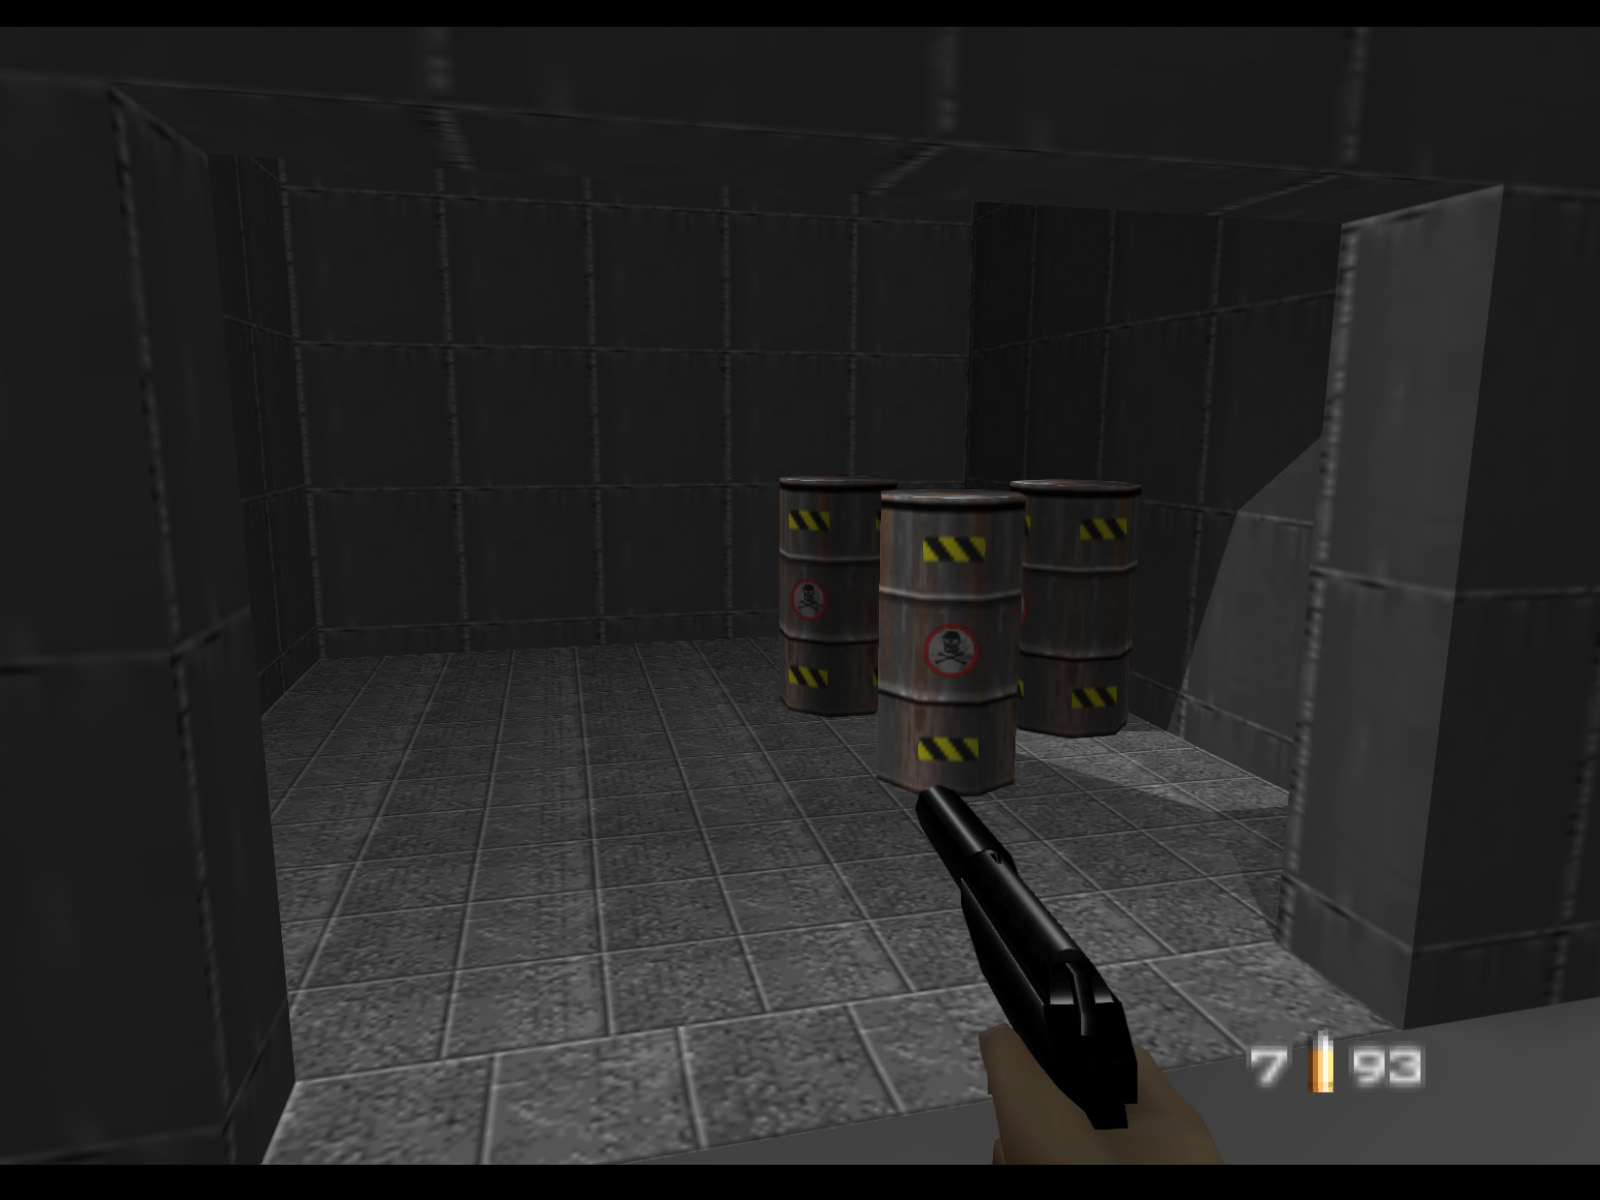
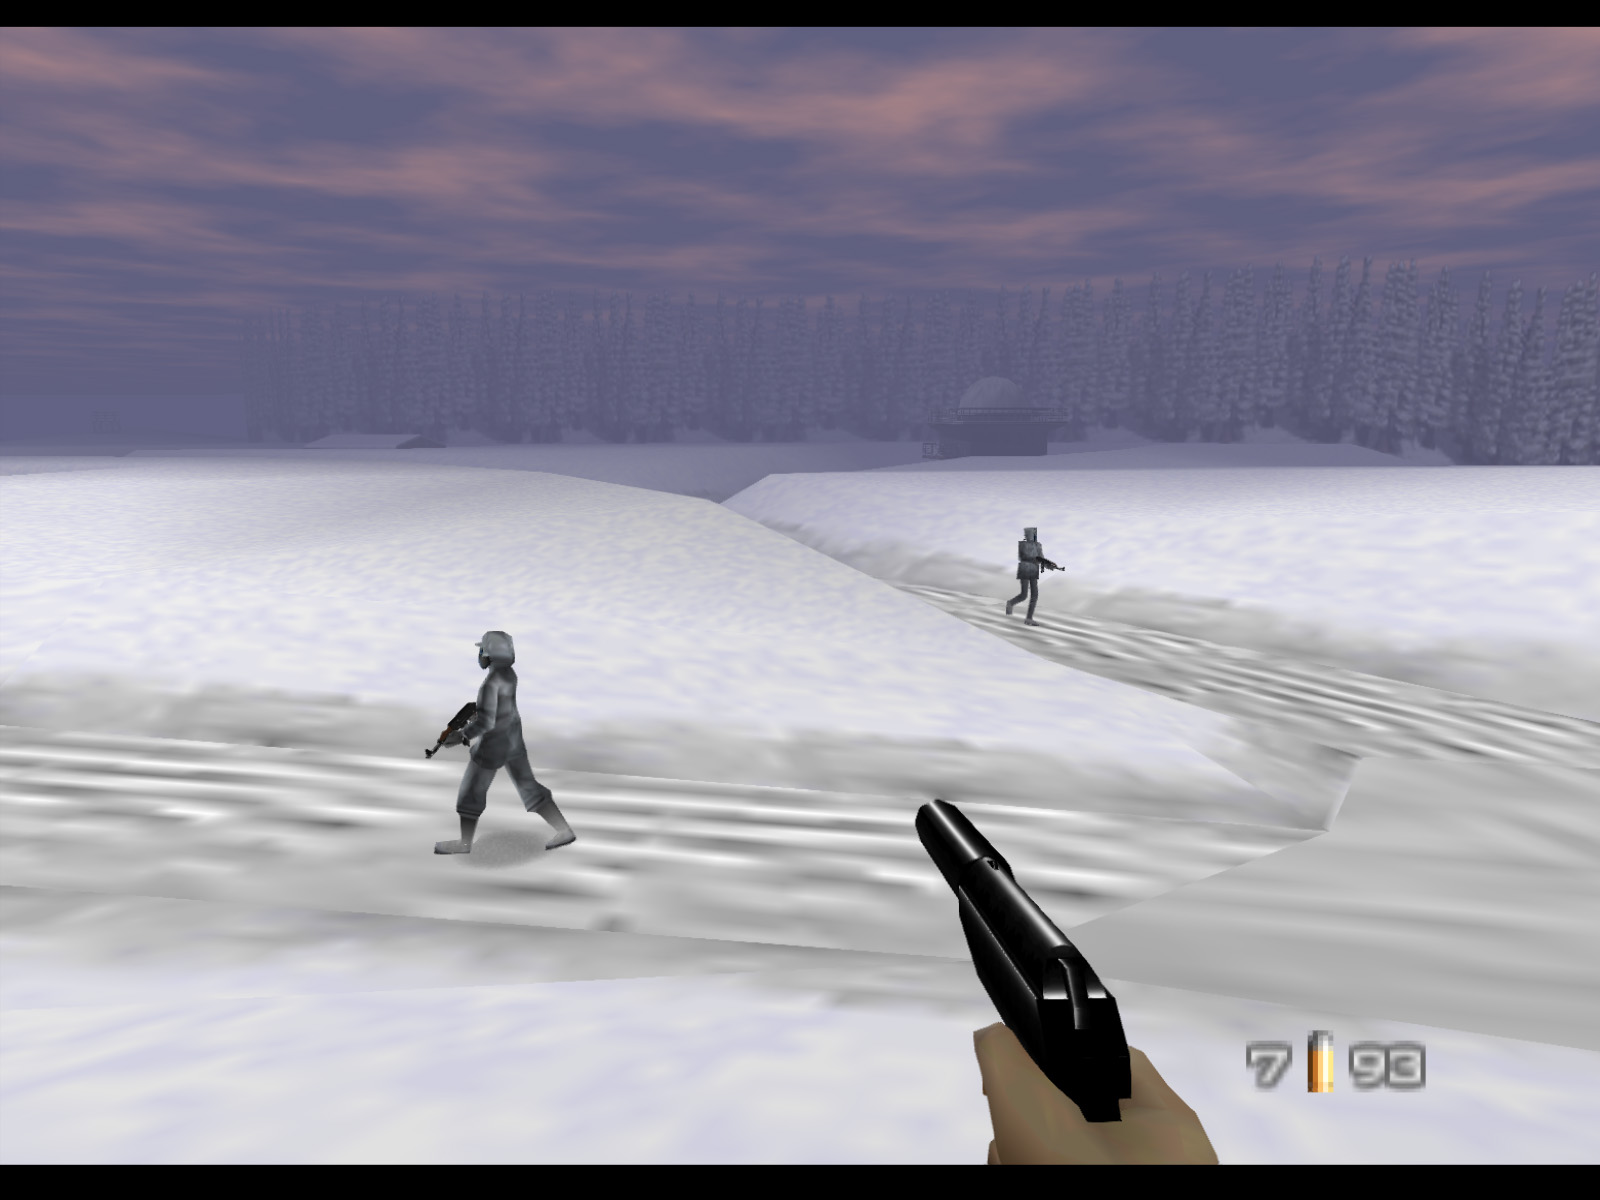
You can eliminate these Siberian Special Forces with headshots, or put five rounds into an oil drum to blow it up and kill the guards, or just keep your distance and ignore them entirely.
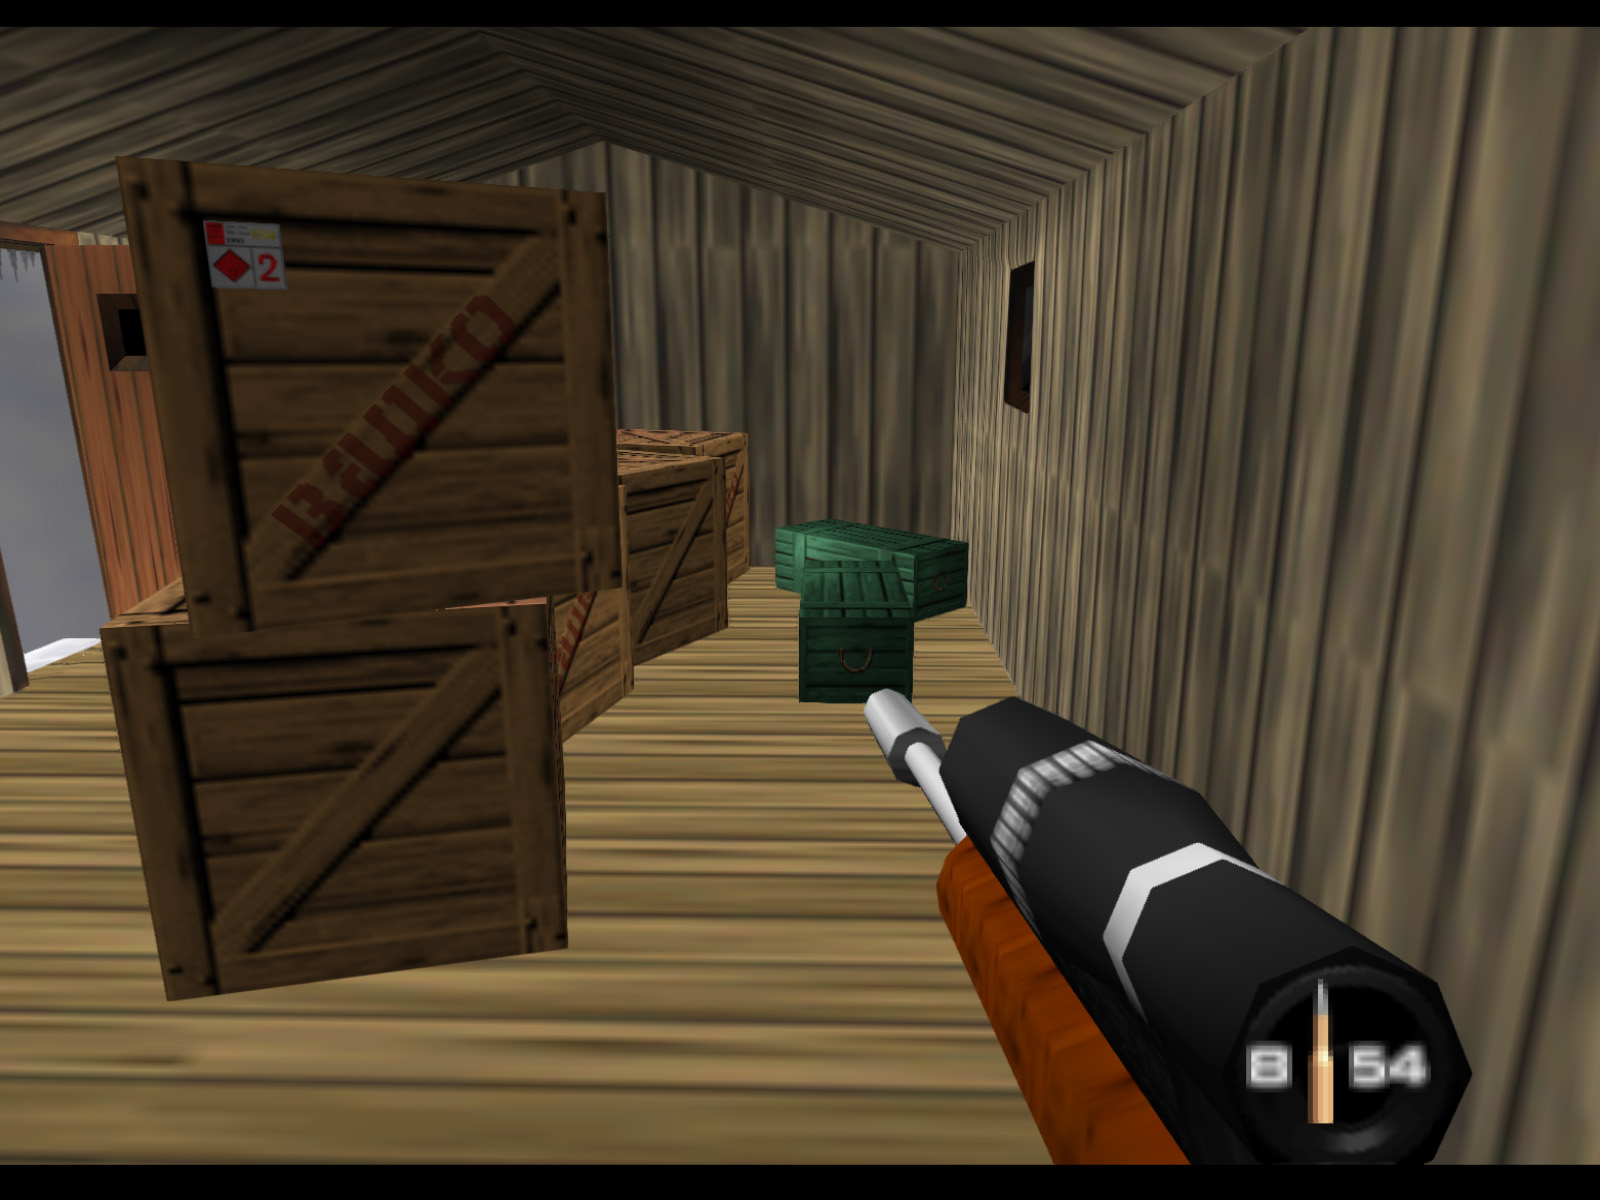
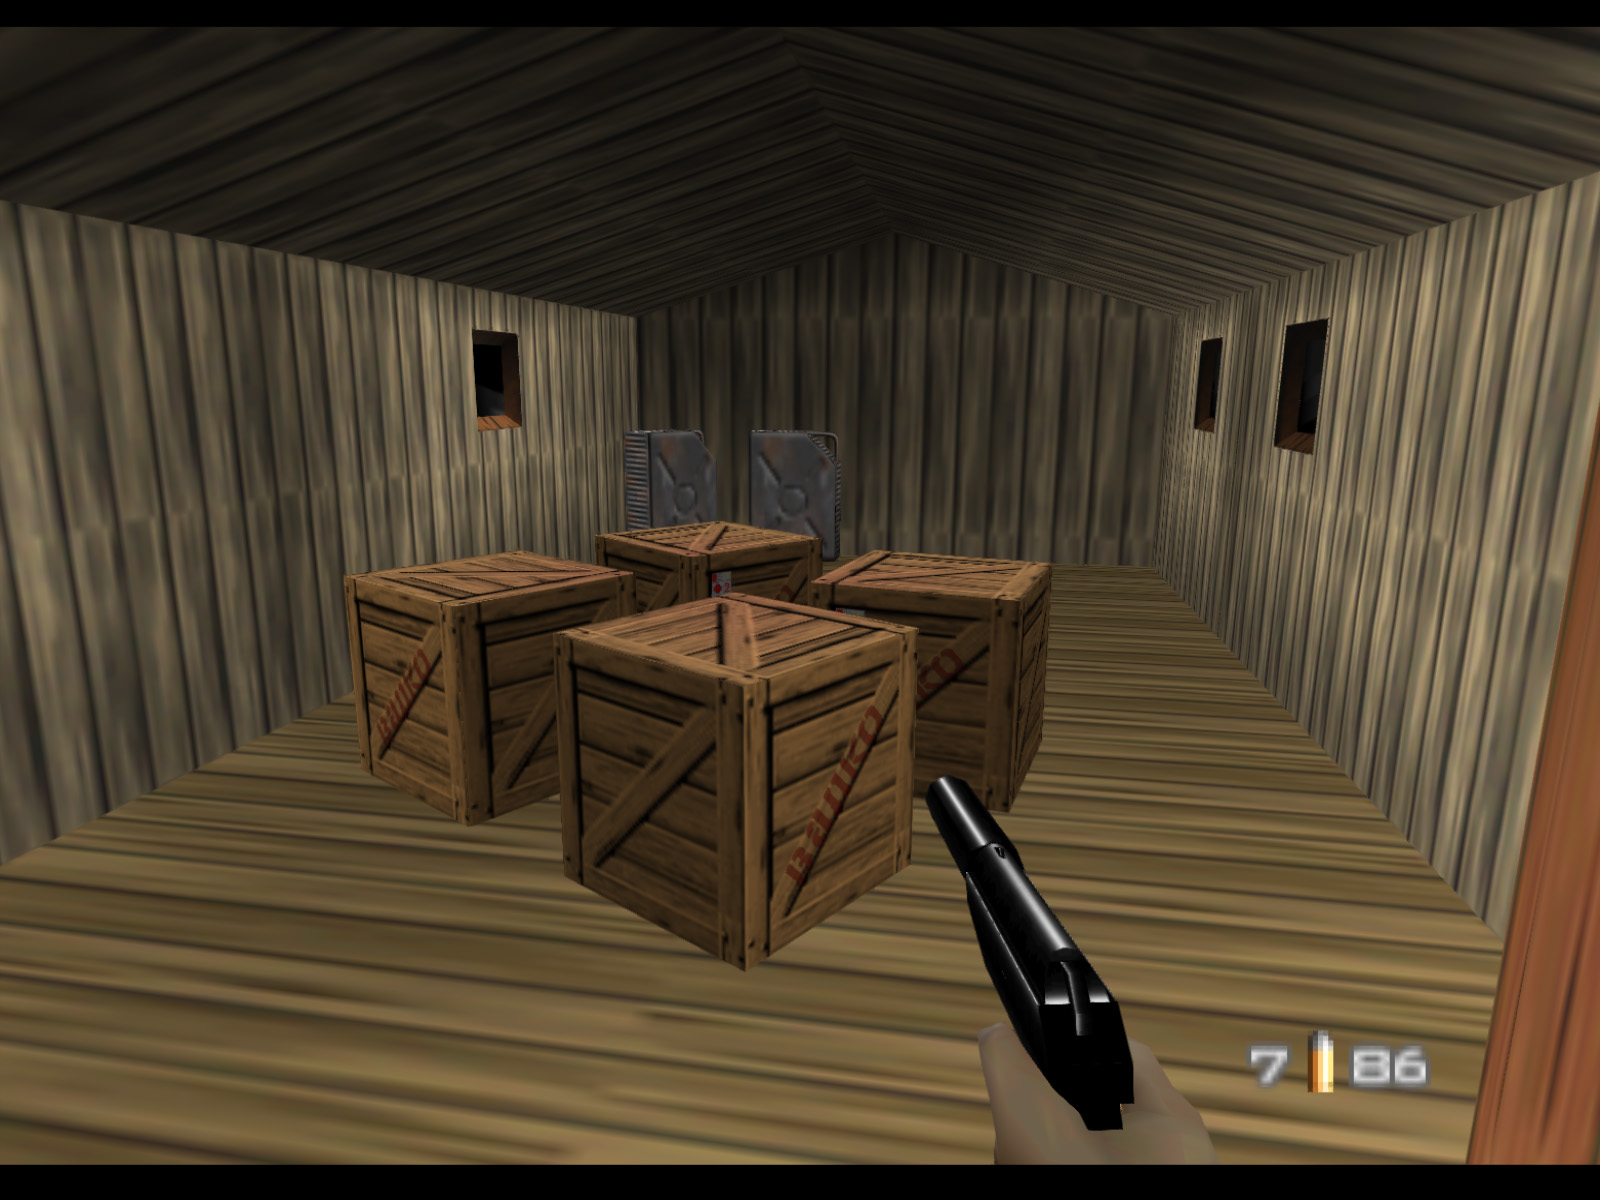
This is the interior of the cabin those two enemies guard.
▶ TIP: There are two crates of ammo for the Grenade Launcher in the back. The amount of ammo you get from each crate depends on the difficulty. On Agent it's 12 per crate. On Secret Agent it's 9 per crate. On 00 Agent it's 6 per crate.
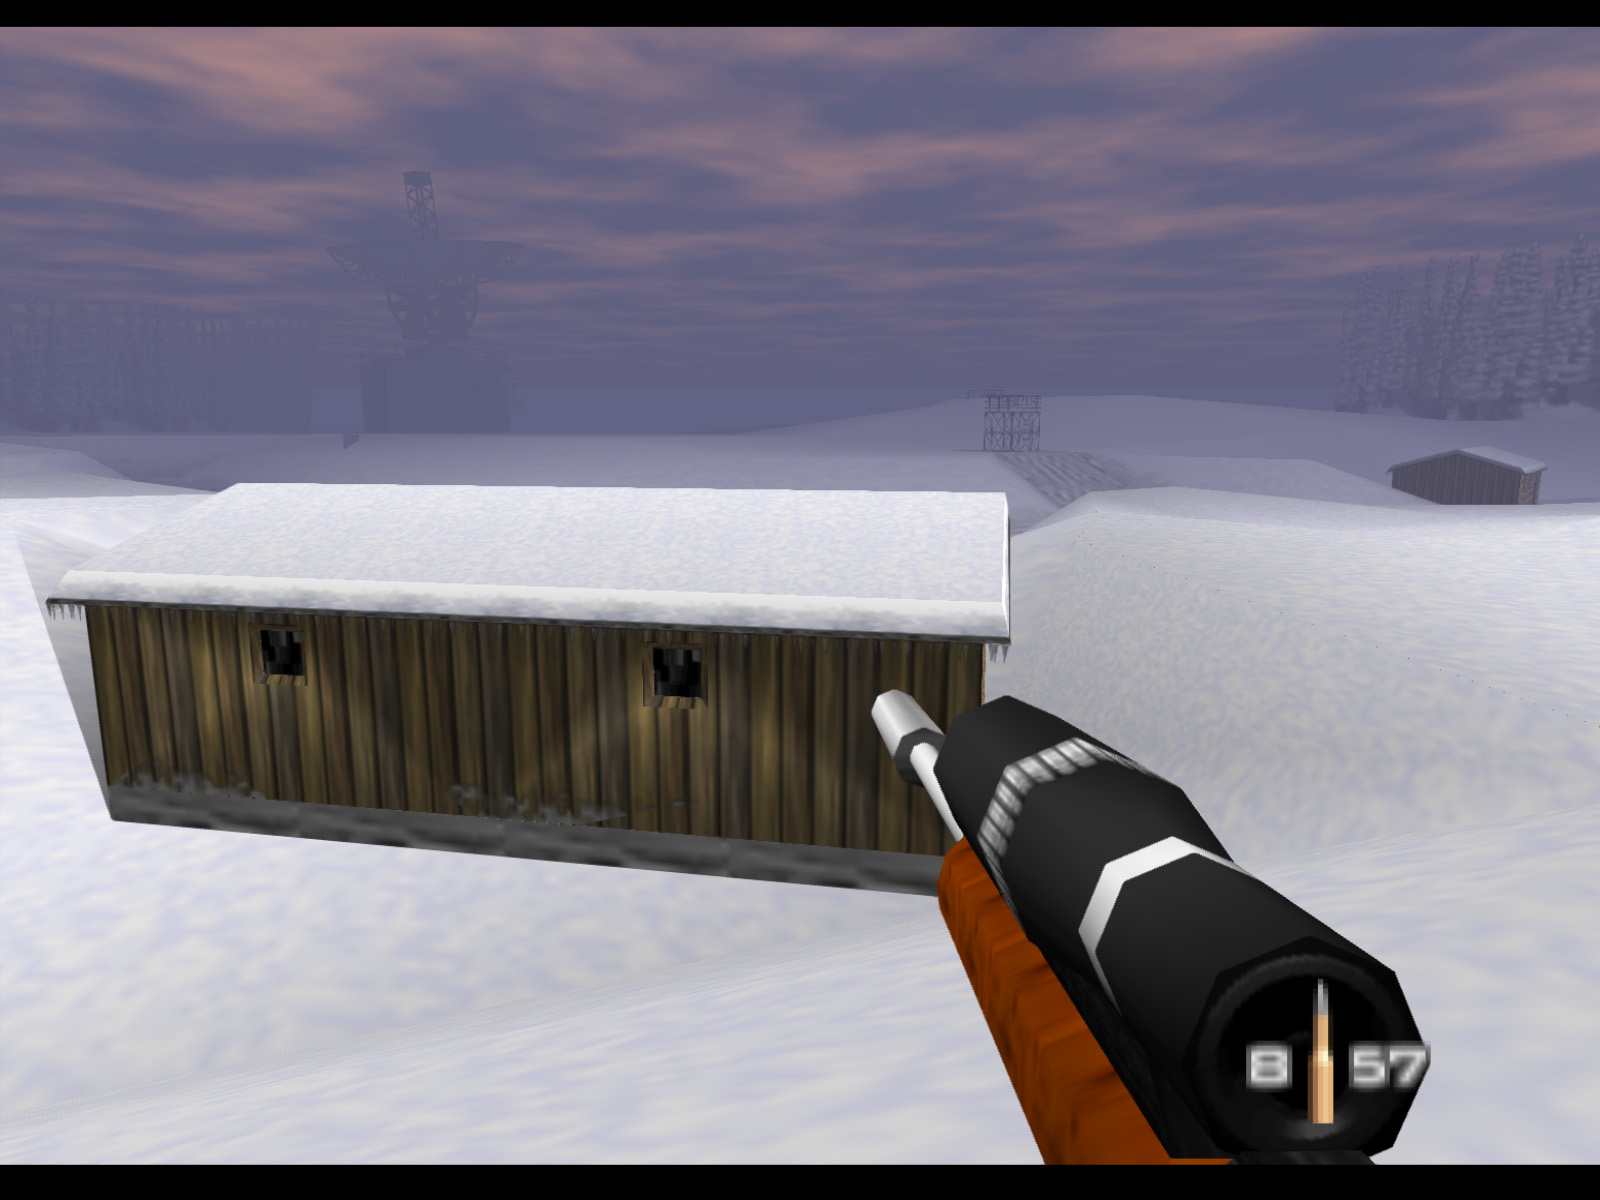
This is the second pair of cabins. The one on the left is completely empty. The one on the right is quite important.
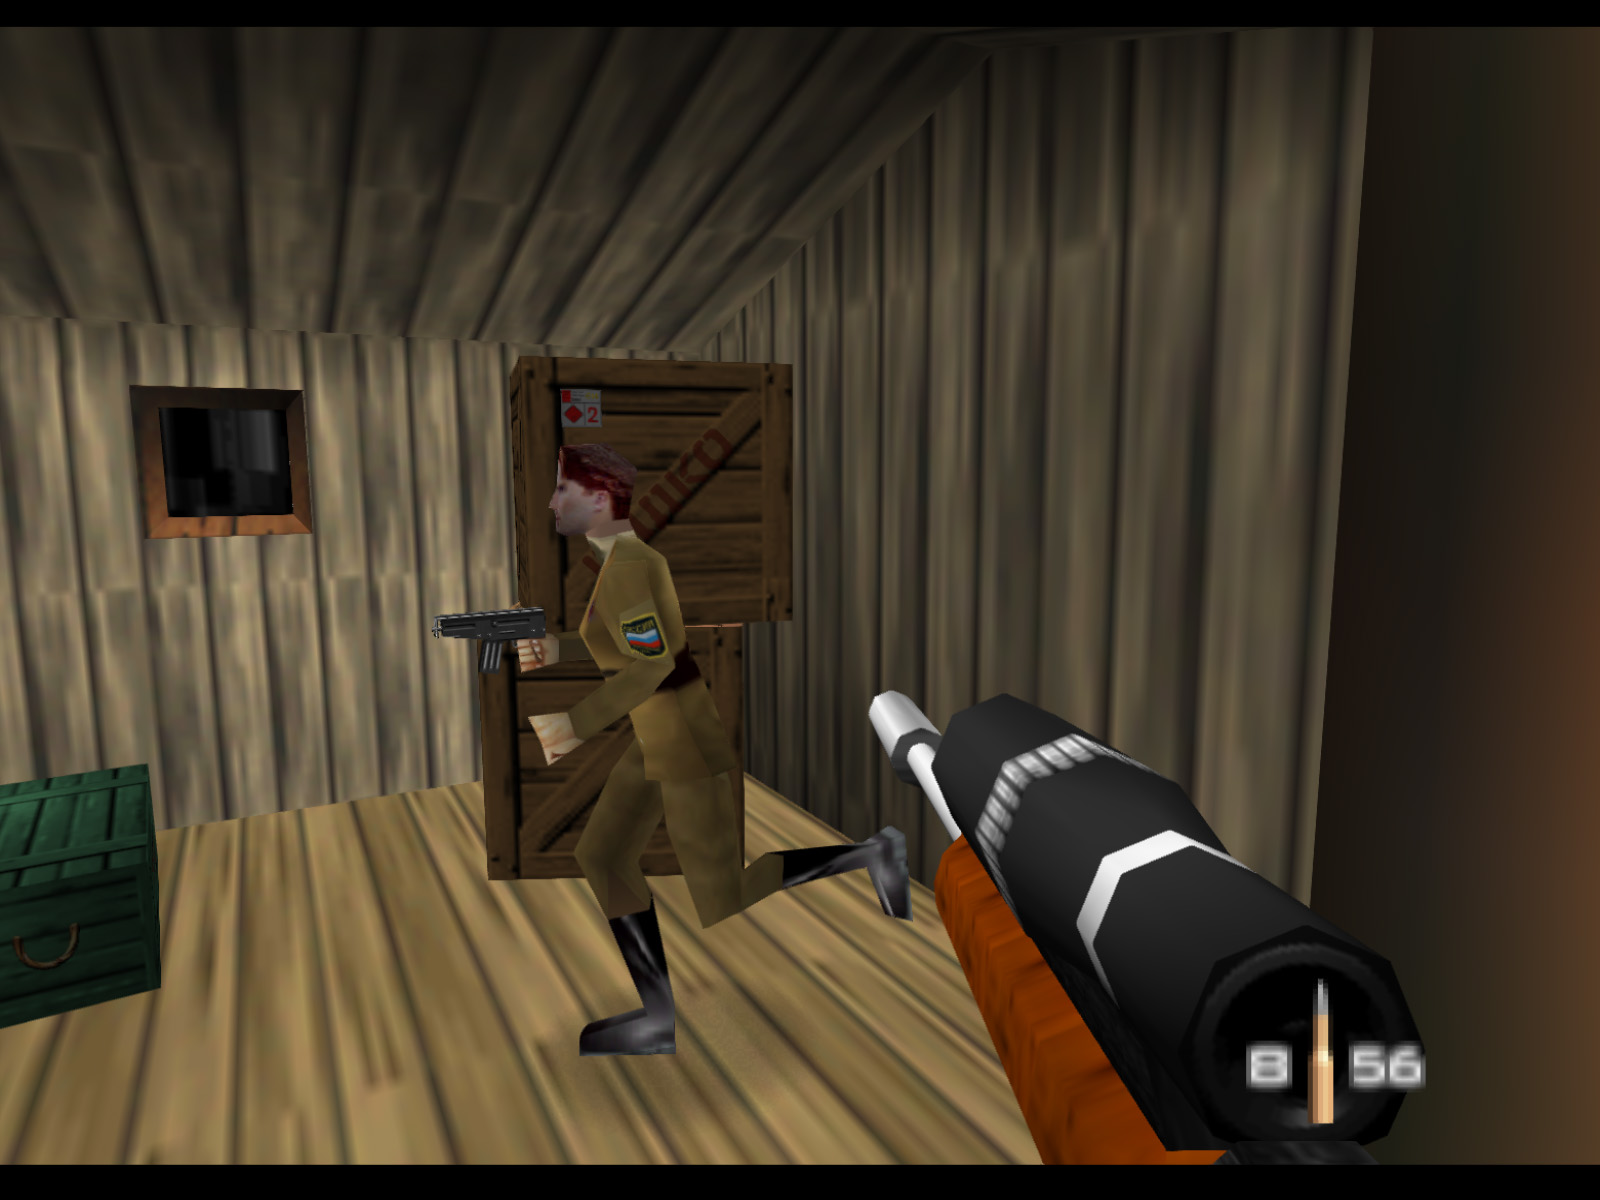
When you enter the cabin on the right in the previous screenshot you will find a Russian Commandant. This officer has the key to the locked cabin from earlier.
▶ TIP:Don't miss the Grenade Launcher sitting on a crate in here.
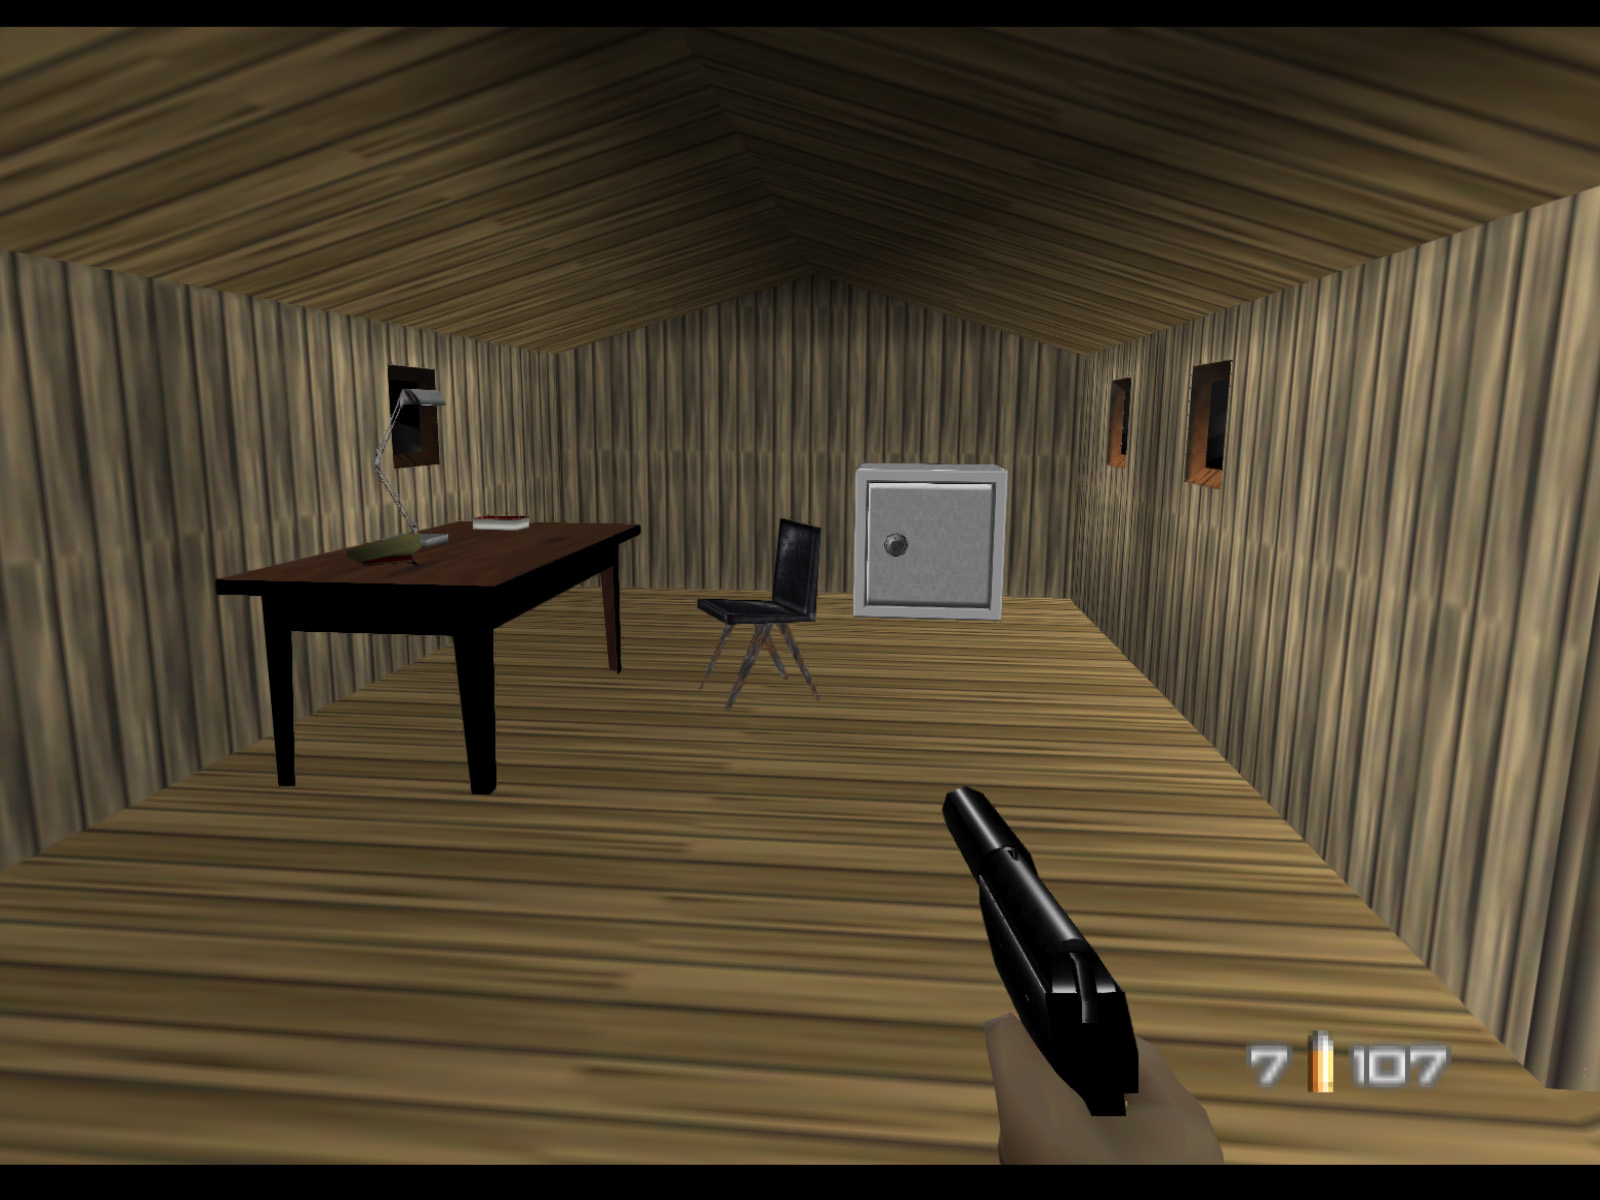
Once you access the formerly locked cabin you will find this desk with the Safe Key. Collect it to complete Objective B.
The nearby observatory has no purpose on any difficulty. I still think it's neat though.
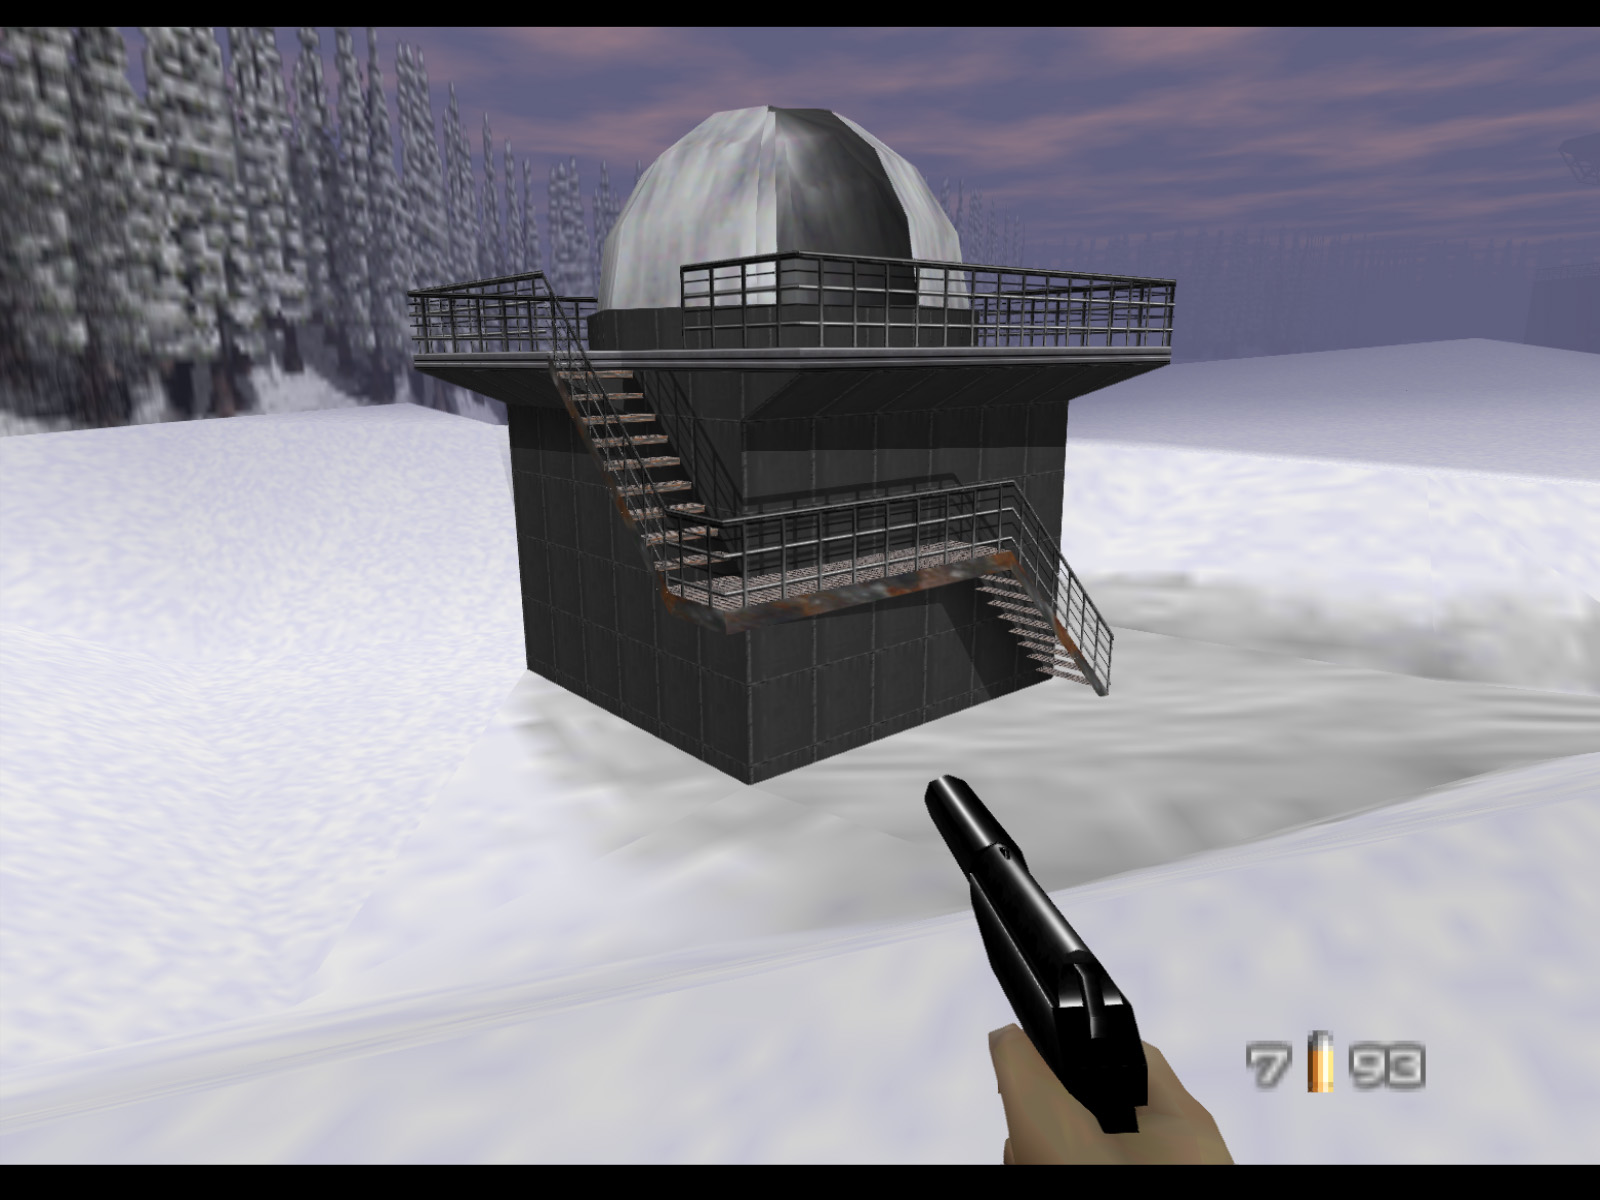
View of the observatory's interior.
Looking out from the top of the observatory.
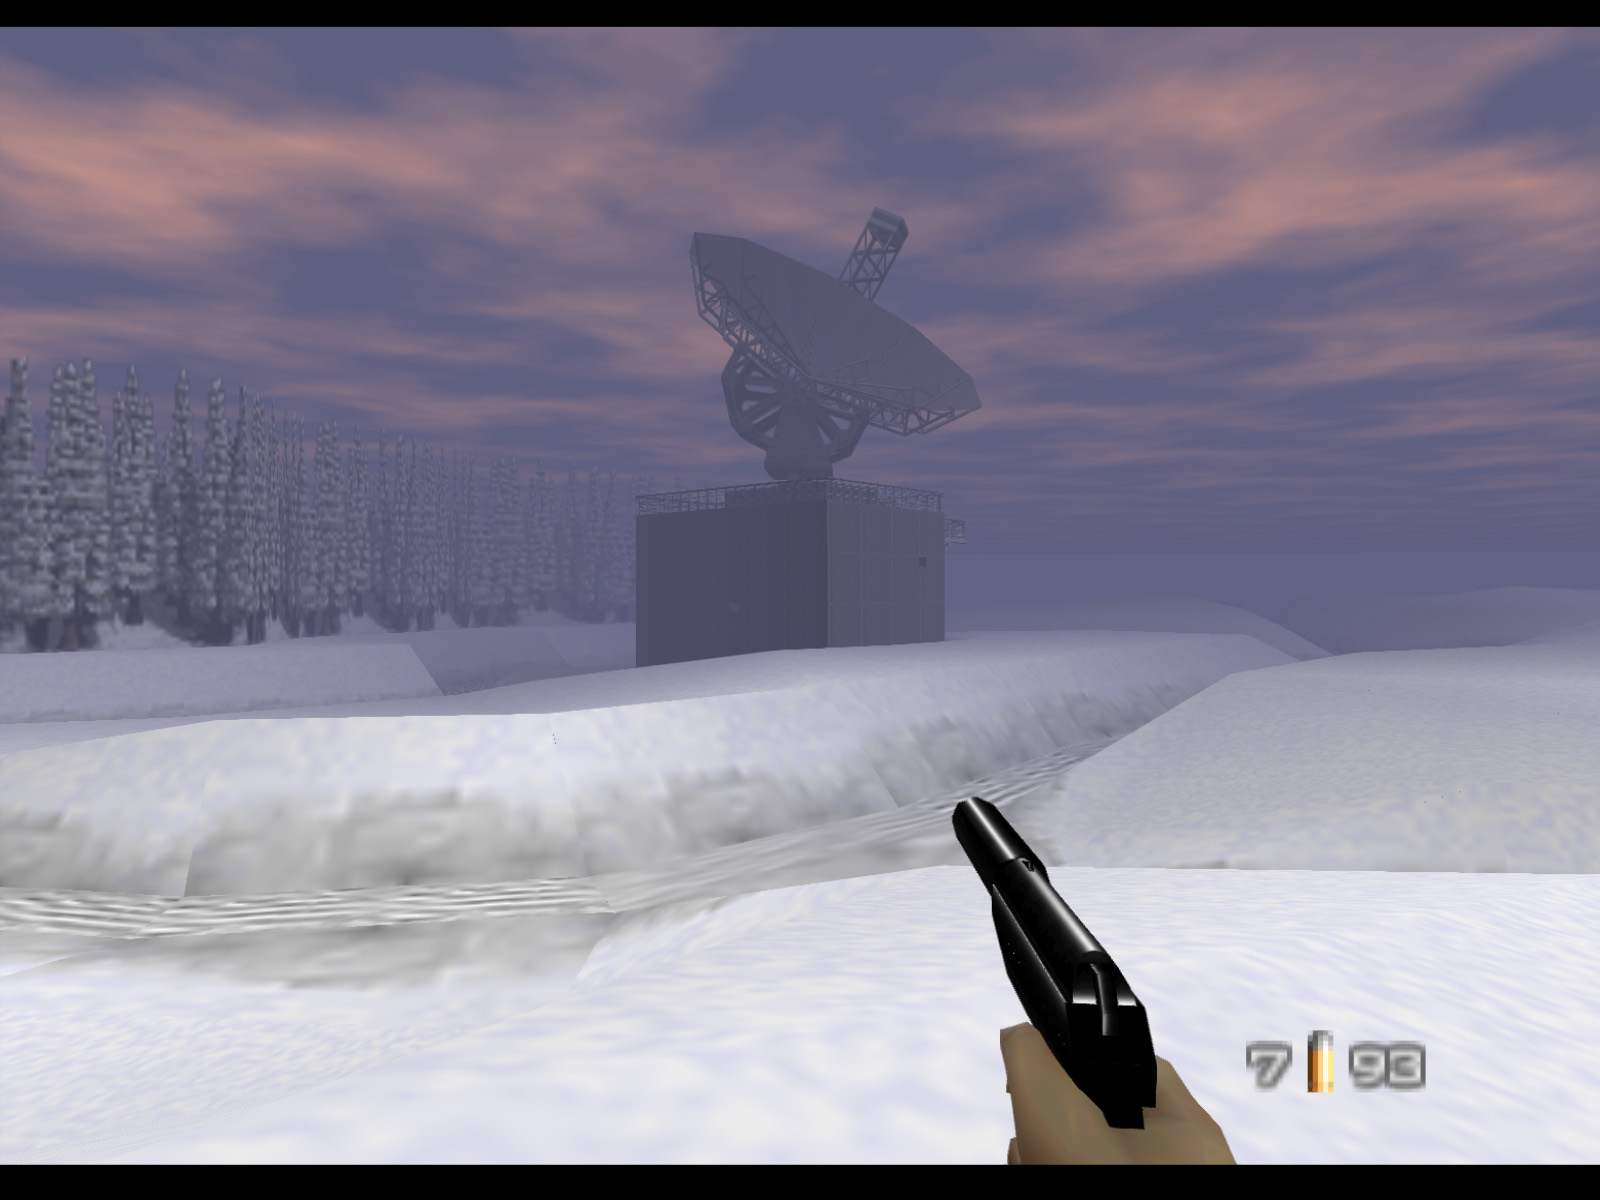
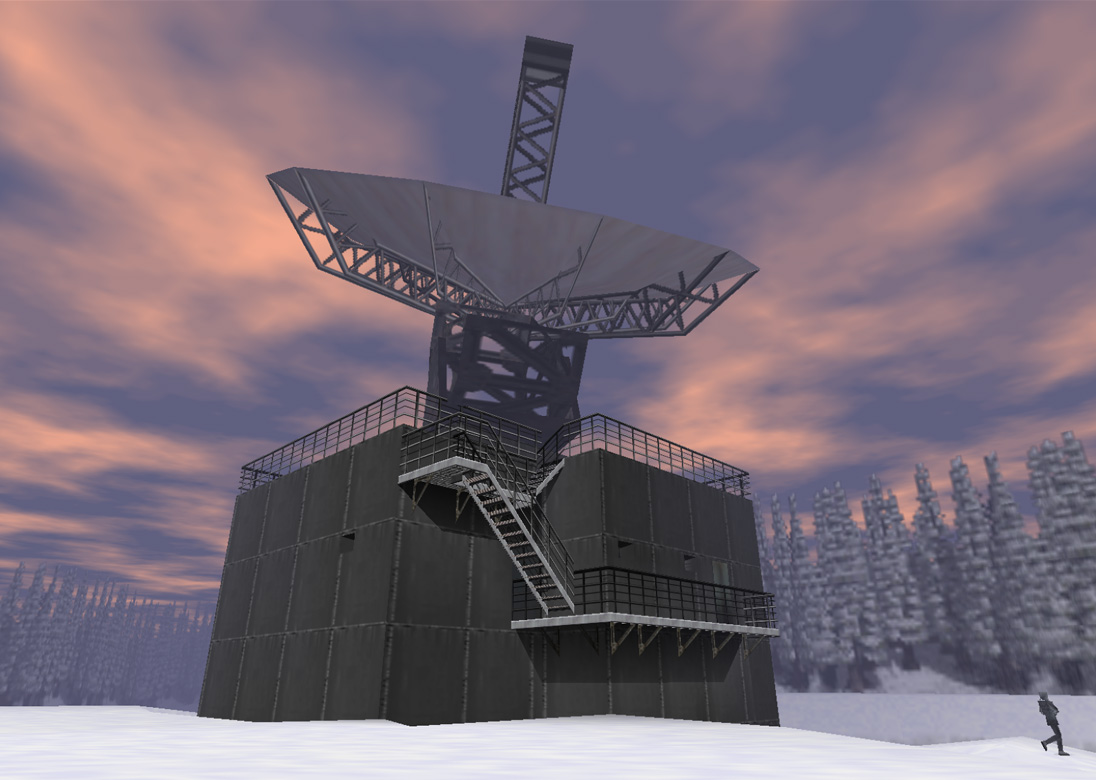
Approaching the dominant feature of the level, the communications dish.
Five Siberian Special Forces patrol the sunken paths in Surface 1.
Before visiting the communications dish let's investigate the other cabins. This pair is nestled in its own little fenced in compound.
This is the interior of the darker colored cabin.

The other cabin houses the safe containing the Building Plans for the bunker. Open the safe and collect the plans to complete Objective C.
The final pair of cabins lies at the end of the path.
▶ TIP:Watch out for the CCTV camera mounted on the right cabin.
The left cabin contains some crates and jerry cans.
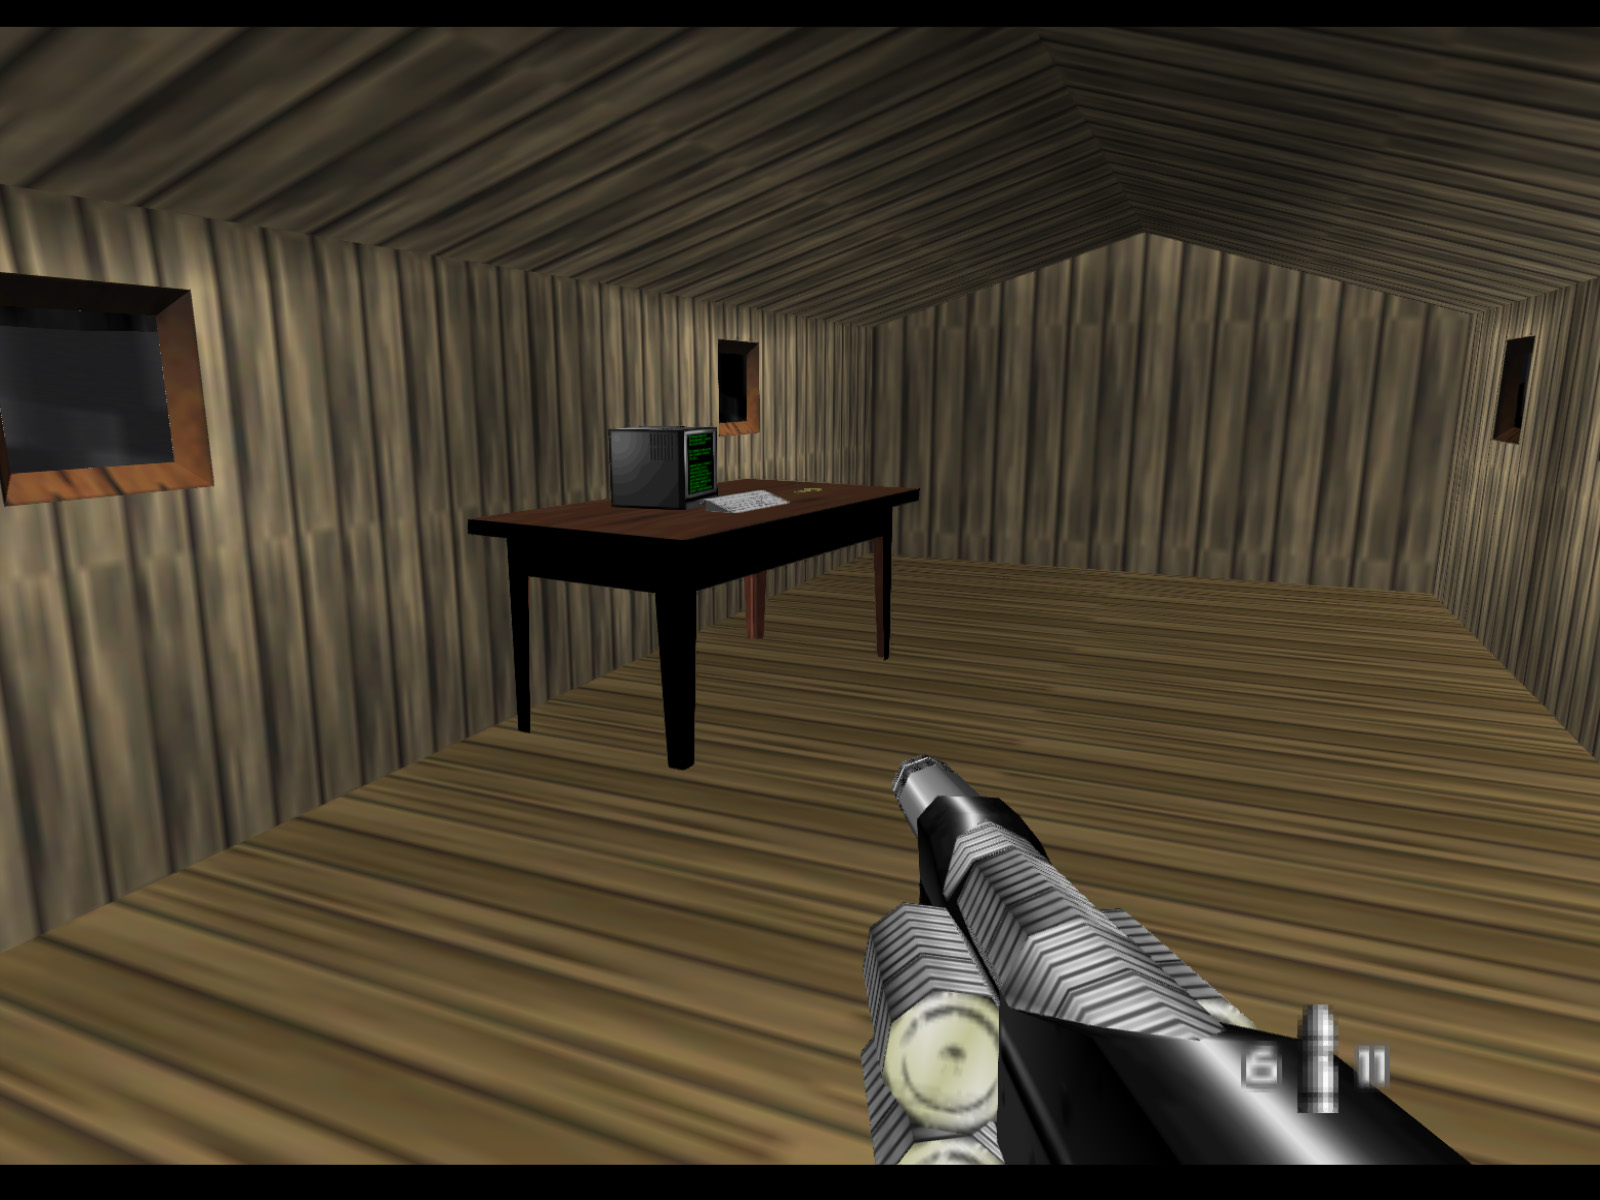
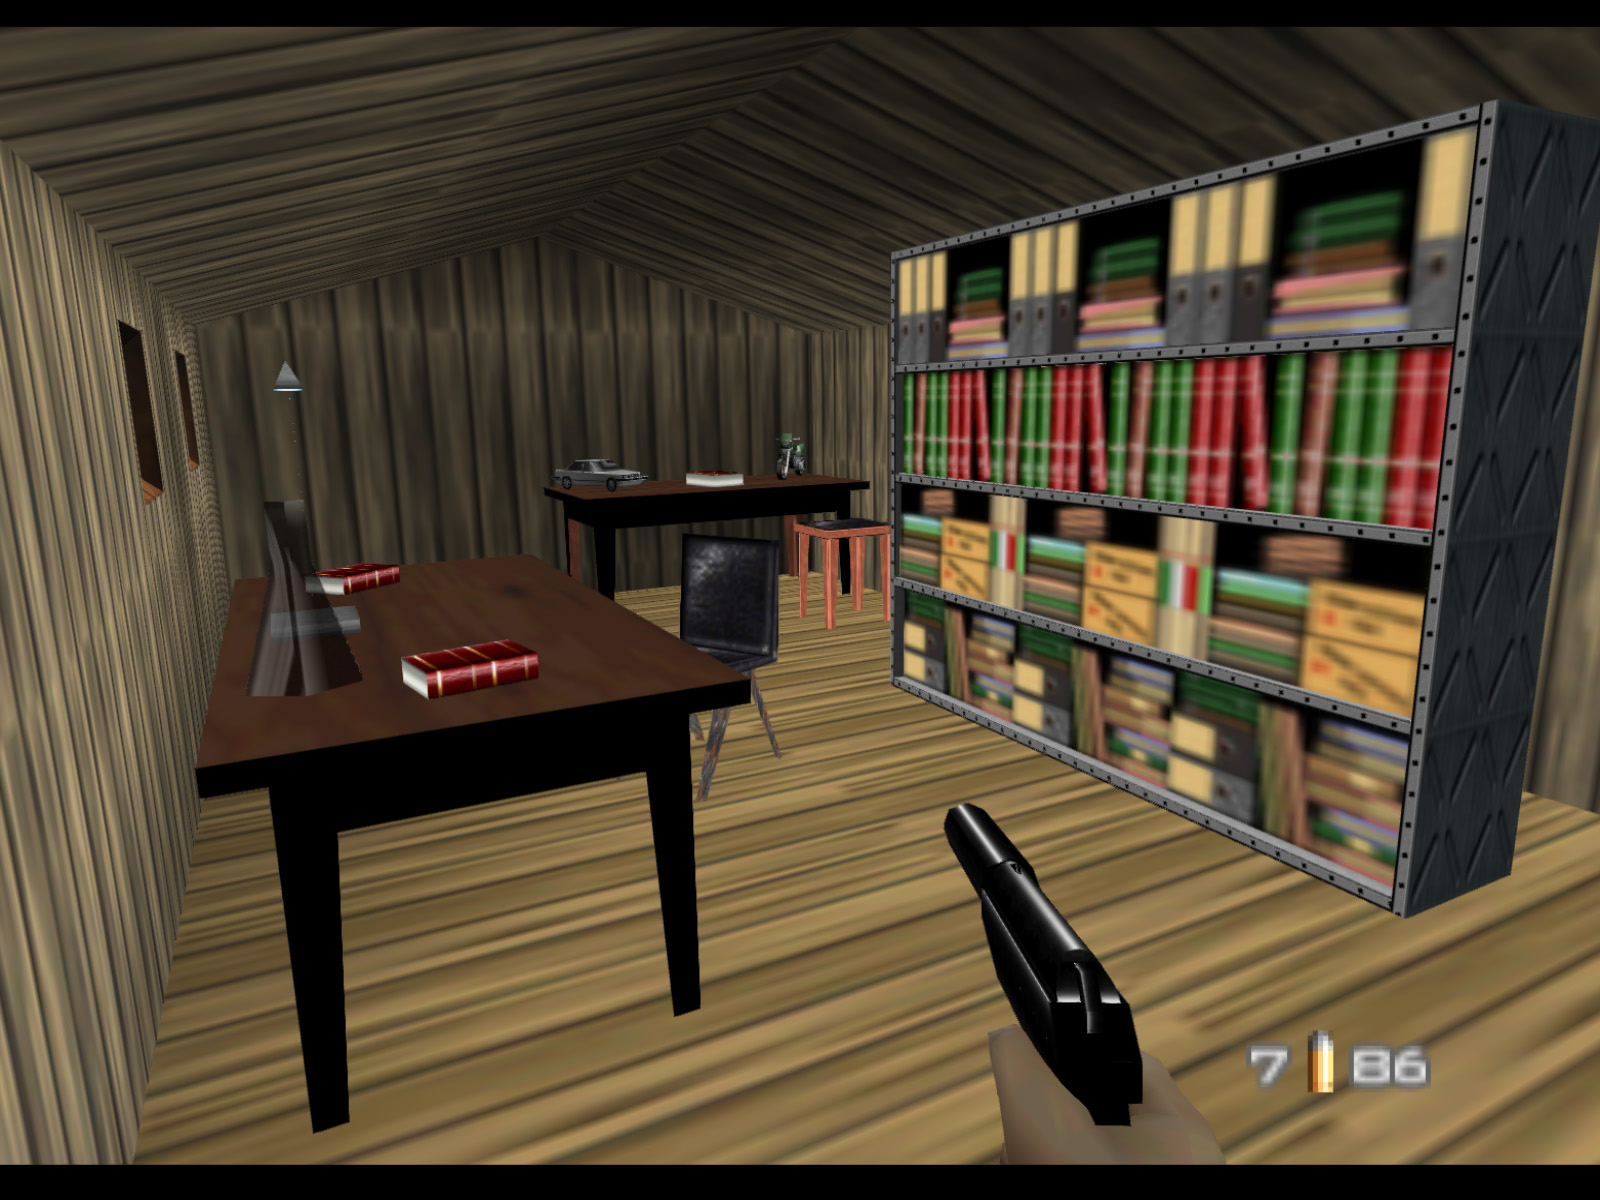
The other cabin has a couple bookshelves, desks, and an eclectic assortment of props.
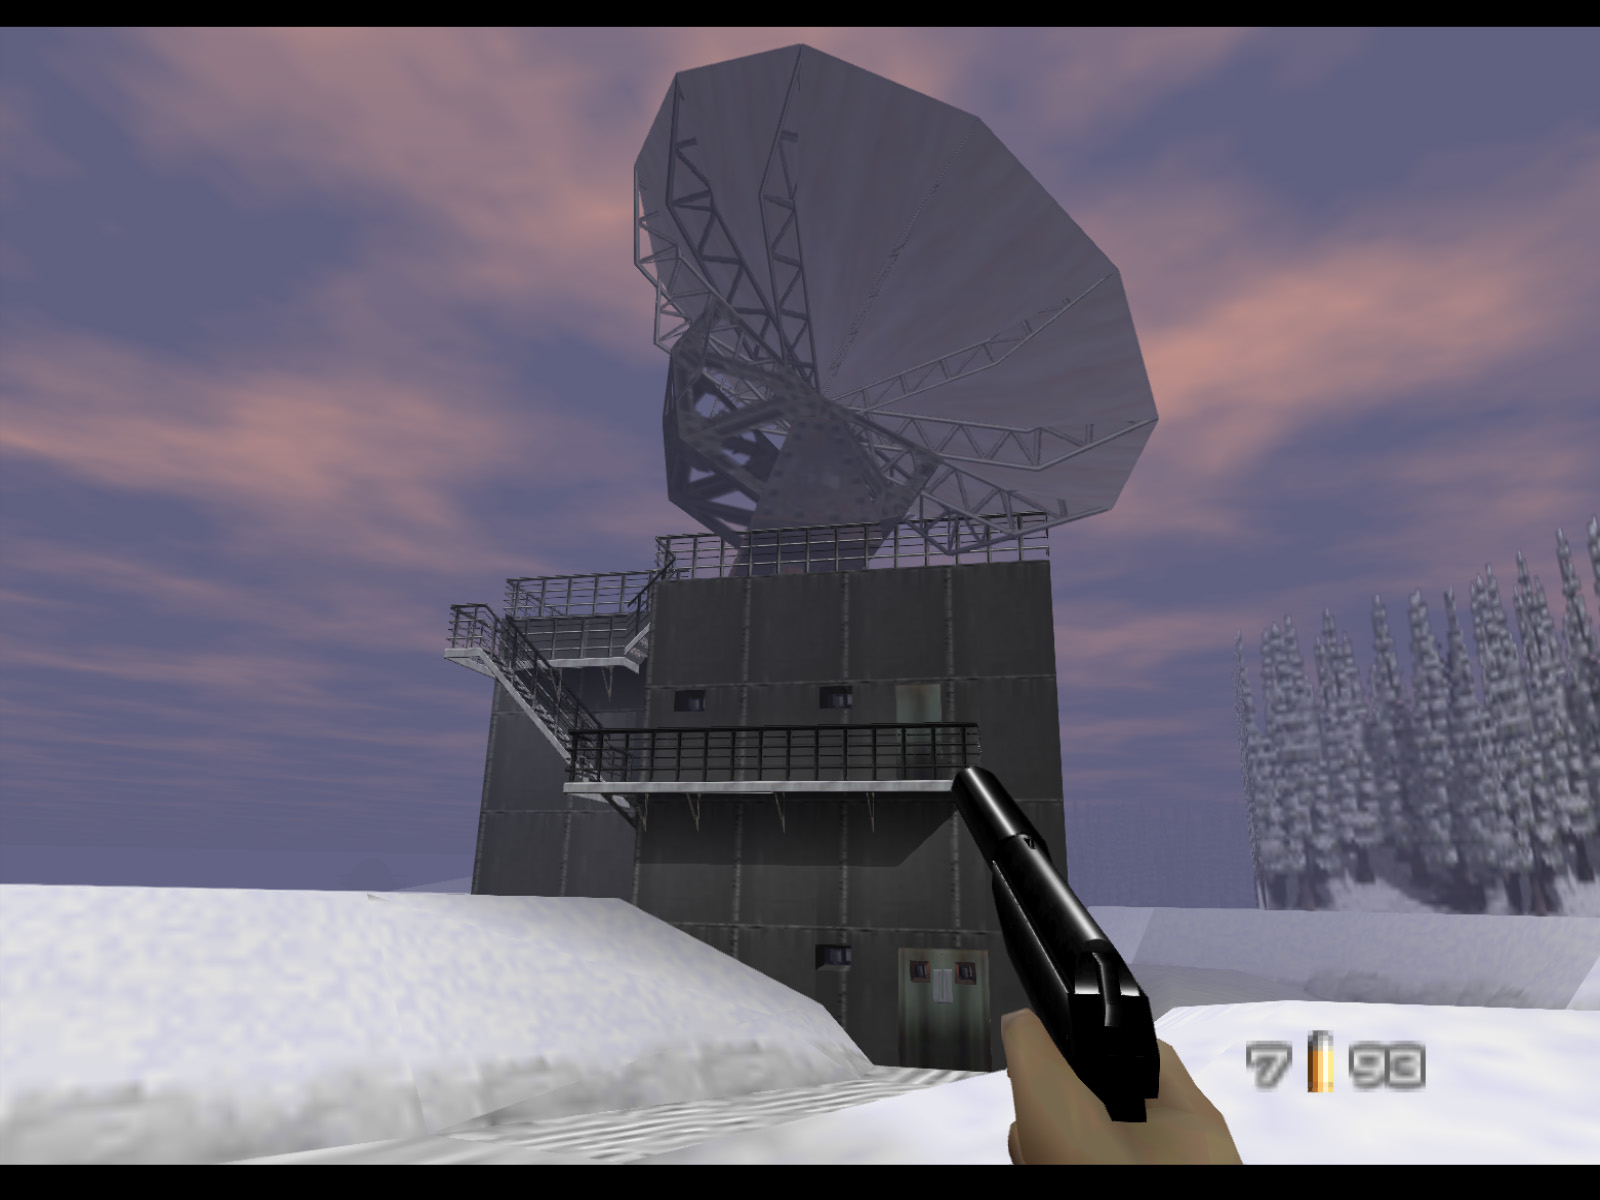
Looking at the communications building from the front.
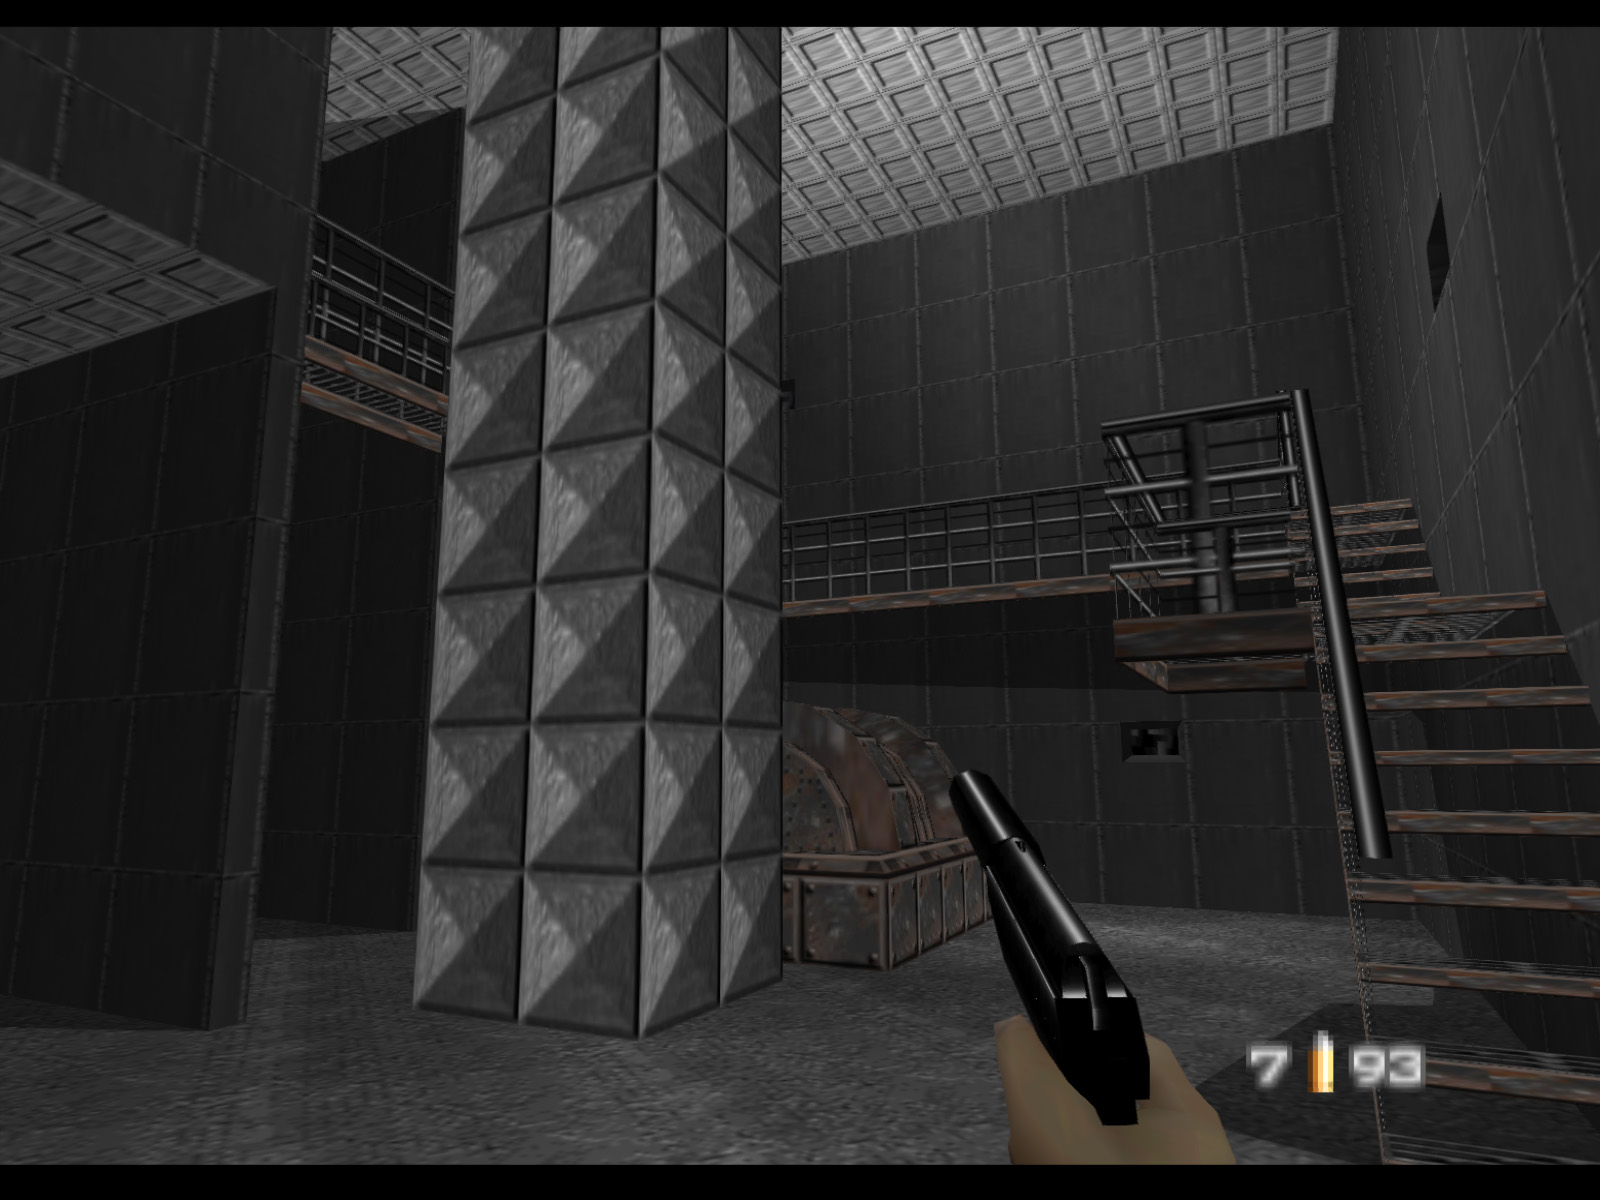
The communications building has machinery, stairs, catwalks, and an important console on the second level.
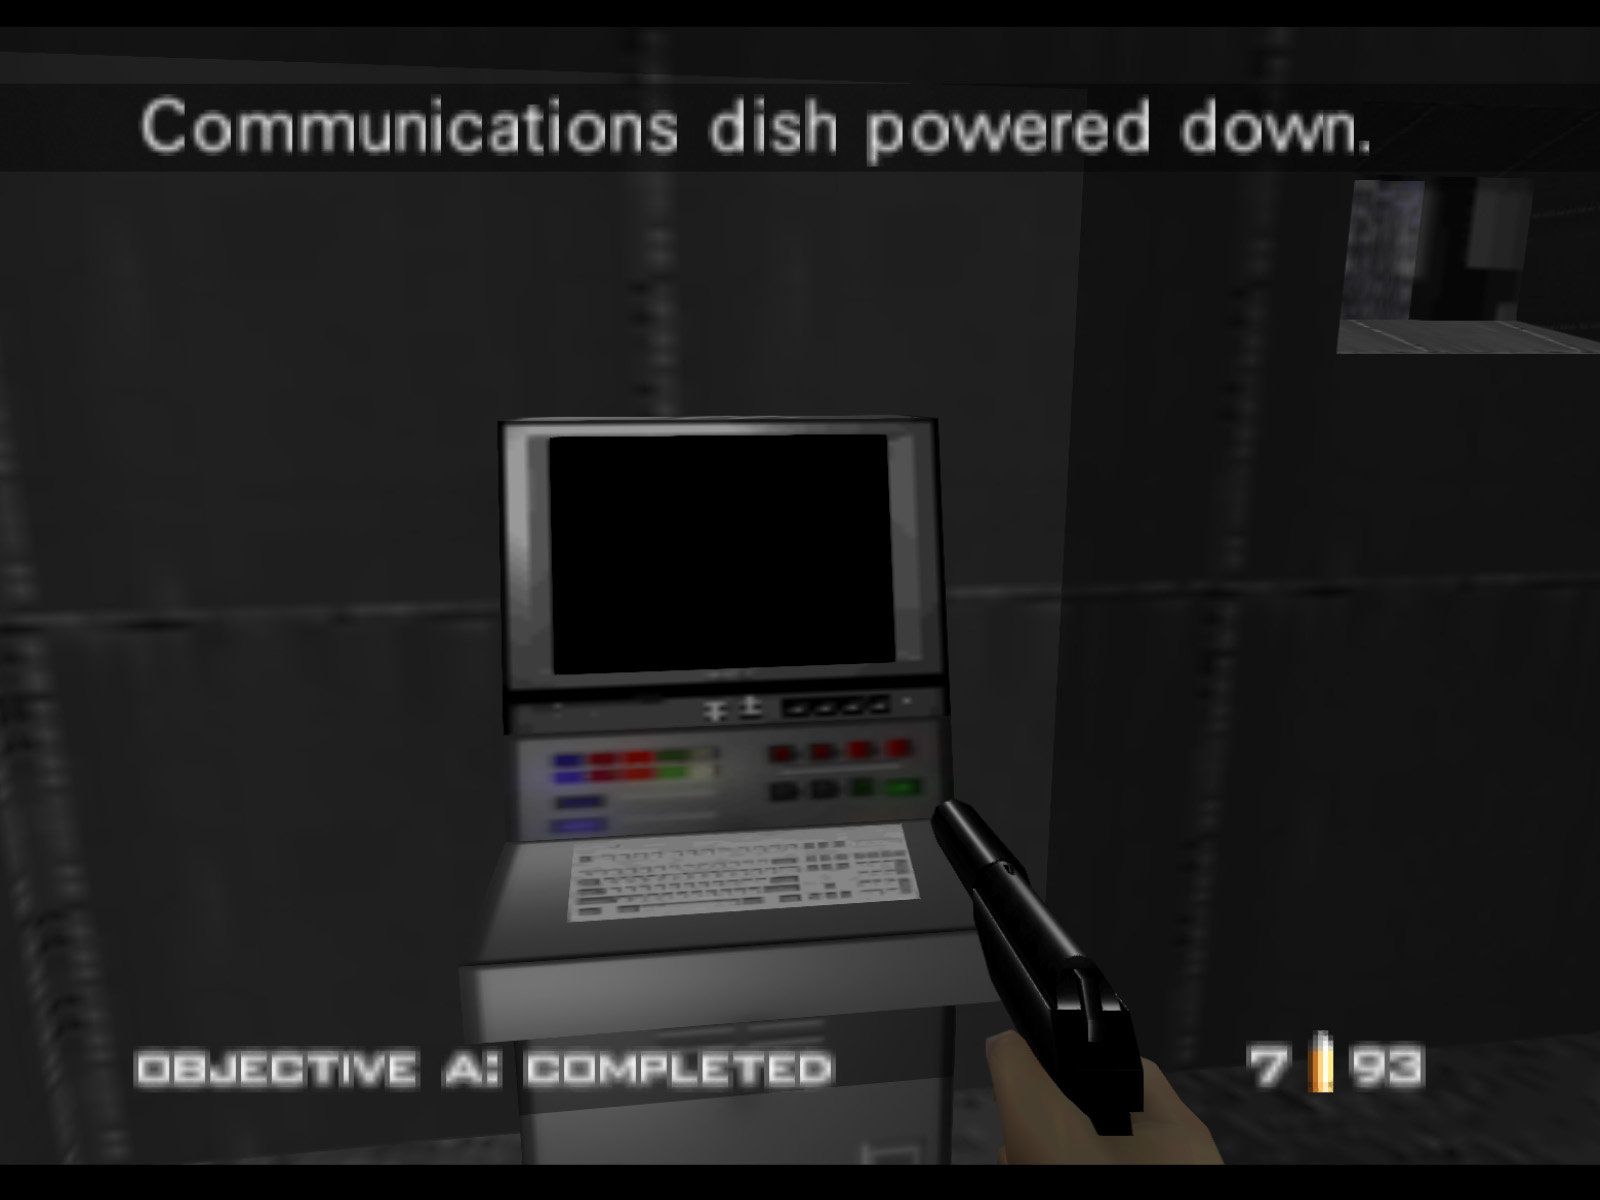
On the second level you will find the dish's control console. Press B to shut it down and complete Objective A.
▶ TIP:Do not destroy the console, even after turning it off, or you will activate the backup power and fail the mission.
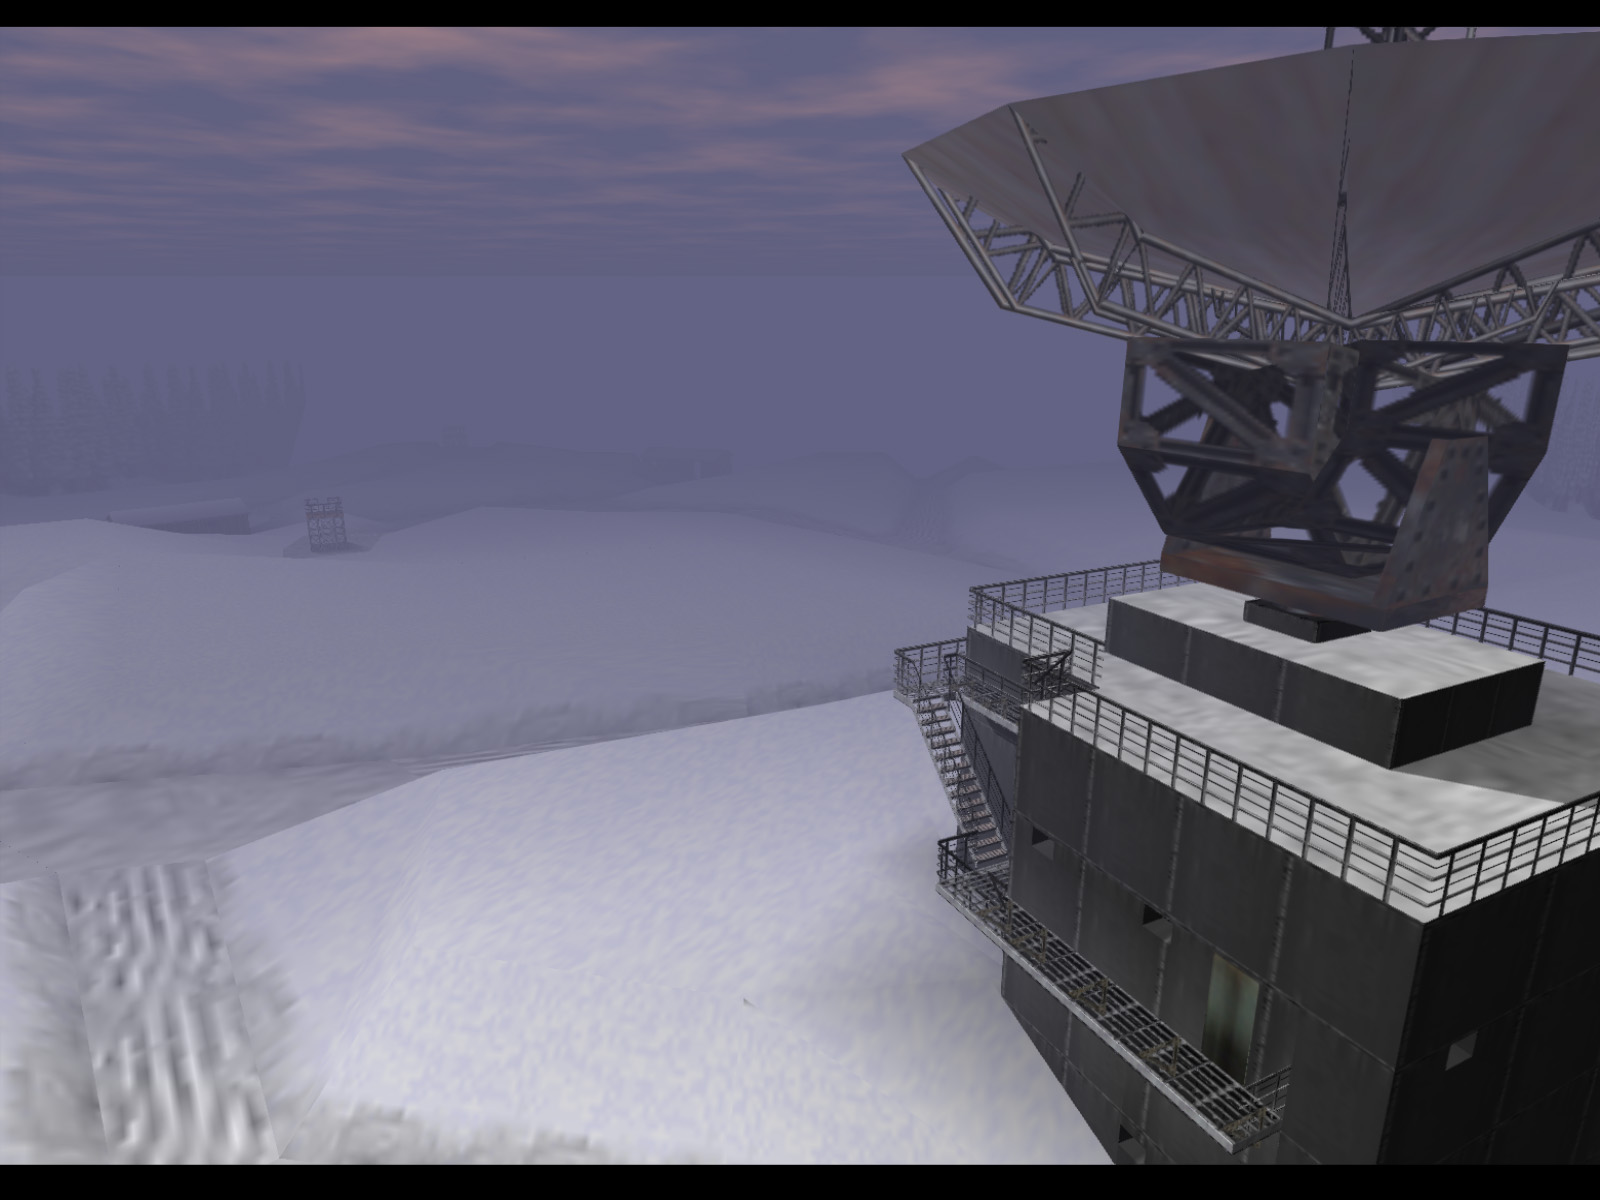
The top of the communications building is accessible and offers fantastic views of most of the level.
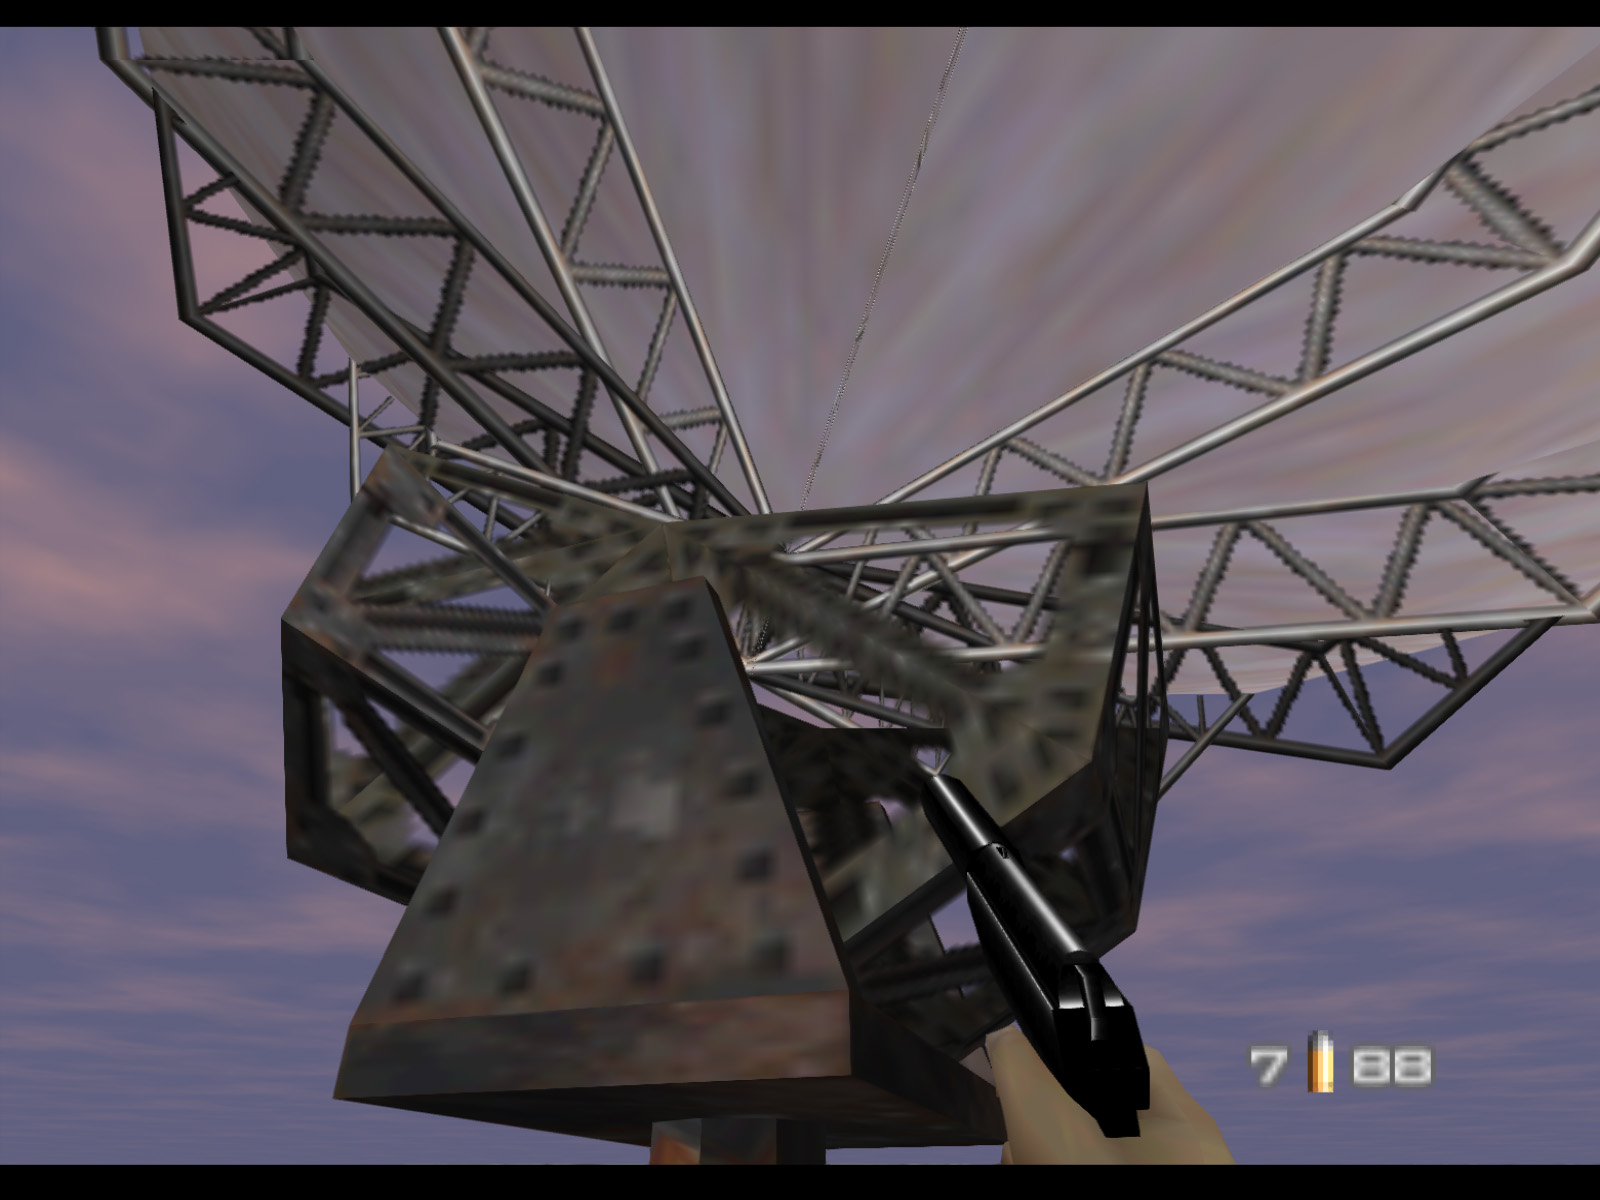
Standing beneath the enormous dish.
After exiting the communications dish building there are just a couple more points of interest. One is this helipad just outside the bunker.
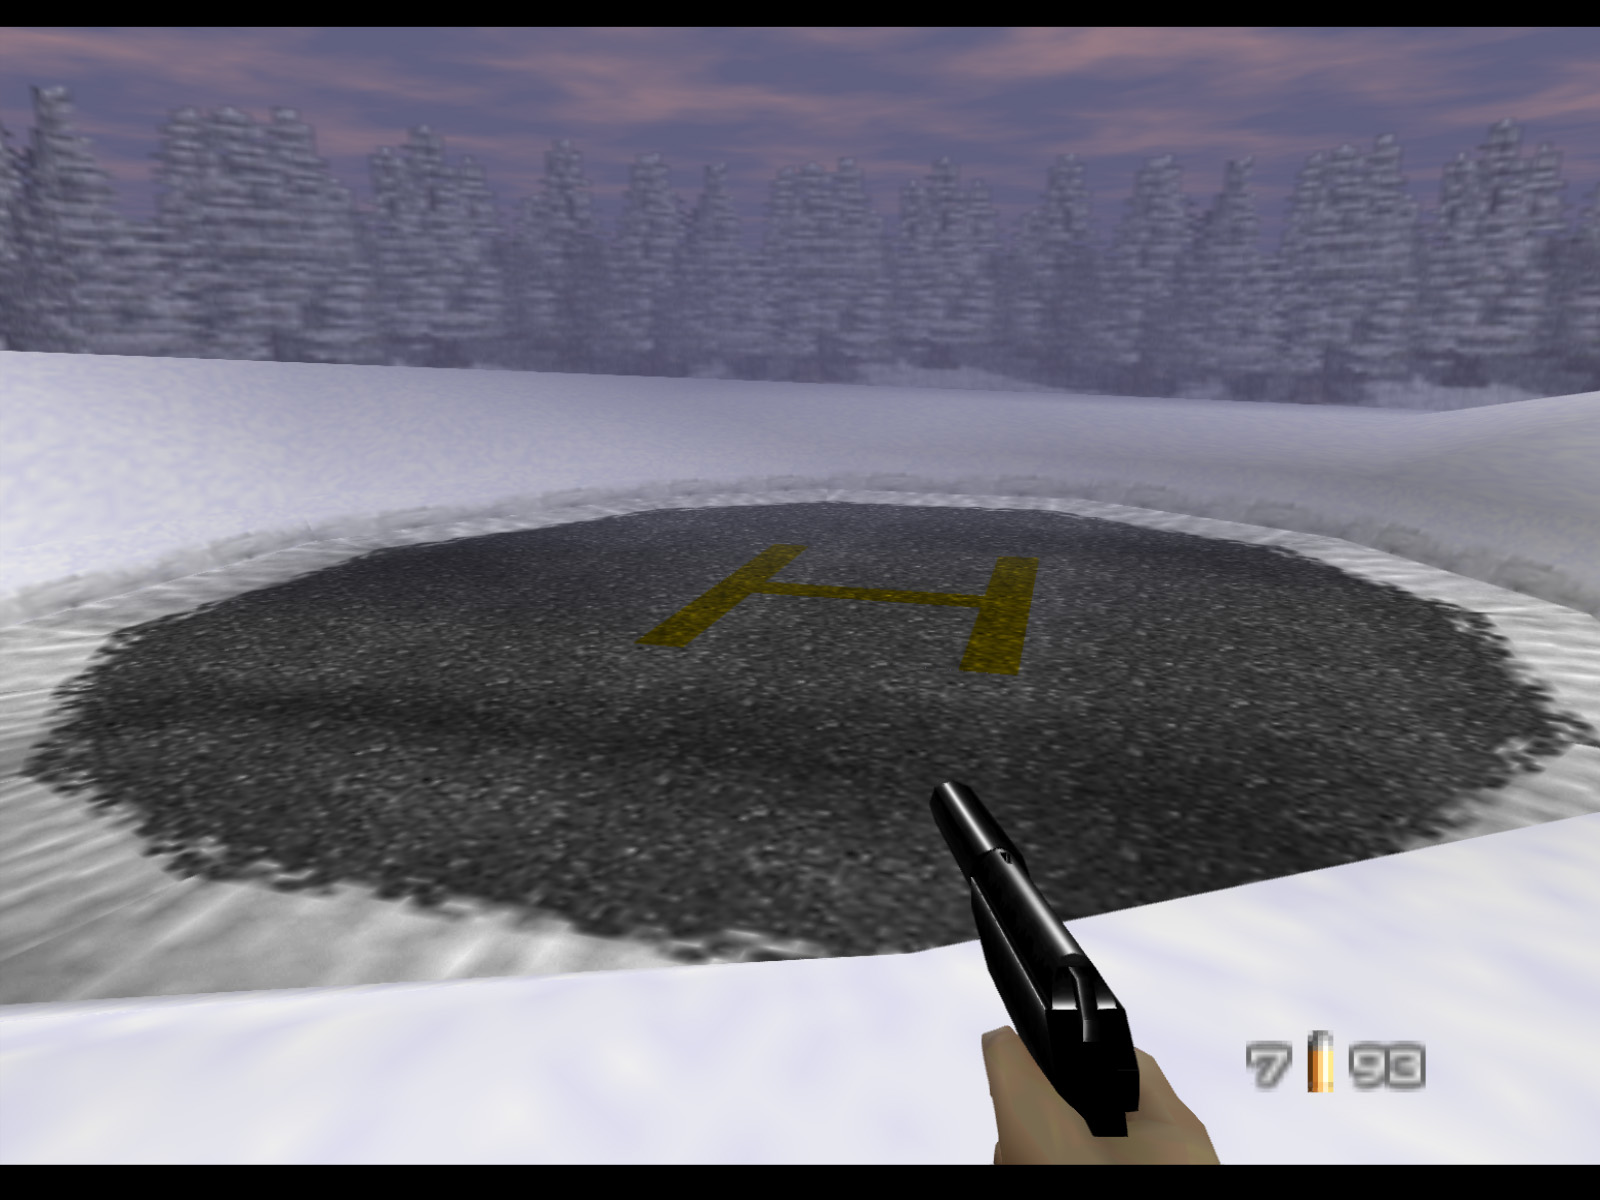
The bunker's entrance is adjacent to the helipad.
▶ TIP:Do not attempt to open this door or you will set off an alarm.
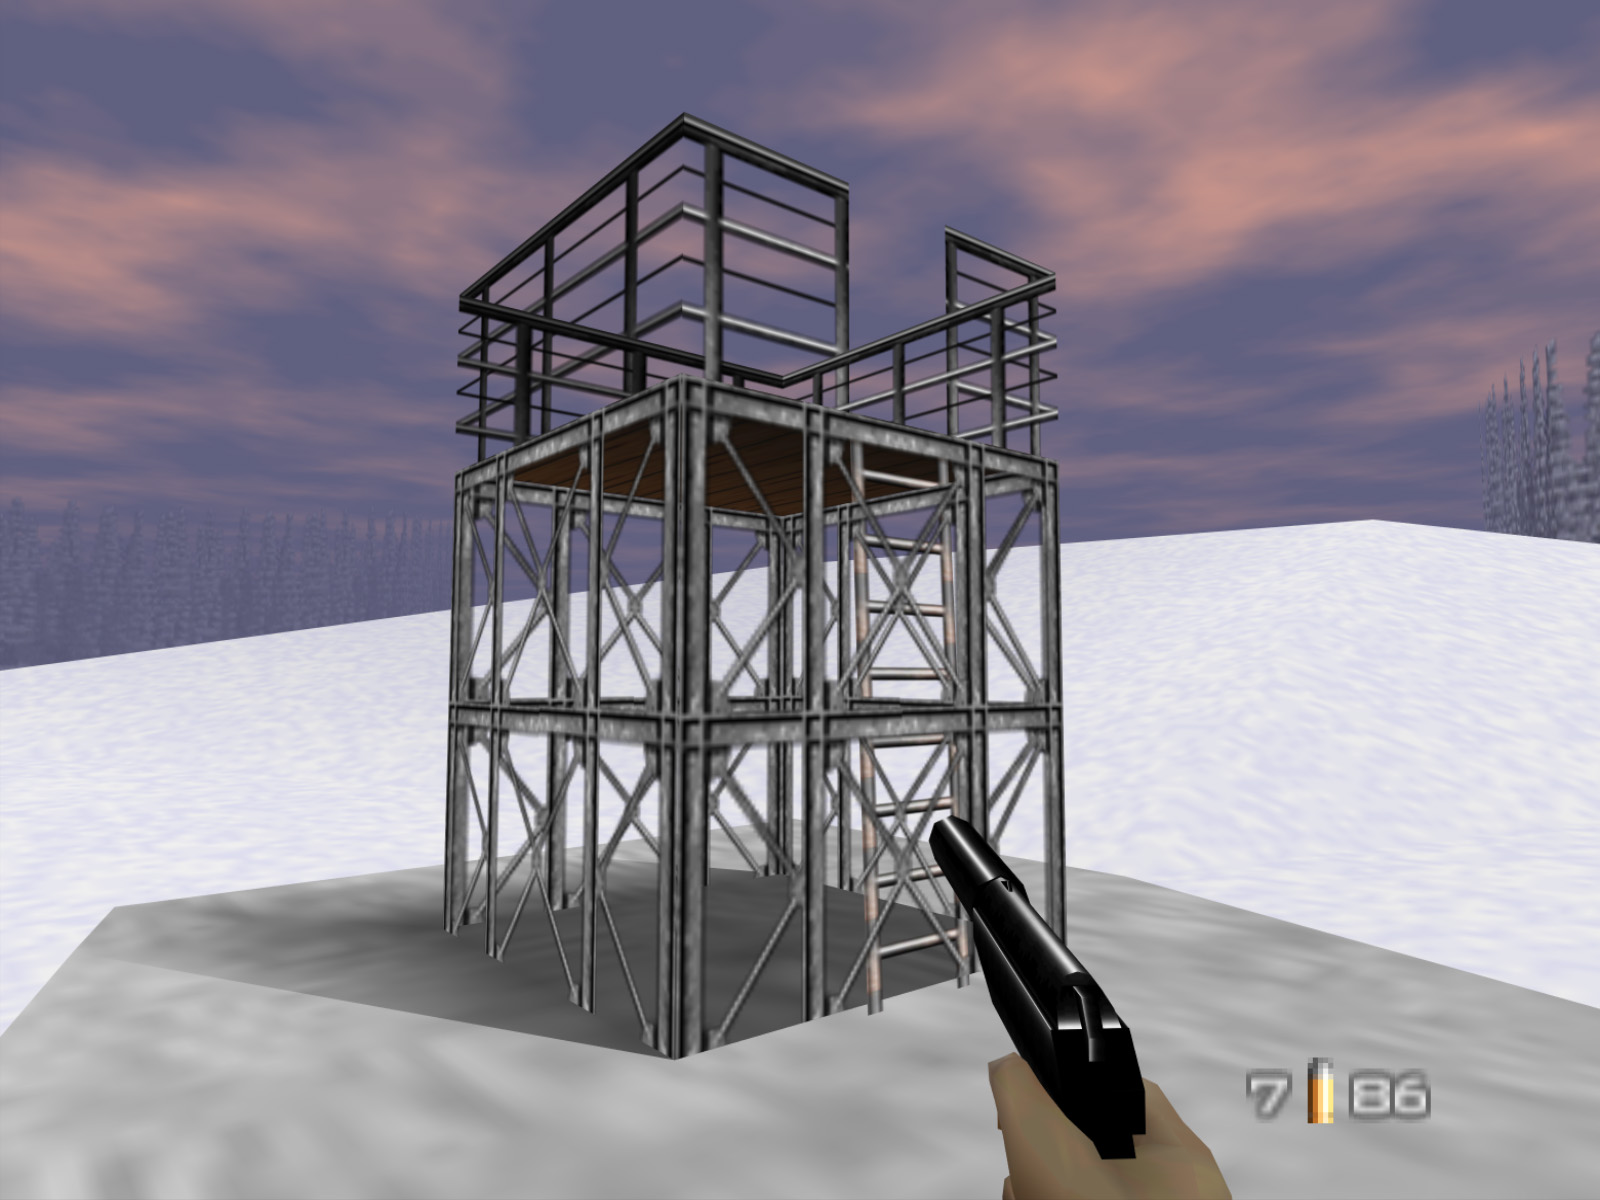
This ventilation tower marks your final destination. Climb the ladder to find the bunker's access point.
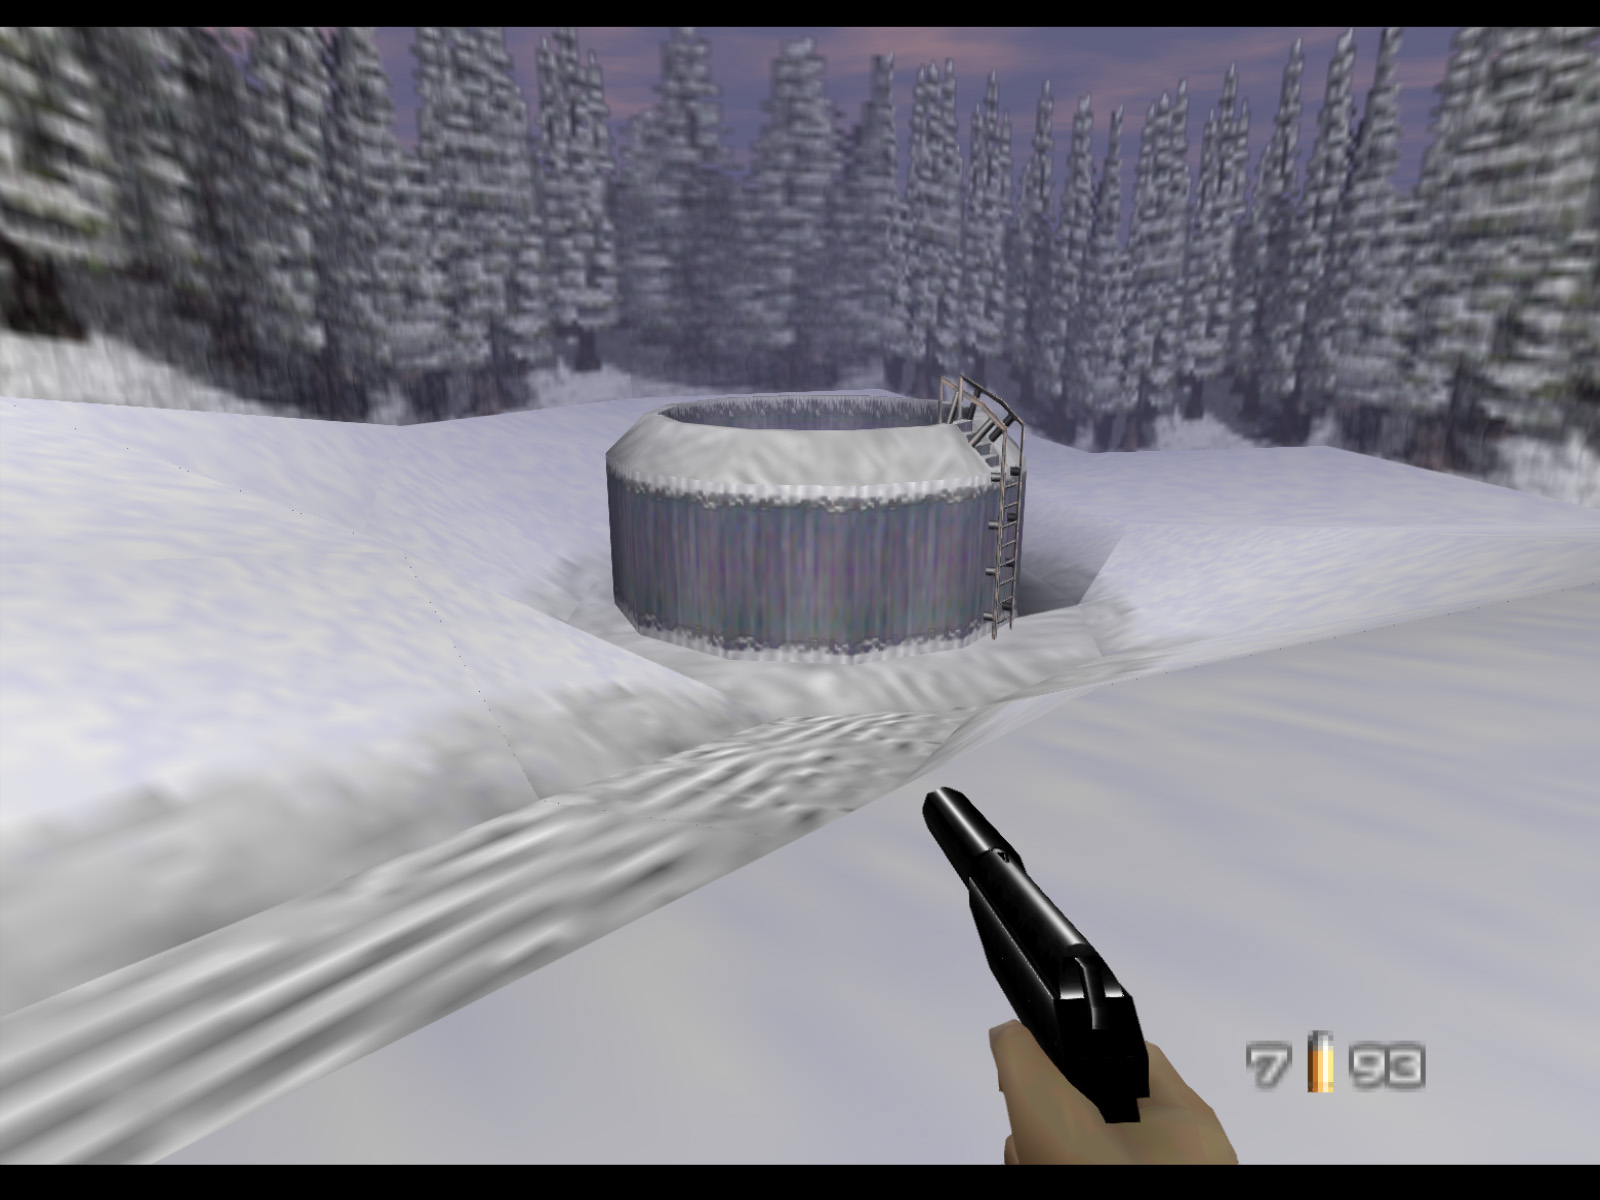

Destroy all four padlocks on the hatch to make it fall away. Drop down the shaft to complete Objective D and exit the level.
Surface has eight cabins and they're all pretty much identical. Sometimes which side the door is on is flipped but that's about it. All except one. The cabin on the right here has a different design from all the others.
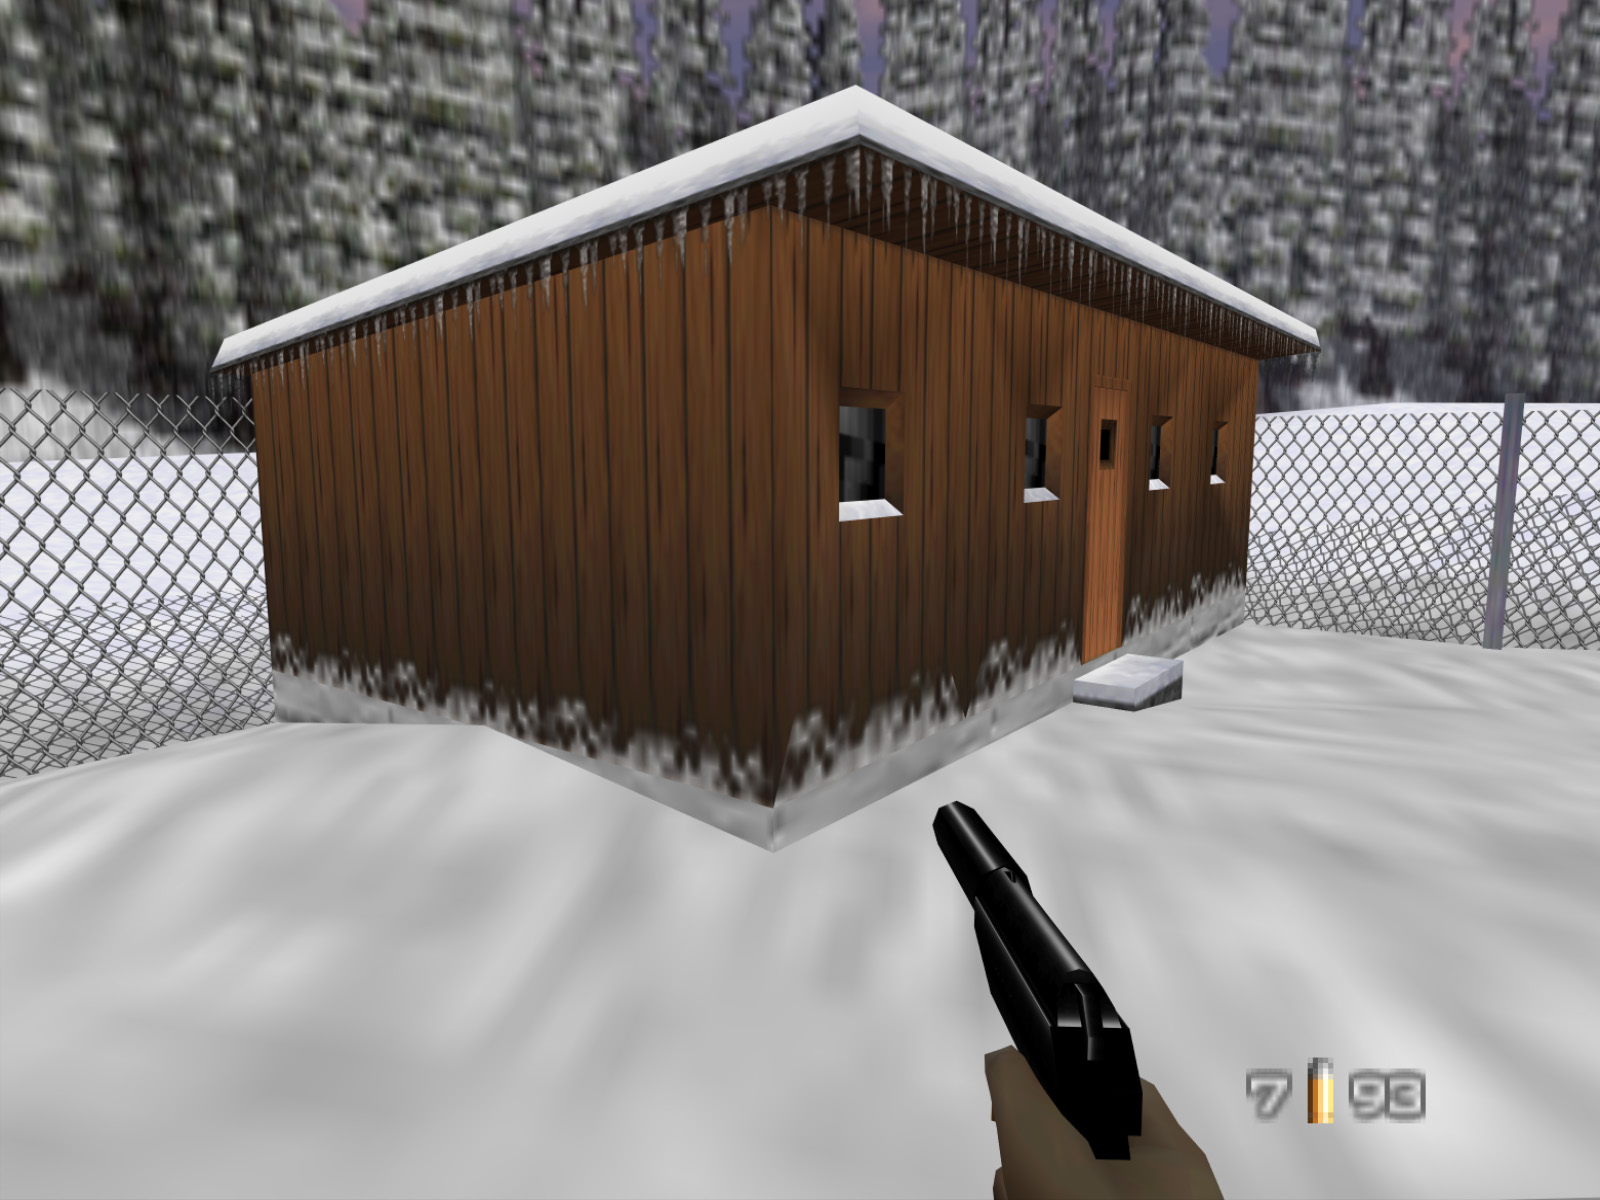
This is the only cabin to use this darker wood texture. It also has a centered door unlike all the others. Further more it has a single slope shed style roof while all the others have open gable roofs.
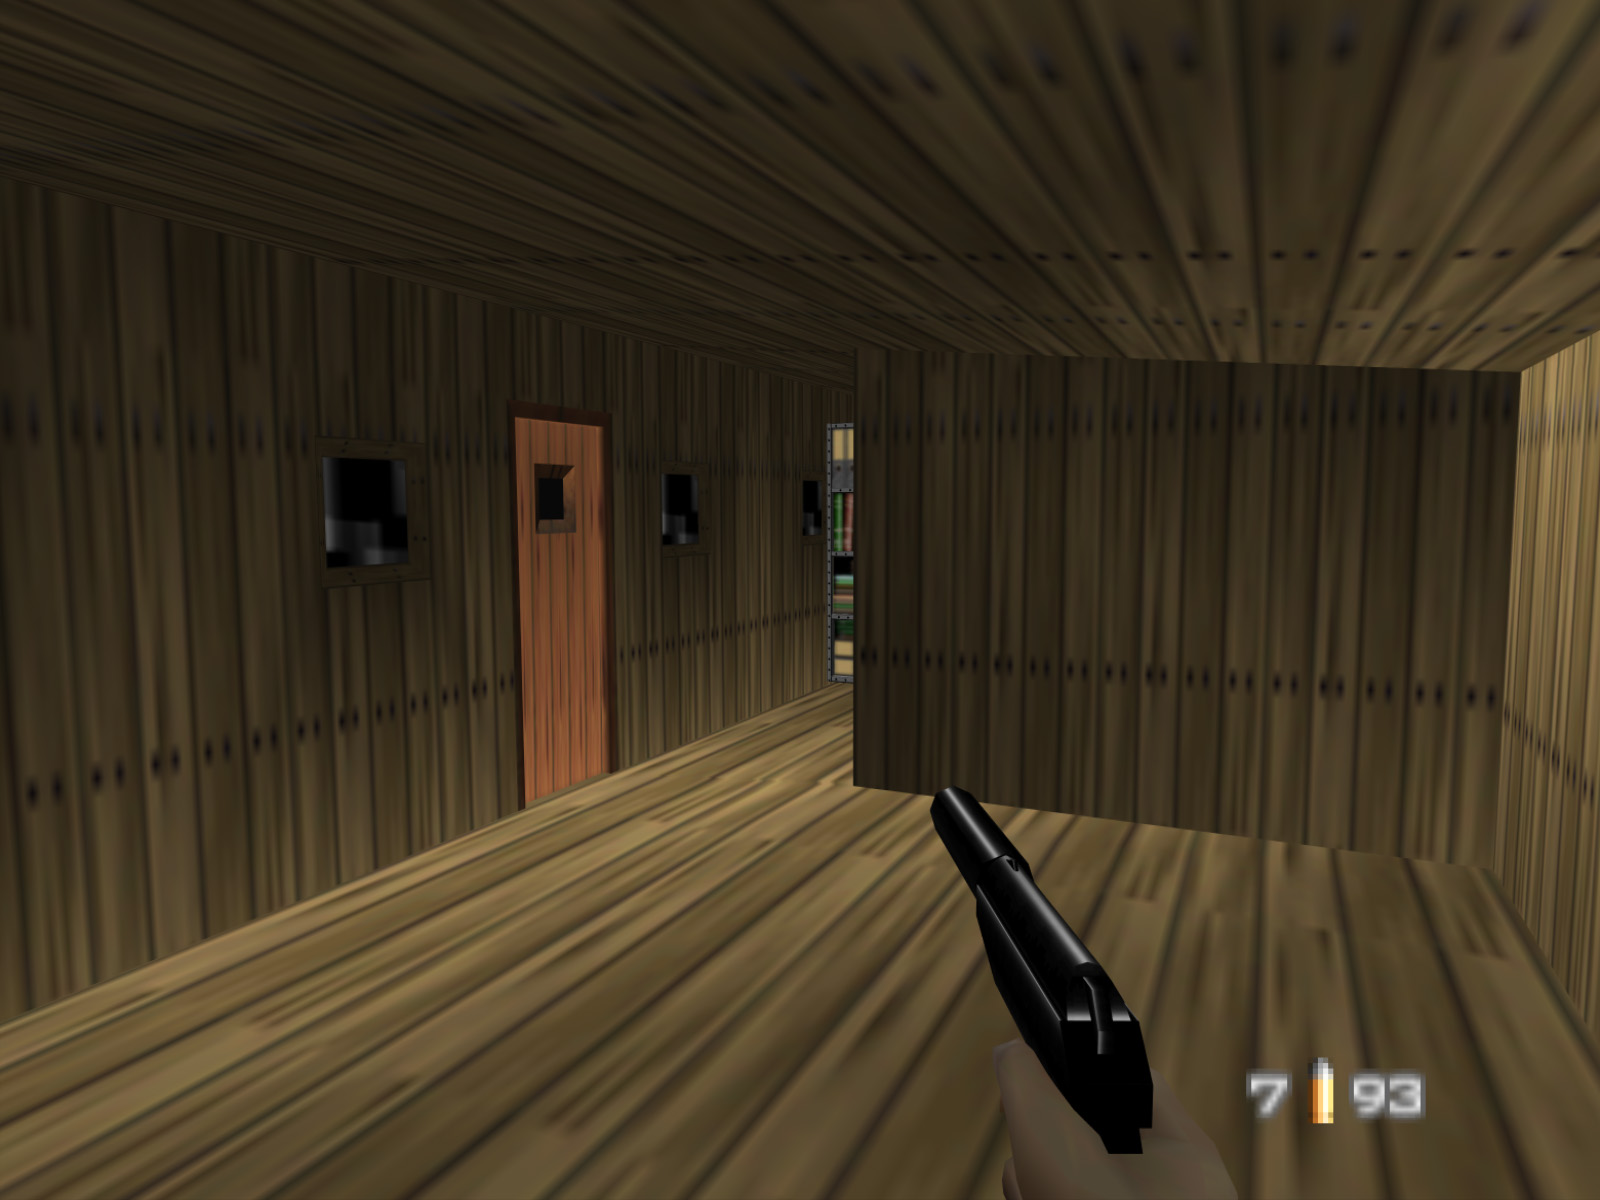
This cabin is also unique for having an interior partition while no others do. Why did the GoldenEye team take the time to make this alternate style of cabin? I feel like any other game developer would have just copied the stardard cabin design and called it a day. This is just one of many reasons GoldenEye continues to fascinate.
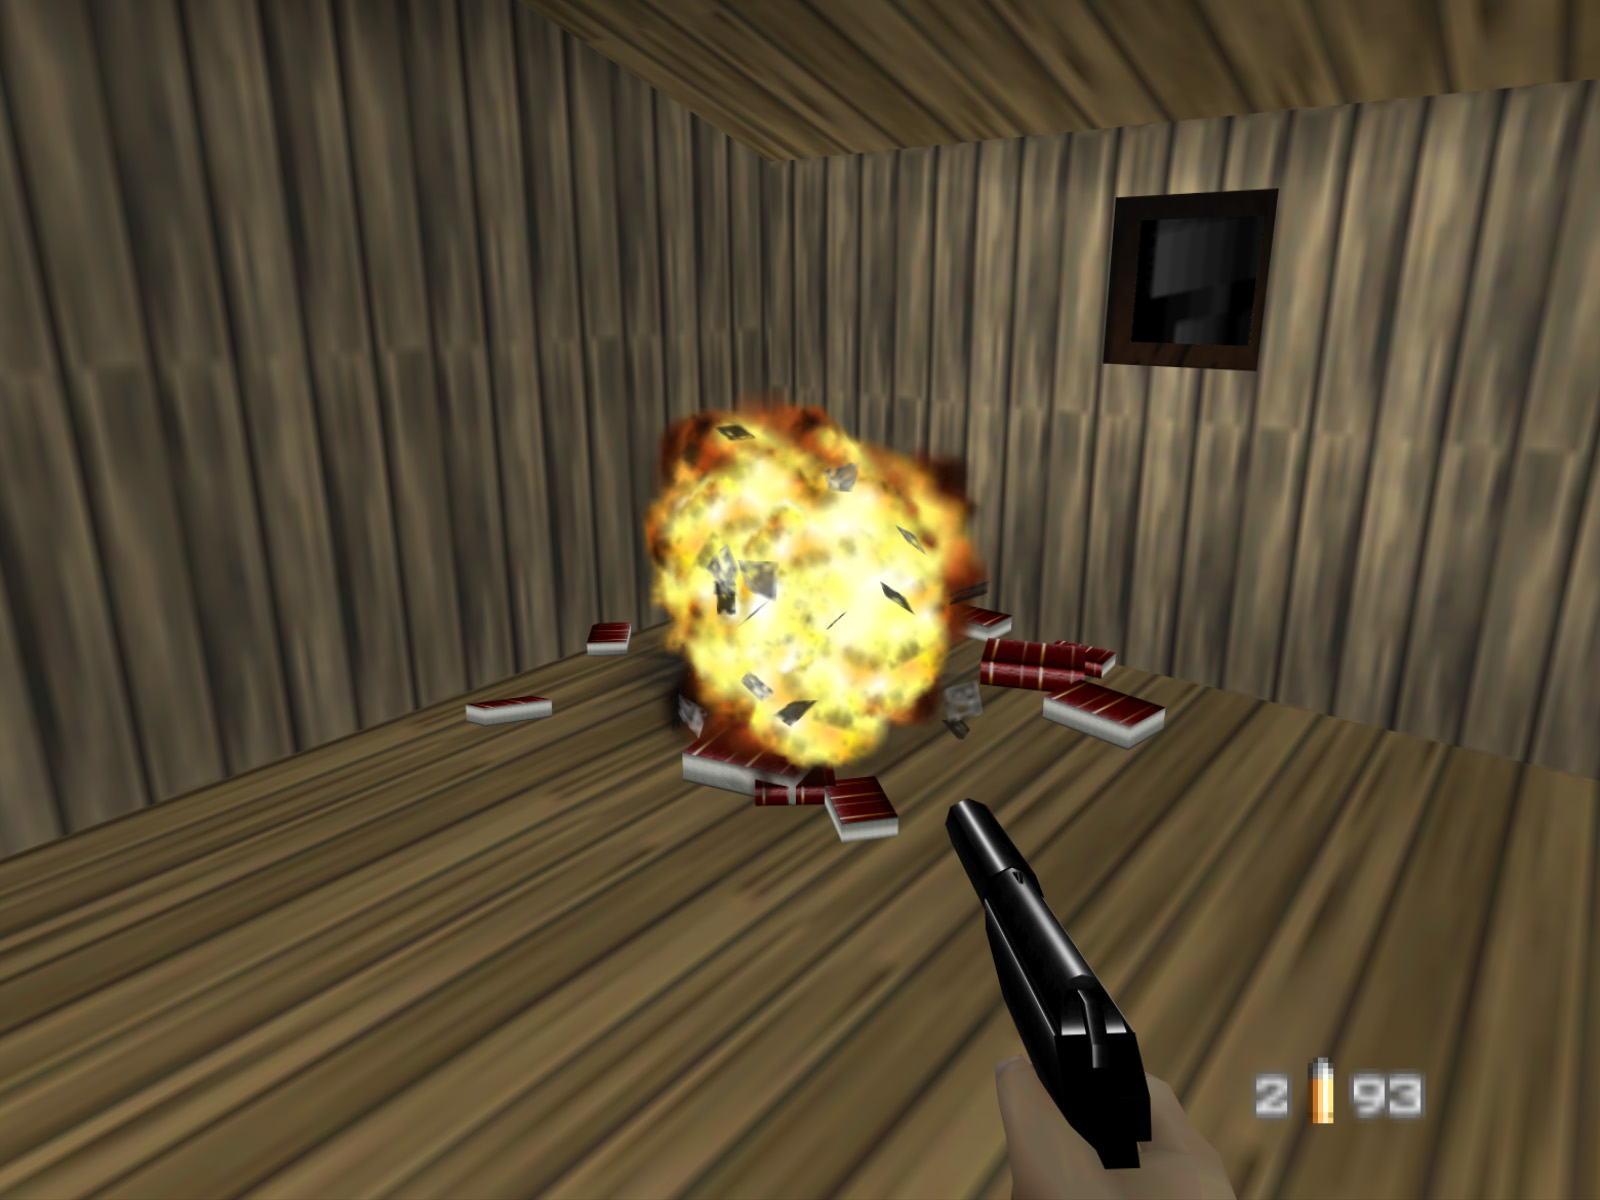
If you destroy the crate in the cabin with the safe a whole bunch of books fly out. This is just the kind of fun and silly easter egg we appreciate!
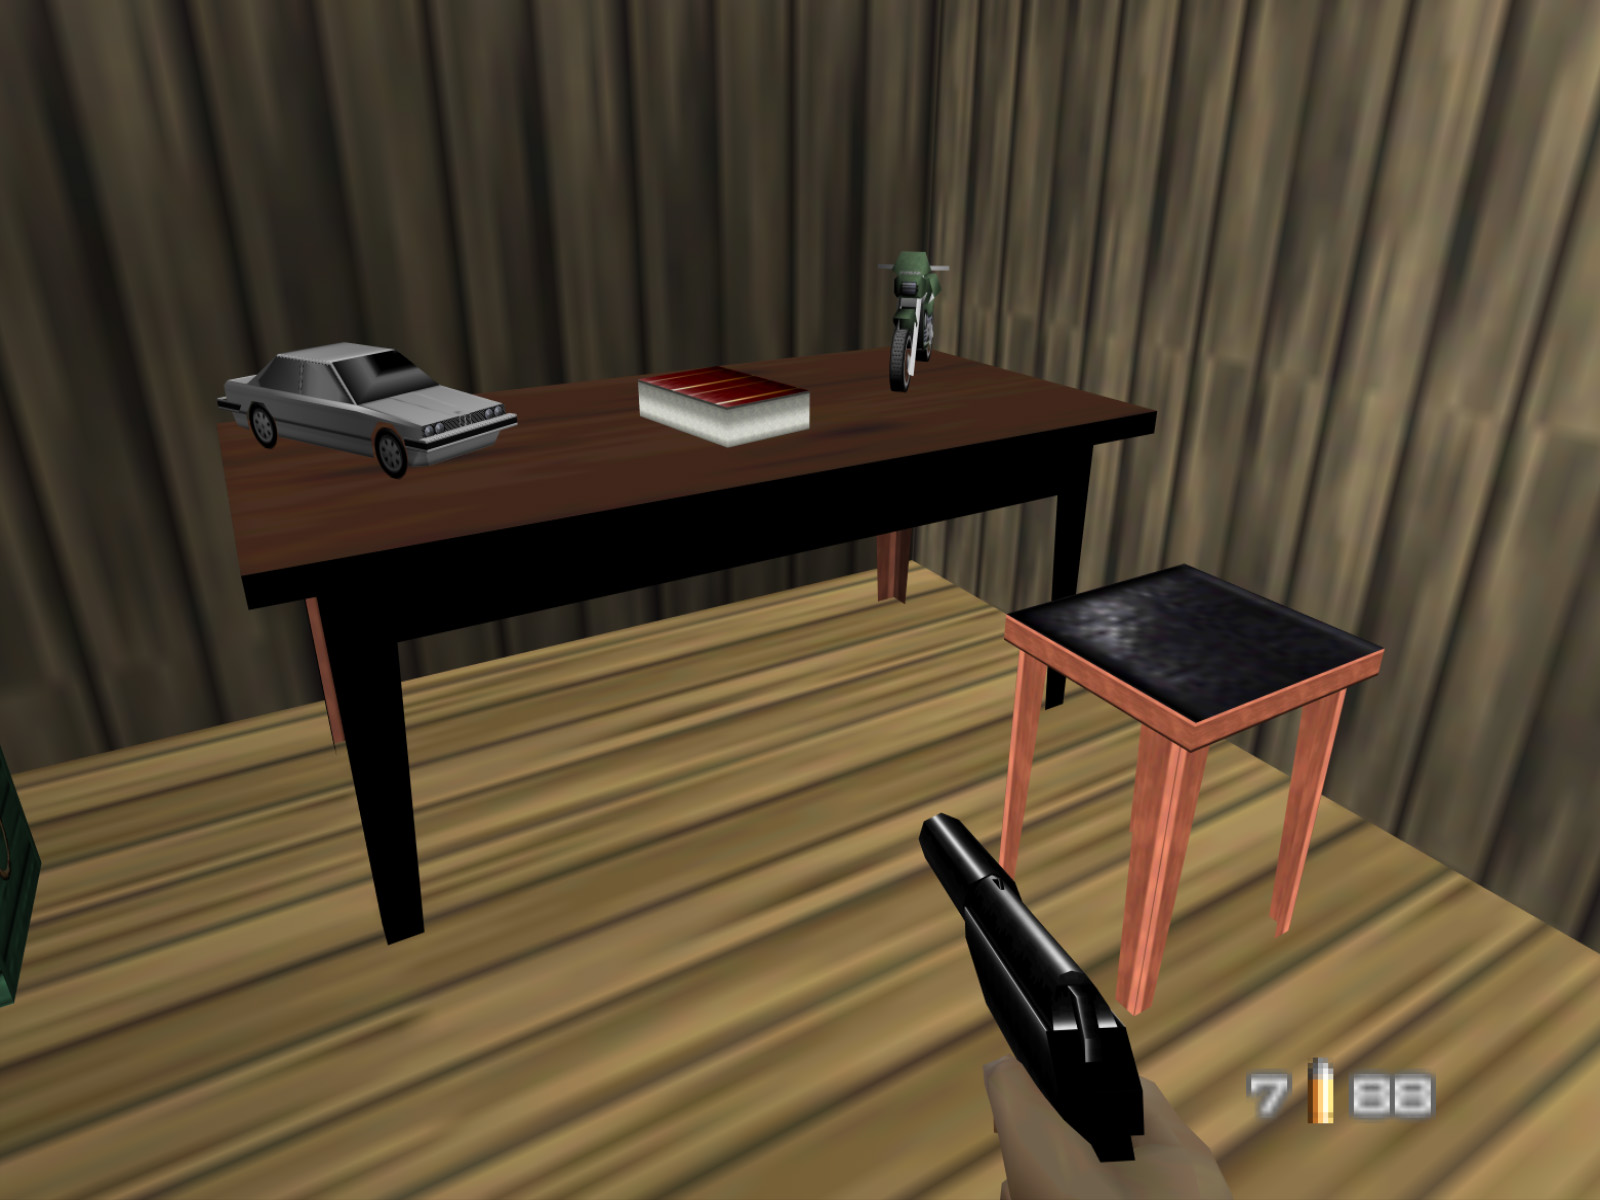
The cabin with the CCTV Camera has three unique models seen nowhere else in the game: a white car, a motorbike, and a stool. The car was intended for Streets but was probably cut to save memory. The motorbike was meant for Runway but the developers weren't able to implement it. This is a nice way to let these models be appreciated when they would otherwise not be seen at all.
Be careful destroying the vehicles. Their models may have been scaled down, but the explosions they make are not!
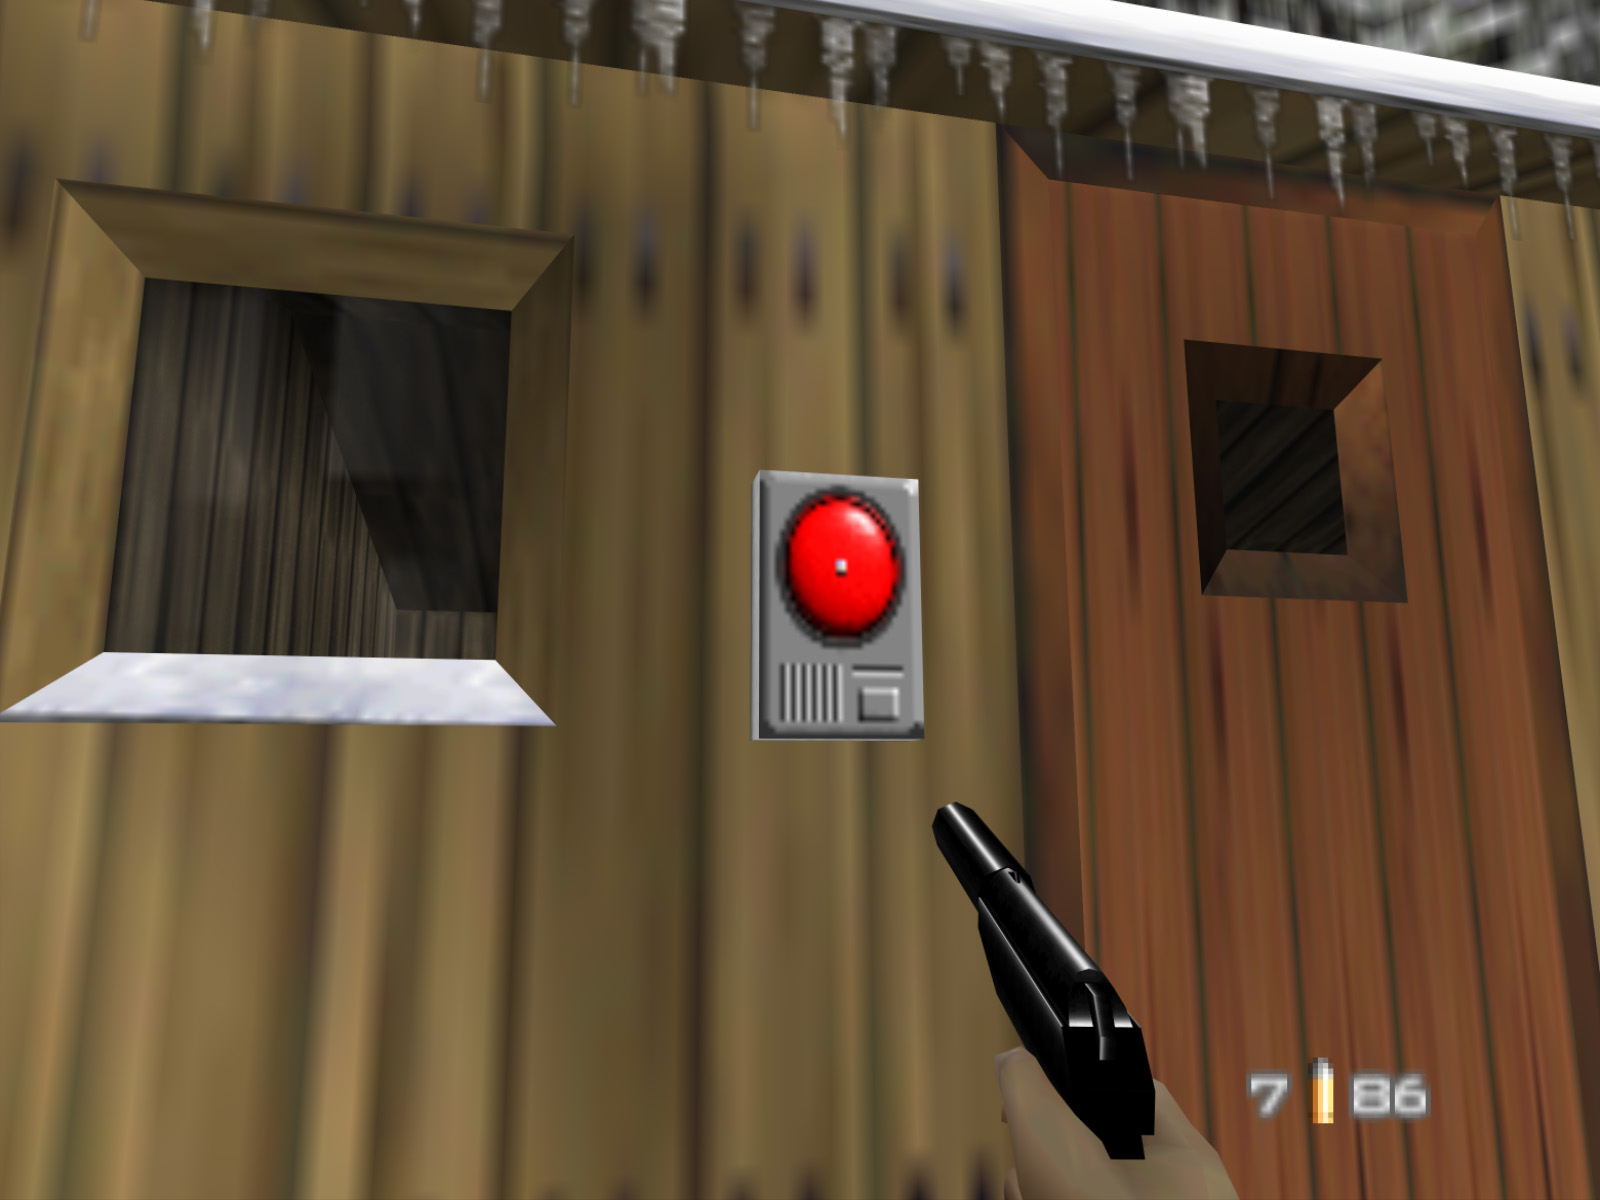
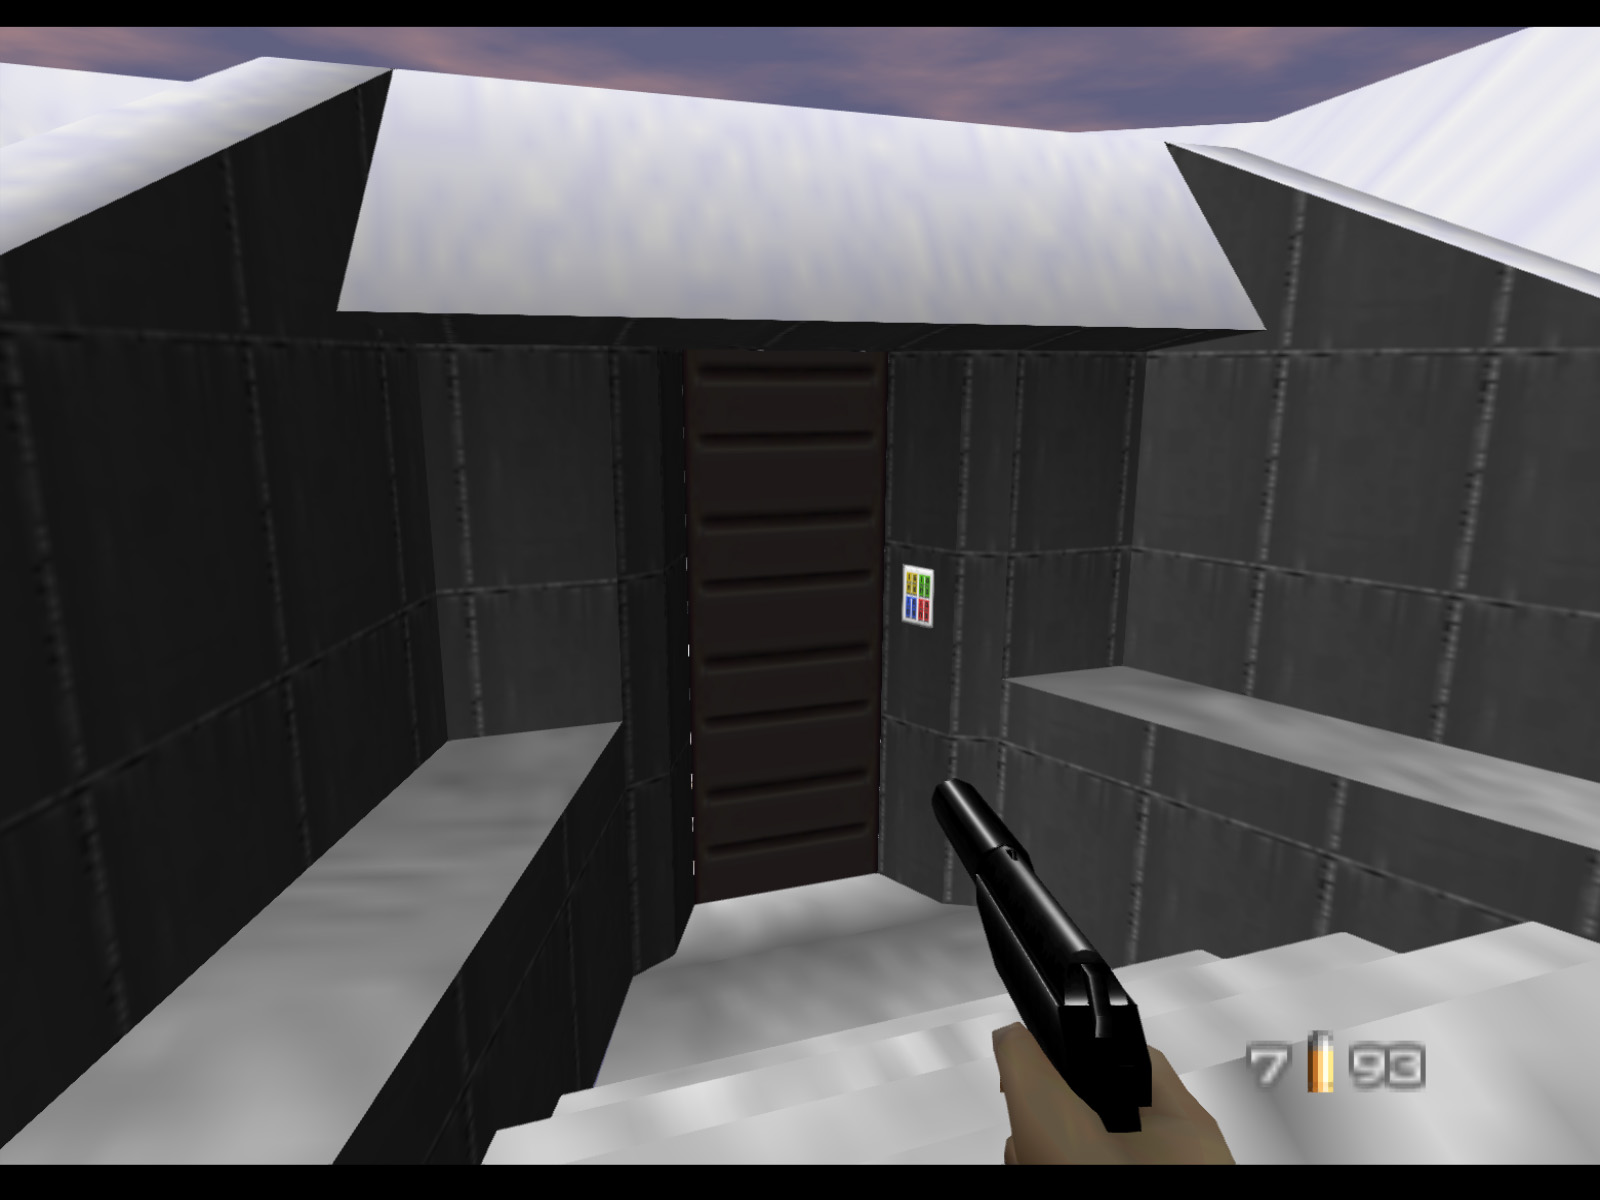
Surface 1 has exactly one of these alarms with the red button and it is located across from the cabin in the last entry. No guard ever attempts to push it, so the only way for the alarm to activate is for the player to do it themselves. And even when activated no guards respond. What is the point of this alarm? It's just very strange.
There are five of these raised platforms scattered around the map. They look like they would be perfect perches for snipers, but all of them are empty. The problem is that any character in these cannot see over the railings and therefore they would be pretty much blind. My guess is a level designer made these without knowing that GoldenEye's AI wouldn't be able to effectively use them.
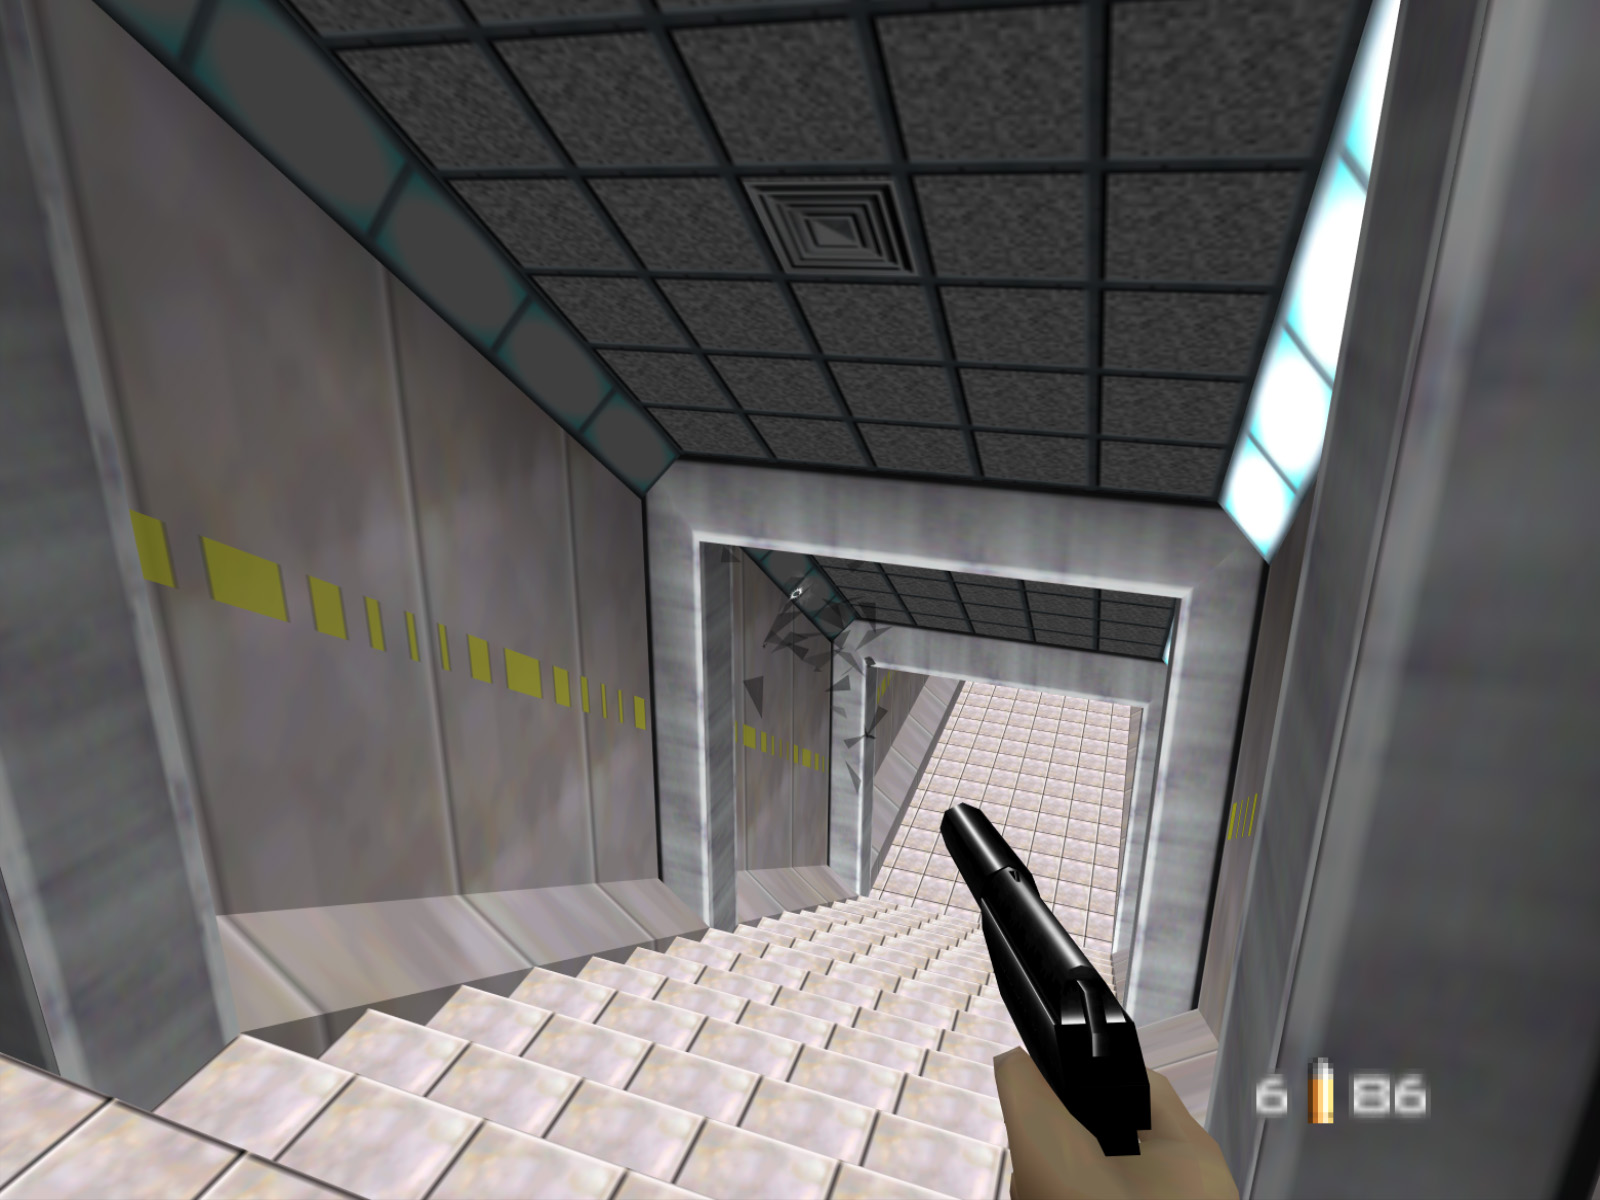
In Surface 1 the entry door to Bunker is always locked, but if you use the "Walk Through Doors" GameShark code to go through the door you can see the entrance hall to Bunker is actually there! The reason this hall exists here is because Surface 1 and Surface 2 share the same background file, and Surface 2 needs this hall for the outro scene.
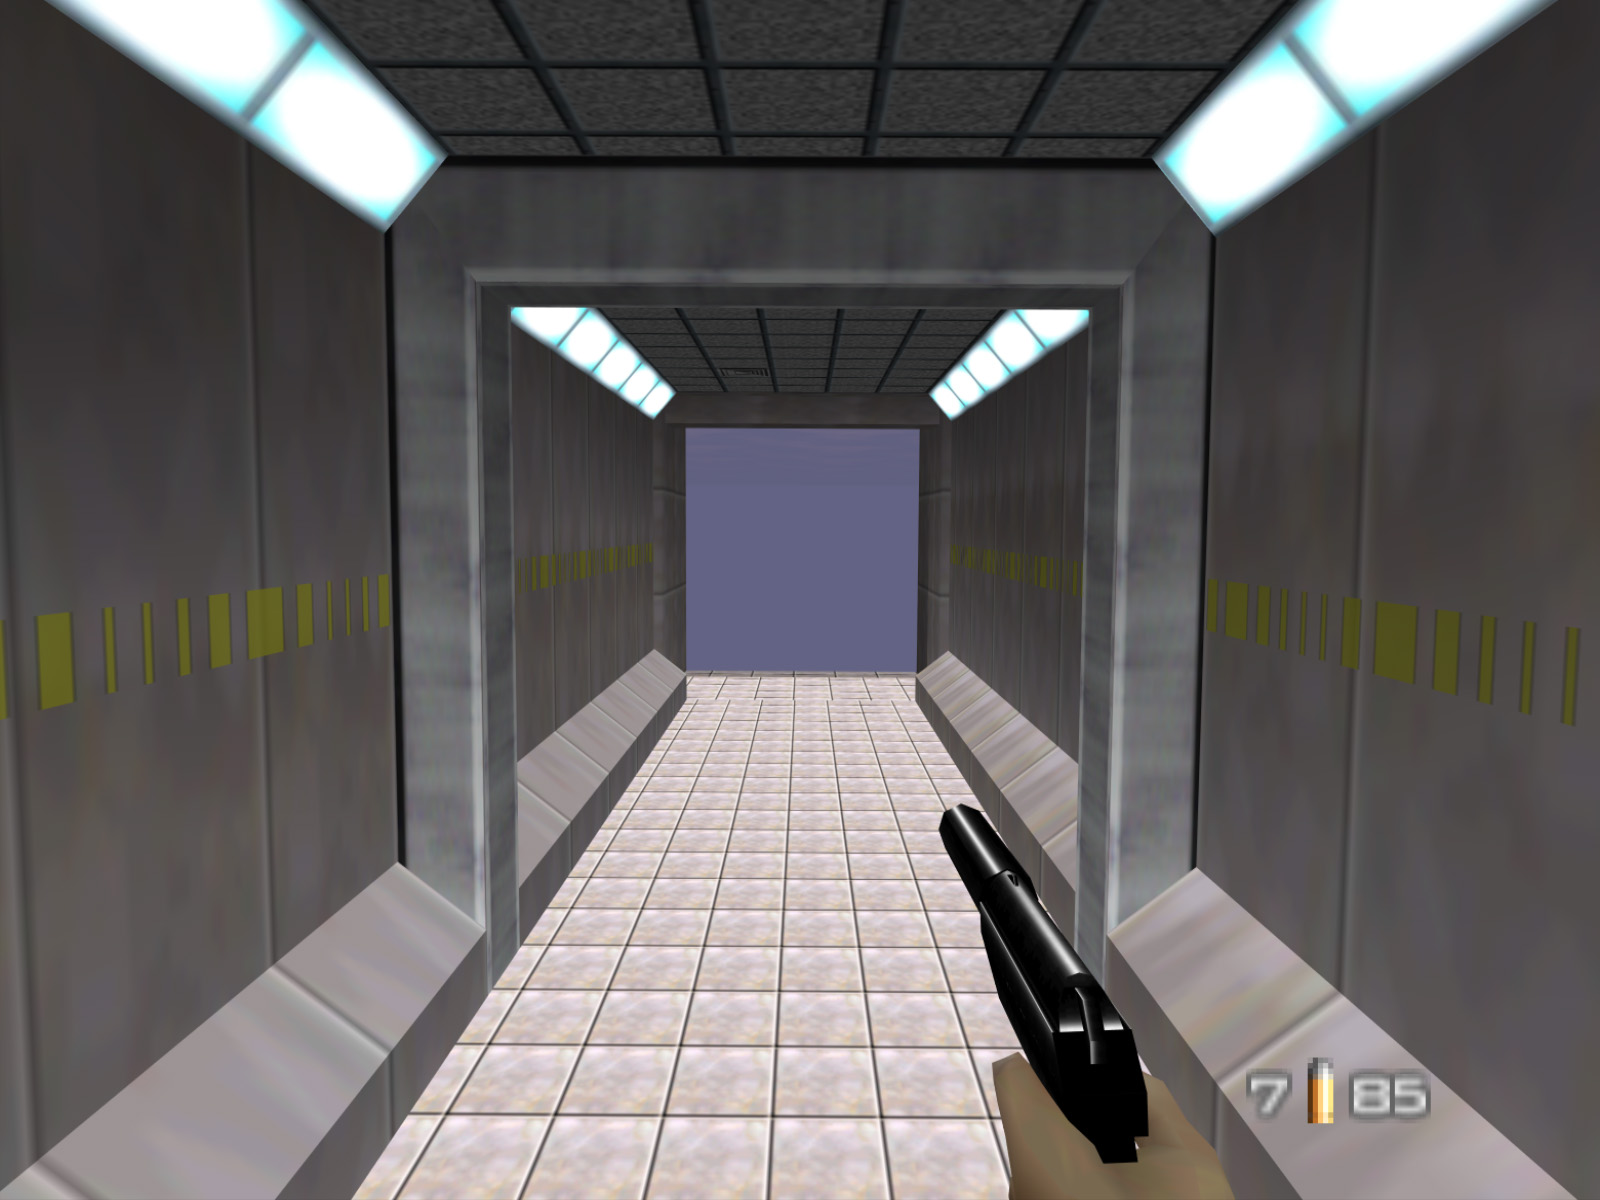
If you go to the end of the hall you see it just ends in a void open to the sky. The game's collision system stops you at the end of the hall so you don't fall into the void.
