Mission 6: St. Petersburg
Part v: Train
Mission 6: St. Petersburg
Part v: Train
The leader of Janus, Alec Trevelyan, is holding Natalya hostage on his armored train.
We've lost experienced agents before in hostage situations. Keep a clear head, 007, and don't get sidetracked settling old scores.
A train, 007, pretty simple. Destroy the braking units in each carriage and the emergency systems should bring it to a halt.
That girl again, James?
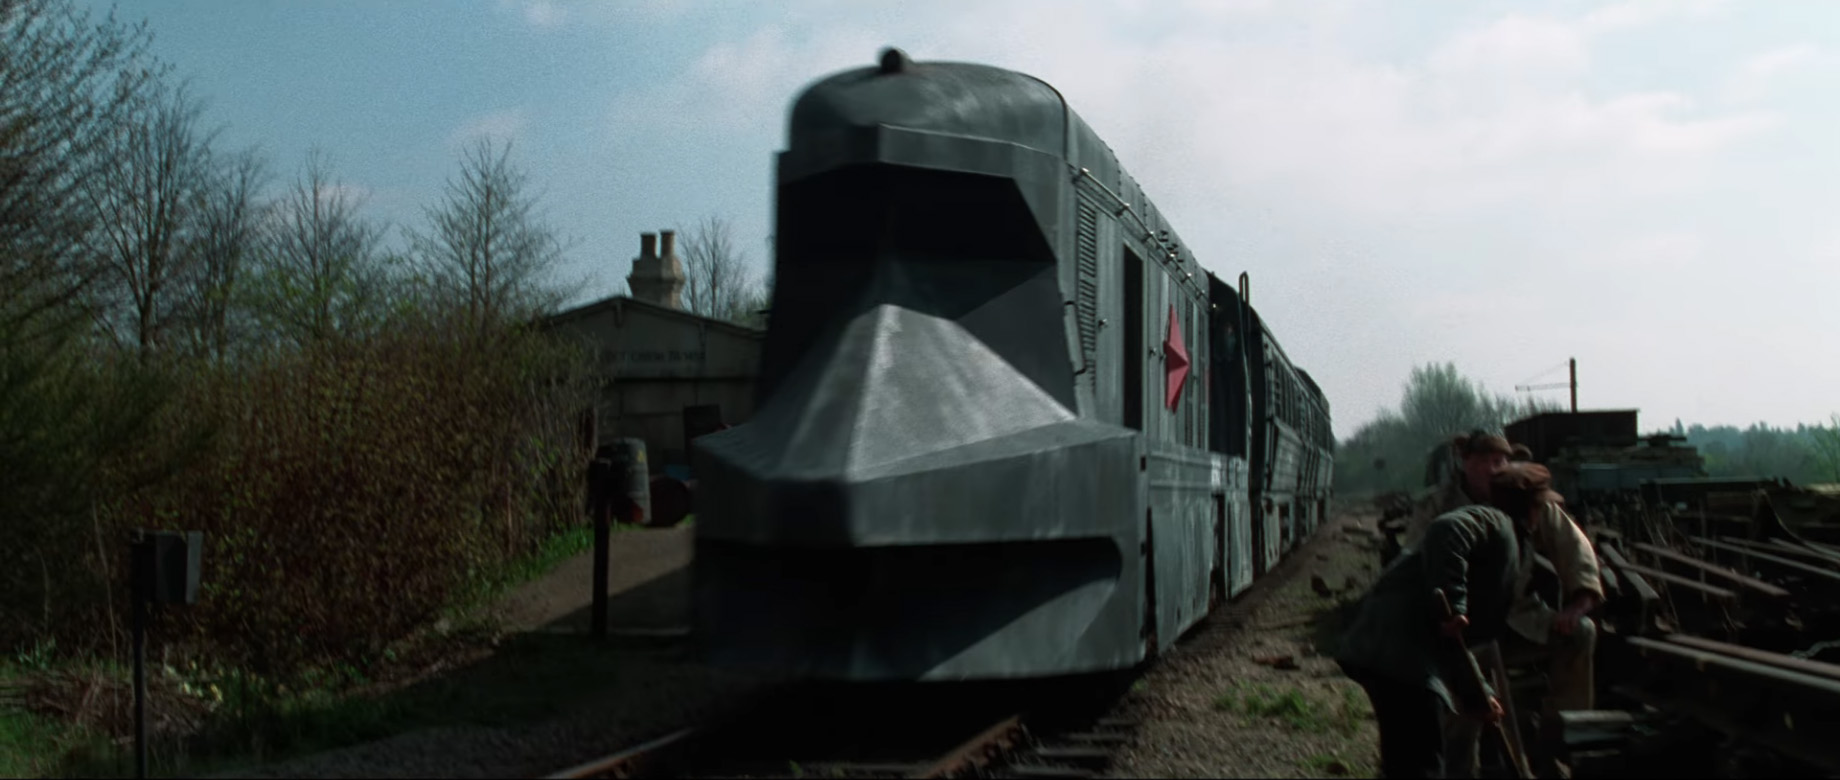
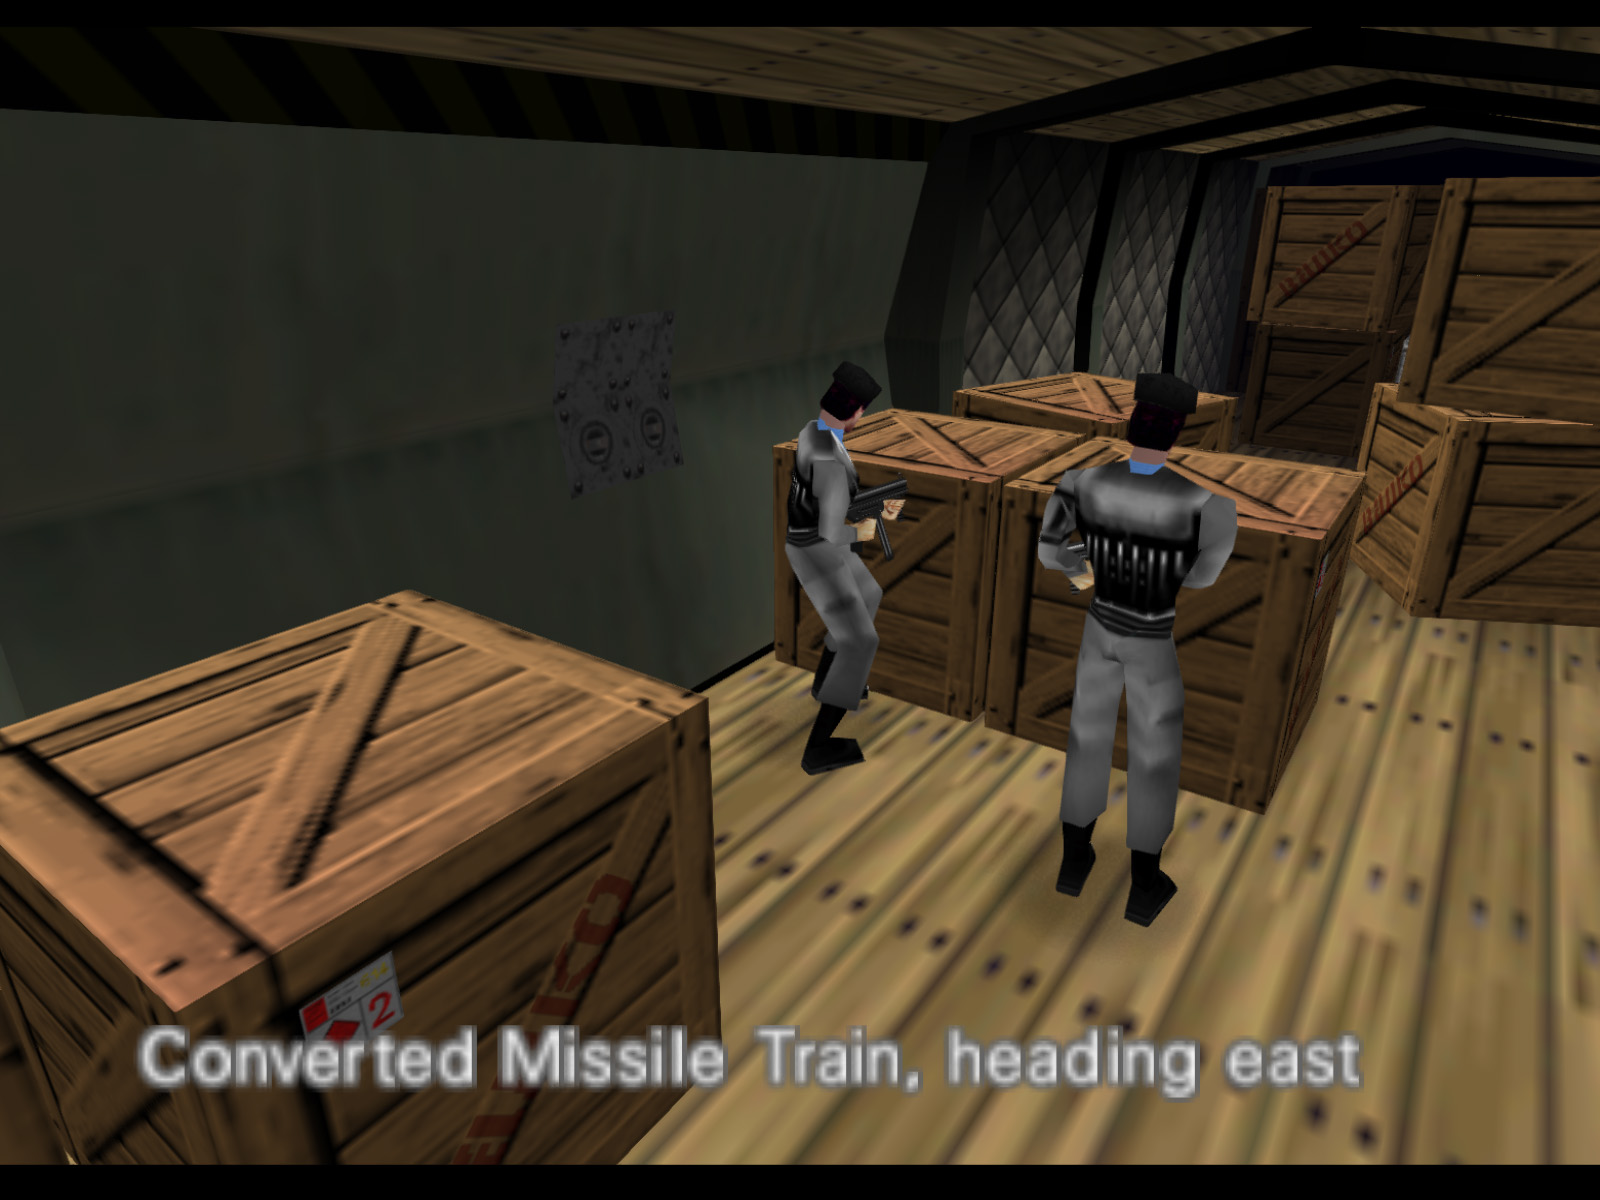
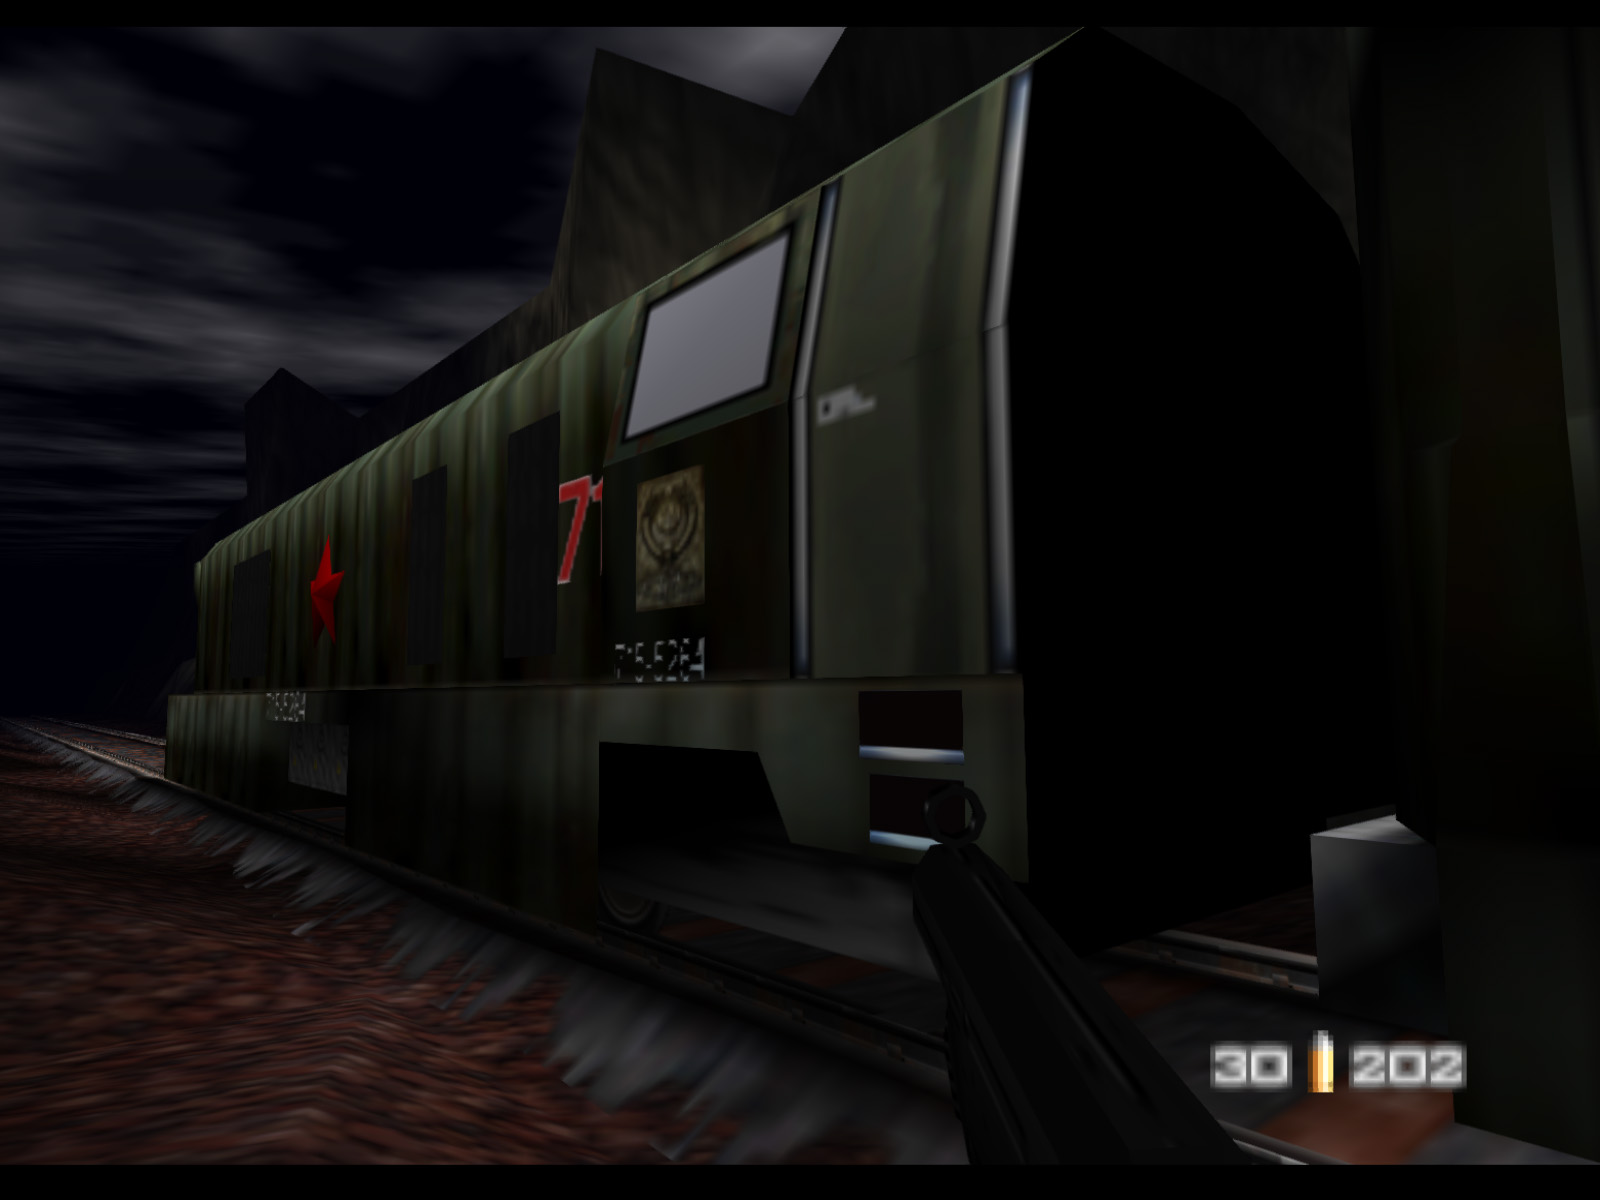
Train is the fourteenth level of GoldenEye 007 and the fifth and final level of the sixth mission. It takes place inside and outside of a former Soviet armored train that was used to transport military equipment. Trevelyan acquired it after the fall of the Soviet Union and now uses it as a mobile residence to keep his whereabouts unknown. Trevelyan, Xenia, and Ourumov are all aboard the train as it heads east. Ourumov holds Natalya at gunpoint, ready to execute her should Trevelyan give the order.
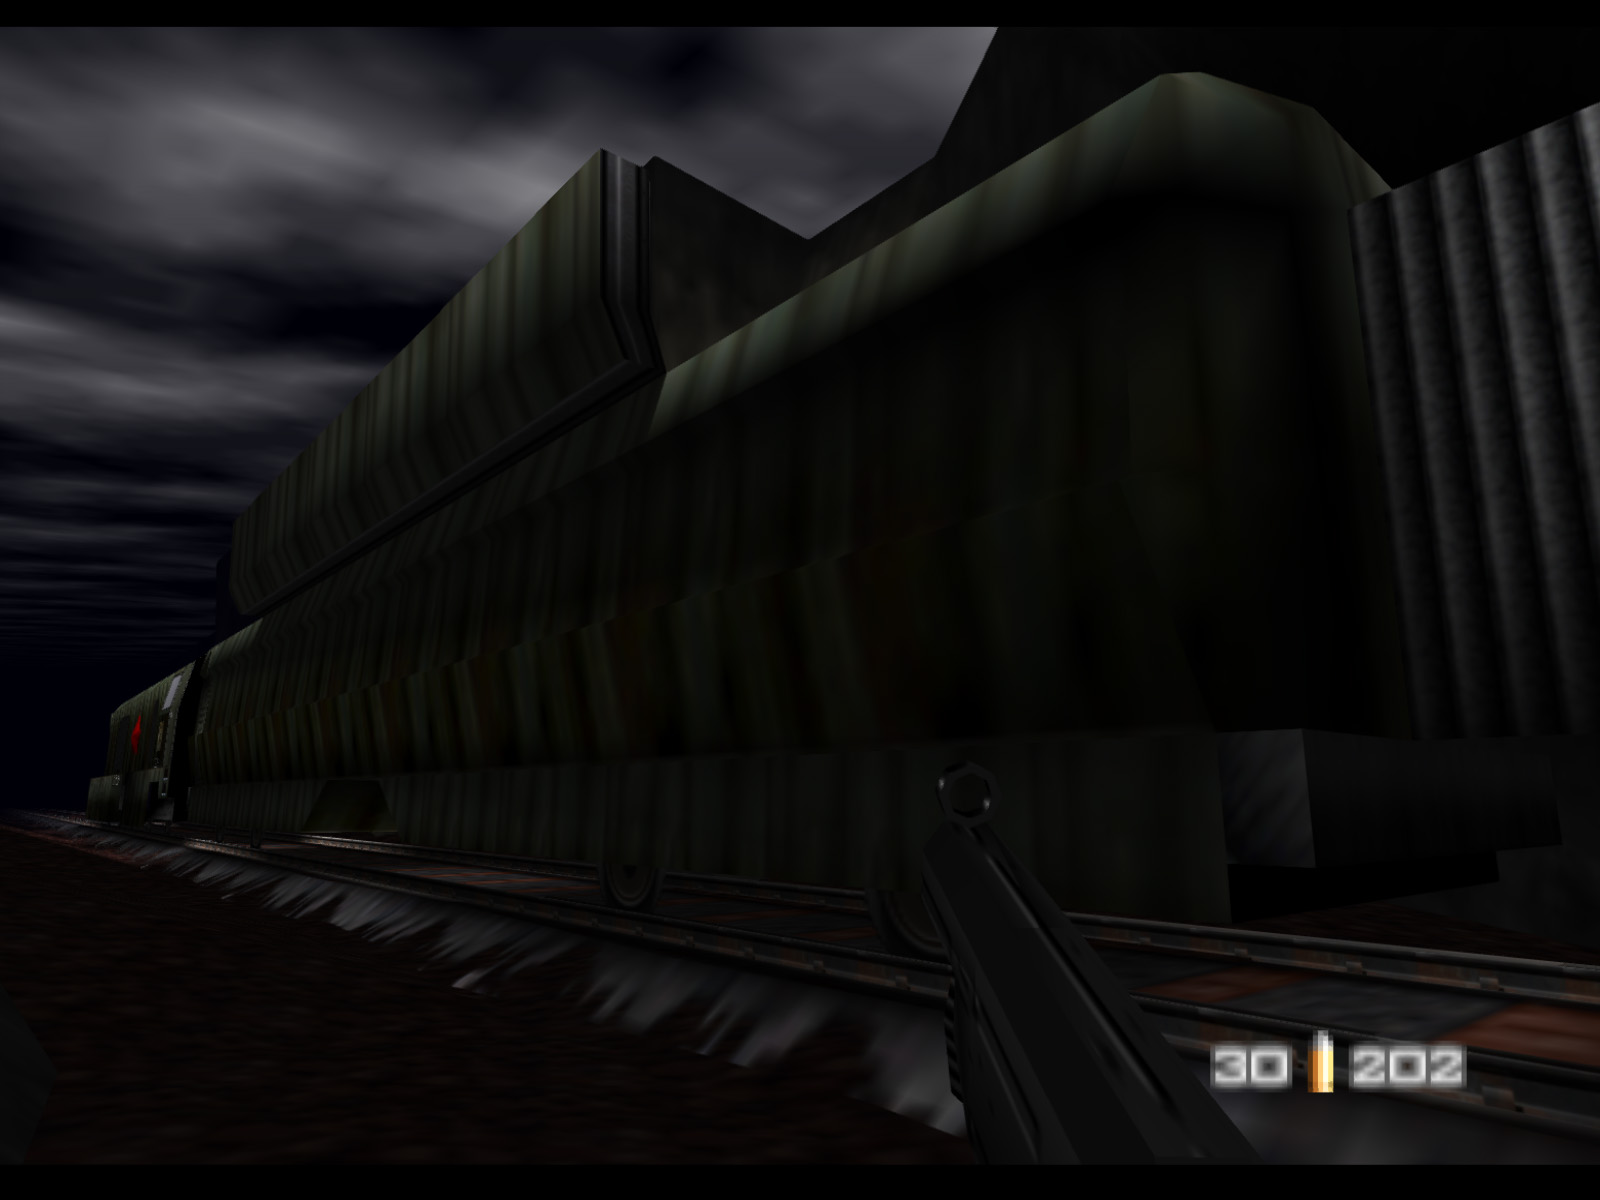
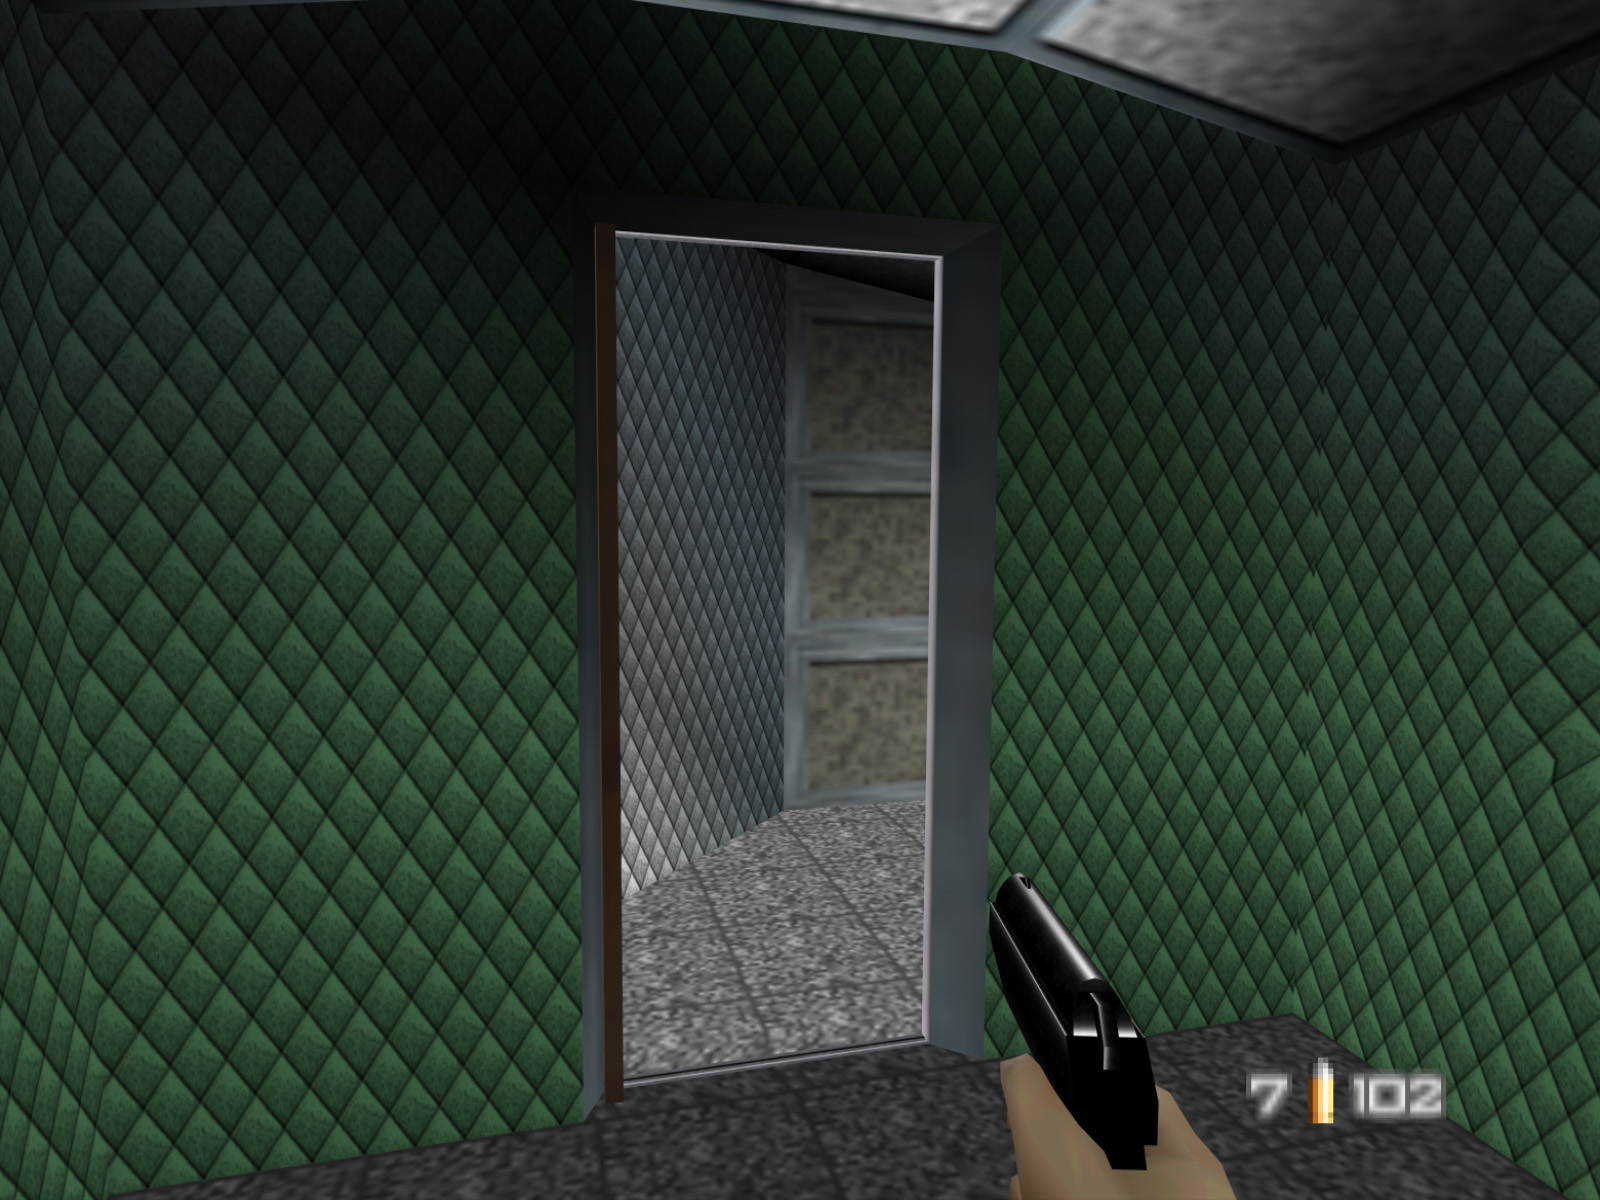
Bond starts at the back of the train and has to make his way through six cars to get to Natalya. Each car is about 29 meters long and four meters wide. There's also an inaccessible car and a locomotive. In total the train is about 239 meters long. There are two cargo cars, two passenger cars, a parlor car, and a command car. Each car has a set of brakes that must be destroyed to bring the train to a halt.
There are no armors on Train.
Bond finds himself in the train's rear cargo car with an army of Janus Marines and Janus Special Forces standing between him and Trevelyan. Many players consider Train a very difficult level and for good reason. There are ten Janus Marines who use crates for cover in the first two cars, some guards are scripted to sneak up behind you, and some Janus Special Forces late in the level even have body armor.
I recommend doing quick peeks that expose yourself to only one guard at a time if possible. Make rapid and accurate shots then move onto the next guard. If you take too long the Janus Marines will eventually destroy your cover.
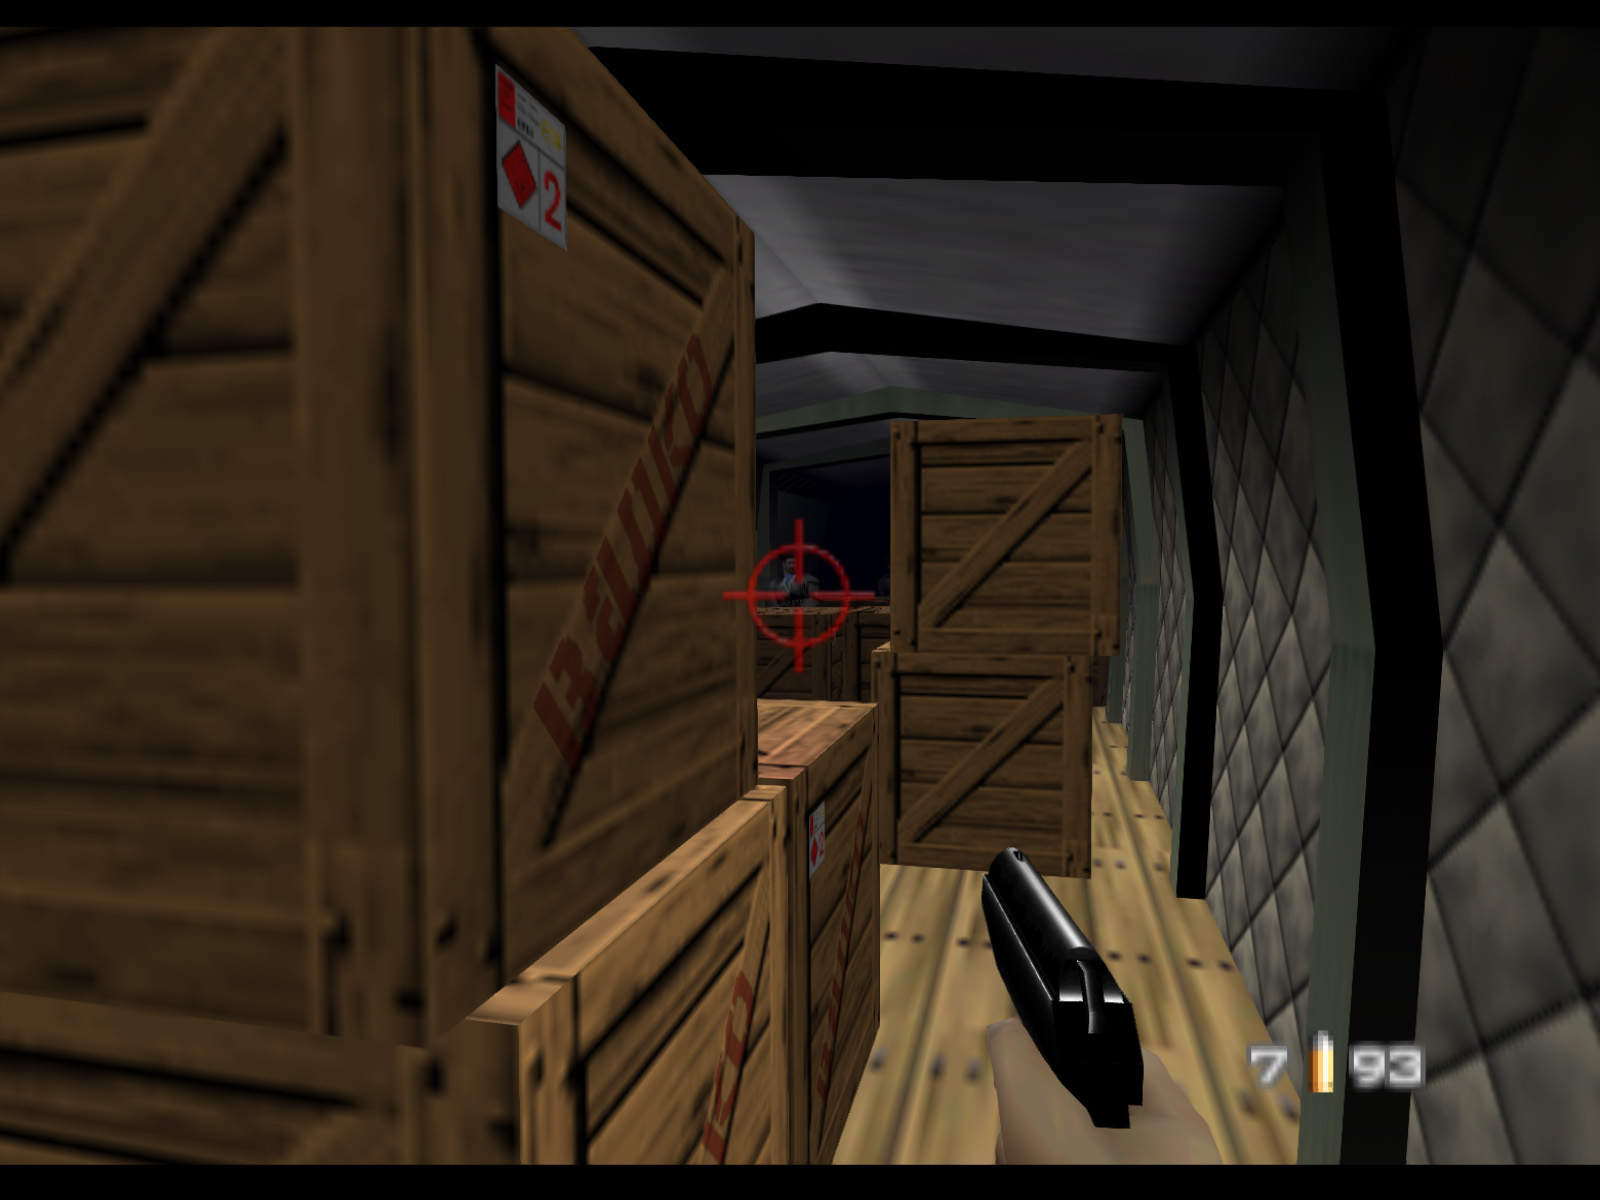
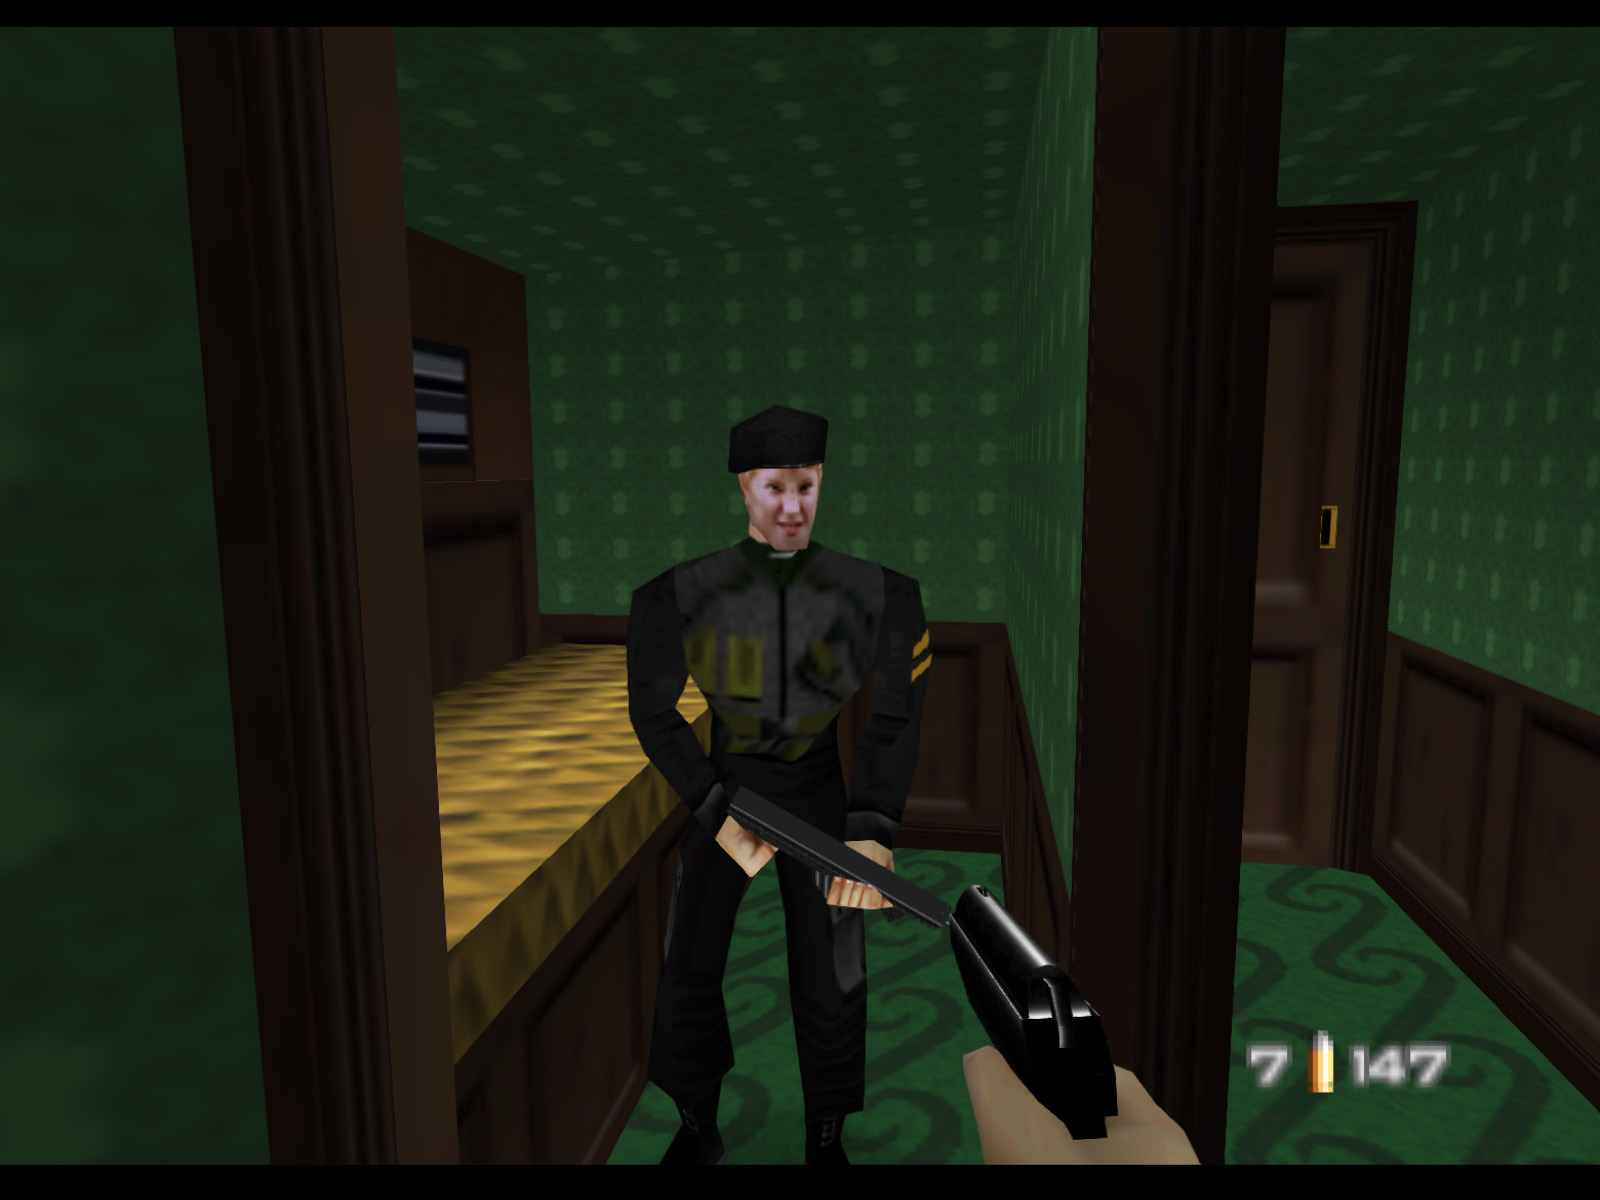
There are four Janus Marines in this first car.
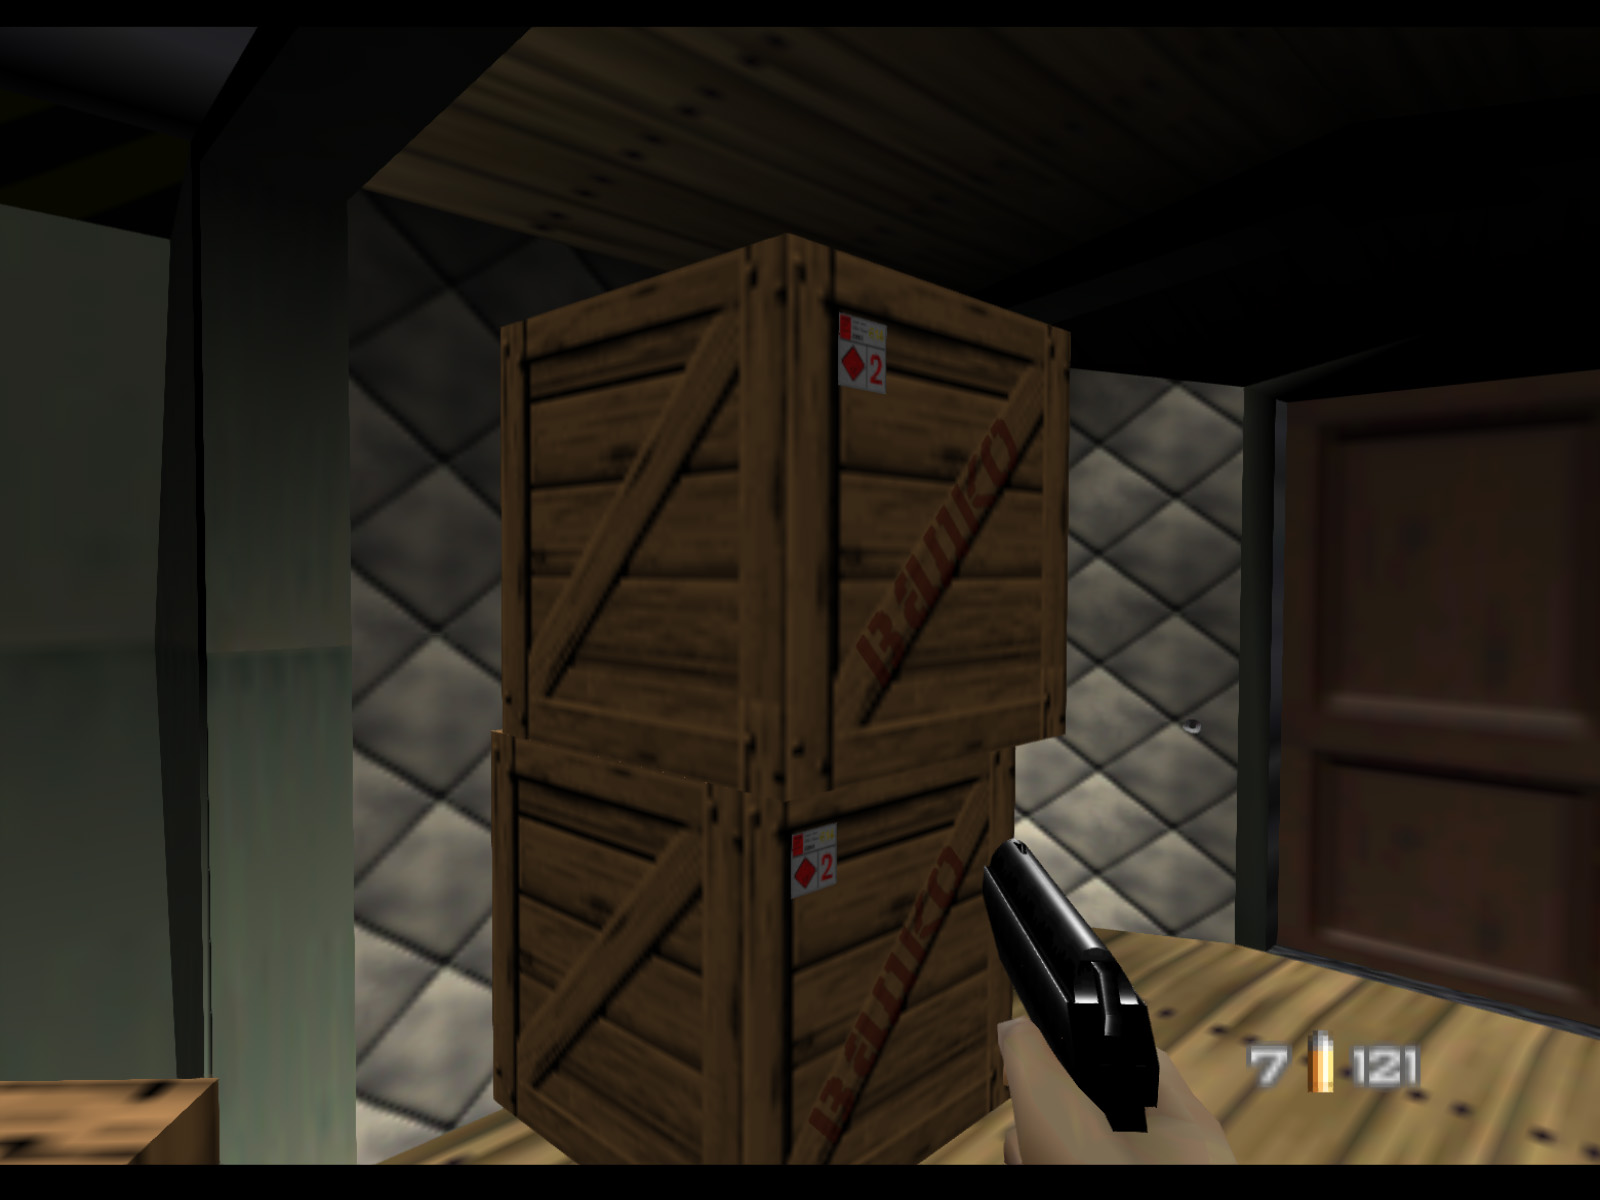
▶ TIP: At the end of first car there is this stack of two crates. On Agent difficulty this top crate drops a RC-P90 when destroyed. On Secret Agent it contains a DD44. On 00 Agent it has nothing.
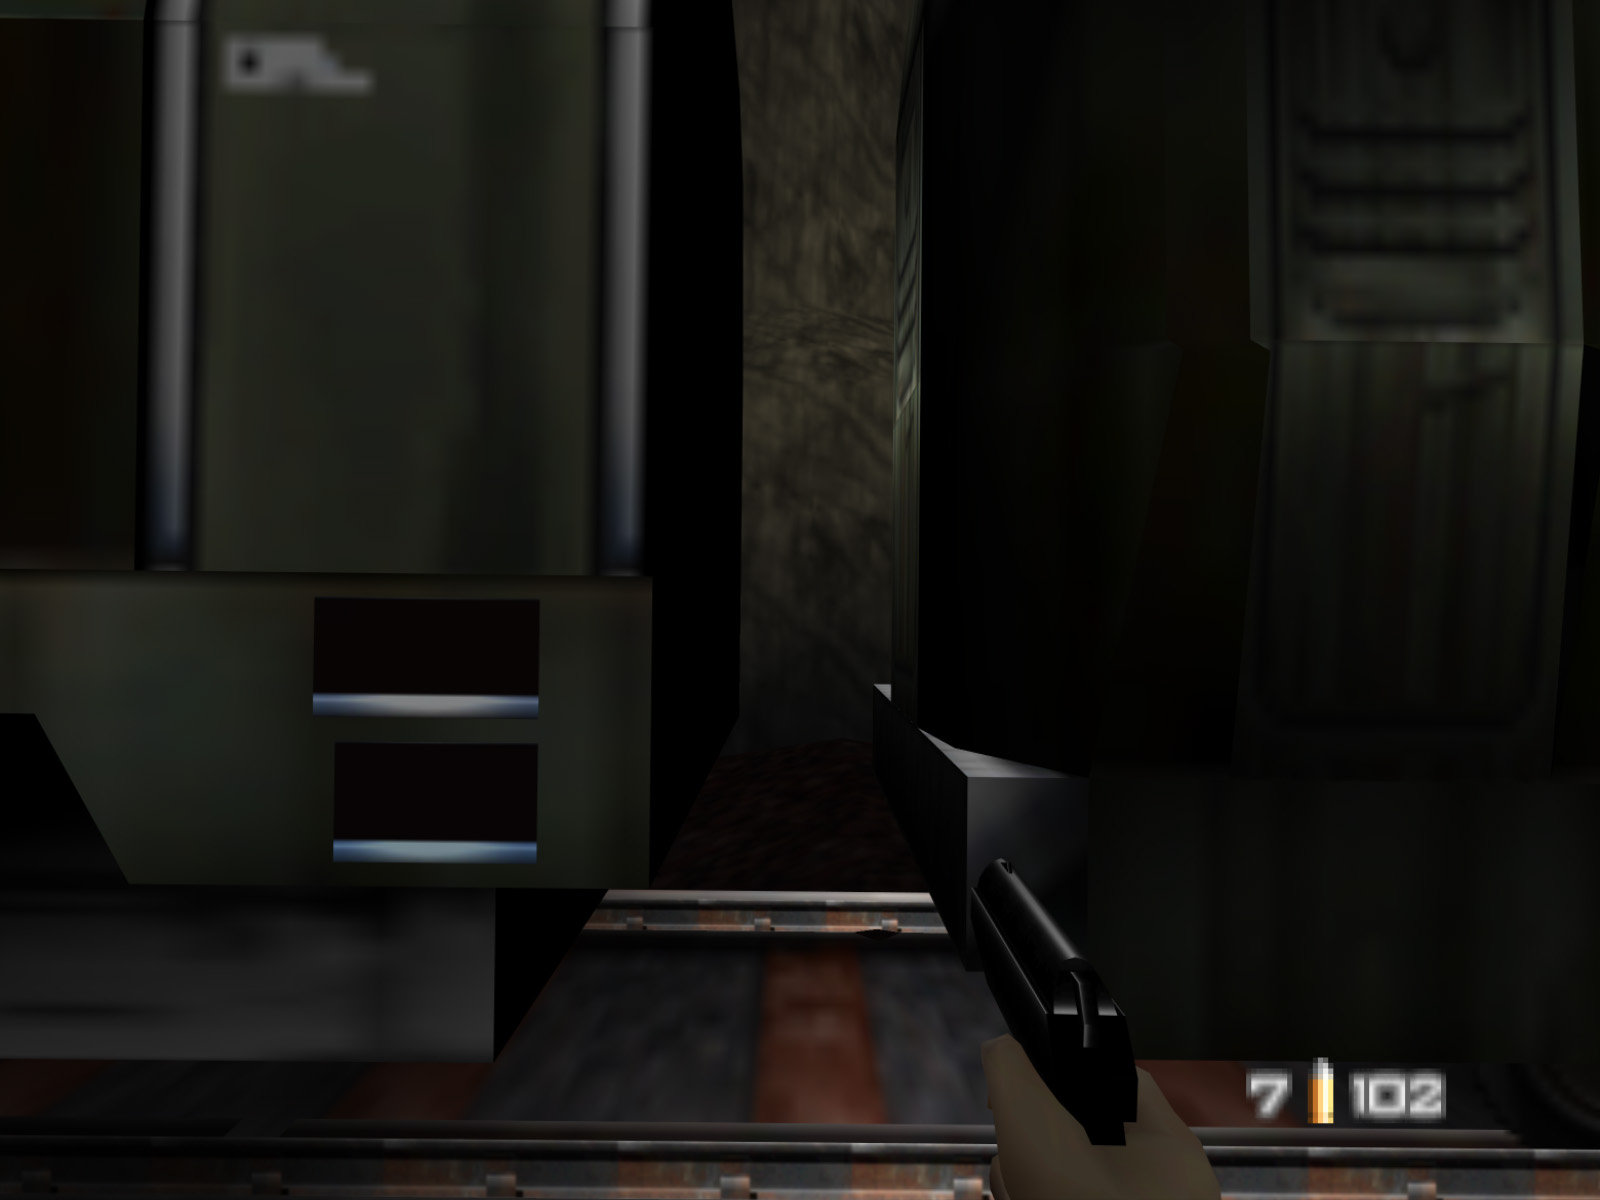
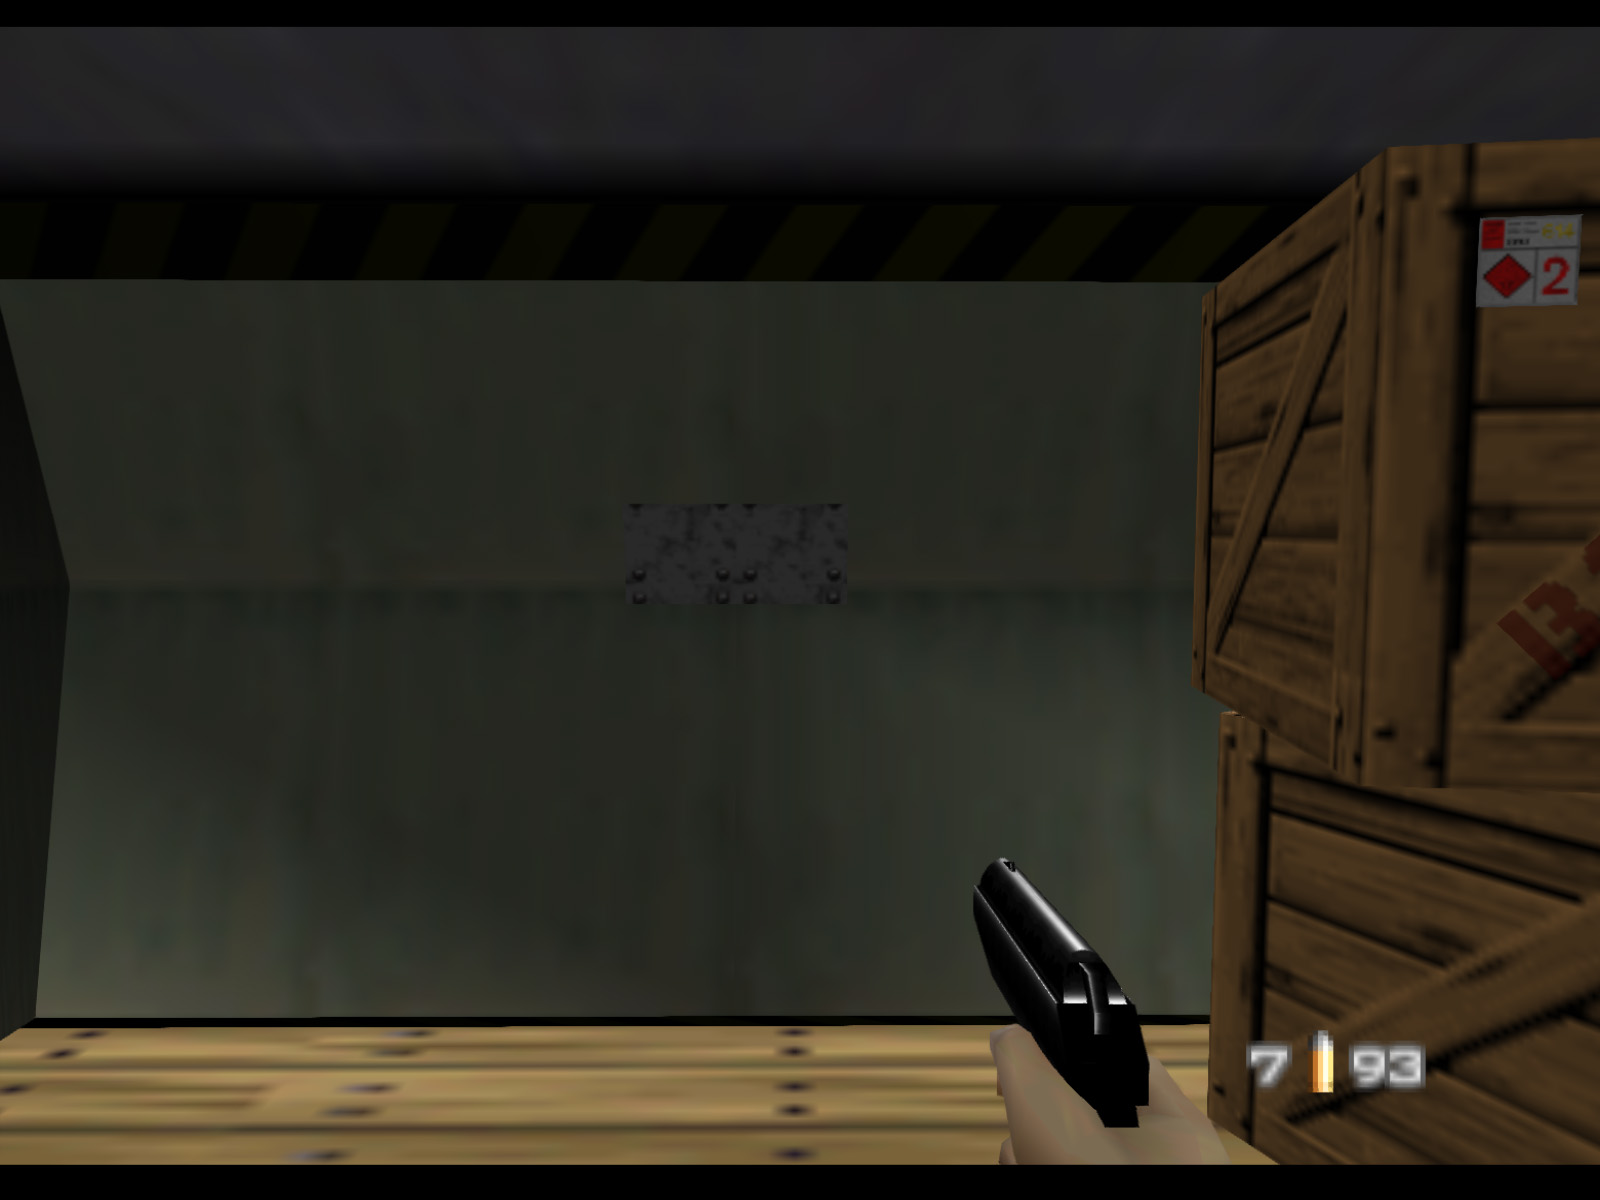
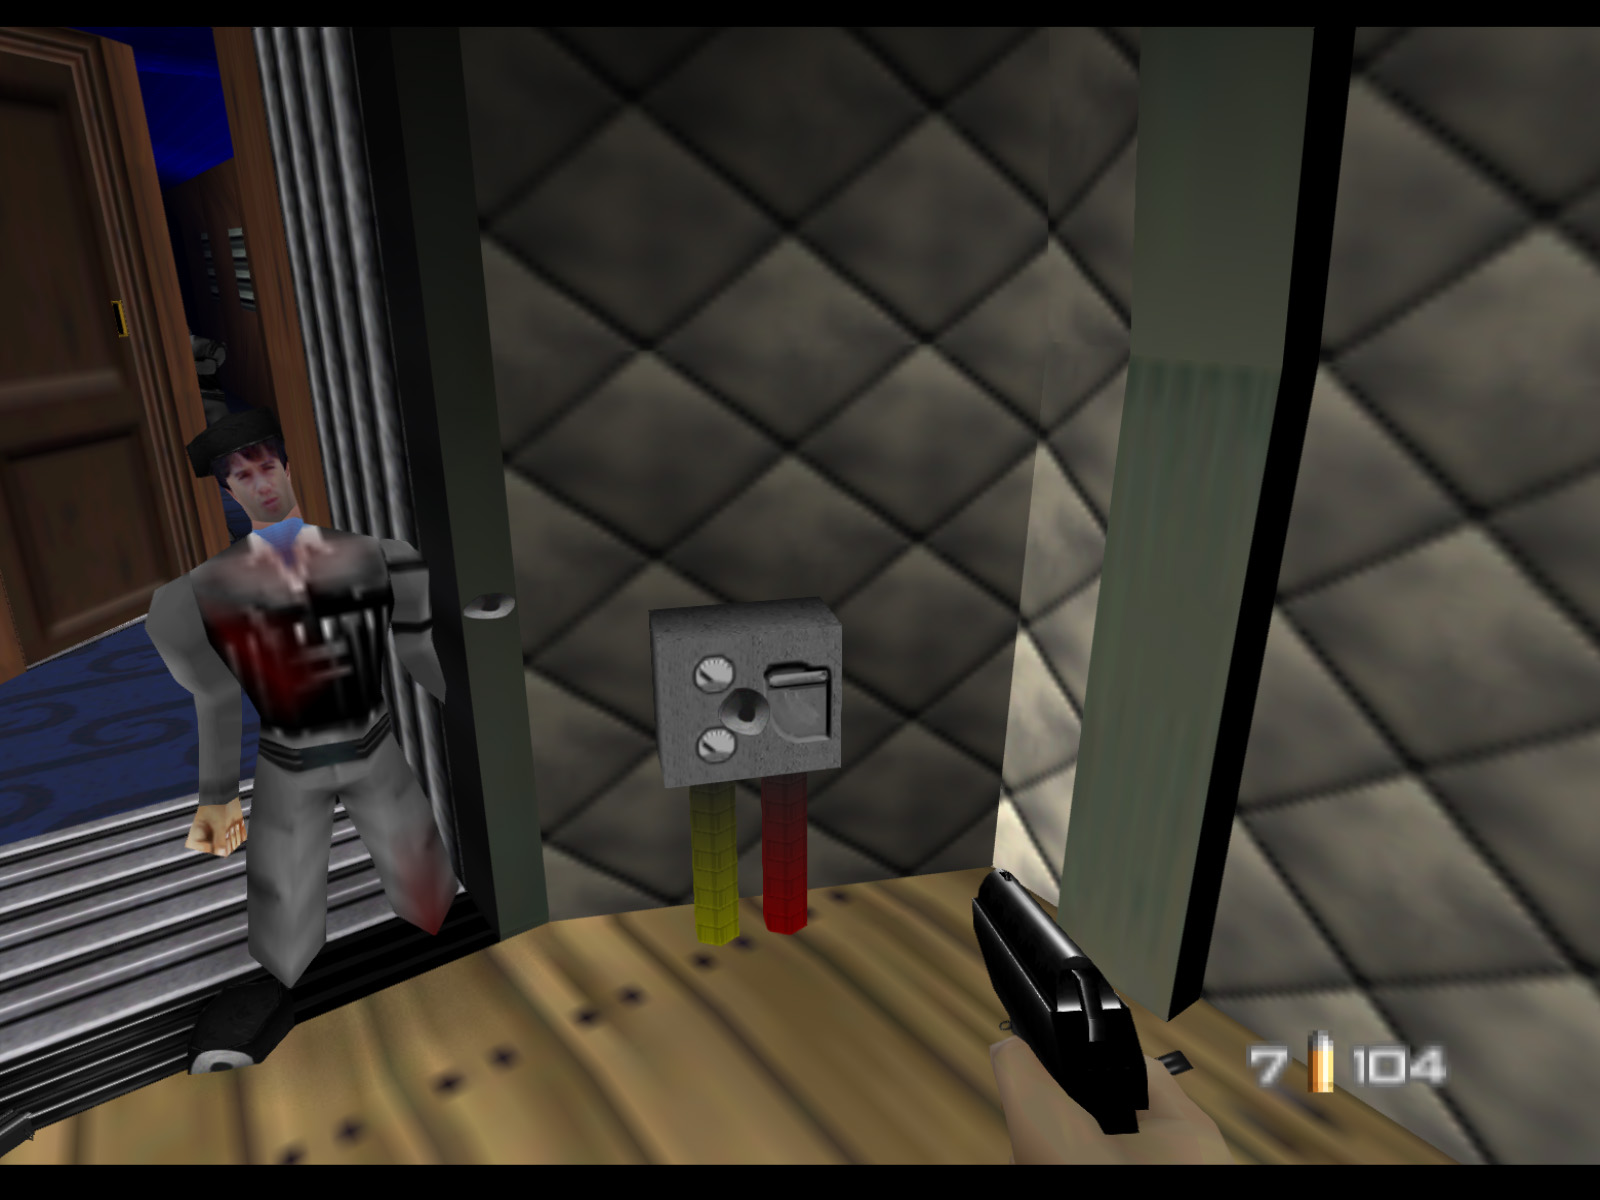
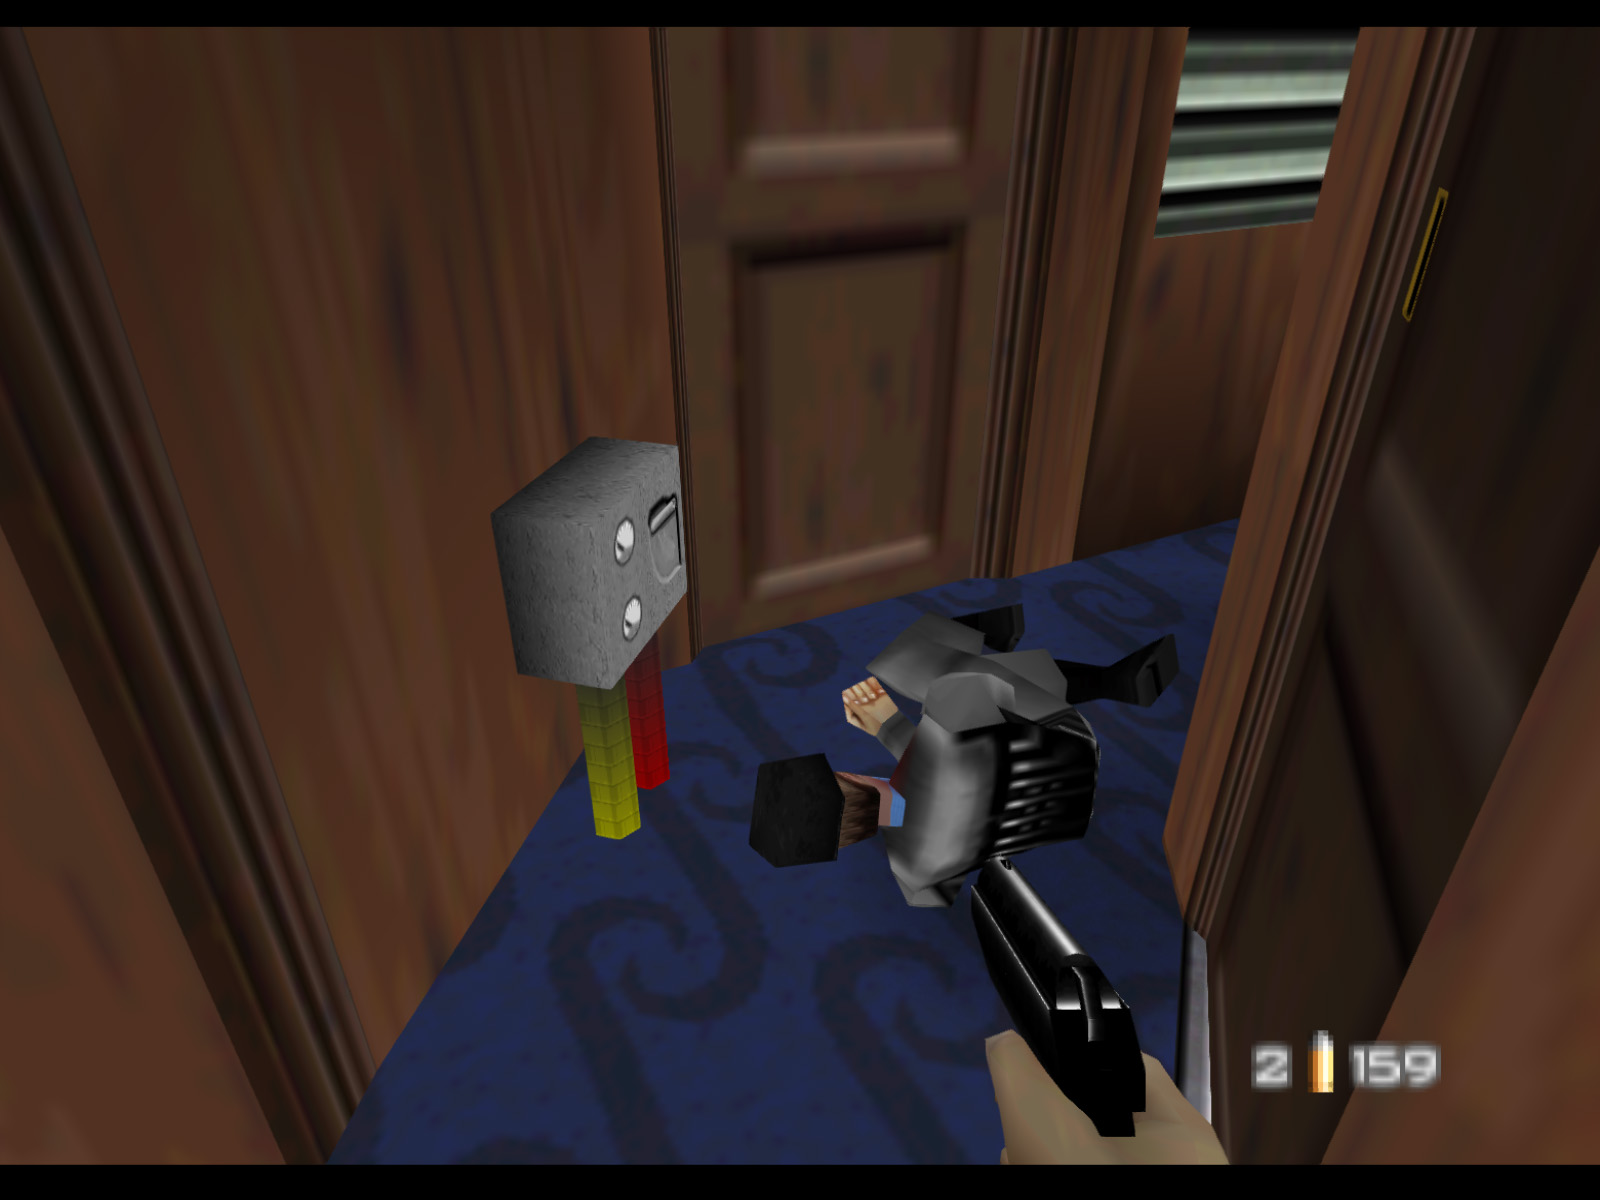
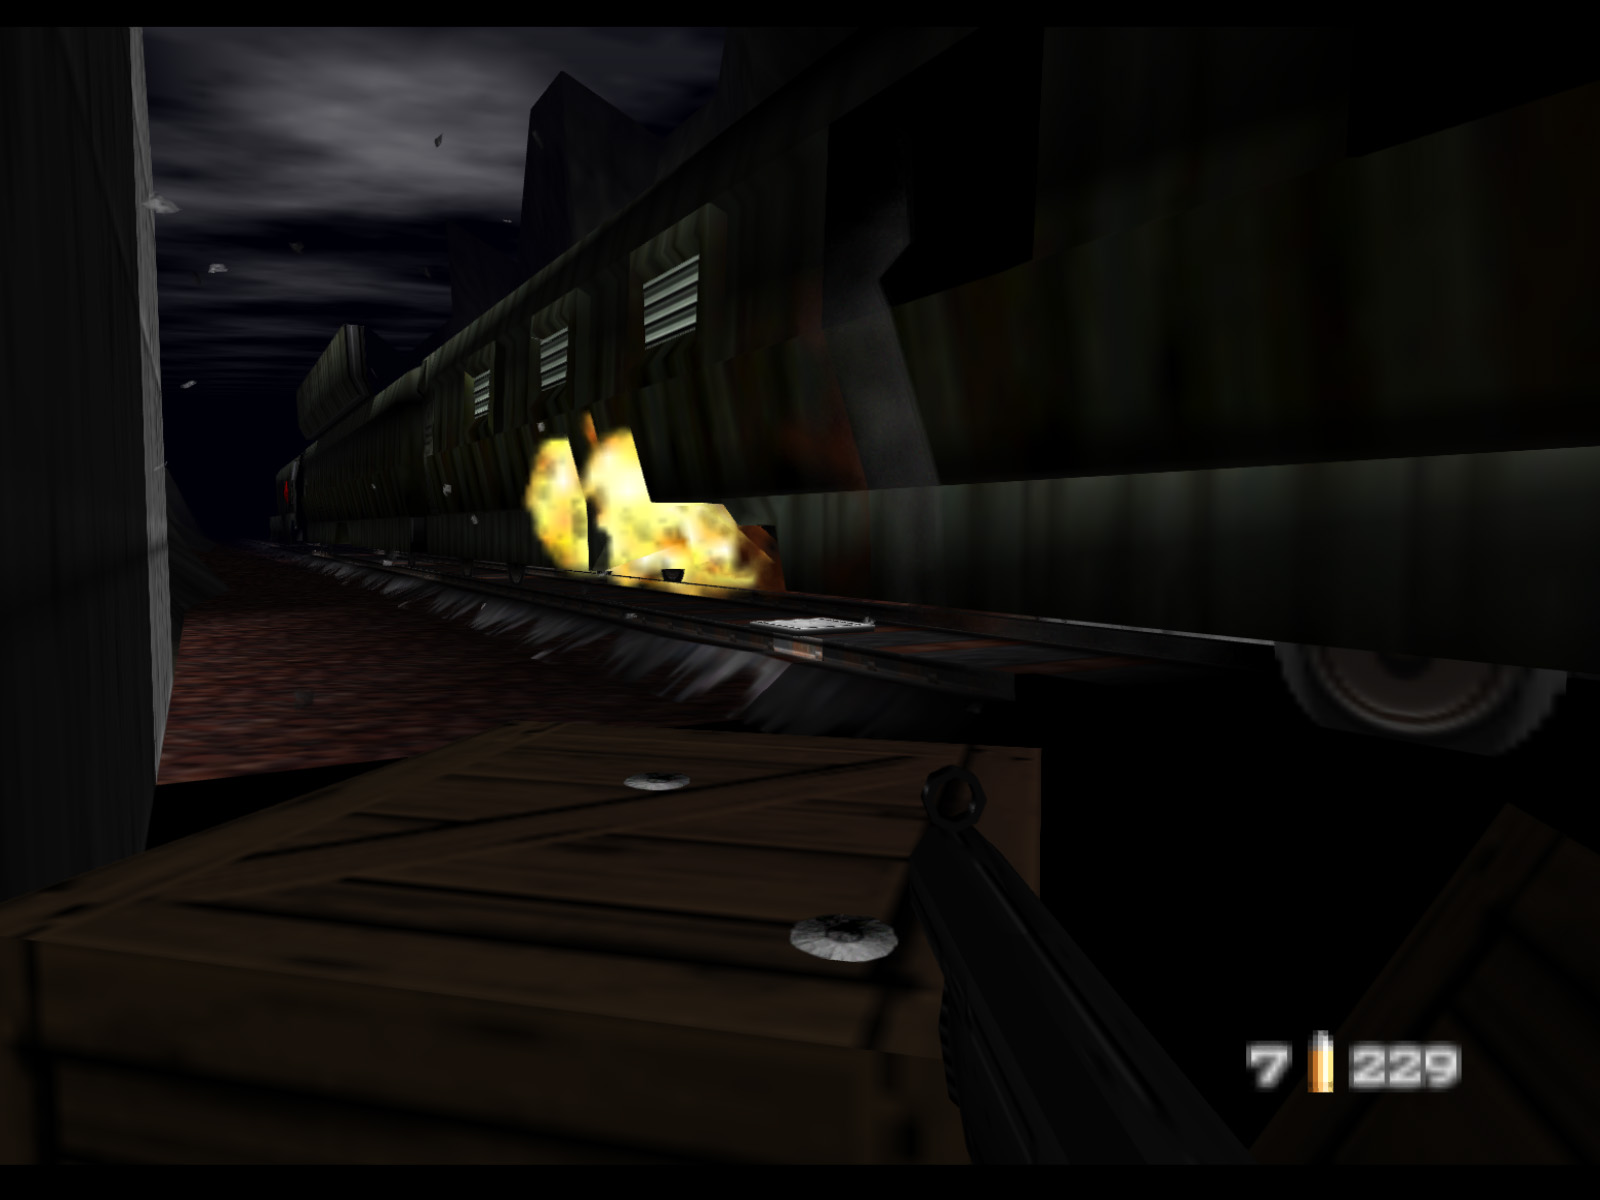
Each train car has a Brake Unit. Pump five shots into it destroy Brake Unit 1 of 6.

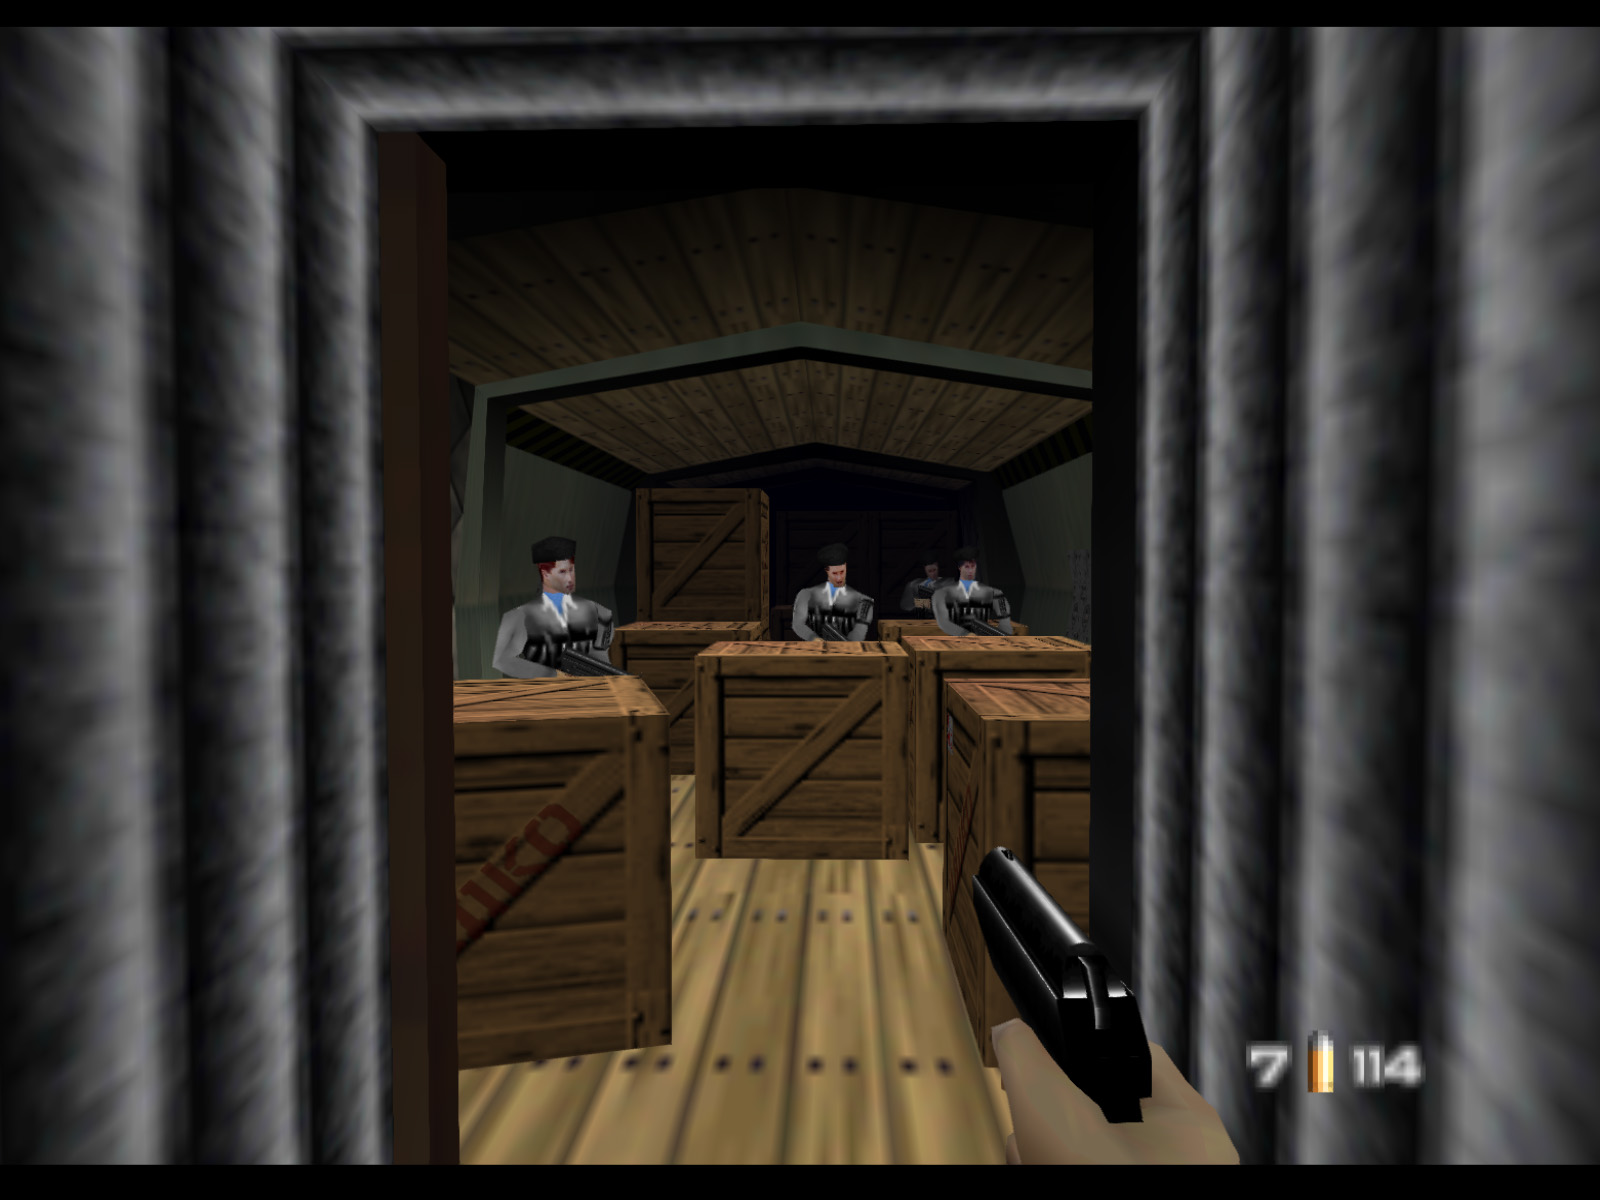
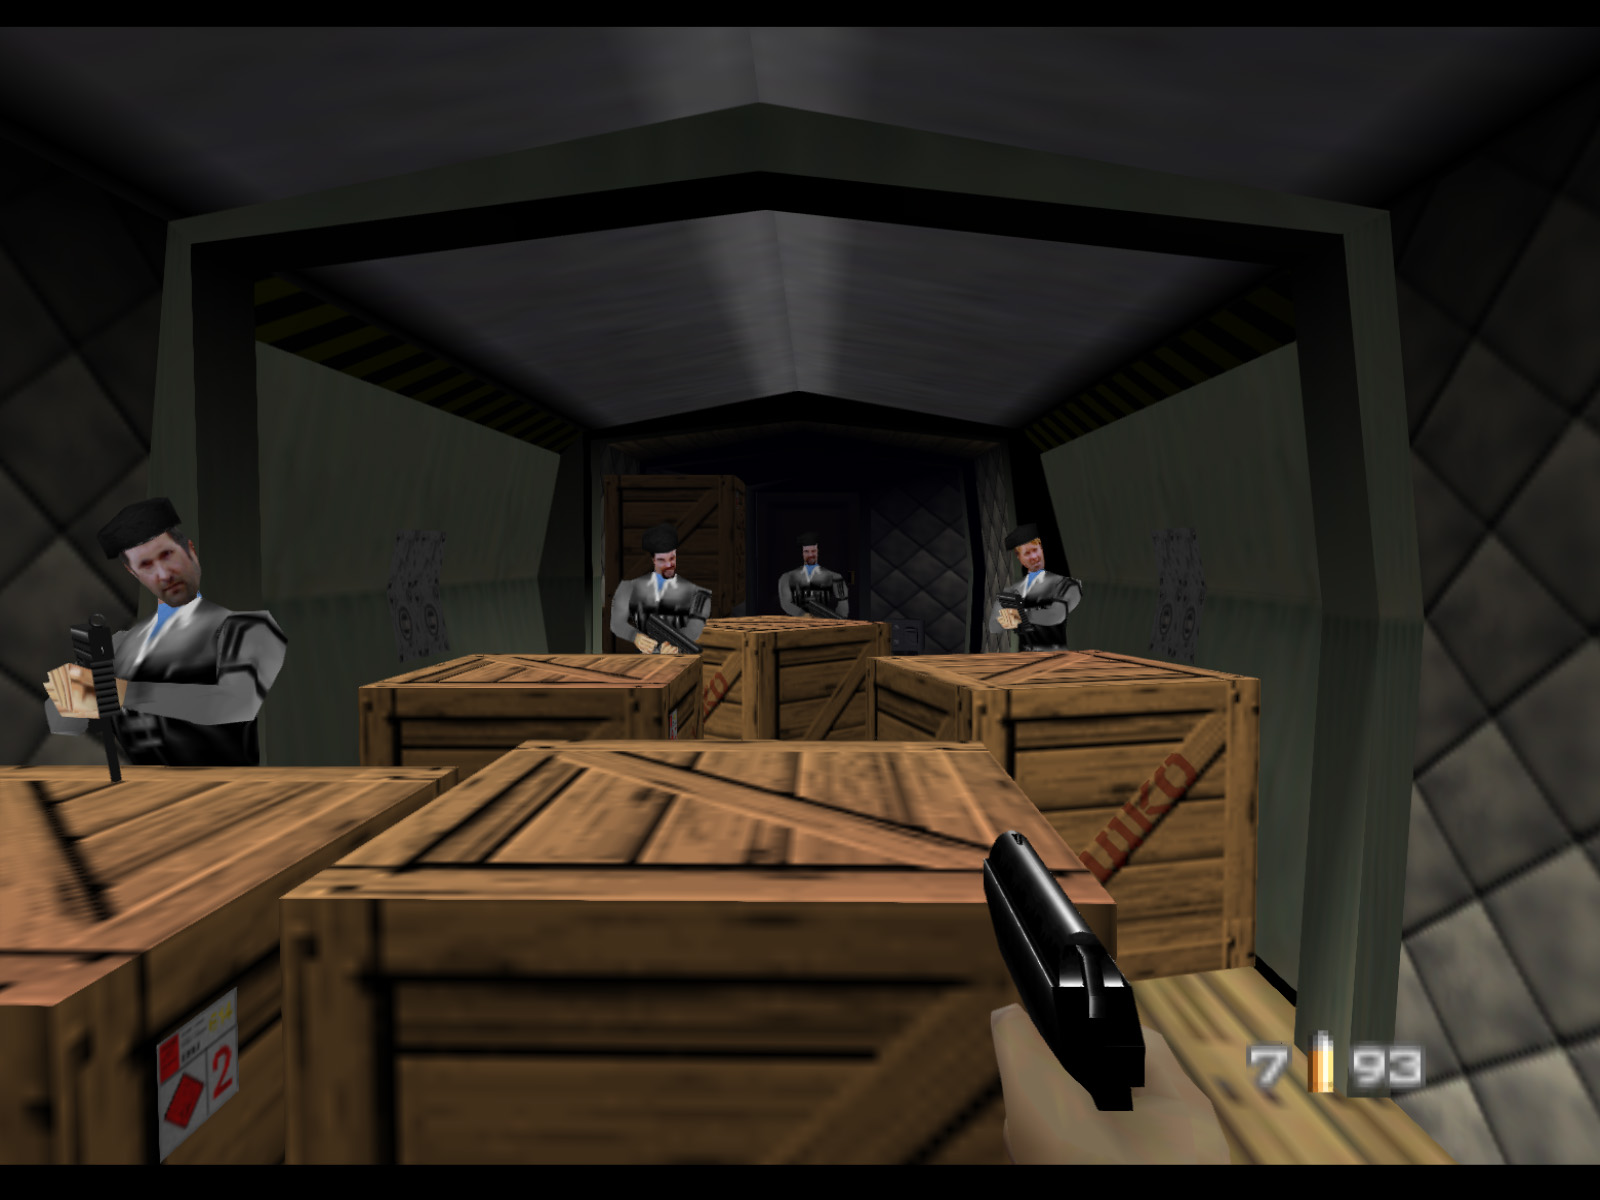
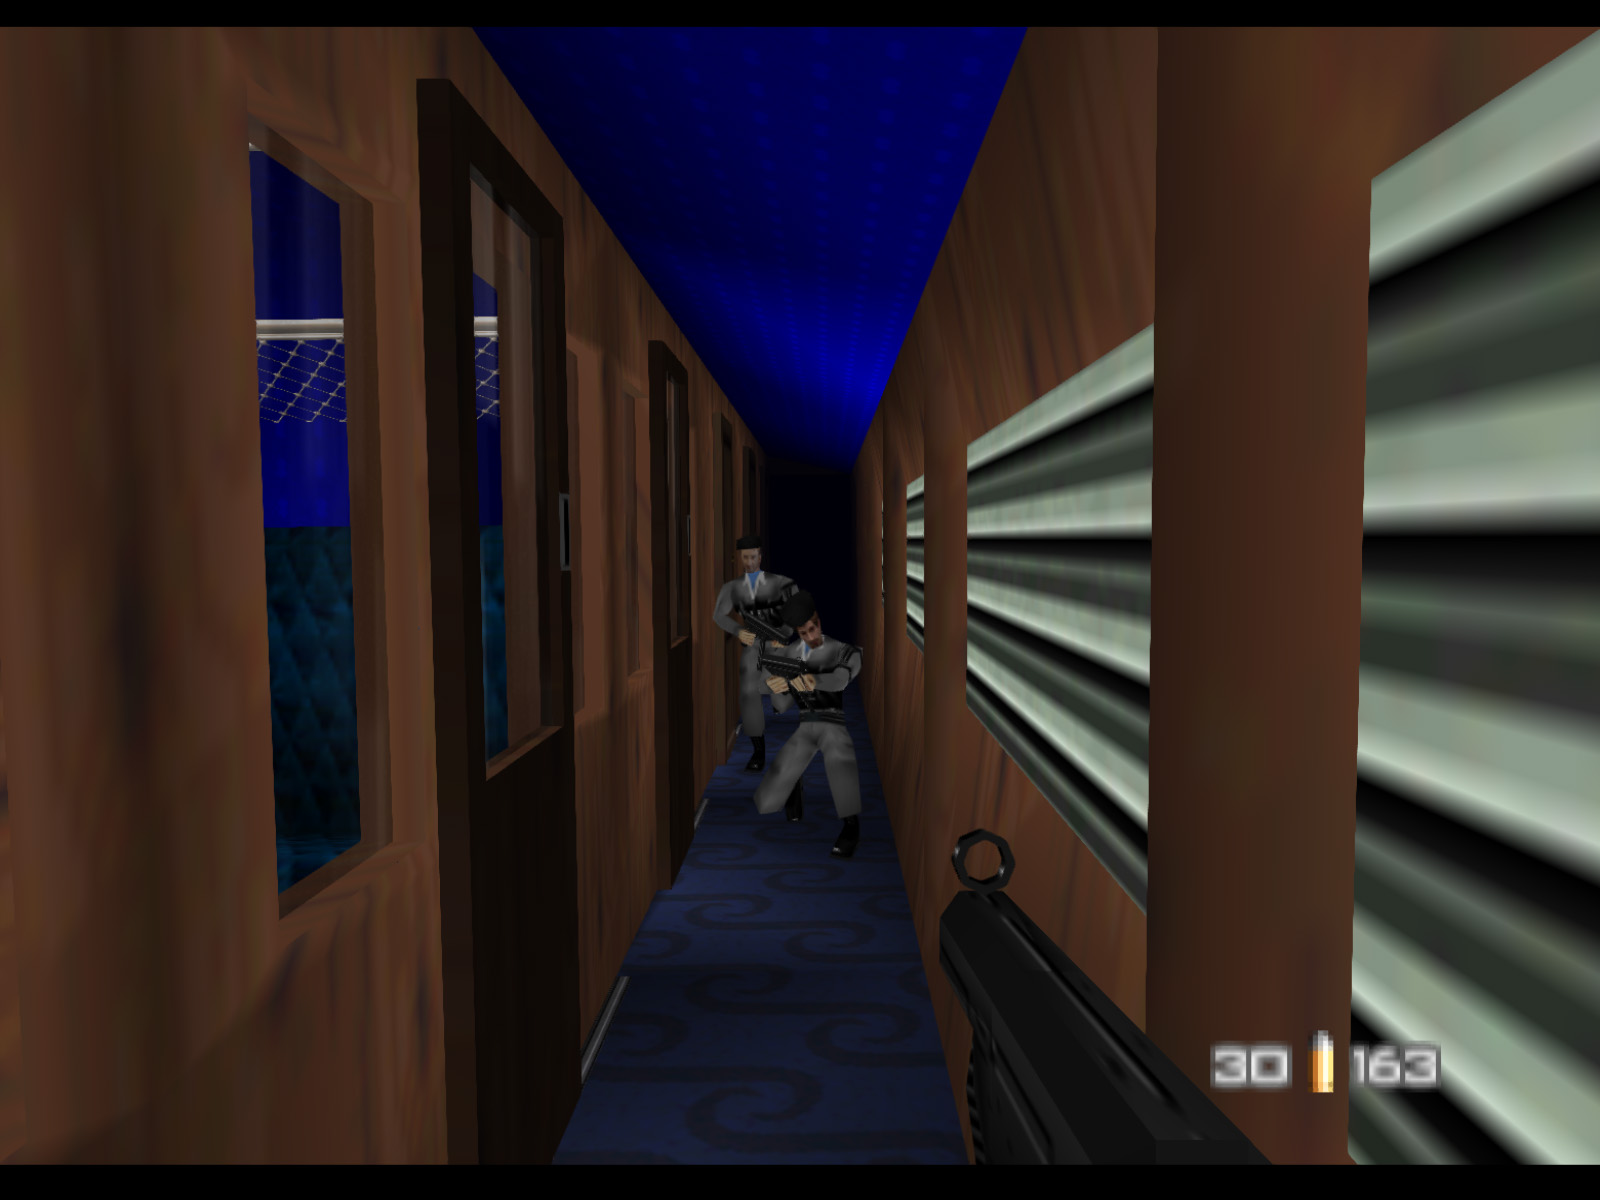
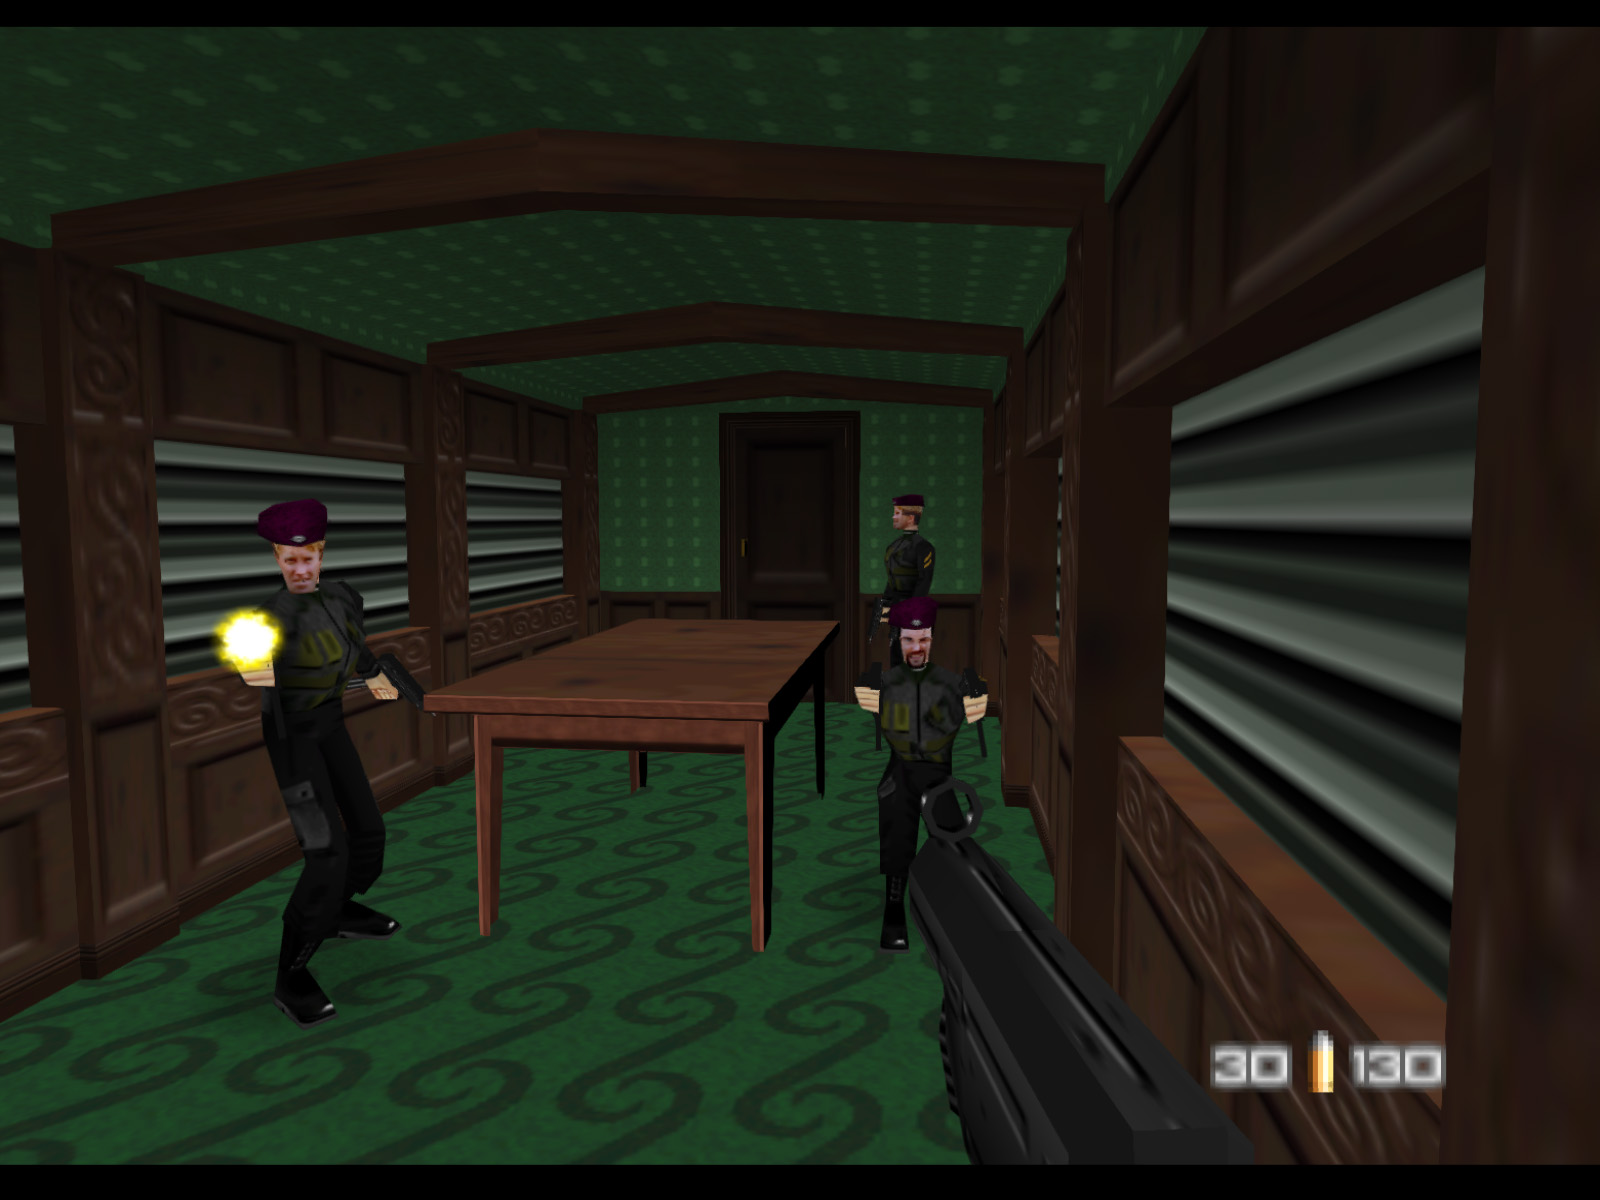
As soon as you open the door to the second car you'll be accosted by four more Janus Marines using crates for cover.
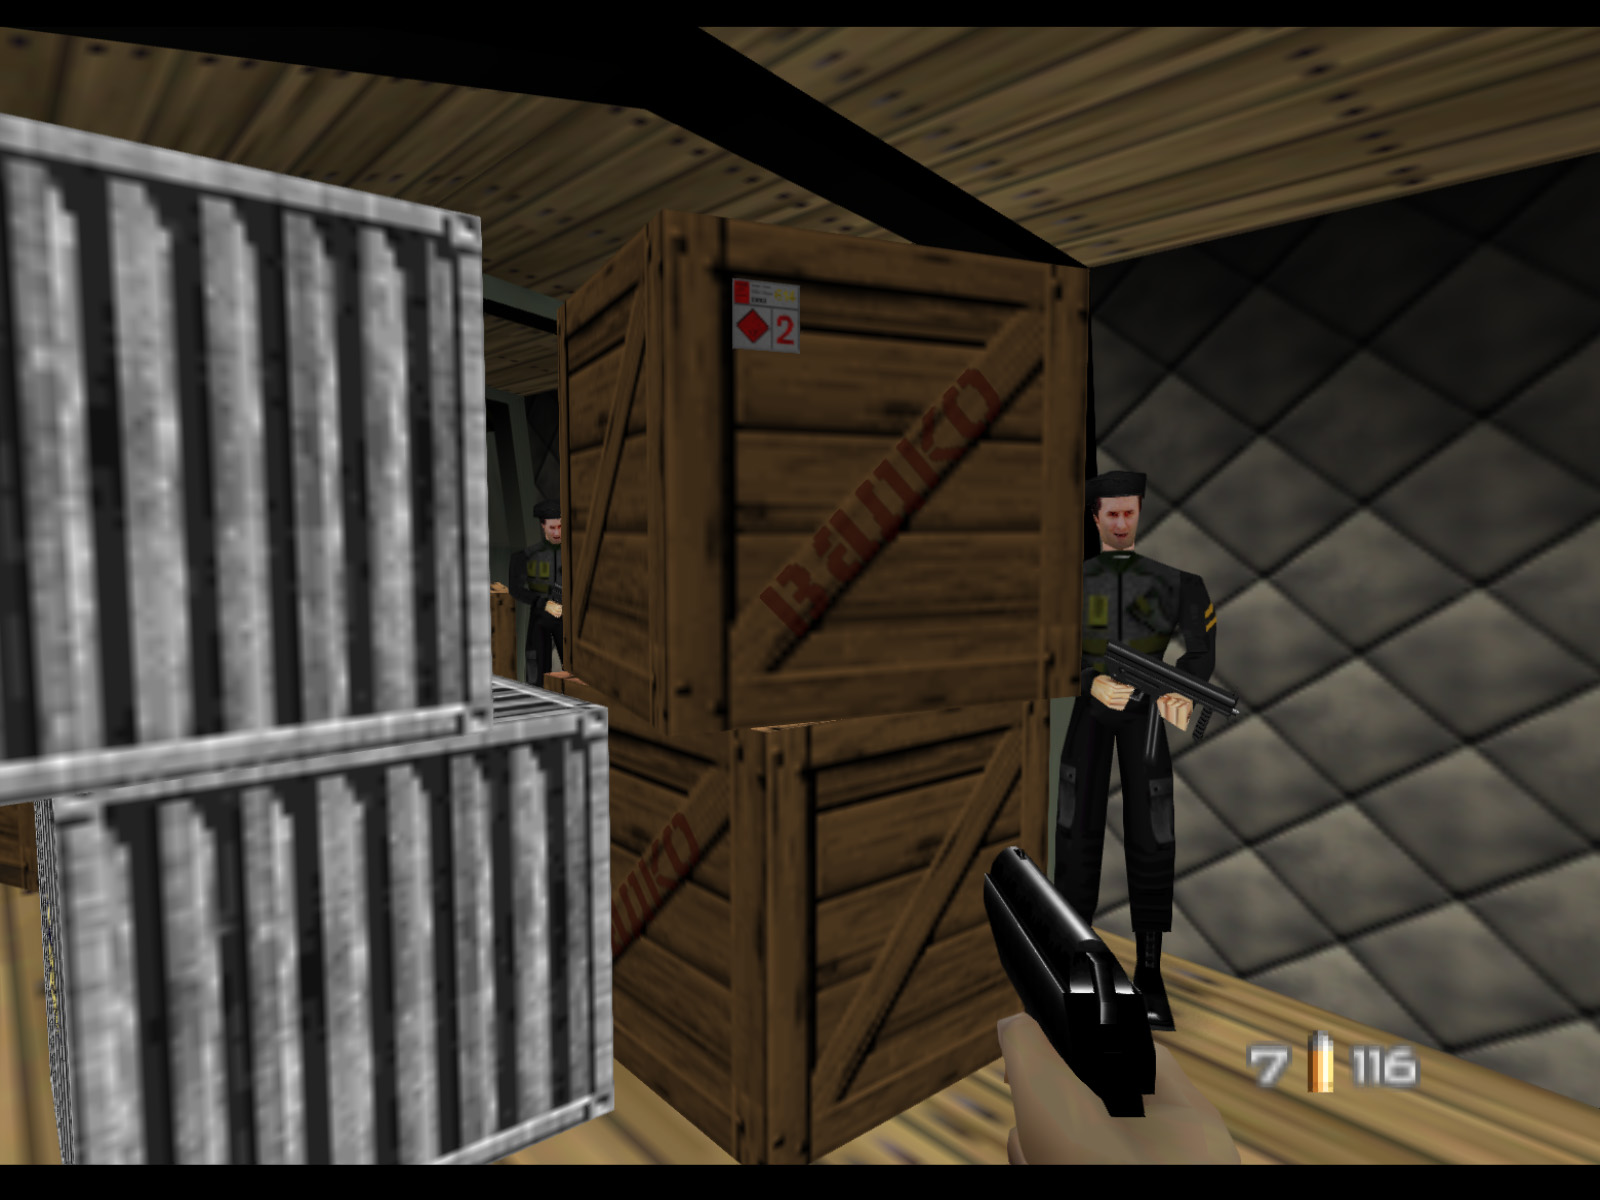
Once you get to the middle of the second car you will probably encounter two Janus Special Forces. Dispatch them then use the crates for cover to take out the next batch of four Janus Marines.
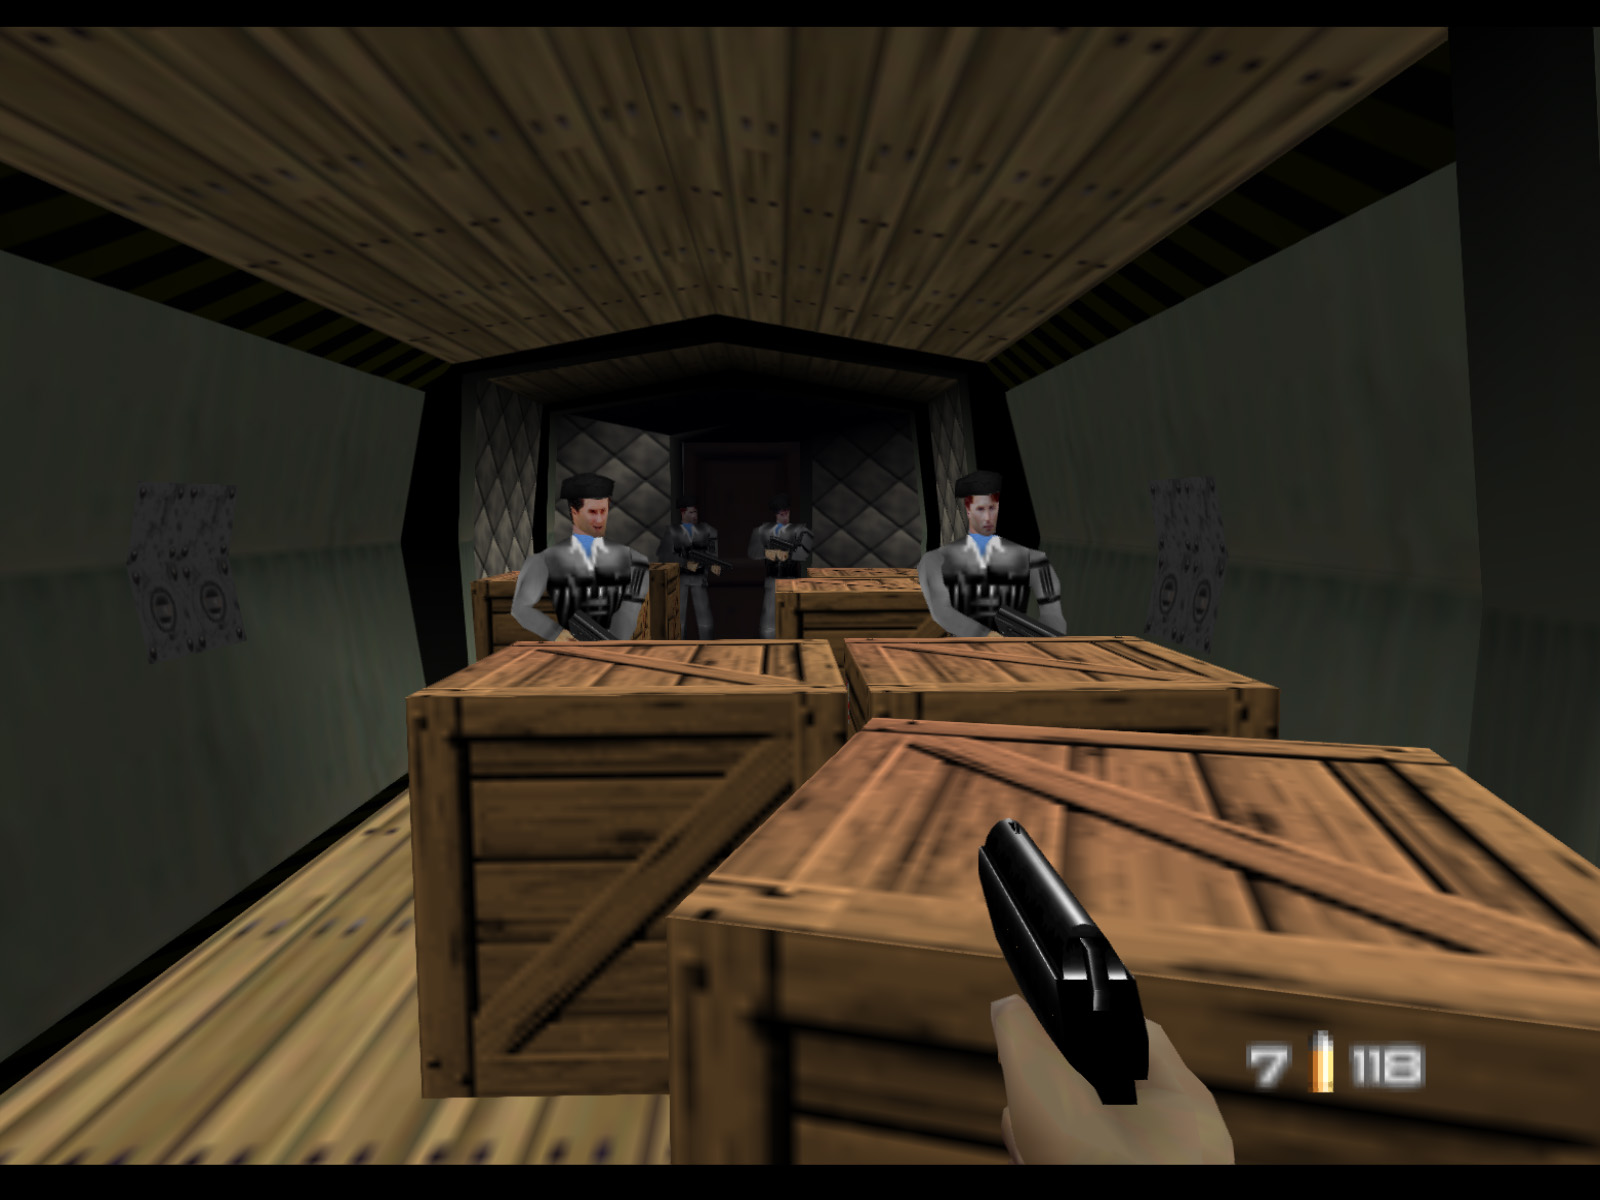
This is the latter half of the second train car.
Destroy Brake Unit 2 of 6 before moving on to the next car.
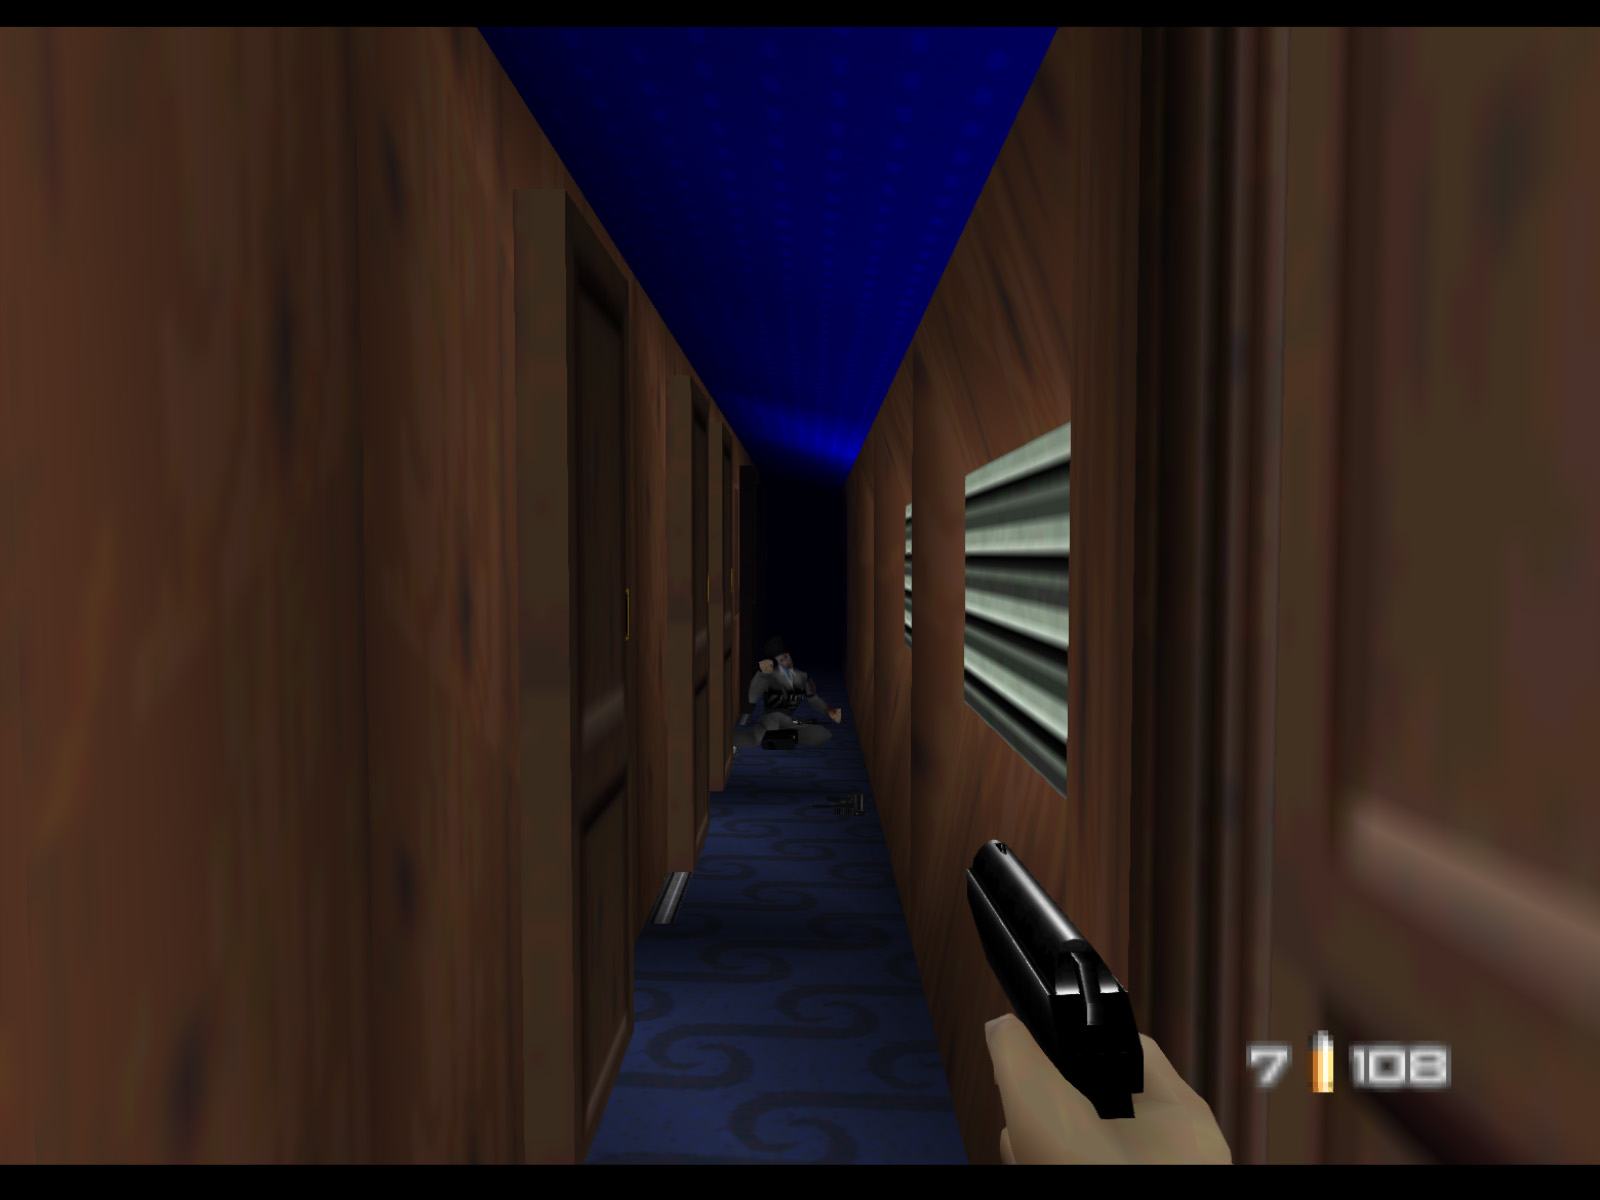
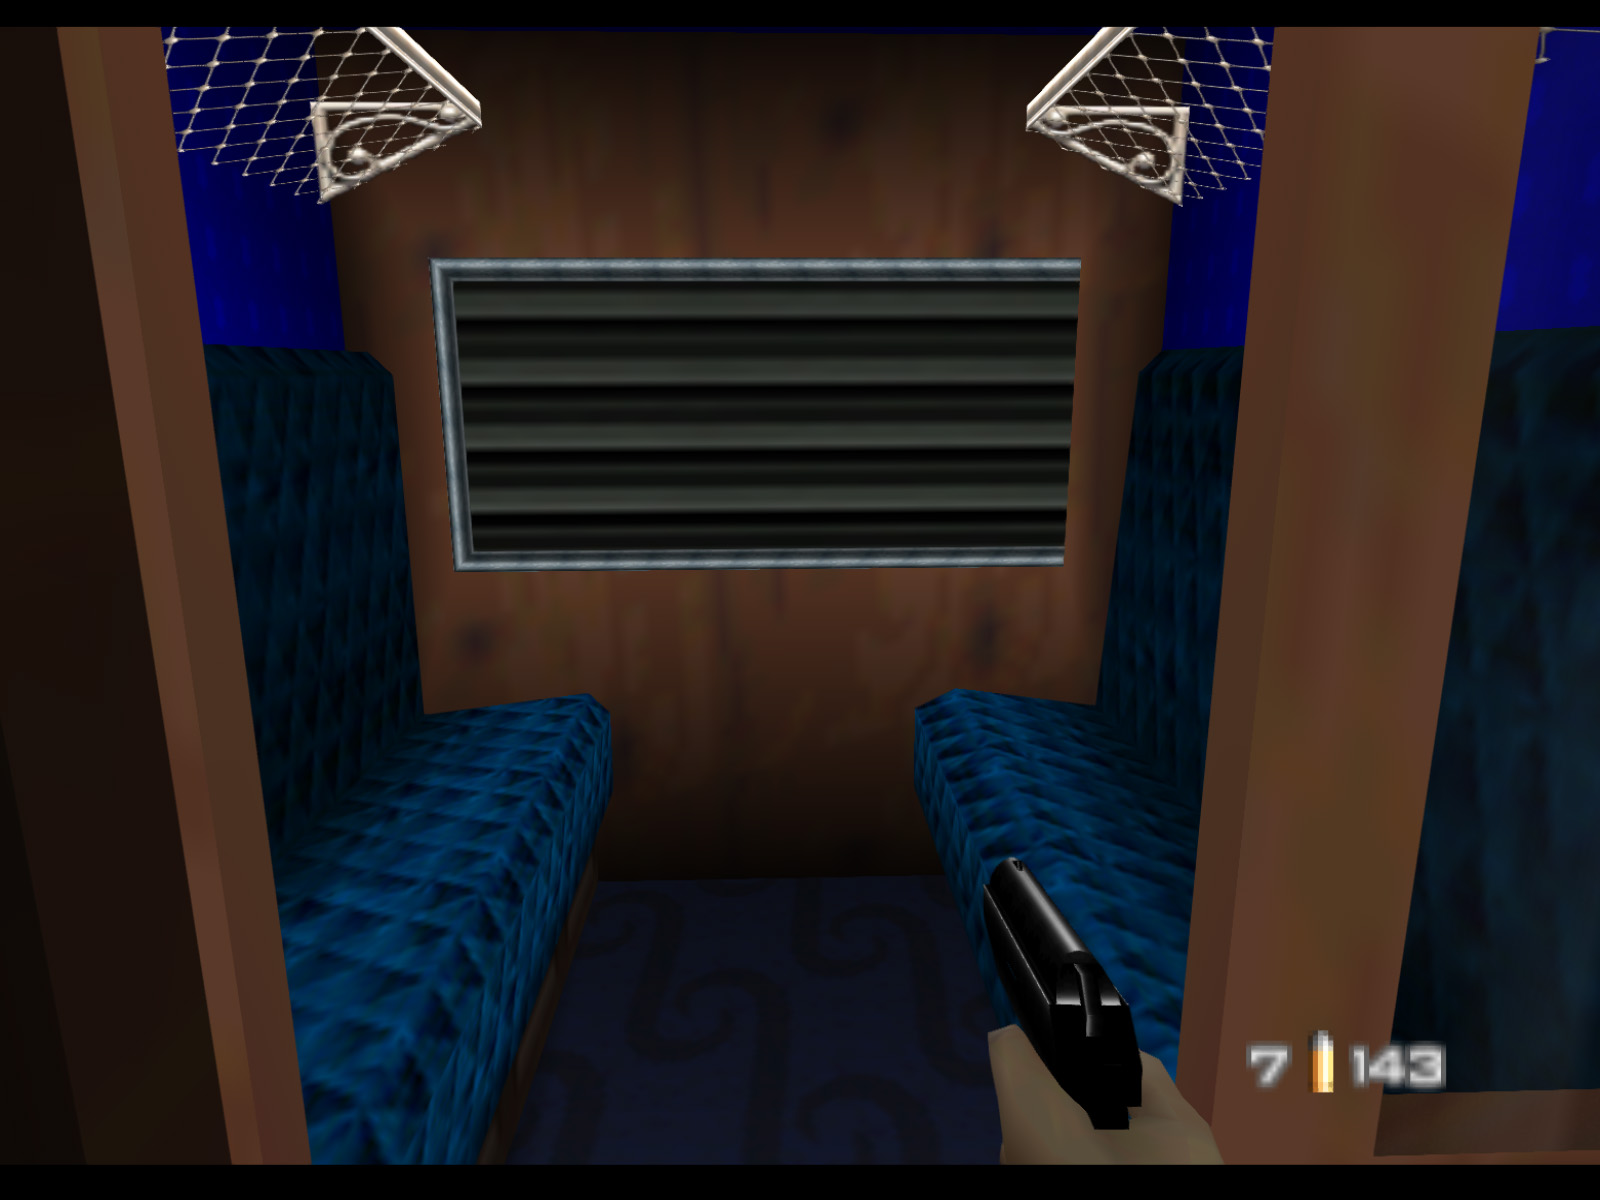
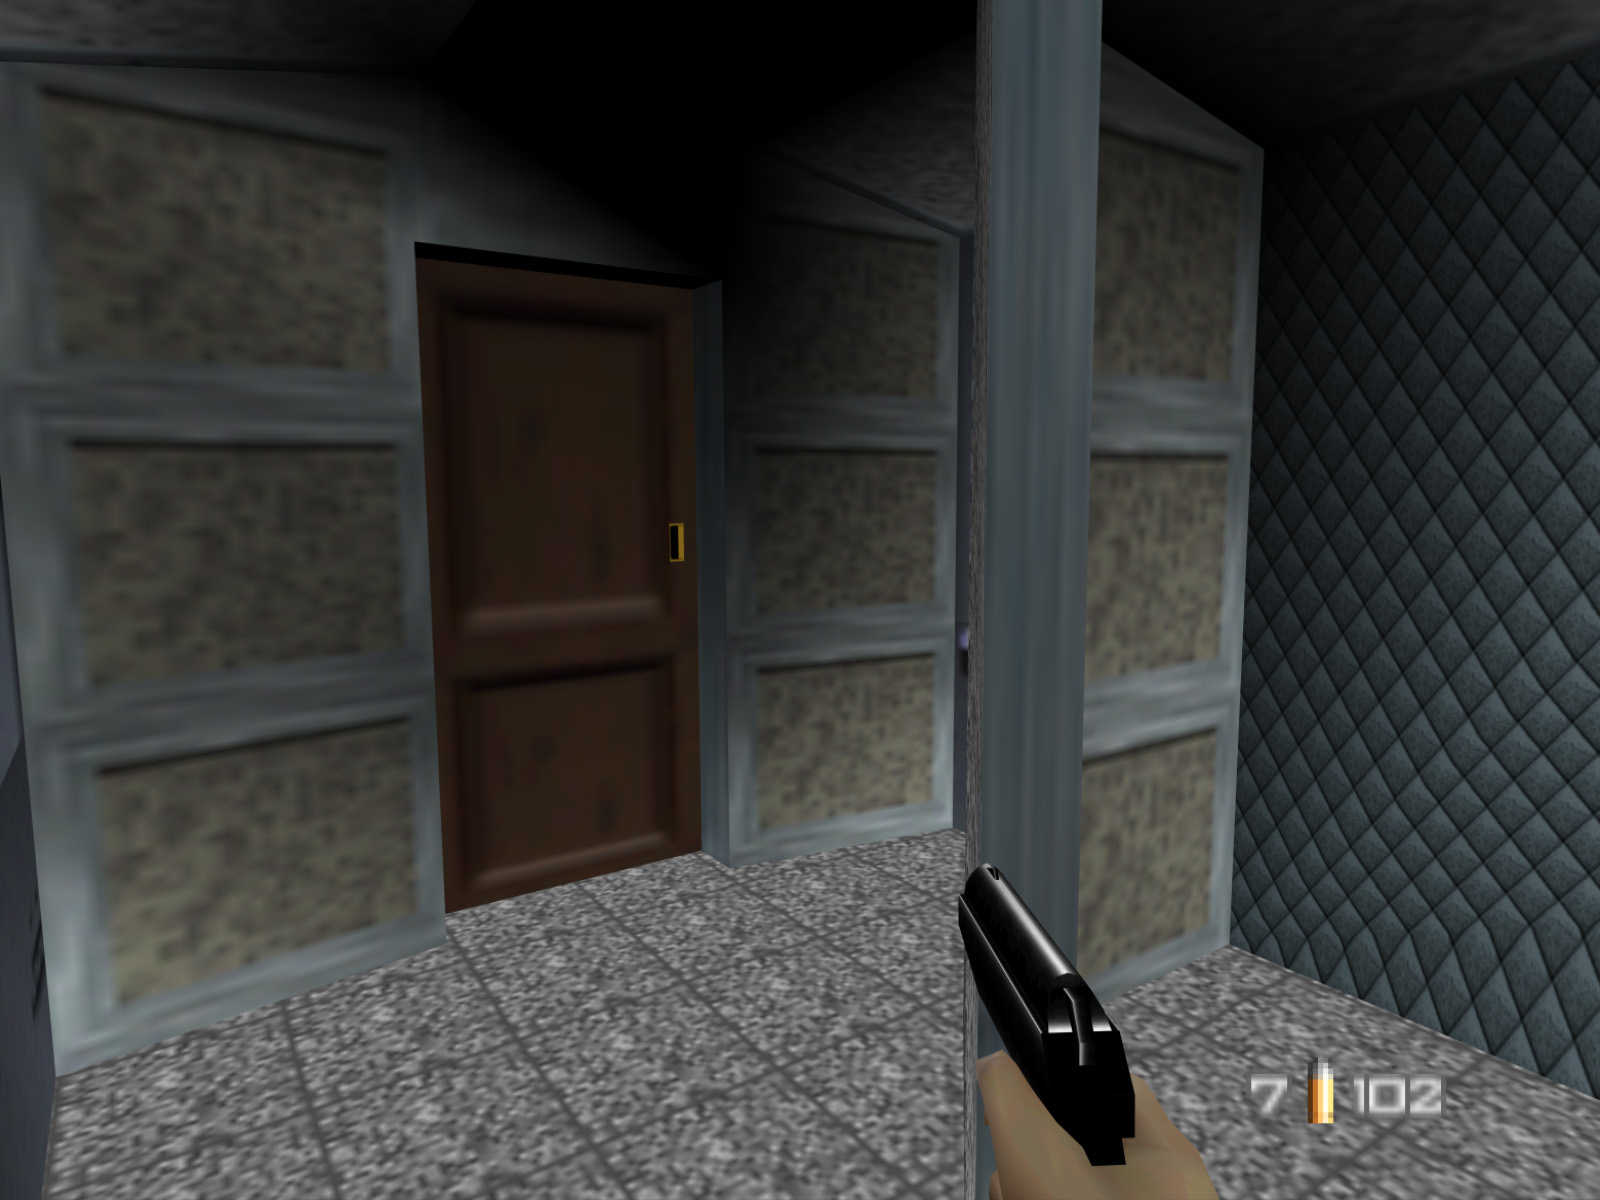
This is the first of two passenger cars. On the left there nine cabins, some locked. There are also small lavatories at both ends of the car.
▶ TIP: After you pass the first lavatory a guard will emerge from it and attack you from behind.
Here is one of the passenger cabins. Fancy!
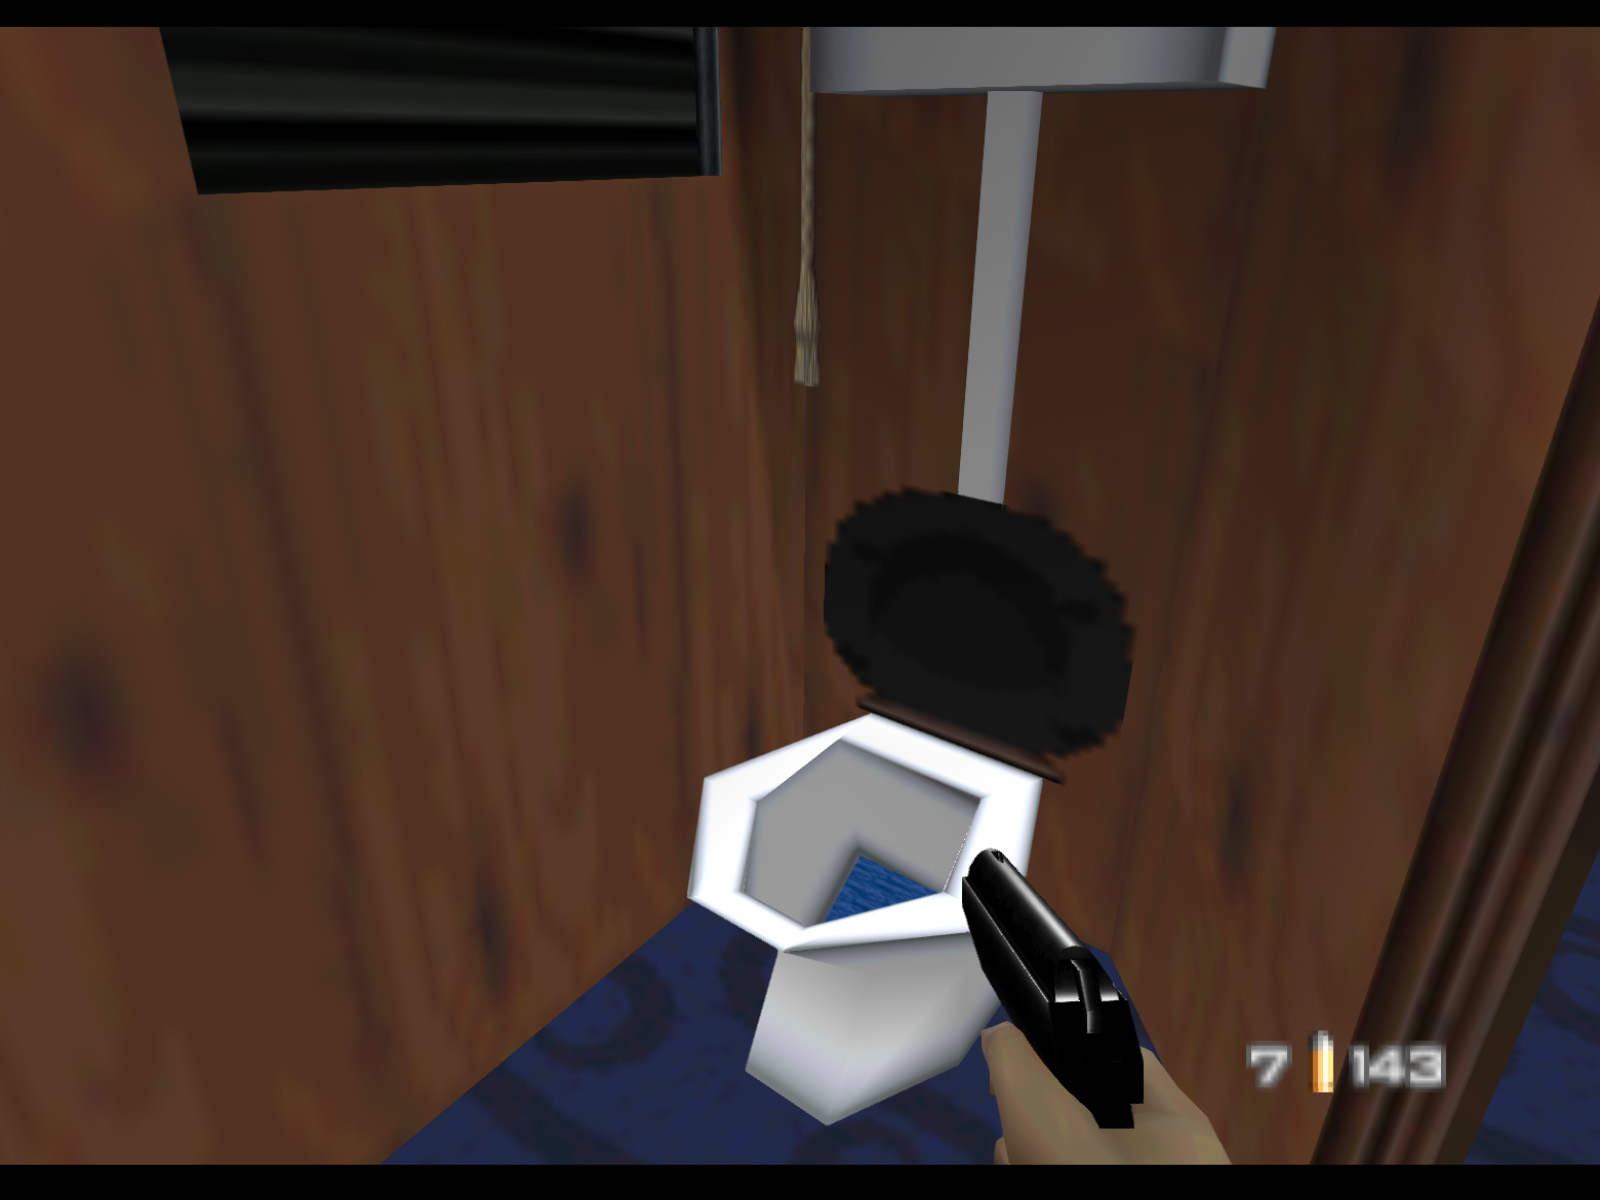
This is what the lavatory looks like. Don't forget to destroy Brake Unit 3 of 6 at the end of the car.
Brake Unit 4 of 6 is at the start of the next passenger car and it's easy to miss. Don't let the squad of guards in this car make you forget about it.
As you make your way down the car two Janus Marines will step out from the cabins behind you and try to take you by surprise.
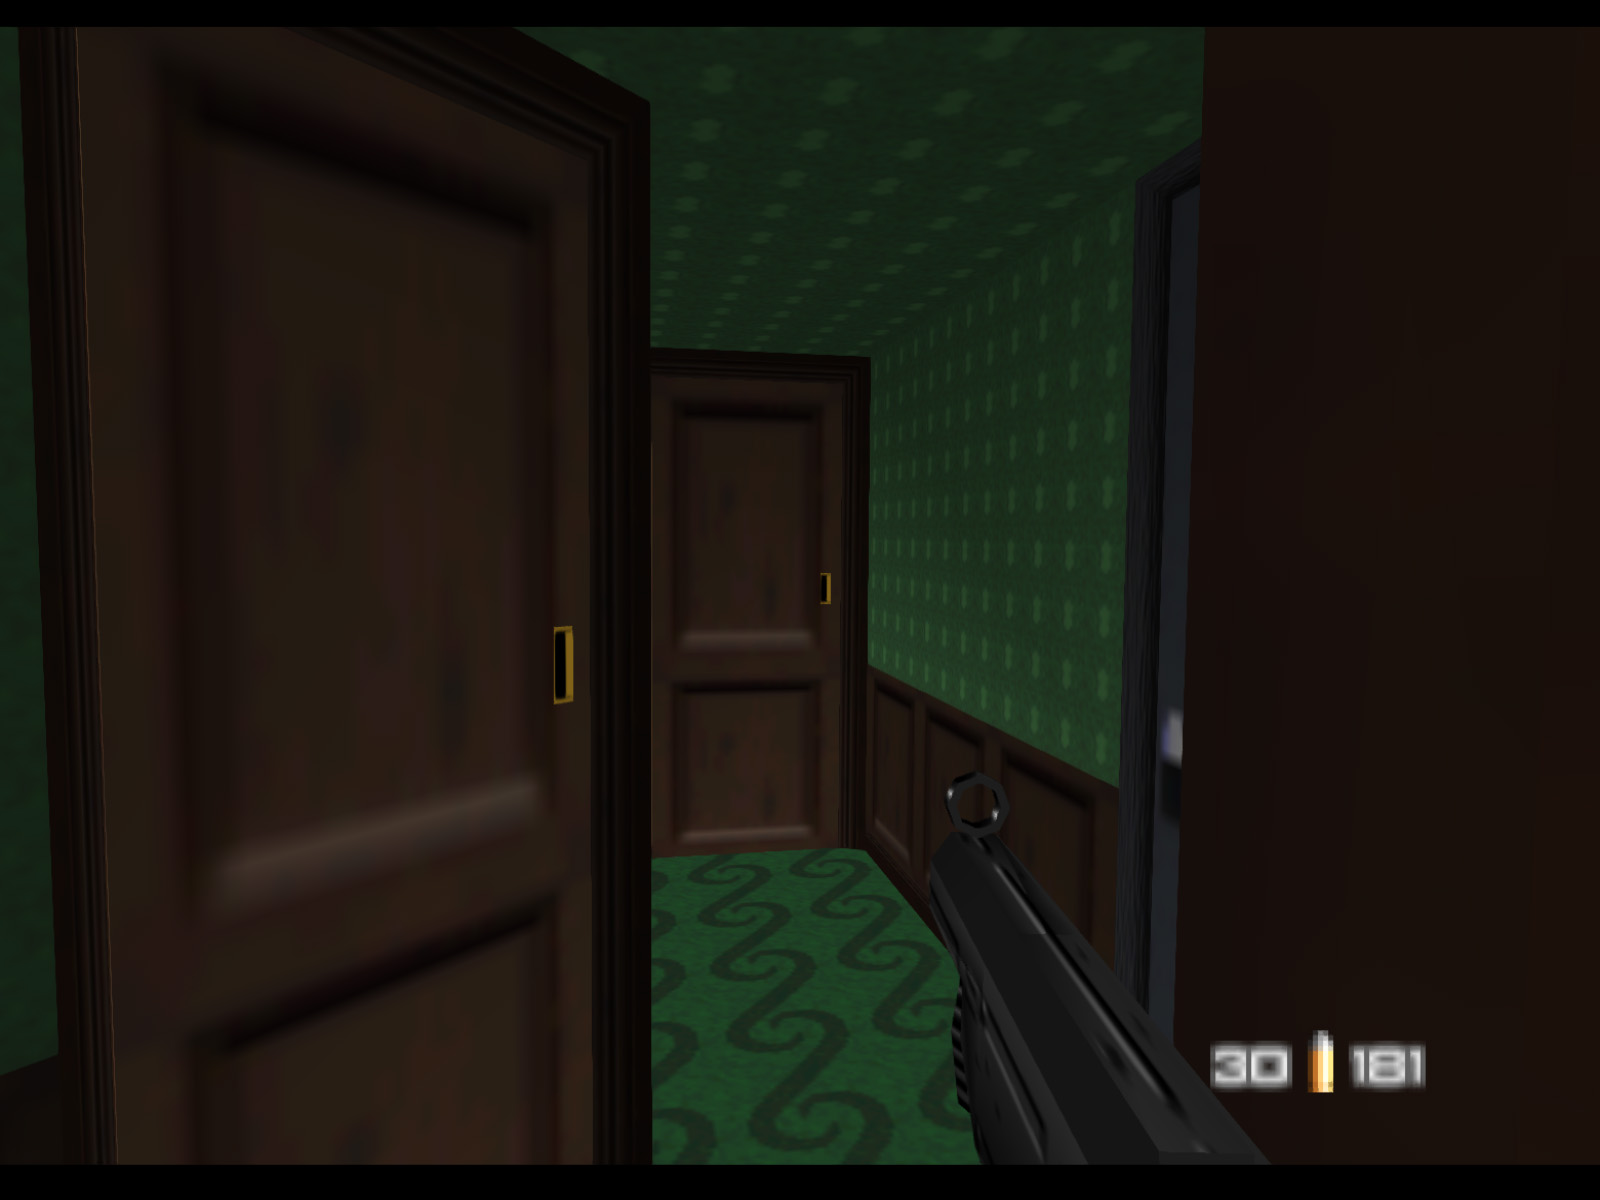
I call the next train car the parlor car. It has green patterned carpet, walls, and ceiling. The positions of the Janus Special Forces in this area are randomized. On this playthrough there were none here, but on other playthroughs there may be two here.
▶ TIP: The door on the left in the last screenshot is locked, but you can use a trick to open it anyway. Just stand here and press B.
This surprised Janus Special Forces didn't expect Bond to barge into his locked cabin! Sometimes this enemy will have a D5K, other times he will have dual ZMGs. Eliminating him now will prevent him from coming up from behind later.
Next comes this compartment with a table and up to four Janus Special Forces.
This next part is tricky. There is a little hall flanked by two lavatories. Both are occupied by Janus Special Forces and they will try to ambush you. Be ready to back up and mow them down.

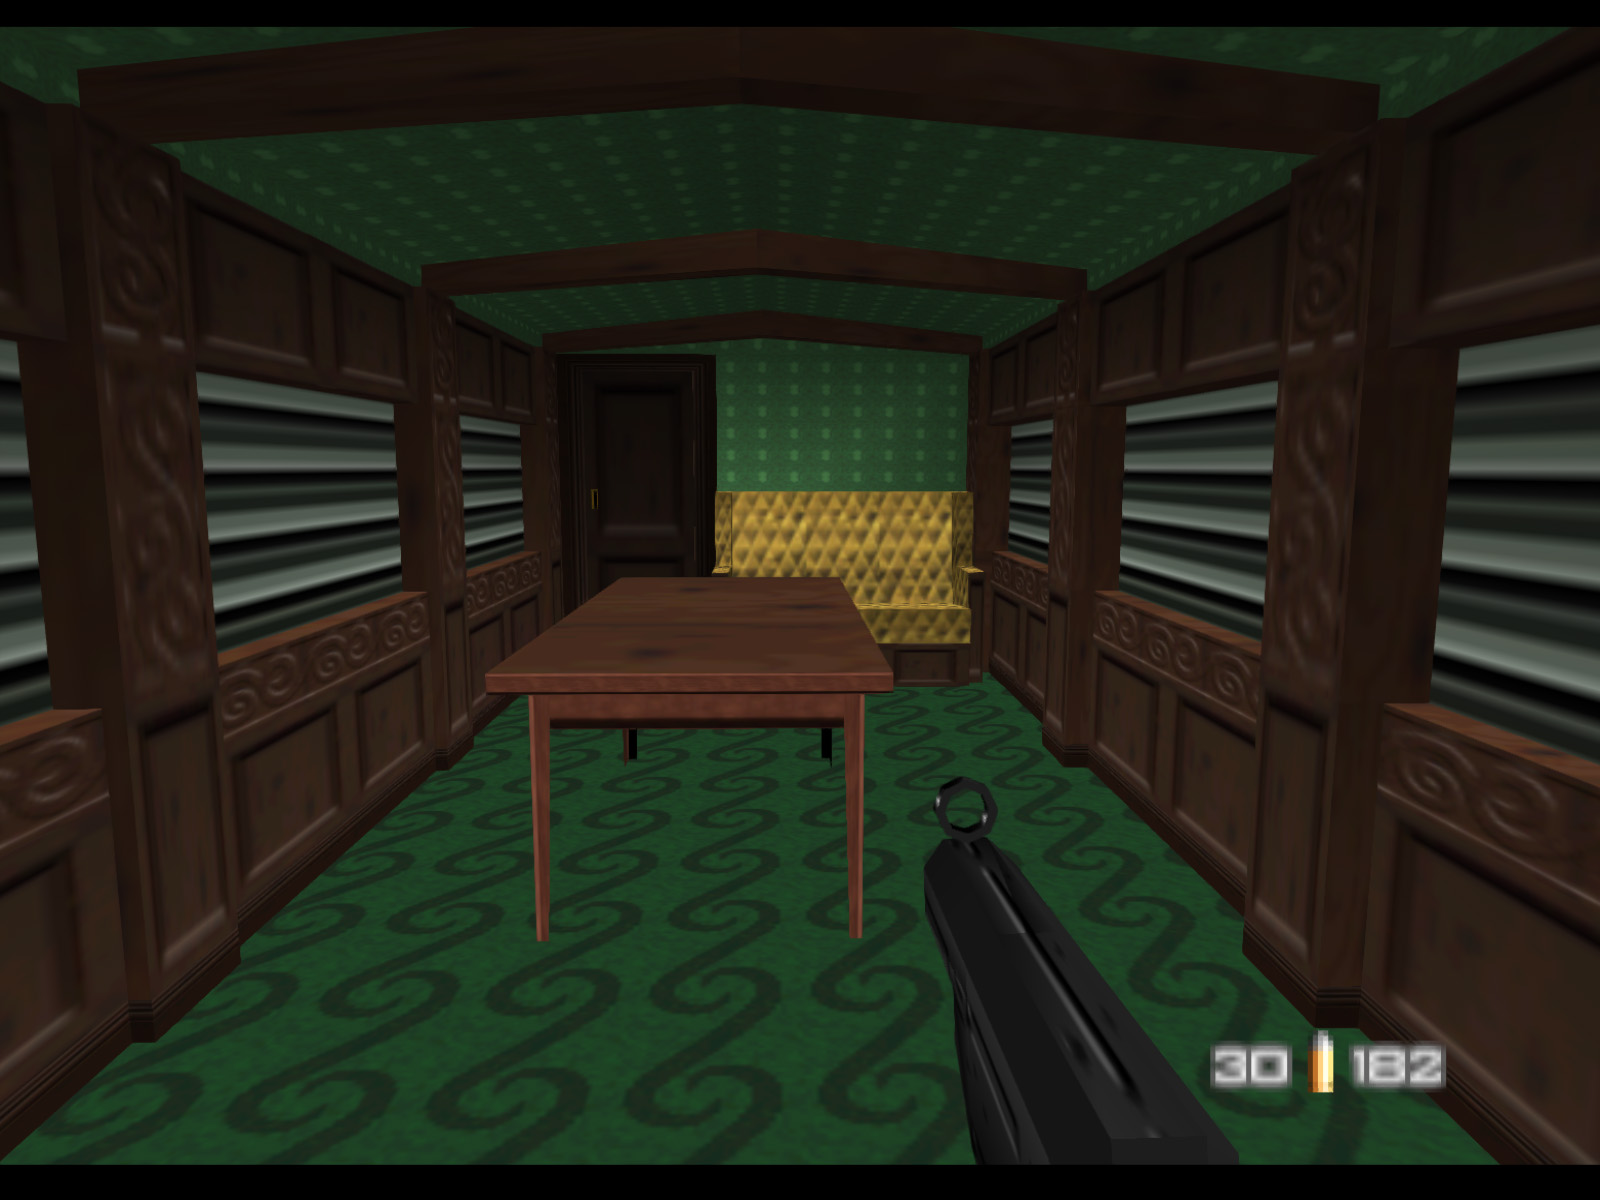
This next compartment has a table, a yellow sofa, and possibly more enemies depending on randomness.
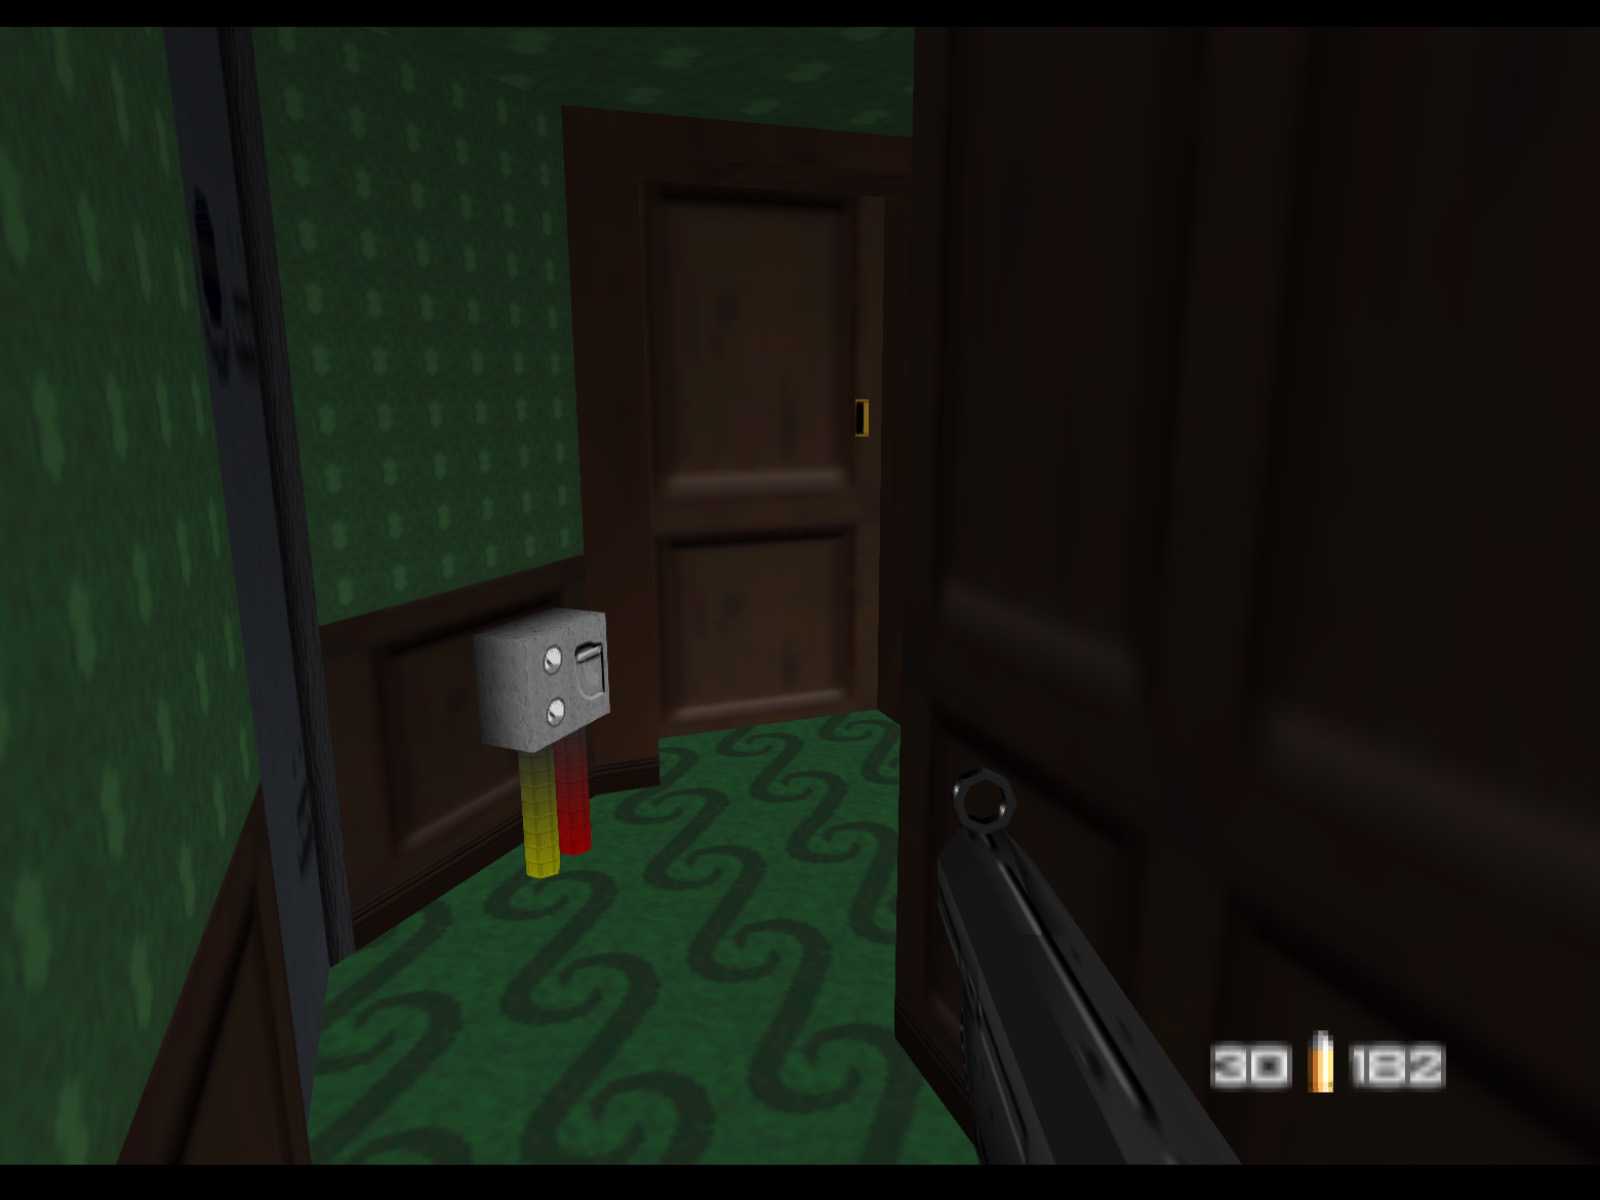
Sometimes this last small hall will have a guard, too. Destroy Brake Unit 5 of 6 and carry on.

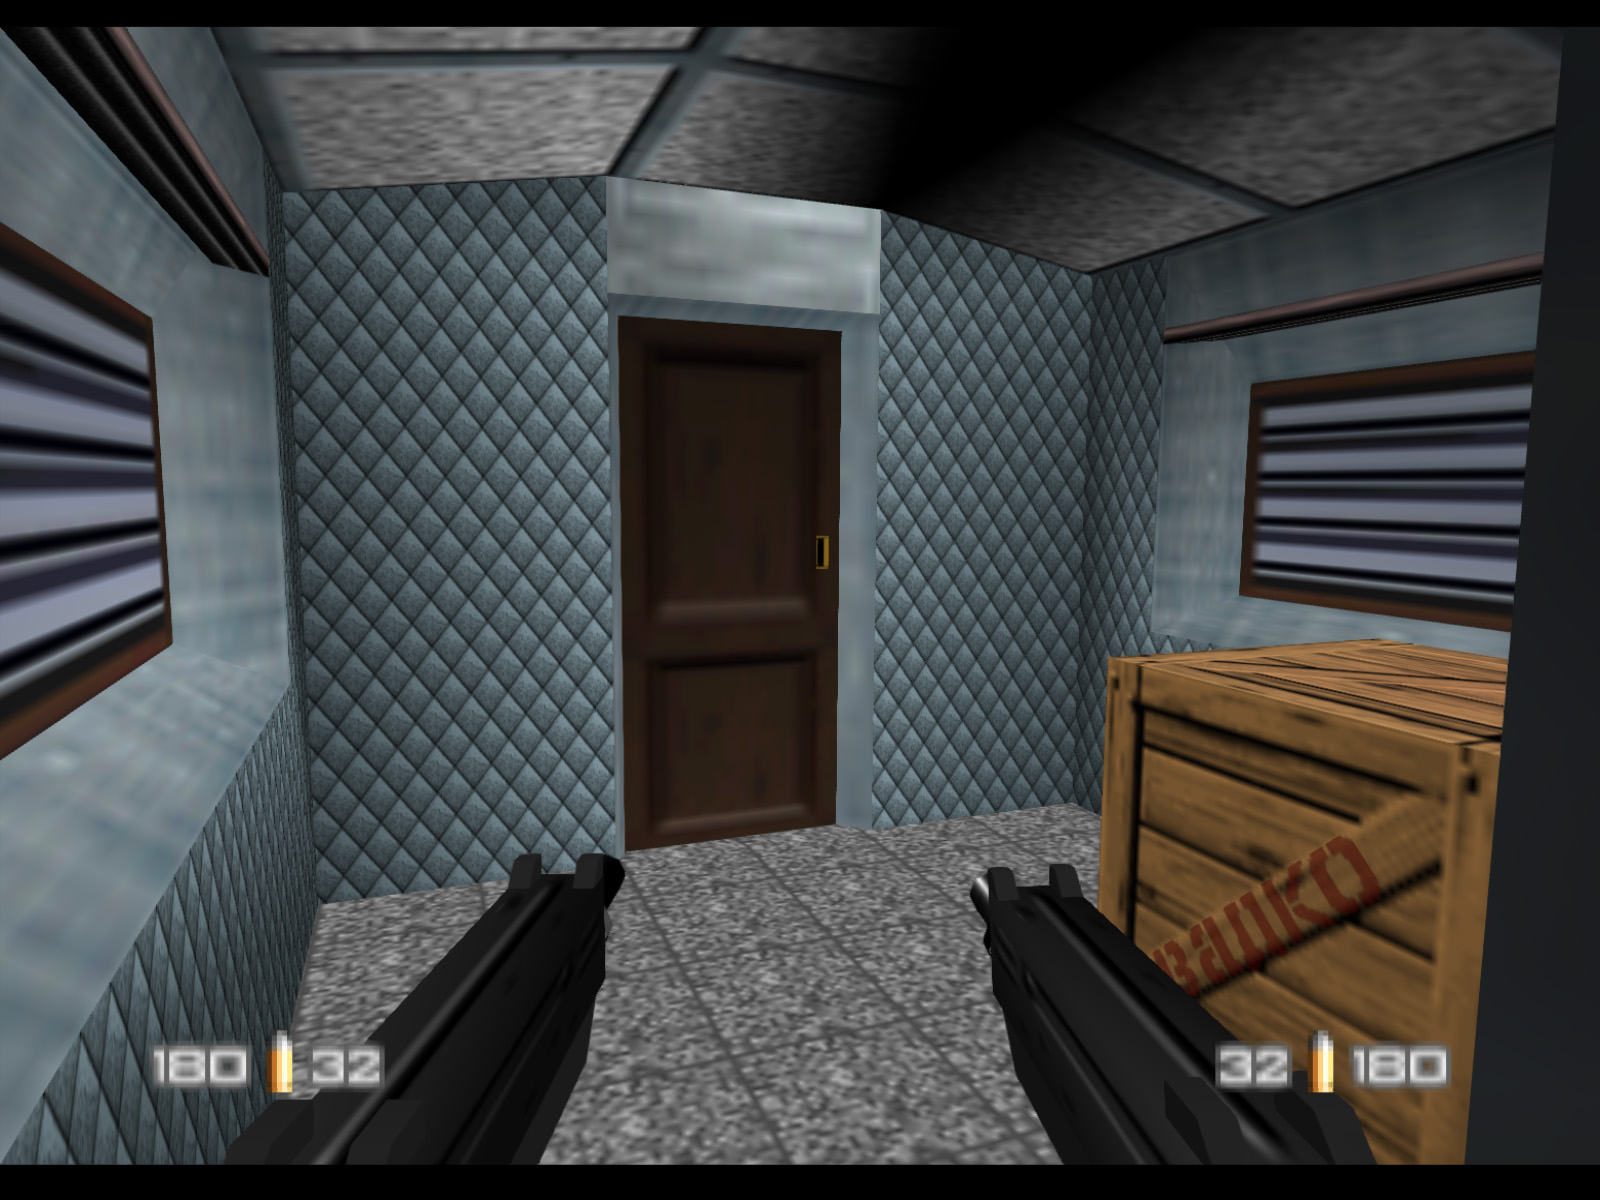
This is the sixth and final car. A Janus Marine will always be stationed here.
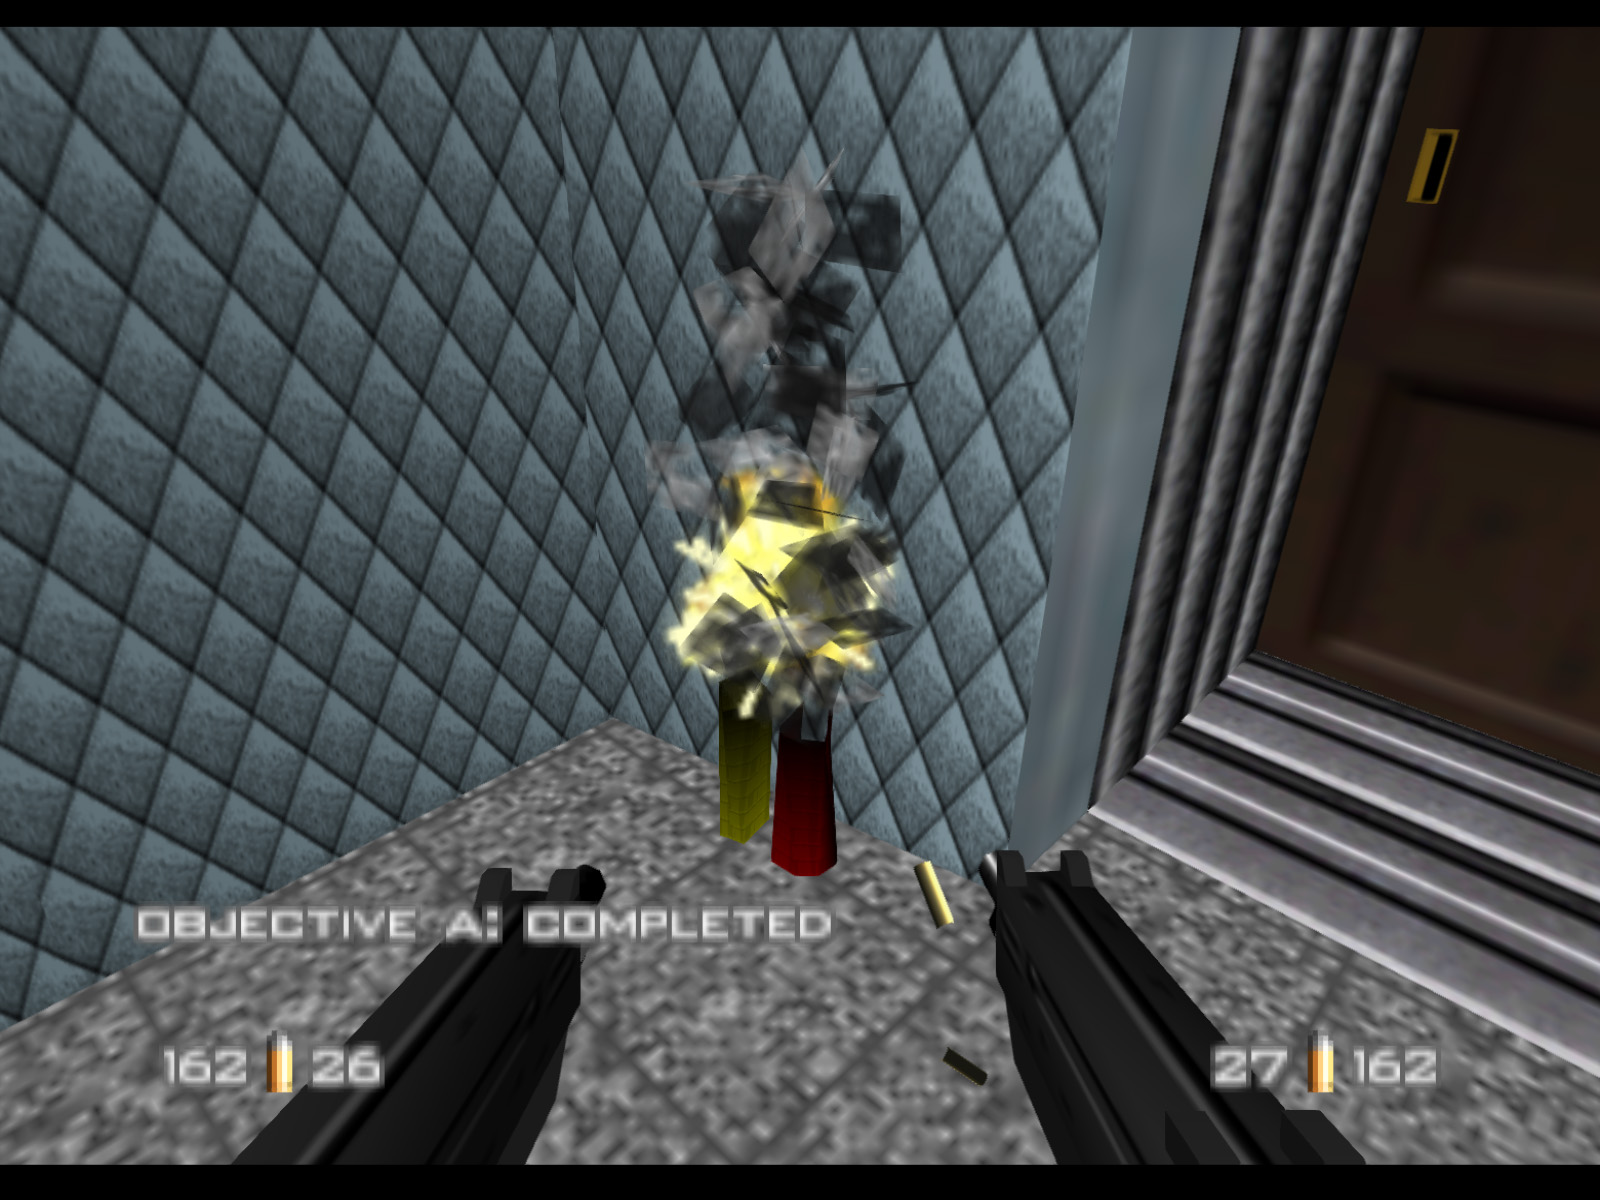
Check to your right for Brake Unit 6 of 6. Shoot it to complete Objective A.
As soon at the final Brake Unit is destroyed two Janus Special Forces will run to you from the direction of Trevelyan's compartment. One of them has a Door Key for that compartment.
This is the room before Trevelyan's compartment.
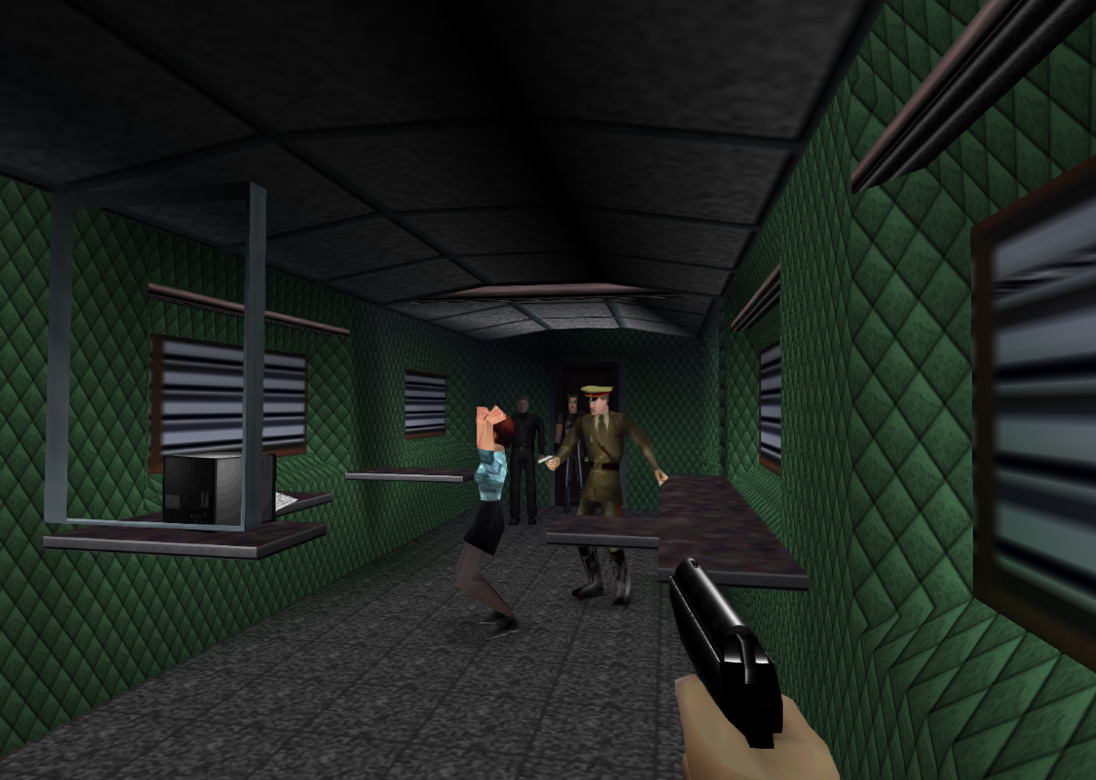
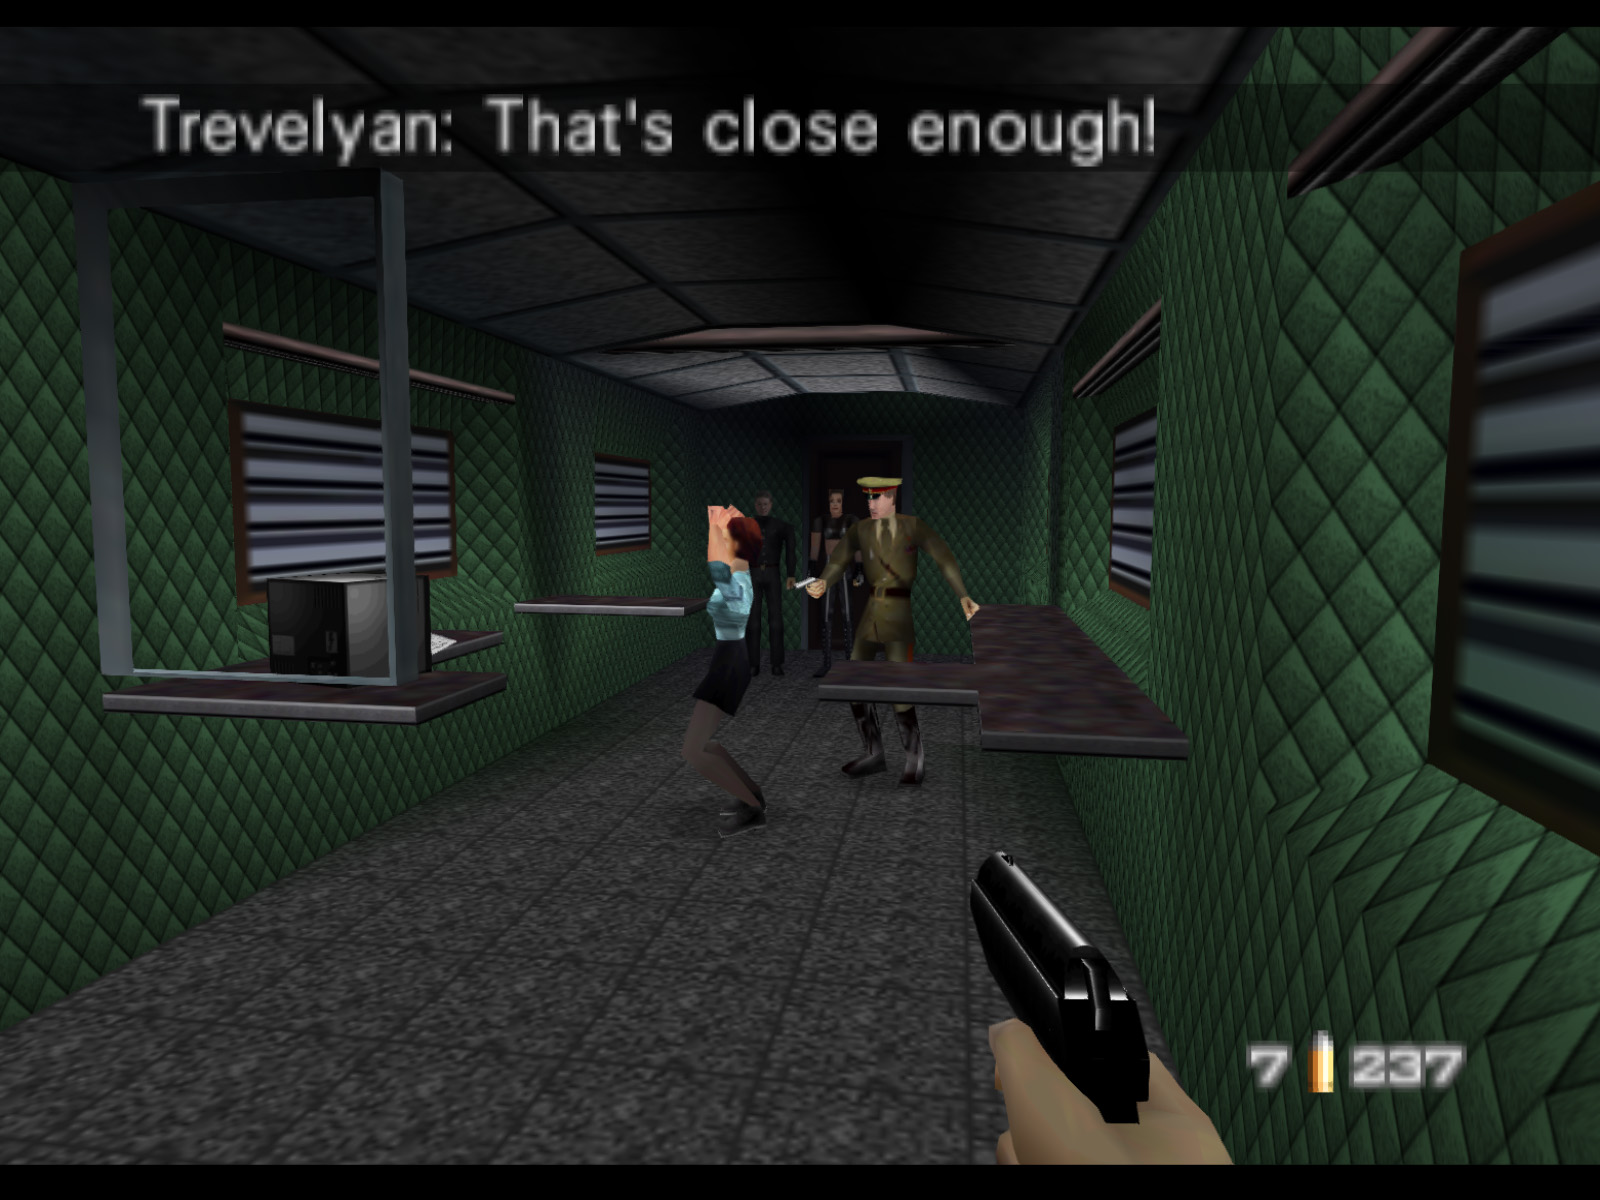
Trevelyan will allow you to enter the command room, but don't get too close or Ourumov will shoot Natalya. It is critical that your first shot hits Ourumov. If you can, hit Xenia as well for a chance at extra time.
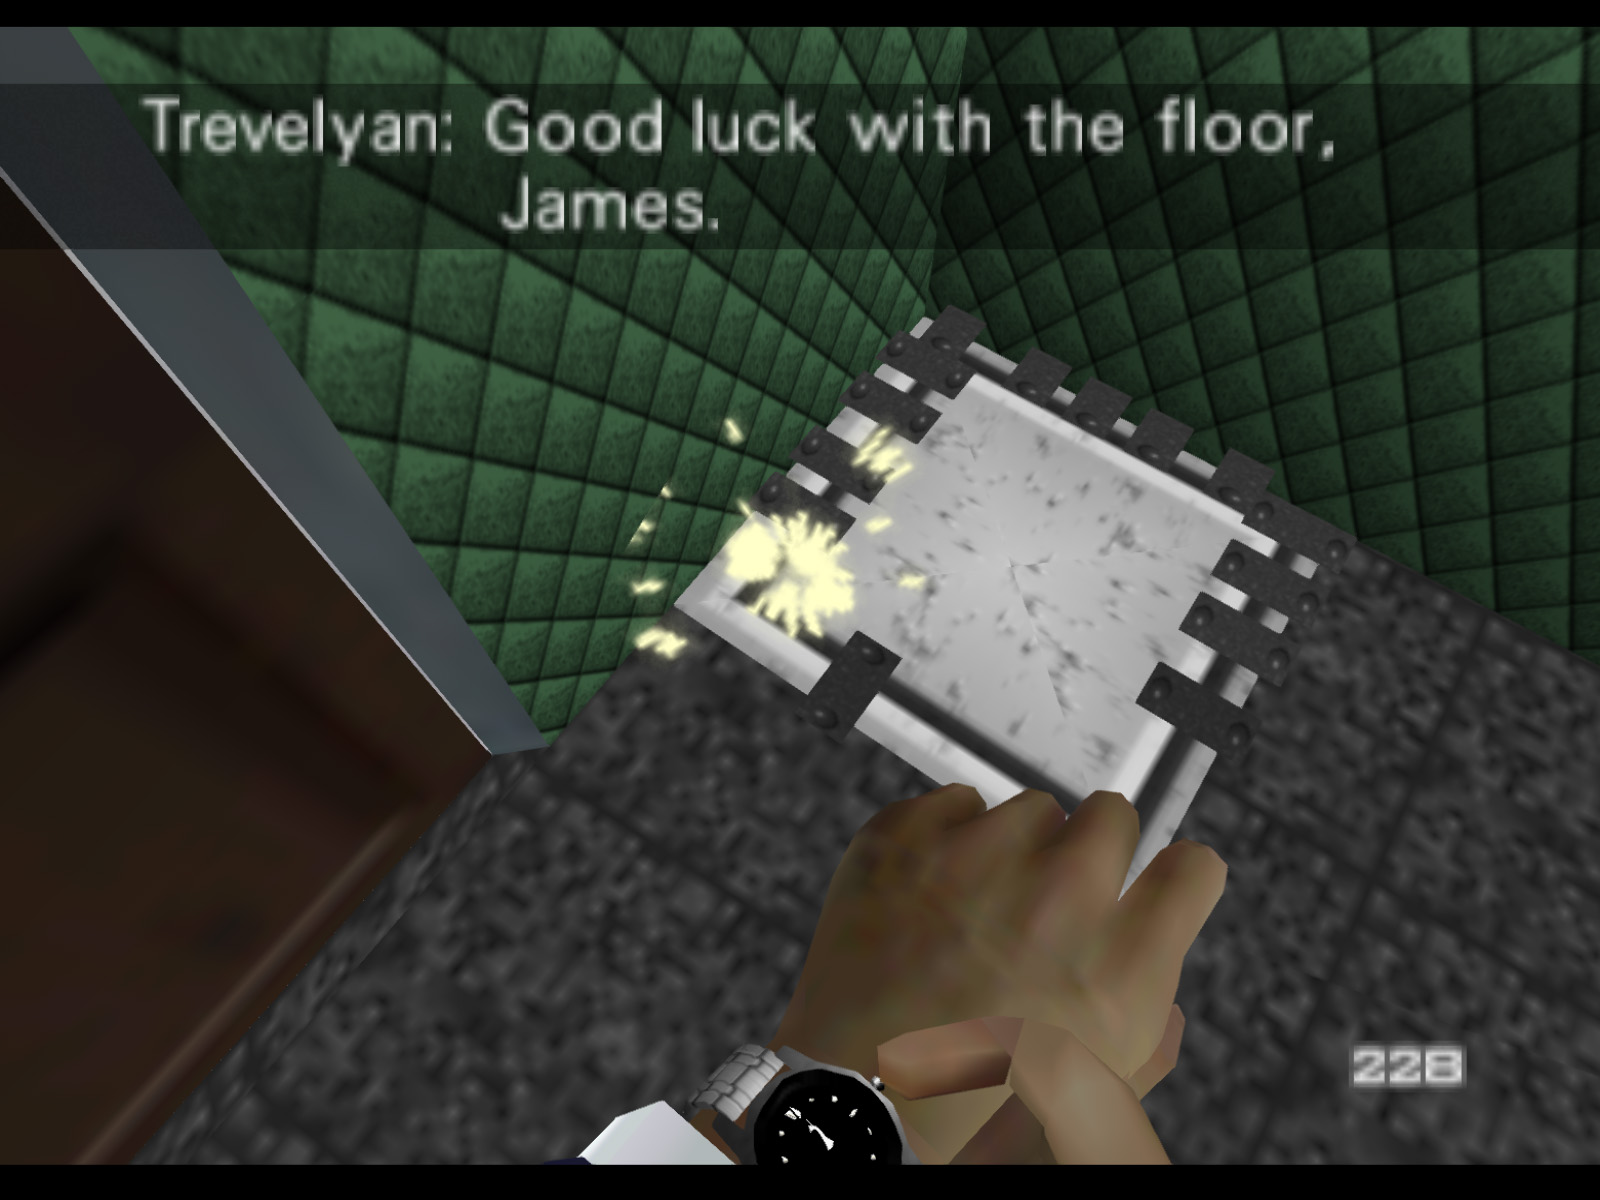
Now is the time for your Watch Laser to shine. Use it to break all the latches on the floor hatch. The latches can be destroyed with bullets, but that will probably take too long.
Wait for Natalya to complete Objectives C and D then rush out the hatch and to the left. That will complete Objective E. Take out the three Janus Marines at the crates.
If all went well Natalya has followed you out of the train and you're both a safe distance away while the command compartment is blown to smithereens.
This is the train car you cannot access. The noises of opening hydraulic doors and helicopter rotors imply that Trevelyan and Xenia escape via helicopter like in the movie, although you do not see this in the game.
This is a look back at the tunnel the train stops under. The light casting a shadow from the red star looks amazing.

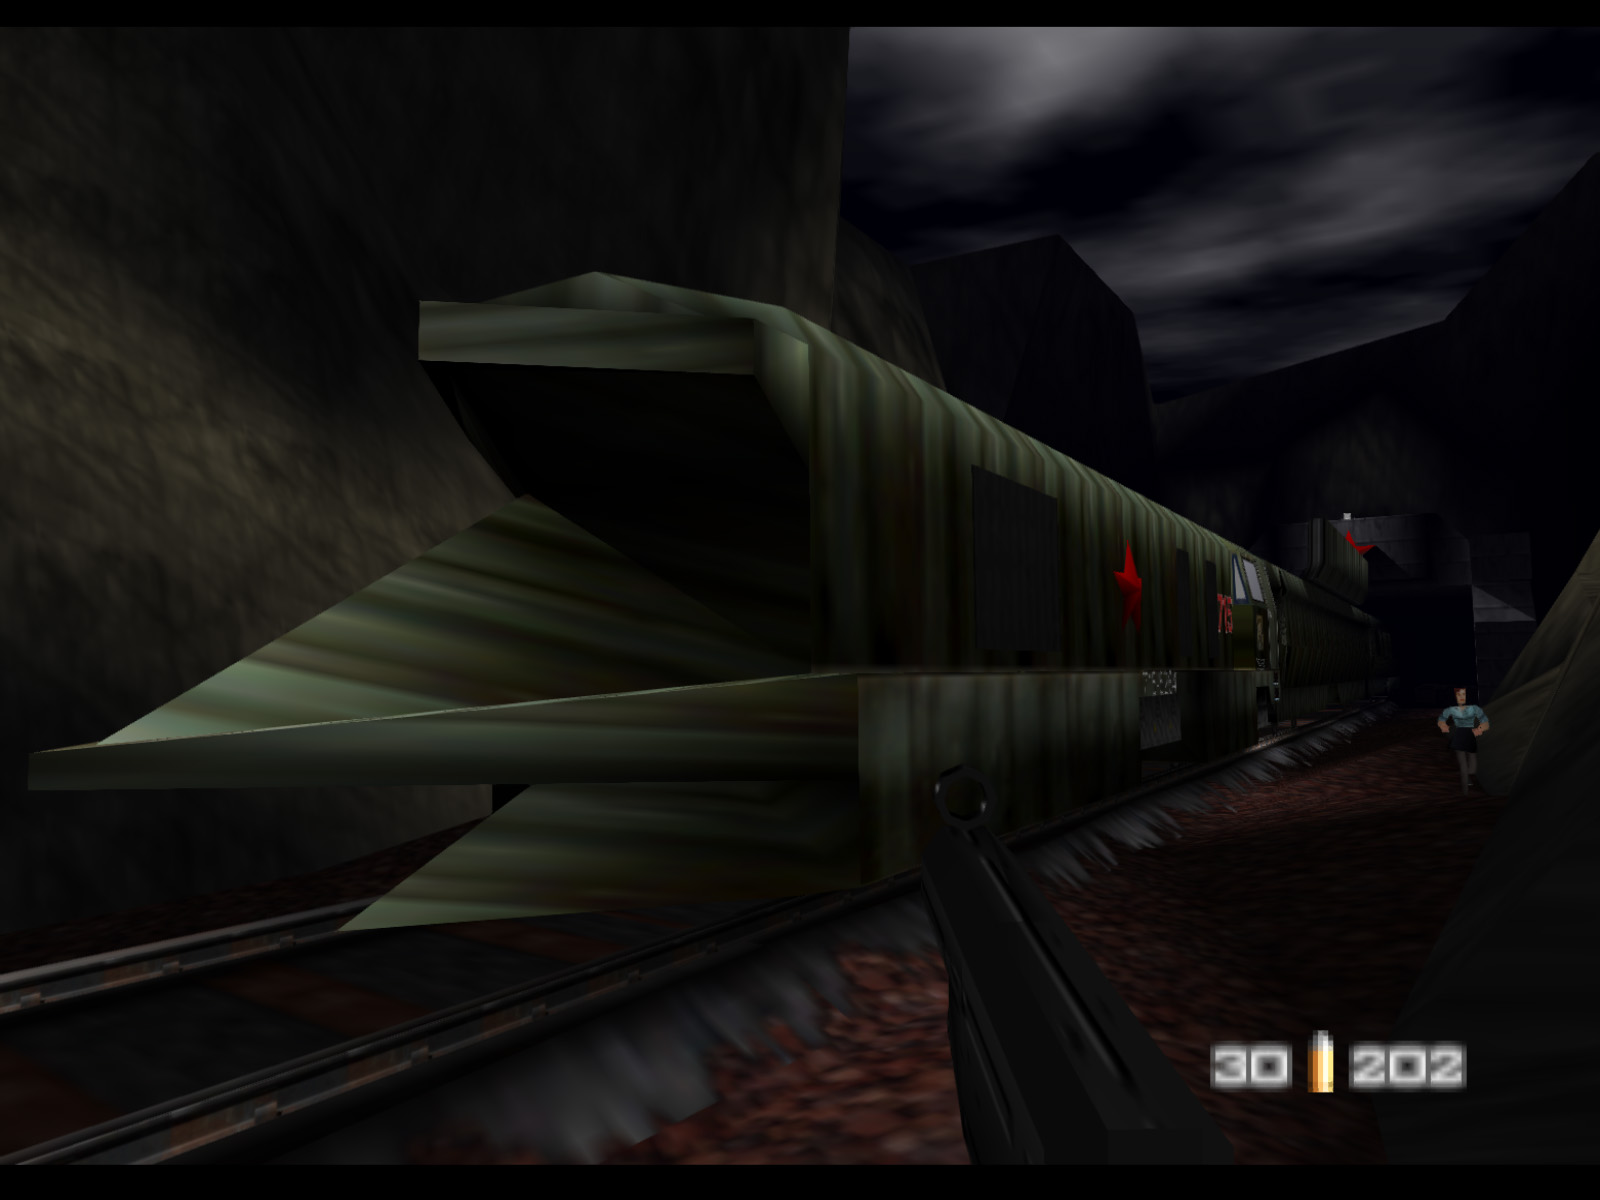
Here is the train's locomotive. There's no way to enter it. There's also no way to go across the tracks and get to the train's other side.
And here is the locomotive from the front. Isn't this such a cool design? Shortly after this point you will complete Objective B and the level will fade out.
Once you shoot Ourumov or get too close a blast door shuts and prevents you from getting to Trevelyan and Xenia's side of the car. However, with Turbo Mode or the Walk Through Doors code it is possible to get to their side.
Interestingly you can open the door and find a small blue compartment. This compartment has another door, but it is permanently locked, and if even if you could unlock it there is nothing on the other side.
This room is likely a remnant of GoldenEye's backwards level design process. That is to say, a developer made the space not entirely knowing how it would be used. In this case it turned out the space was ultimately not used at all, but it is nice they left it in for us to explore.